Do you want to import Illustrator shapes into a 3D program like Cinema 4D? In this guide, you will learn how to properly export paths from Illustrator for Cinema 4D to work with them further. Often, more complex and precise shapes can be created in Illustrator than in Cinema 4D. Here is a step-by-step guide that will walk you through the import process.
Key Insights
To successfully import Illustrator files into Cinema 4D, you must save the file in Illustrator 8 format. Importing into Cinema 4D requires the correct file format to properly display the desired paths.
Step 1: Save the File in Illustrator
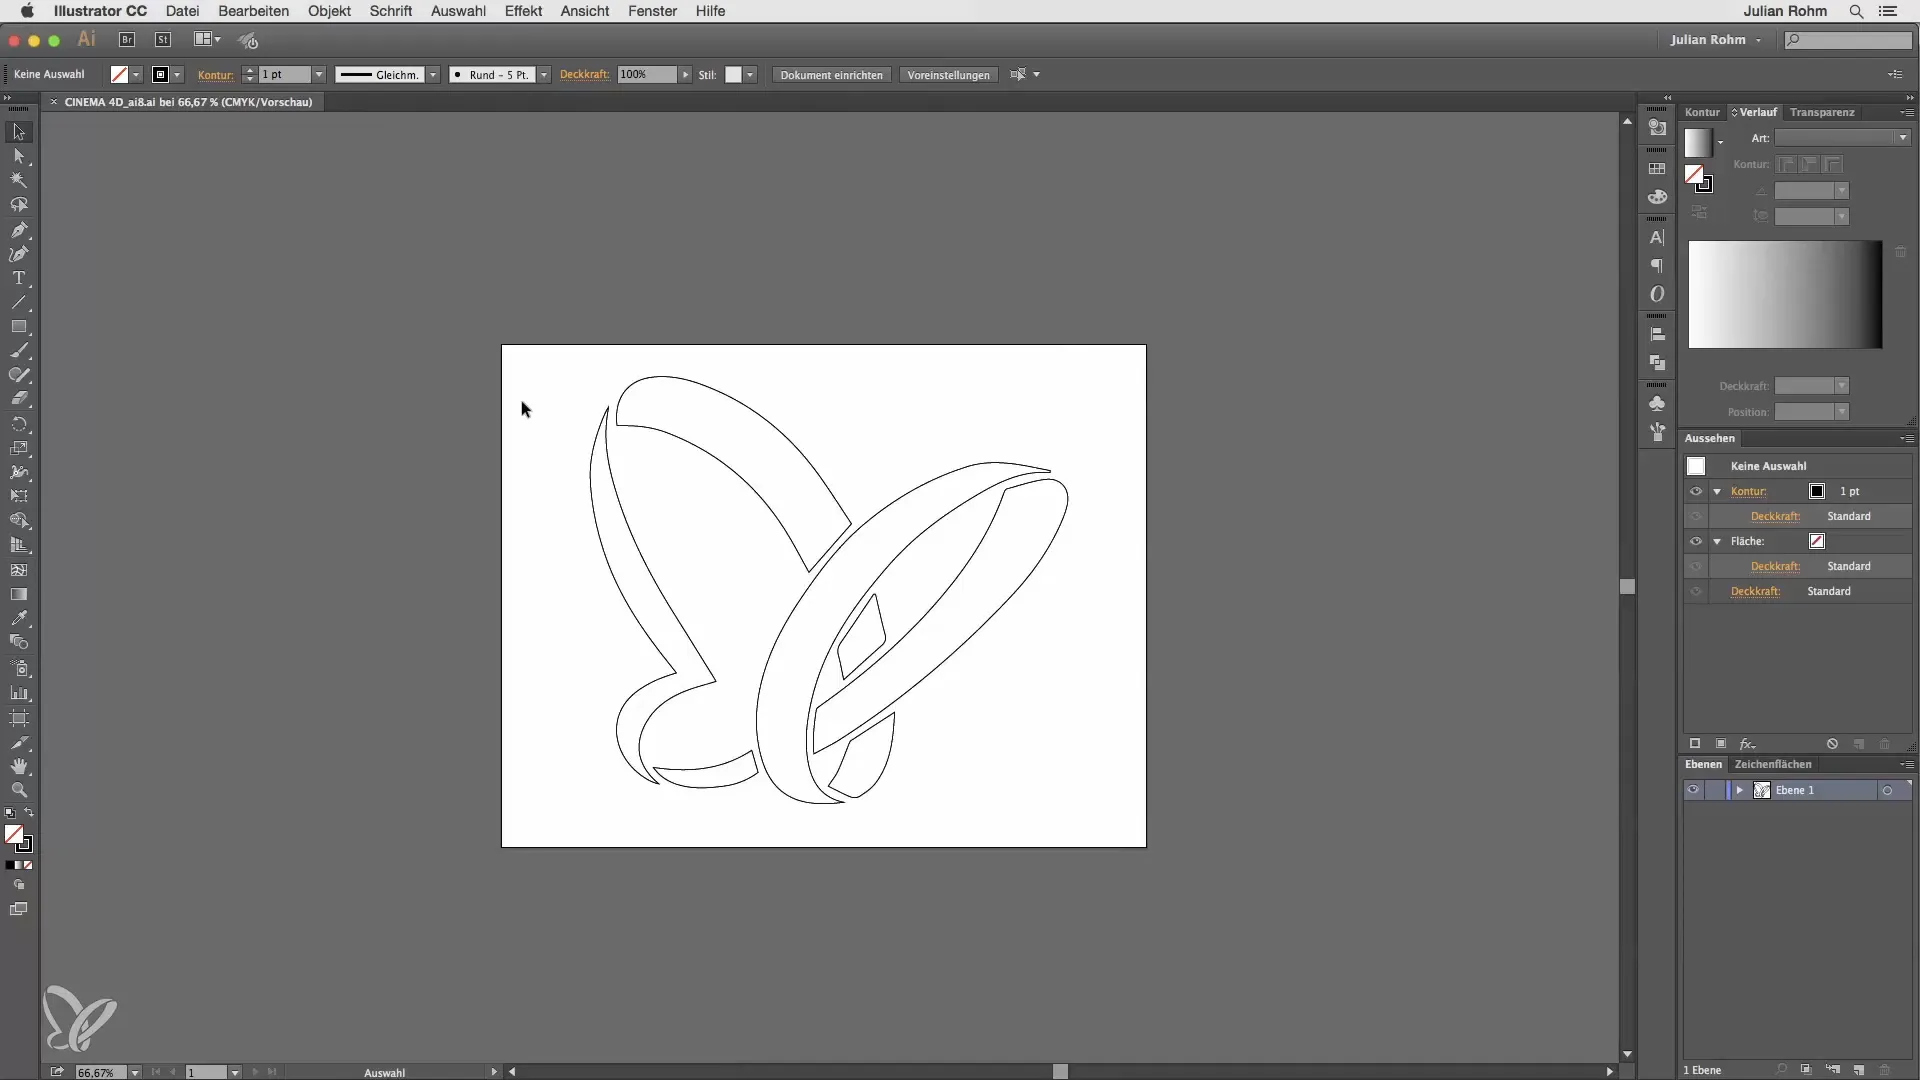
First, you need to open the desired vector shape in Illustrator. Make sure you have correctly selected the paths you want to export. To prepare the file for Cinema 4D, go to "File" and click "Save As." Choose an appropriate file name and save the file as.ai.
Step 2: Overwrite File
If you have already saved the file, you will be asked if you want to overwrite the existing file. Confirm this with "Overwrite" and make sure you are using your own version of Illustrator, such as Illustrator CC.

Step 3: Importing into Cinema 4D
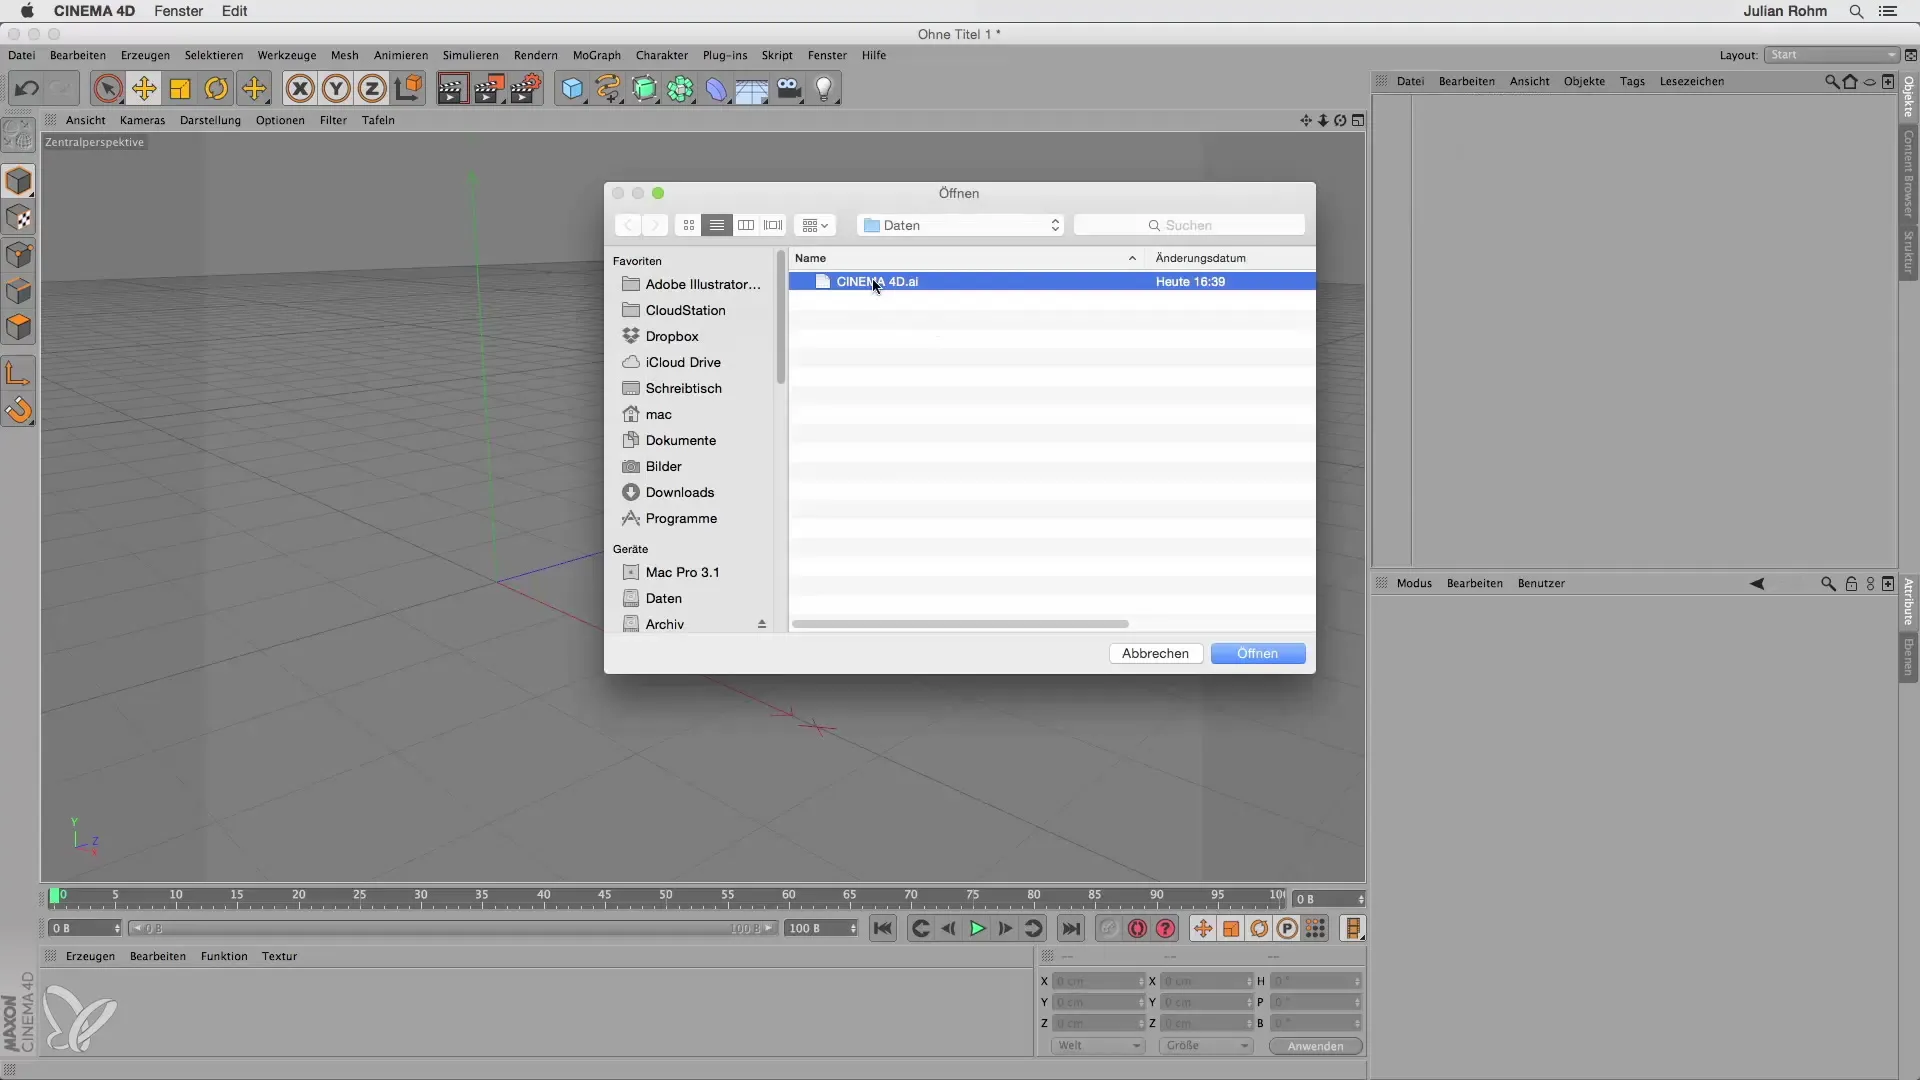
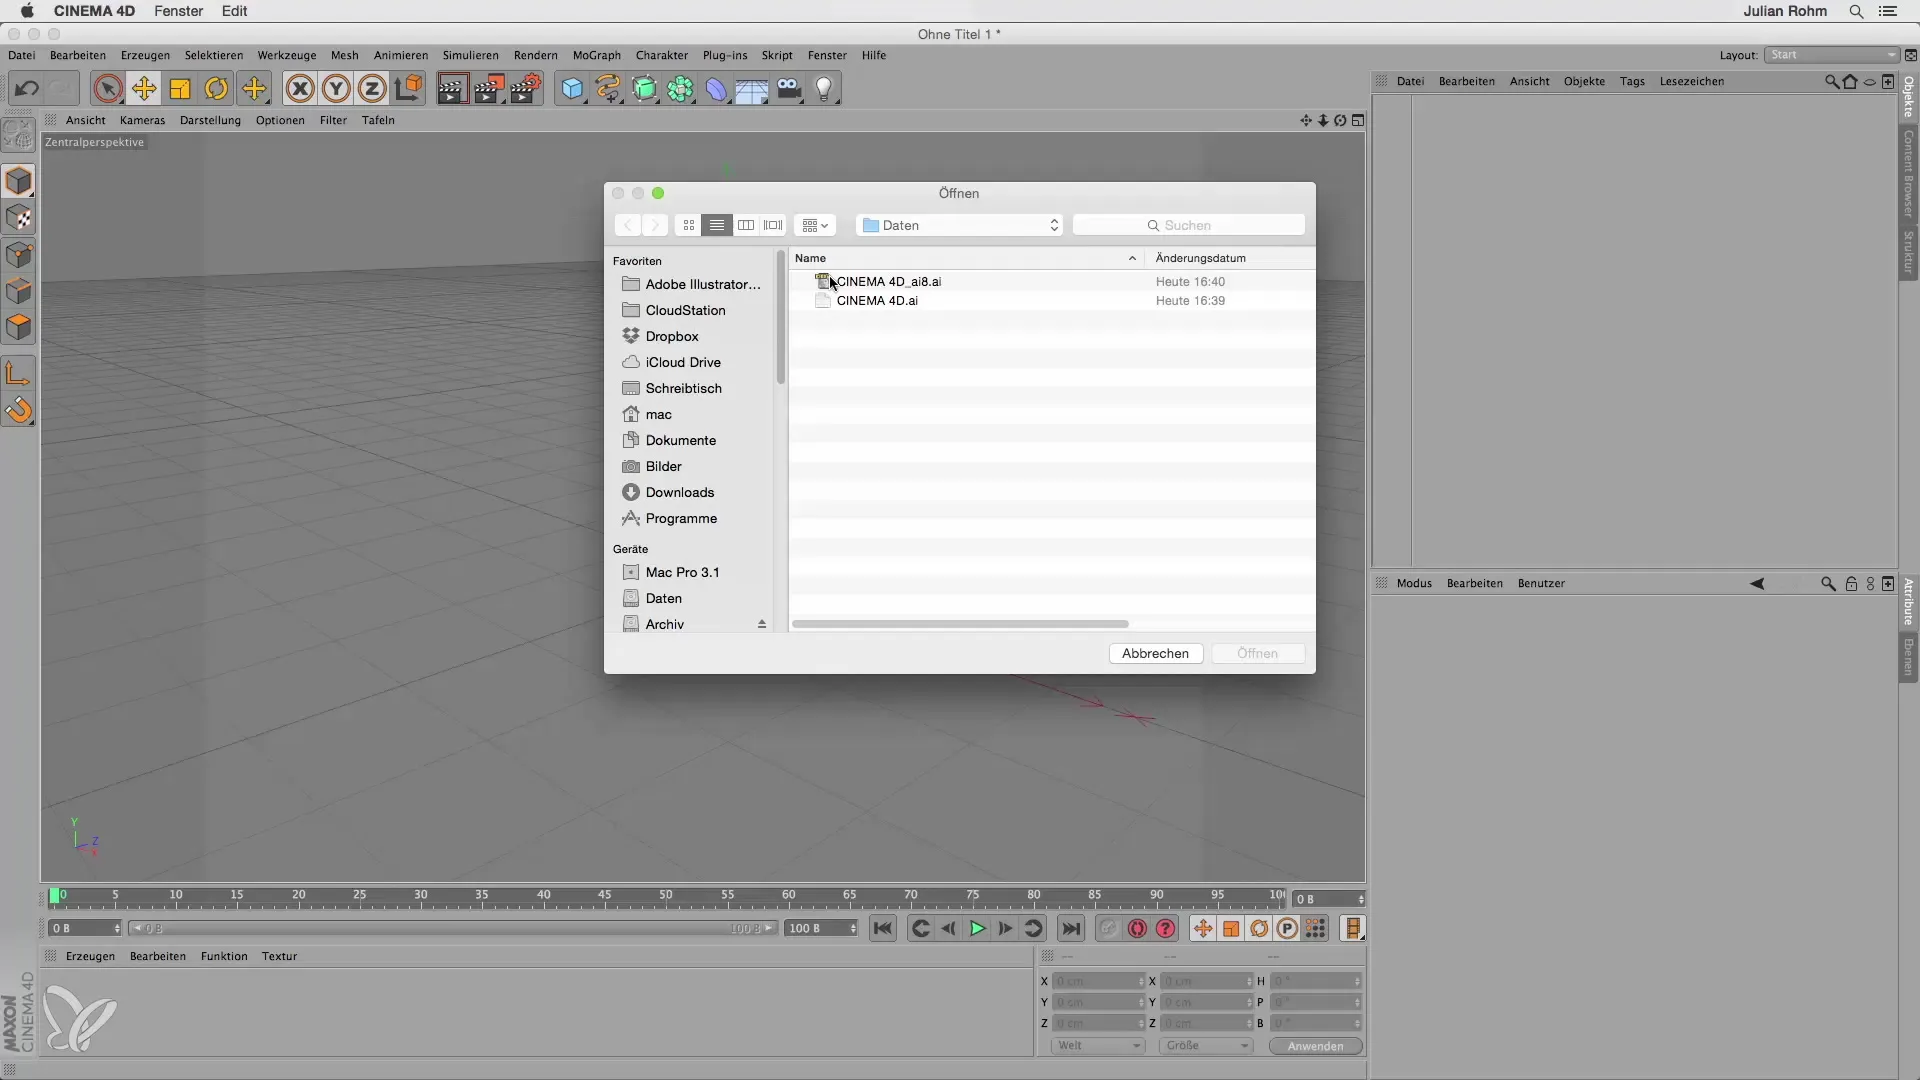
Now open Cinema 4D. To import the previously saved.ai file, go to "File" and select "Load Object." Find your saved Illustrator file and click "Open."
Step 4: Check the Import
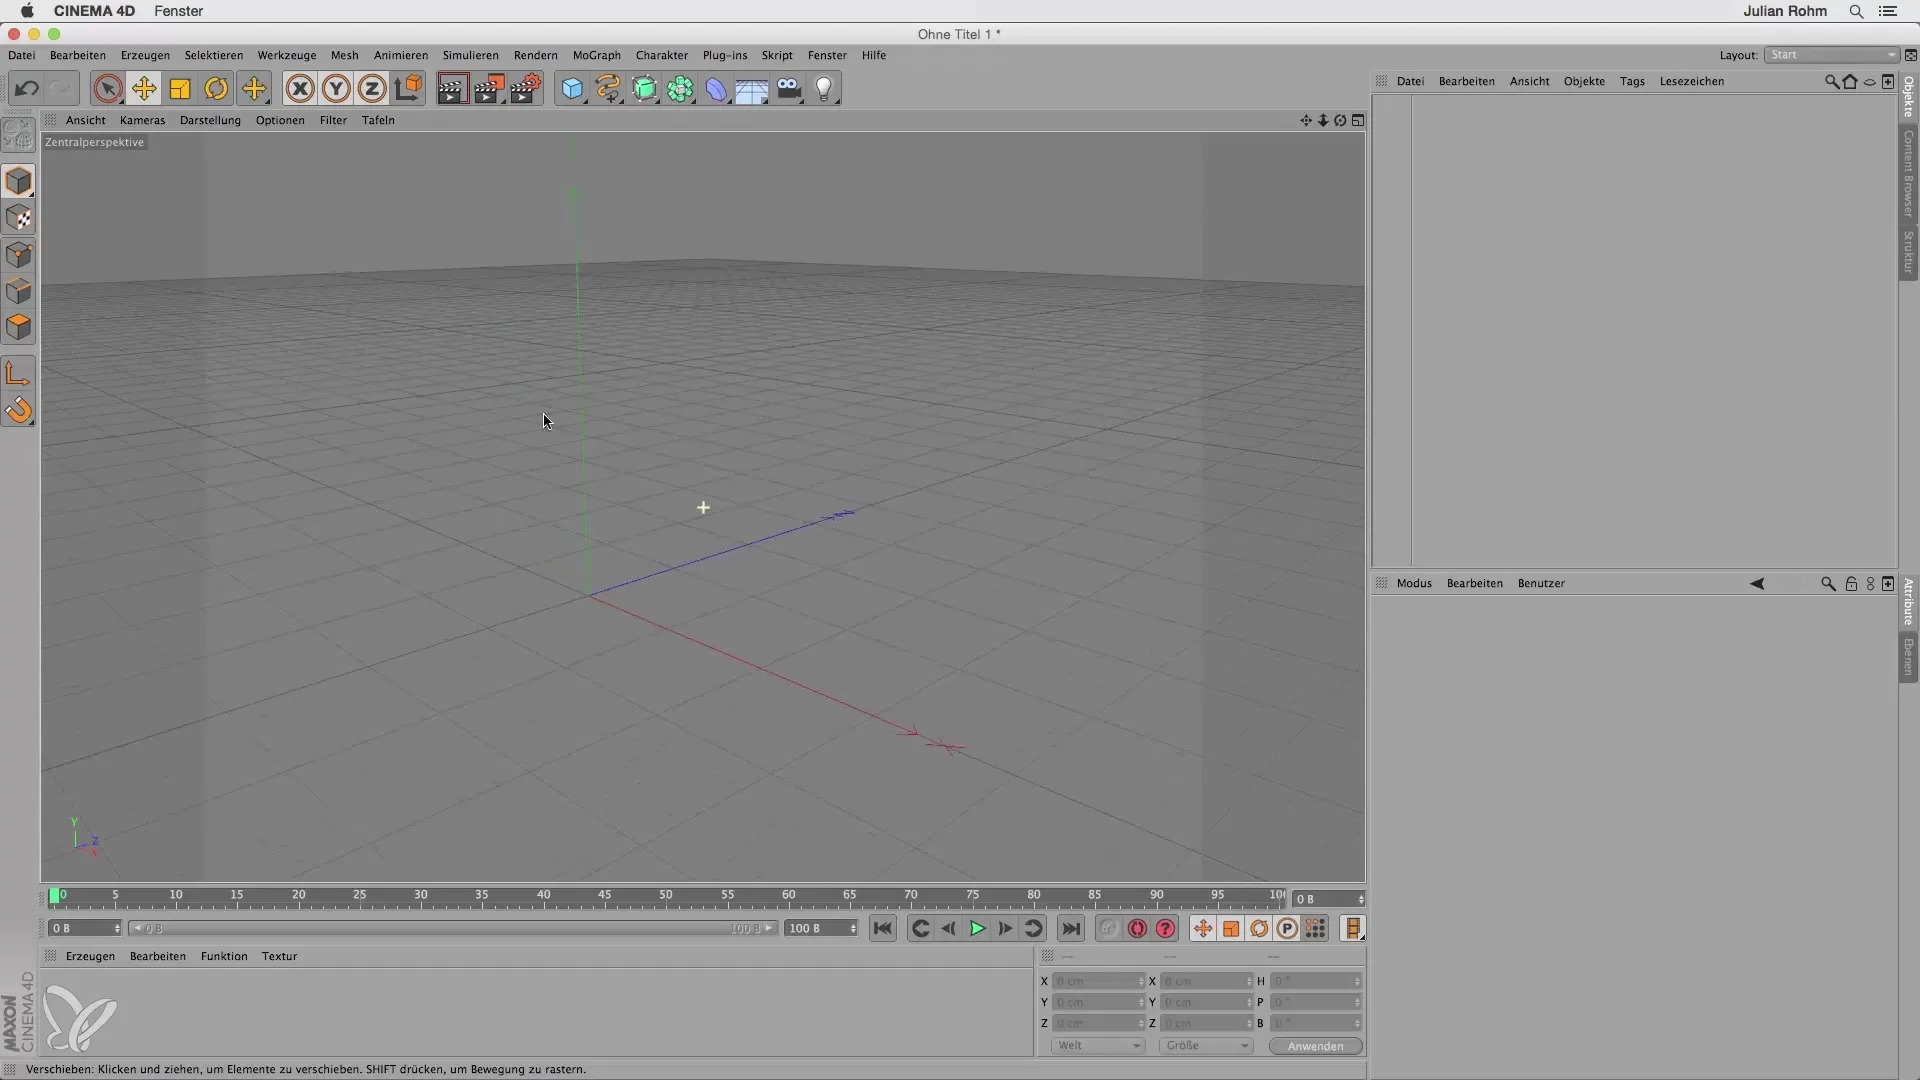
Note that initially, there may be no visible import in Cinema 4D. This can lead to frustration and giving up. Don't be discouraged; these steps are necessary for the correct import.
Step 5: Return to Illustrator
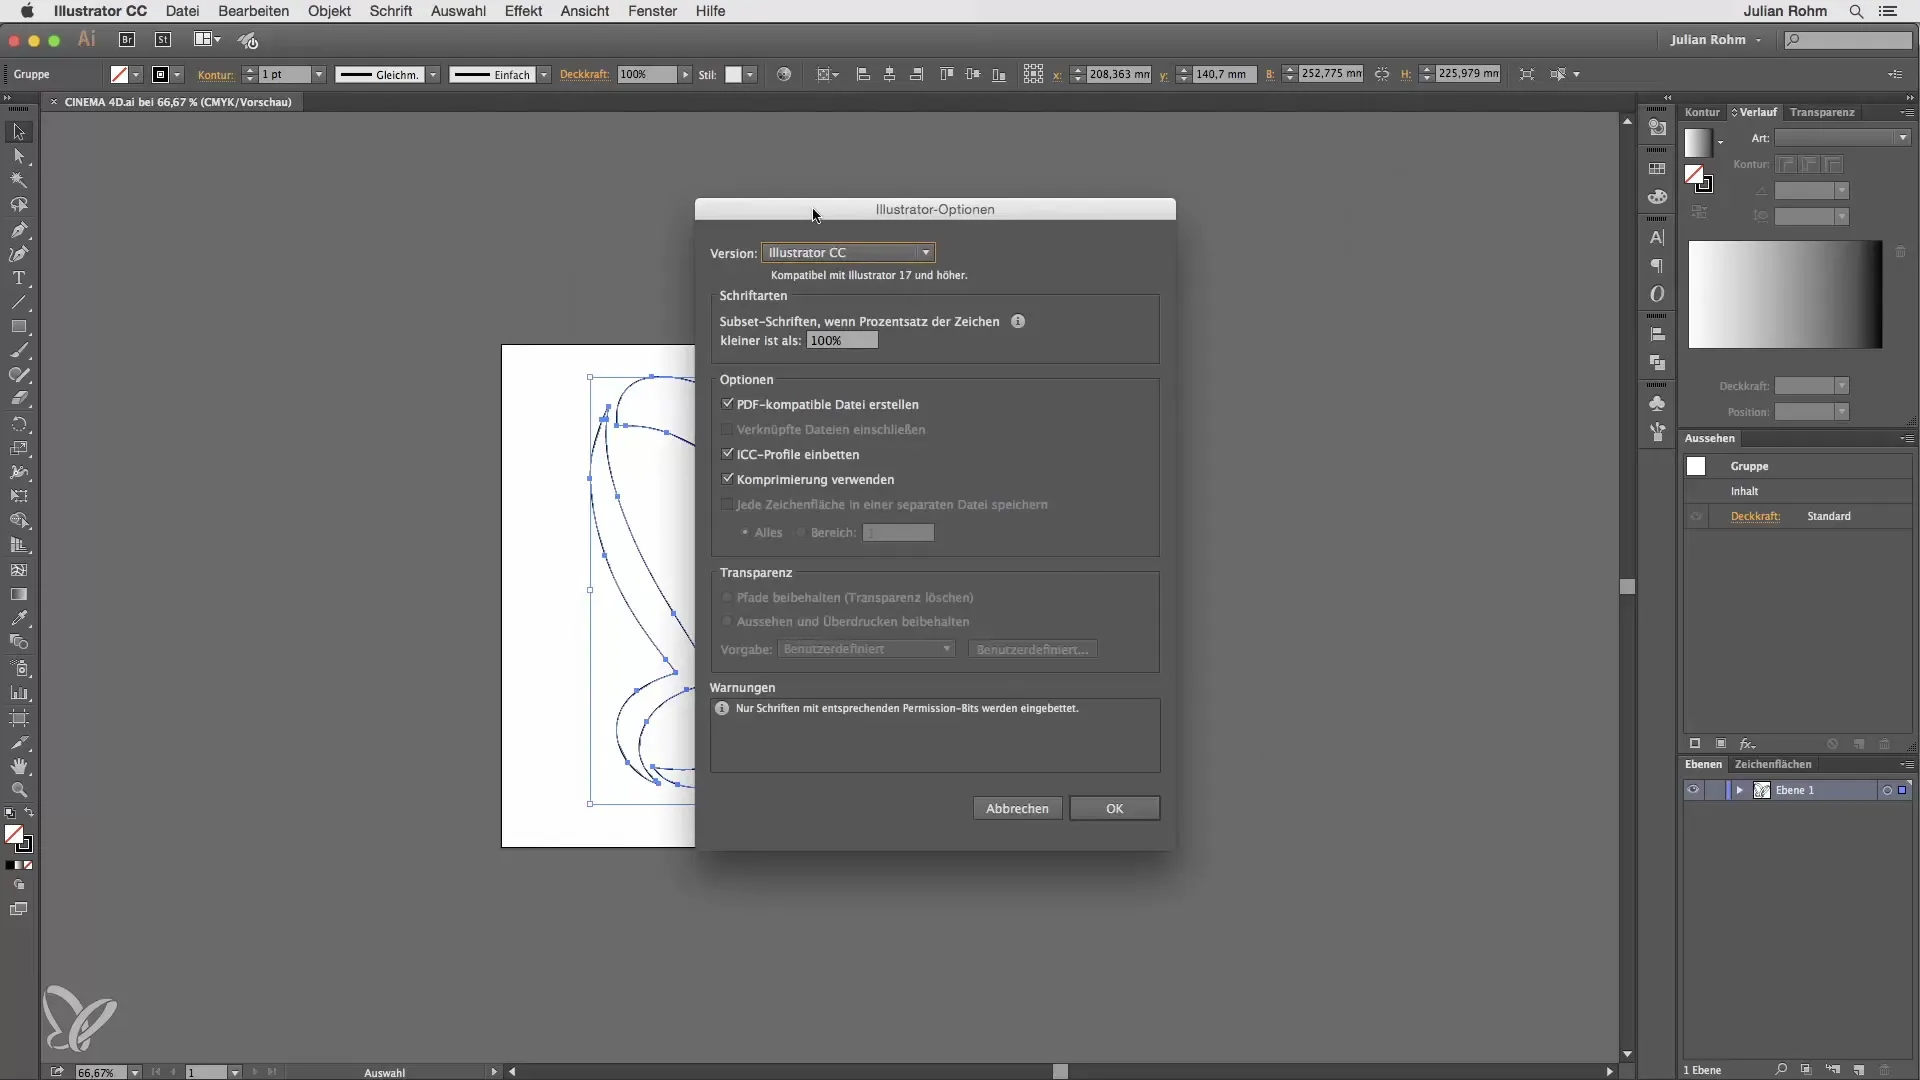
To ensure that the import works, you need to return to Illustrator. Again, select "File" and click "Save As." This time, save the file in Illustrator 8 format, which is necessary to ensure compatibility with Cinema 4D.
Step 6: Import the File Again into Cinema 4D
Switch back to Cinema 4D and go back to "File," then "Load Object." Select the newly saved Illustrator 8 file. You will also be asked if you want to specify an import factor. Leave this value at 1 and click "OK."
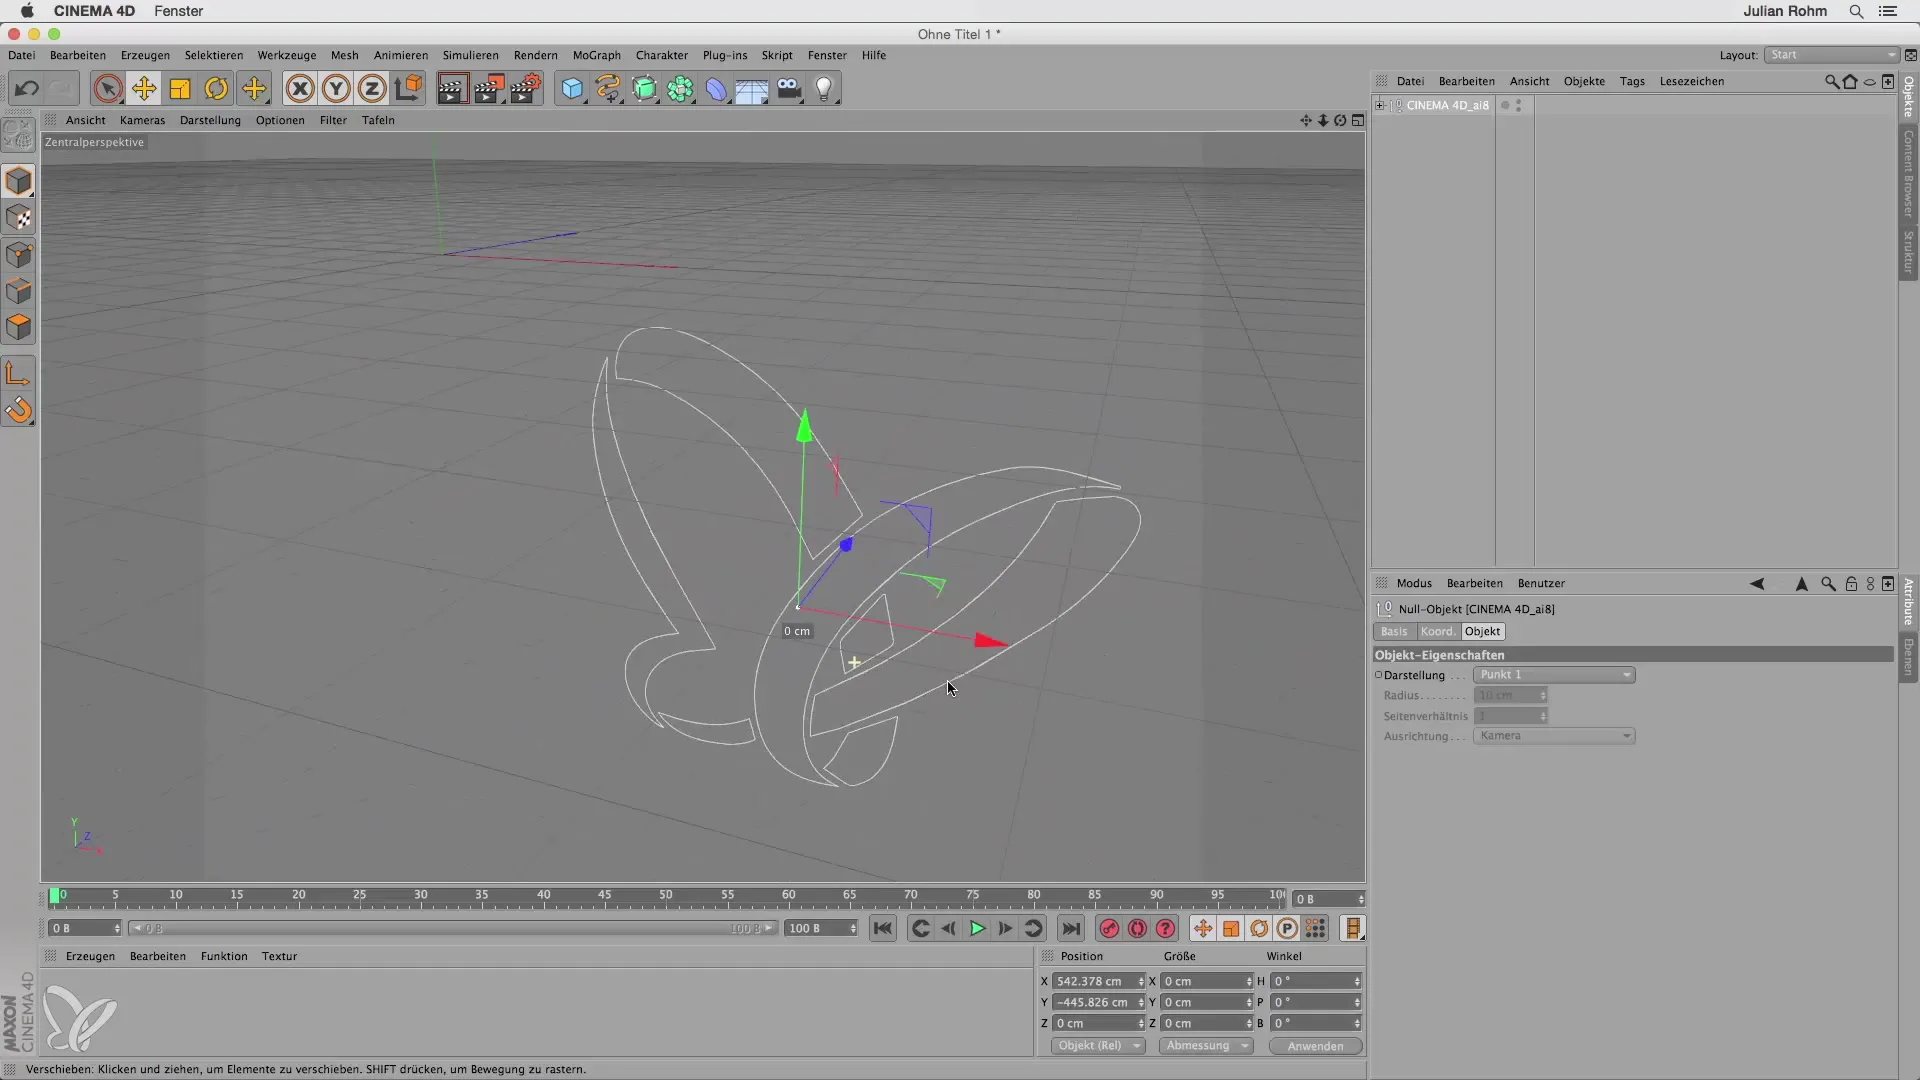
Step 7: Positioning the Shape
After the import, your Illustrator file will be positioned centrally by default. To bring the shape to the center of your workspace, enter "0" for the X and Y axes in the position settings.
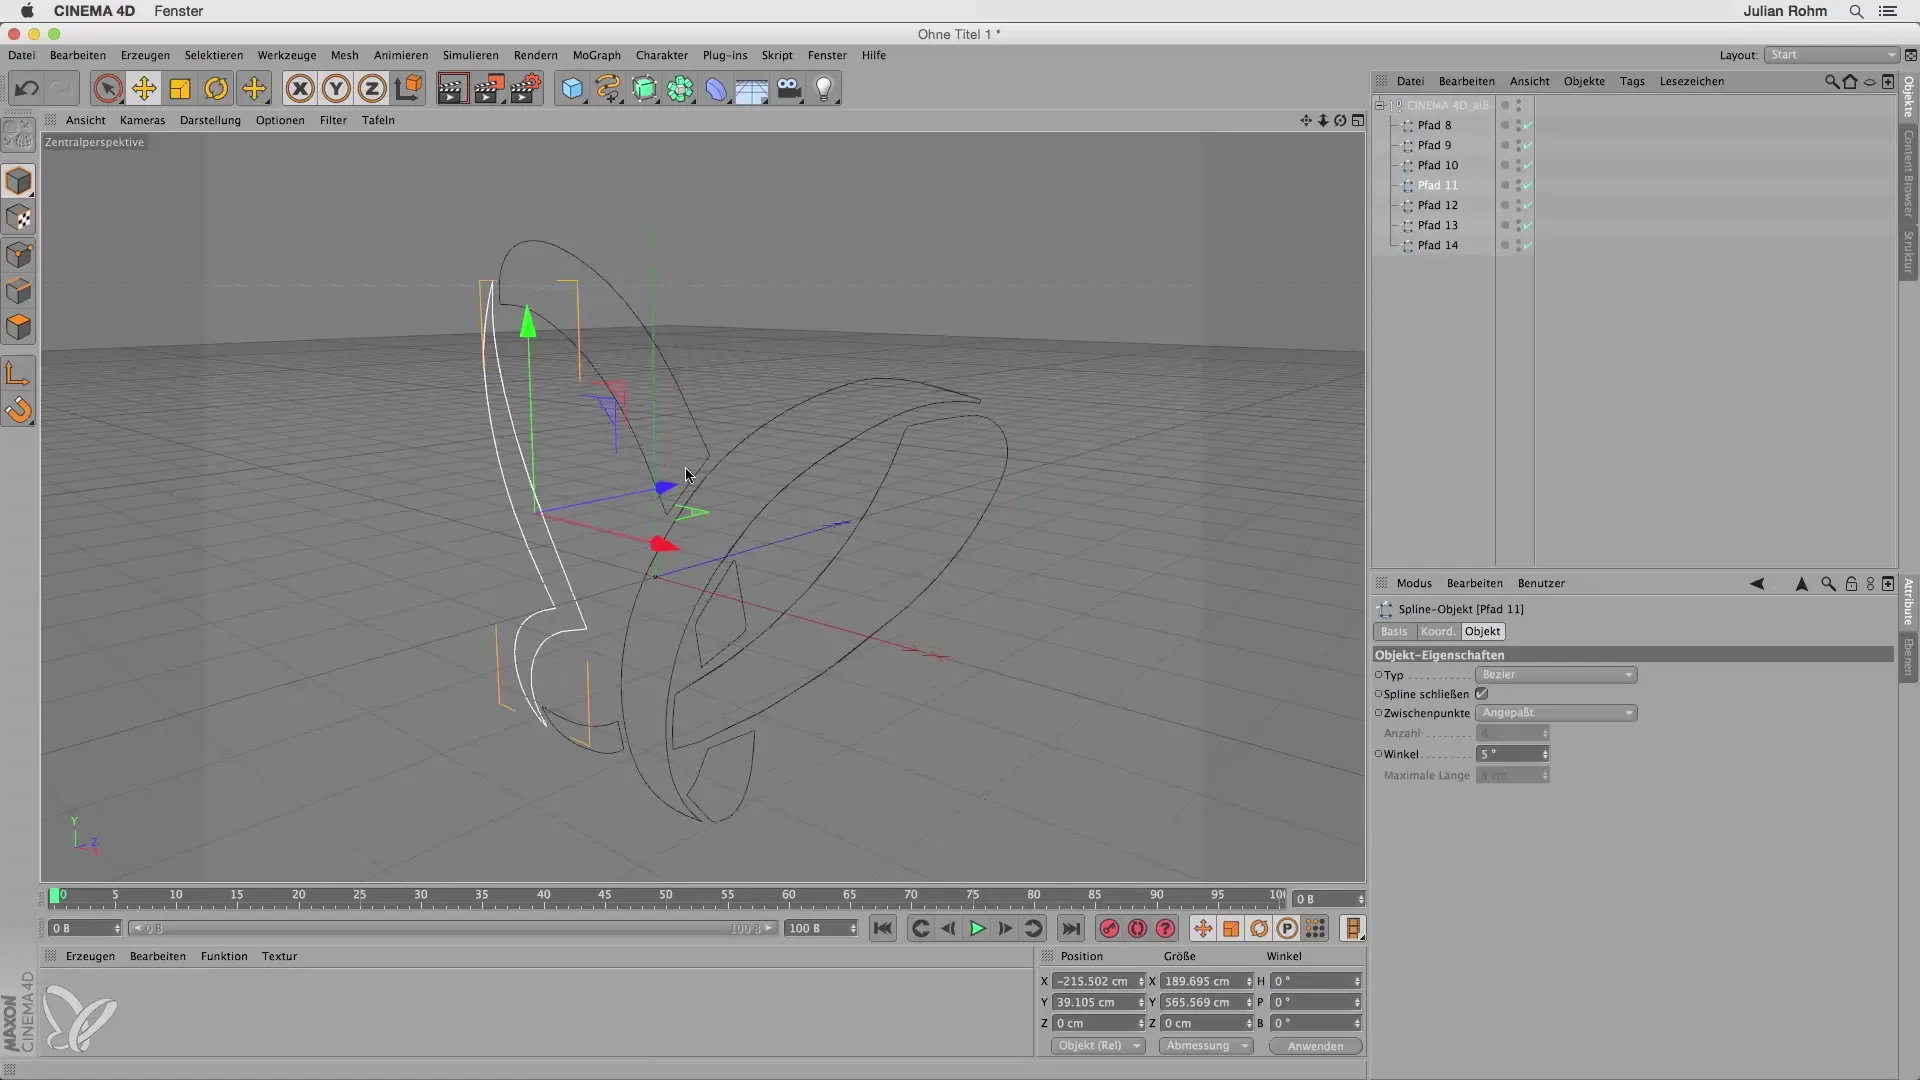
Step 8: Edit Paths
Now you can select the imported paths and edit them as needed. One way is to select all paths, then choose "Object," select "Join," and finally "Delete." This will allow you to further optimize the paths.
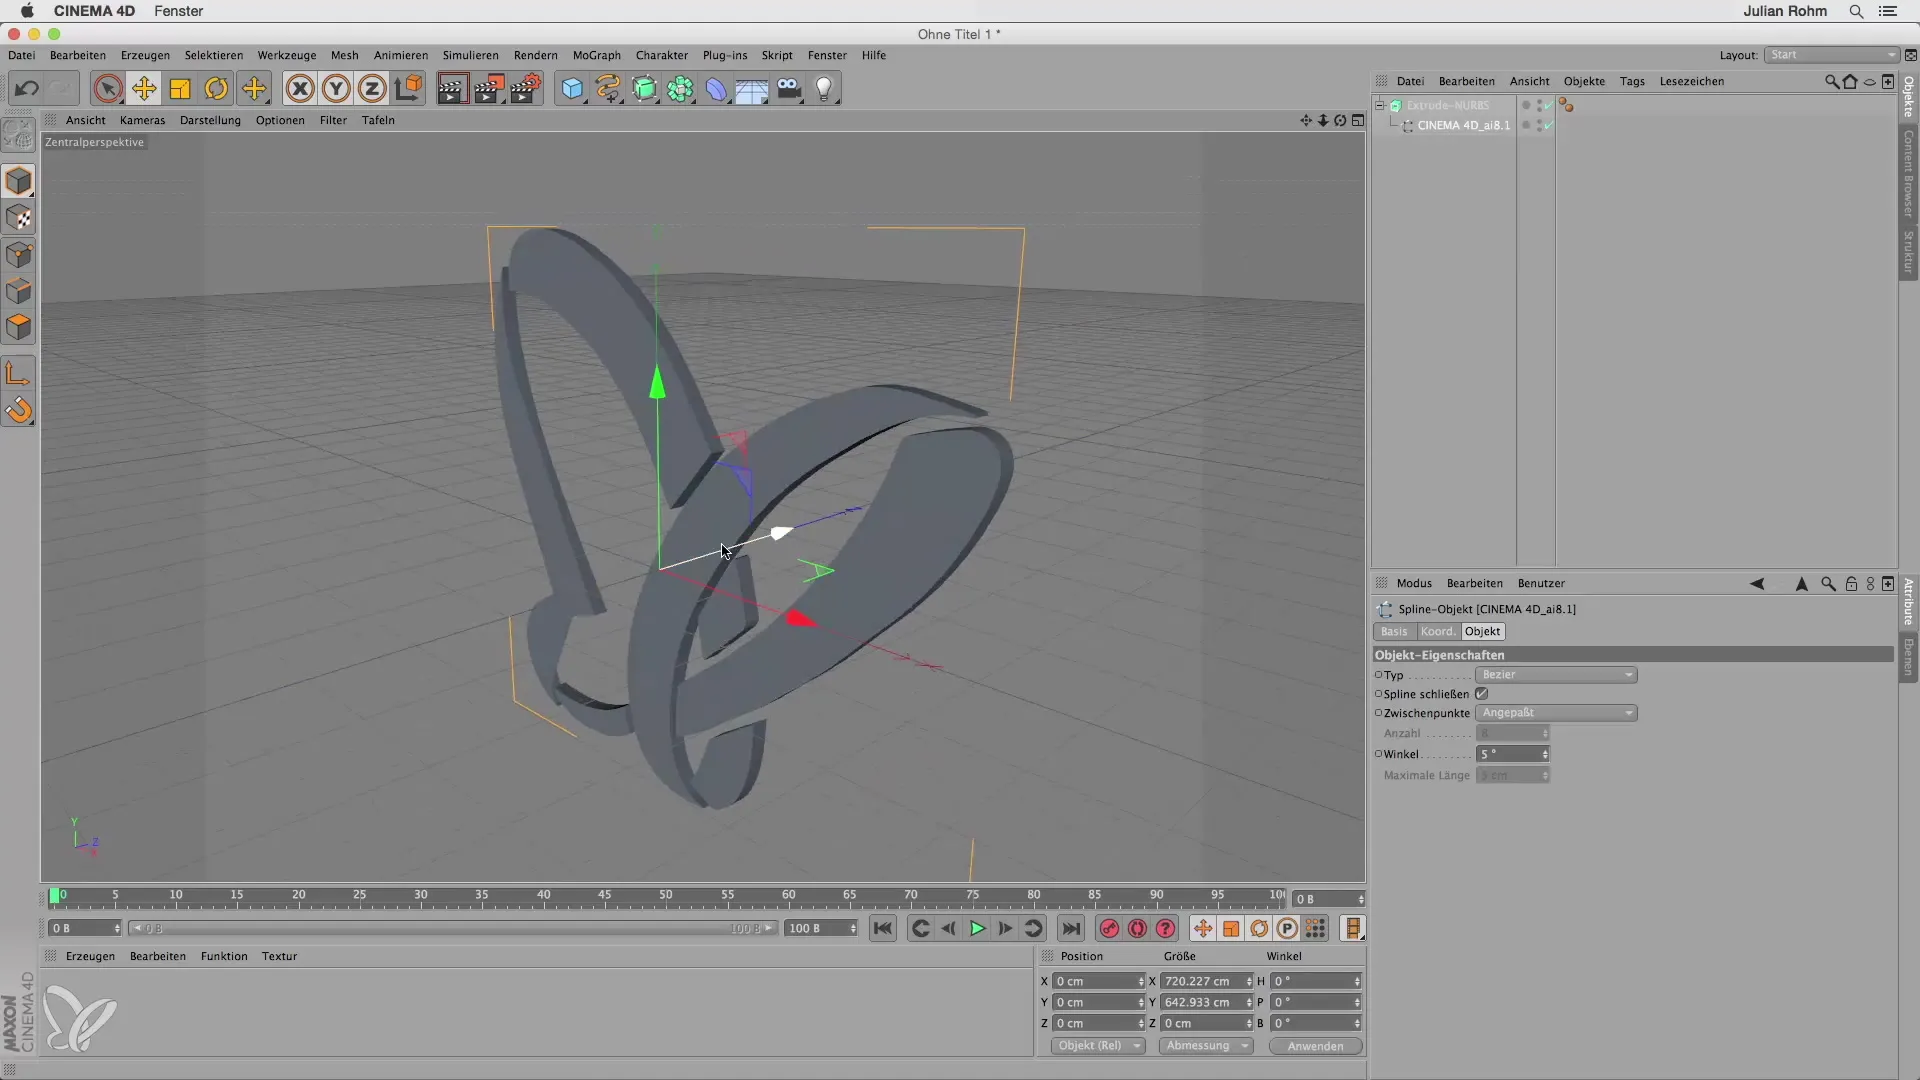
Step 9: Create a 3D Shape
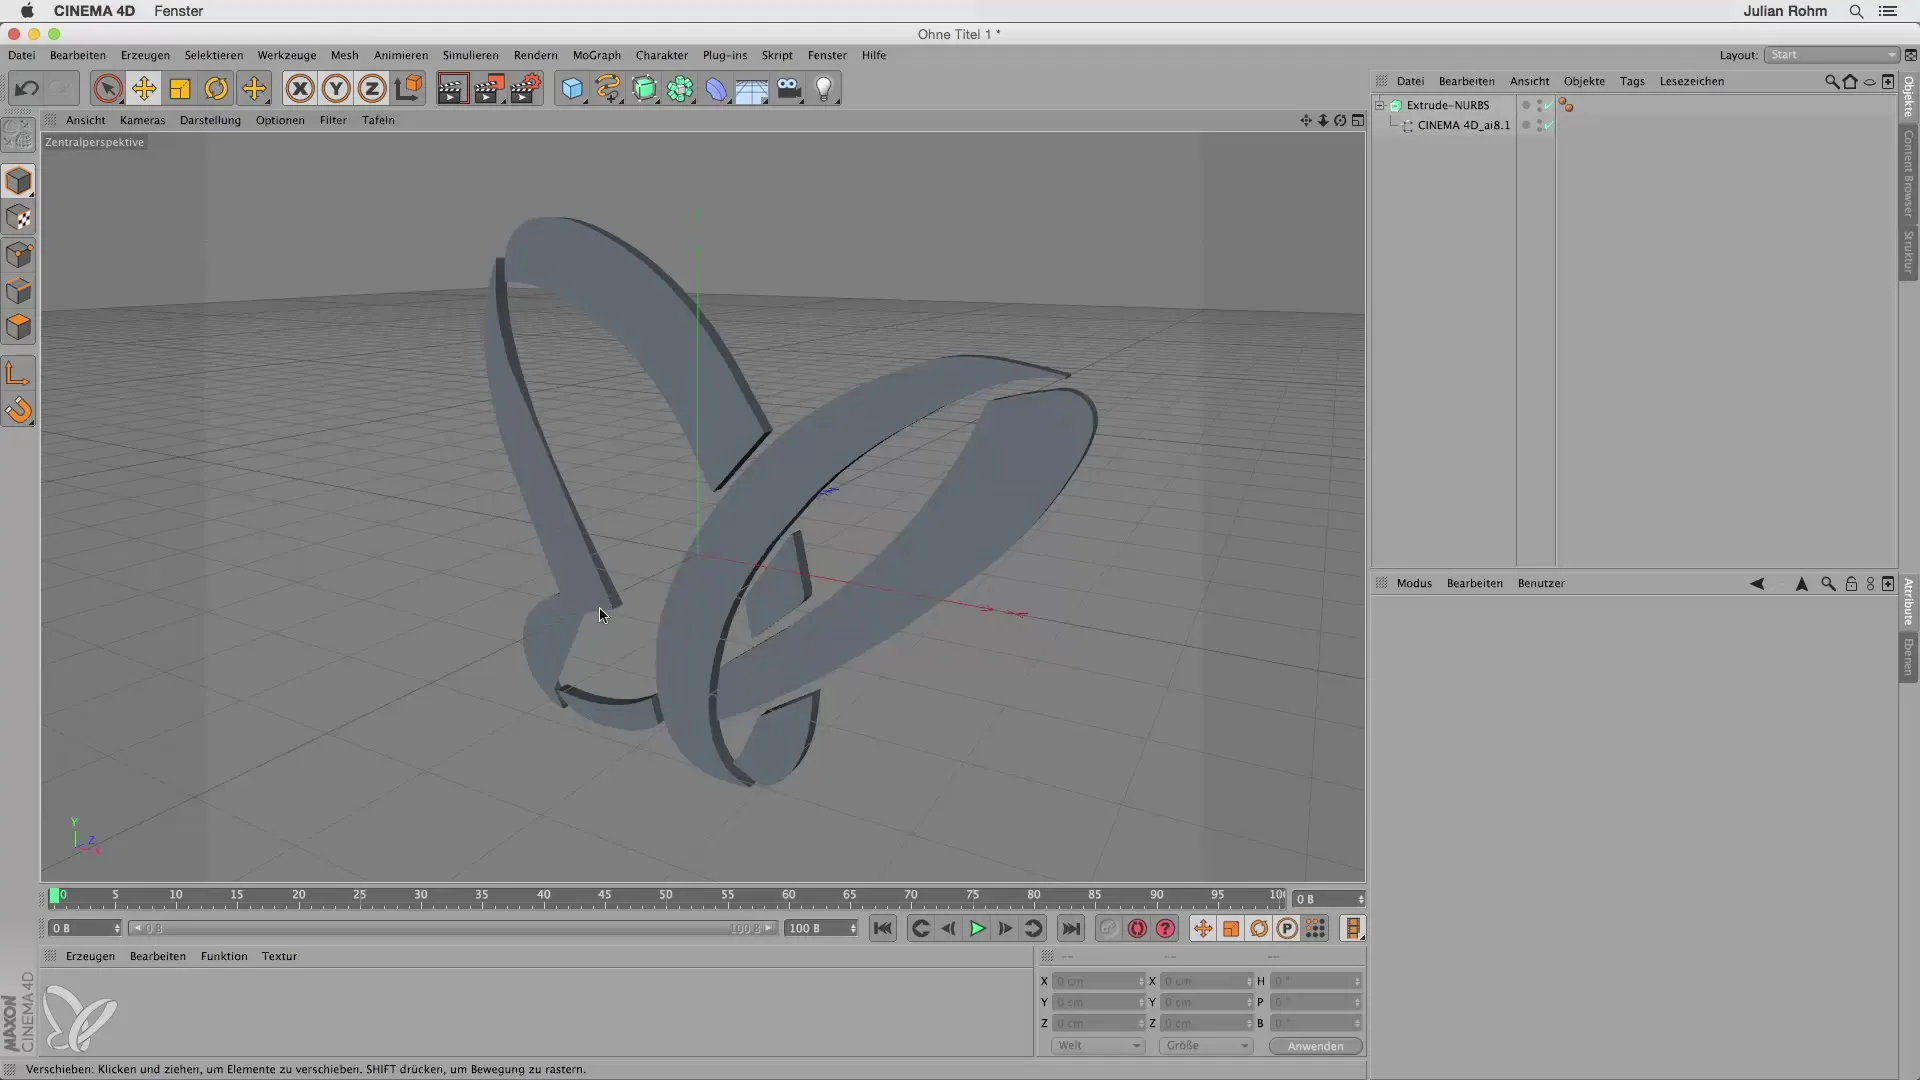
To create a 3D shape from your paths, use an Extrude-Nurbs. This allows you to add three dimensions to your Illustrator file, so it appears as a real 3D object in Cinema 4D.
Step 10: Conclusion
Remember that when saving in Illustrator, the format "Illustrator 8" must always be selected to enable the import into Cinema 4D. This way, you can easily use complex shapes created in Illustrator in Cinema 4D.
Summary - Effectively Exporting Illustrator Paths to Cinema 4D
The steps to export Illustrator paths to Cinema 4D are straightforward as long as you ensure you save the file in the correct format. You can successfully import your vector shapes into Cinema 4D to edit them further and transform them into 3D.
Frequently Asked Questions
How do I save an Illustrator file in the correct format for Cinema 4D?You must save the file in Illustrator 8 format to ensure correct import into Cinema 4D.
Why do I see no result when importing my.ai file into Cinema 4D?This may be because the file was not saved in the predetermined format. Make sure you have saved it in Illustrator 8 format.
How can I edit the imported paths in Cinema 4D?You can select the individual paths, join them, and create a 3D shape using an Extrude-Nurbs.


