Welcome to the fascinating world of Adobe Illustrator! Whether you’re just starting out or want to take your skills to the next level, you’re in the right place. In this tutorial, you will learn everything important about the various effects available in Illustrator. You’ll understand the fundamental difference between Illustrator effects and Photoshop effects, and see how they can significantly impact your designs. Let’s get started!
Key Insights
- Illustrator effects are based on vectors and maintain the sharpness and quality of the edges.
- Photoshop effects convert vectors into pixels, which can lead to blurry graphics.
- The effects gallery offers a variety of options, but you should always pay attention to the type of effect you are applying.
Step-by-Step Guide
1. Selecting an Object
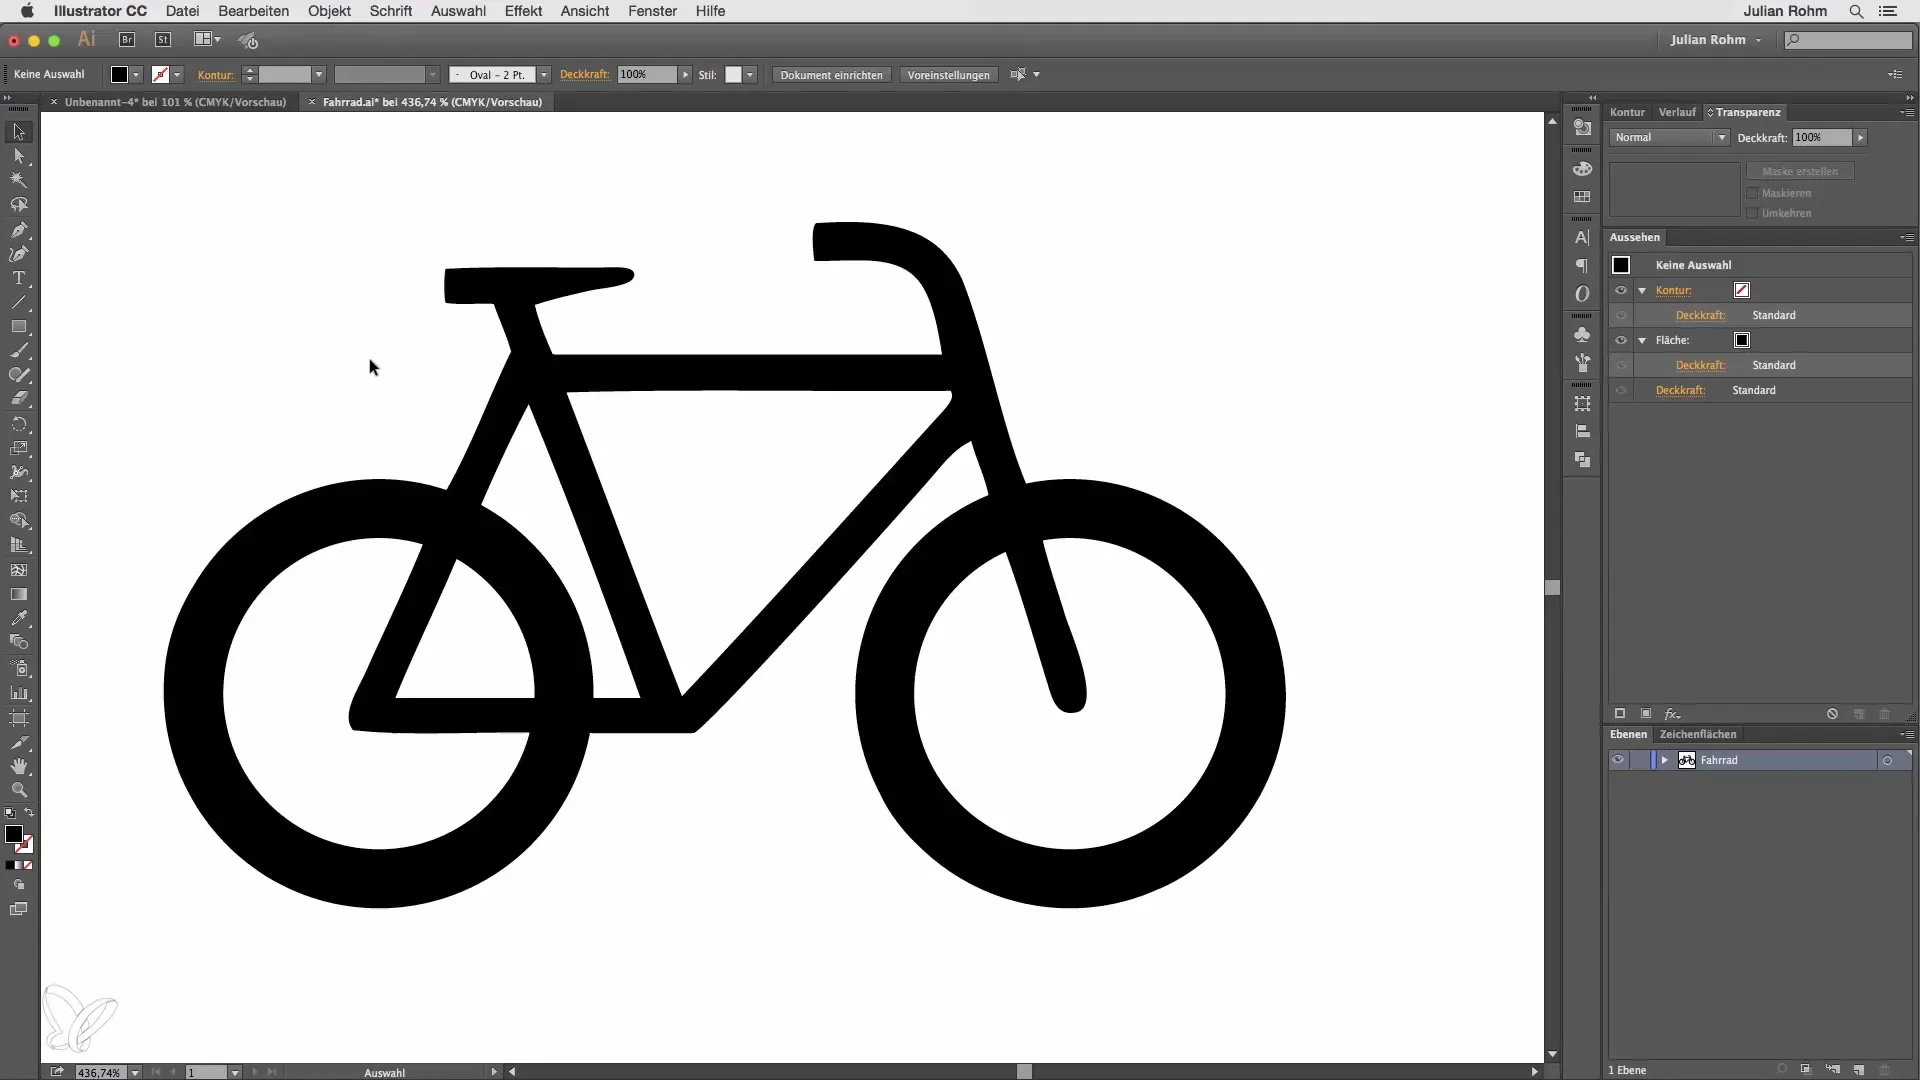
First, open Adobe Illustrator and select an object on which you want to try out the effects. In this example, we will use a simple icon. However, it doesn't matter which object you choose; what’s important is that you have a visible element on your workspace.
2. Applying Illustrator Effects
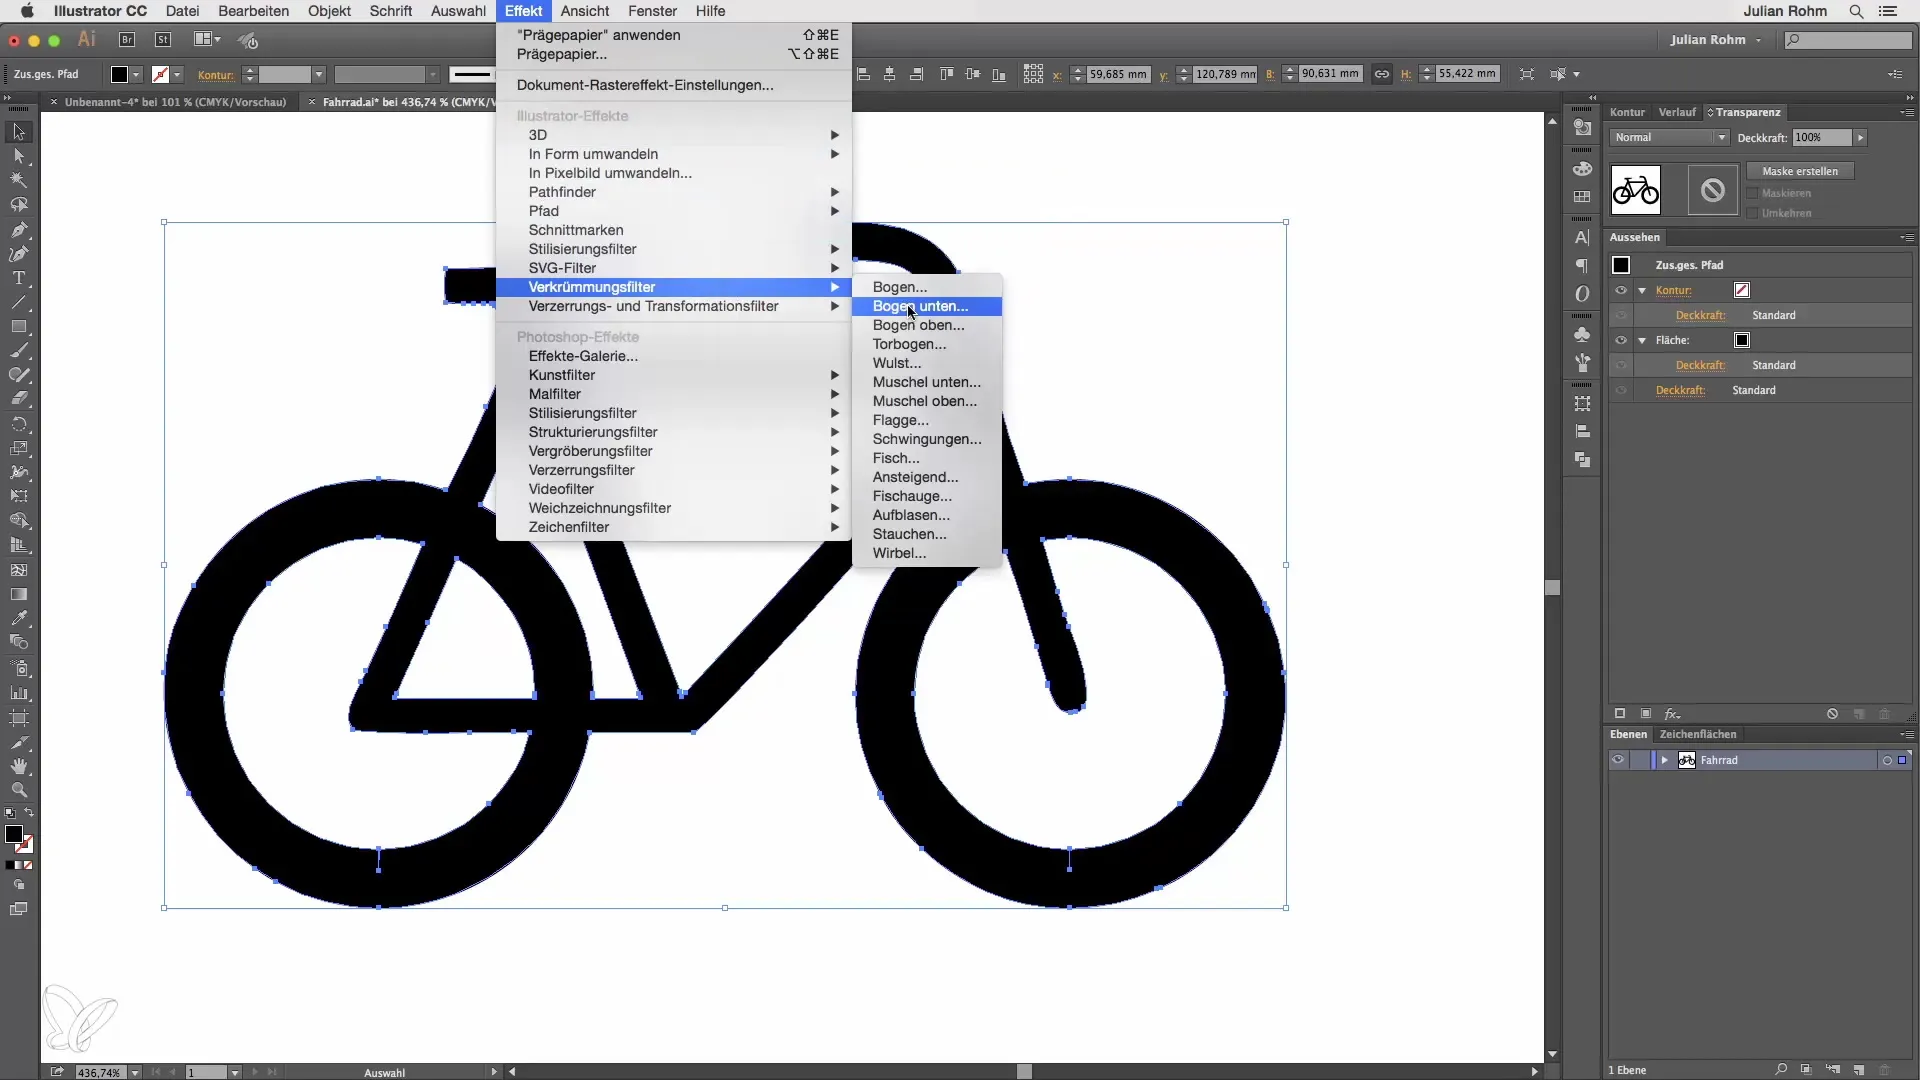
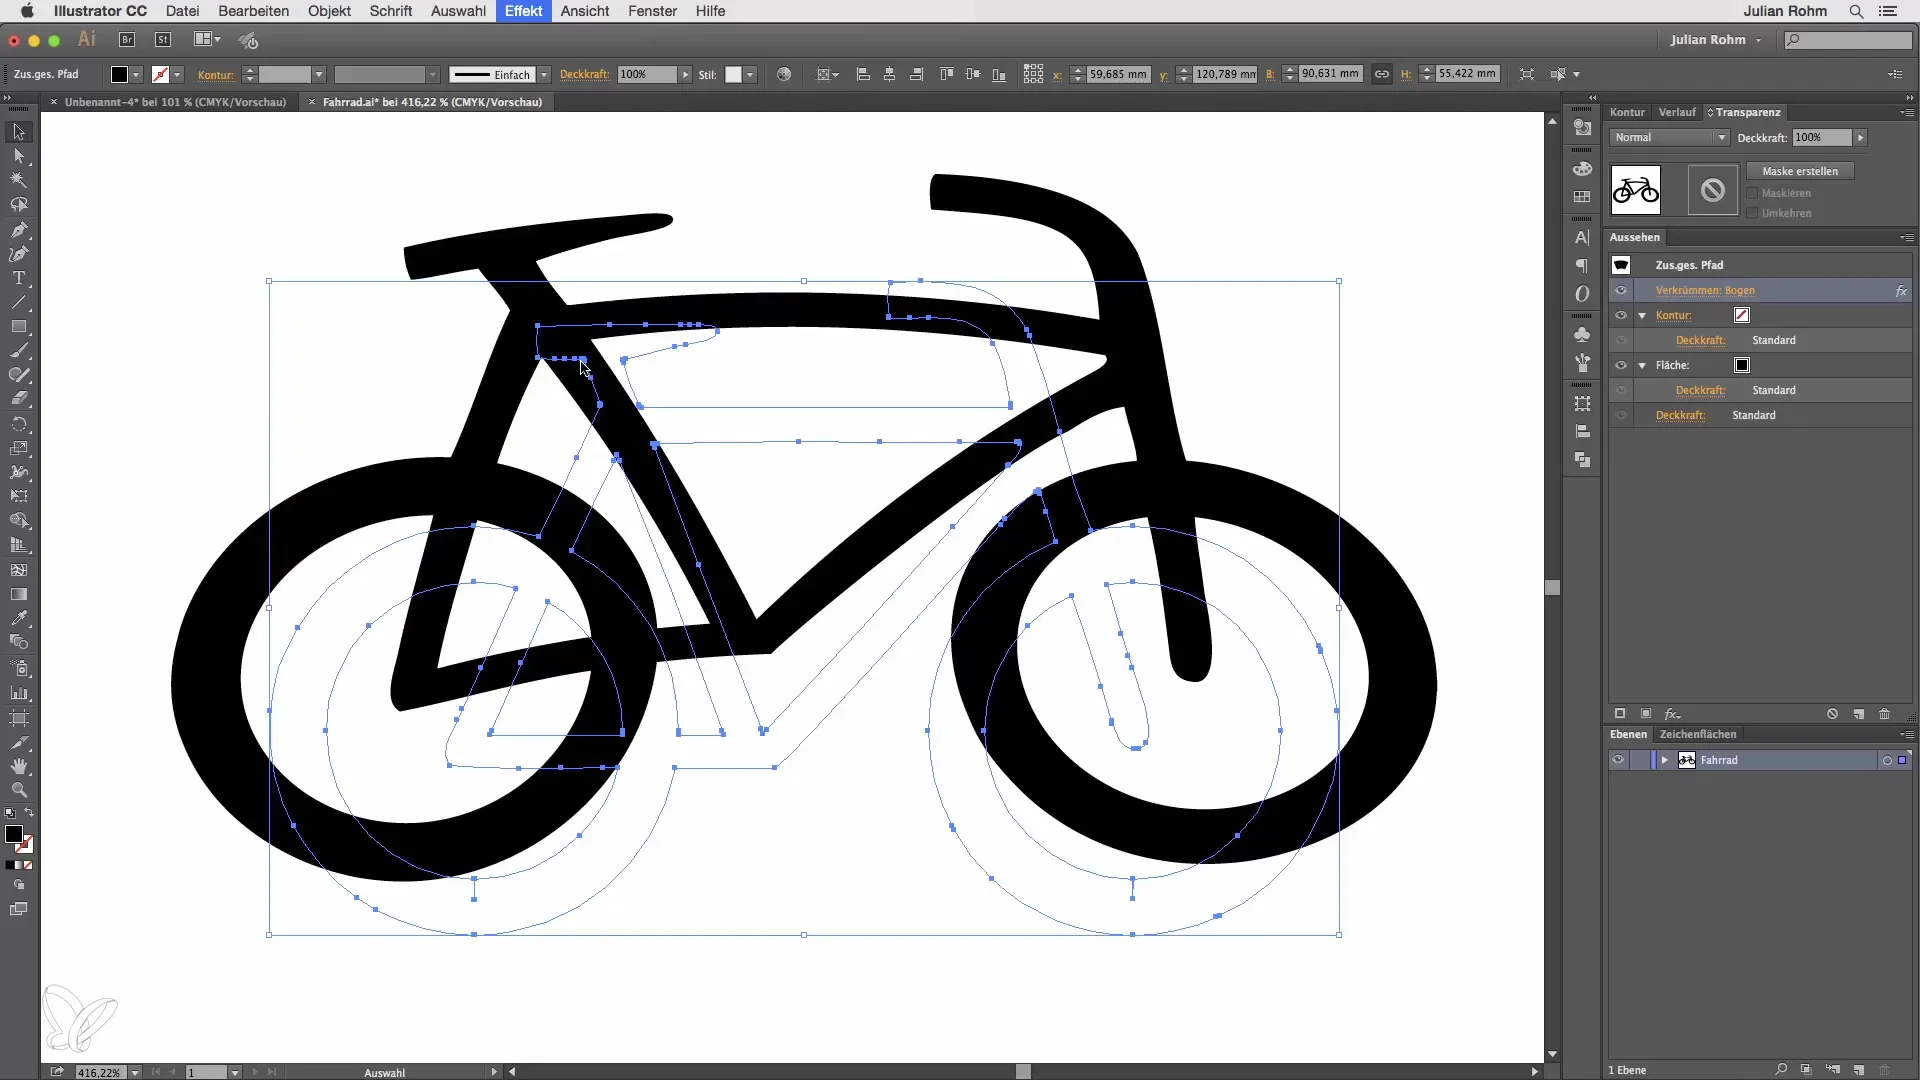
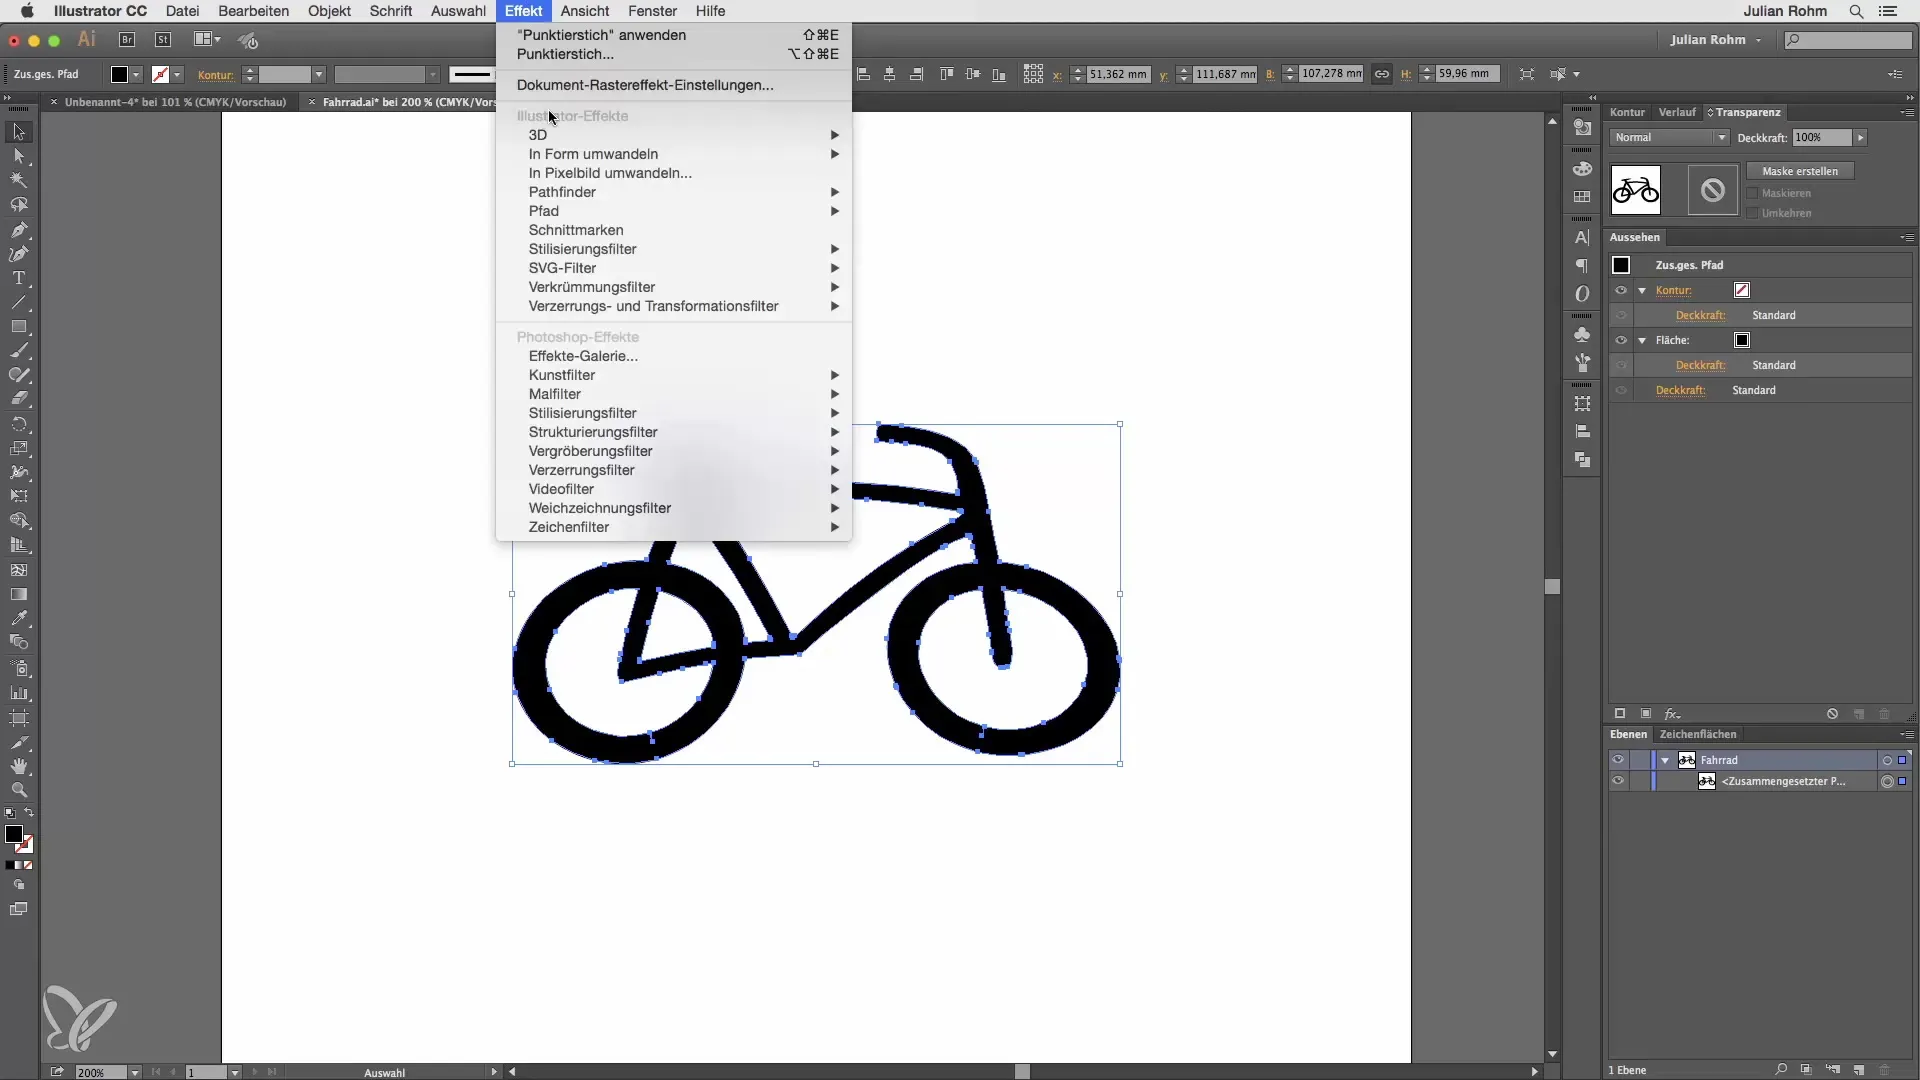
Navigate to the effects gallery located in the “Effects” menu. There you will find the category “Illustrator Effects.” For example, select the Arc Filter and click “Ok.” You will immediately see how your icon changes – it takes on a new shape.
3. Adjusting Settings
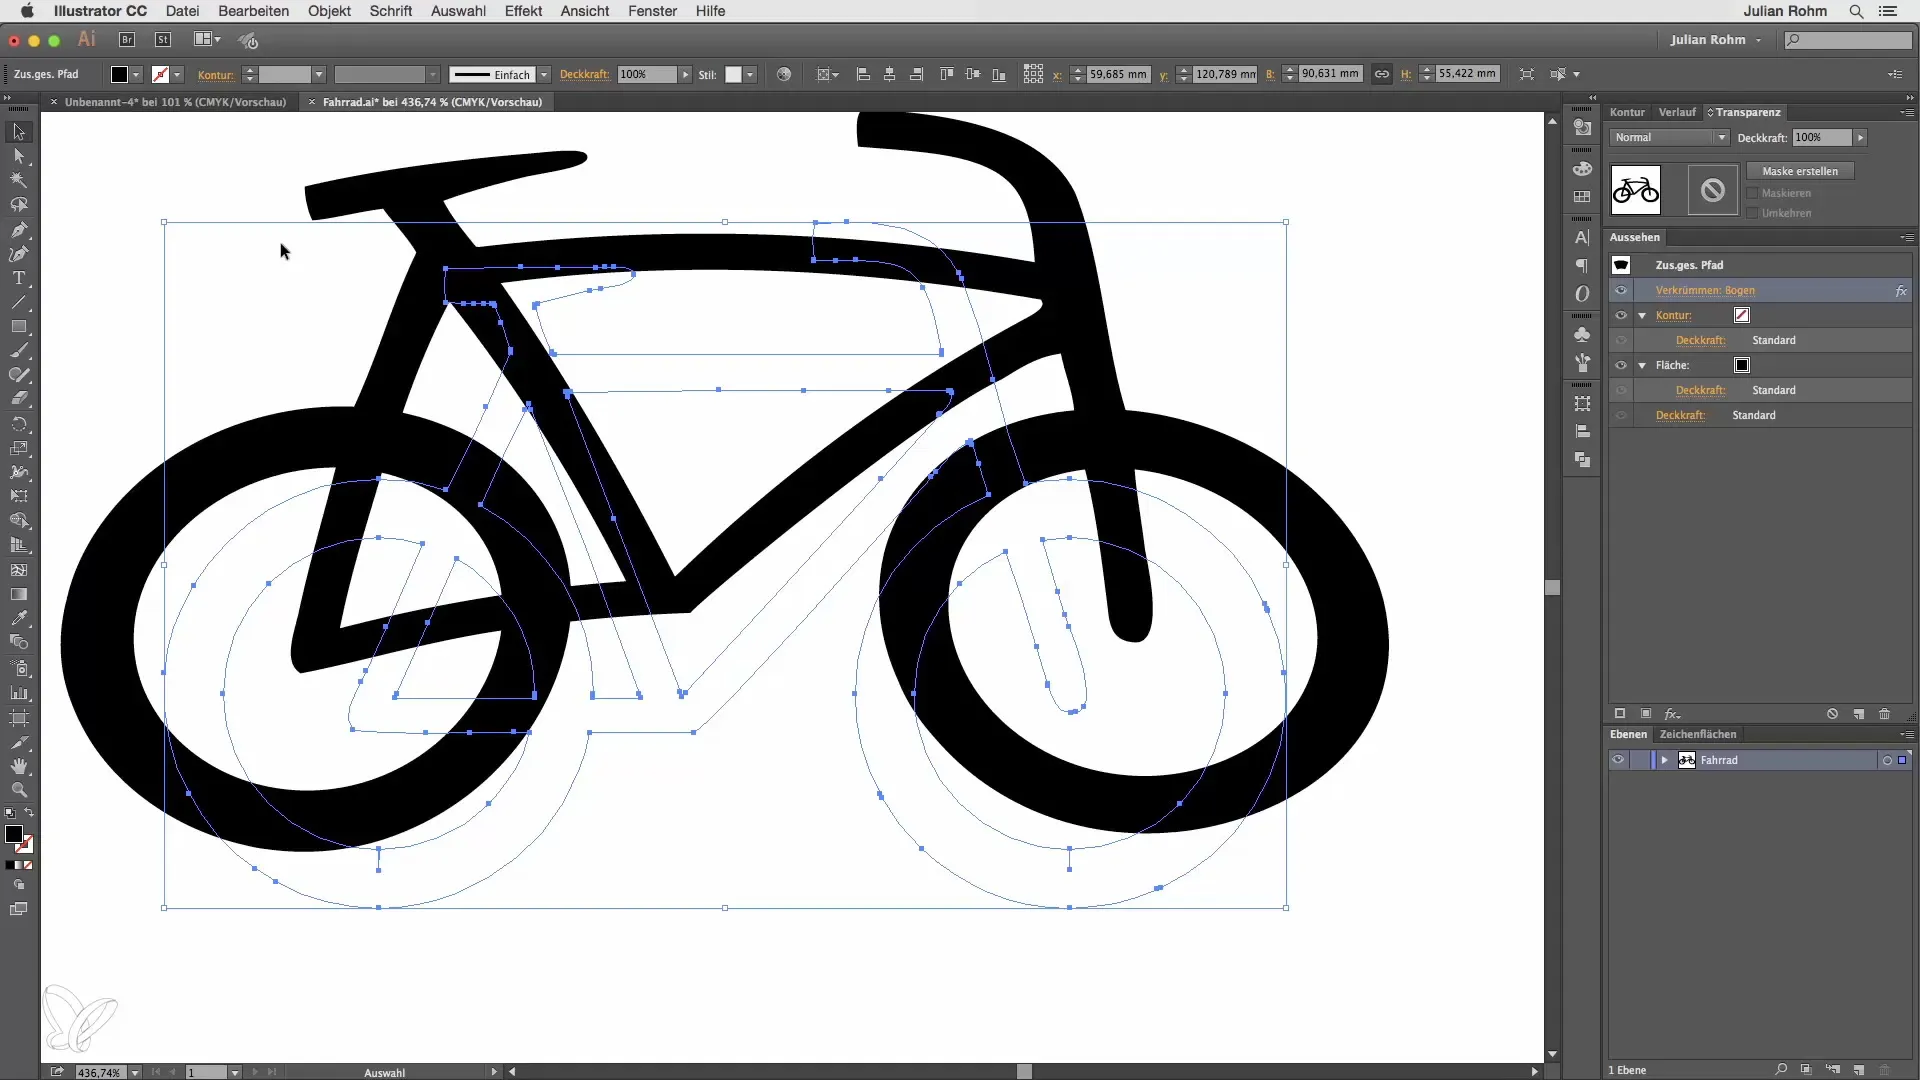
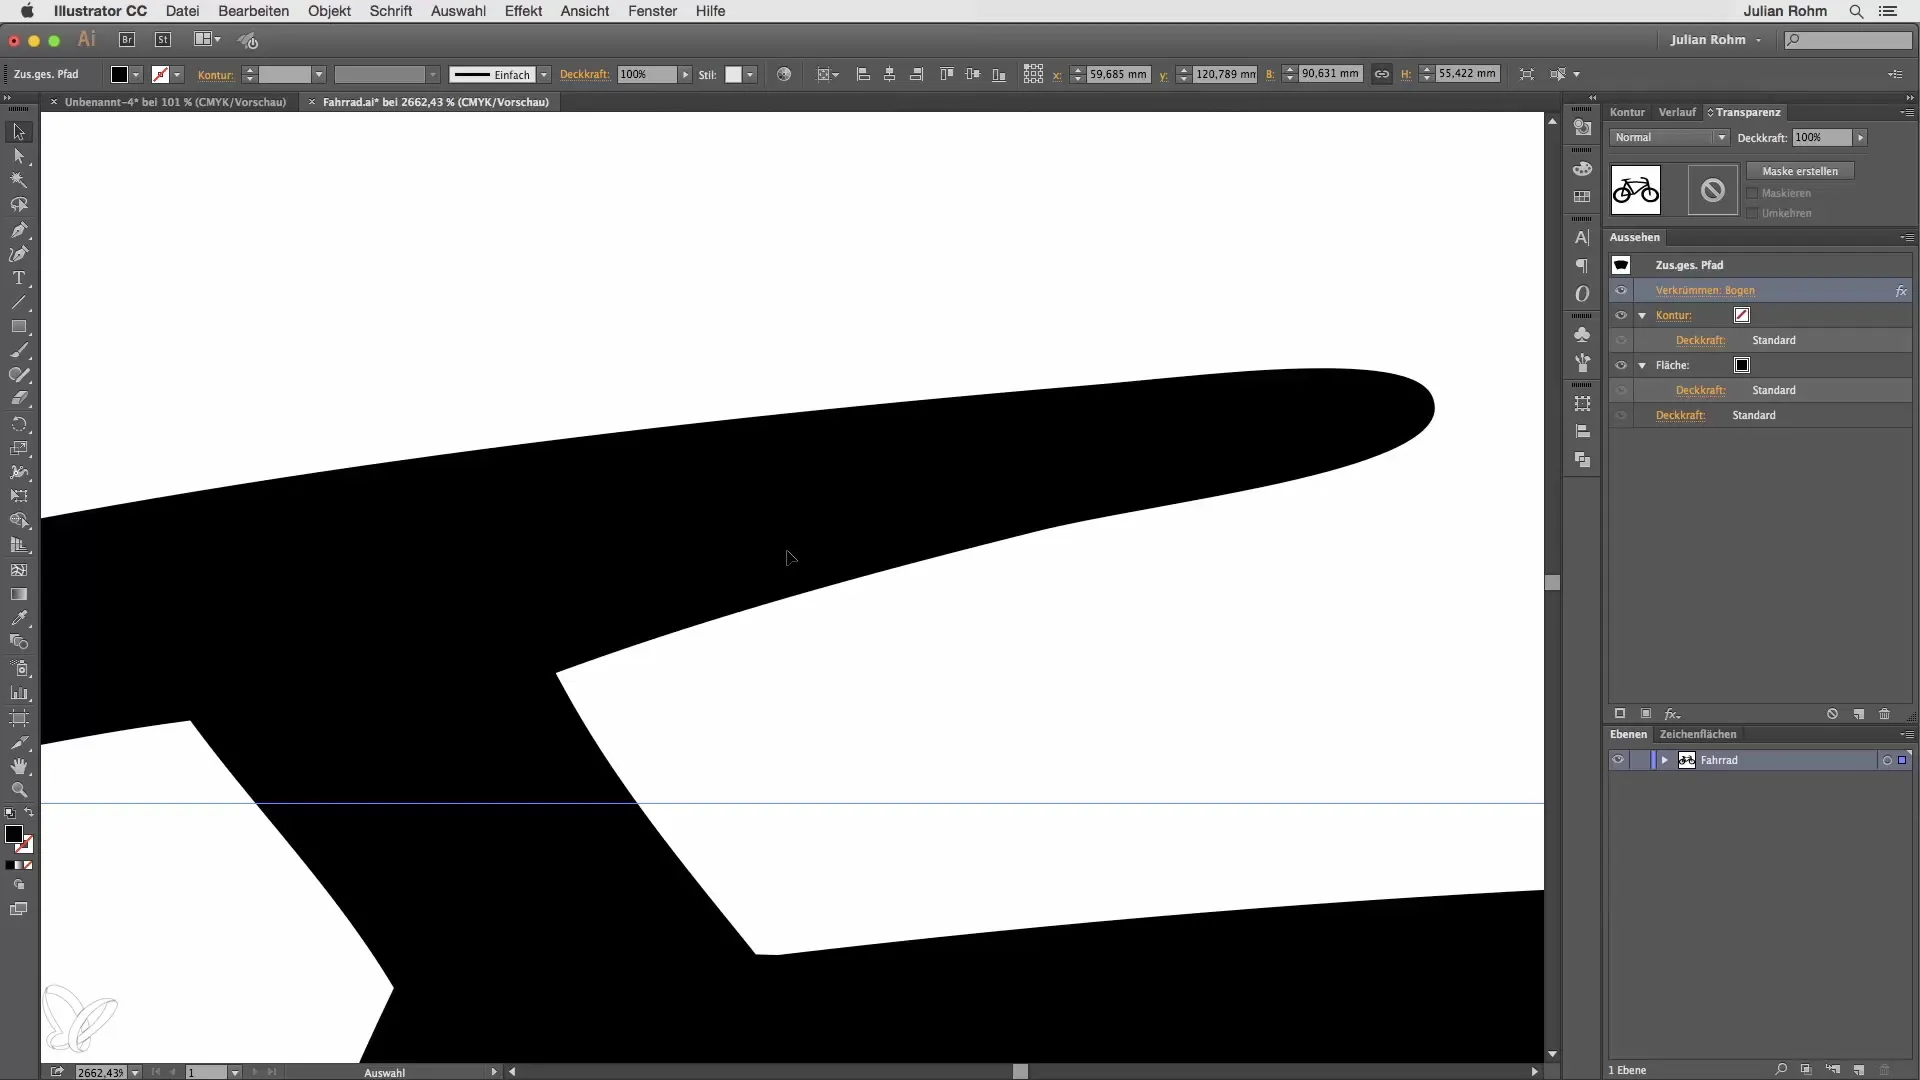
If you don't like the default adjustments of the effect, you always have the option to modify them. Simply click on the effect in the Appearance panel. Here, you can make further adjustments for the Arc Filter. Ensure that the edges remain sharp and clear – this is one of the main characteristics of Illustrator effects.
4. Checking Sharpness
Now take a close look at the edges of your edited object. You will notice that the edges are sharp and the design remains clear. This is because you are working with vectors and the natural sharpness of Illustrator is preserved.
5. Applying a Photoshop Effect
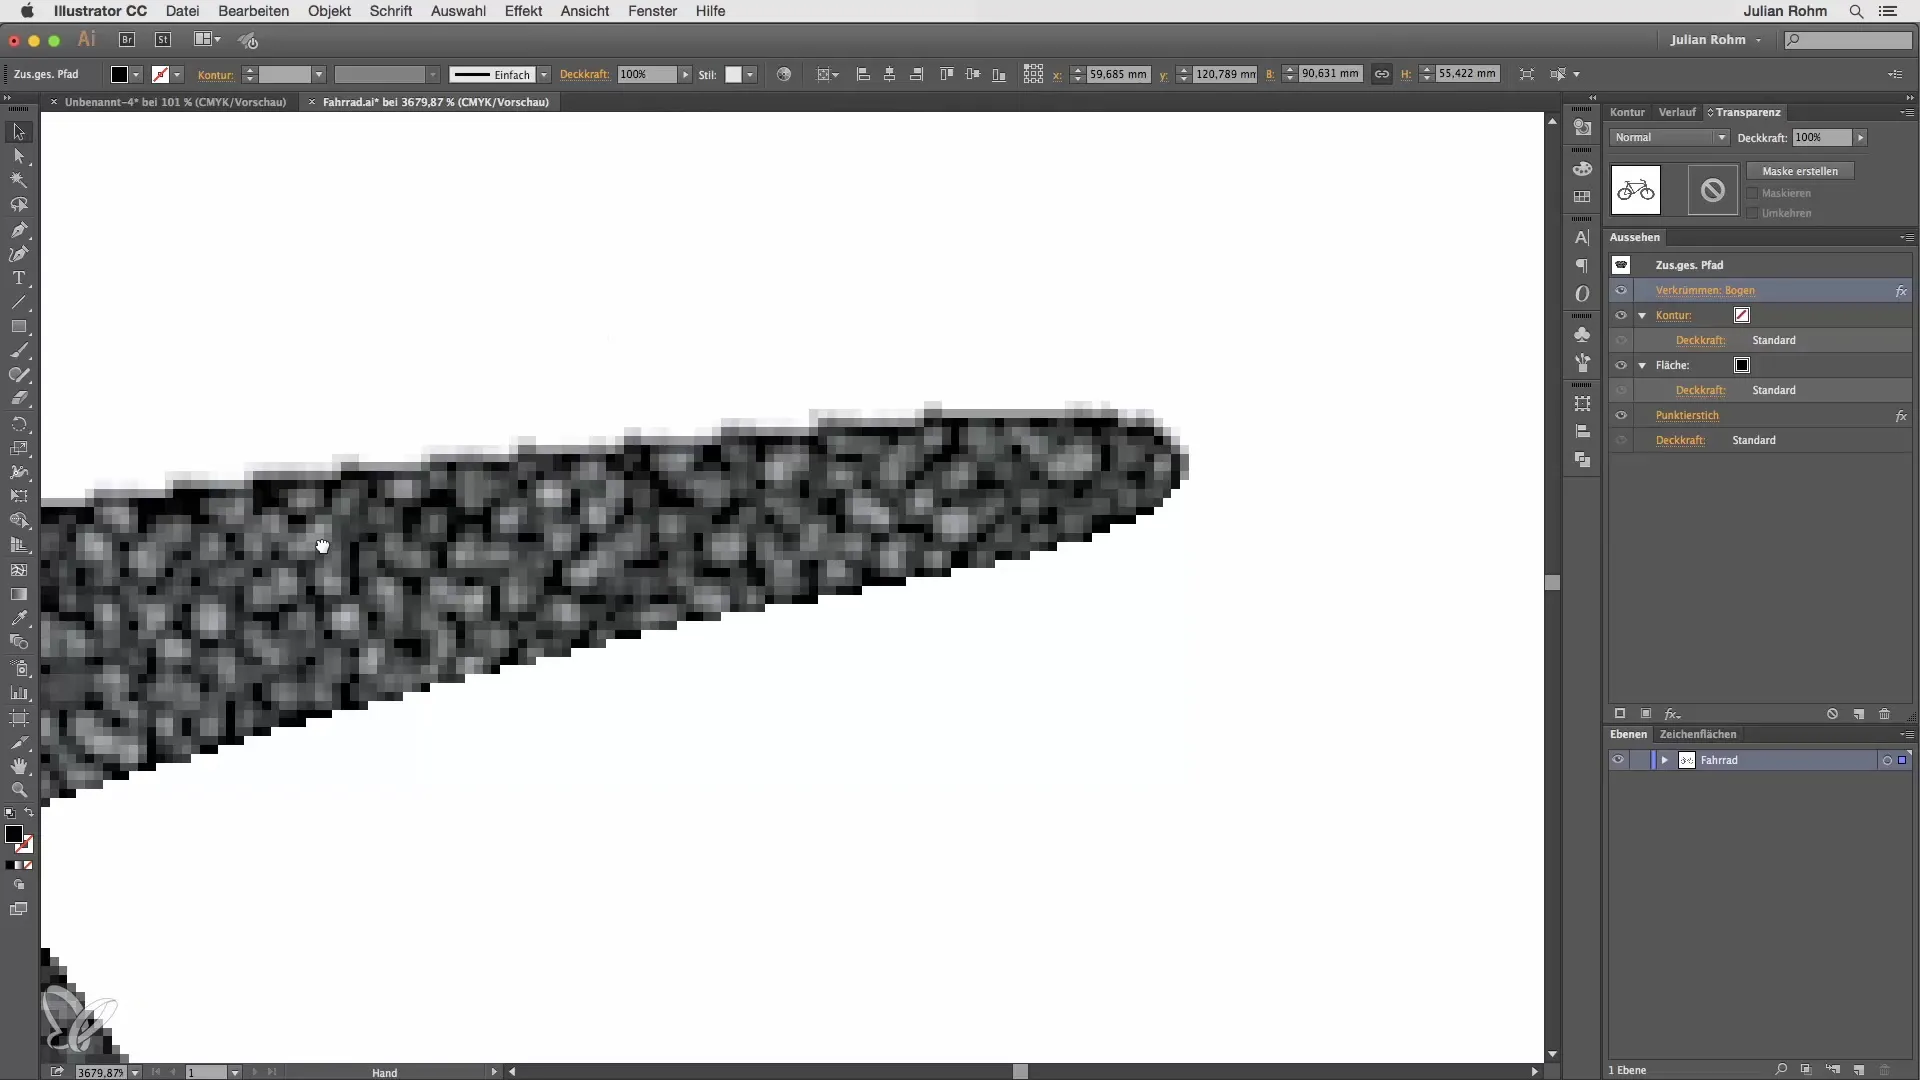
After experimenting with Illustrator effects, let’s take a look at Photoshop effects now. Again, go to “Effect” in the menu and this time select the Effects Gallery. Here you can choose, for example, the Halftone effect. Confirm your selection by clicking “Ok.”
6. Analyzing the Differences
Once the Photoshop effect has been applied, take a closer look at the edges of the object. You will notice that the graphic has a pixelated nature and the edges are no longer sharp. This is a key feature of Photoshop effects; they operate on pixel images.
7. Converting the Effects
Now you have all the basic information about the two types of effects. To clarify the differences, you can convert the applied effects. Click on “Object” and then on “Expand Appearance.” With an Illustrator effect, the object remains available as a path. This allows you to continue making adjustments.
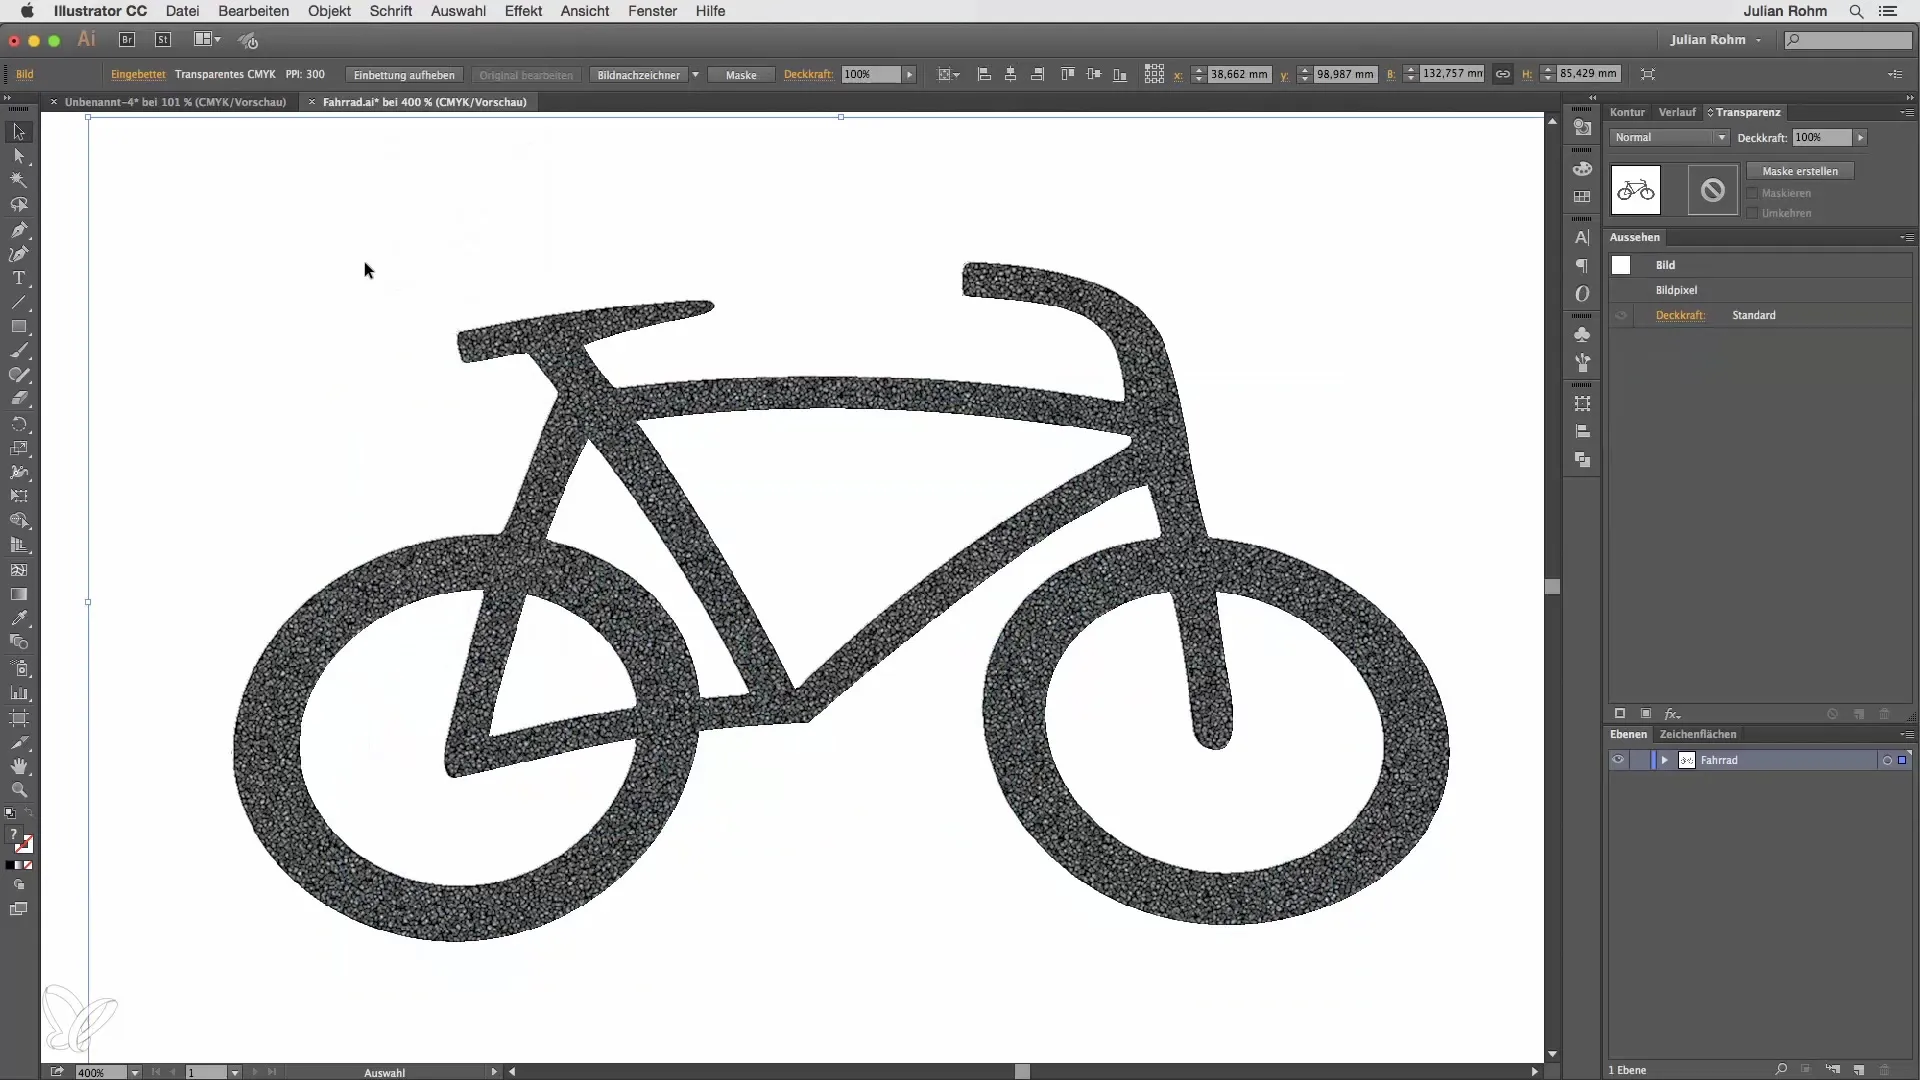
8. Conclusion and Tips
In conclusion, let me summarize the key points: Illustrator effects are based on vectors, ensuring that you get sharp edges and clear designs. In contrast, the application of Photoshop effects converts your object into pixel images. Pay close attention to these differences in your work to achieve the best results in your projects.
Summary – Illustrator Effects vs. Photoshop Effects
In this tutorial, you learned how to distinguish between Illustrator and Photoshop effects and how to effectively use them in your workflow. By understanding these differences, you can make better decisions for your designs.
Frequently Asked Questions
What are Illustrator effects?Illustrator effects are filter-based functions used in Adobe Illustrator that work on a vector basis.
What are Photoshop effects?Photoshop effects convert vectors into pixel images, which can lead to loss in image quality.
How do I keep my designs sharp?When you use Illustrator effects, the edges remain sharp and clear, as the vector basis is preserved.
Can I create vector graphics with Photoshop effects?No, Photoshop effects convert your vector graphics into pixel images, which can affect sharpness and quality.
How can I change the applied effects?You can adjust the effects via the Appearance panel by simply clicking on the effect and making the desired changes.
