You have the opportunity to create impressive perspective effects with the Perspective Grid tool in Adobe Illustrator that give your designs a realistic depth. This guide will help you effectively use the Perspective tool and align objects correctly. You will be guided step by step through the process, allowing you to quickly learn the basics and realize your own designs.
Key Insights
- The Perspective tool allows for realistic perspective distortion of your objects.
- There are various handles to customize the grid.
- You can effectively align objects to the grid.
- Changes to the grid do not automatically affect already created objects.
Step-by-Step Guide
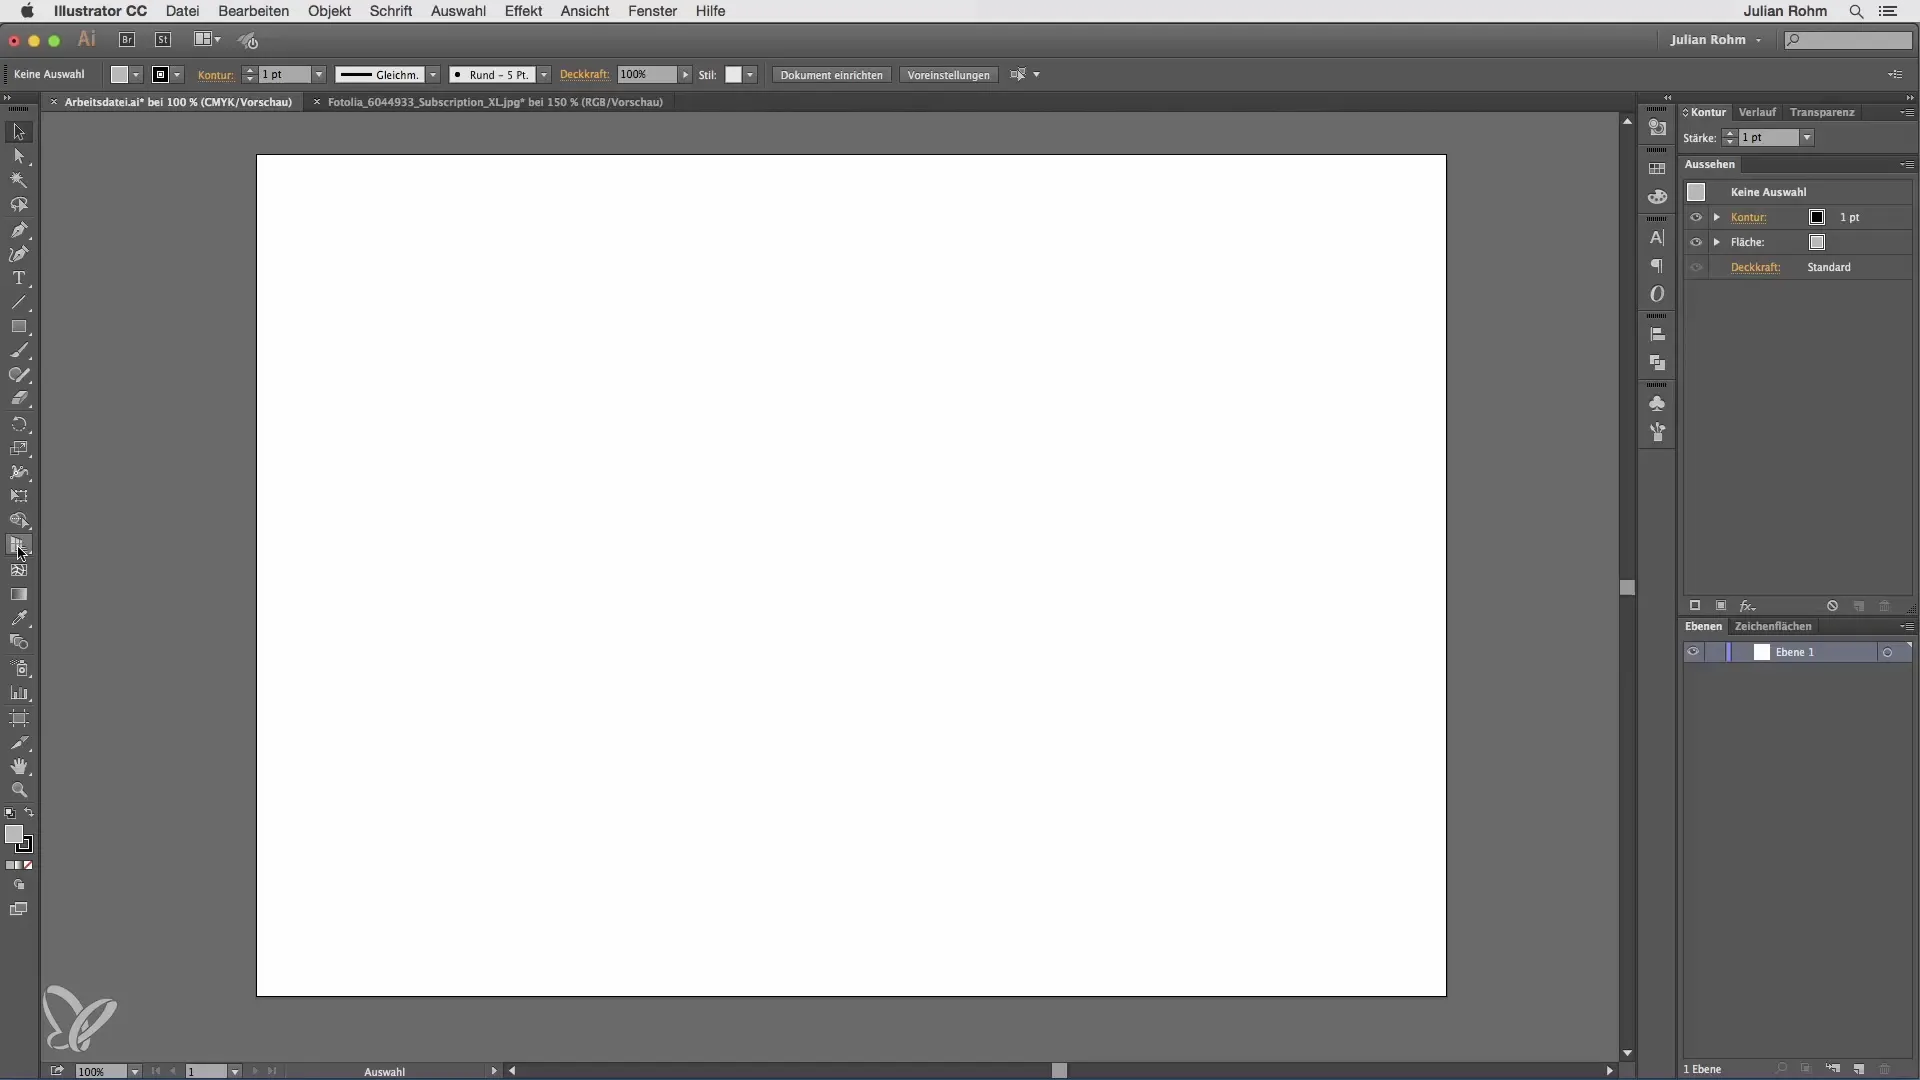
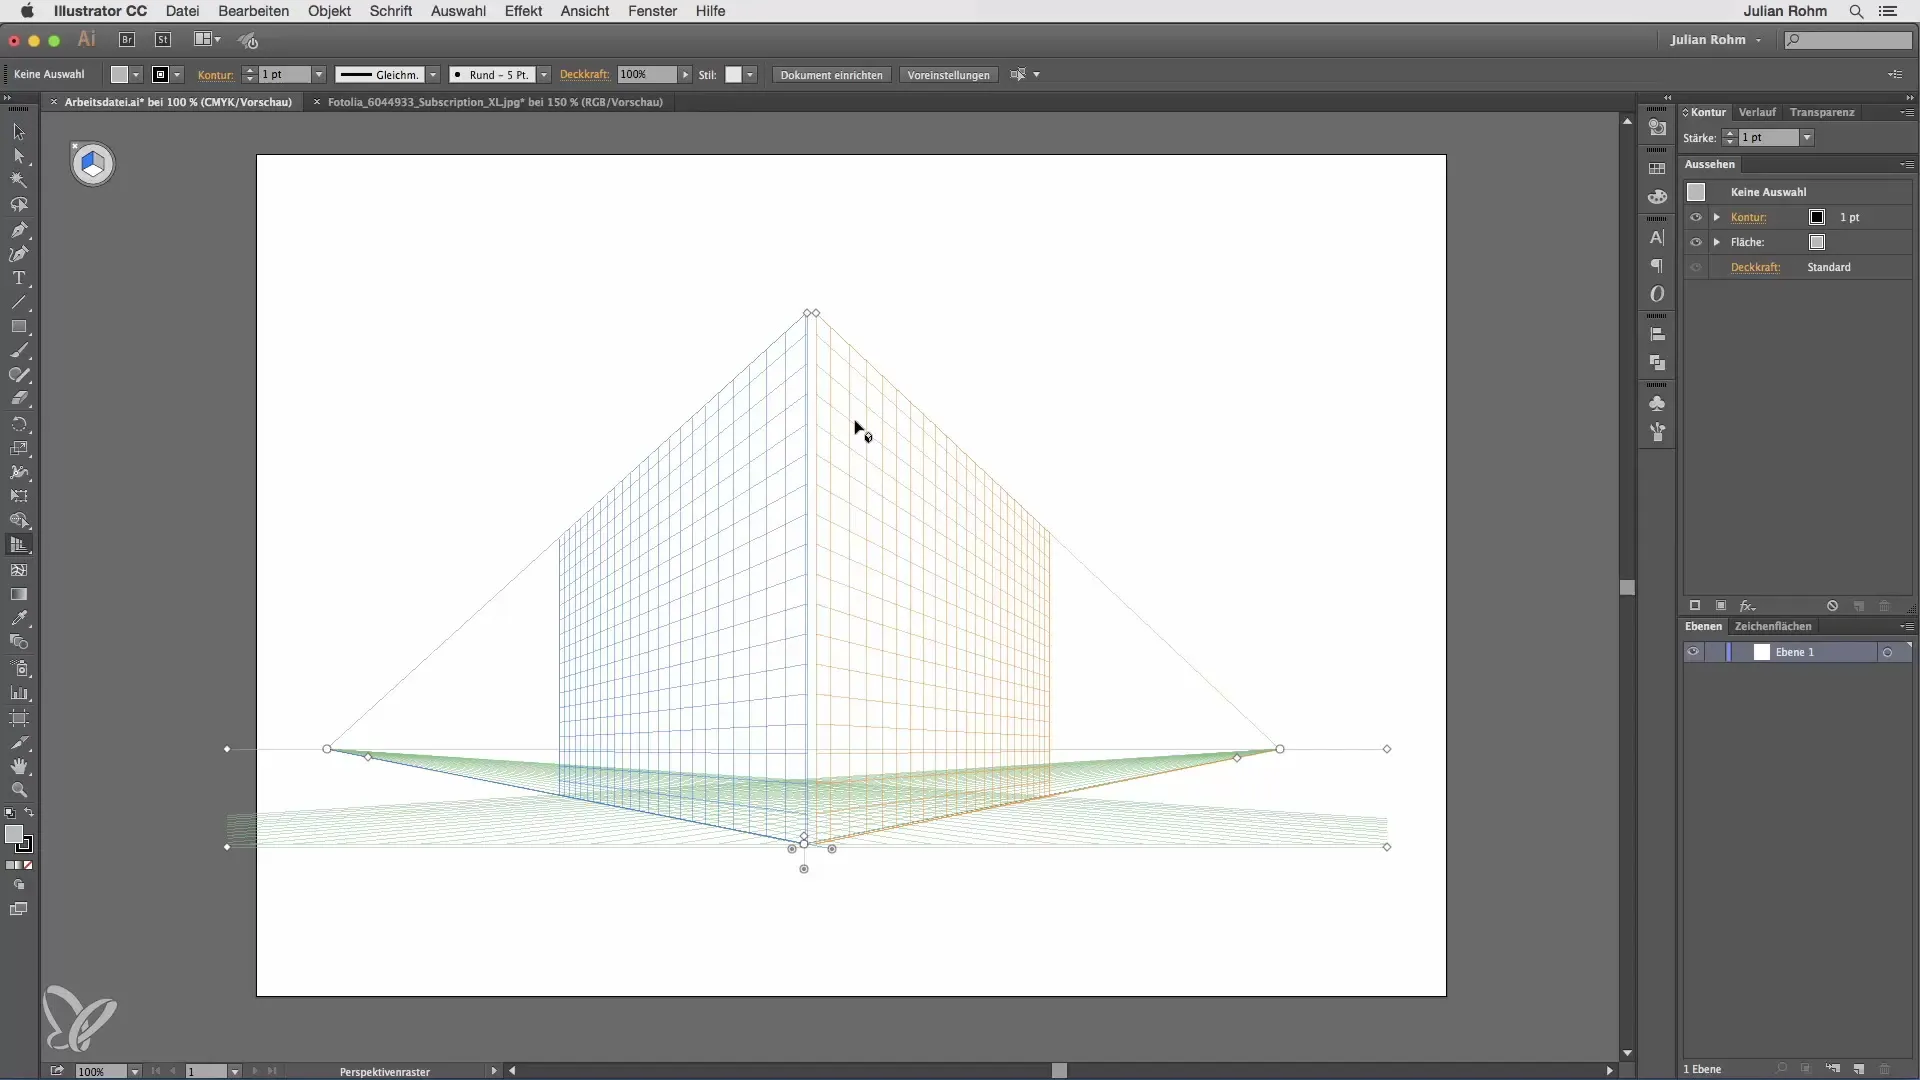
Start by selecting the perspective grid. Click on the Perspective tool to display the grid on your workspace. This grid consists of various handles that help you adjust the perspective to your liking.
You can move the horizon, adjust the entire grid, or change the height and angle of the individual sides. At first, it may seem a bit confusing, but with a little practice, you will quickly get used to using the handles.
If you want to hide the grid, there is a specific procedure. Many users tend to click on the small cross at the top to hide the grid, which does not achieve the desired effect. Make sure you have the Perspective tool active. Only then can you effectively hide the grid using the cross.
After you have made the grid visible again, let’s focus on the main use of this tool: the precise alignment of vector objects. For example, you can create a cube or another vector object and adjust it to the different areas of the grid.
When you draw a rectangle, it will be aligned according to the perspective specified in the grid. Pay attention to ensure that the vanishing lines run appropriately and create a coherent perspective. This is particularly important for making your design look realistic.
It's important to remember that any objects created will not automatically update if you change the grid. If it turns out adjustments to the grid are necessary, you will need to manually adjust the objects to achieve the desired perspective.
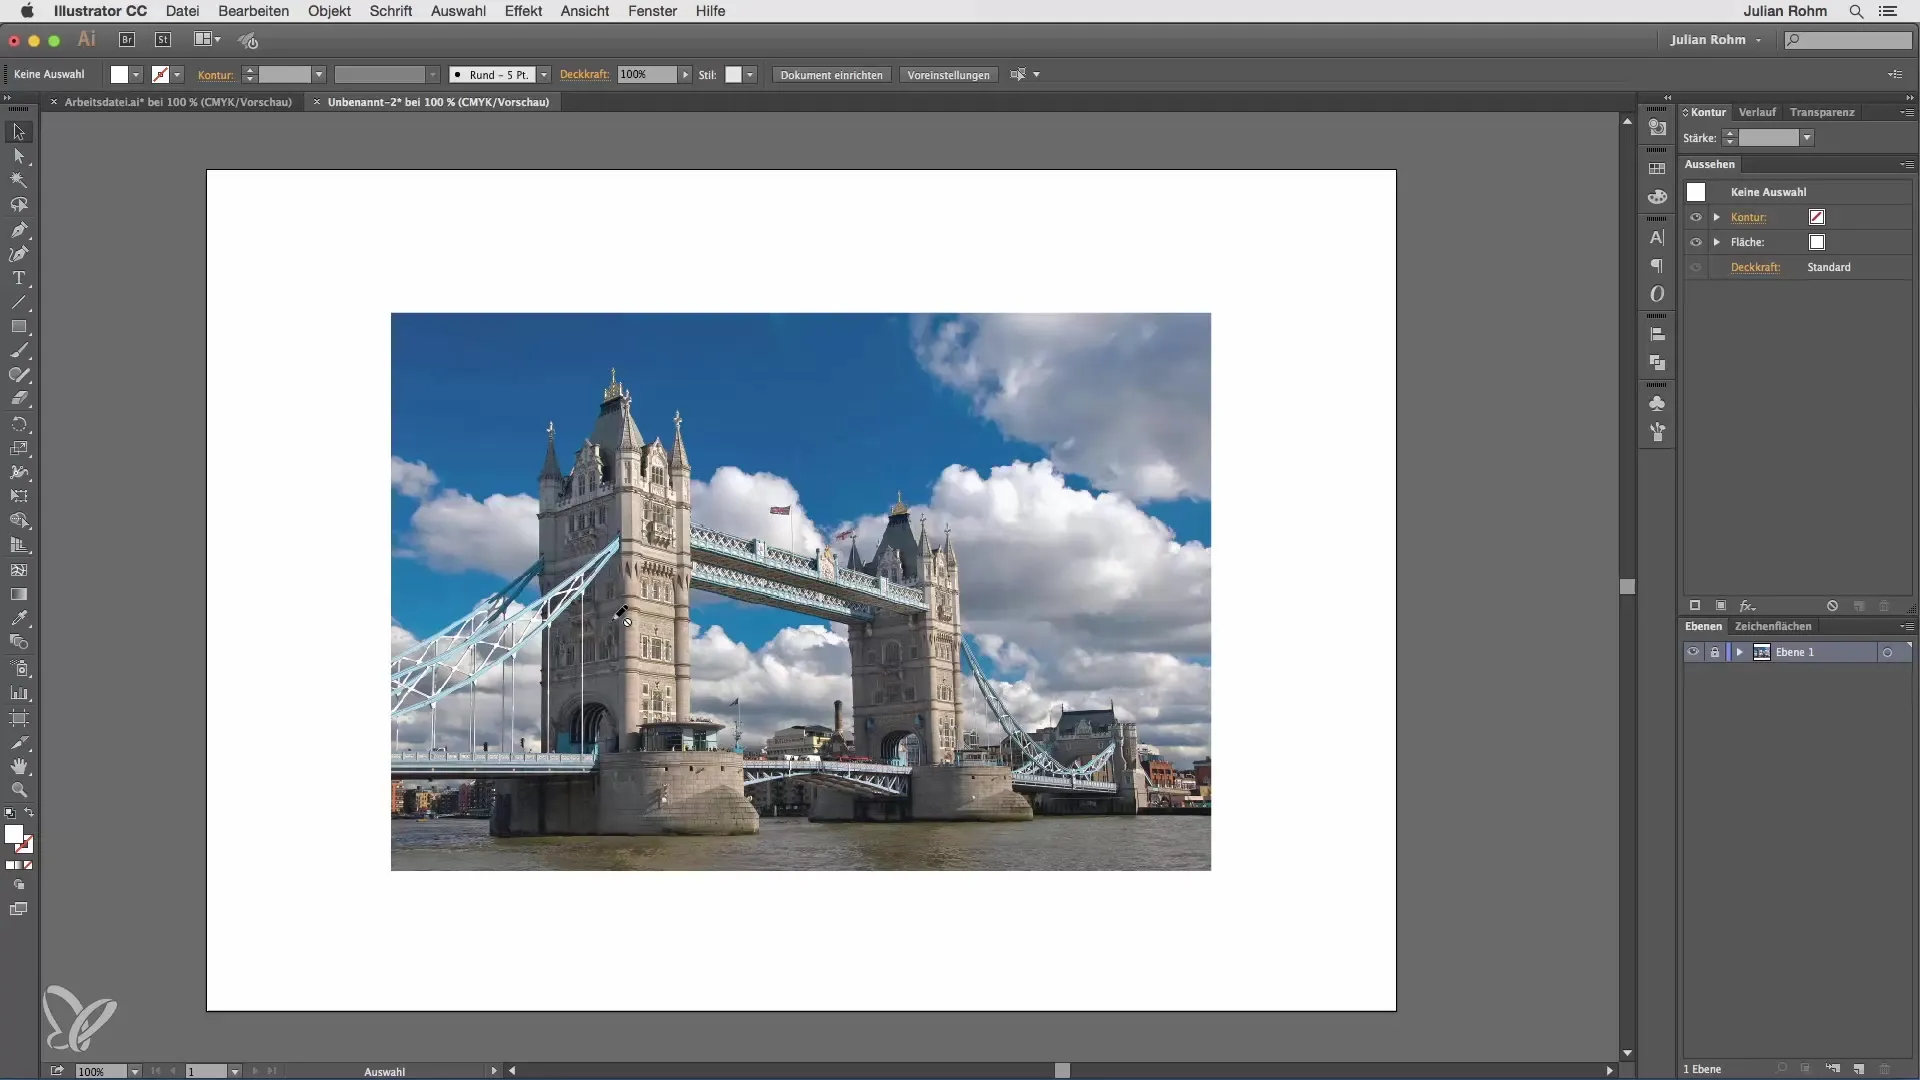
To demonstrate the perspective grid in practice, I will use an image of a bridge as an example, into which we will insert an advertisement. First, I will activate the Perspective tool and position the vanishing point in the center of the bridge's post.
Once the grid is activated, adjust the horizon so that the orange line is approximately at the height of the bridge. This requires precise adjustment to ensure everything looks cohesive.
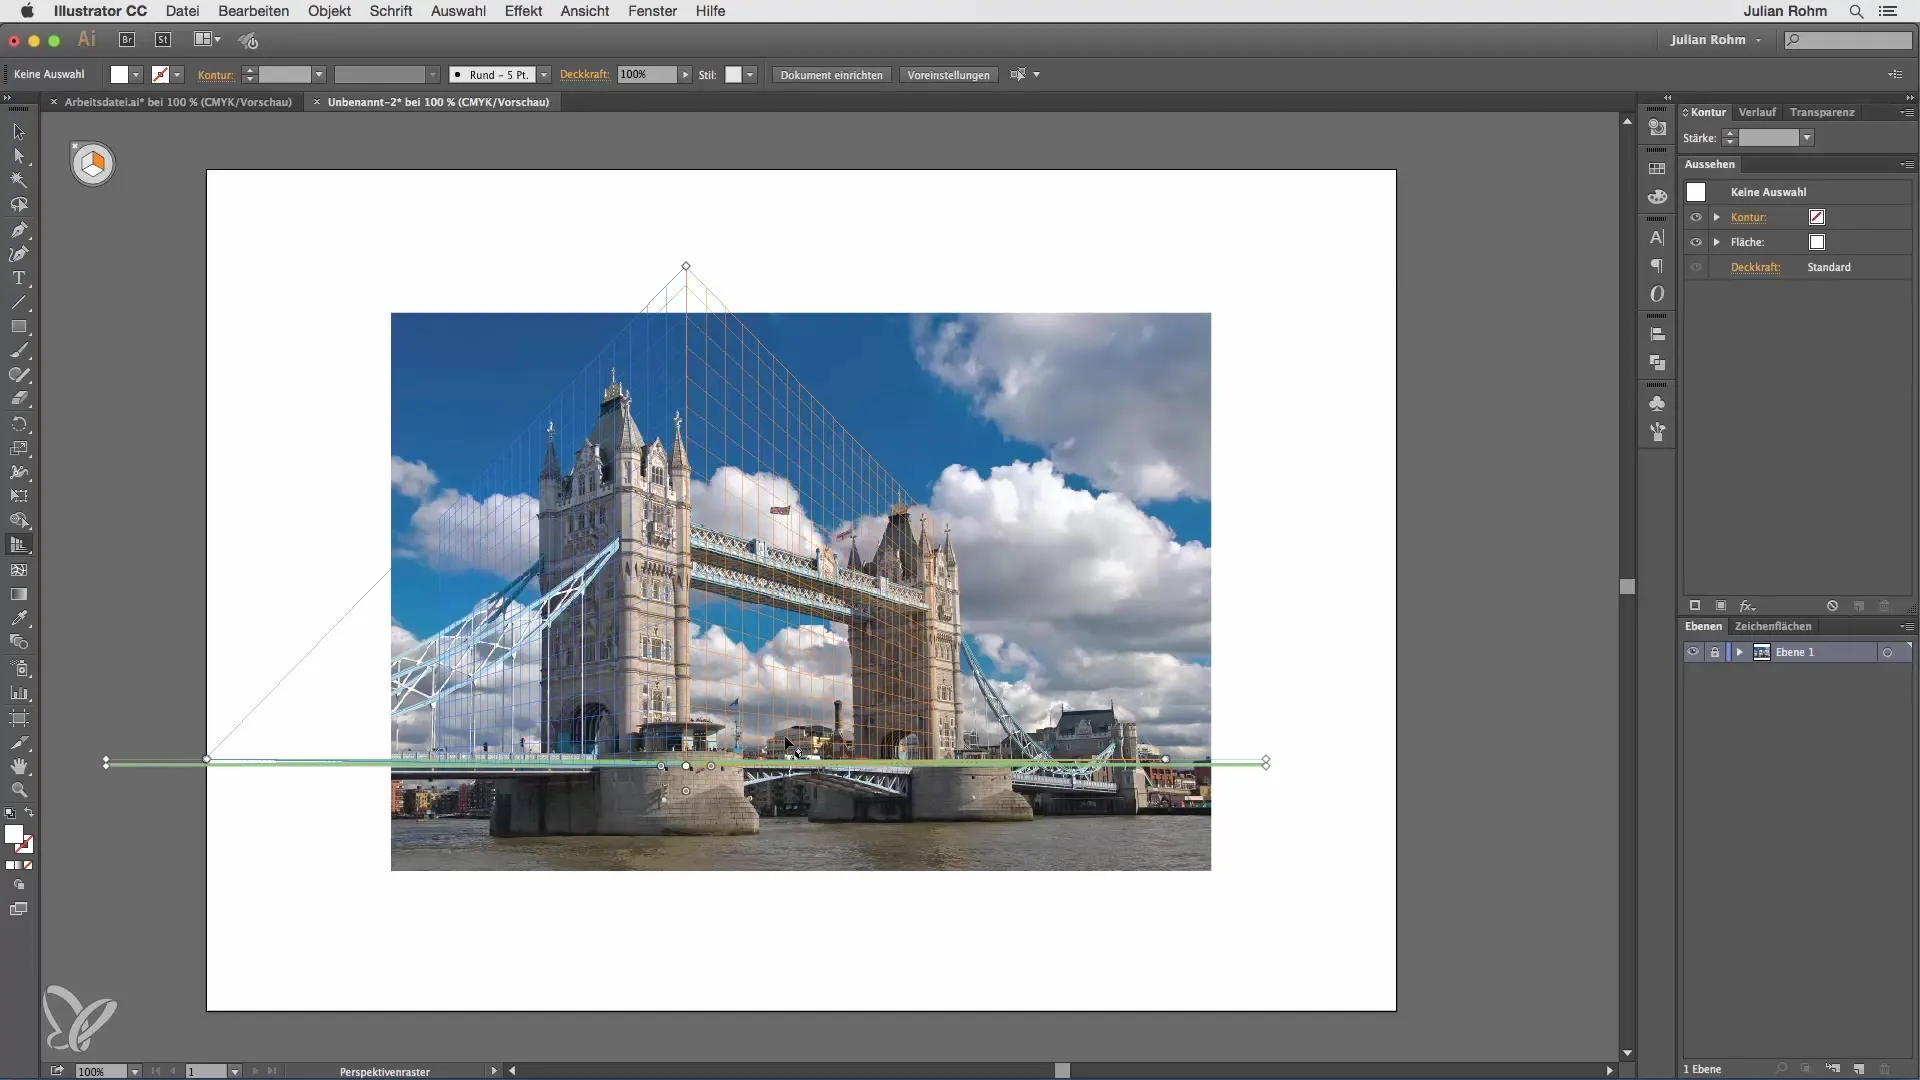
Pull the grid outward and also adjust the height to achieve a realistic perspective. It is important to zoom in repeatedly to ensure precise alignment.
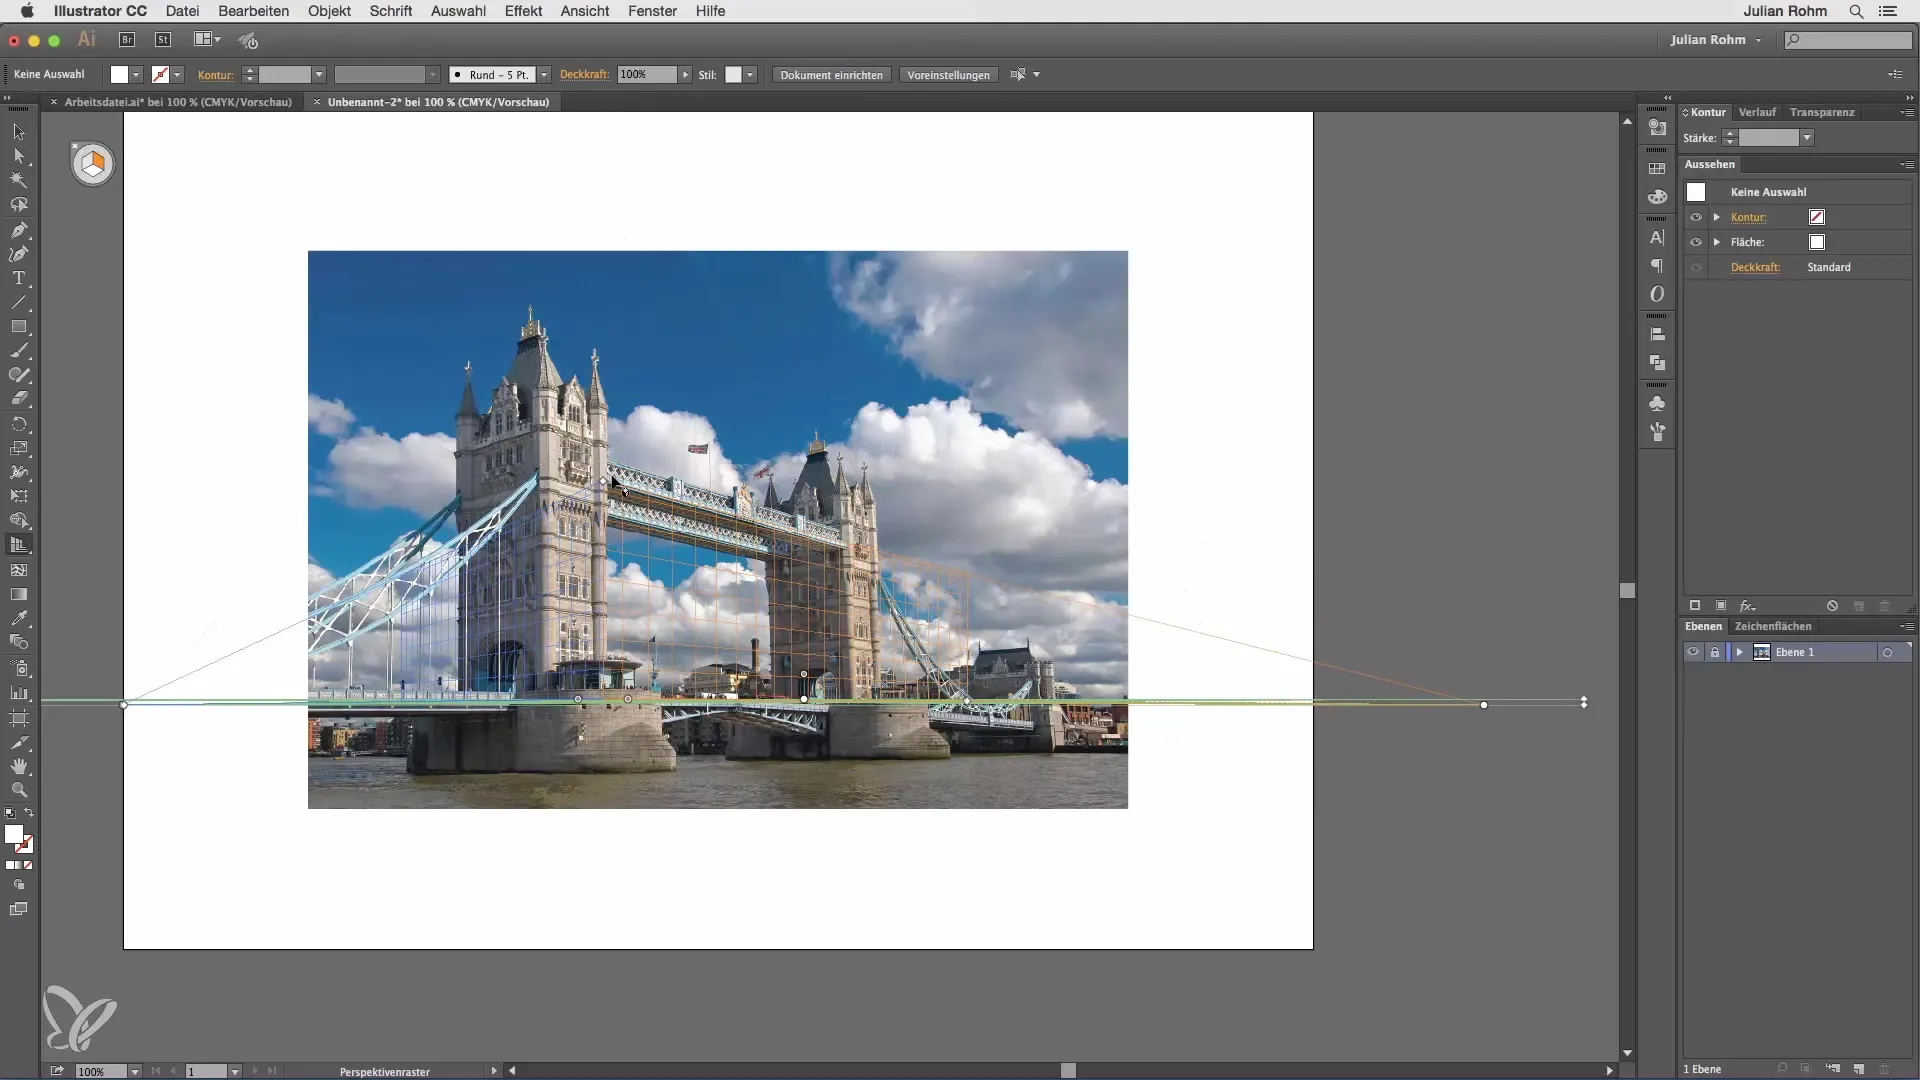
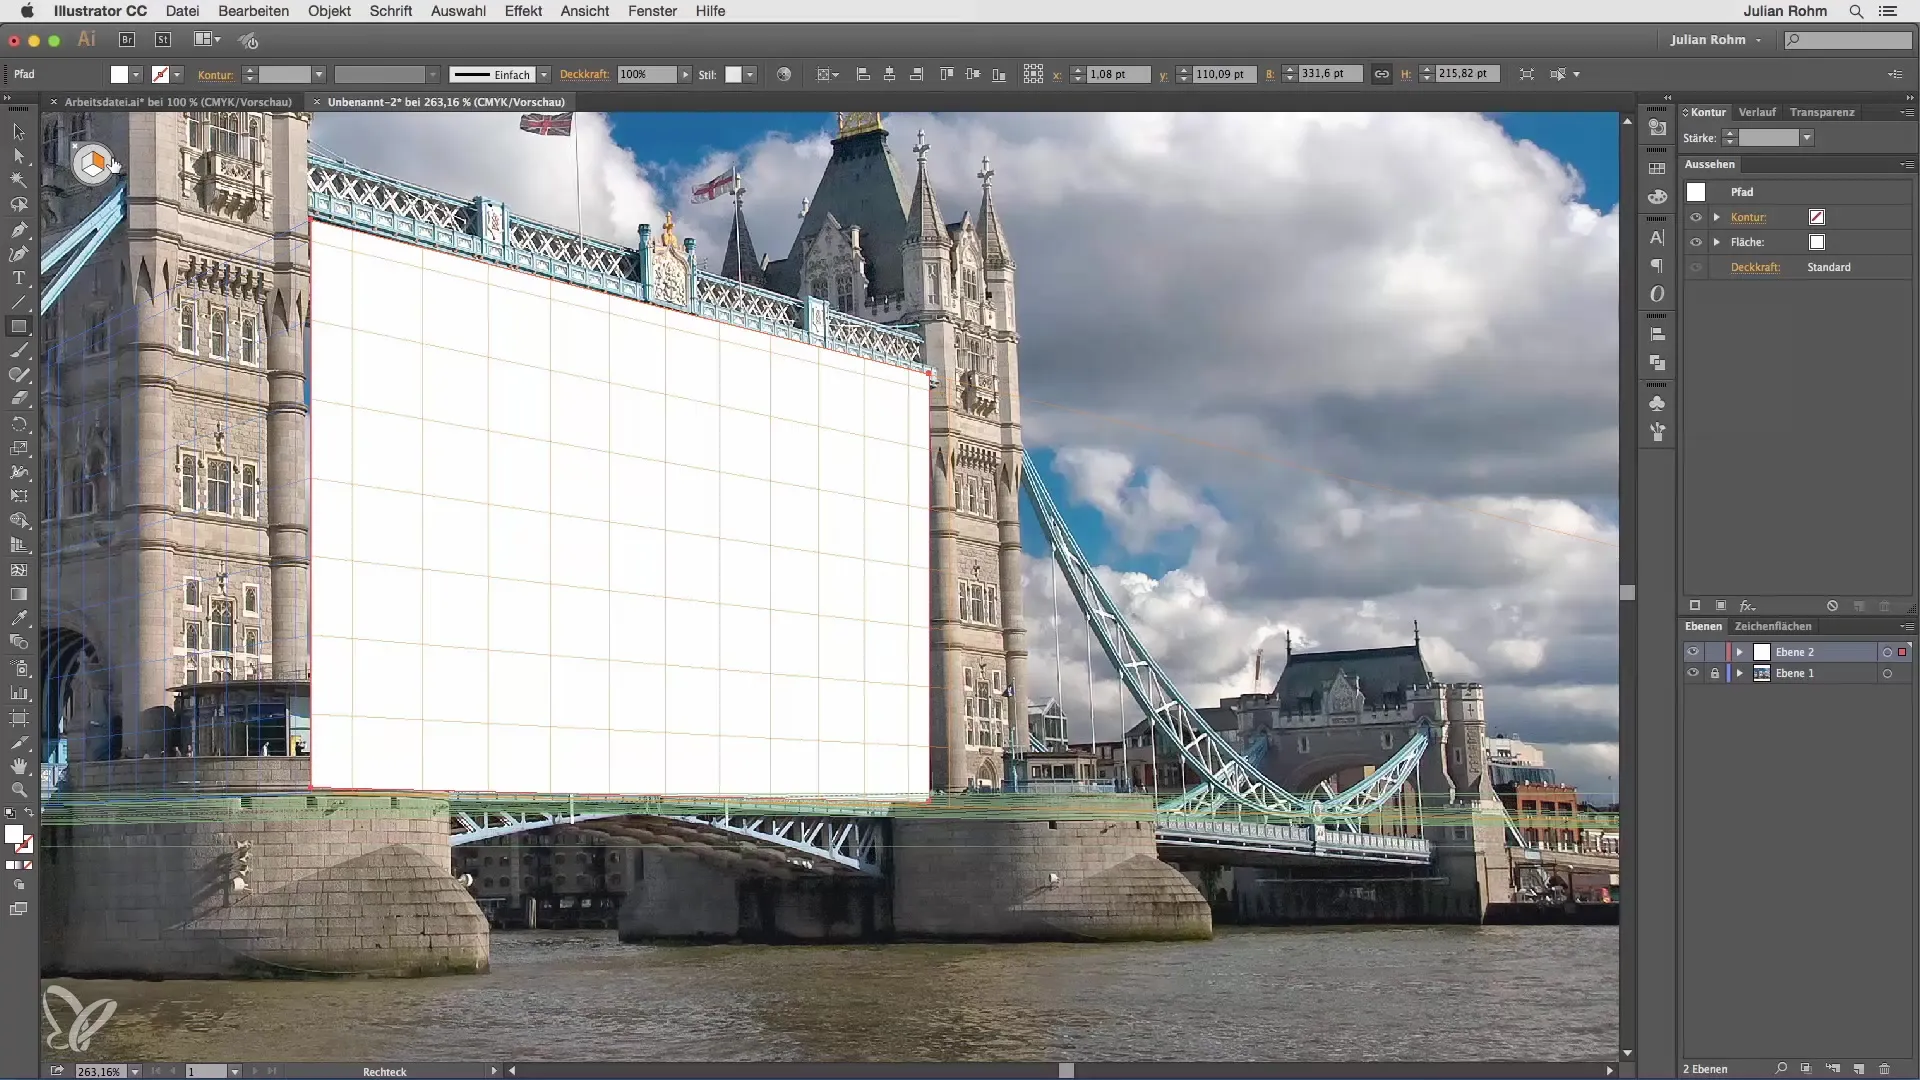
Once the lines are correctly set, you can use the right tool to create a new rectangle. Make sure the orange side of the grid is active to align the rectangle precisely to the grid.
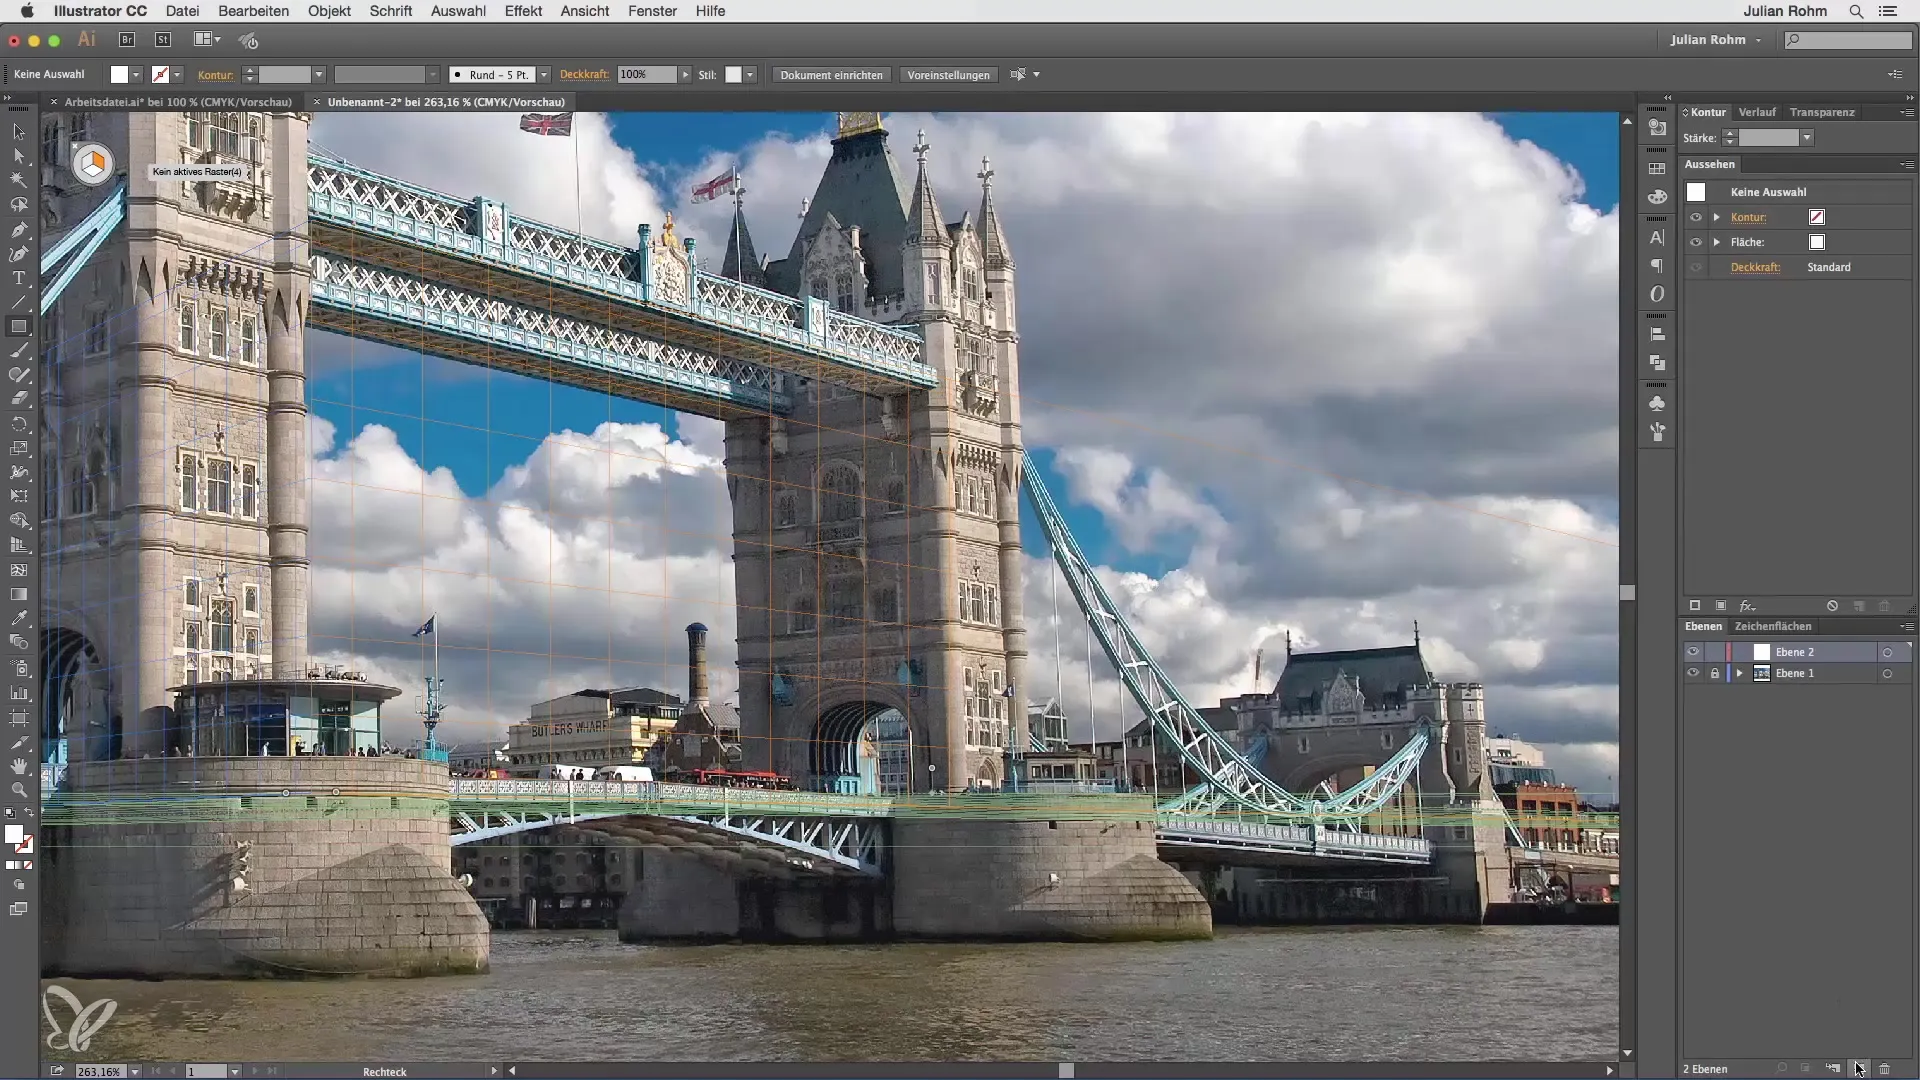
The result is that your new rectangle will automatically be aligned with the perspective of the grid, saving you a lot of time and manual adjustments.
Summary – Using the Perspective Grid in Illustrator
With the perspective grid in Adobe Illustrator, you can create impressive and realistic designs. You have learned how to set up the grid, align objects to it, and avoid mistakes. Use these features to create creative projects and develop your design skills further.
Frequently Asked Questions
How do I hide the perspective grid?Ensure the Perspective tool is active, then click on the cross at the top.
What happens to my objects if I change the grid?Already created objects will not automatically adjust to changes in the grid.
How do I align an object to the perspective grid?Activate the corresponding side of the grid and drag the object to align it correctly.
Can I adjust the grid at any time?Yes, you can change the height, angle, and position of the grid at any time.


