Adobe Illustrator is a powerful design tool that offers many features to realize creative projects. Among these options, the “Scale tool” and the “Warp tool” stand out. Although you may not use these tools regularly, they can be very useful in certain situations. In this tutorial, we will show you how to effectively work with both tools to refine your designs and achieve creative effects.
Key Insights
- The Scale tool allows precise resizing of objects.
- With the Warp tool, you can creatively distort objects.
- You can scale both proportionally and unevenly.
- Both tools offer additional settings for fine-tuning.
Step-by-Step Guide
Recognizing and Using the Scale Tool
The first tool we will look at is the Scale tool. You can find it directly below the Rotate tool in the toolbar. To select it, simply click on it. Once you have activated it, the next step is to click on the object you want to scale with the mouse.
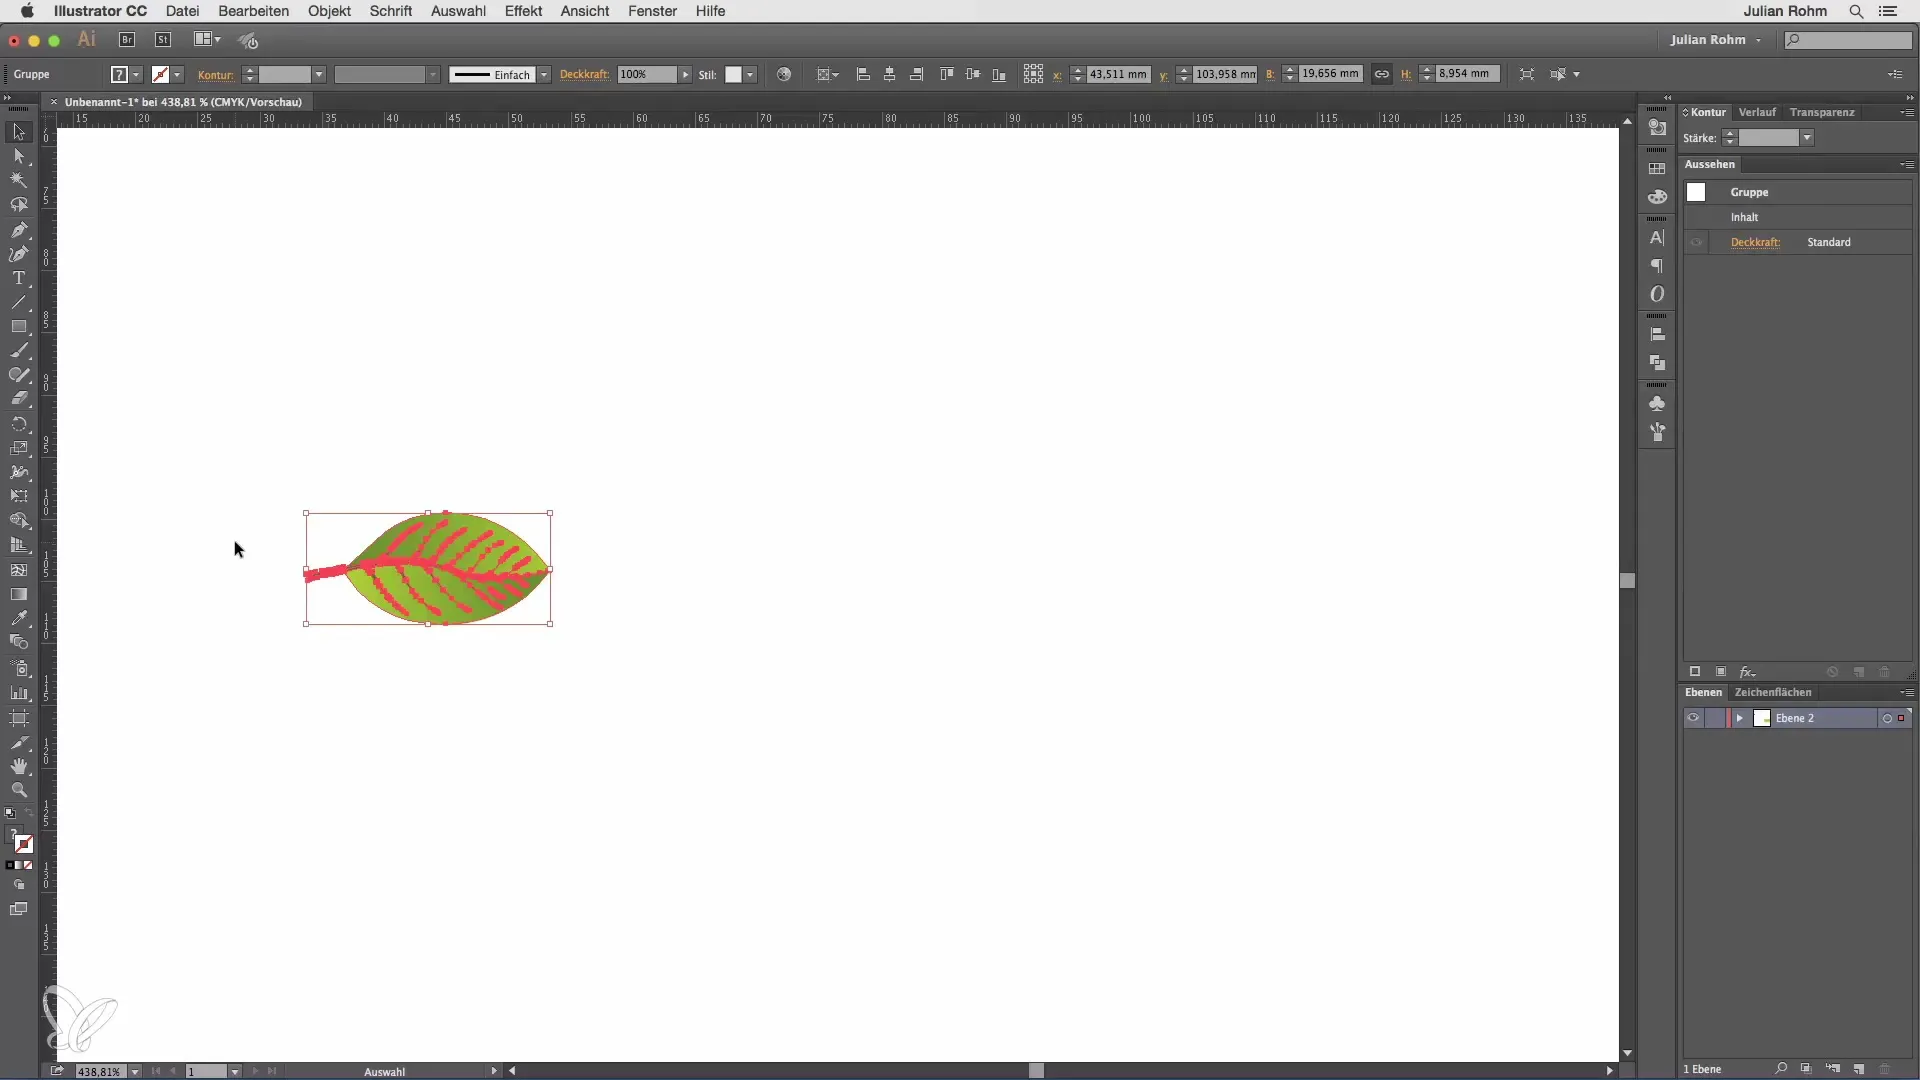
Now you can grab the object and either freely enlarge or reduce it. If you hold down the Shift key, the scaling will be done proportionally, meaning the object maintains its original proportions.
You may be wondering what the Scale tool is good for since you can do almost everything with the Selection tool as well. That's true, but the Scale tool has an advantage that you cannot achieve with the Selection tool. If you double-click on the Scale tool, a new window will open with various adjustment options.
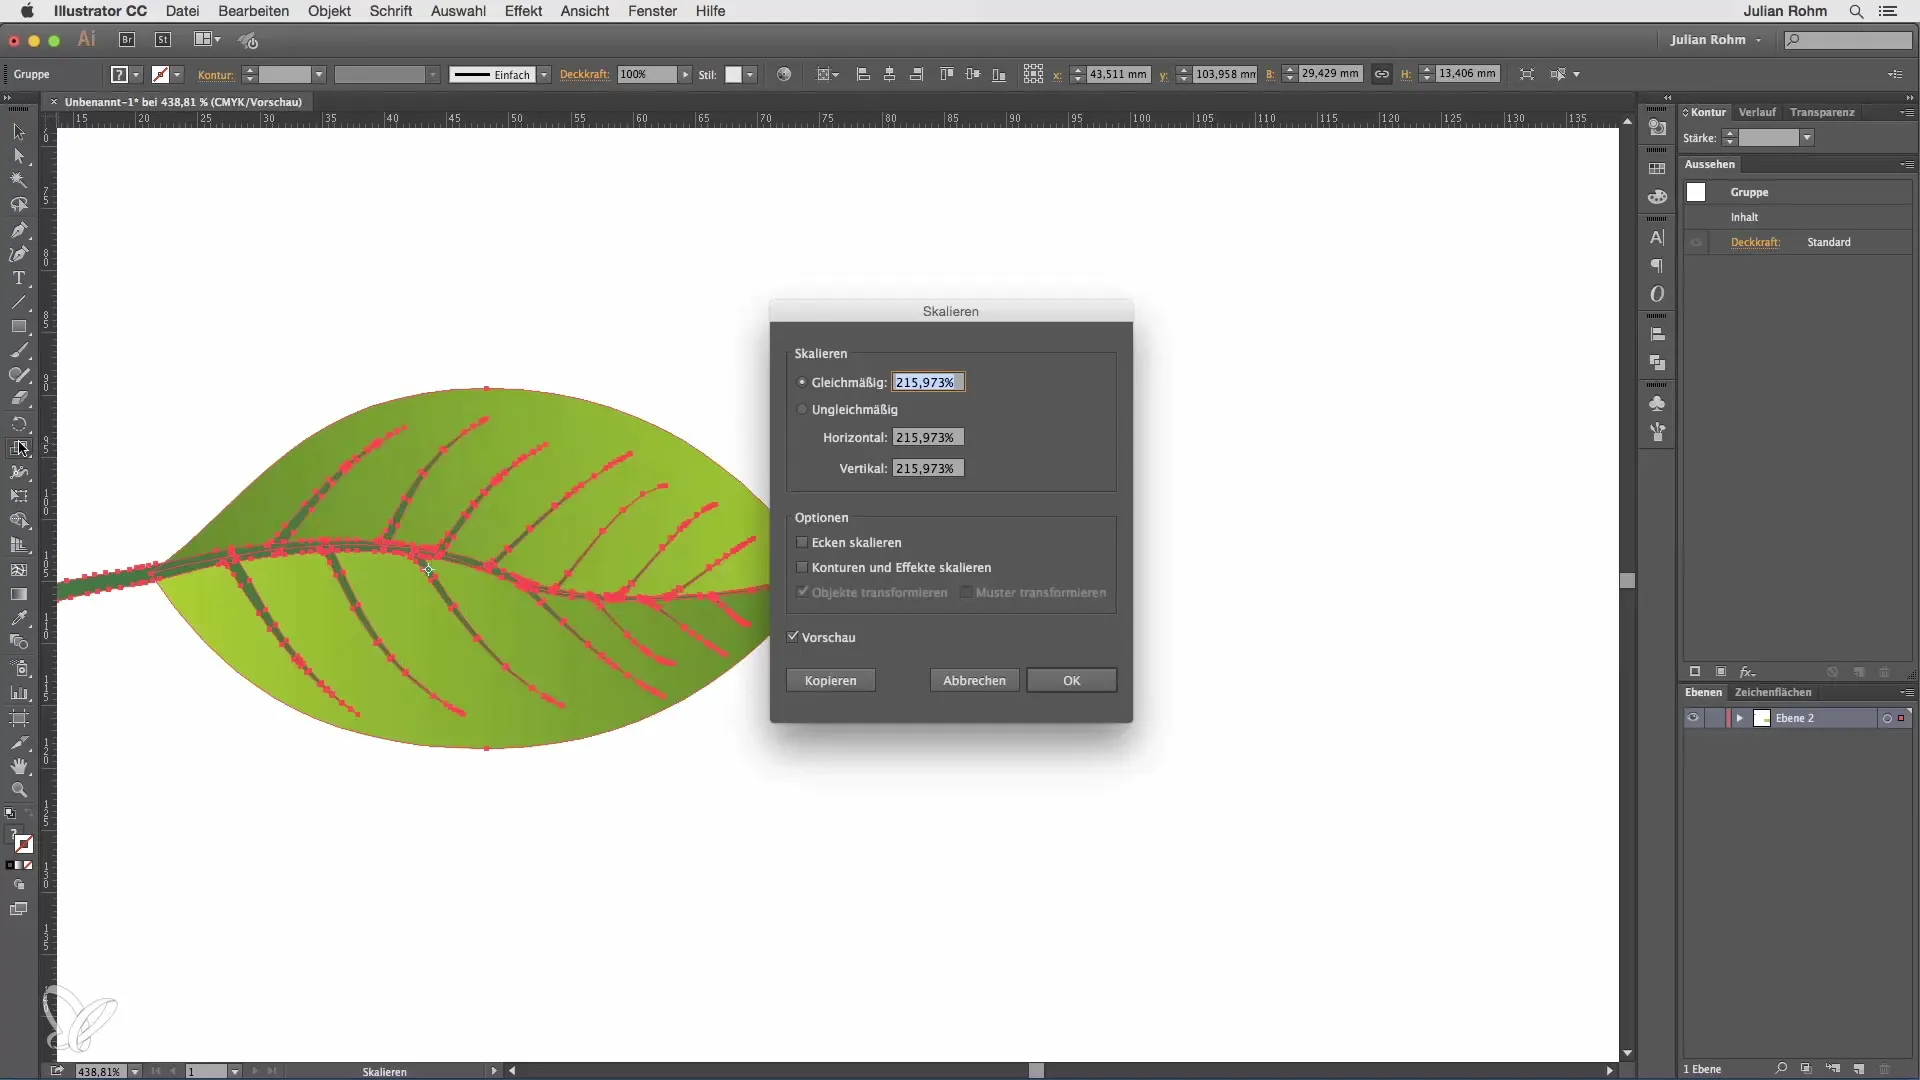
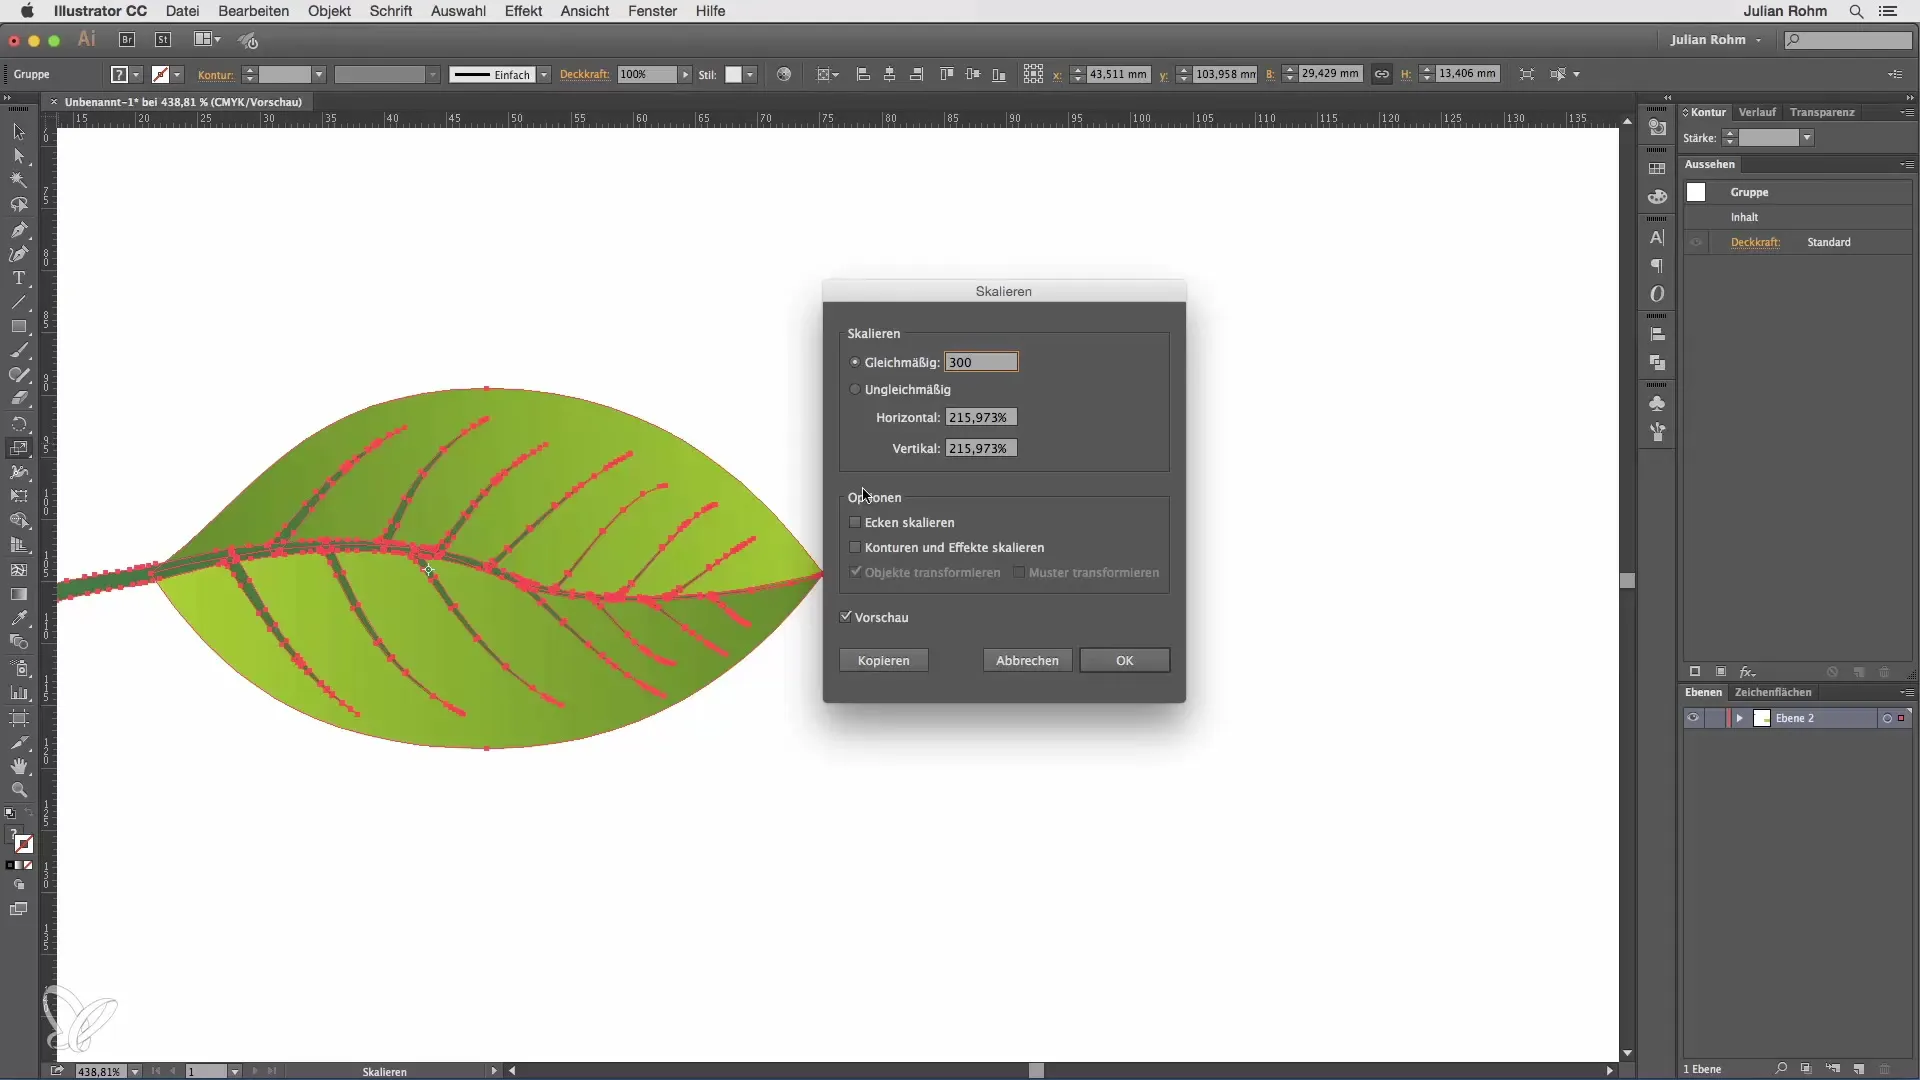
In this window, you can enter an exact percentage value for scaling. For example, if you enter 300% and click “OK”, the object will be resized to exactly 300% of its original size.
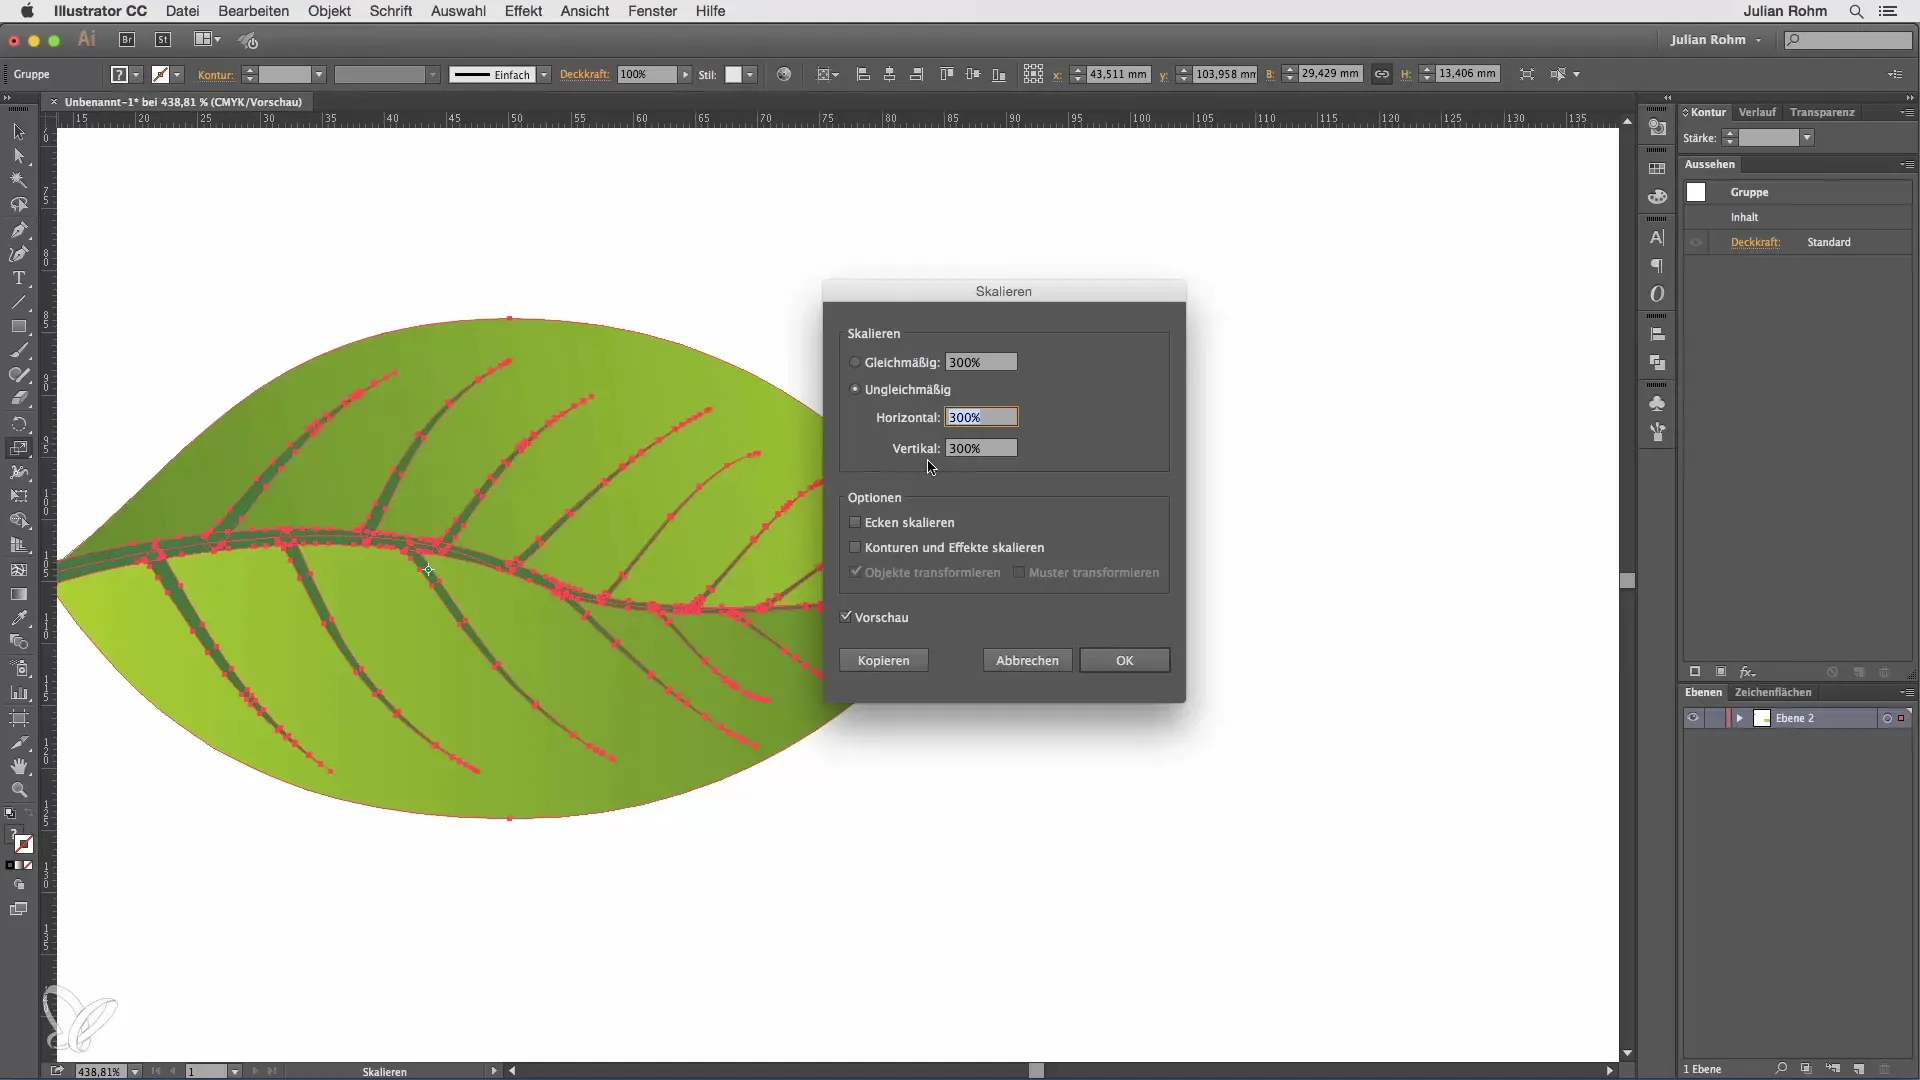
You can also scale unevenly by entering different values for horizontal and vertical scaling. This allows the object to be distorted while enlarging or reducing it.
Additionally, you have the option to decide whether to alter the original object with the scaling or to confirm with “Copy.” This keeps the original object intact, and you only create a copy with the new settings.
Introduction to the Warp Tool
Below the Scale tool is another interesting tool – the Warp tool. This tool allows you to bend complete objects. Although I must admit that this tool is not often used in practice, it can indeed be useful in certain cases.
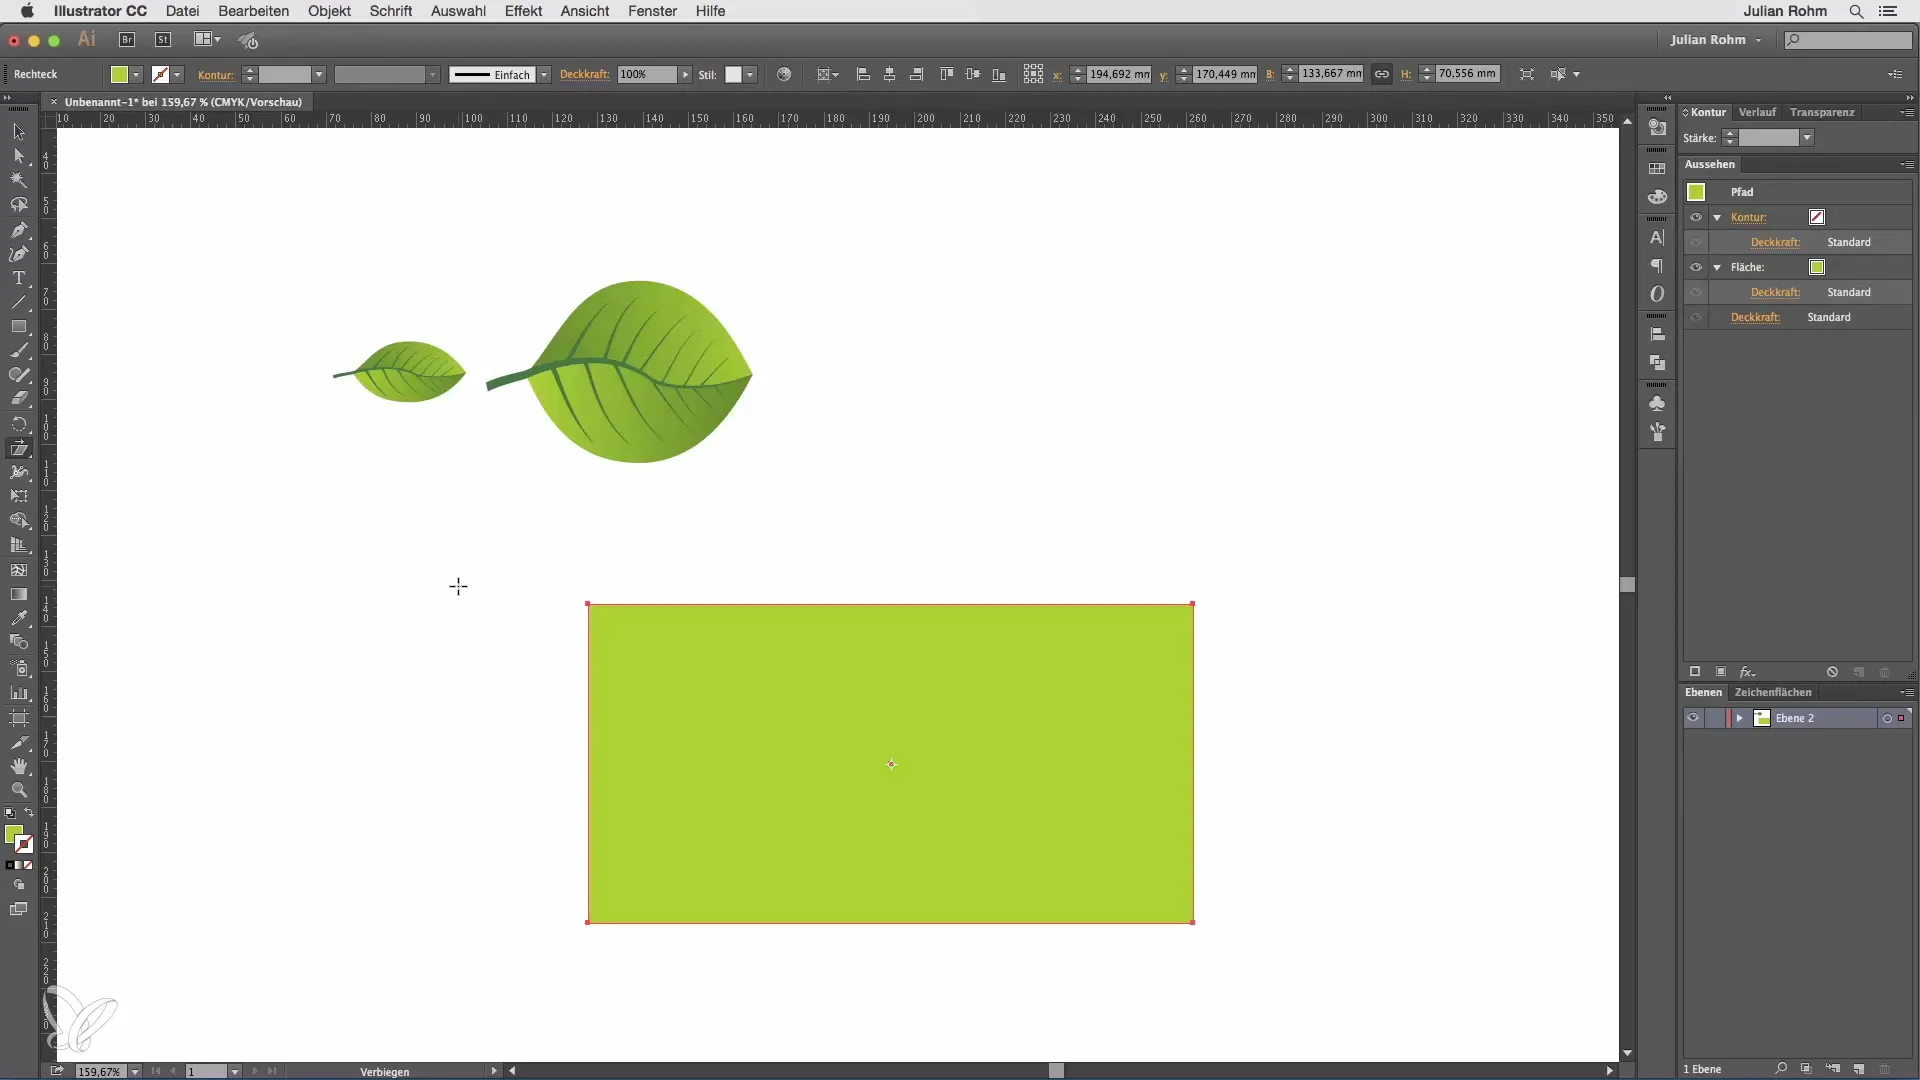
To select the Warp tool, click on it and then click on the object you want to warp. You will notice that you can deform the object by clicking and dragging. The further you pull towards the center of your object, the stronger the distortion will be.
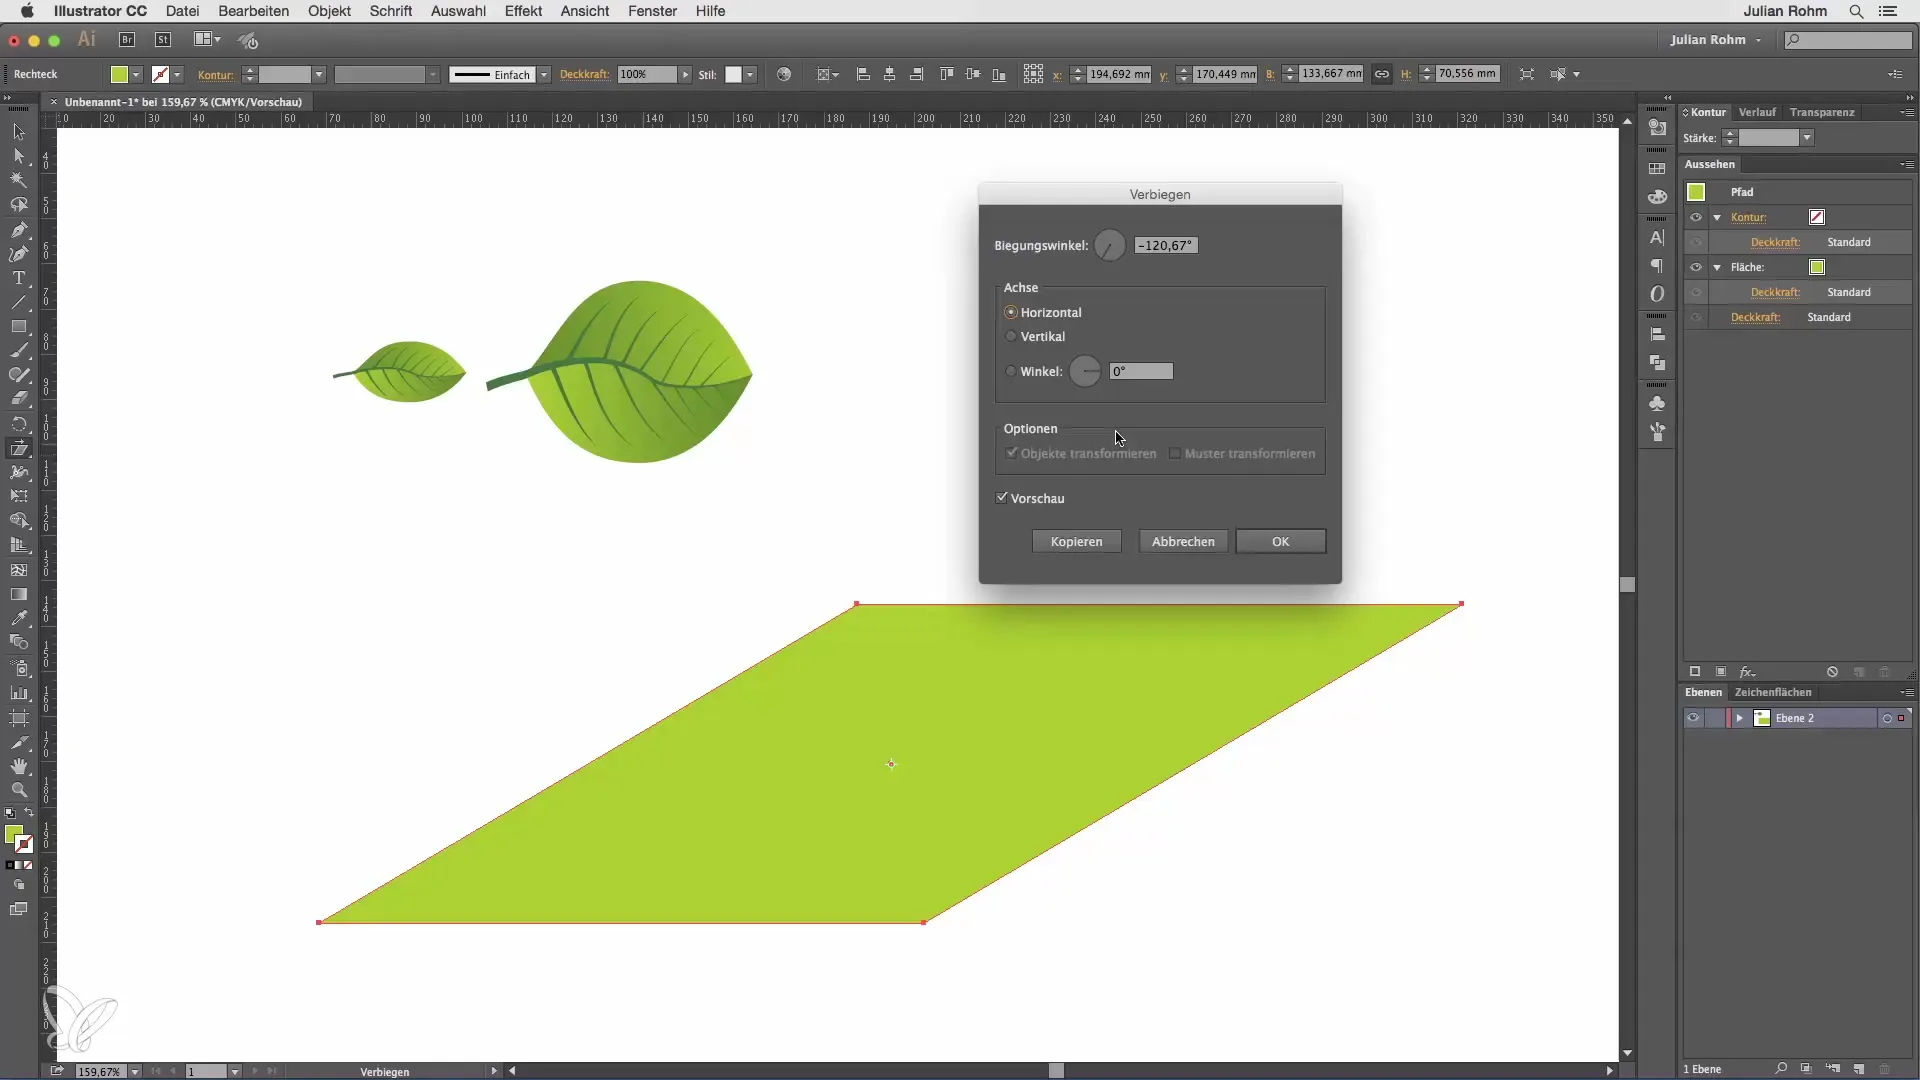
A simple example: With the Warp tool, you can quickly create a kind of trapezoid simply by dragging with your mouse.
As with the Scale tool, you also have the option here to do it freehand or double-click the Warp tool. This will open a dialog box again where you can make various settings, such as the angle.
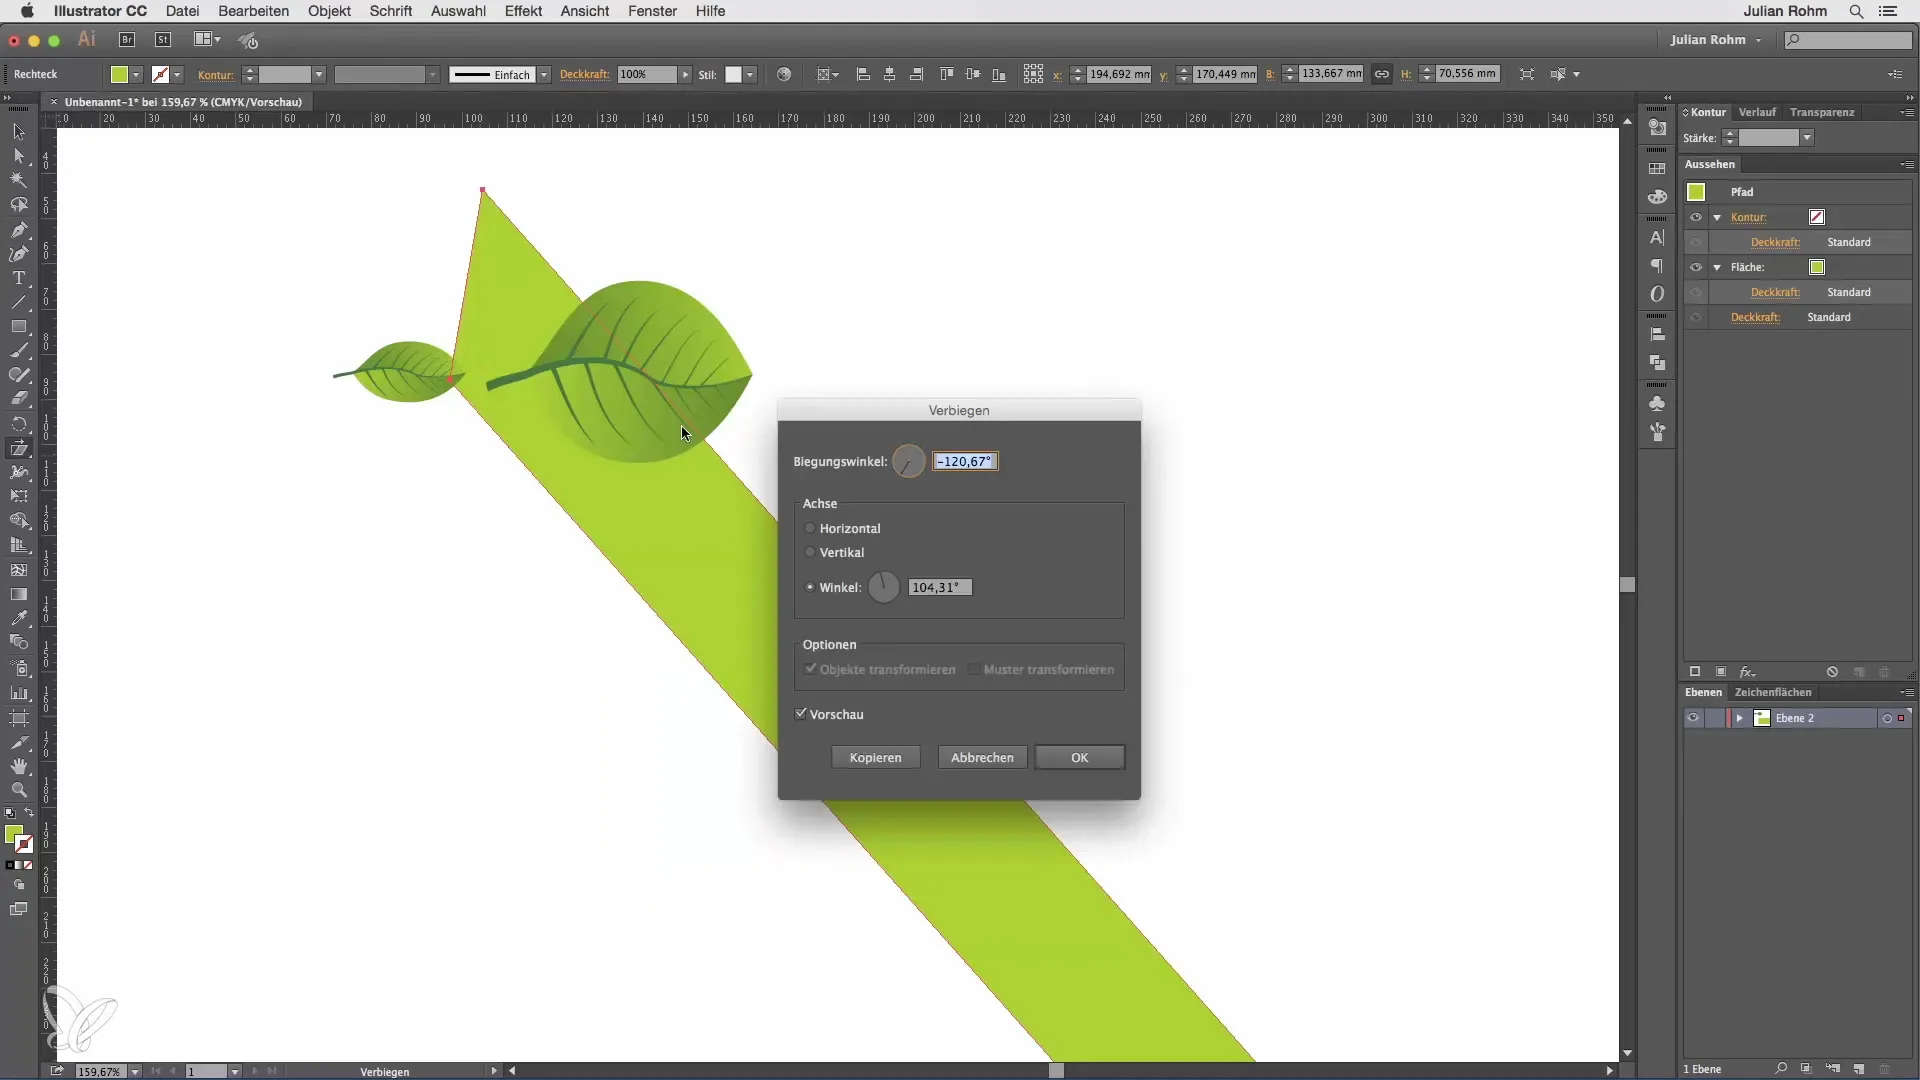
You can adjust the distortion either vertically or horizontally to achieve the desired design for your project.
Summary – Illustrator for Beginners & Advancers – Scaling & Warping
In this guide, you have learned how to perform precise resizing of objects with the Scale tool. Additionally, you have discovered how to creatively distort objects with the Warp tool. These tools are valuable additions to your design arsenal in Adobe Illustrator.
Frequently Asked Questions
What is the Scale tool in Illustrator?The Scale tool allows you to precisely enlarge or reduce objects.
How can I change the appearance of an object with the Warp tool?With the Warp tool, you can deform objects by clicking and dragging with the mouse.
Can I also input scaling as a percentage?Yes, by double-clicking the Scale tool, a window opens where you can enter exact percentage values.
What happens if I select “Copy” when scaling?The original object remains unchanged, and only a copy with the new scaling settings is created.
Where can I find the Warp tool?The Warp tool is located beneath the Scale tool in the toolbar.


