Creating shapes in Adobe Illustrator can be a simple and creative process. With the shape builder tool, you transform basic geometric objects into complex shapes that give you the freedom to be creative. Whether you are a beginner or an advanced user, this tool opens up countless possibilities to refine your designs. Let’s take a look at how you can effectively use the shape builder tool to create impressive designs.
Key insights
- The shape builder tool allows you to easily and quickly combine and modify shapes.
- By converting strokes into fills, you can create more complex designs.
- With simple keyboard shortcuts, you can efficiently adjust and vary the created shapes.
Step-by-Step Guide
Creating the Base Shapes
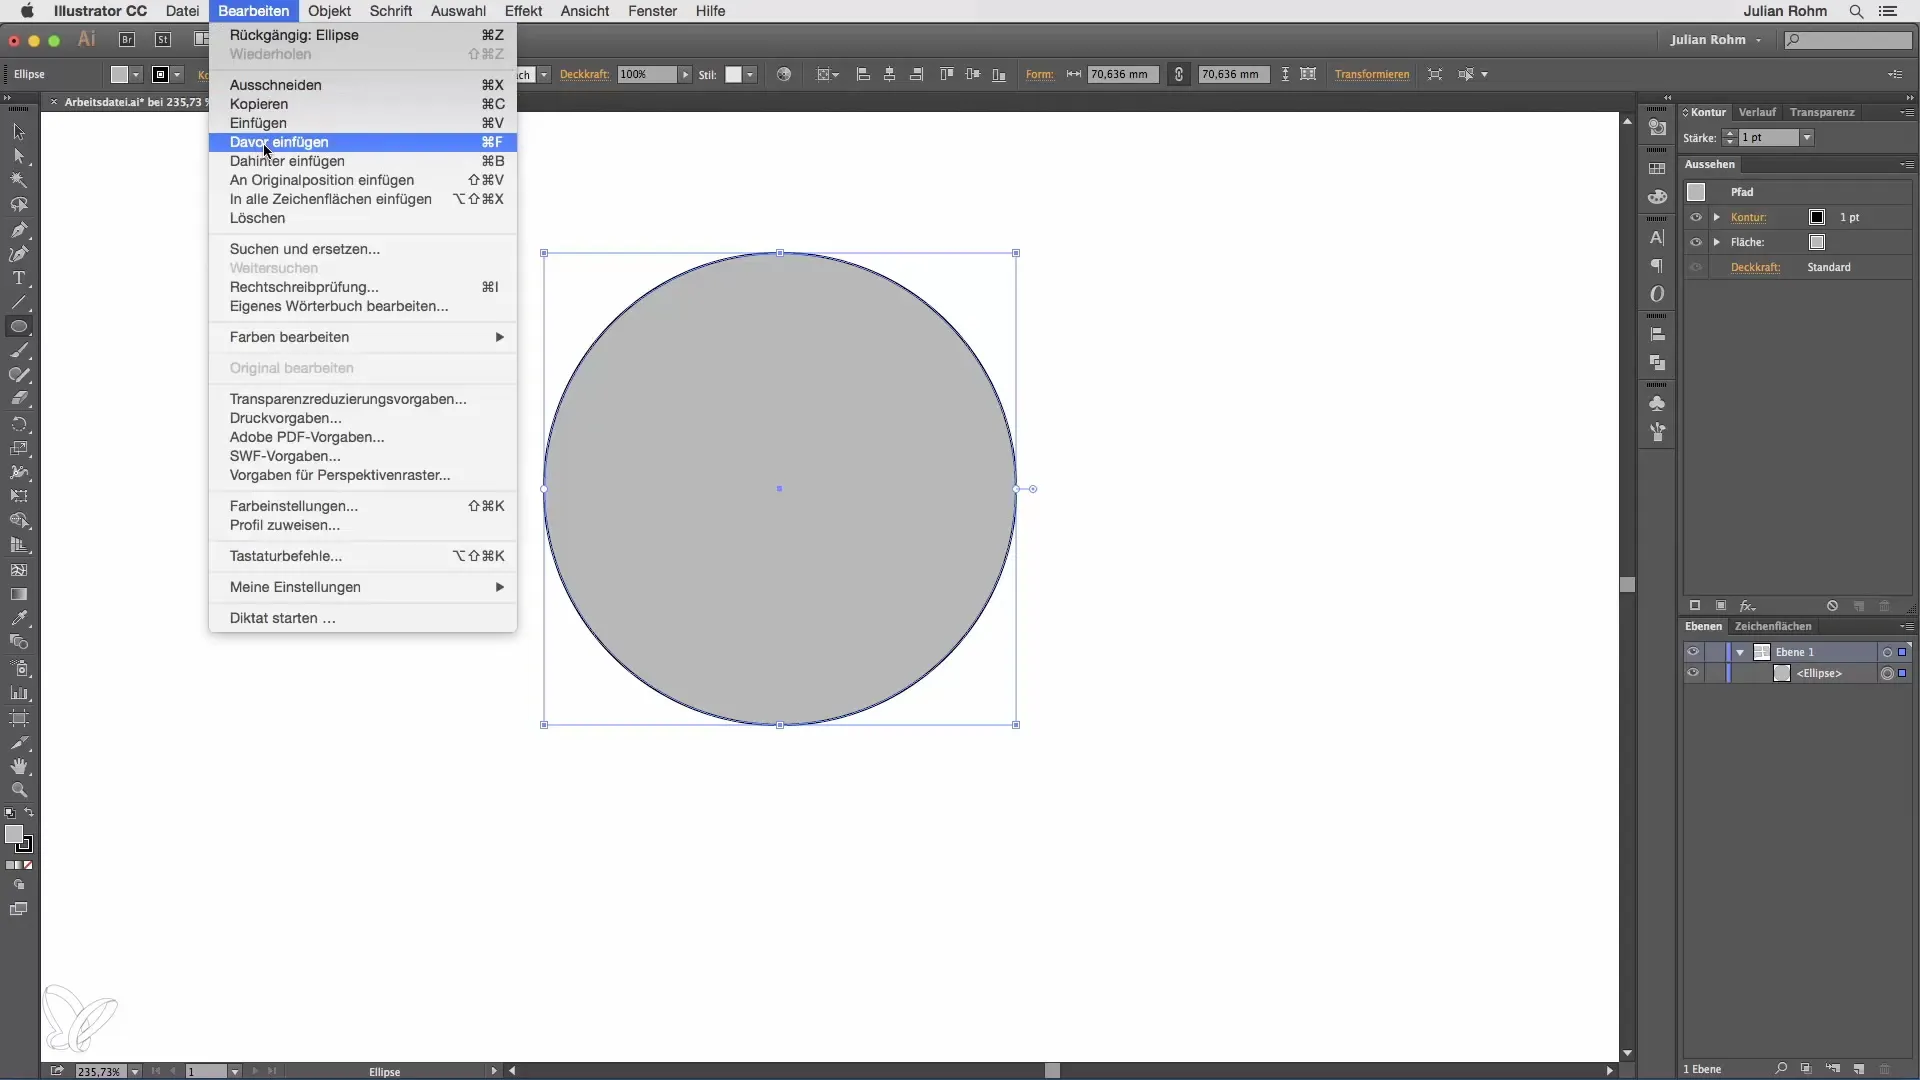
Start by selecting the ellipse tool. Hold down the ALT and Shift keys while you create an ellipse to draw a perfect circle. This step is crucial as it forms the foundation for your further shapes.
Copy the circle you created by going to "Edit" and then "Copy". After that, paste it back in exactly the same spot. This technique helps you retain the exact position of the elements while you experiment with different sizes.

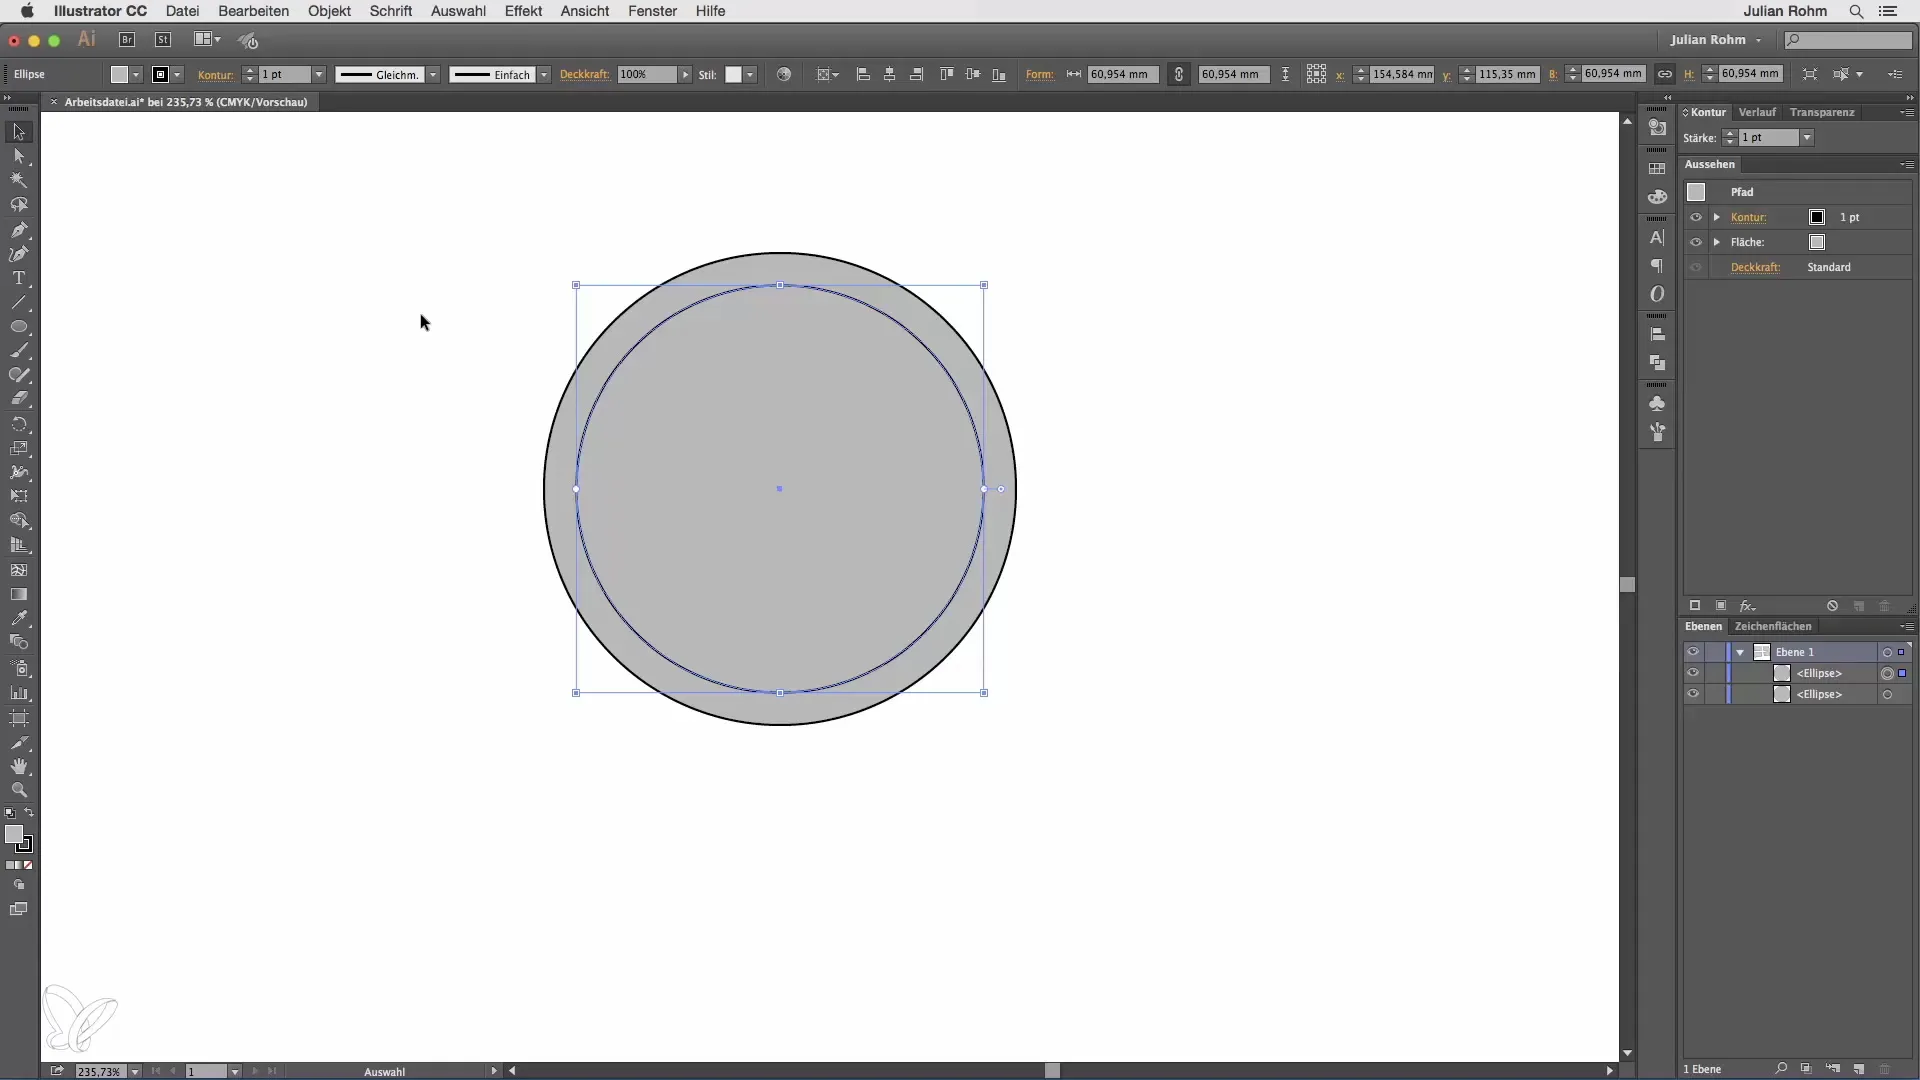
Now go to your pasted circle and scale it down a bit. Make sure to maintain the proportions to achieve harmonious shapes. This is important for creating a balanced design.

Adding Lines
Now select the line tool to draw a horizontal and a vertical line. These lines serve not only as additional elements but also help you in creating symmetrical designs.
To increase the visibility of your lines, select both lines with the Shift key pressed and increase the stroke weight using the appropriate palette. This will give your design more weight and clarity.
Converting Lines into Fills
Select "Object" in the main menu and go to "Expand". This converts the lines into fills. In the layers palette, you will now see that you have created new objects. This conversion is important because you can only use the next function of the shape builder tool with fills.
Activating the Shape Builder Tool
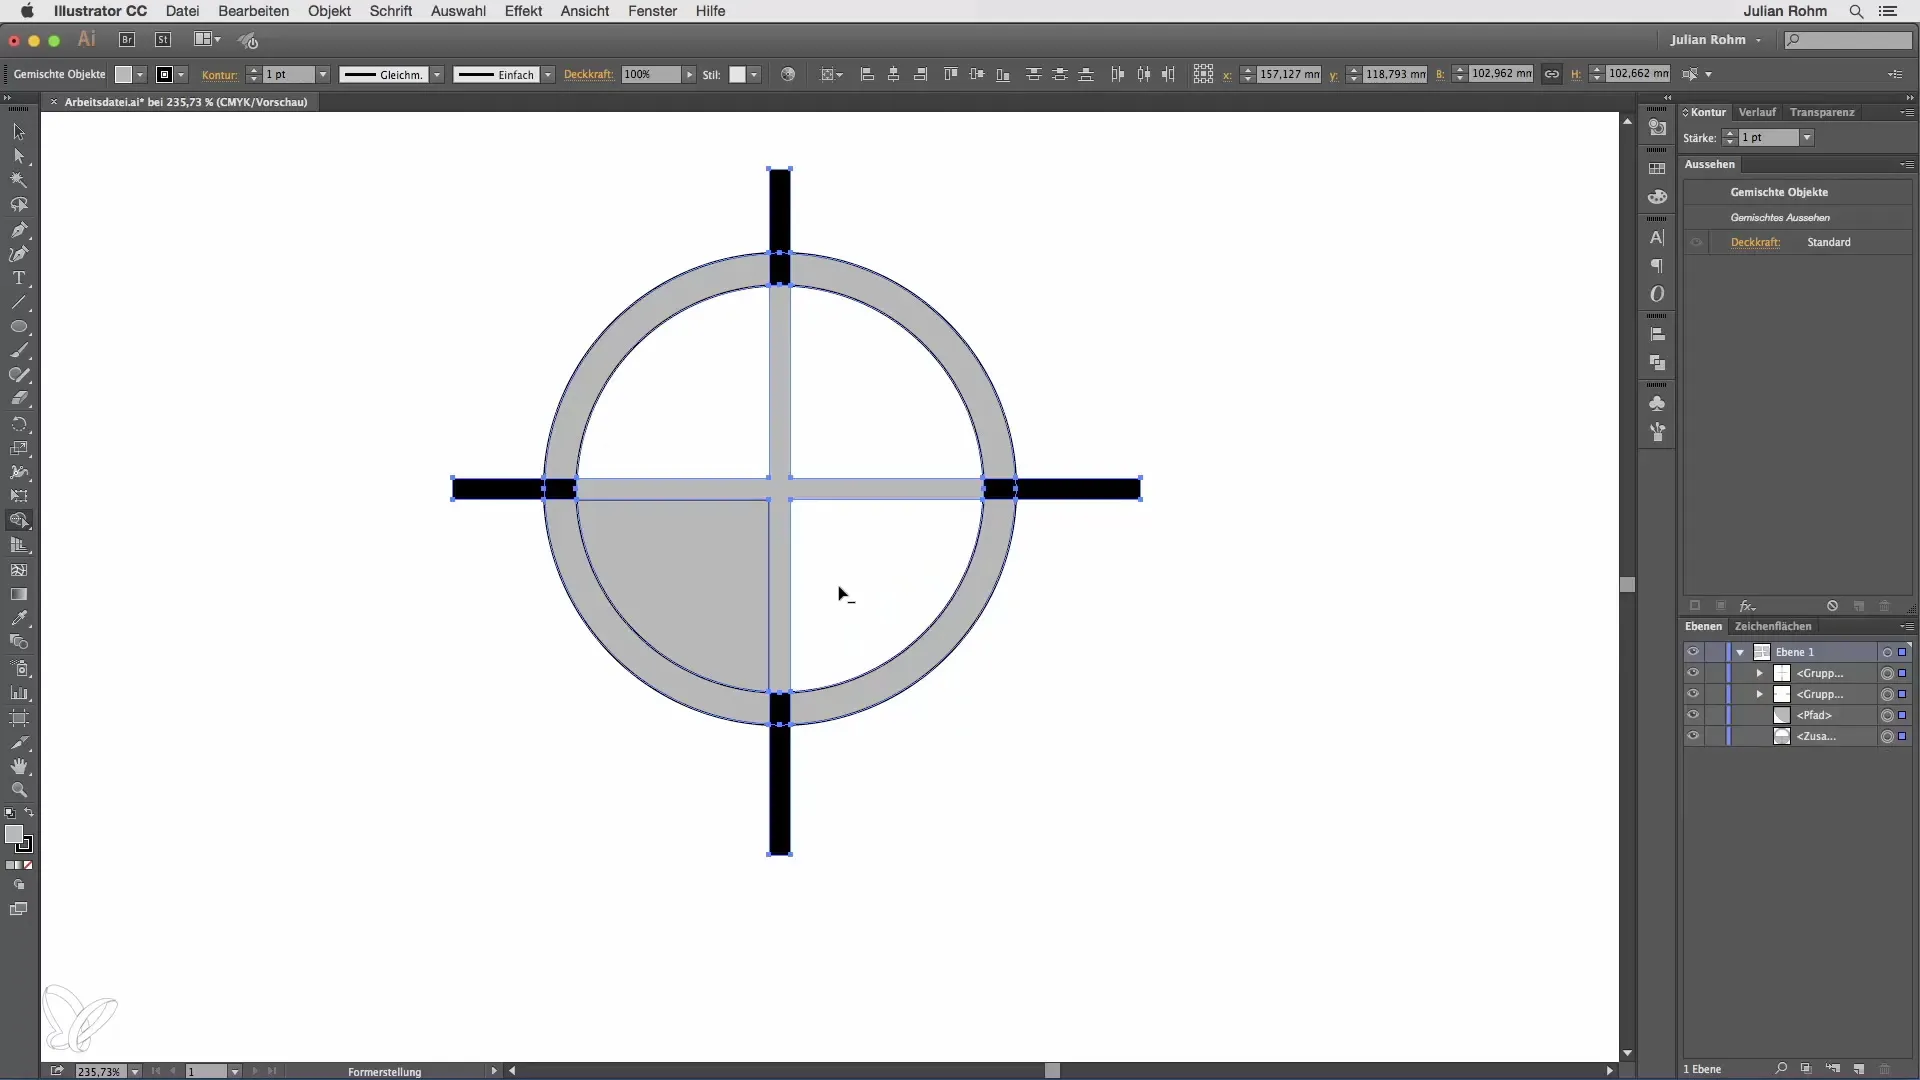
Select all created objects and activate the shape builder tool. The interface is similar to that of the Shaper tool, making the operation familiar to you. Hovering the mouse over the objects shows you how it works and allows you to make simple adjustments.
Merging and Subtracting Shapes
To merge objects, hold down the mouse button and drag the mouse over the objects you want to combine. This allows you to create more complex shapes from simpler geometries.
If you want to subtract a shape, hold down the ALT key (Option key on Macs) while hovering over the shapes with the mouse. The minus sign indicates that you are subtracting, giving you the opportunity to make precise cuts.

Creating Complex Objects
Finally, you can continue to merge the selected objects to create even more complex shapes. This demonstrates how you can create impressive designs from simple base shapes, offering you more creative freedom. Experiment with different combinations to find your personal style.
Summary – Creating Shapes with the Shape Builder Tool in Illustrator
In this guide, you have learned how to create simple shapes with the shape builder tool in Adobe Illustrator and combine them into complex designs. With the right techniques and the use of basic tools, you can bring your creative ideas to life and experiment with your design process.
Frequently Asked Questions
How do I activate the shape builder tool?You can activate the shape builder tool by selecting all objects and then choosing the shape builder tool from the tool menu.
Can I use the shape builder tool with other shapes as well?Yes, the shape builder tool works with various shapes and objects, not just circles and lines.
How can I make precise subtractions with the shape builder tool?Hold down the ALT key while hovering over the shapes to effectively create subtractions.


