The clipping of images is an essential part of graphic editing. Often, Photoshop is used to achieve precise results. But did you know that you can also create effective cutouts in Adobe Illustrator? In this tutorial, I will show you how to use clipping masks to clip images. The technique is simple and especially useful for rough drafts or quick adjustments.
Key Takeaways
- Clipping masks in Illustrator can be effectively used to clip images.
- You can adjust the paths to modify the clipping result.
- Simple removal and restoration of clipping masks provide flexibility in your designs.
Step-by-Step Guide
To start clipping your image, first open Adobe Illustrator and load the image you want to edit.
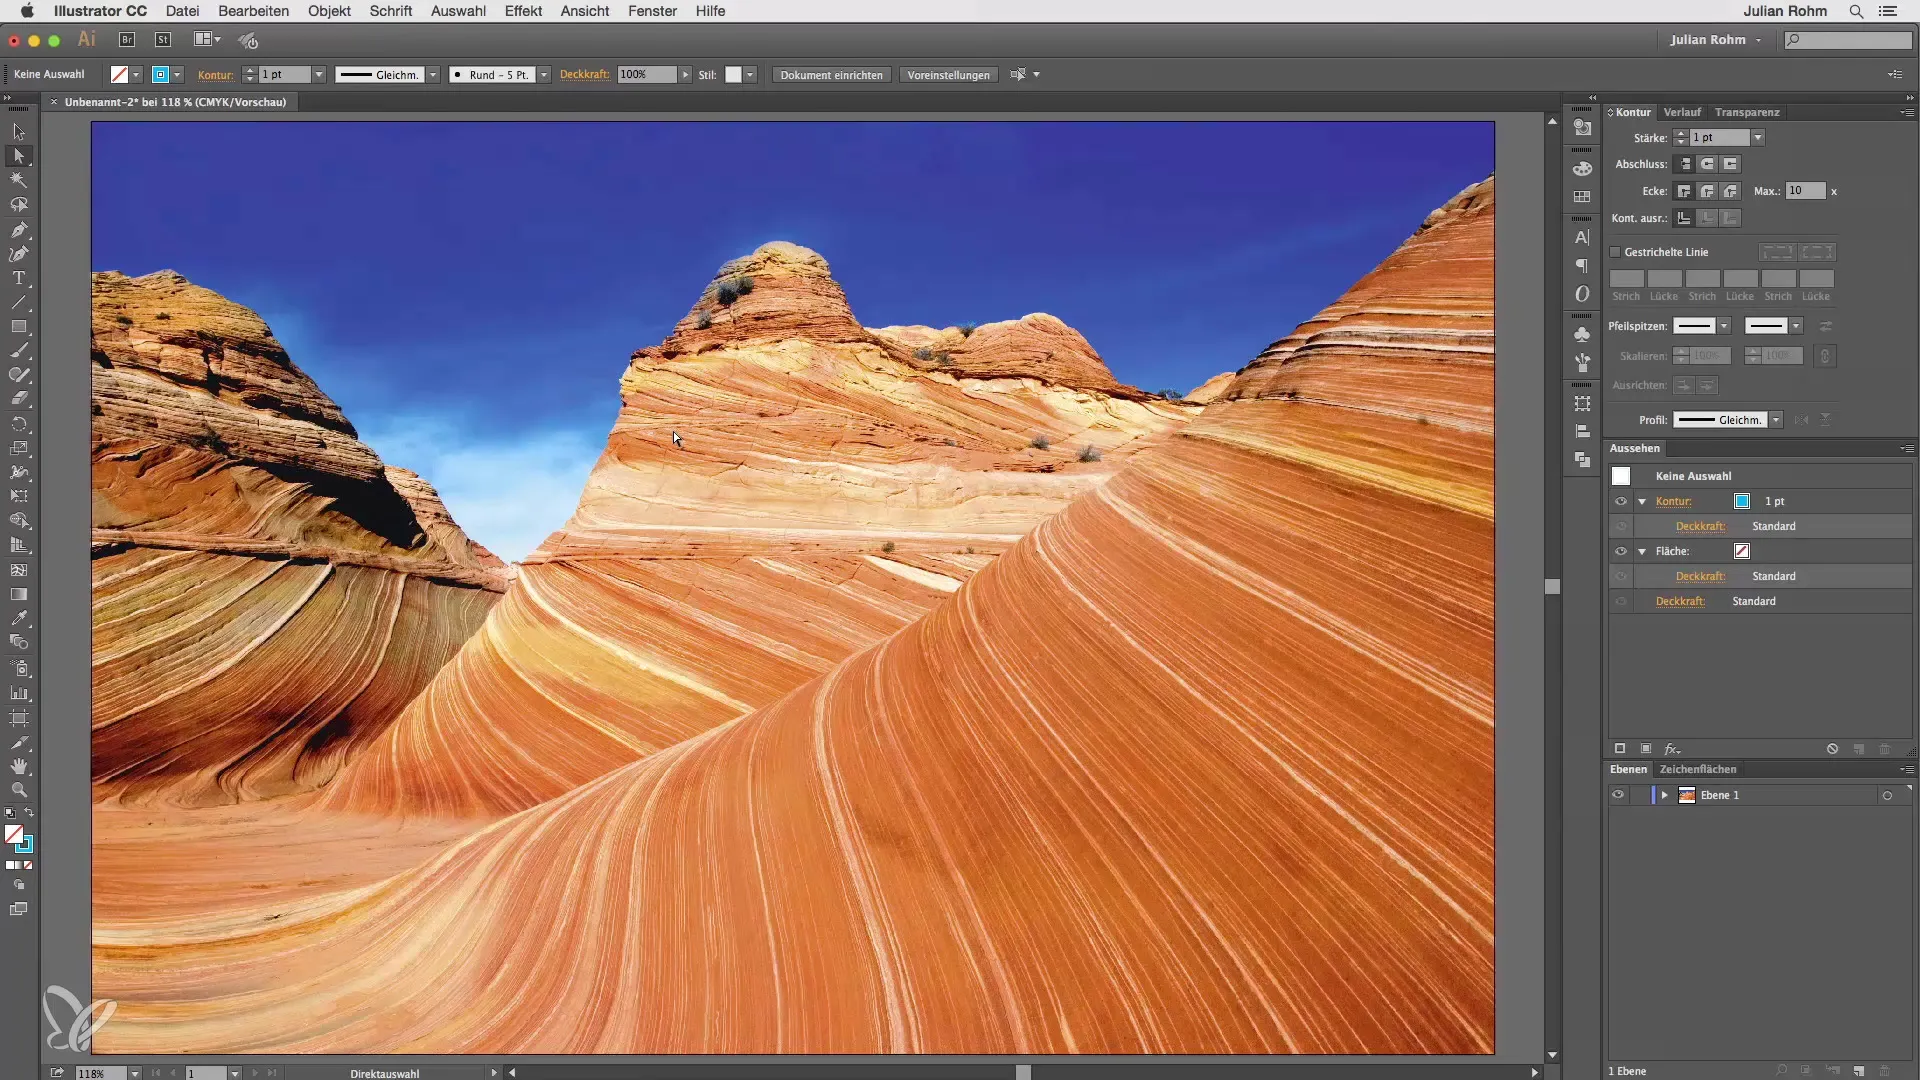
Step 1: Select the Pen Tool
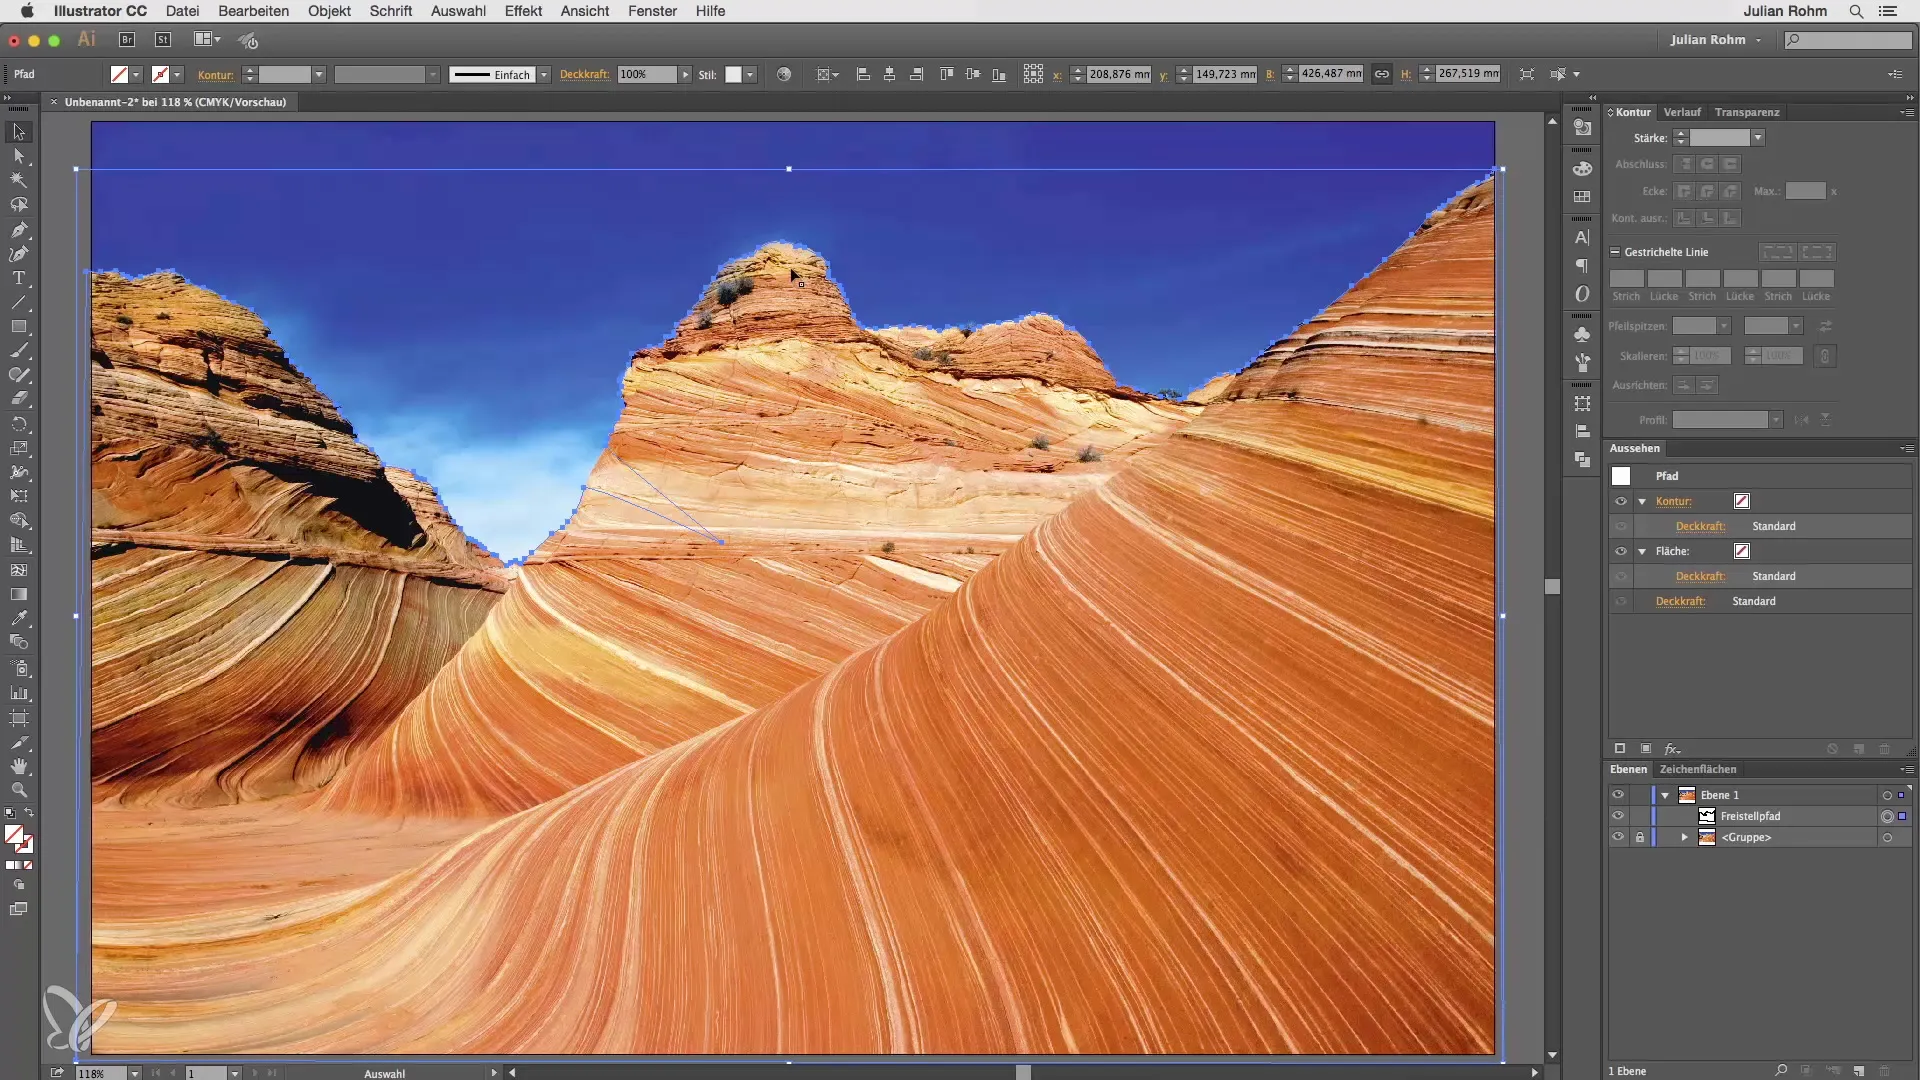
Select the Pen Tool to trace the area around the image you want to clip. You can use the edge of the object to work precisely, just like in Photoshop.
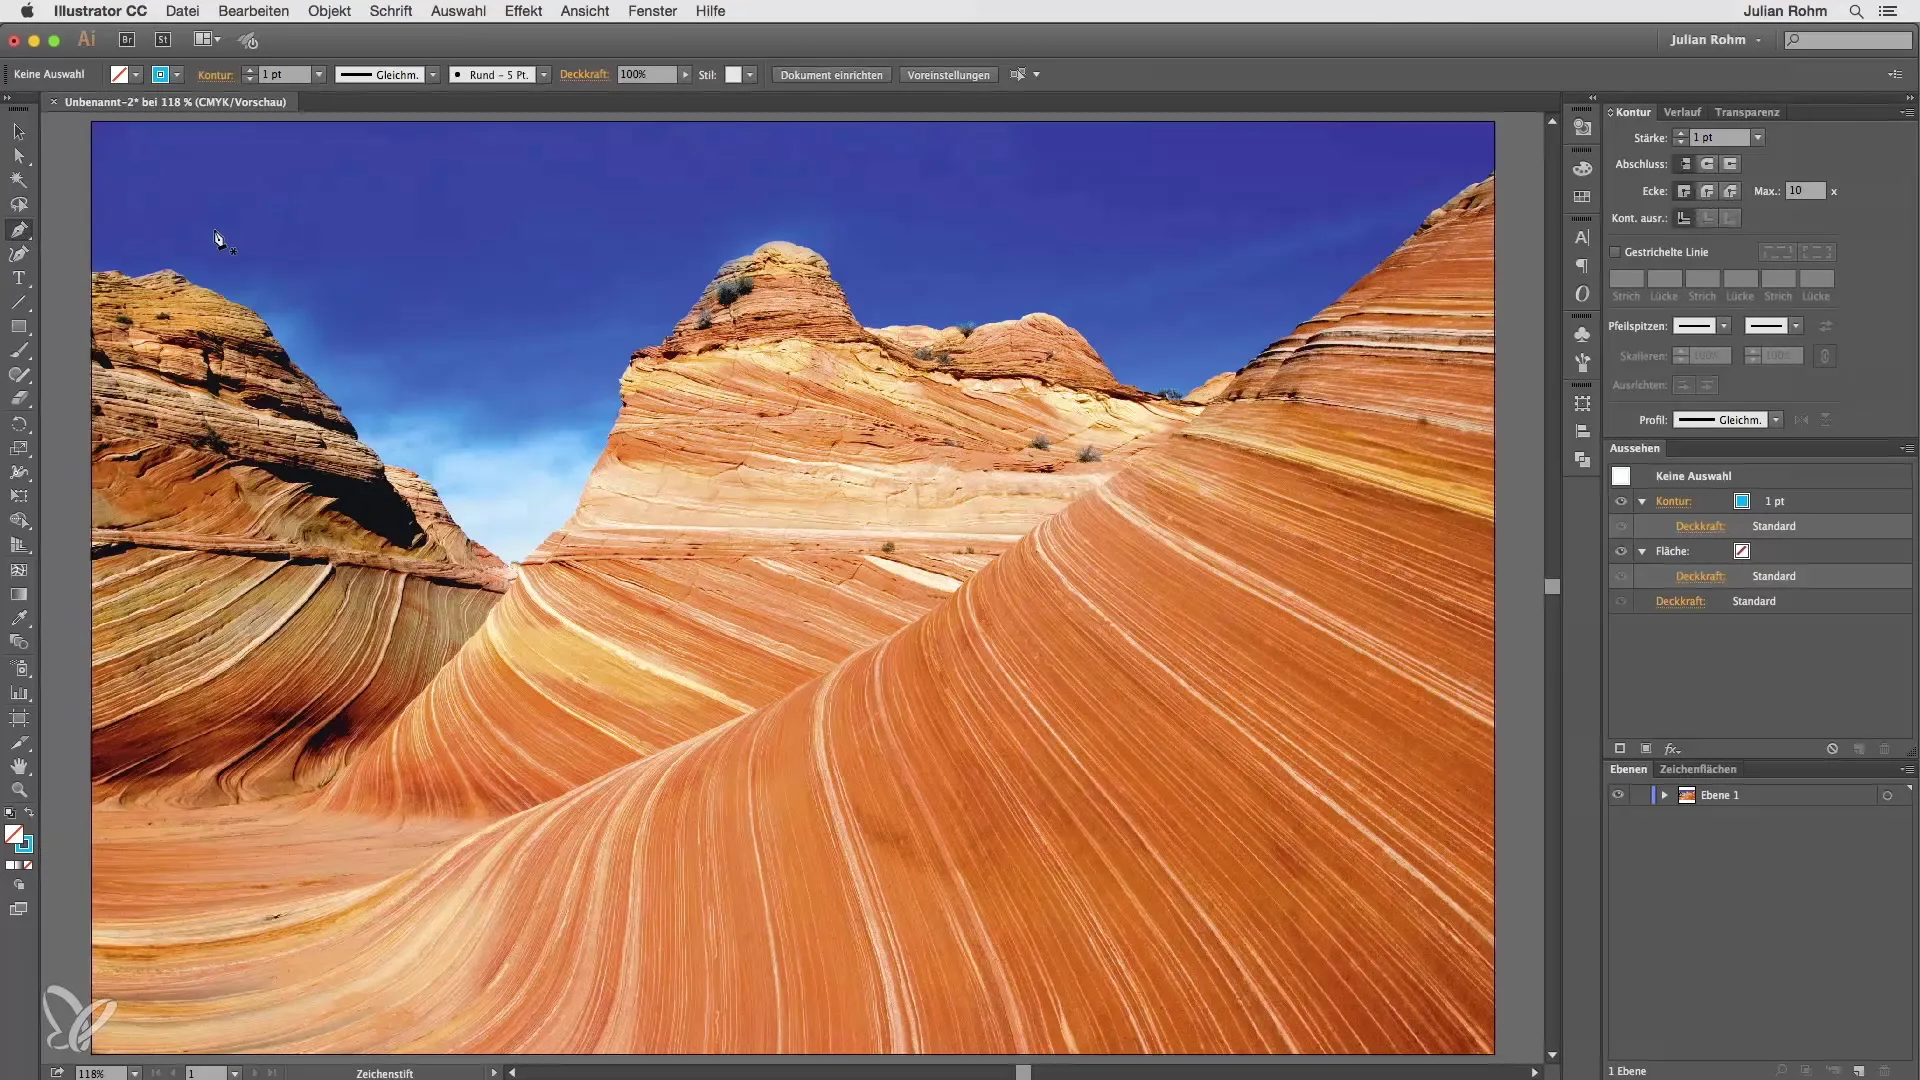
Step 2: Create the Path
Once you have traced the path, ensure that the lines are smooth. You will likely want to create a path to make your work easier.
Step 3: Hide the Image
To see your path clearly, hide the image briefly. You can then check the path and ensure it is created as desired.
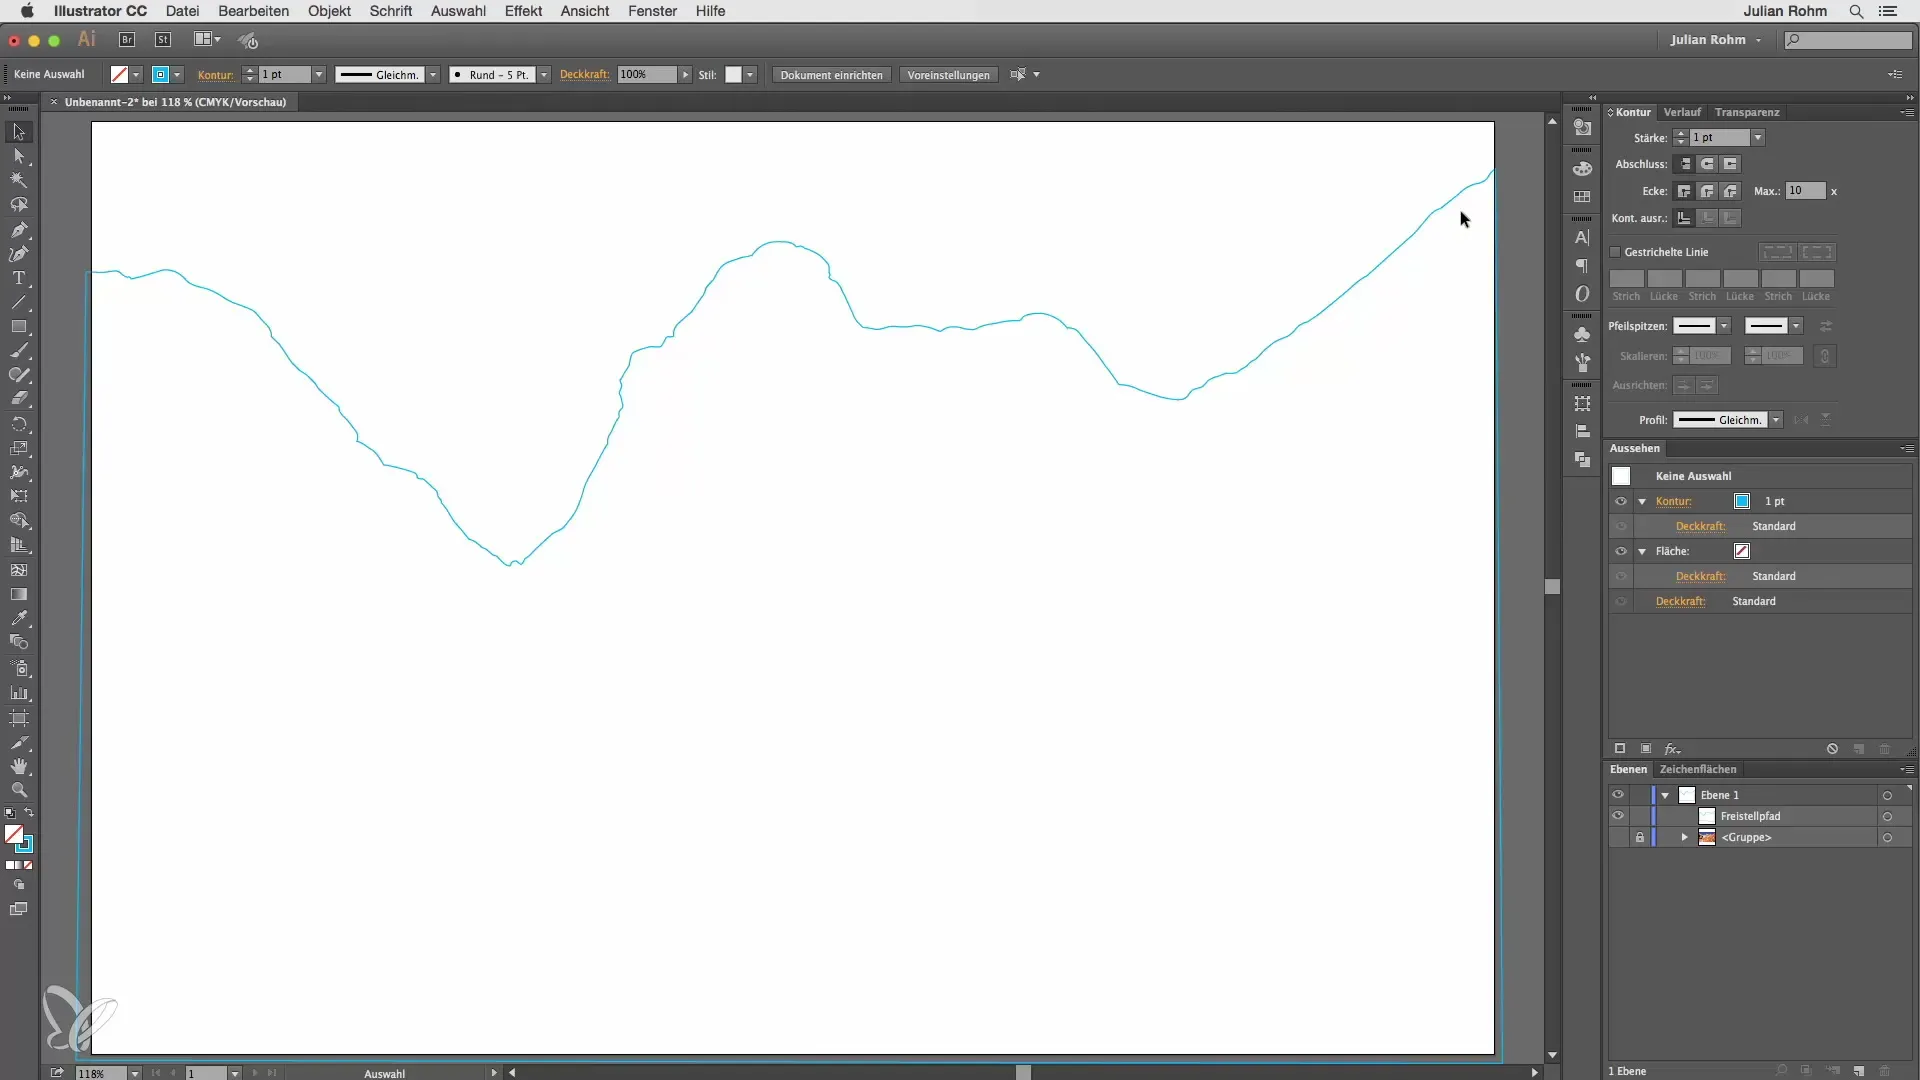
Step 4: Unlock the Image
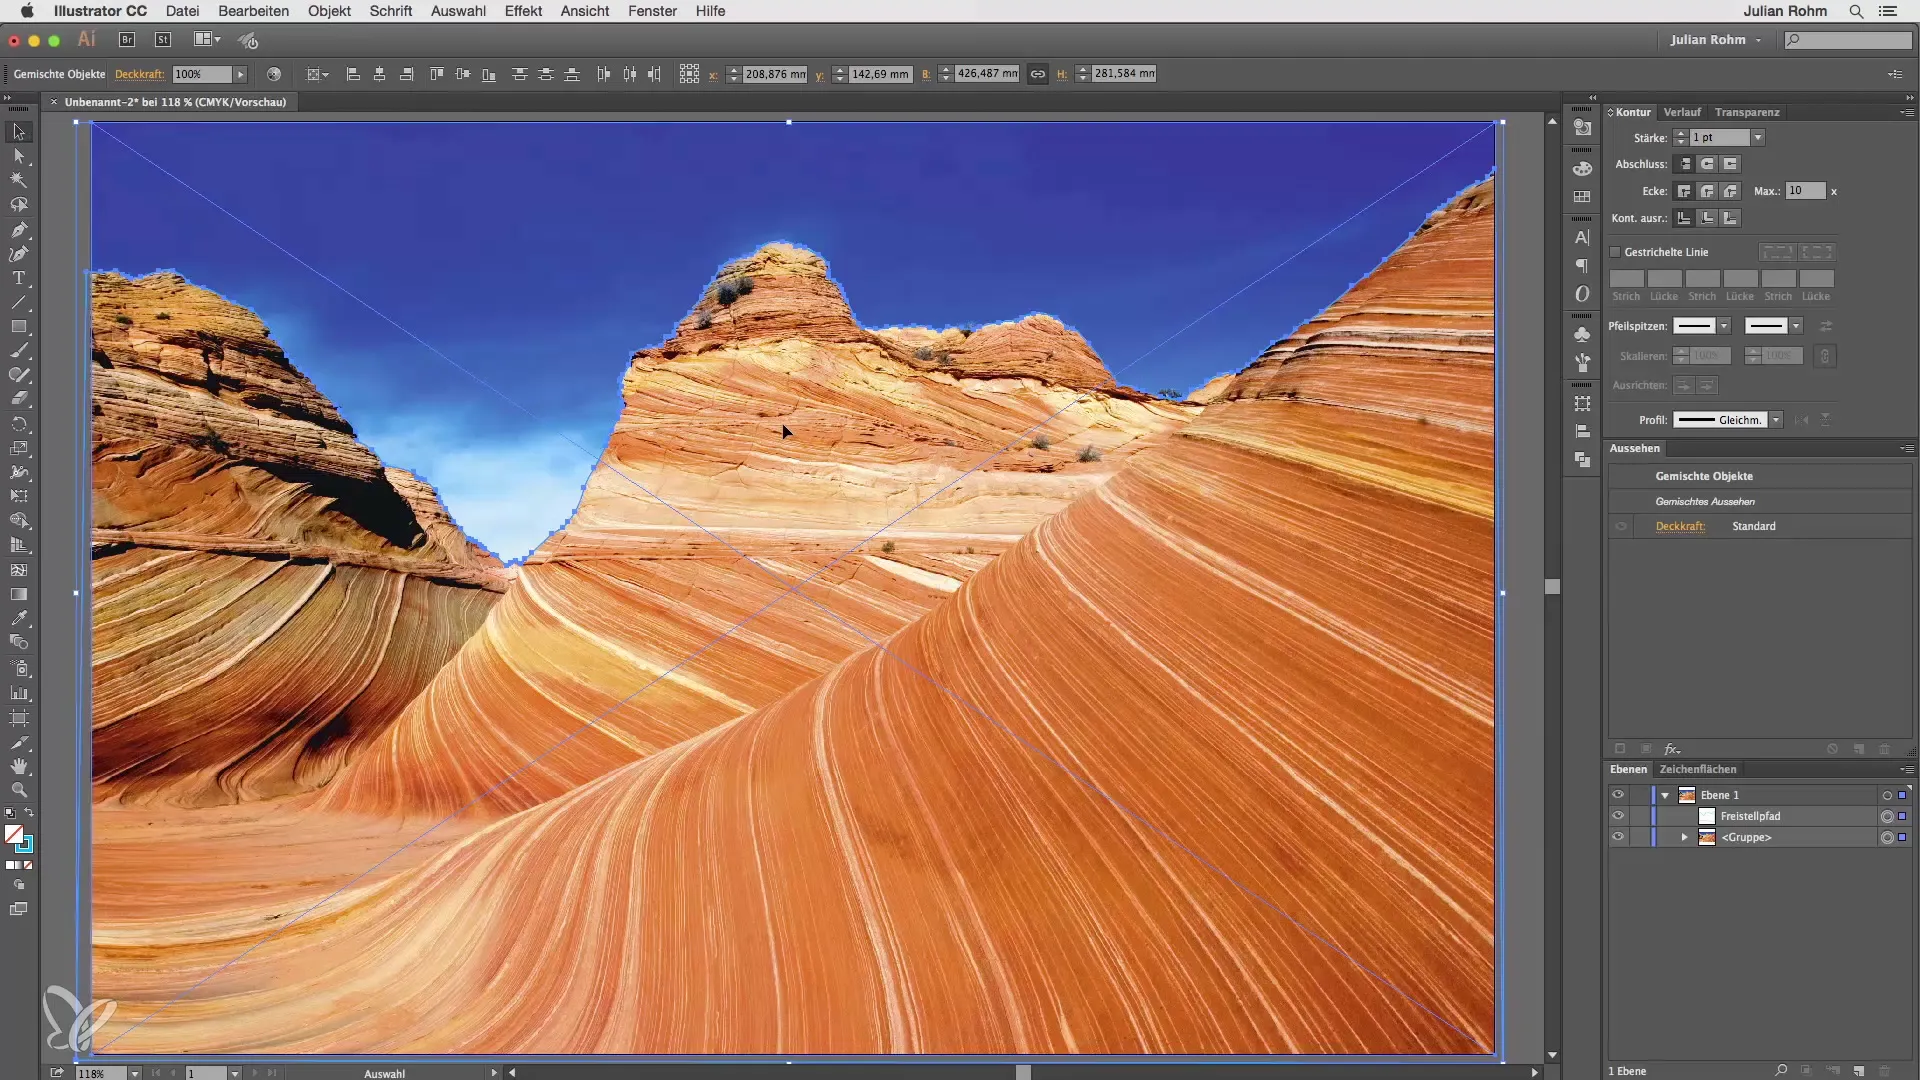
Show the image again and unlock it so that you can select both elements simultaneously. Hold the Shift key and select both the path and the image.
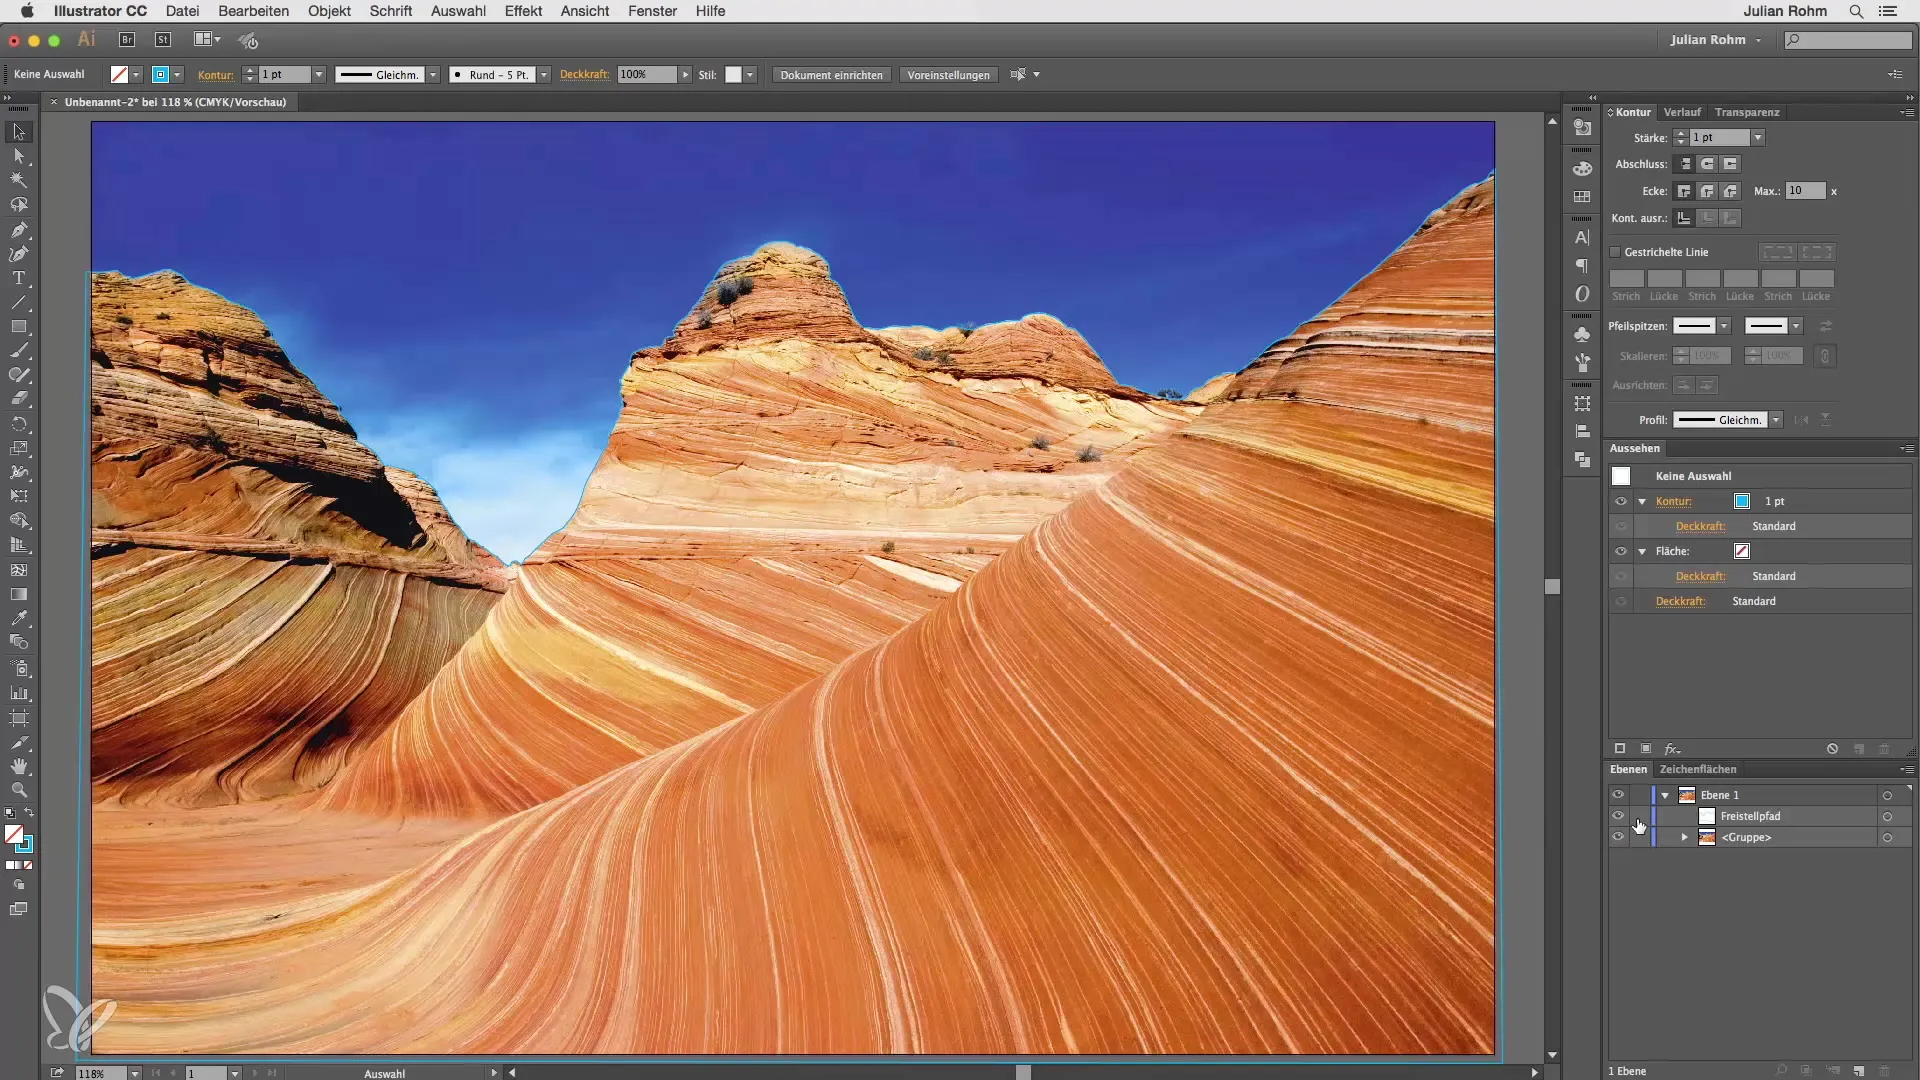
Step 5: Create Clipping Mask
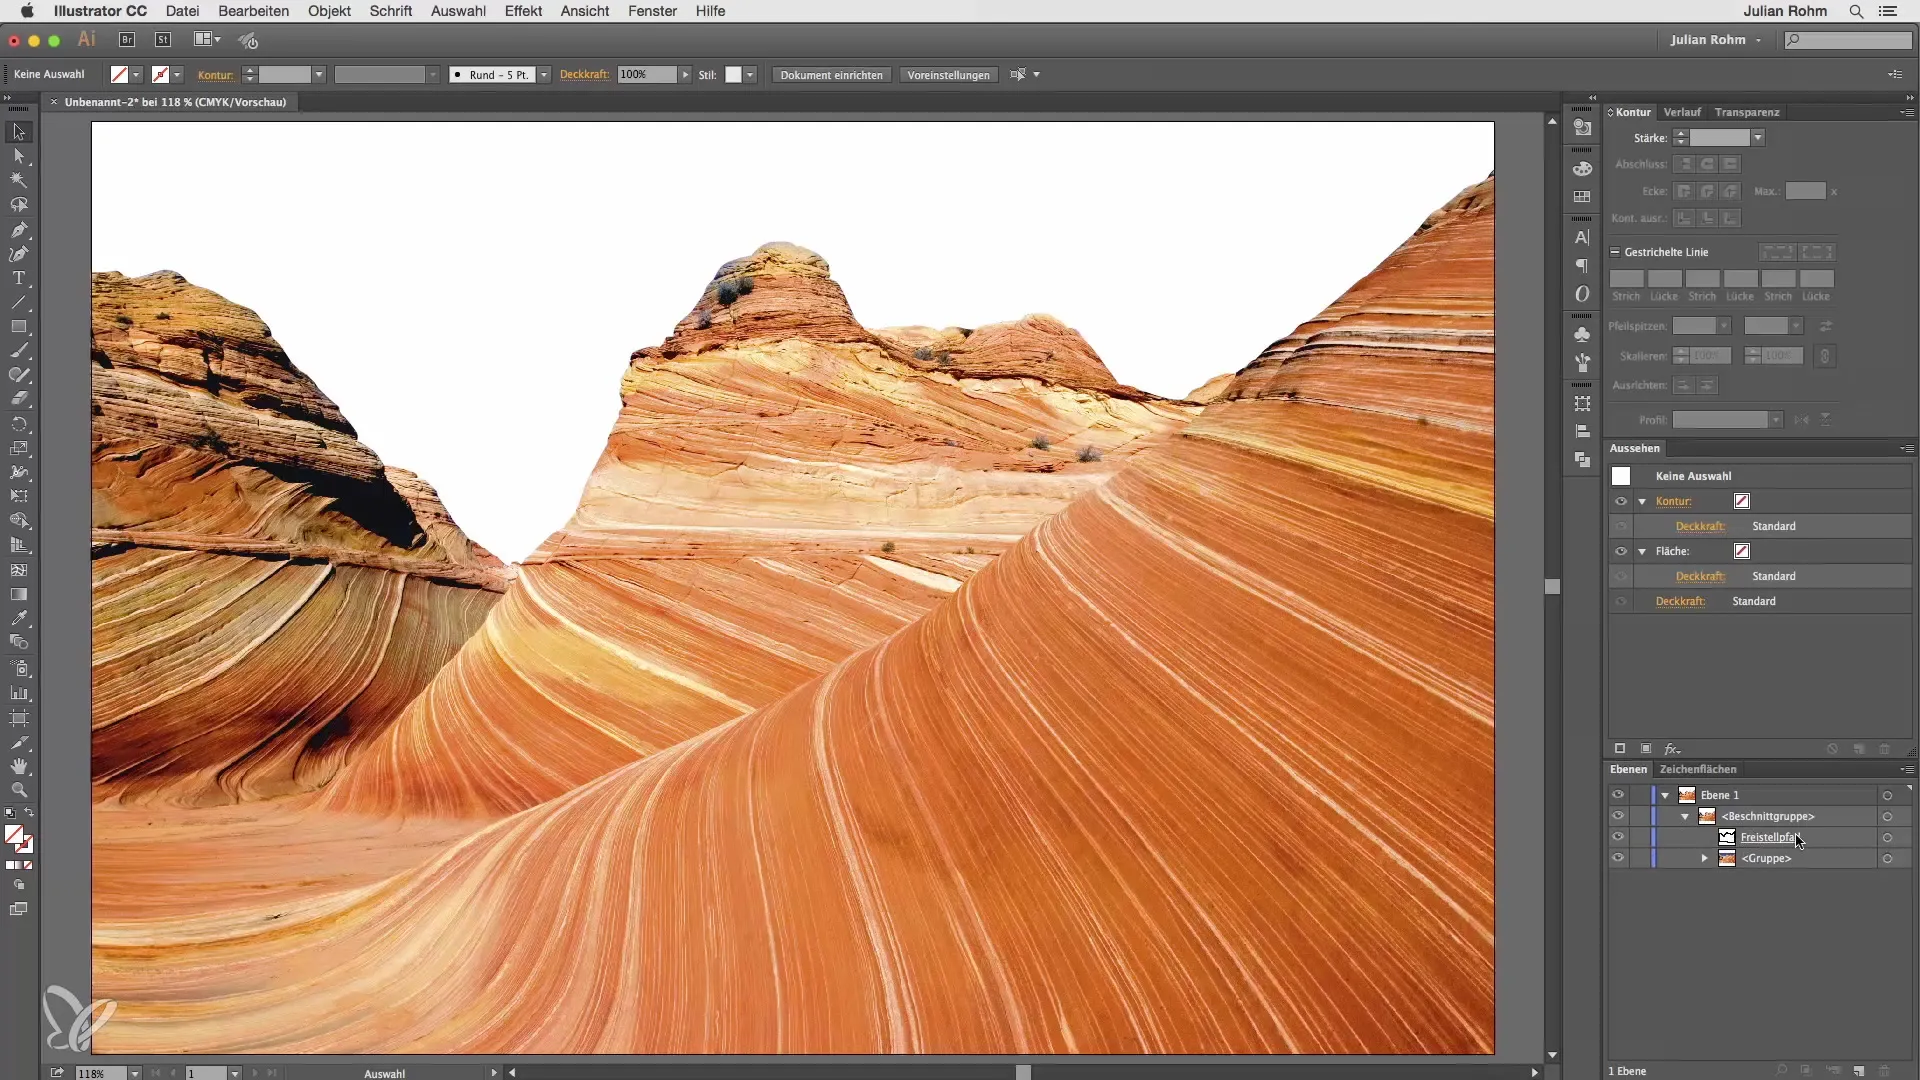
Now comes the crucial step: Right-click on the canvas and select the command "Make Clipping Mask." Your clipped image will now be visible while the background disappears.
Step 6: Layer Review
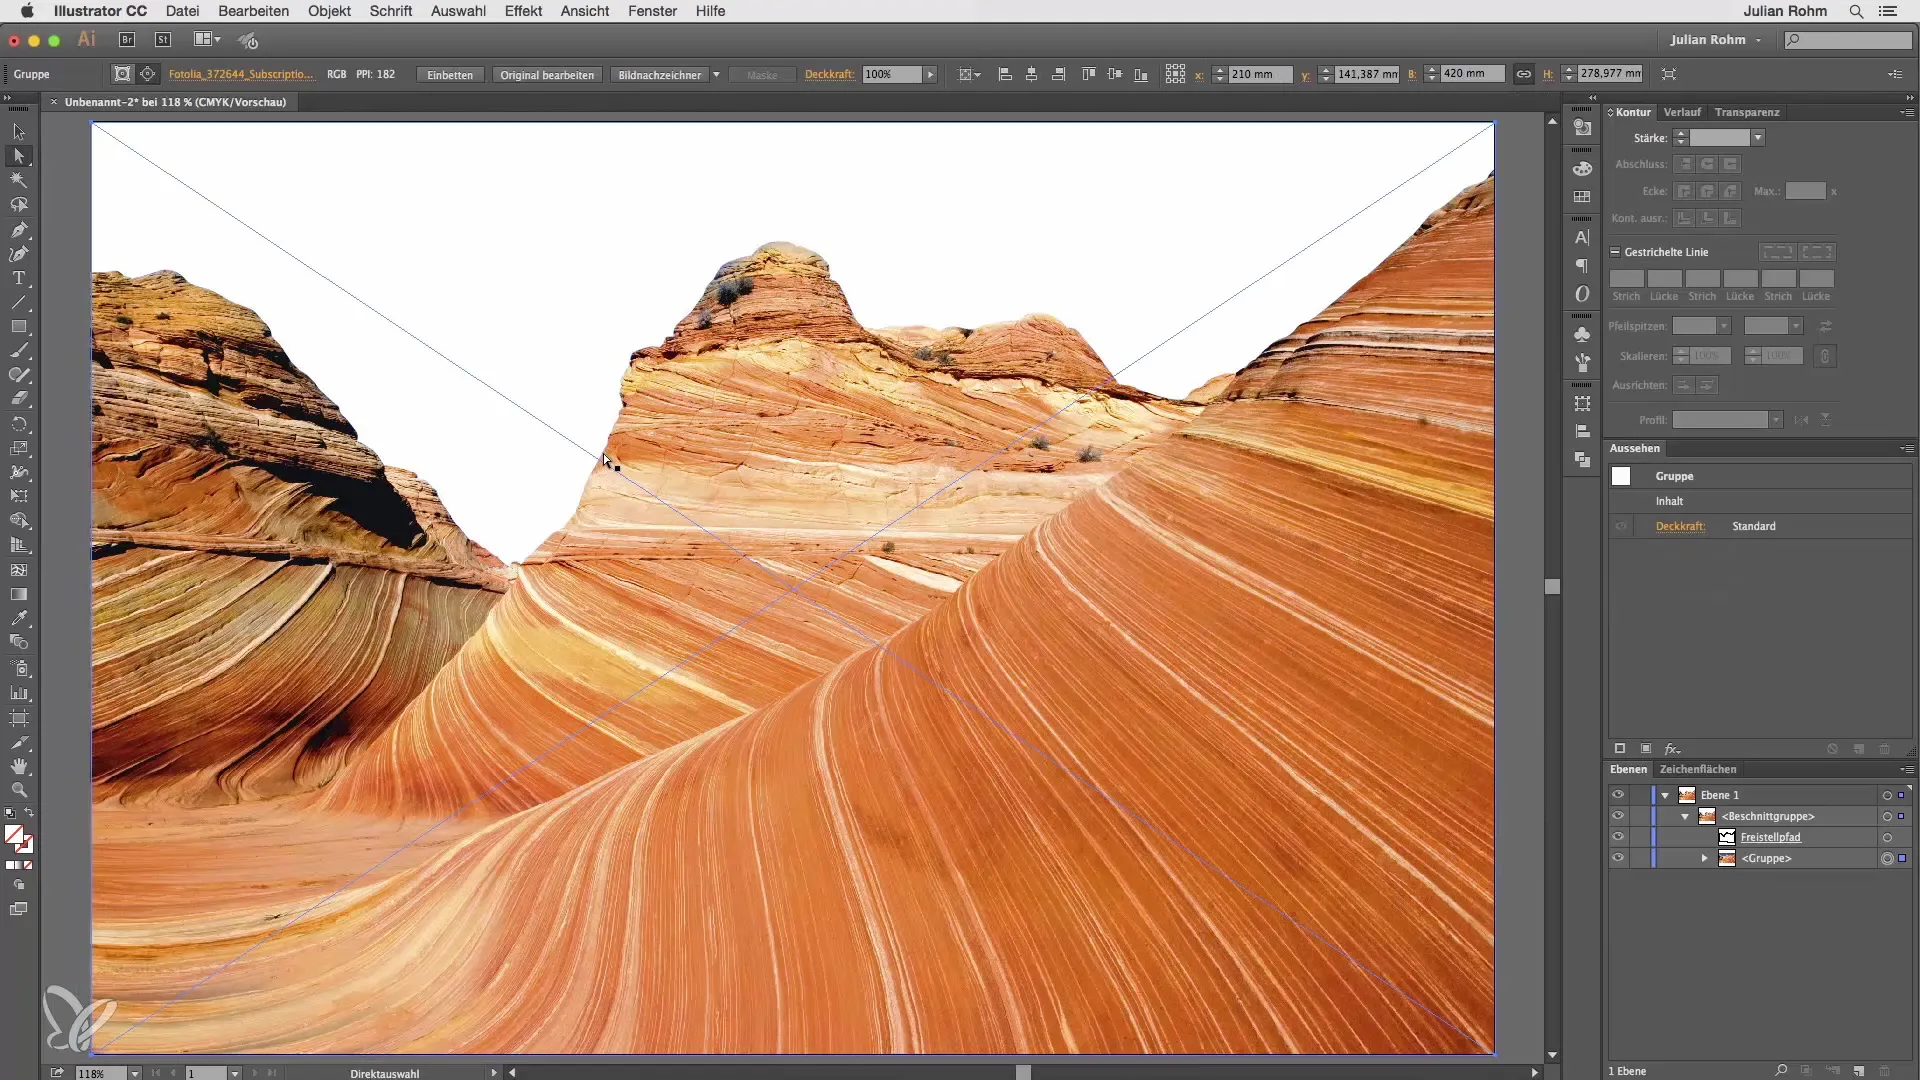
In the layers panel, you should now see a clipping group. This contains your clipping path and the group with the image. If you hide the clipping mask, you can see the full image again.
Step 7: Adjusting Points
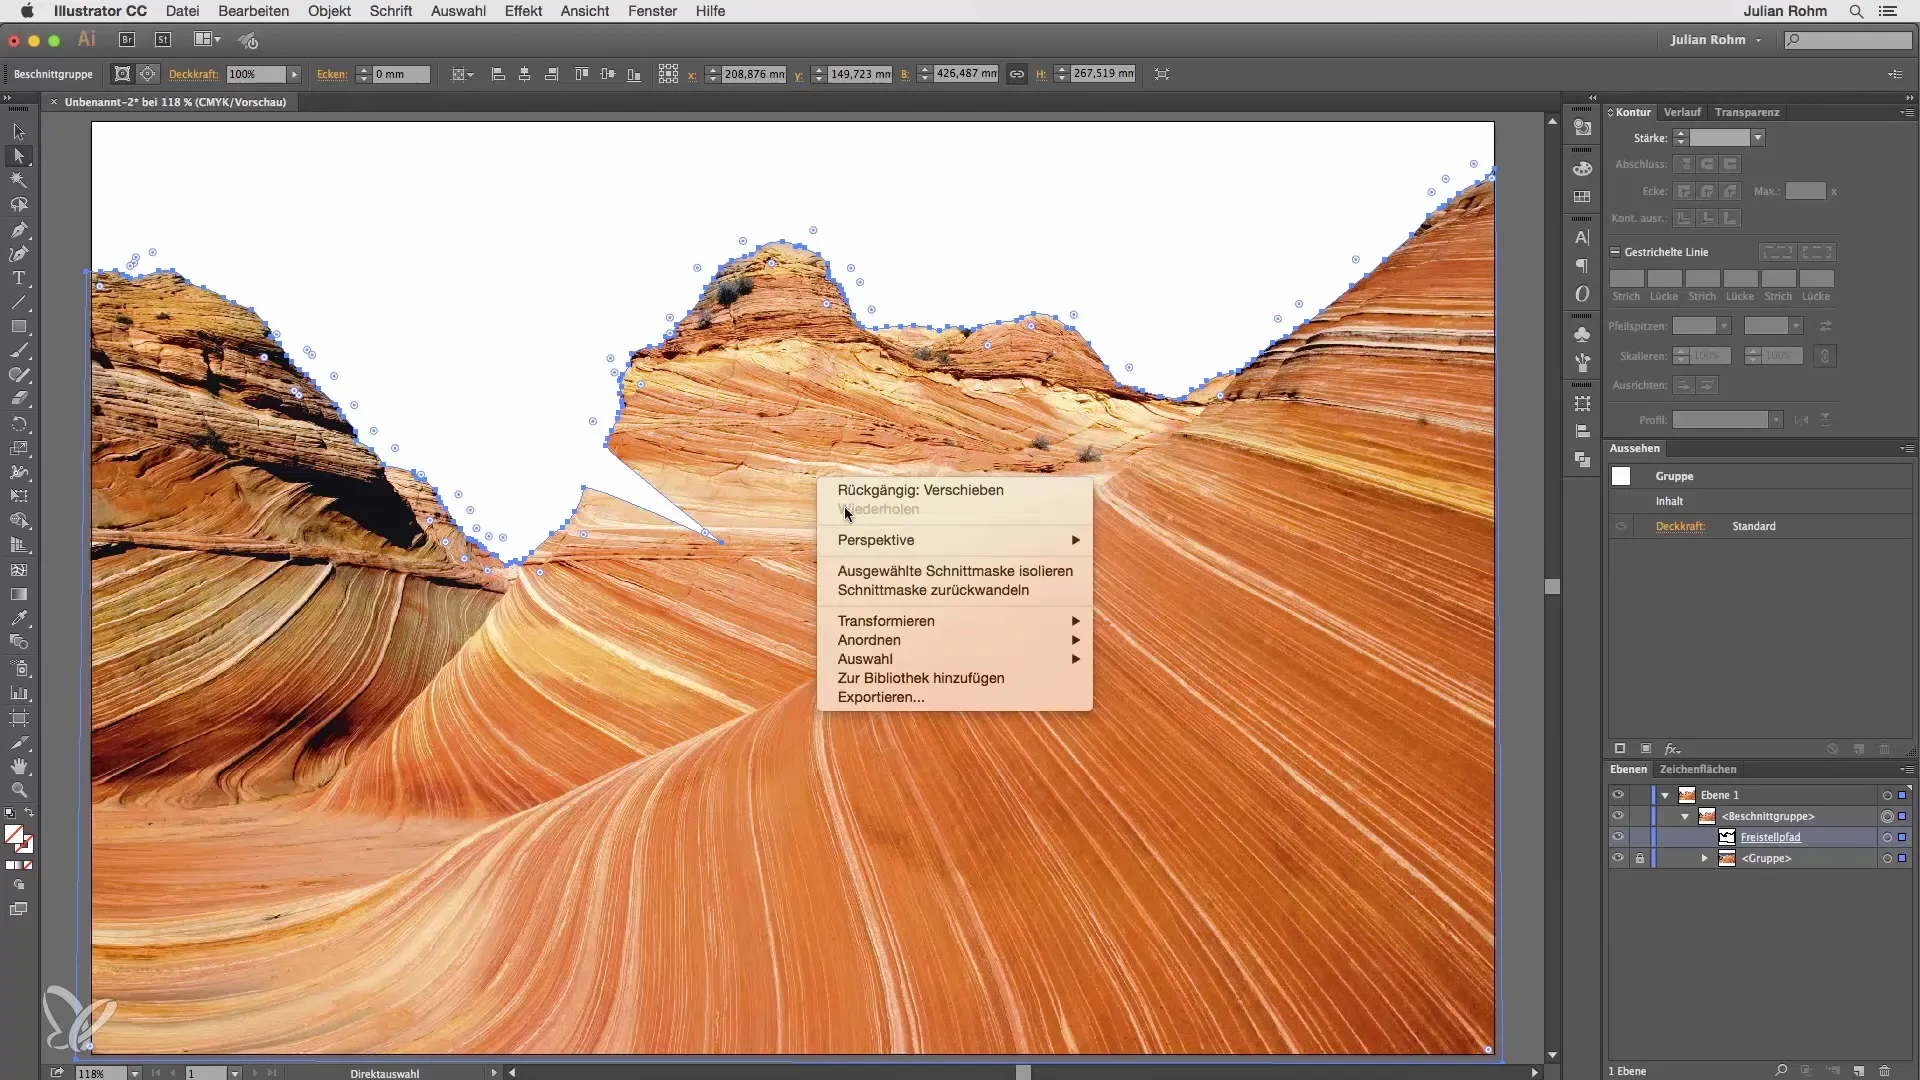
Do you want to make adjustments? Select the clipping mask and use the Direct Selection Tool to edit the points and paths. This allows you to easily adjust the selection and make areas visible or hidden.
Step 8: Remove or Undo Clipping Masks
If you do not like the result, you can either delete the clipping mask or undo it. Select the entire group and right-click to choose the option "Release Clipping Mask." This takes you back to your original image with the path above.
Step 9: Simple Clipping in Illustrator
You have now learned how to quickly and effectively create rough cutouts in Illustrator without having to rely on Photoshop. Use this technique for your own designs and play with the cuts.
Summary – Illustrator for Beginners: Clipping Images with Clipping Masks
By using clipping masks in Adobe Illustrator, you can easily and efficiently clip images. This technique is perfect for rough drafts and allows you to undo changes at any time. Experiment with the tools and the layers panel to optimize your results.
Frequently Asked Questions
How do I create a clipping mask in Illustrator?Select the image and the path, right-click, and choose "Make Clipping Mask."
Can I edit the clipping mask later?Yes, you can adjust the points or undo the clipping mask.
Are there any limitations to using clipping masks?Yes, the edges are usually sharp because Illustrator works with vectors.
Can I use this technique for other shapes as well?Yes, the principle also works for other objects, not just images.


