Adobe Illustrator is a powerful tool that allows you to not only create graphics but also design perspectives. Whether you're working with vectors or want to adjust real objects in perspective – the techniques are versatile. In this guide, you will learn how to use perspective distortion directly in Illustrator, for example, to realistically place stickers on a car. Let's get started!
Key Insights
- With the perspective grid in Illustrator, objects can be adjusted in perspective.
- The tool allows you to set the perspective precisely.
- Thanks to the perspective selection tool, working with perspectives is easy and intuitive.
Step-by-Step Instructions
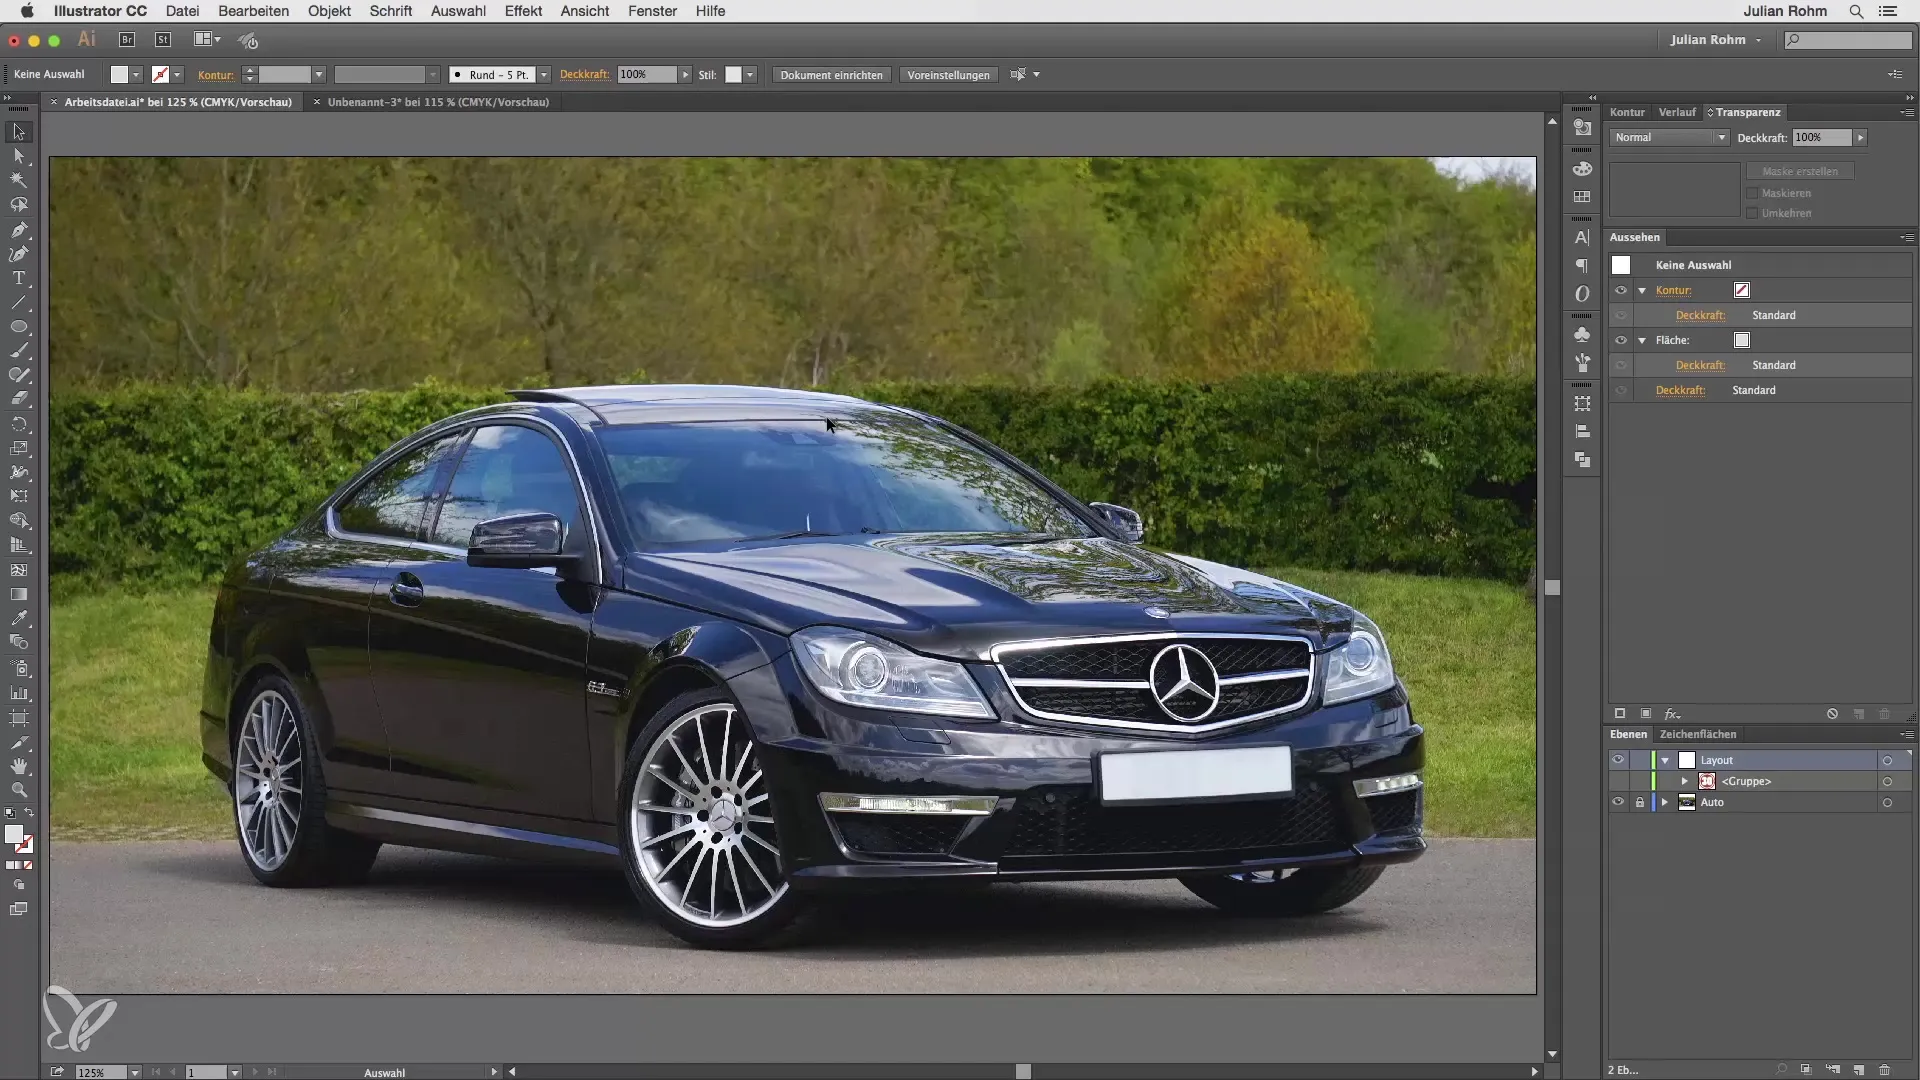
First, you need to open the perspective grid tool and the perspective selection tool in your toolbar. This gives you access to all the necessary functions. To make the grid visible, navigate to the respective tools and pull up the window.
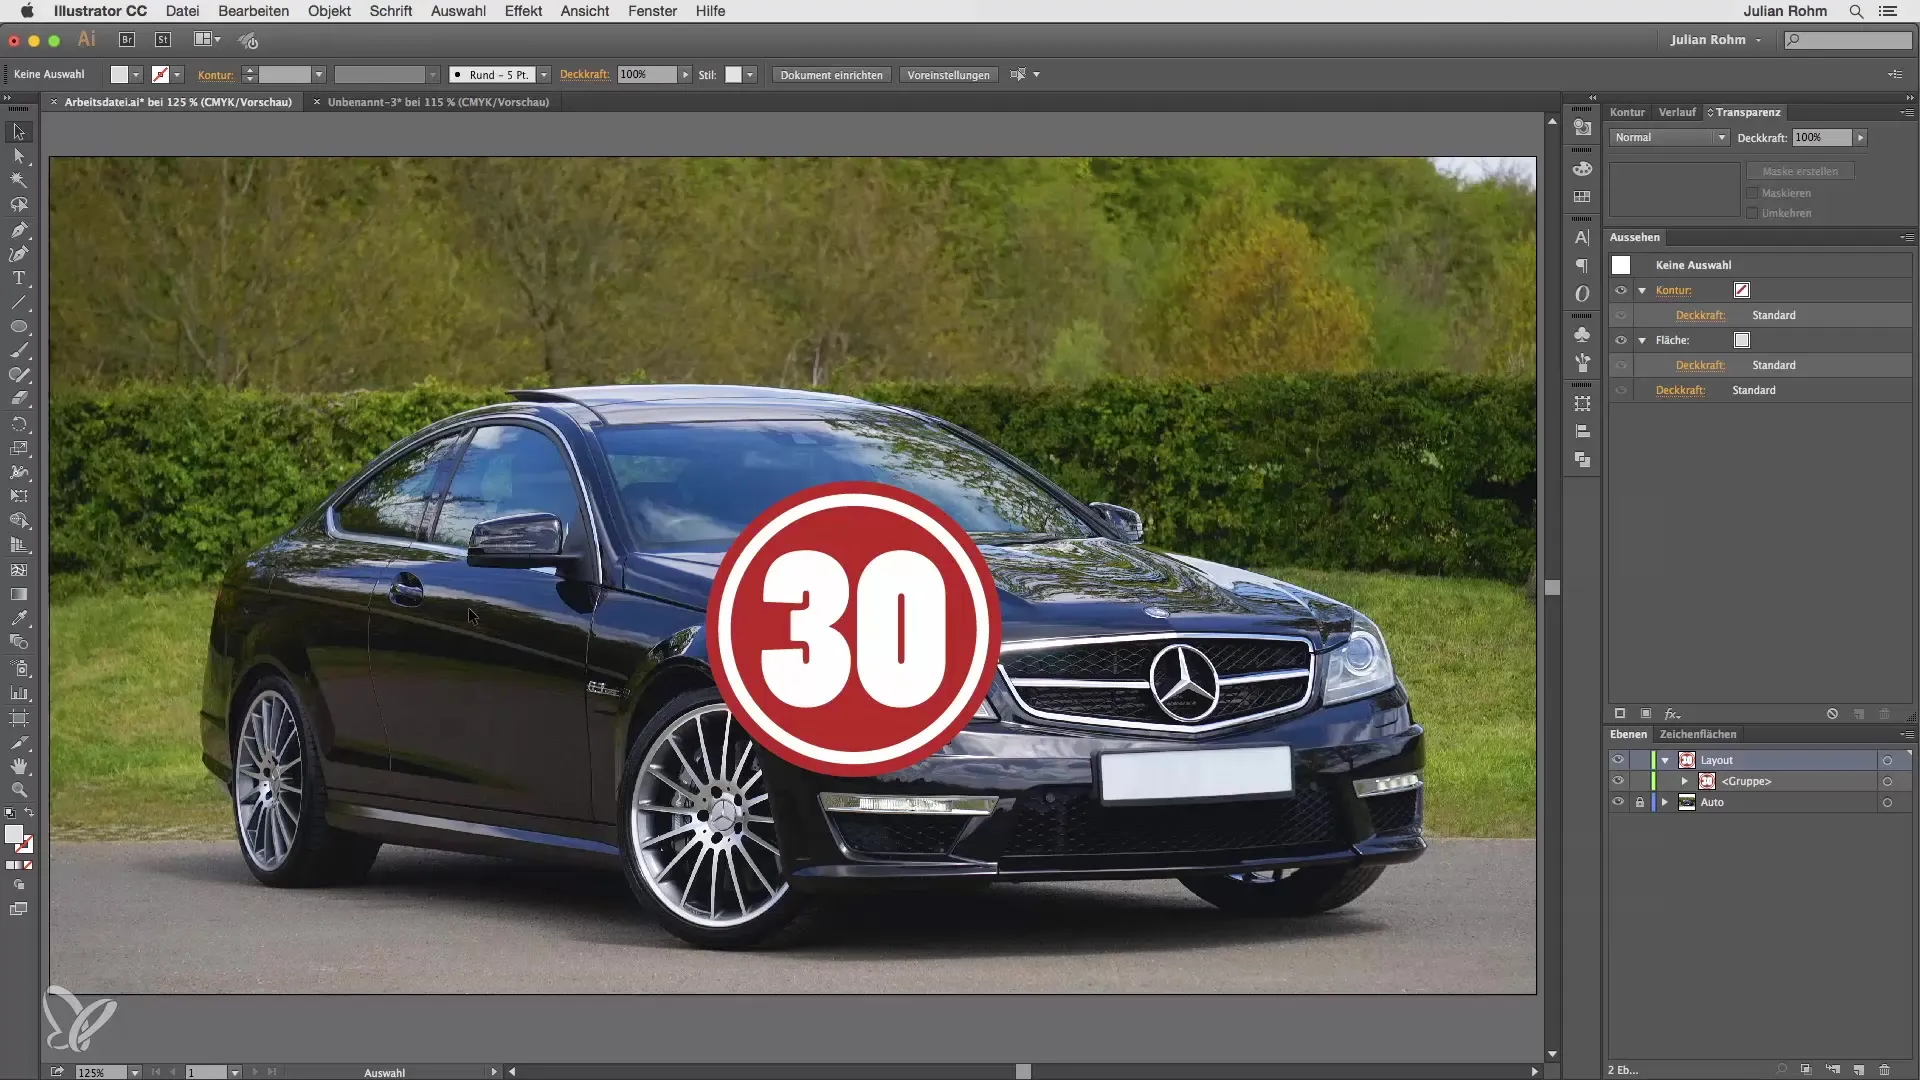
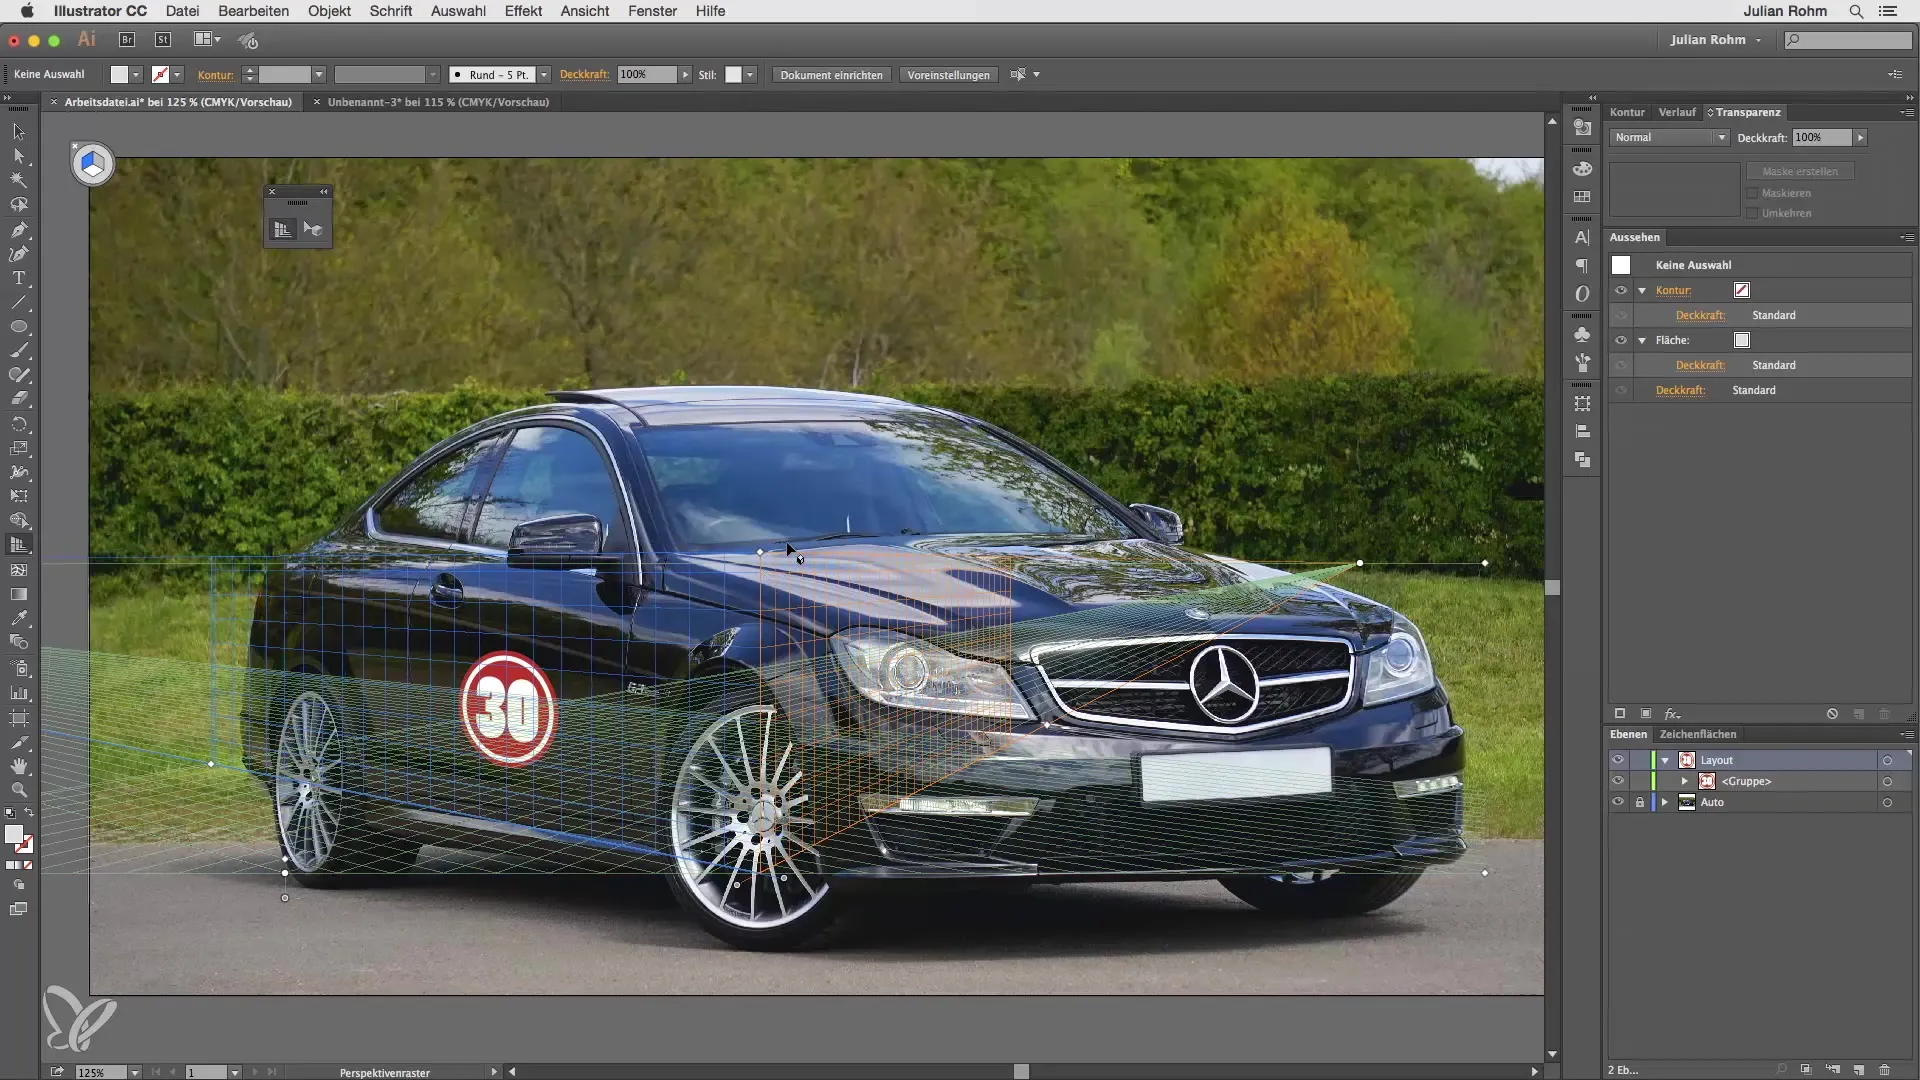
In the next step, it is important to adjust the grid to the contours of your car. Use the handles of the grid, which you can move by clicking and dragging. There are three main edges: a blue edge on the left, an orange edge, and a green bottom. For our example, we will focus on the blue edge, as this is the edge on which the sticker will be placed.
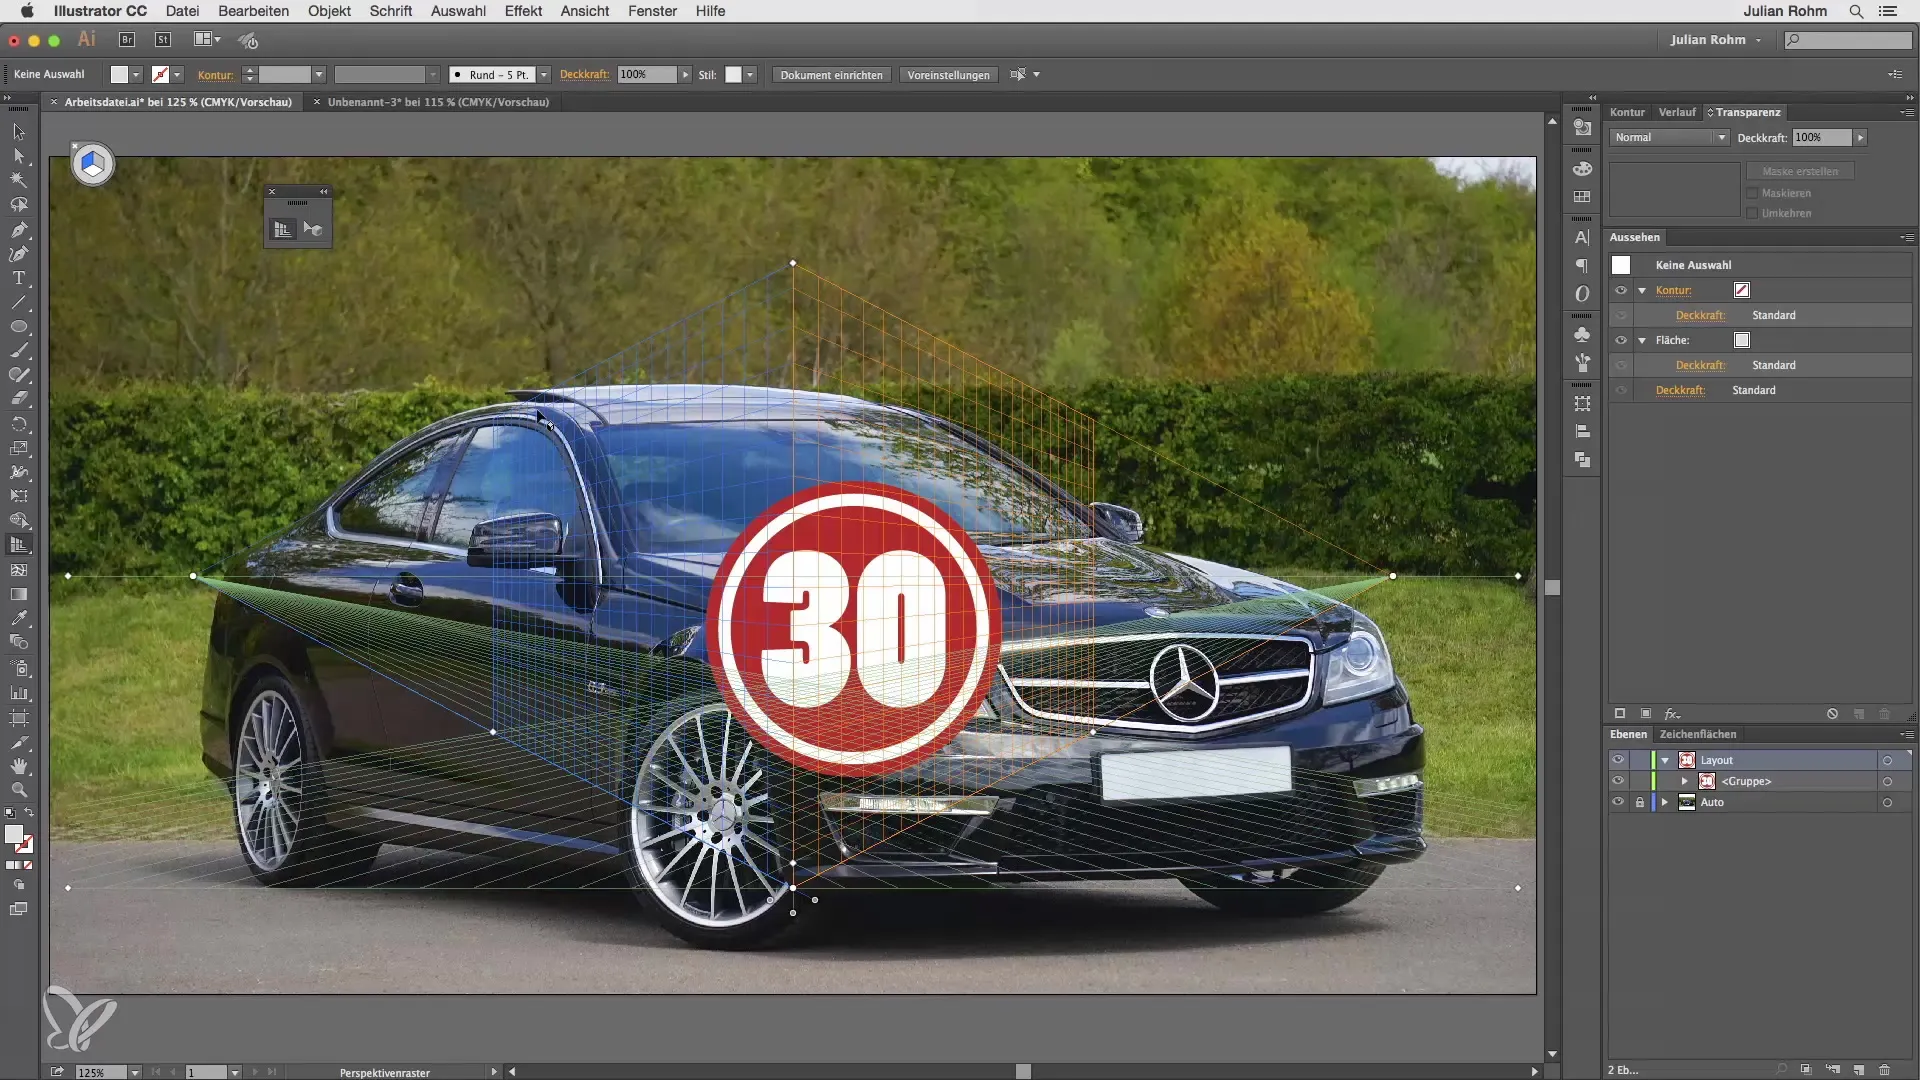
Now adjust the grid so that it aligns with the structure of the car. Keep the following points in mind: Move the grid to set the midpoint where you want it, and make sure the blue edge runs along the body of the car. Here, it is important to adjust the grid both outward and in height to create a realistic perspective.
If you have difficulty here, adjust the heights to ensure that both the top and bottom edges of the grid fit perfectly with the car. A fine adjustment can make all the difference, so take your time with this. The grid is now optimally set up.
Once the grid is set up, insert your object that you want to adjust – in this case, the sticker for the car. Then select the perspective selection tool. Make sure the correct edge – the blue one – is selected to set the distortion correctly.
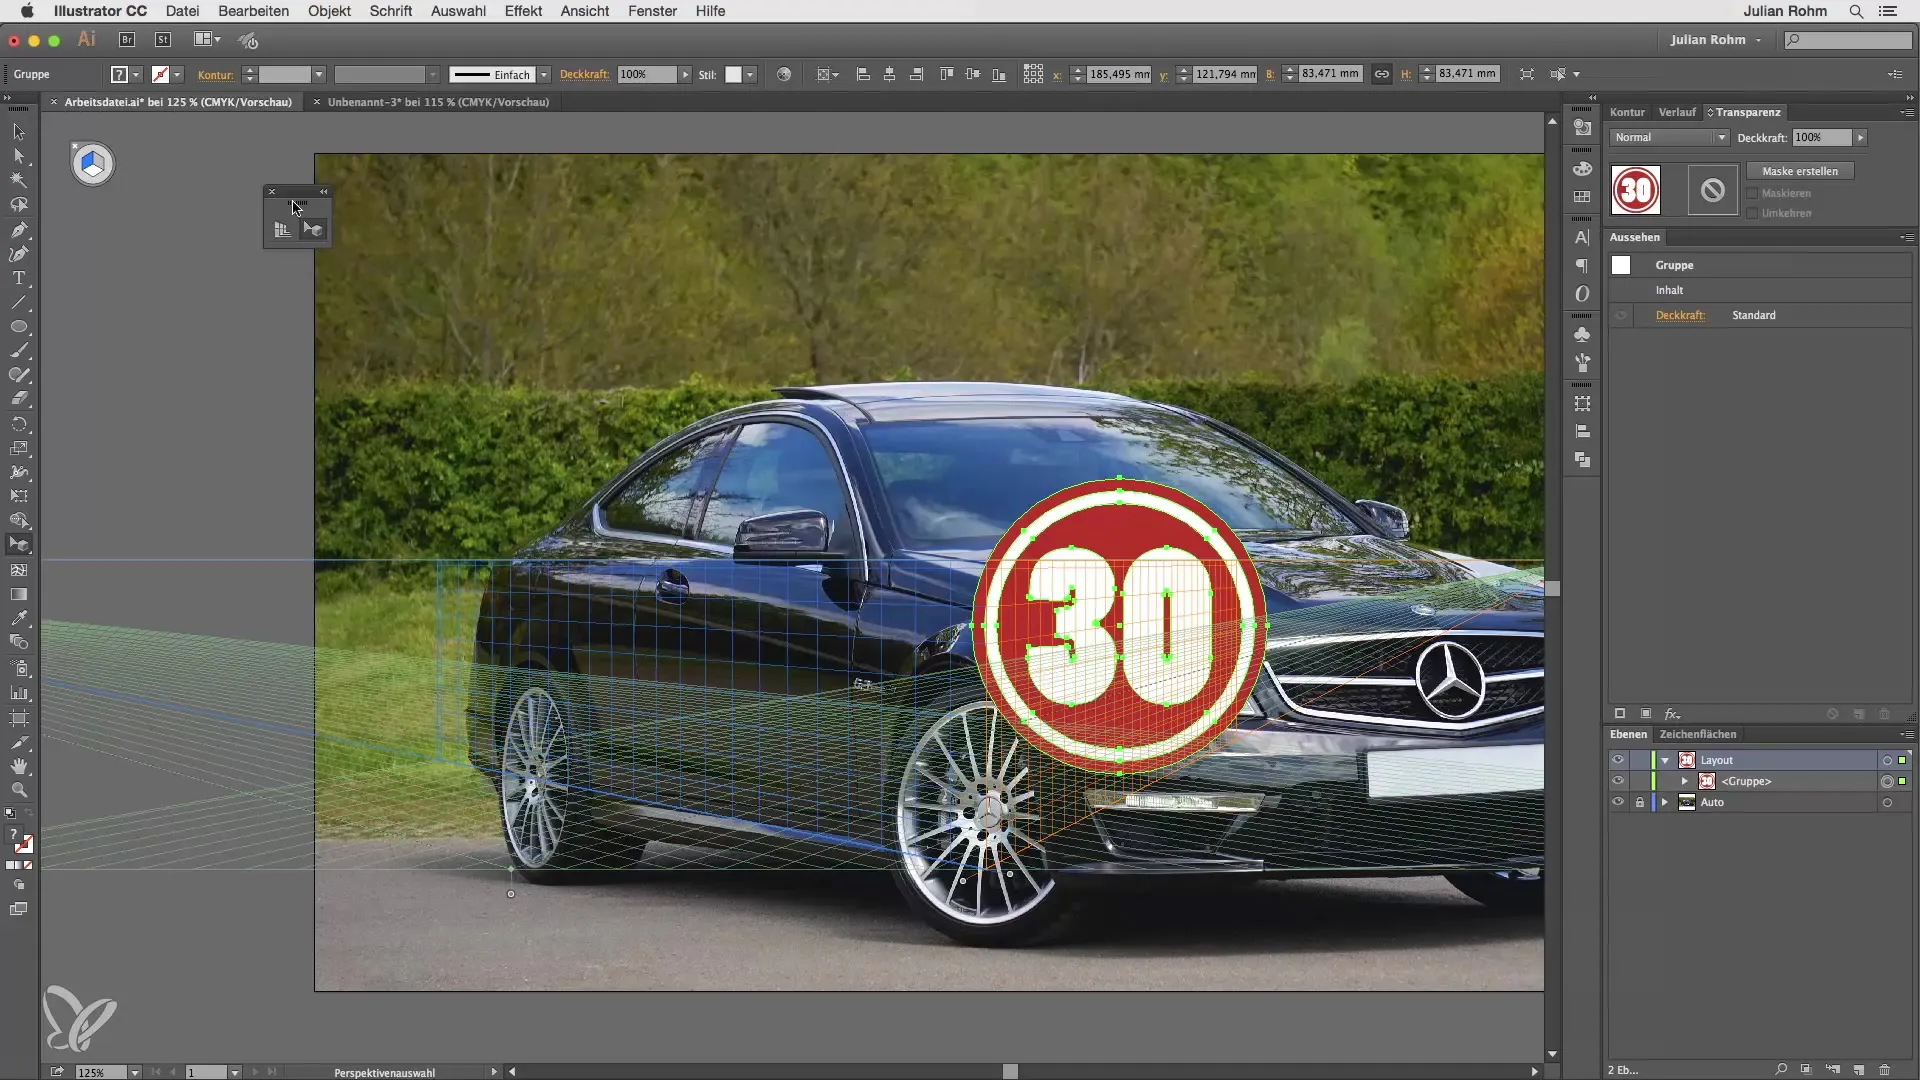
Now you can simply select the object you want to adjust perspective-wise. When you place it along the chosen edge, the grid will automatically adjust. You have the ability to further fine-tune the size and position of the object to find the perfect placement for your design.
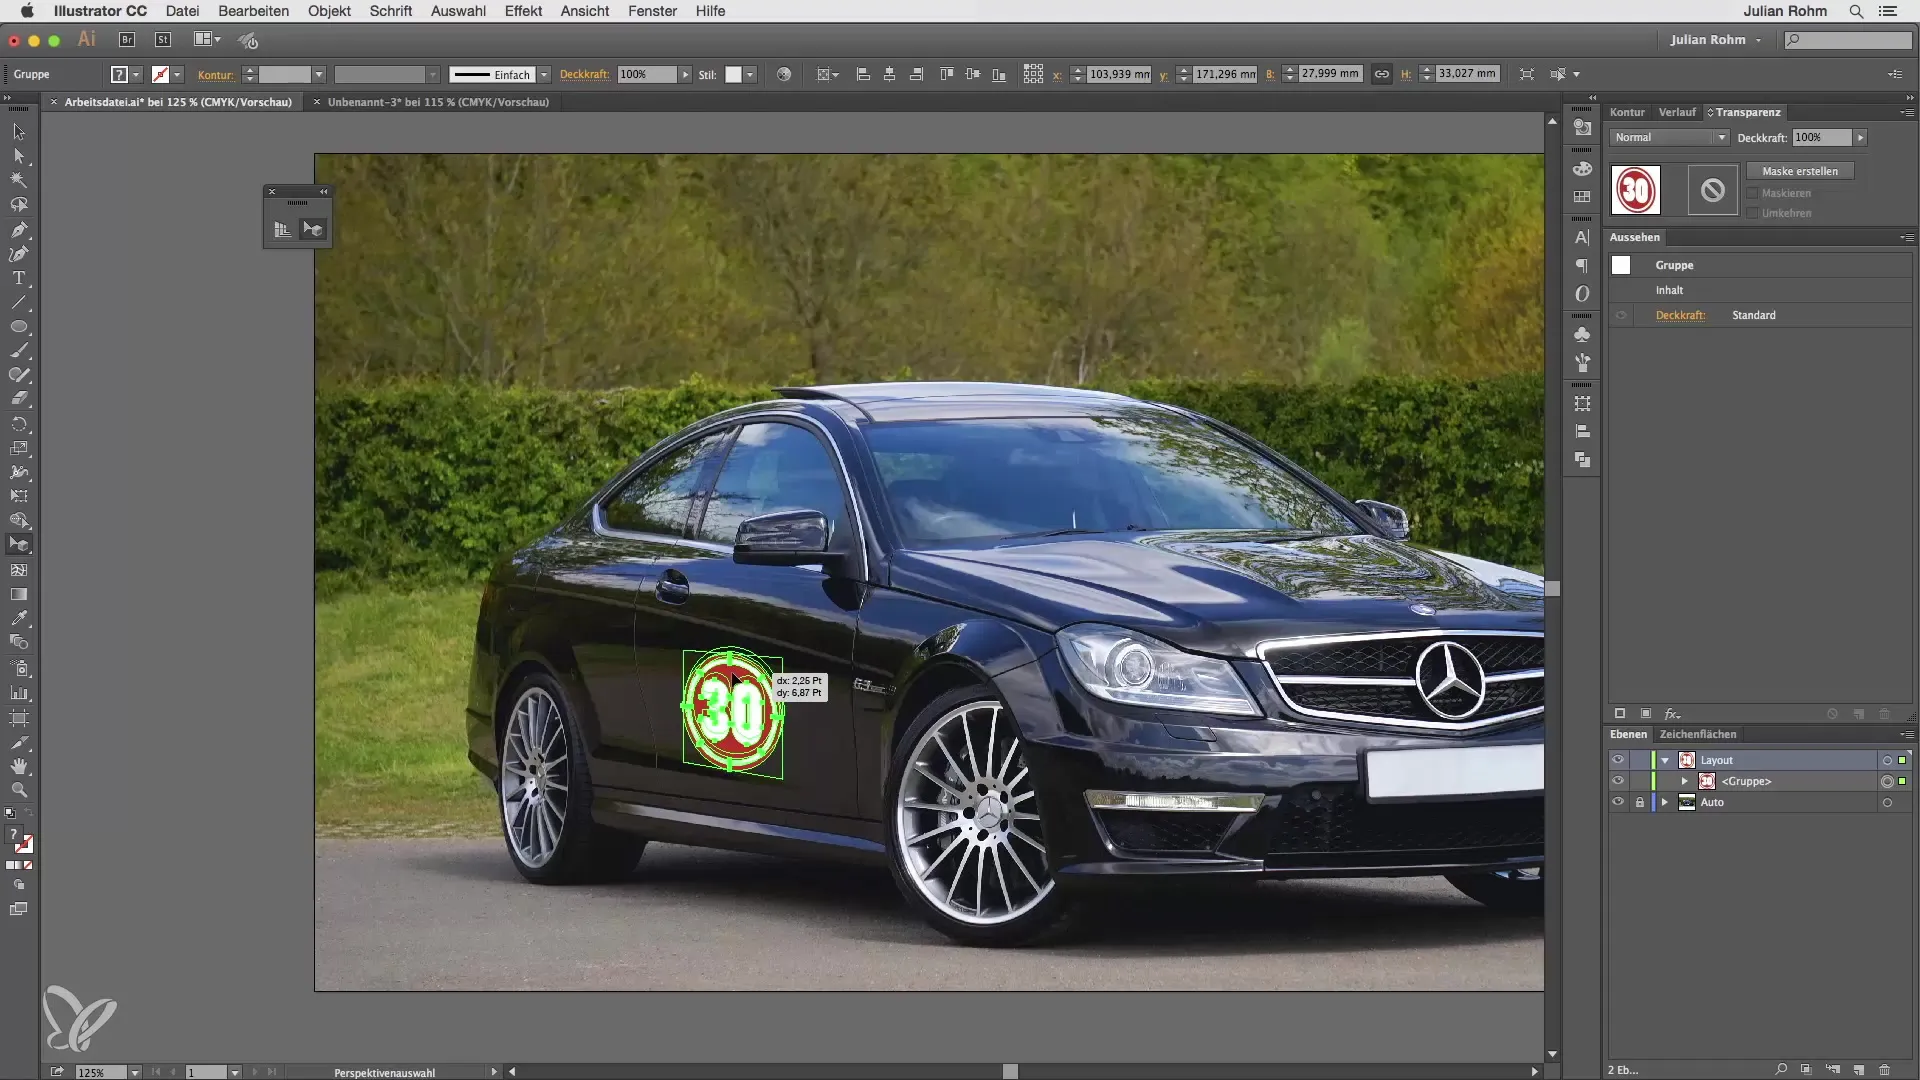
Of course, you can at any time hide the grid by simply clicking on the cross at the top of the toolbar. Don't forget that you can also move or scale your object afterward to adjust it perfectly. This is particularly useful to give the client a preview of how the final sticker would look on the car.
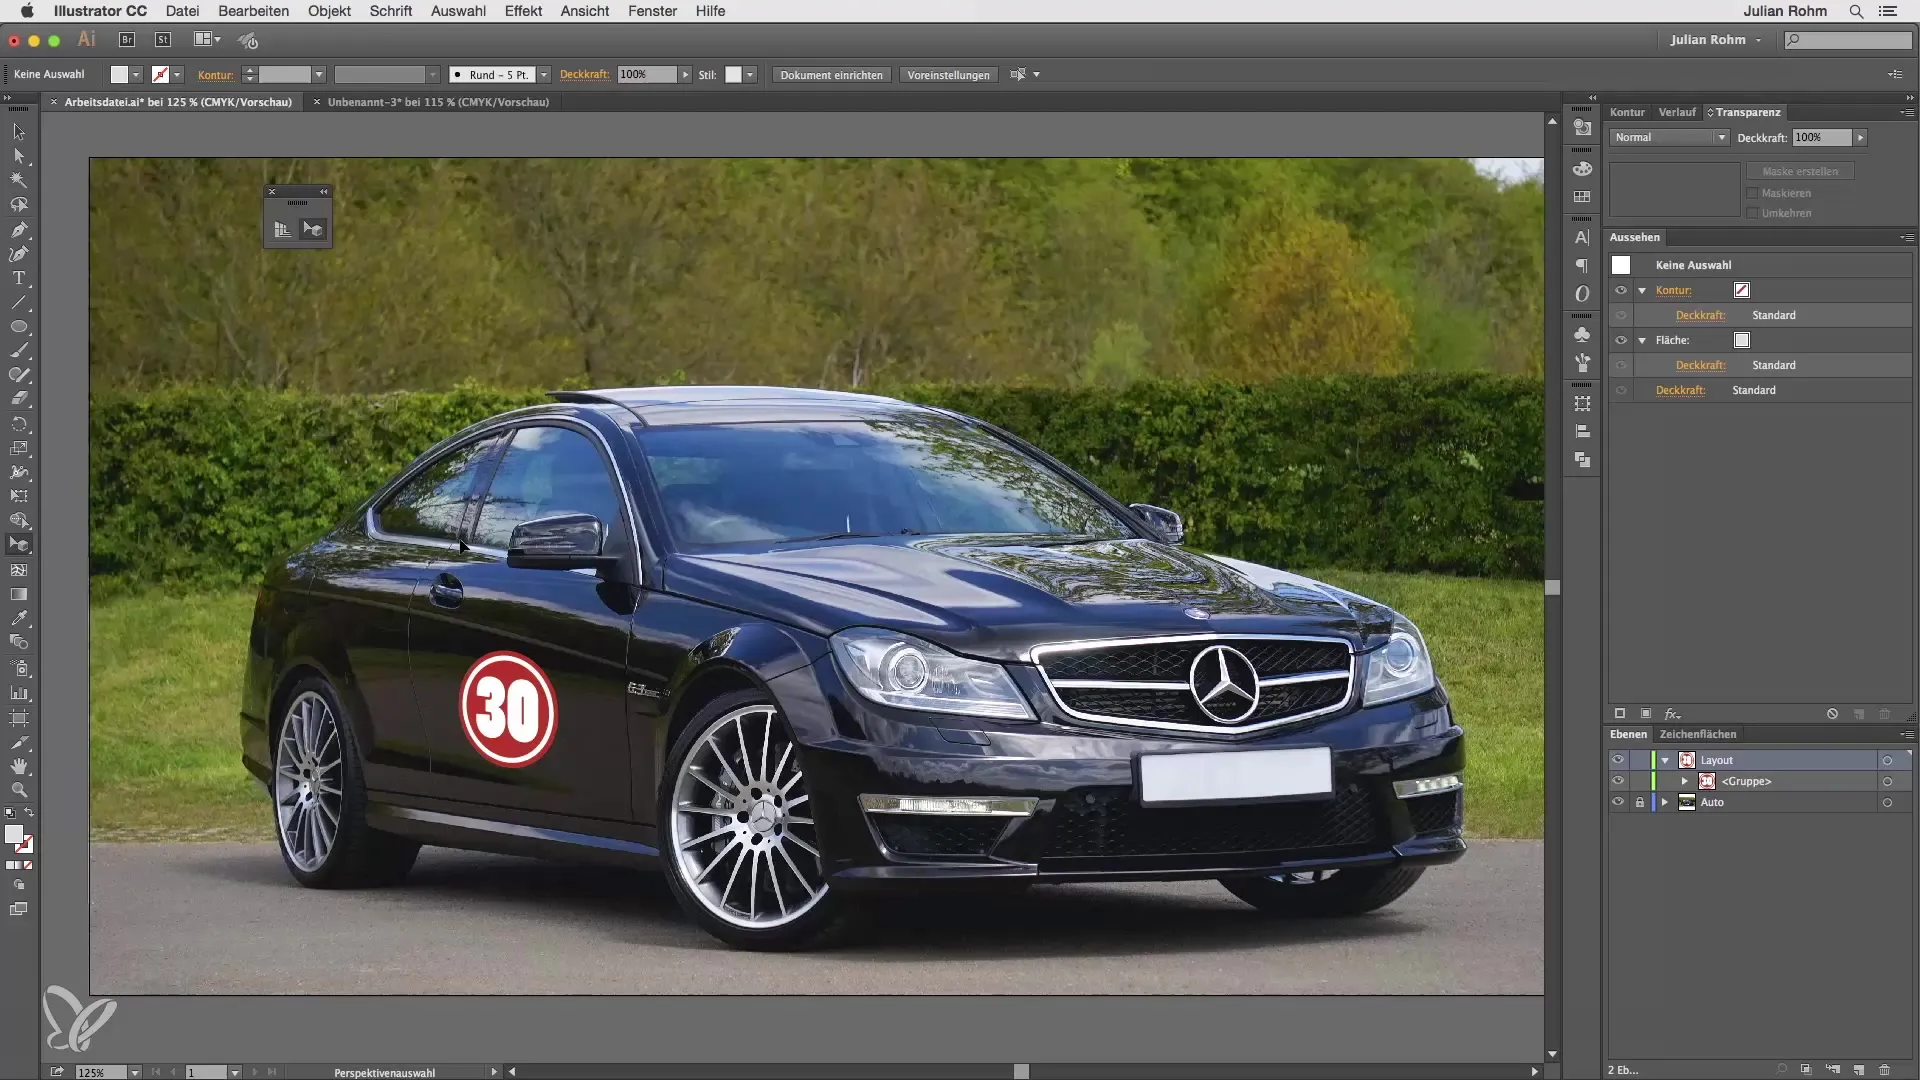
If you're not completely satisfied with the result, take another look at your grid. You can click on the perspective grid tool again at any time to make adjustments and fine-tune the perspective further.
Conclusion – Perspective Distortion in Illustrator: A Precise Guide
In this guide, you learned how to use the perspective grid in Adobe Illustrator to distort objects in perspective. You discovered how to adjust the grid to your object and then accurately position it using the perspective selection tool. This technique helps you create realistic designs and optimize your graphics.
Frequently Asked Questions
What is the perspective grid in Illustrator?The perspective grid is a tool that allows you to adjust objects in perspective.
How do I use the perspective selection tool?Select the object you want to adjust and ensure the correct edge of the grid is activated.
Can I adjust the grid afterwards?Yes, you can adjust the grid at any time and fine-tune the perspective.
What do I do if the result does not meet my expectations?You can adjust the perspective grid again and reposition your object.


