The eraser tool in Adobe Illustrator is often overlooked but an extremely useful tool that can help you make precise adjustments to your designs. Whether you want to delete shape elements or divide objects, this tool provides a simple, effective way to refine your work. Let’s dive deeper and explore all the features and uses of the eraser tool.
Key Takeaways
- With the eraser tool, you can easily erase created shapes.
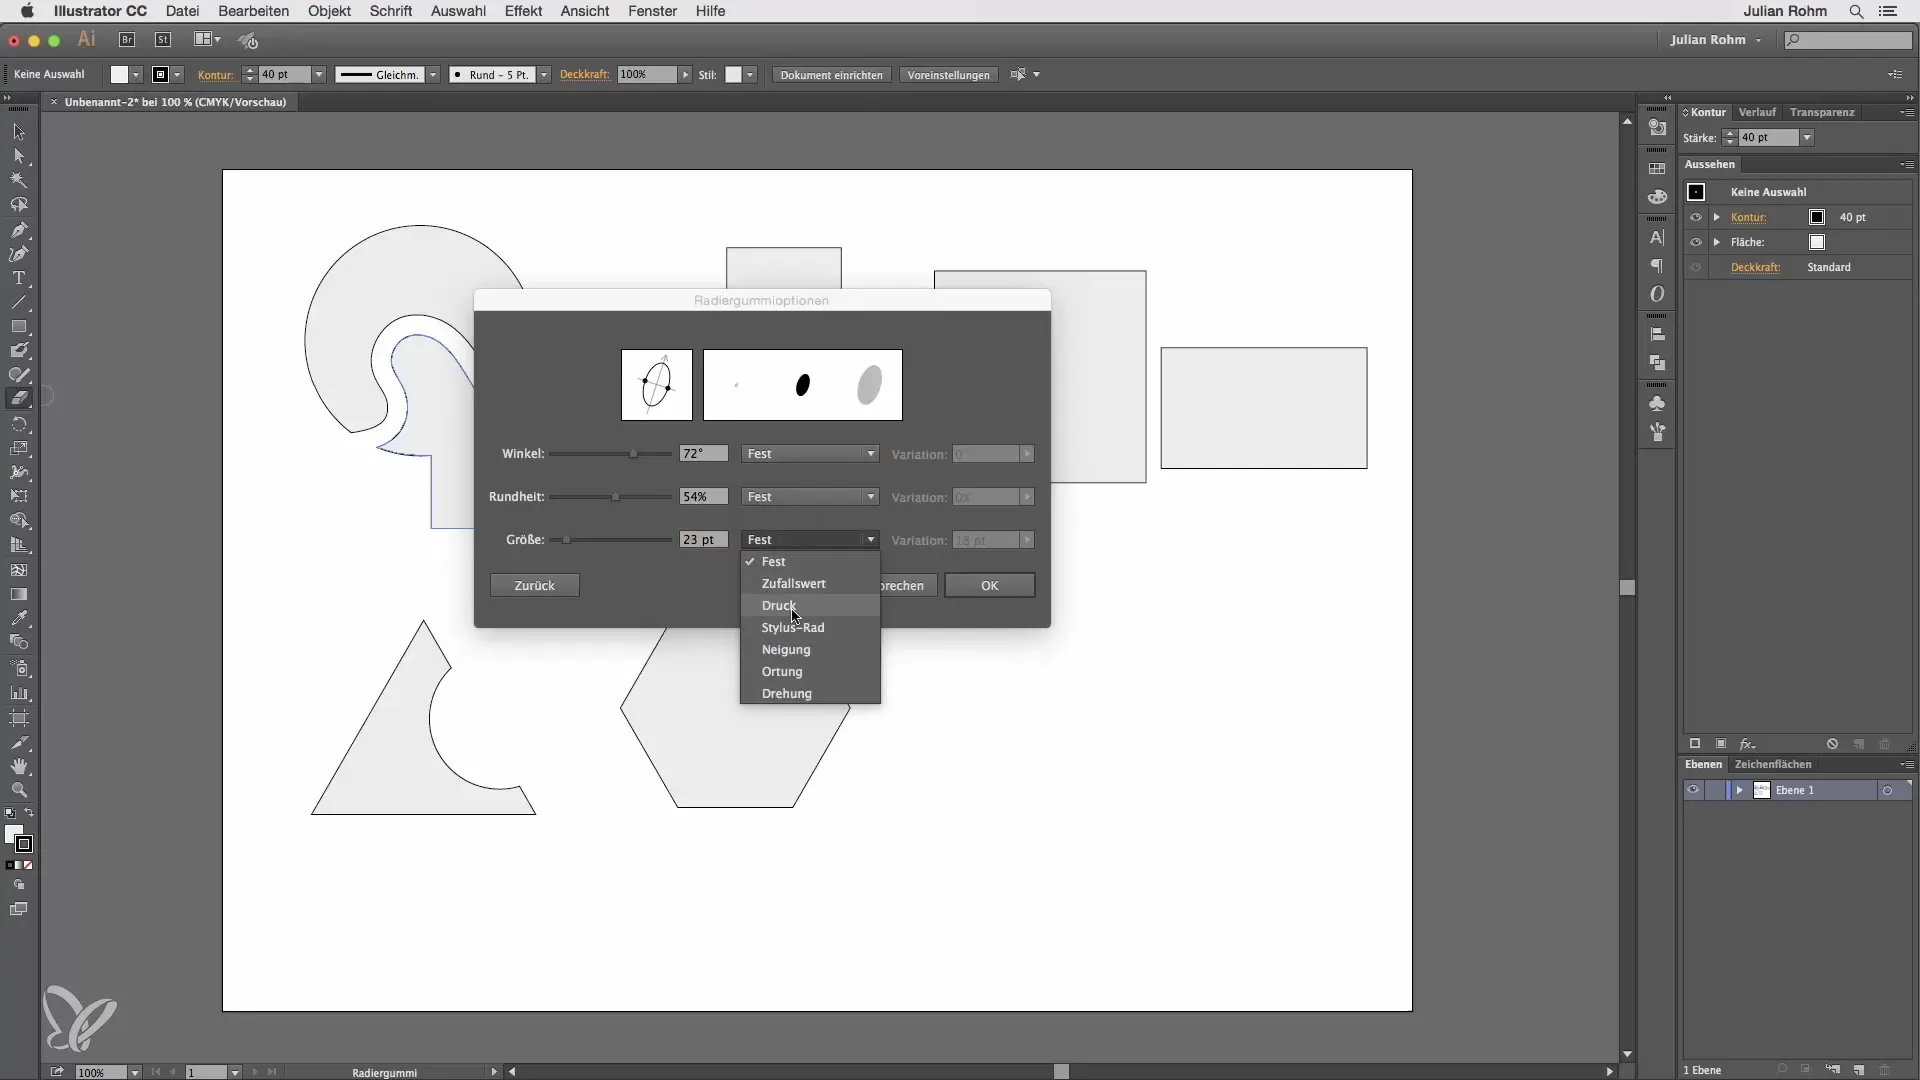
- Double-clicking the eraser opens additional options like size and roundness.
- You can use the pressure of the stylus to dynamically adjust the eraser size.
- Under the eraser tool, you’ll also find the scissors and knife for further editing options.
Step-by-Step Guide
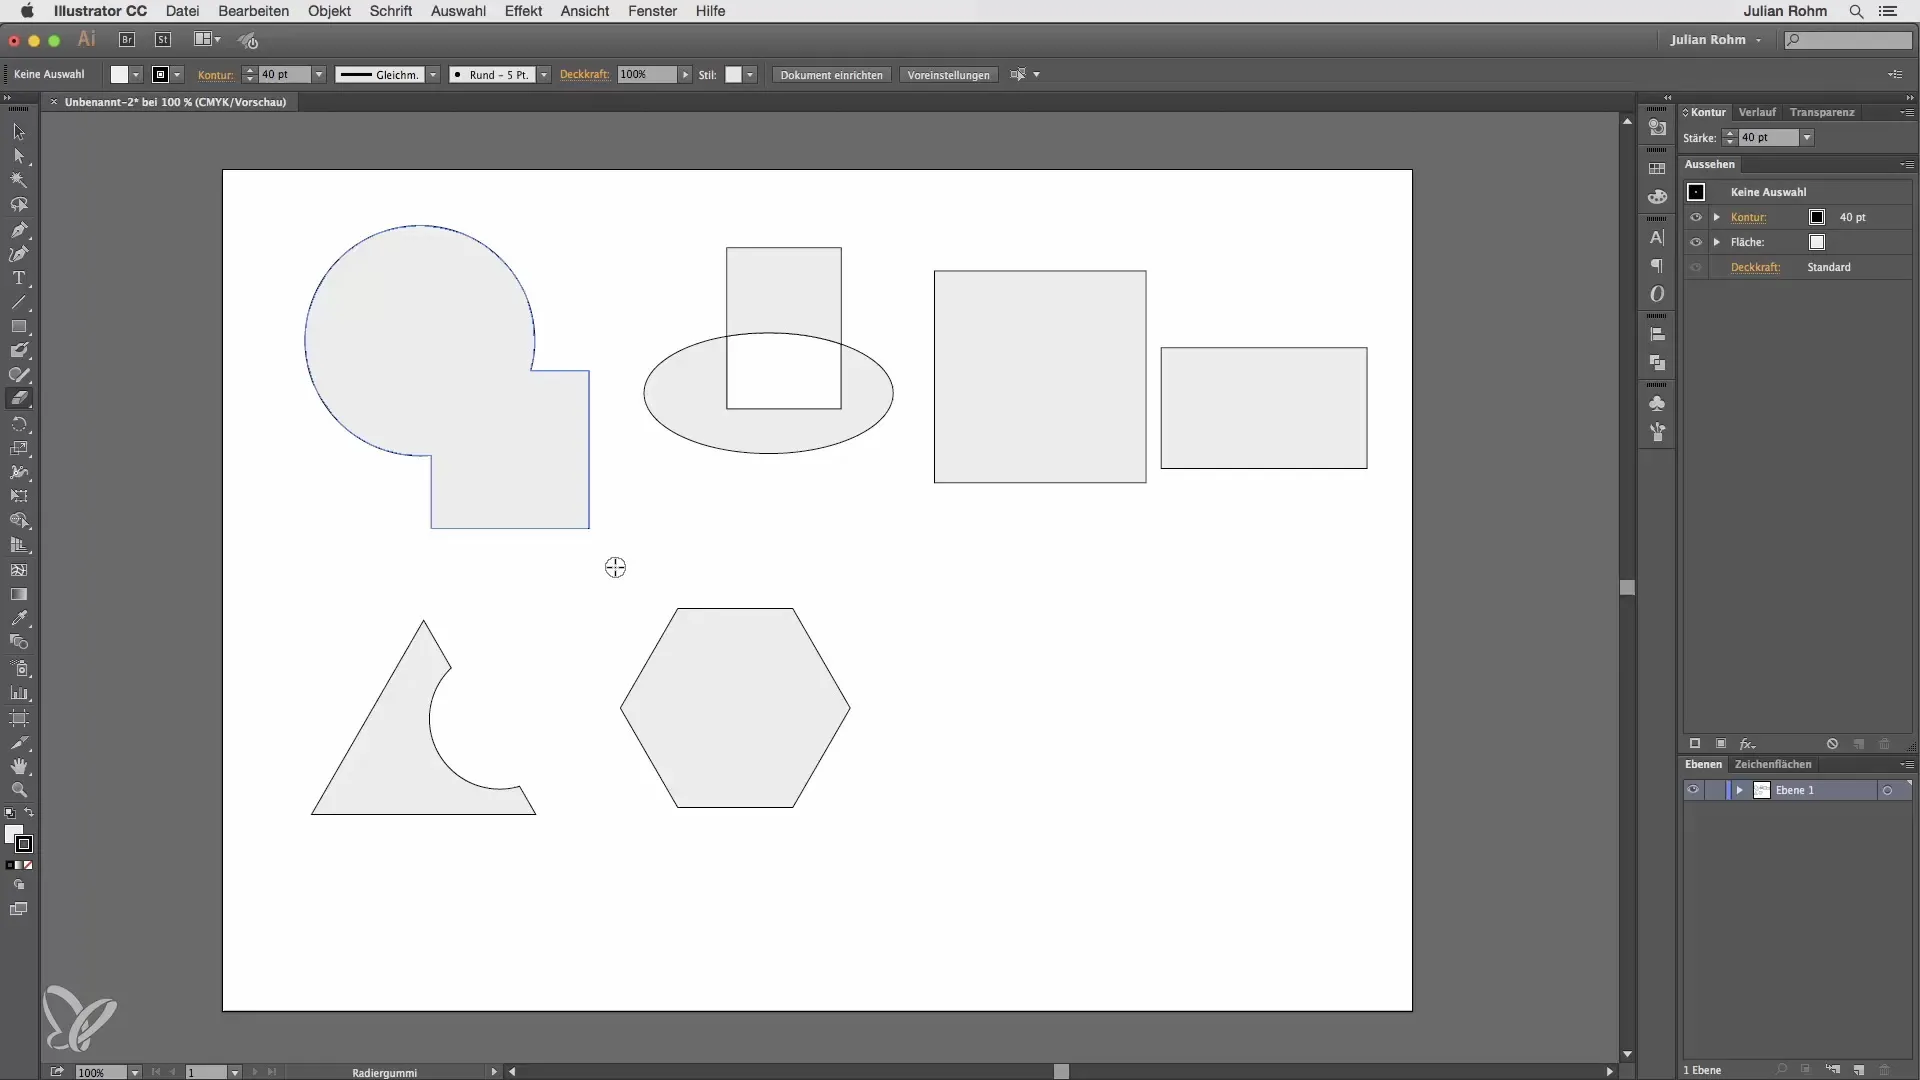
First Step: Preparing Your Workspace Before you start working with the eraser tool, make sure you have created some shapes in your document that you want to edit. Select the eraser tool from the toolbar to activate the editing mode.

Second Step: Selecting the Eraser Tool Activate the eraser tool by clicking on it. You will notice that you now have the ability to influence shapes on your workspace. Erasing parts of your designs can be a precise way to give your work a final touch.
Third Step: Adjusting Options By double-clicking the eraser tool, a menu opens with various options. Here you can adjust the angle, roundness, and size of the eraser. These parameters are crucial in achieving the exact result you desire.
Fourth Step: Using Pressure If you are using a graphics tablet or a pressure-sensitive stylus, you can dynamically adjust the size of the eraser by varying the pressure. With less pressure, you can erase a thin line, while with more pressure, you can remove a thicker line. This gives you a creative edge when removing design elements.

Fifth Step: Getting to Know Additional Tools Under the eraser tool, you will also find the scissors and knife. The scissors allow you to add more points along the contour and make precise cuts. Experiment with these functions to further segment or modify your objects.
Sixth Step: Freehand Changes with the Knife The knife tool offers the ability to draw freehand lines to divide objects. This technique gives you the freedom to be as creative as you want and allows you to achieve precise distributions within a design.
Summary – Eraser Tool in Illustrator: A Comprehensive Guide
The eraser tool proves to be extremely versatile. It not only allows for simple removal of elements but also offers the ability to dynamically adjust size and use additional tools like the scissors and knife for more complex adjustments. Use this valuable tool to perfect your designs and create sophisticated, creative projects.
Frequently Asked Questions
How do I activate the eraser tool?You can activate the eraser tool by simply clicking on the icon in the toolbar.
Can I adjust the size of the eraser tool?Yes, by double-clicking the eraser icon, you can adjust various options like size, roundness, and angle.
How does pressure sensitivity work with the eraser tool?If you are using a pressure-sensitive stylus, you can use the pressure to dynamically change the size of the eraser.
What additional tools are associated with the eraser tool?Under the eraser tool, you will find the scissors and knife, which can help you cut and divide objects.
Can I destroy or permanently remove shapes?The eraser tool deletes parts of your designs, but you can undo changes if you are unhappy with the outcome.


