Creating and plotting stickers can be a creative process where you can showcase your design skills. In this guide, you will learn how to effectively create a vector graphic sticker using Adobe Illustrator and prepare it for the plotter. You can let your creativity run wild by creating your own designs or using existing graphics.
Key Insights
- Use the right stroke color and thickness for optimal plotting results.
- Save the file in Illustrator 3 format to avoid complications during plotting.
- Understand the weeding process and how to apply the sticker.
Step-by-Step Guide
First, you need a suitable design. I chose a butterfly from pstdtutorials.de to demonstrate the process. You should ensure that your design has the right structure to work well later.
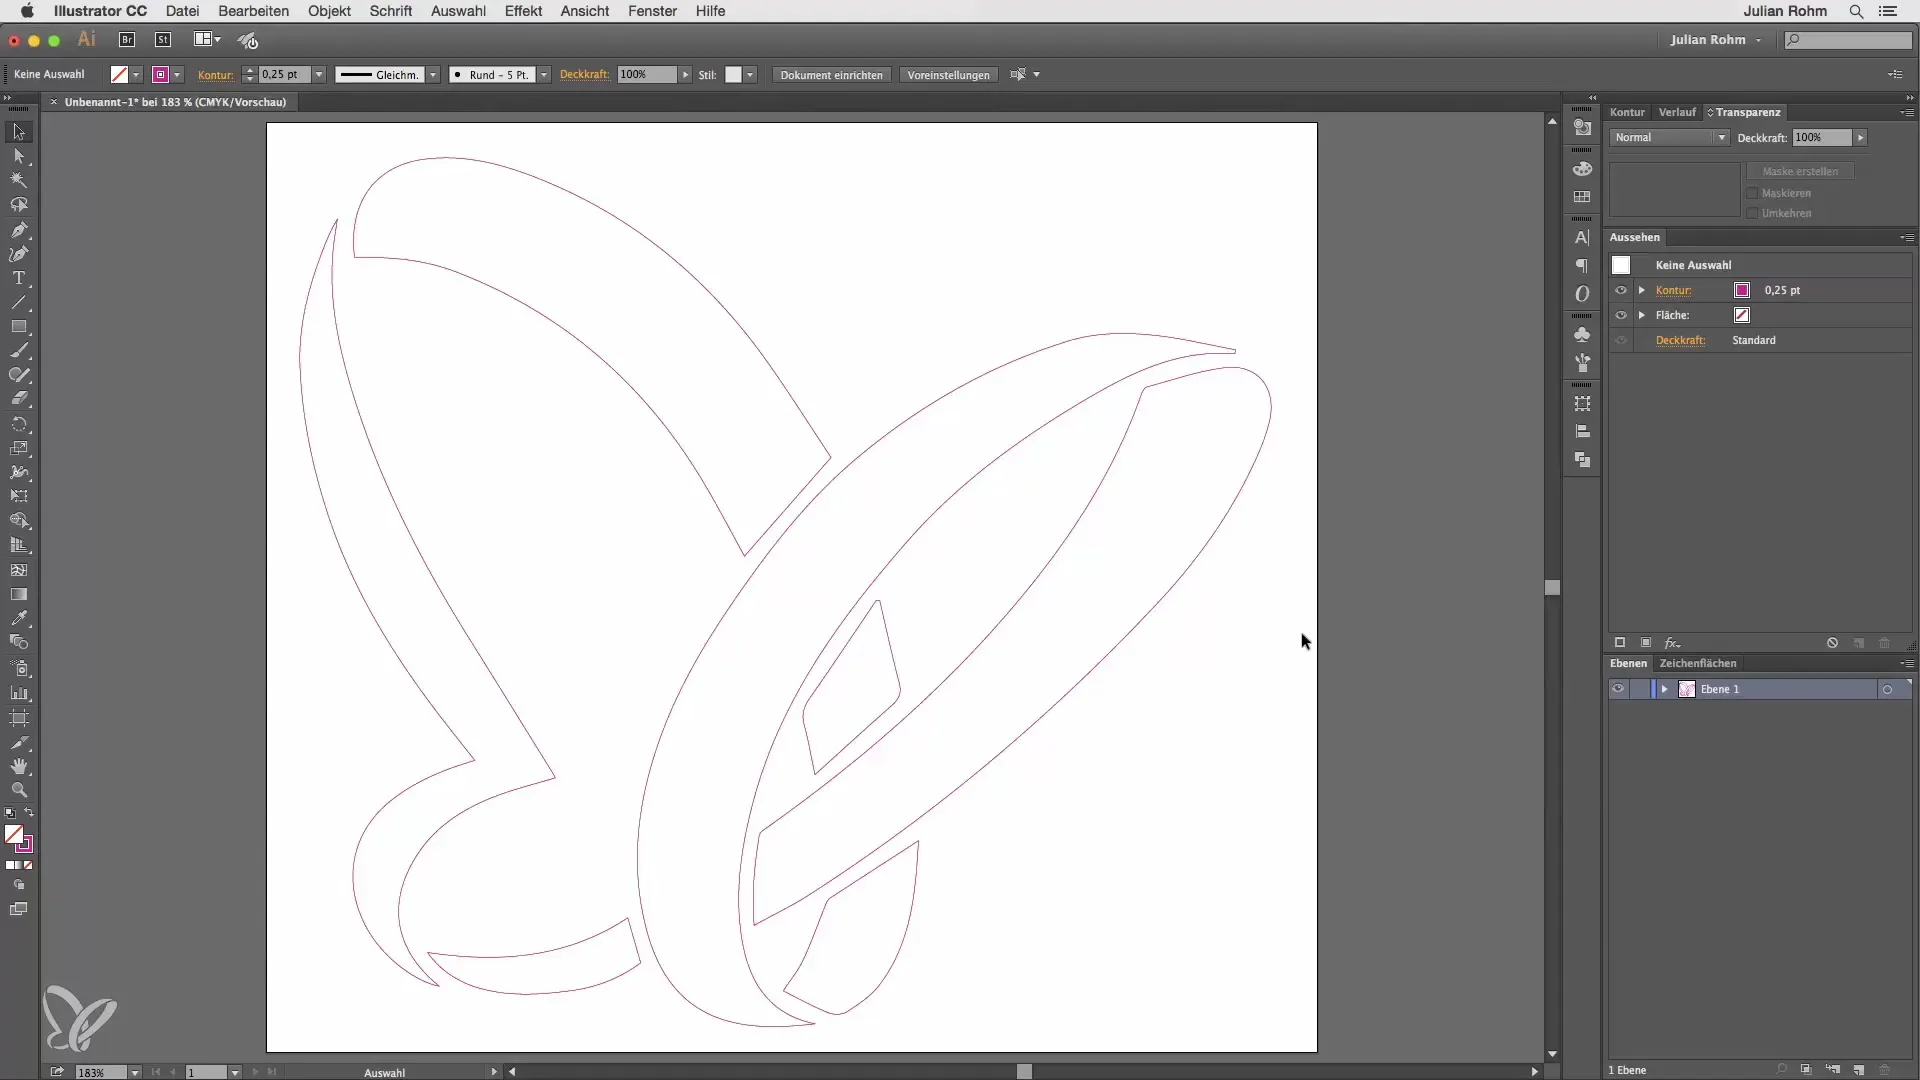
I completely removed the fill color of the design since we only need the outline for the plotter. A clean stroke color is crucial – I chose magenta. However, you can select any other color you like. The most important thing is that the stroke color is clearly defined.
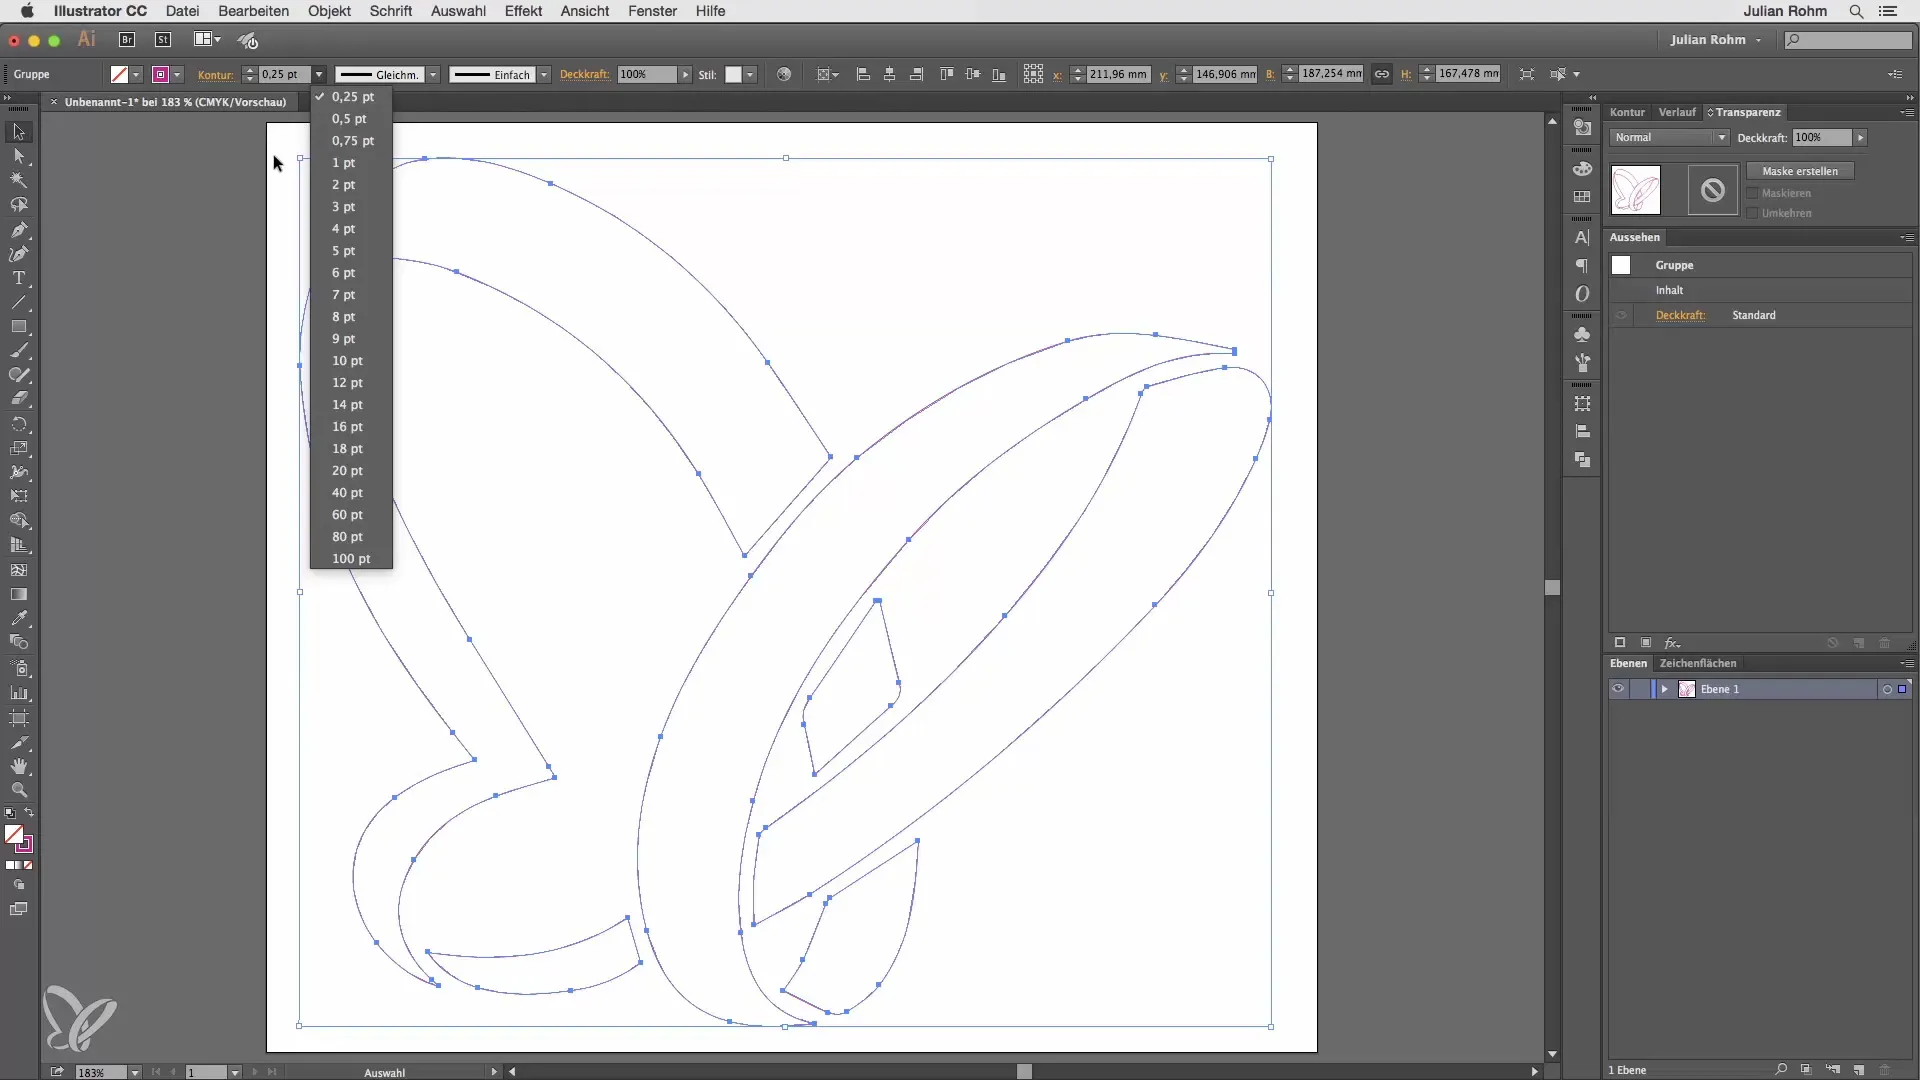
Now the stroke thickness comes into play. It is advisable to set the stroke thickness quite low before starting the plotting process. A thinner line ensures that the machine operates precisely, and there are no unwanted errors. A thin stroke provides a safe foundation for plotter operation.
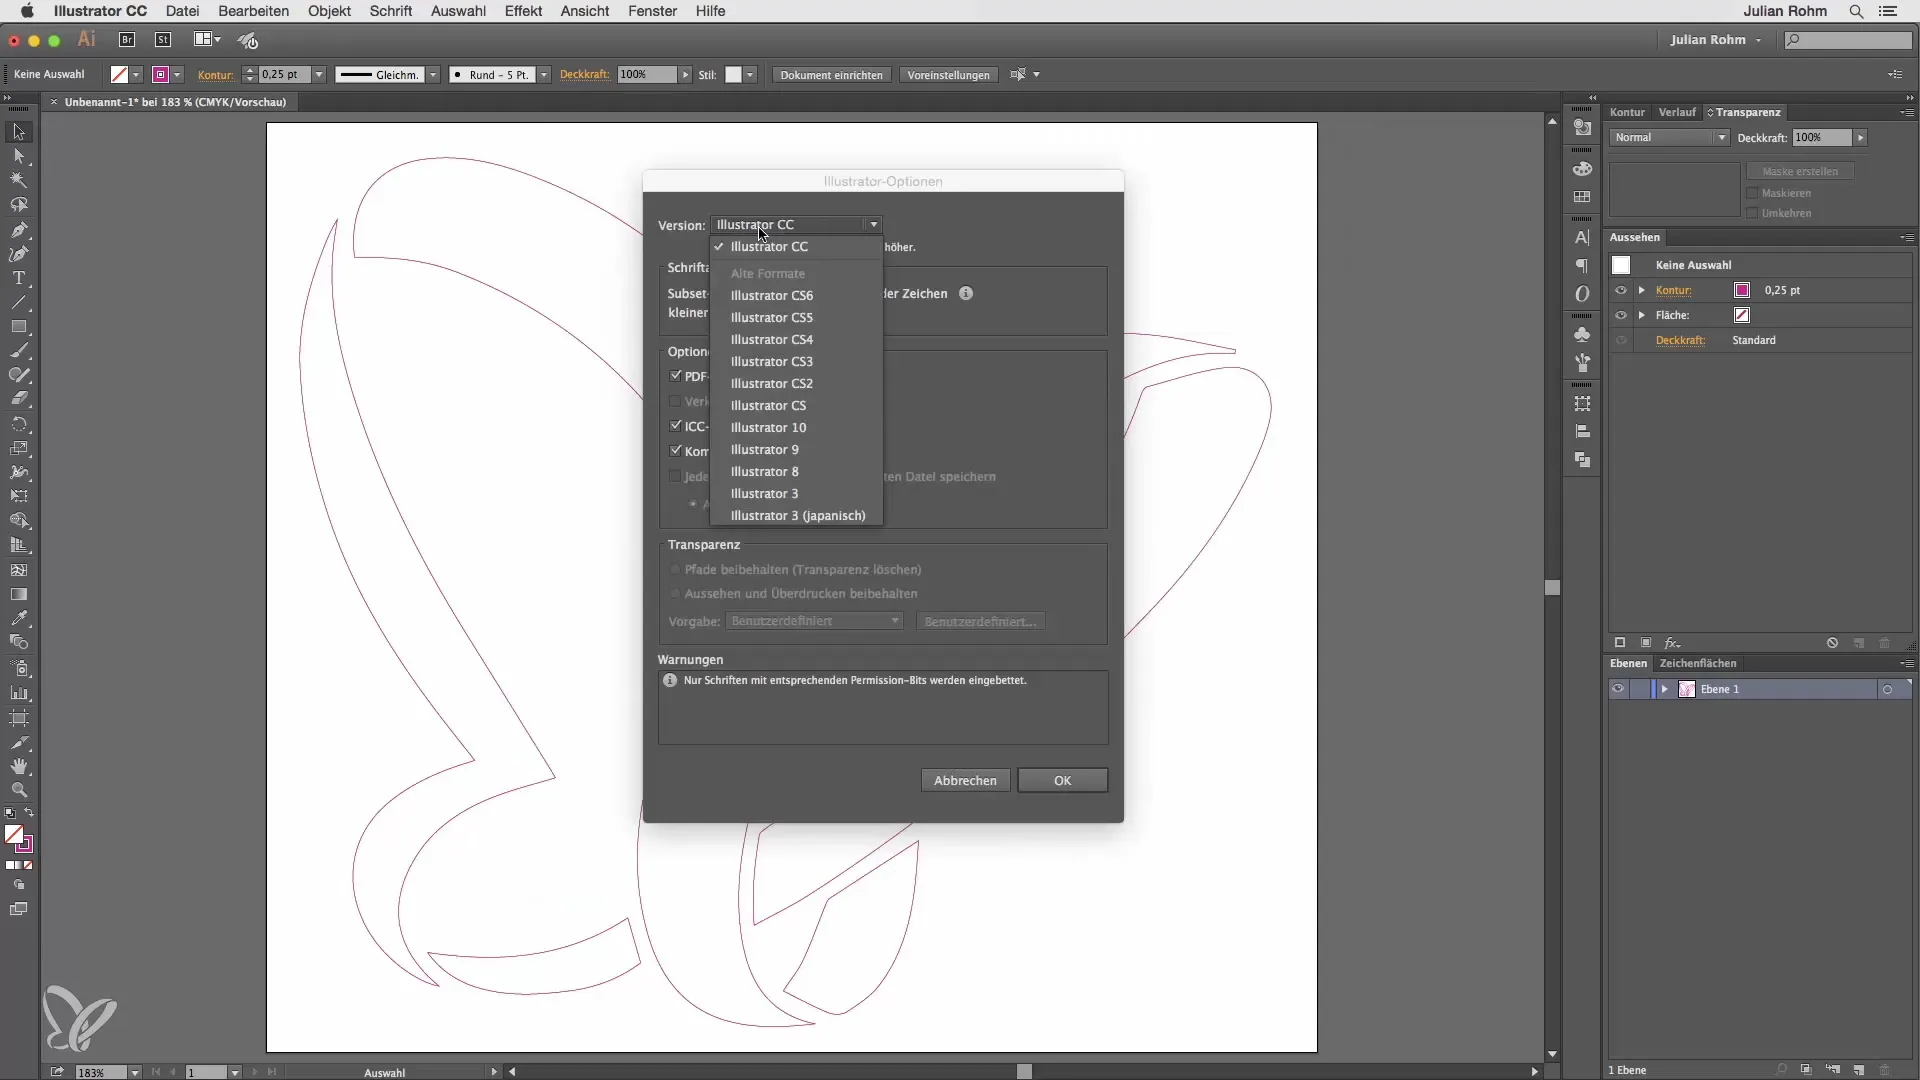
In the next step, you save the file. Go to "File" and then "Save As." I simply name my file "Butterfly" to easily find it later.
Here you can select the file format option. I recommend choosing the Illustrator 3 version when saving. This is the safest option if you want to export the file for the plotter.
After saving your file, you should head to the printing shop. This is where the plotting will be put into action. You will see how the design is realized step by step.
Once the sticker has been plotted, the next important step follows: weeding. This means that the excess material is removed, leaving only the desired design behind. This step is crucial for the final presentation of your sticker.
In the meantime, a transfer film is applied, which works similarly to tape. This film allows you to easily and precisely lift the sticker from the backing material after plotting.
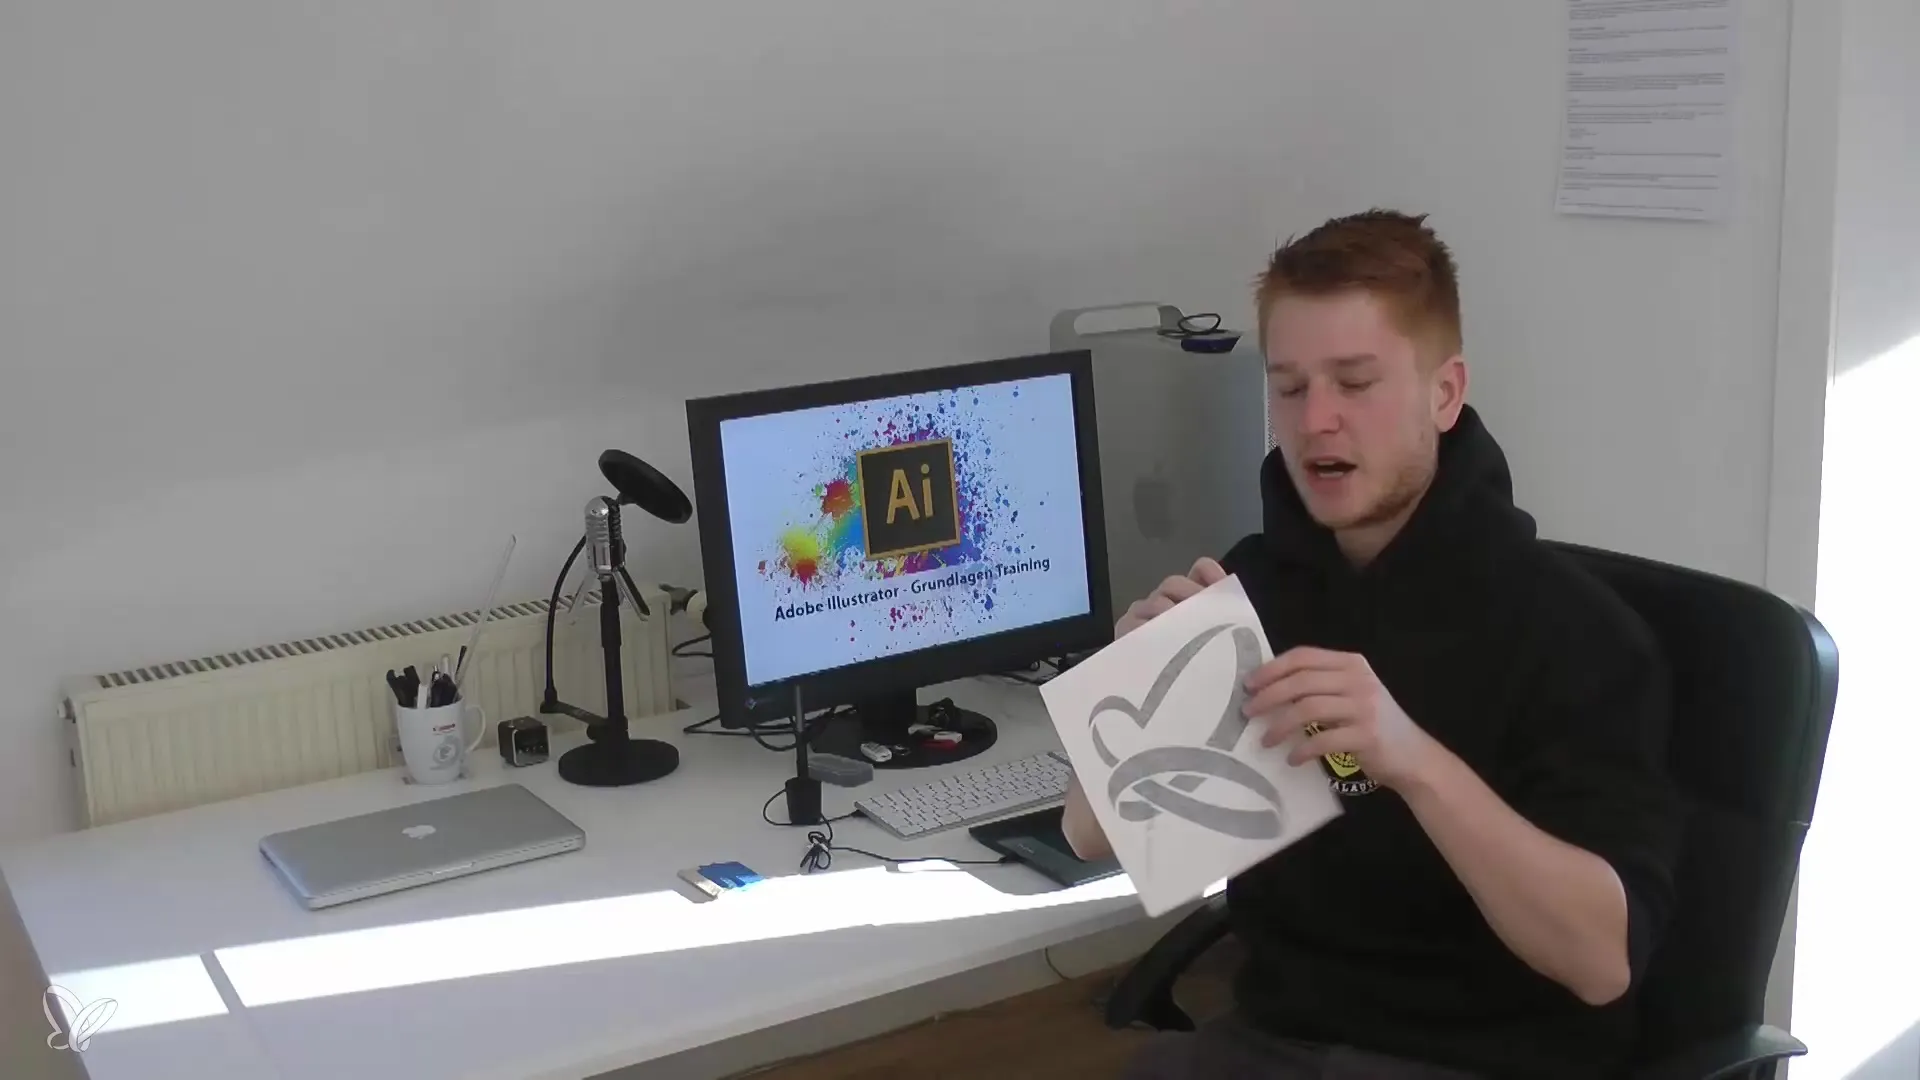
Now we show another perspective to demonstrate how you can properly apply the sticker. It is important to position the design carefully to ensure optimal visibility and impact.
Summary - Plotting Stickers with Illustrator - Step-by-Step Guide
You have now learned how to design a sticker with Adobe Illustrator, make the right settings, and successfully plot the sticker. Use the steps and tips described above to create your own designs and bring them to life professionally.
Frequently Asked Questions
How do I remove the excess material after plotting?You weed the sticker by carefully peeling away the unnecessary film, leaving only your design behind.
Why should I save the file in Illustrator 3 format?This format is best suited to avoid complications during plotting and ensure that the file is correctly handed over to the plotter.
How do I apply the sticker?Carefully position the sticker, press it firmly, and lift the transfer film while ensuring it adheres well.


