When working on a design in Illustrator, it often happens that you need to position objects exactly where you want them on your artboard. Precise alignment can make the difference between a chaotic layout and a professional design. In this guide, you will learn how to effectively use the Align-Panel to place your objects exactly where you want them. After going through these steps, you will be able to align and distribute multiple objects on your artboard with ease.
Key insights
- The Align panel offers various options for precise alignment of objects.
- You can align objects either to the artboard or to a selection.
- A base object can be used to align other objects relative to it.
Step-by-Step Guide
1. Open Align Panel
First, you need to access the Align panel in Illustrator. If it is not already displayed on your screen, you can easily activate it. Go to "Window" and select "Align". This will open the panel and ensure that you have access to all functions.

2. Show Options
The Align panel comes with two rows by default: Align Objects and Distribute Objects. To have more functions available, enable the additional options. Click the small arrow in the corner of the panel and select "Show Options". This will display a third row containing important settings.
3. Set Alignment Base
A particularly important point when using the Align panel is selecting the basis on which you want to align the objects. By default, "Align to Artboard" is enabled. This means that all alignment functions are applied to the entire artboard.
To change the alignment base, click on the "Align To" dropdown menu and select your desired option.
4. Align Objects on the Artboard
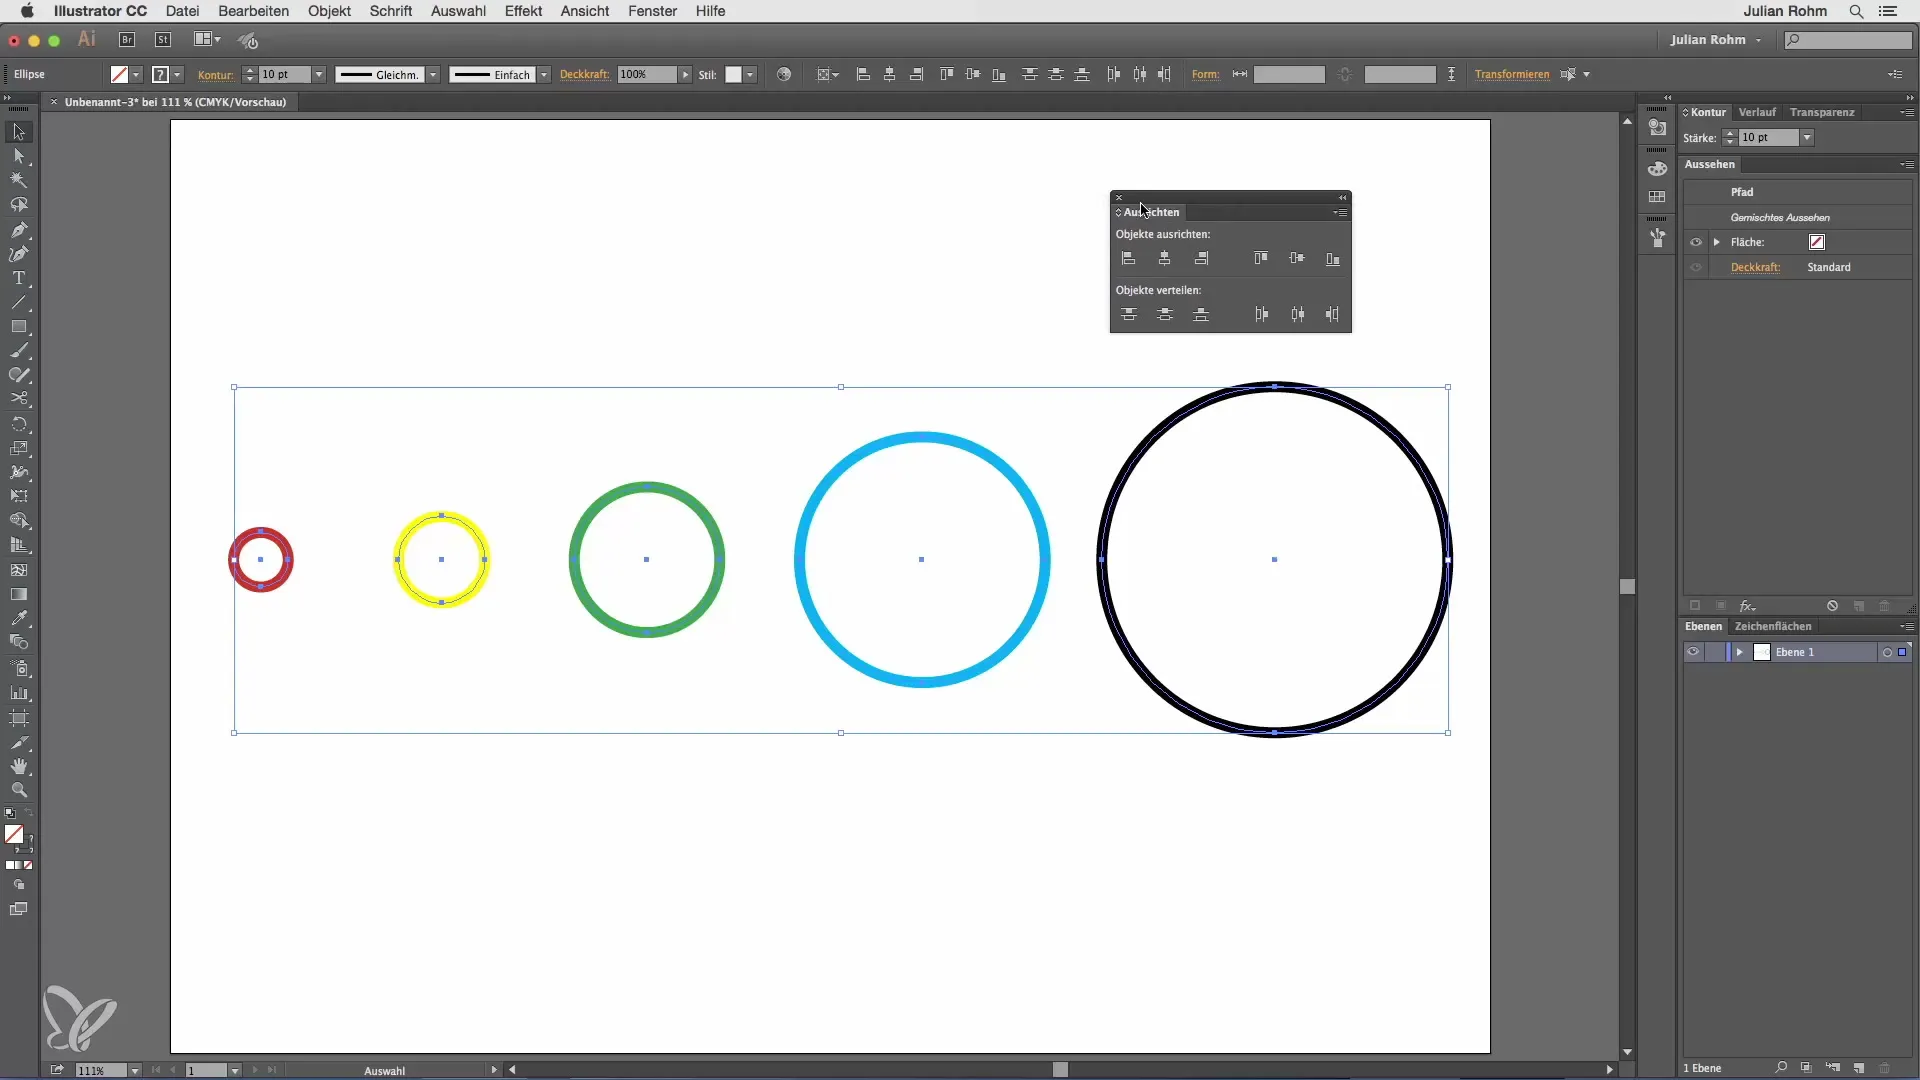
Now you can start aligning your objects. For example, if you have multiple objects (e.g., circles) and want to align them to the left edge. Select all the objects above and click on the corresponding icon for "Align Left". All objects will now be arranged exactly at the left edge.
5. Center and Vertically Align
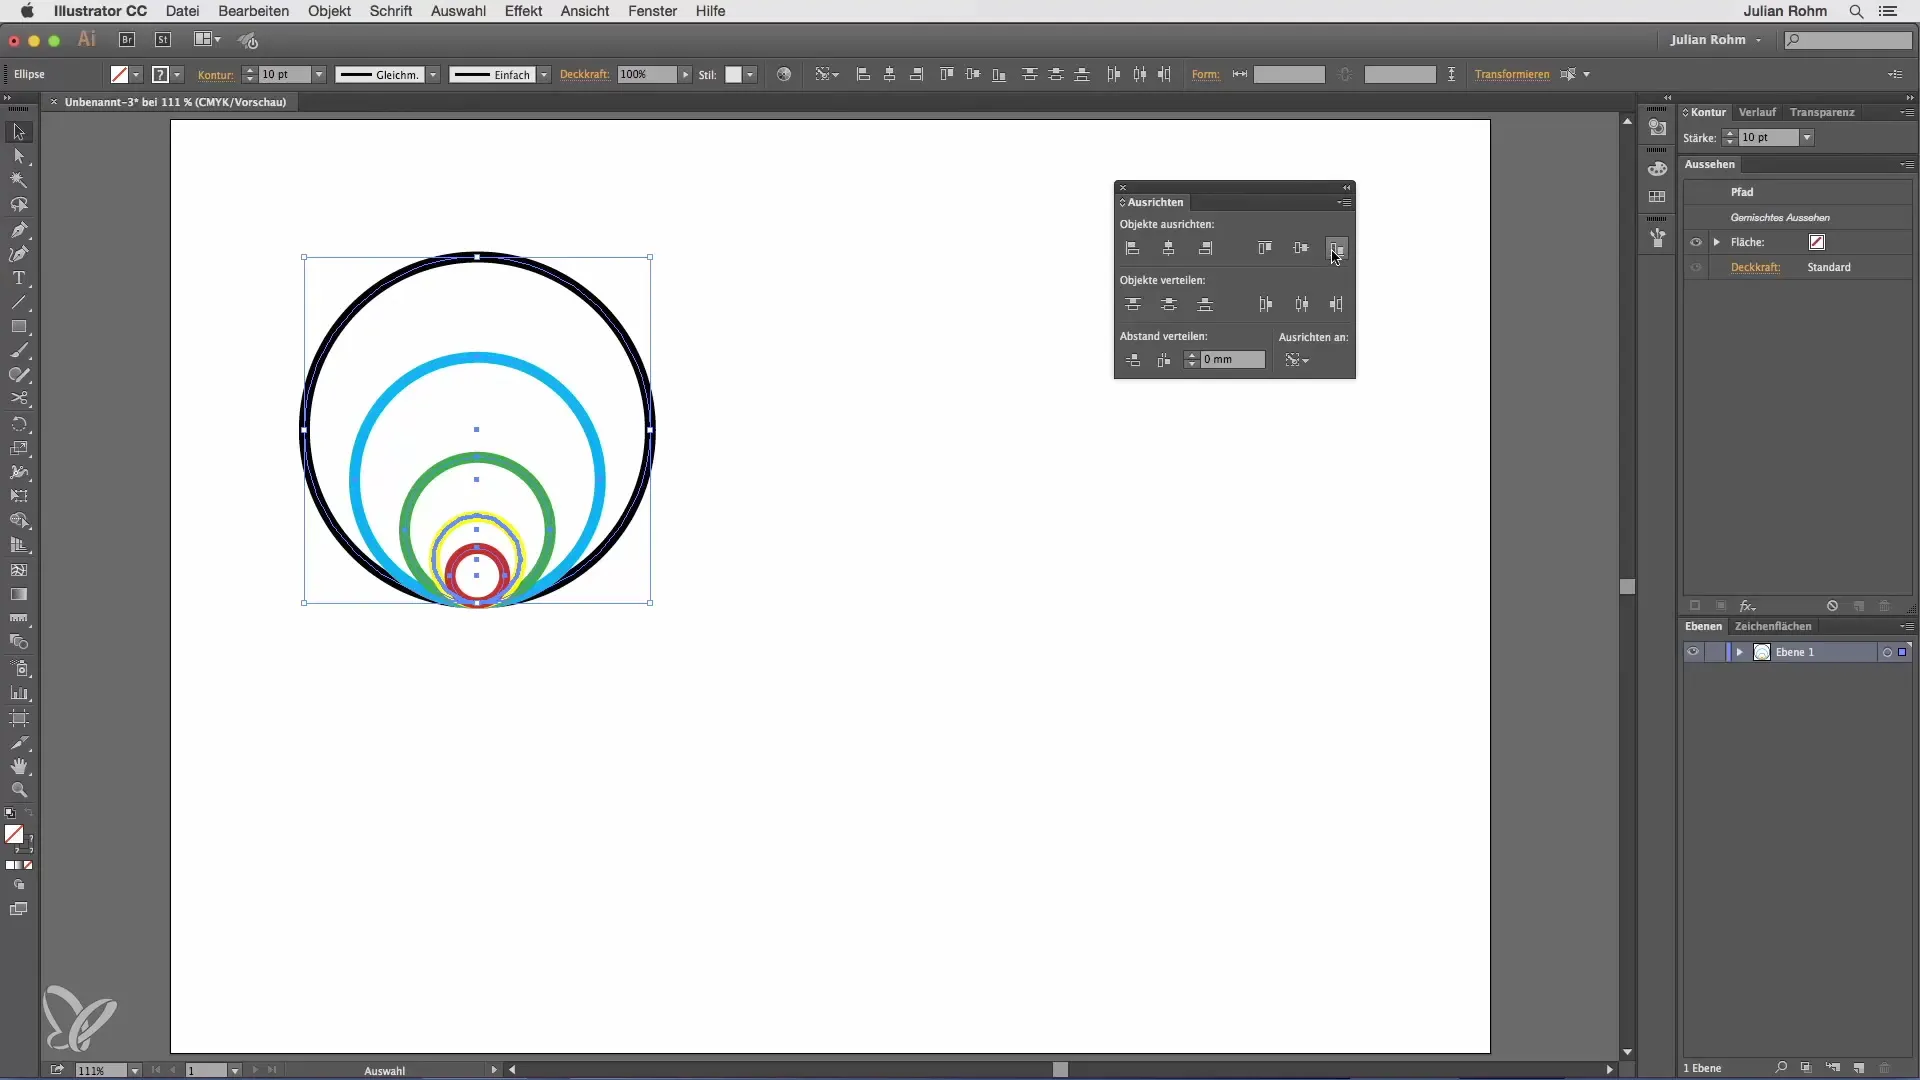
Alignment is not just horizontal; you can also center objects vertically or arrange them at the top and bottom edges. Select the objects again to center them or align them to the top edge. This is especially useful when you want a harmonious distribution of objects on the artboard.
6. Create Even Spacing Between Objects
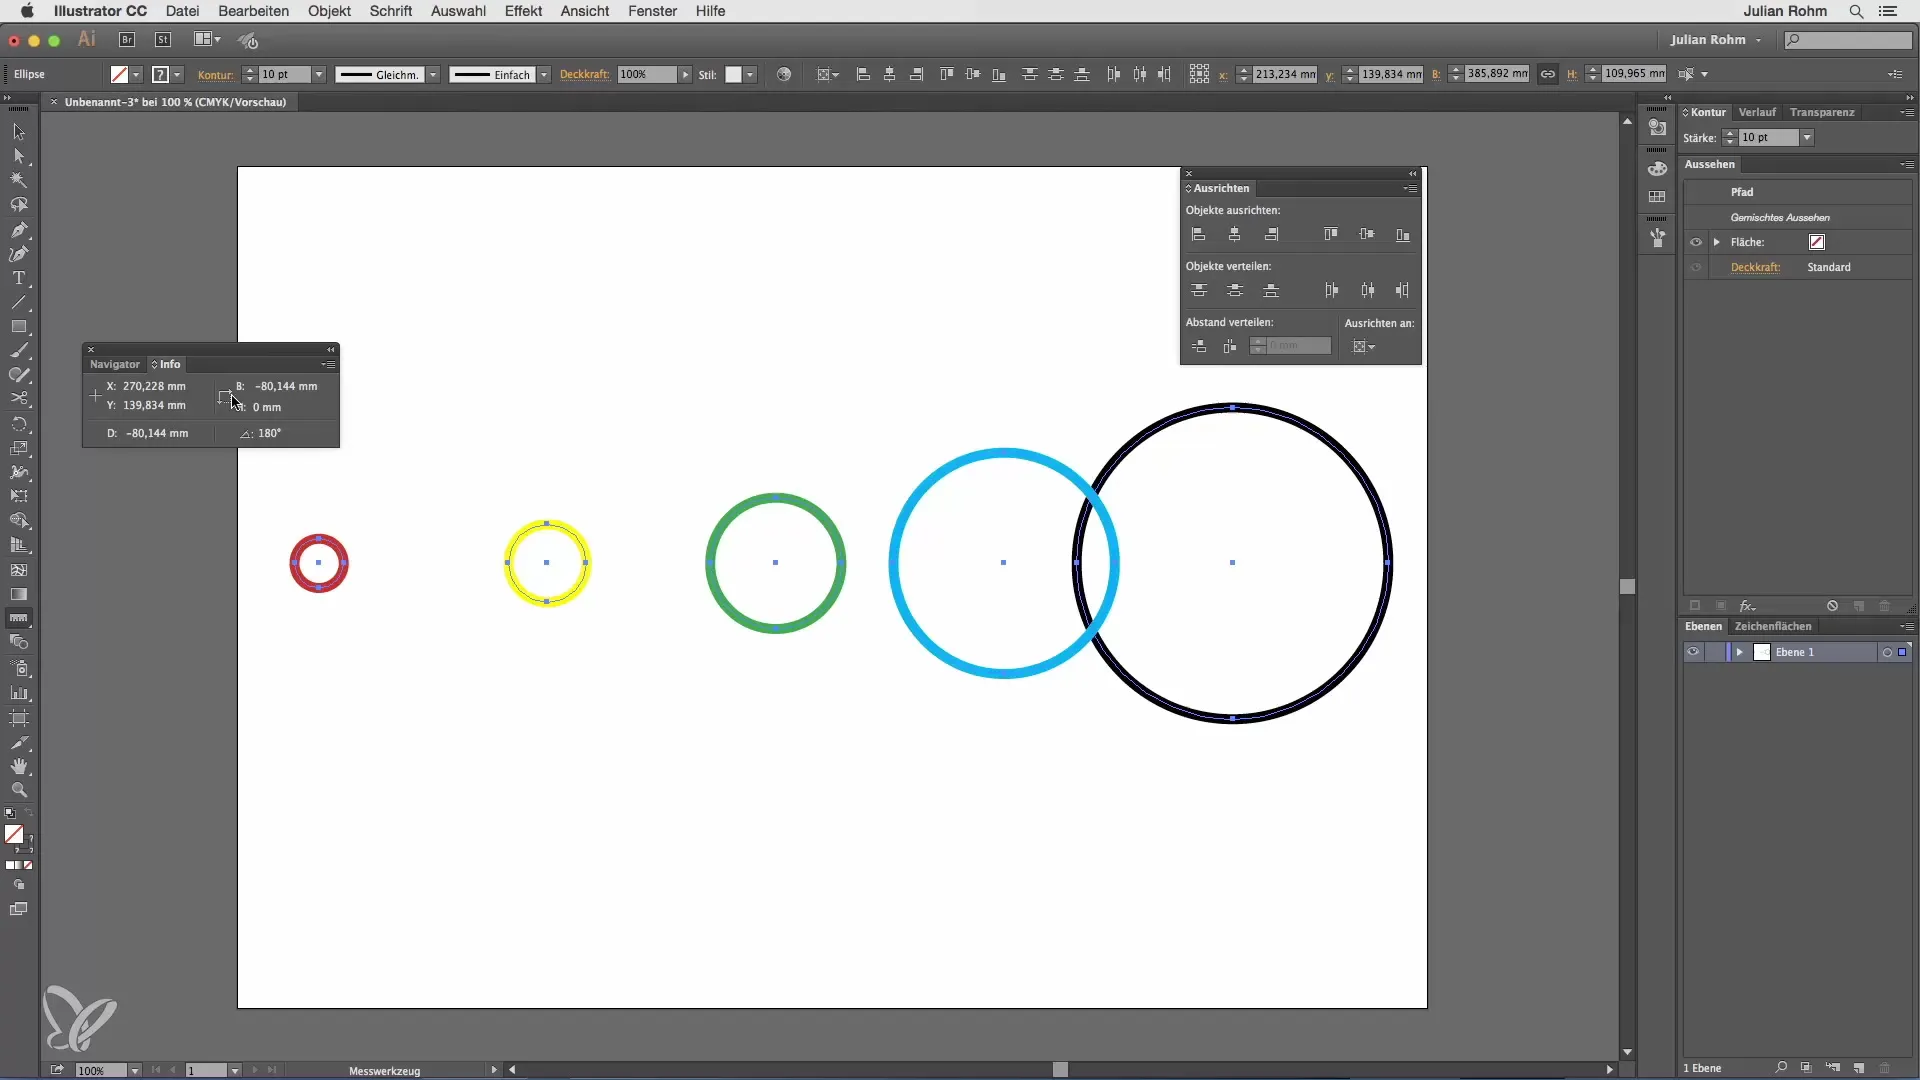
If you want to ensure that the centers of your objects are evenly distributed, change the alignment base from "Align to Artboard" to "Align to Selection". Select the objects that should be evenly distributed, and then click "Distribute Horizontally Centered". The spacing between the centers of the objects will now be even.
7. Use the Measuring Tool
To be 100% sure that the spacing is correct, you can use the measuring tool. Draw a line from one center to another and check if the distances are identical. In our example, both distances should be 80 mm, which means the alignment was successful.

8. Return to Artboard as Alignment Base
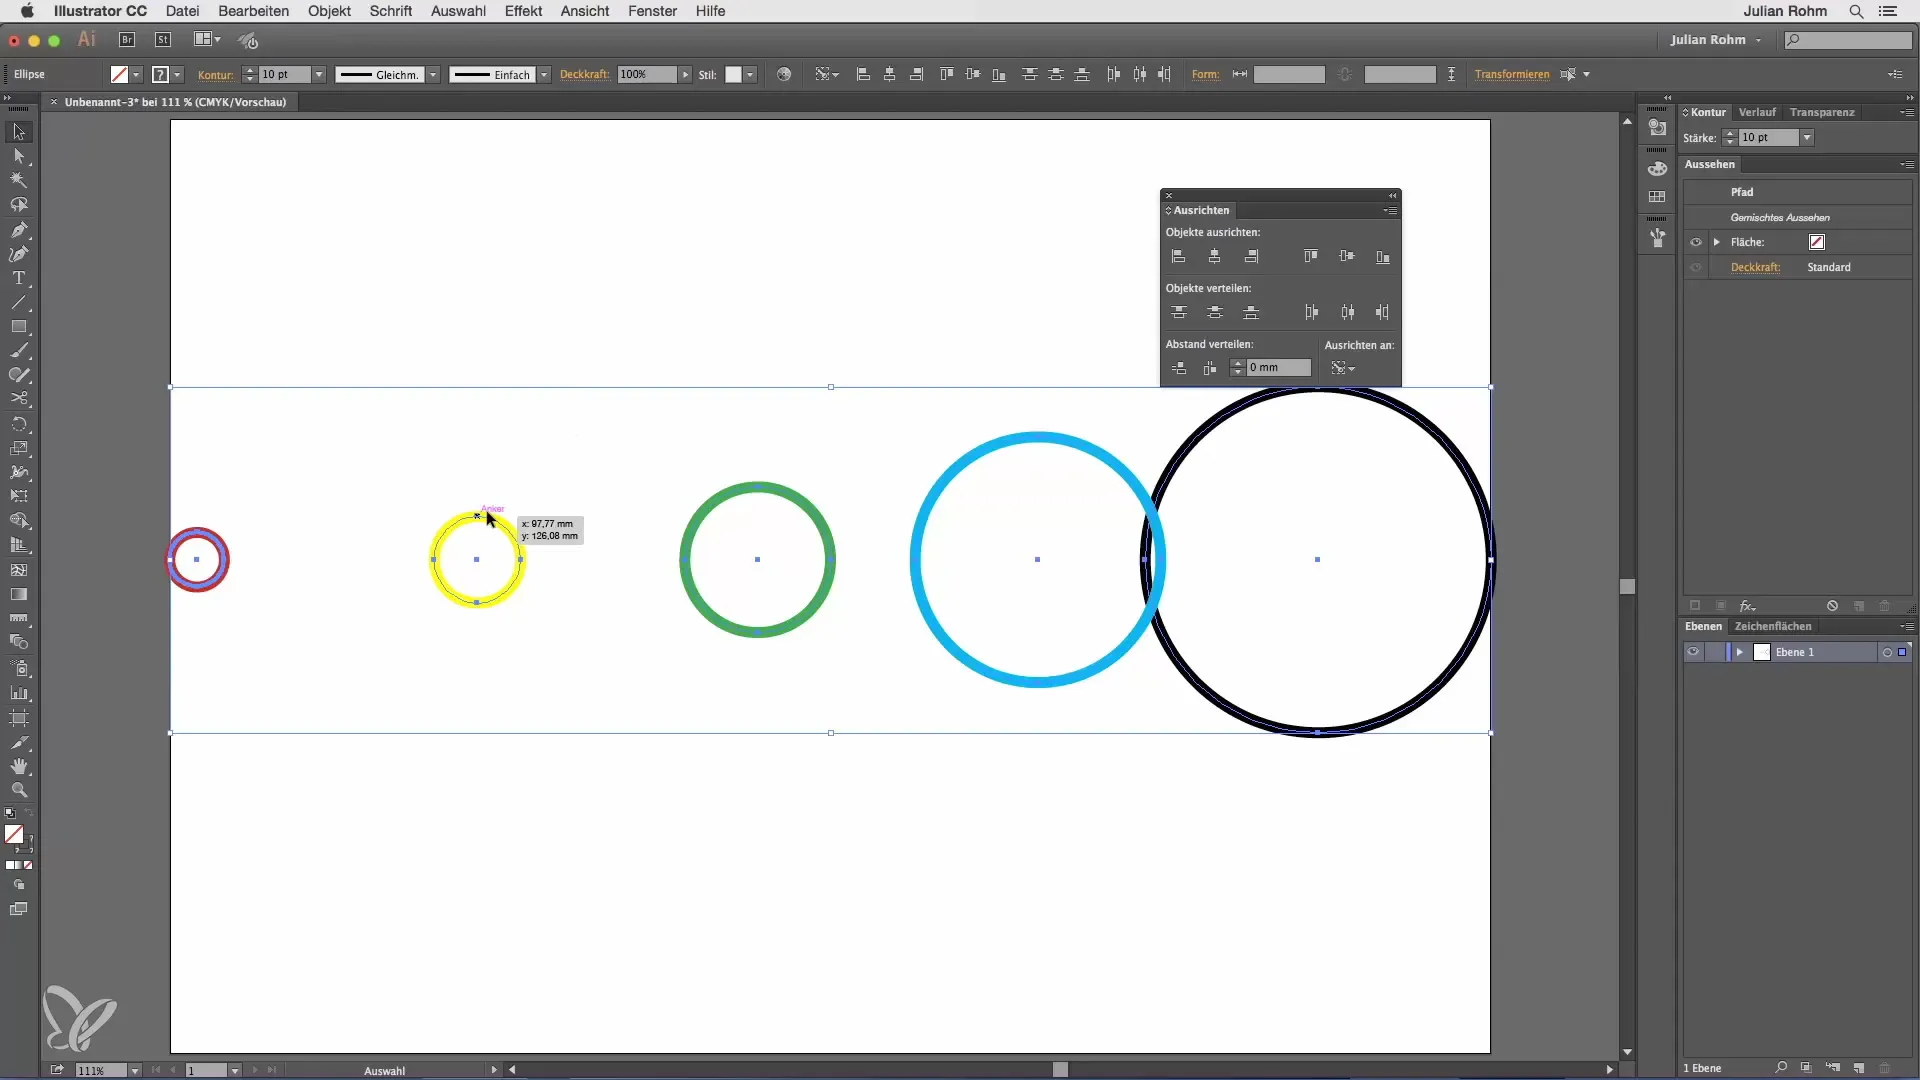
If you want to switch back from the selection to the artboard as the alignment base, simply go back to the dropdown menu and select "Align to Artboard". Repeat the alignment steps, and you will see that the objects are evenly distributed again.
9. Select Base Object
Another practical feature is the ability to select a base object. Hold down the Alt key to set an object as a base. This means the other objects will be aligned relative to this base object. For example, select an object that you want to fix, and then the other objects can be aligned left, center, or right.

10. Try Different Alignment Options
Experiment with different alignment options, such as "Distribute Down" or "Align Horizontally Centered". Each time you use one of these options, your base object remains in the same position while the other objects are moved accordingly.

Summary - Illustrator for Beginners & Advanced Users: Easy Alignment
The Align panel in Illustrator is a powerful tool for precisely positioning objects on your artboard. You have learned how to access the panel, show options, set the alignment base, evenly distribute objects, and select a base object. With these steps, you can elevate your designs to a new level.
Frequently Asked Questions
How do I open the Align panel in Illustrator?Go to "Window" and select "Align".
What do I do if I want more options in the Align panel?Click the small arrow and enable “Show Options”.
How can I change the alignment base?Select your desired base from the "Align To" dropdown menu.
How do I ensure the spacing between objects is even?Change the alignment base to “Align to Selection” and use the “Distribute Horizontally Centered” function.
Can I select a base object?Yes, hold down the Alt key and select an object that the other objects will reference.


