The Brush tool in Adobe Illustrator offers you a creative playground to create custom designs. It allows you to draw different types of strokes with various brush tips and works for both drawn lines and complex patterns. With just a few clicks, you can achieve impressive effects and elevate your illustrations to the next level. Let’s explore the features of the Brush tool to expand your graphic design skills.
Key Insights
- The Brush tool enables drawing lines and shapes with different brush tips.
- There are different types of brushes: calligraphy brushes, special brushes, image brushes, and pattern brushes.
- Brush tips can be adjusted to personal preferences and required parameters.
- It is possible to use predefined brush libraries to instantly access a variety of brush tips.
Step-by-Step Guide
Using the Brush tool is simple once you know the basic steps. Here are the individual sections to help you get started.
To use the Brush tool, you first need to find it in Illustrator. You can find it in the toolbar on the left side or access it via the Window menu and then navigate to Brushes. This opens the Brush tool palette.
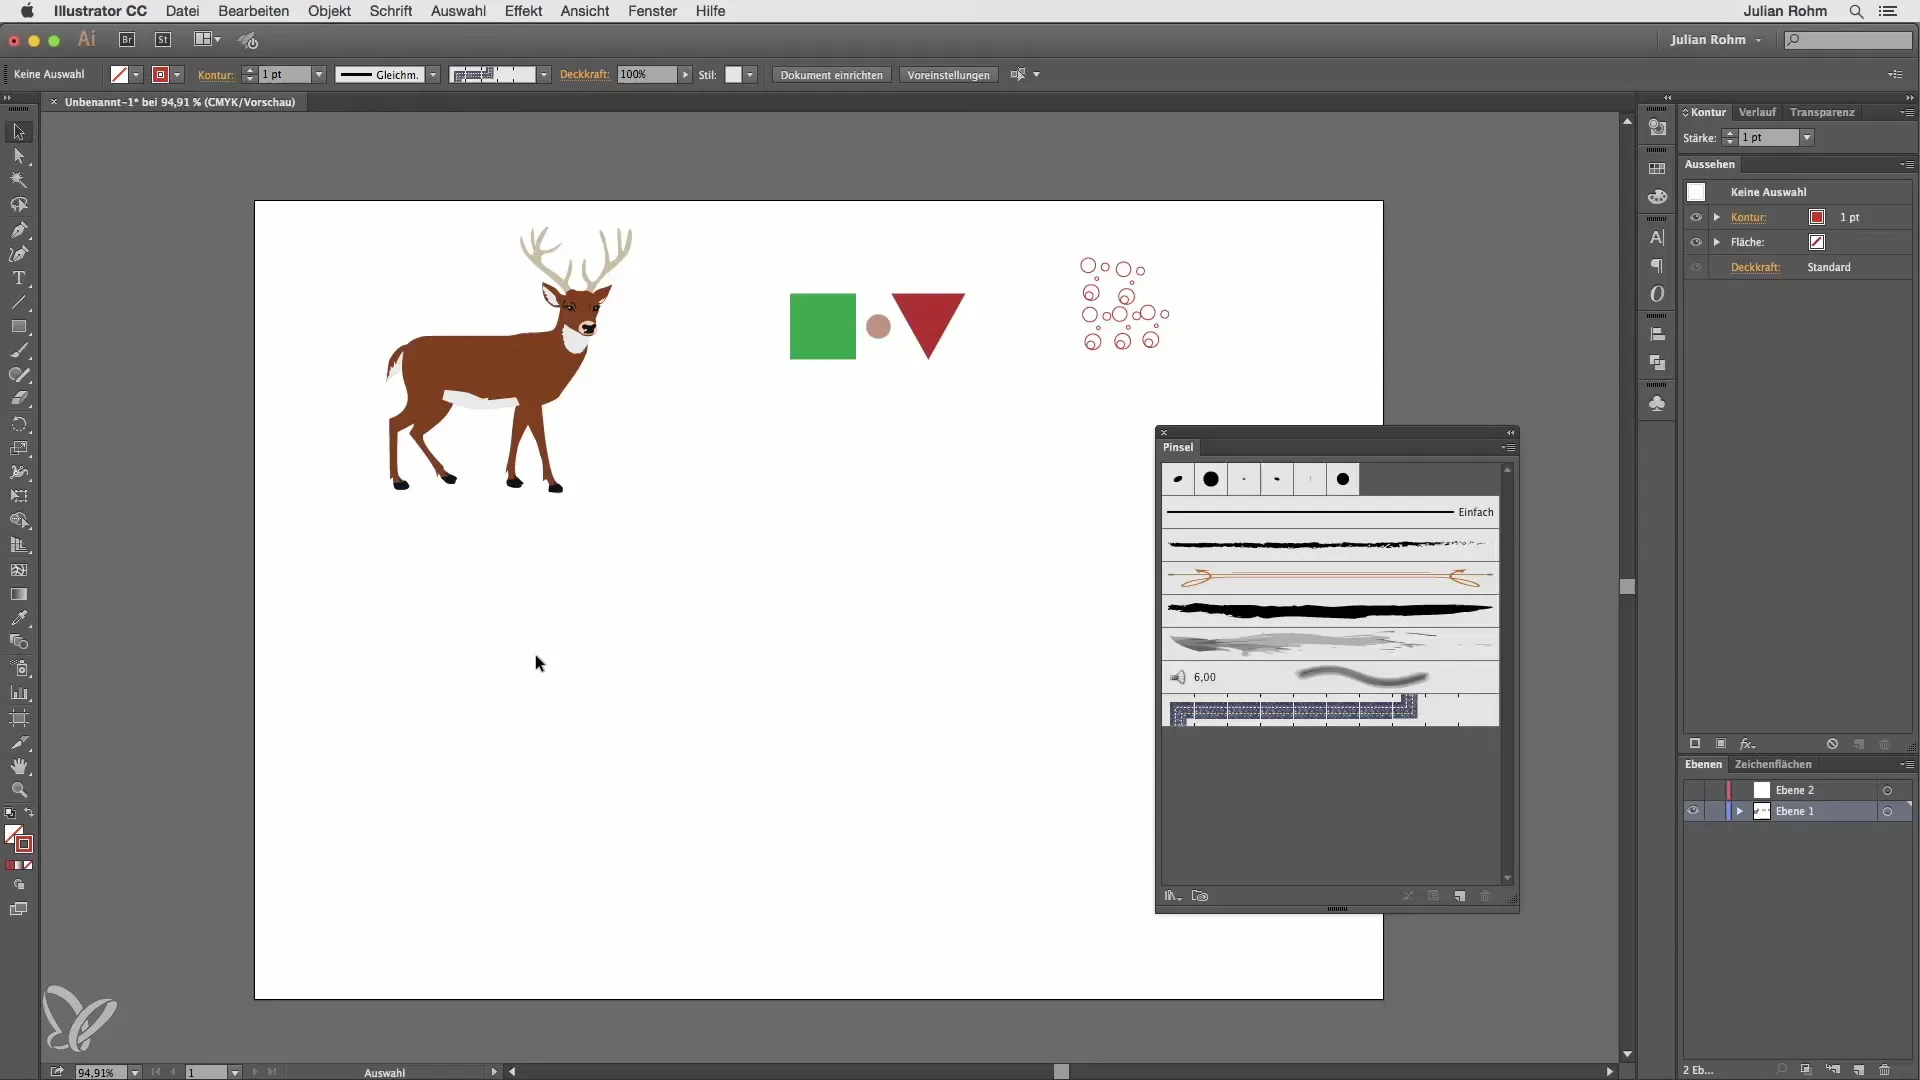
Once the Brush tool palette is open, you can select different brush tips. Start by simply choosing a calligraphy brush tip. You can select it and start drawing strokes. To influence the color of the strokes, select a stroke color from the top of the menu bar. This allows you to draw with different colors, giving you plenty of creative freedom.
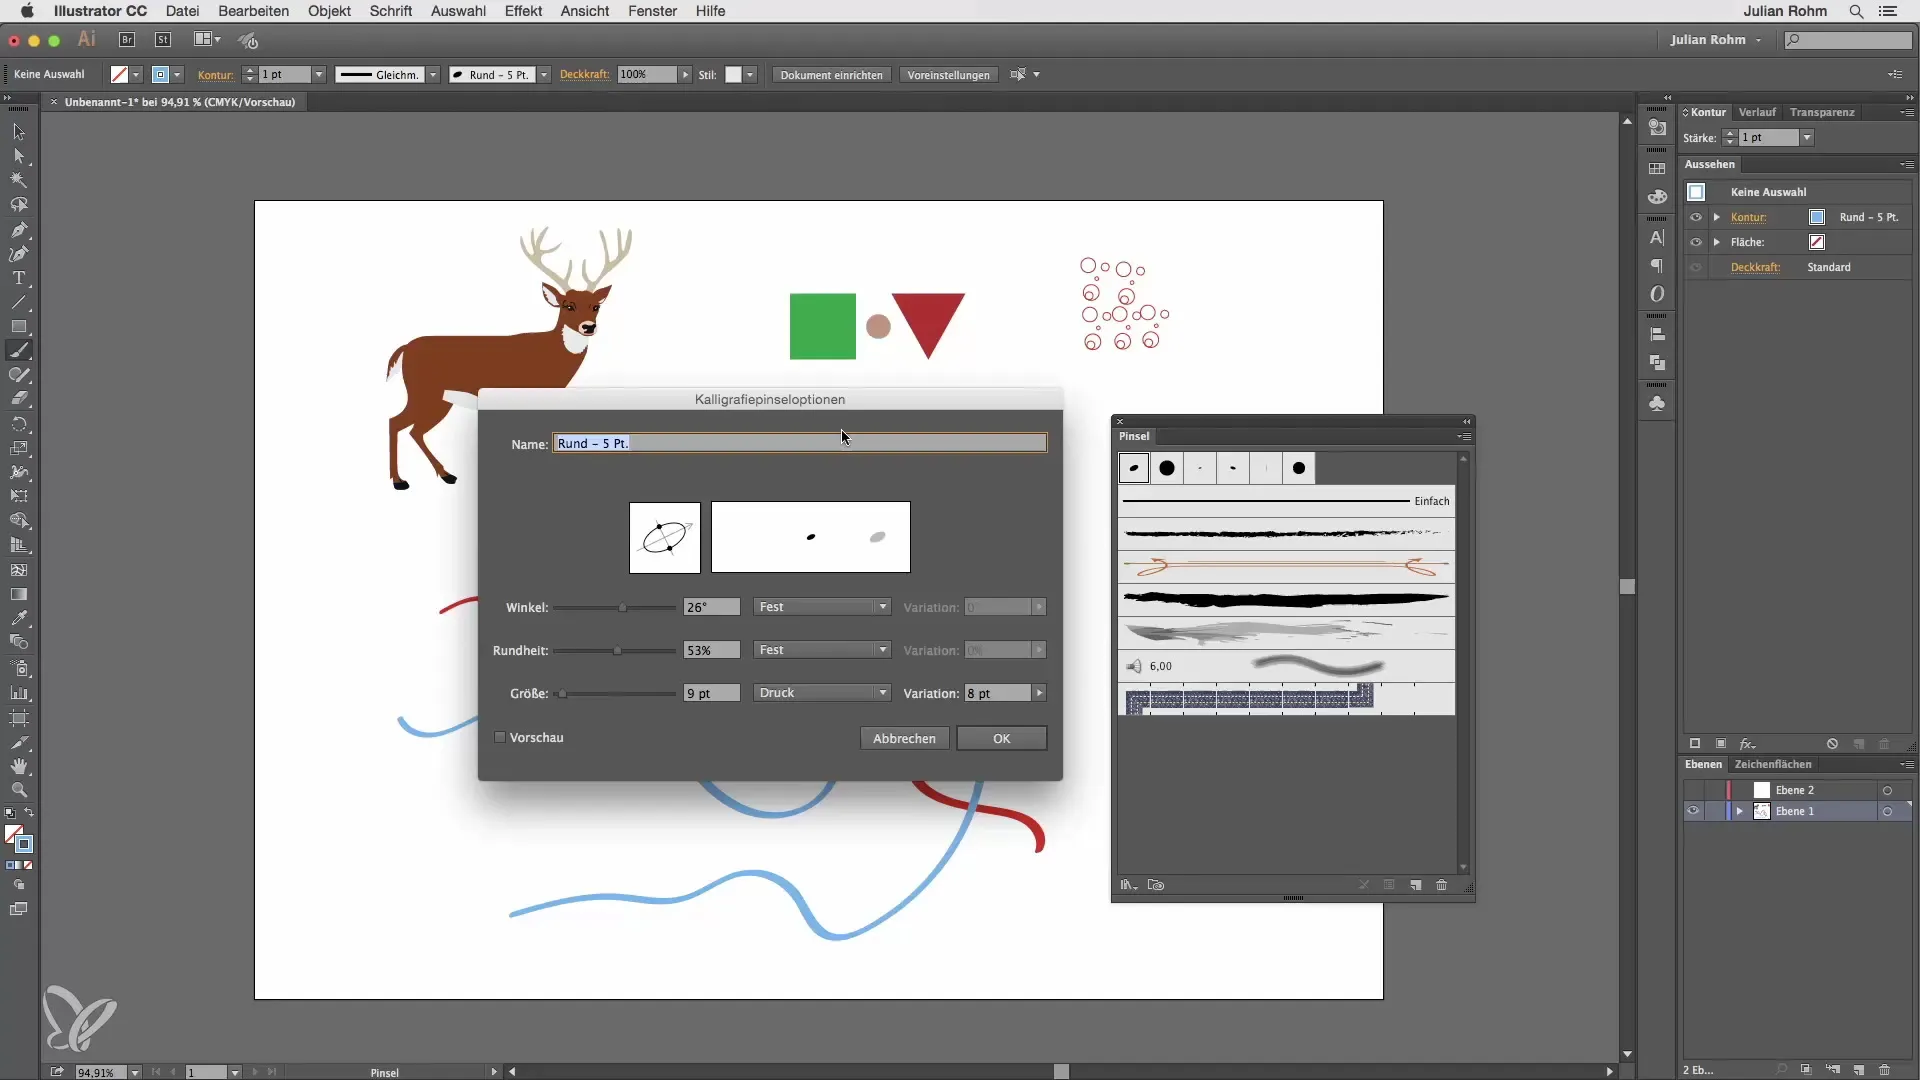
When you edit a brush, you can adjust it by double-clicking. A window will open where you can change various options such as angle, roundness, and size. The pressure setting is particularly useful when you're using a graphic tablet. This allows you to vary the stroke depending on the pressure applied - light pressure creates a thin line, while more pressure makes the stroke thicker.
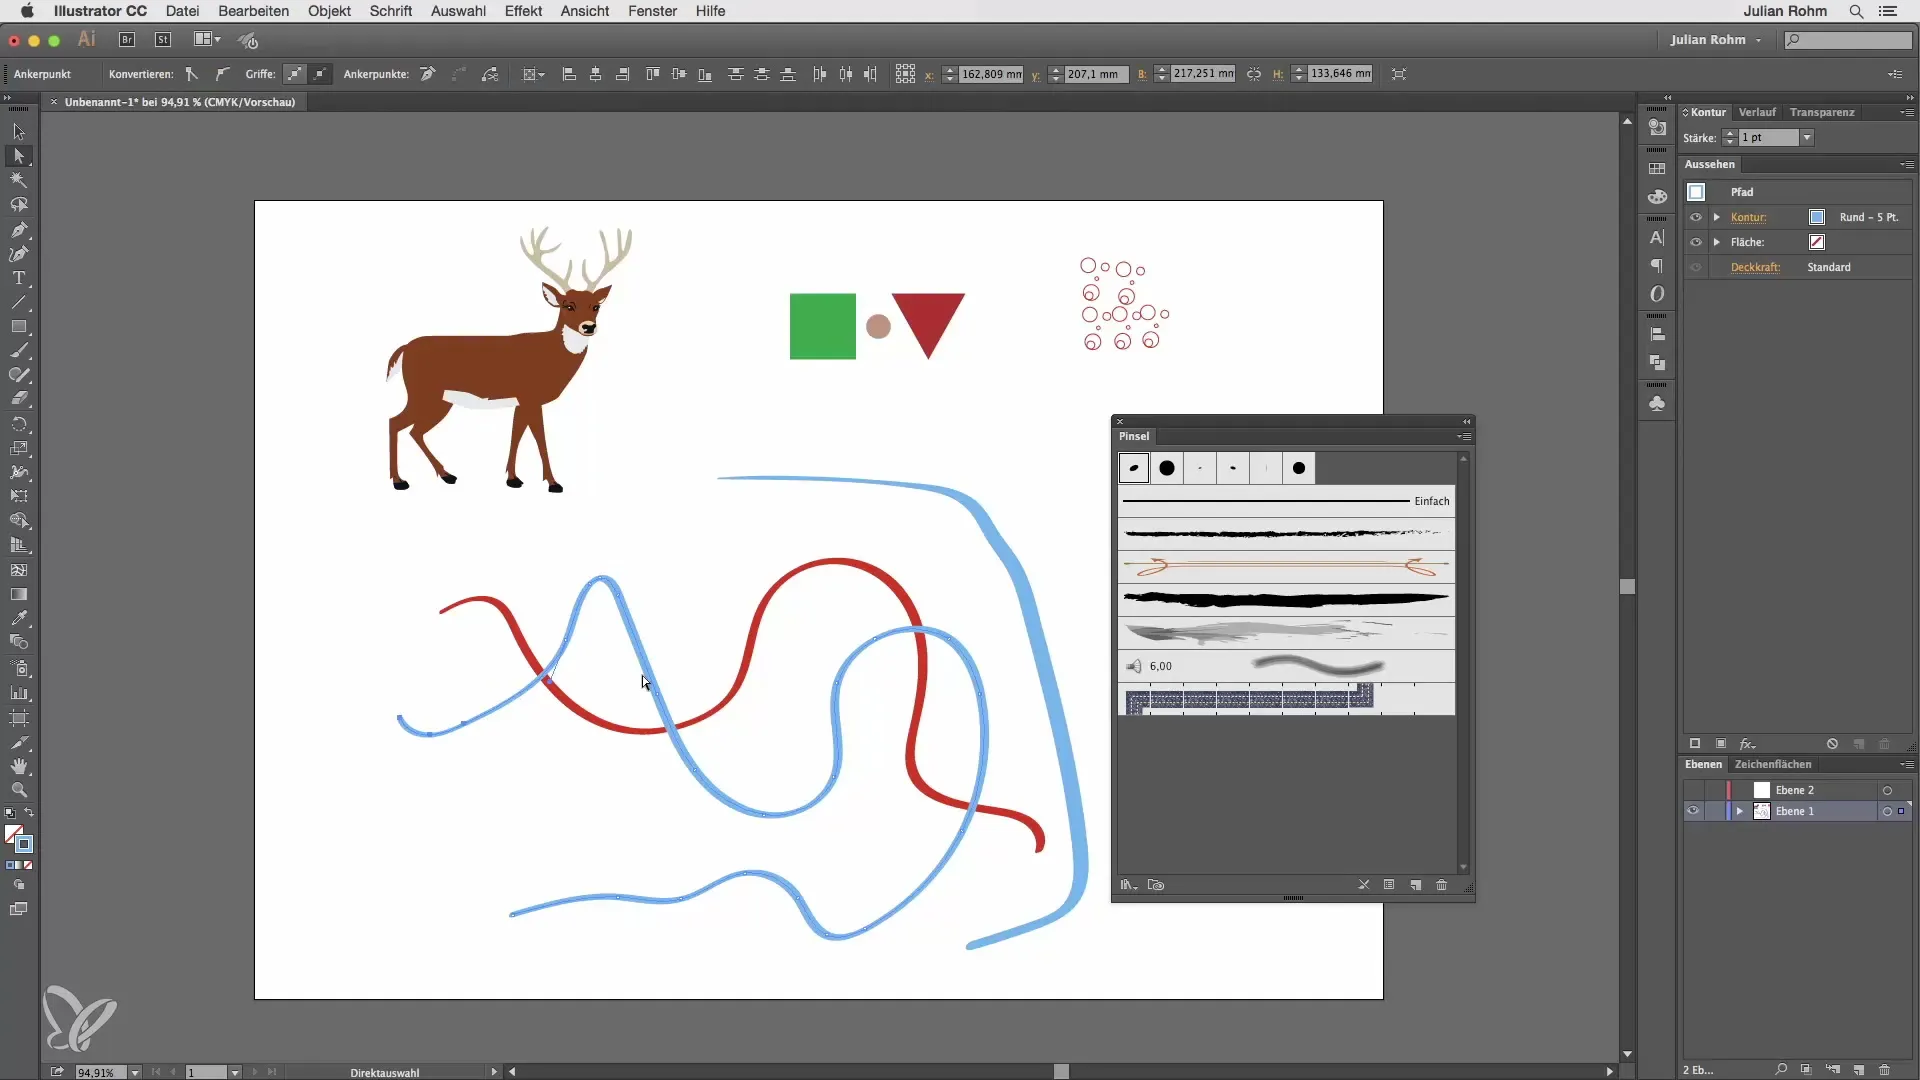
When working with the Brush, it's important to know that Illustrator still creates normal paths. This allows you to use the Direct Selection tool to adjust the paths later as needed. This is especially helpful if you made a mistake while drawing and need to make adjustments.
You can use more than just calligraphy brushes. Illustrator allows you to create custom brush types. To create a new brush, drag and drop a pattern or design into the brush palette. A dialog box will open where you can select the desired brush type, whether it's a special brush or an image brush. Confirm the selection and adjust the options.
To create a special brush, click on "Special Brush" and then OK. Here you can give the brush a name and set parameters. You can use values like the pressure of the pen for the stroke and even integrate random values. Confirm your changes and try out your new brush to see how the pattern is applied directly.
An image brush works similarly. Select an image and drag it into the brush palette. Choose "Image Brush" and confirm with OK. You can select between guides to determine how the image will be distorted or scaled. One example is choosing two lines that define the areas to be edited later.
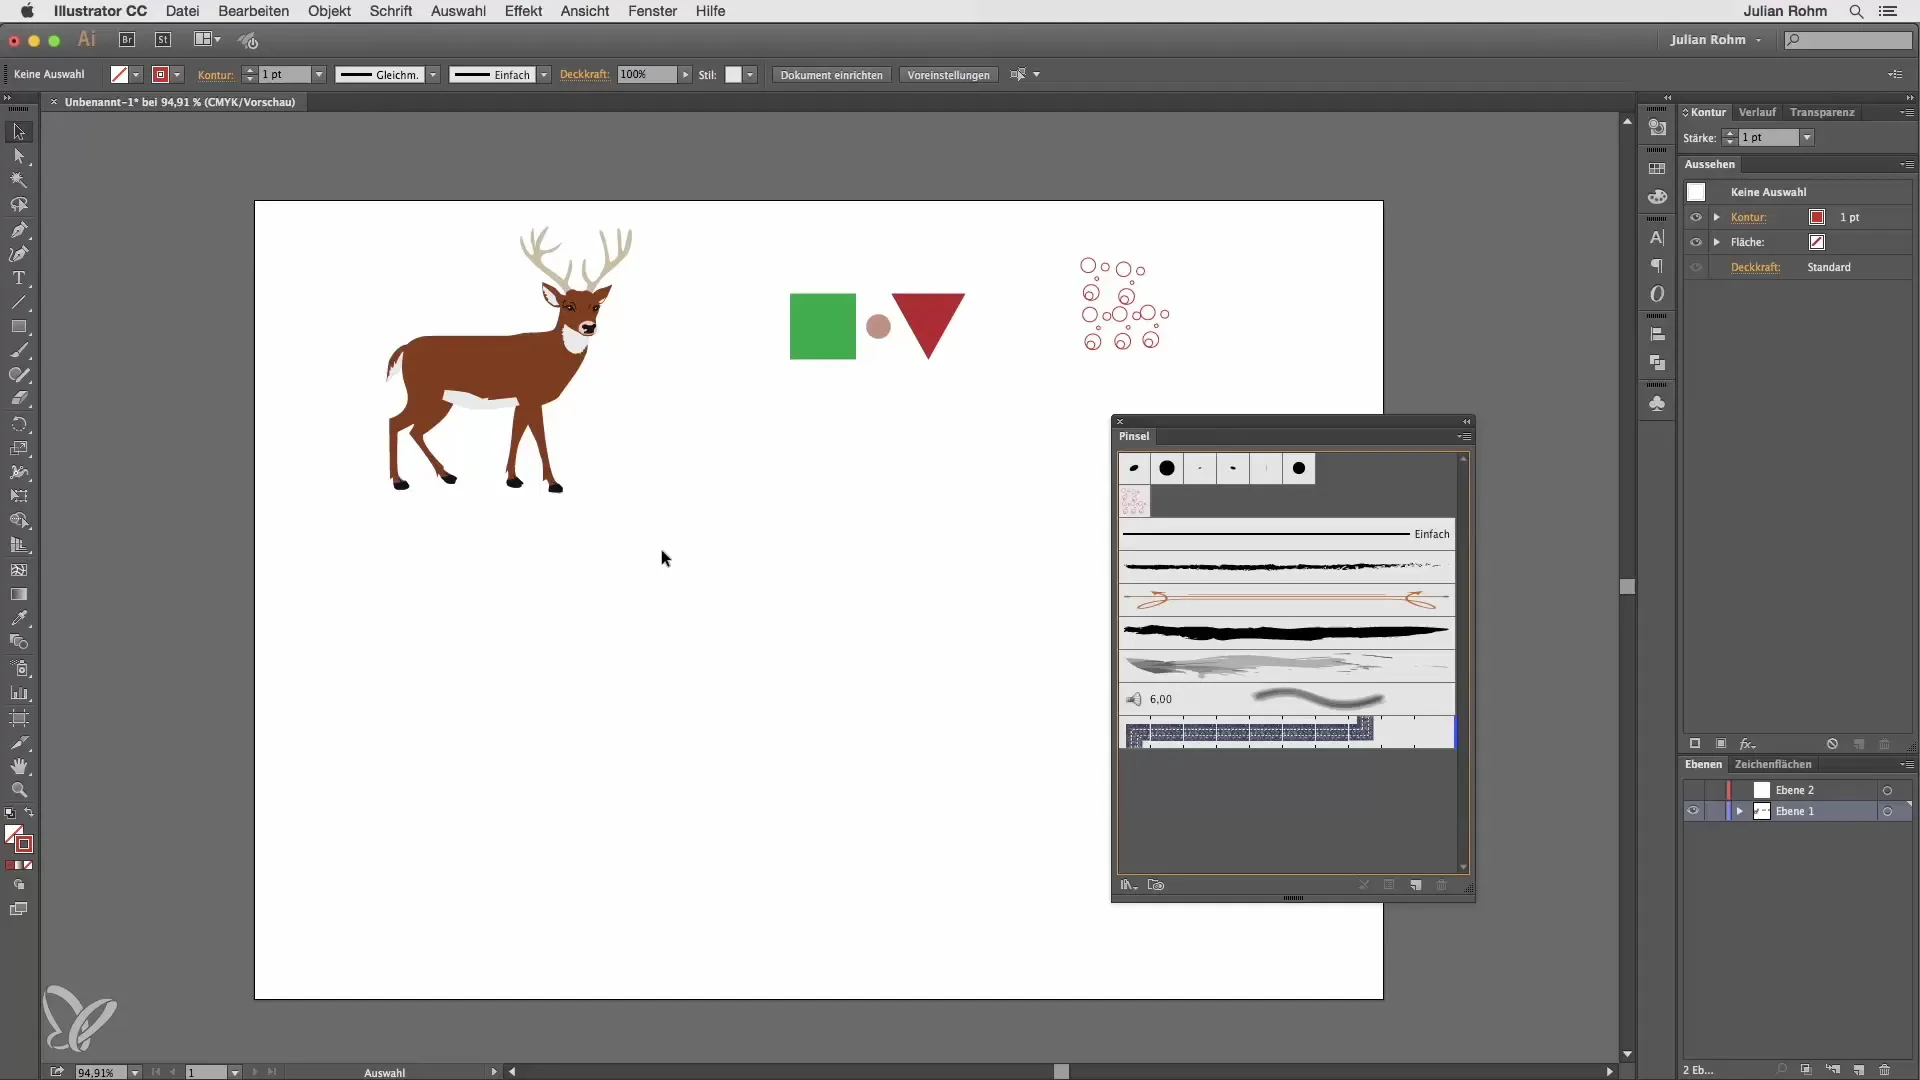
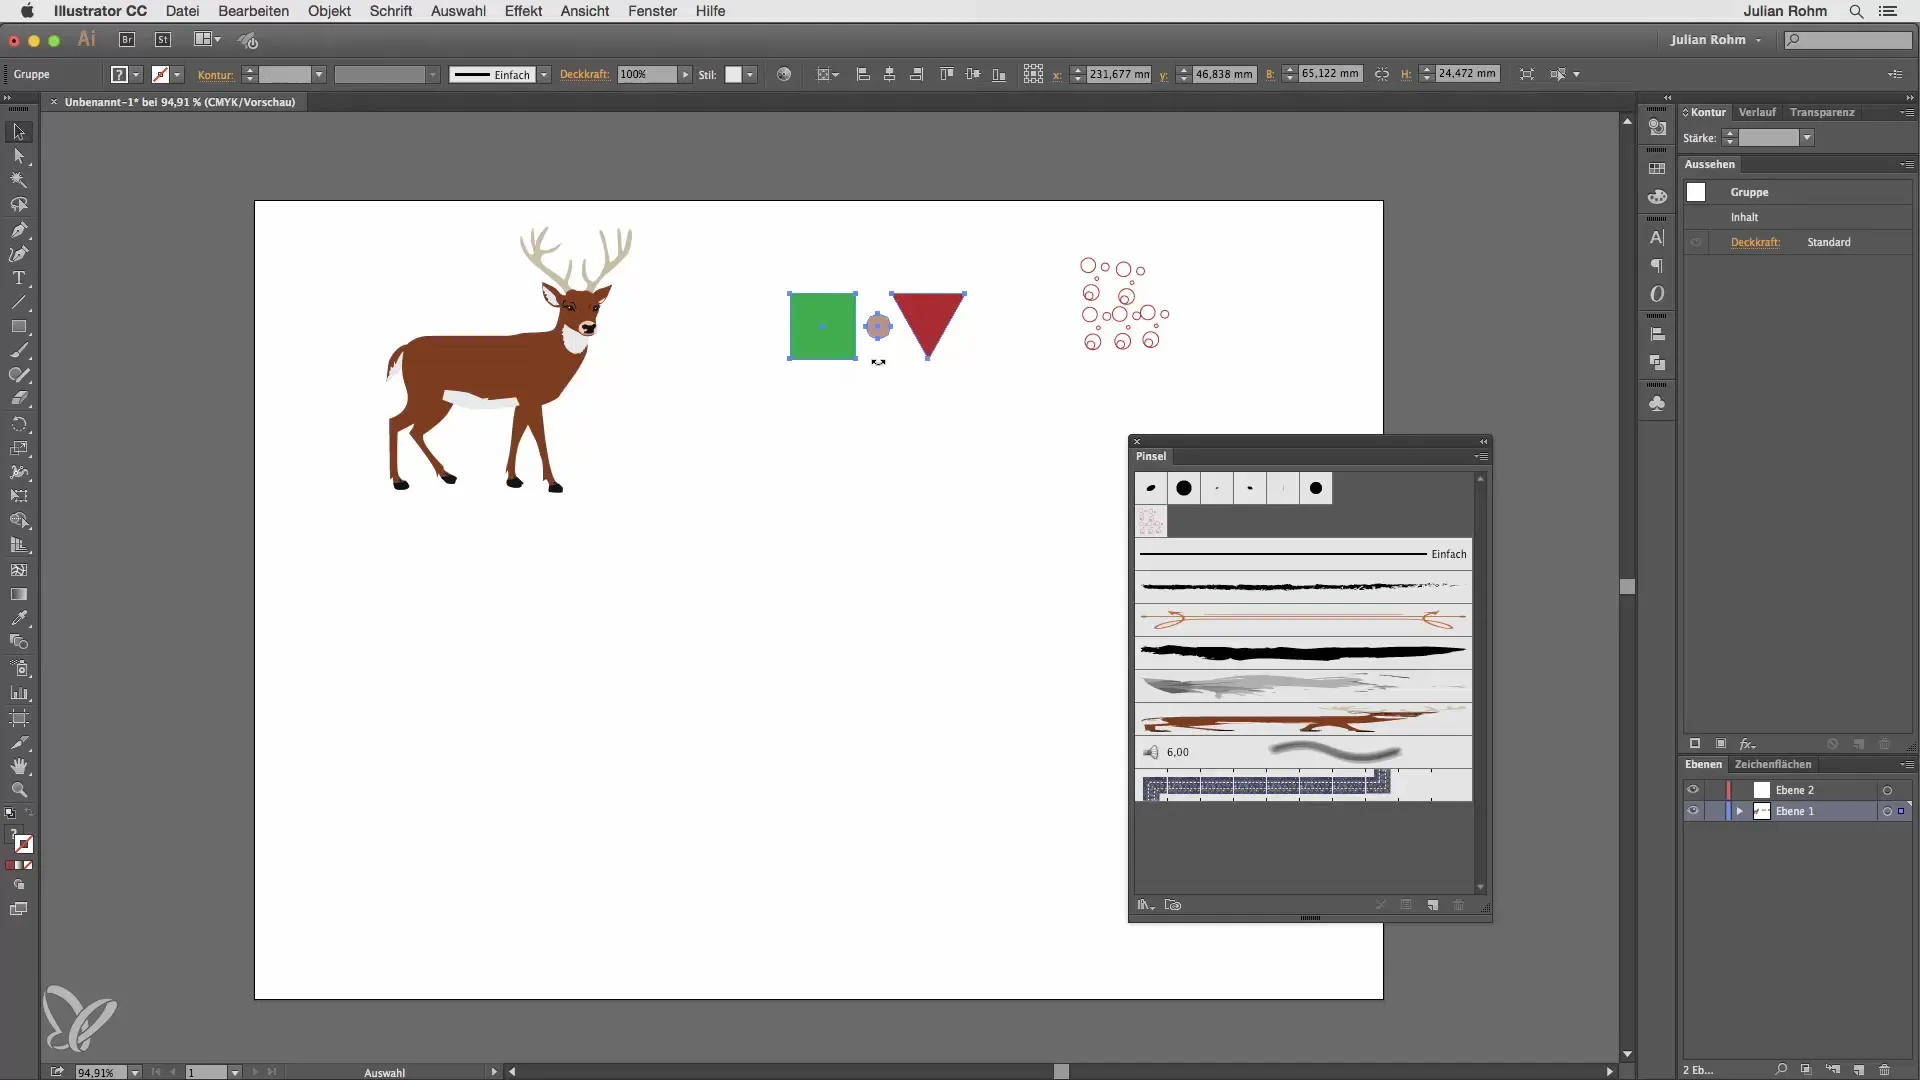
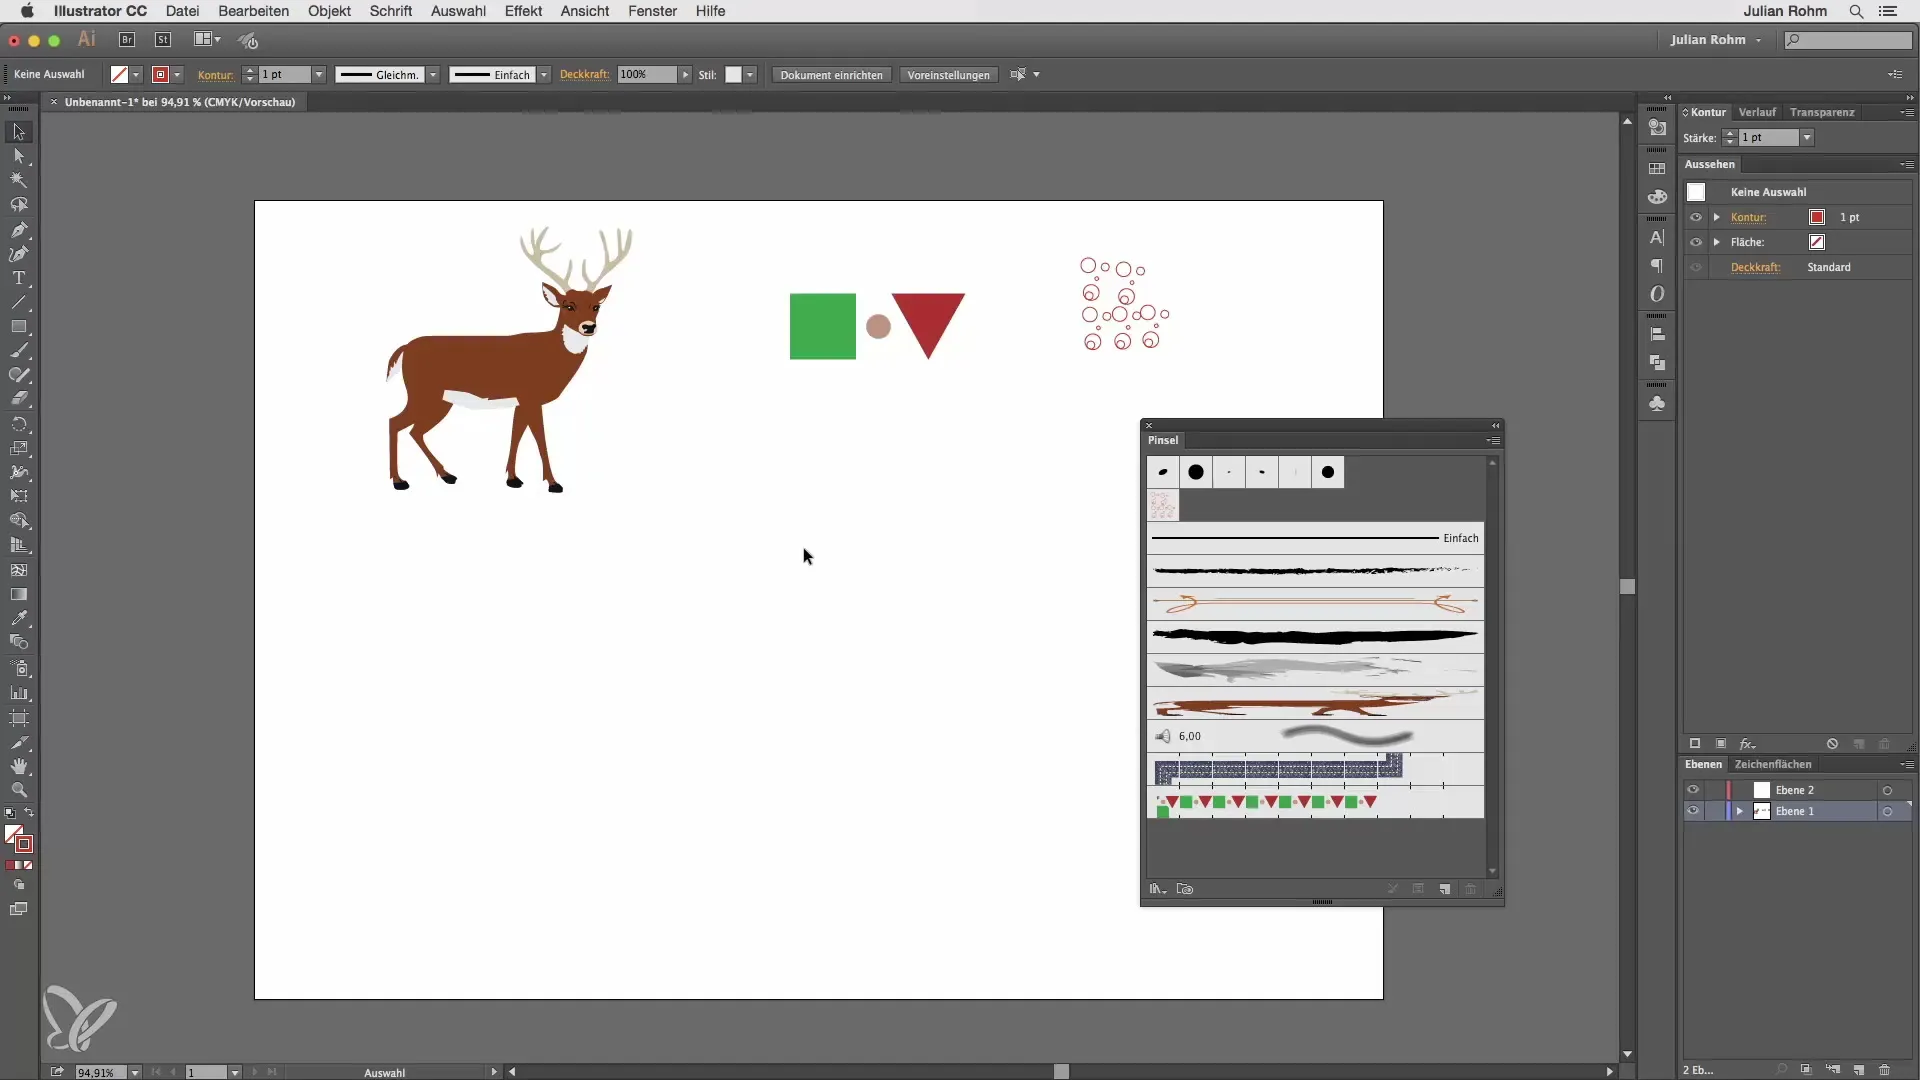
For a pattern brush, you also drag an existing pattern into the palette. Choose the type "Pattern Brush" and adjust the settings accordingly. Again, you can give the brush a name and set parameters. You will see that the pattern looks great even on curves and lines, making it easy to create beautiful borders.
Illustrator also offers predefined brush libraries that you can use to quickly find appealing brushes. You can open these libraries by selecting the menu in the brush palette. Here you will find many different brush tips that you can use immediately.
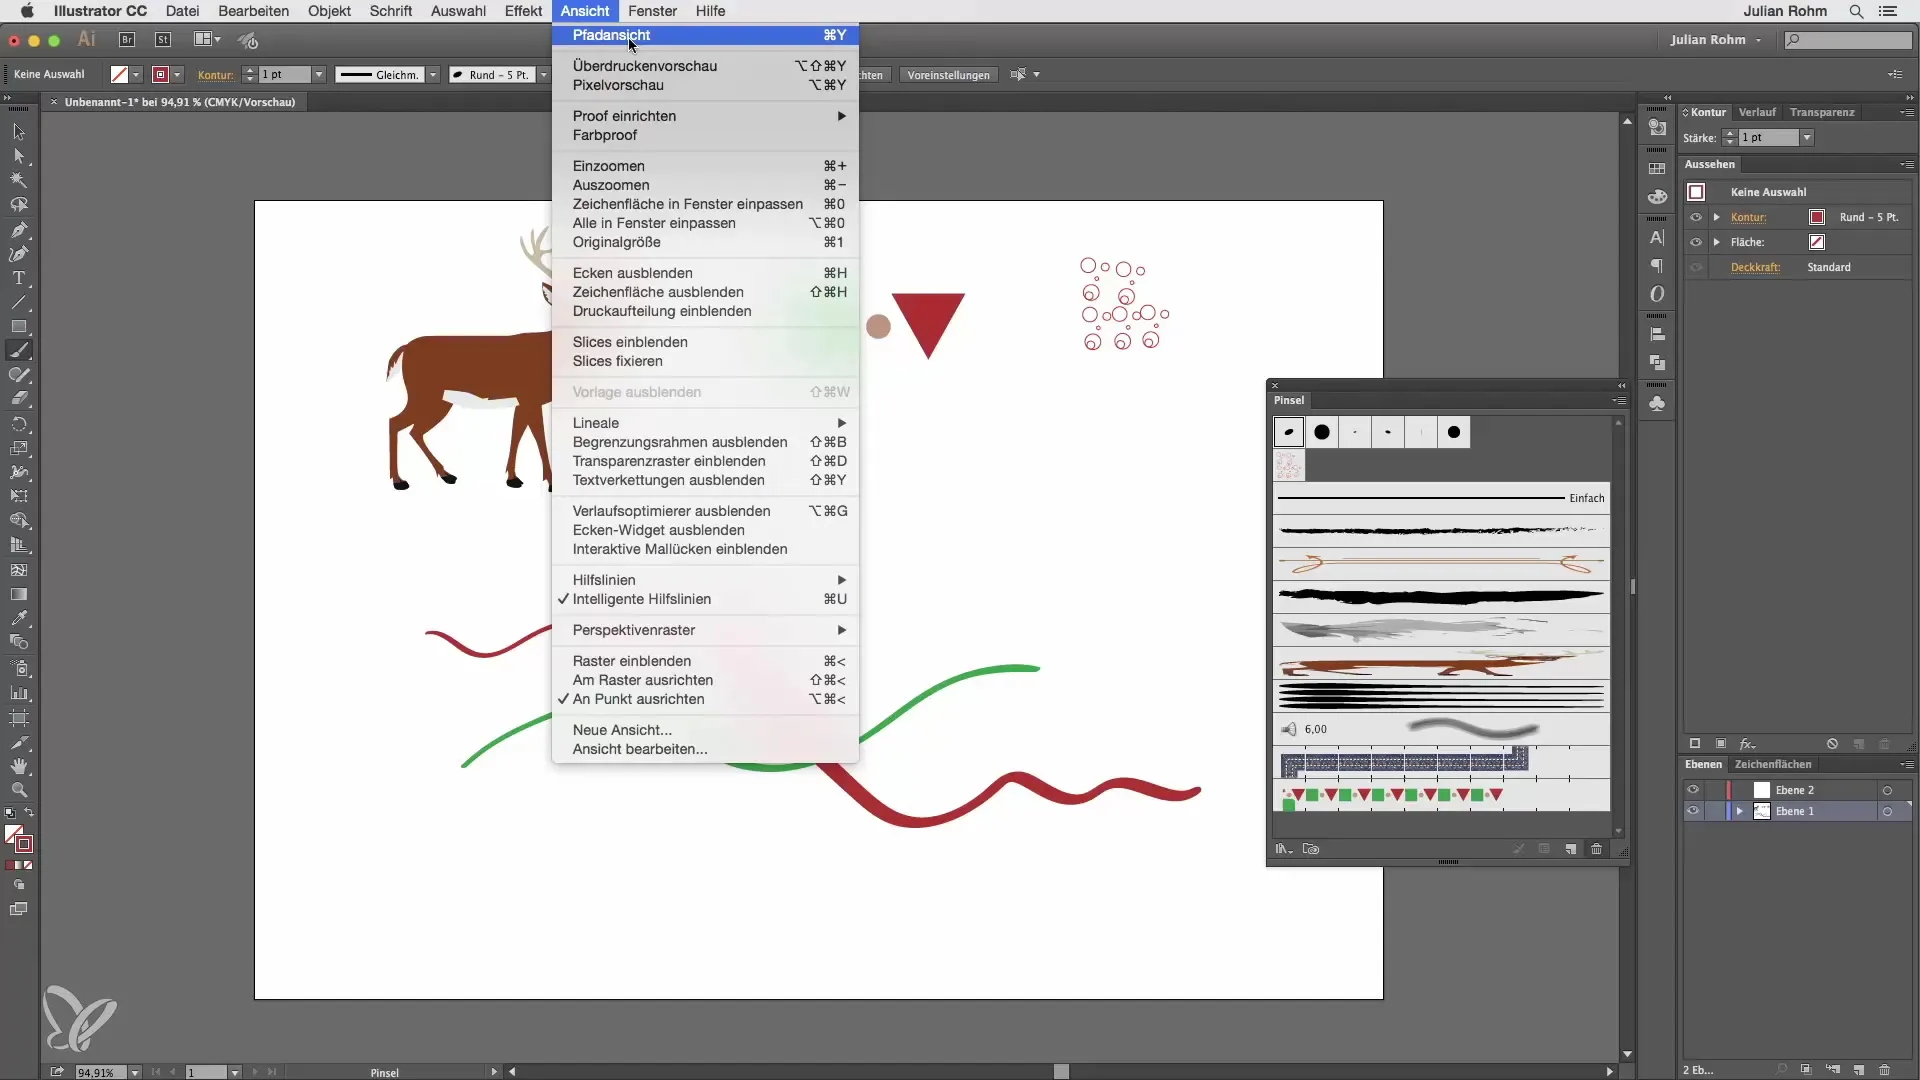
The choice between the normal brush and the blob brush is crucial. The blob brush does not draw with traditional paths but creates colored areas. This can lead to different effects when the areas overlap. You can see how the different brushes behave through the path view.
Summary – Mastering the Brush Tool in Illustrator
The Brush tool in Illustrator offers you countless creative possibilities, from calligraphic strokes to complex patterns and images. By trying out different brush types and tailoring the options to your needs, you can significantly enhance your illustrations. Use the variety of options to make your designs unique and remarkable.
Frequently Asked Questions
How do I create a custom brush in Illustrator?Drag and drop a pattern or image into the brush palette and select the desired brush type.
What are the differences between calligraphy brushes and image brushes?Calligraphy brushes offer variable stroke weights, while image brushes place images in the brush stroke.
Can I adjust brushes in Illustrator at any time?Yes, you can edit the brush feature by double-clicking on the brush in the palette.
Where can I find predefined brush libraries?You can find these in the brush menu at the bottom under "Open Brush Library".
Does the Brush tool also work with a graphic tablet?Yes, the Brush tool supports pressure from graphic tablets for varying stroke weights in real time.
