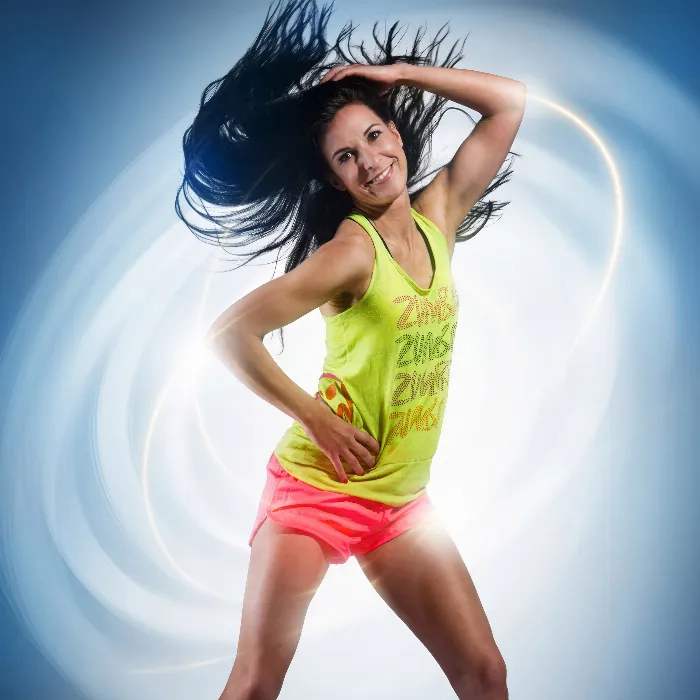
Creating an appealing background for sports portraits is essential to optimally showcase the main subject. In this tutorial, you will learn how to create an effective, misty background in Photoshop using the brush tool and special smoke brushes. This creative process gives your images a unique atmosphere and highlights the athletic subjects.
Key insights
- Using a brush tool with smoke brushes to create a misty background
- The importance of choosing an appropriate color and opacity
- Gradually adjusting the smoke effect for optimal results
Step-by-Step Guide
First, make sure that the current background in your image is a solid color, as this will be the starting point for your new misty background. In this tutorial, we start with a black background that we will change later.
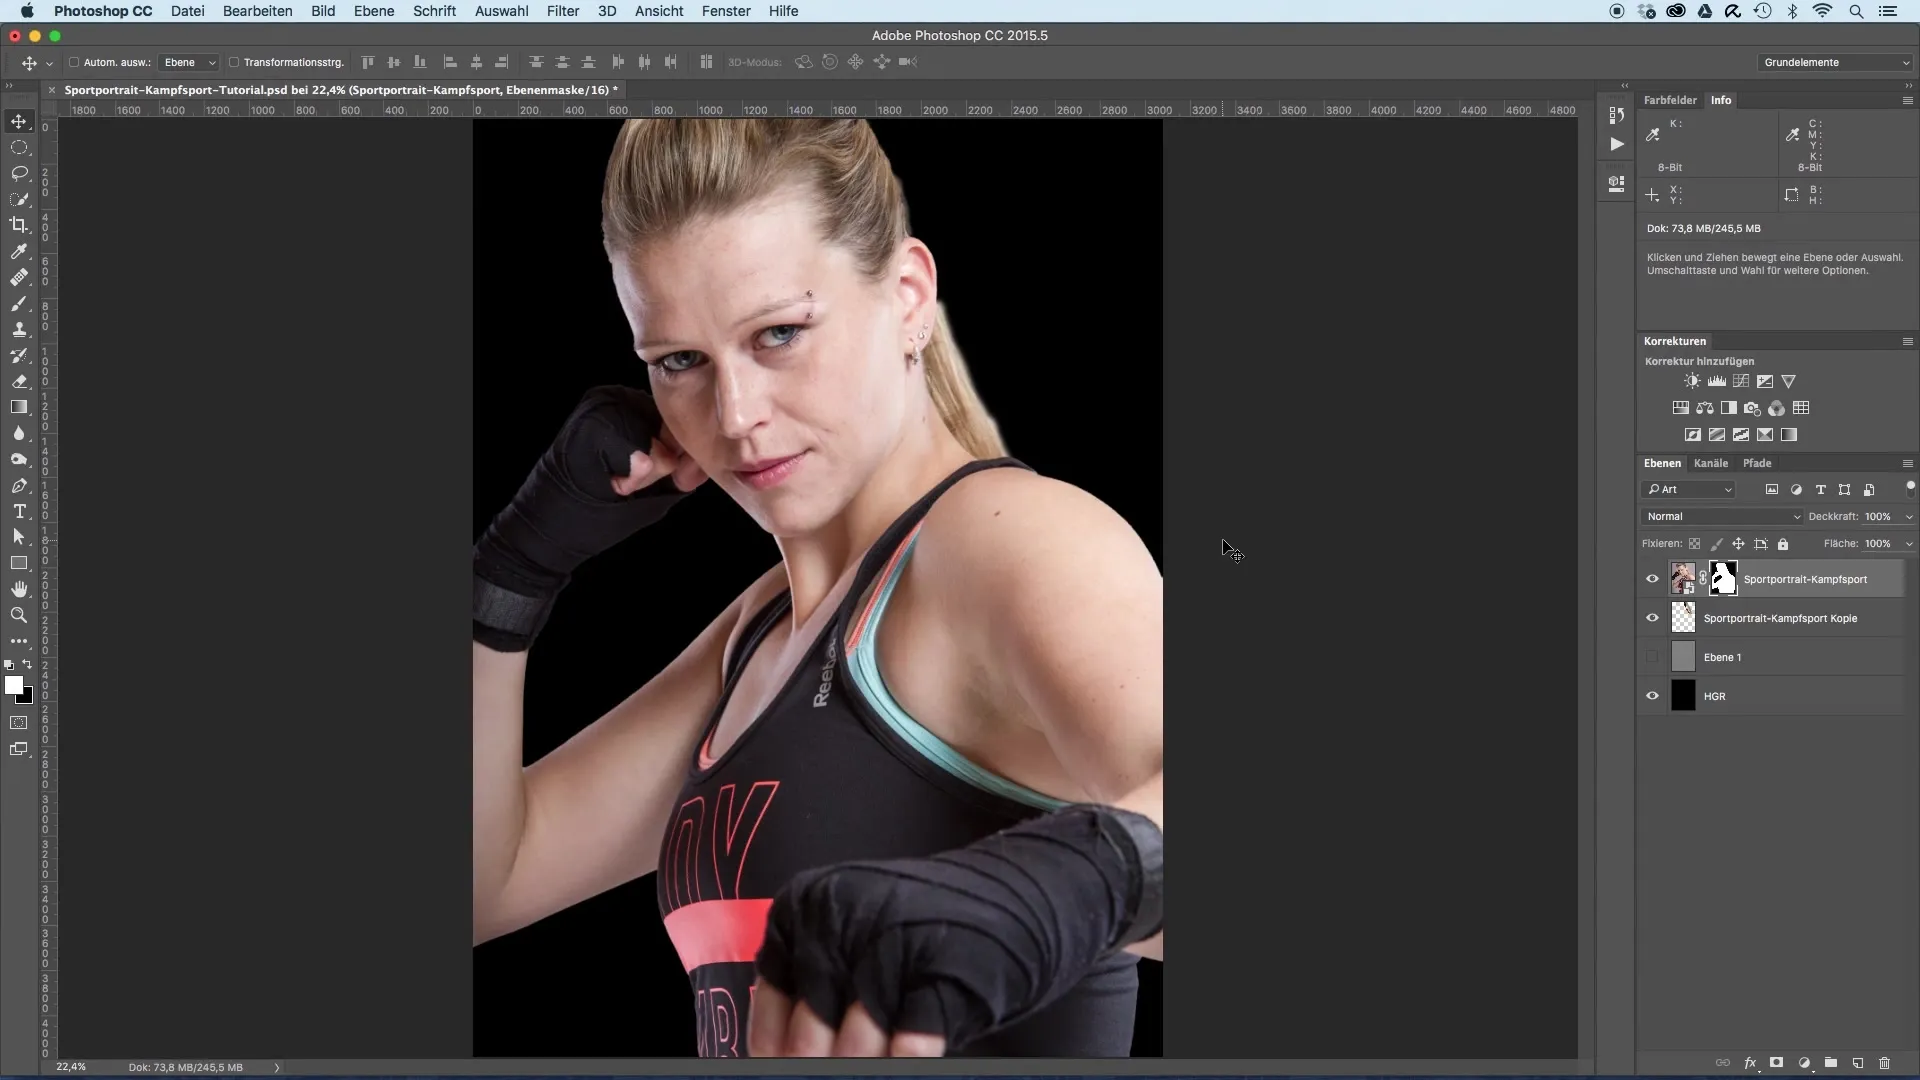
To adjust the background, add a new layer. To do this, select the option in your layers panel to create a new layer. Clearly and distinctly name this layer "Smoke".
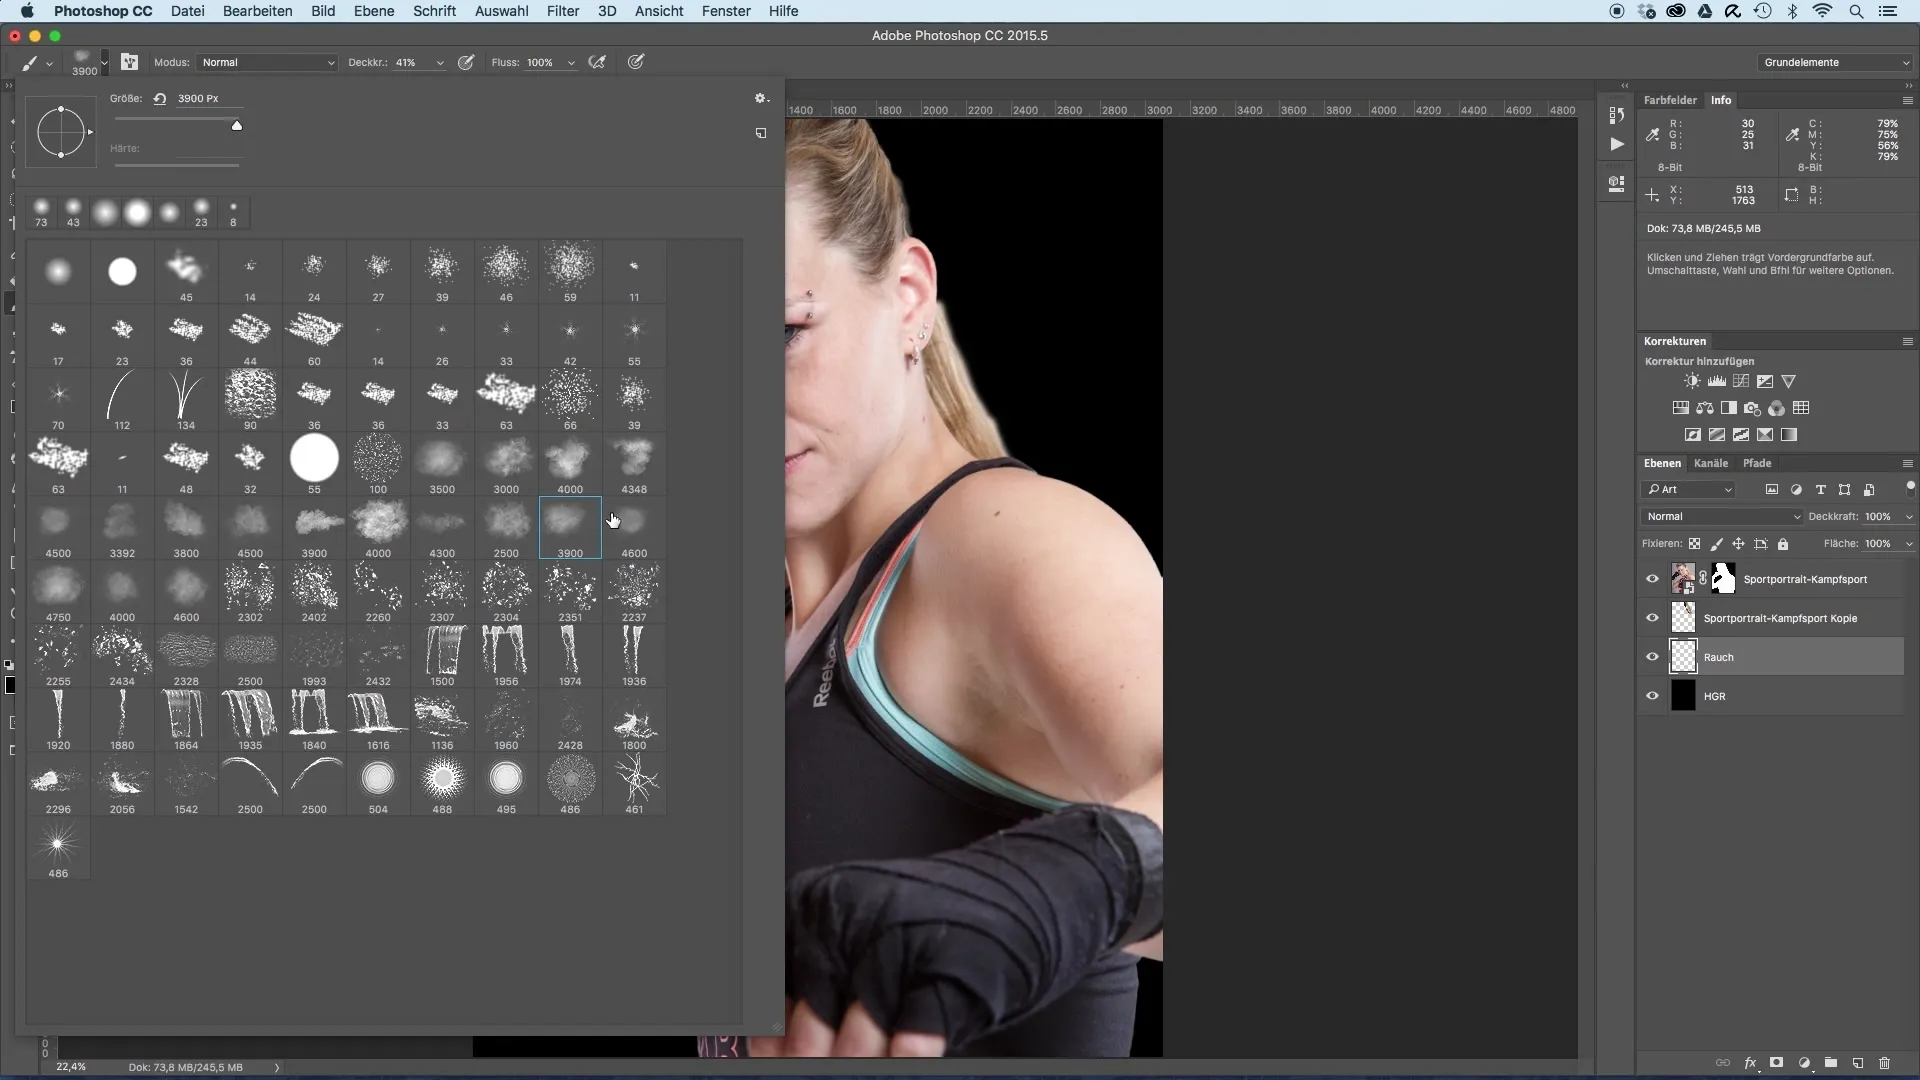
Now comes the creative part: Activate the brush tool by pressing the "B" key on your keyboard. Once you have activated the brush tool, the Brush palette will open, where you can select different brushes. In this case, you will use special smoke brushes that you can find online.
If you don’t have any smoke brushes yet, I recommend looking for free brushes and downloading them. There are numerous websites that provide the opportunity to find high-quality brushes for Photoshop and easily import them into your program.
Once you have imported your smoke brushes, you can select the desired brush and start editing the image. When selecting the brush, ensure that it creates the desired contours of the smoke that are clearly visible in the preview.
Now select the color white as the foreground color. It is advisable to choose a slightly smaller brush tip and a low opacity to achieve a softer appearance of the smoke.
Now the actual painting process begins. Click several times in the background to slowly build up the smoke. Move the brush to ensure an even distribution and try to place the smoke in the central area, so it is centered around the athletes. The outer areas of the background can remain a bit darker.
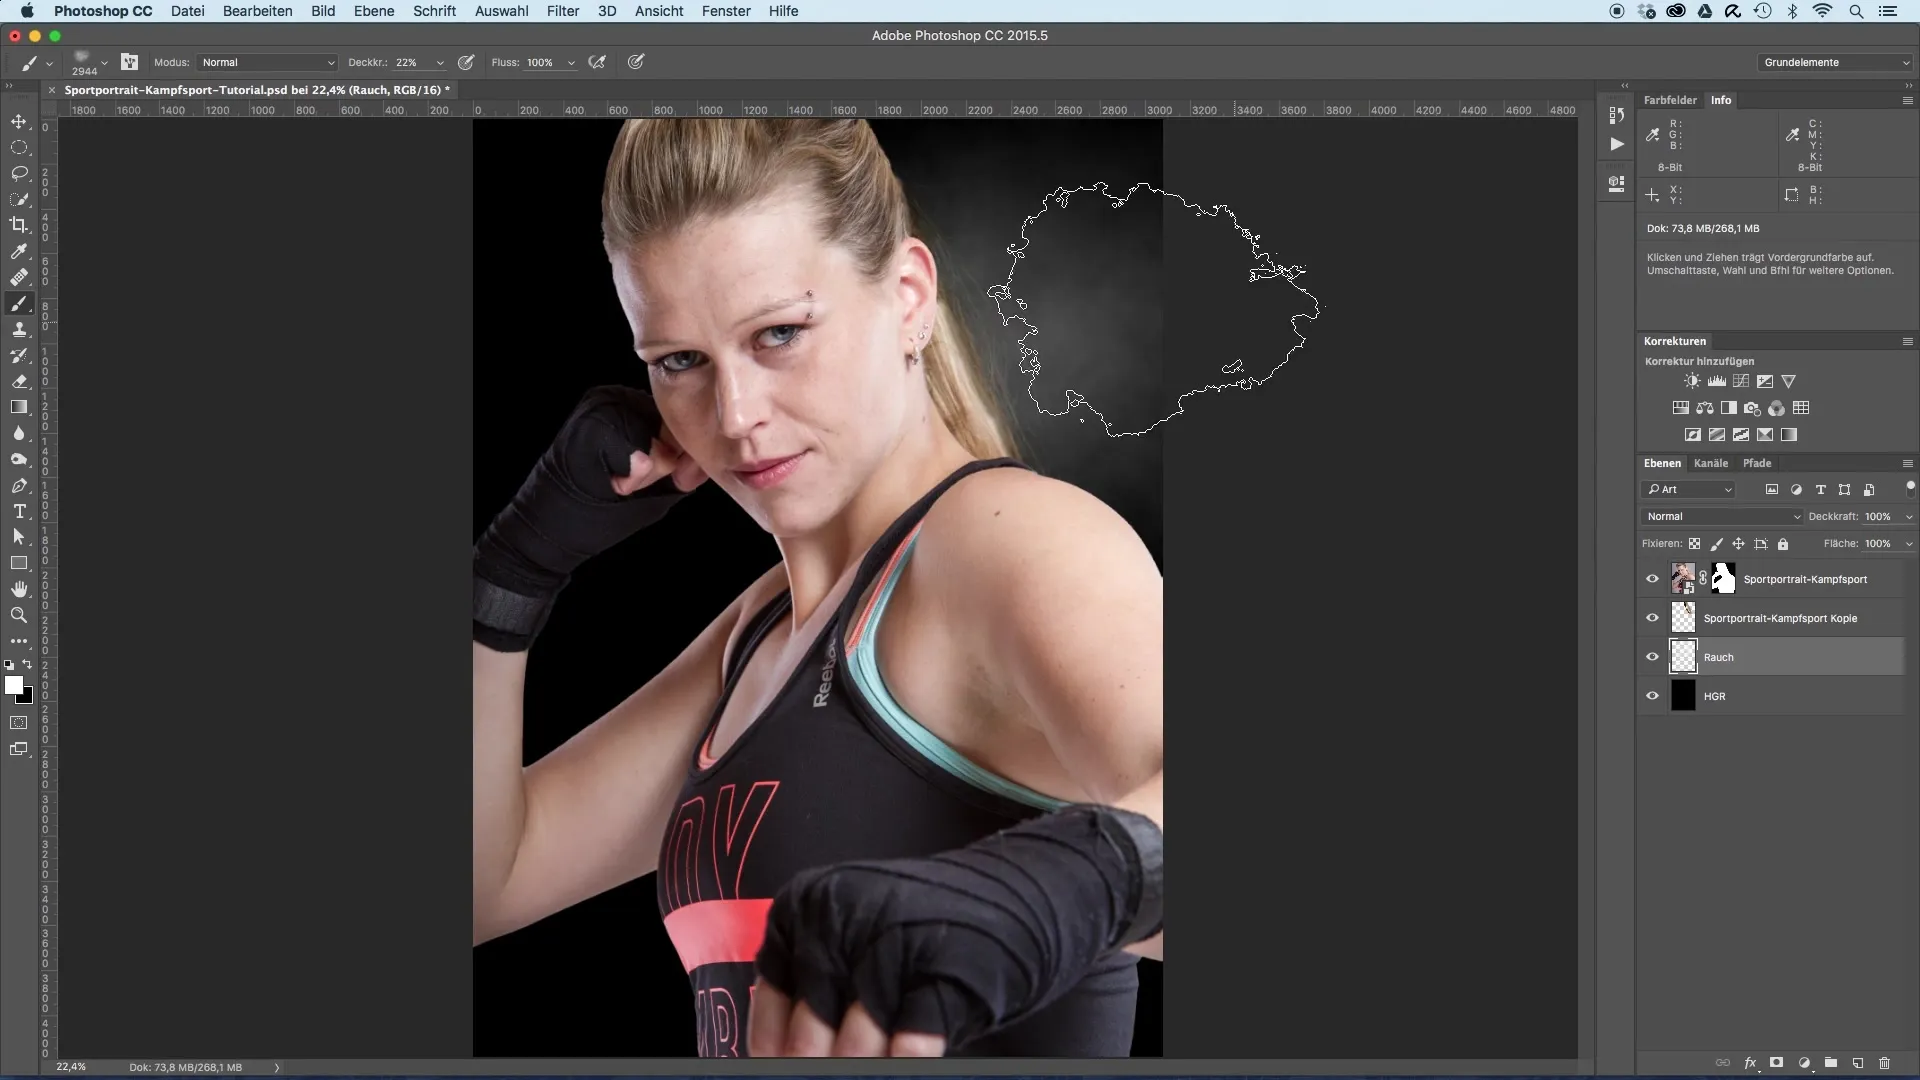
Make sure you do not have any completely black areas in the background. You can achieve this by painting over all areas of the background to create a certain consistency in the smoke representation.
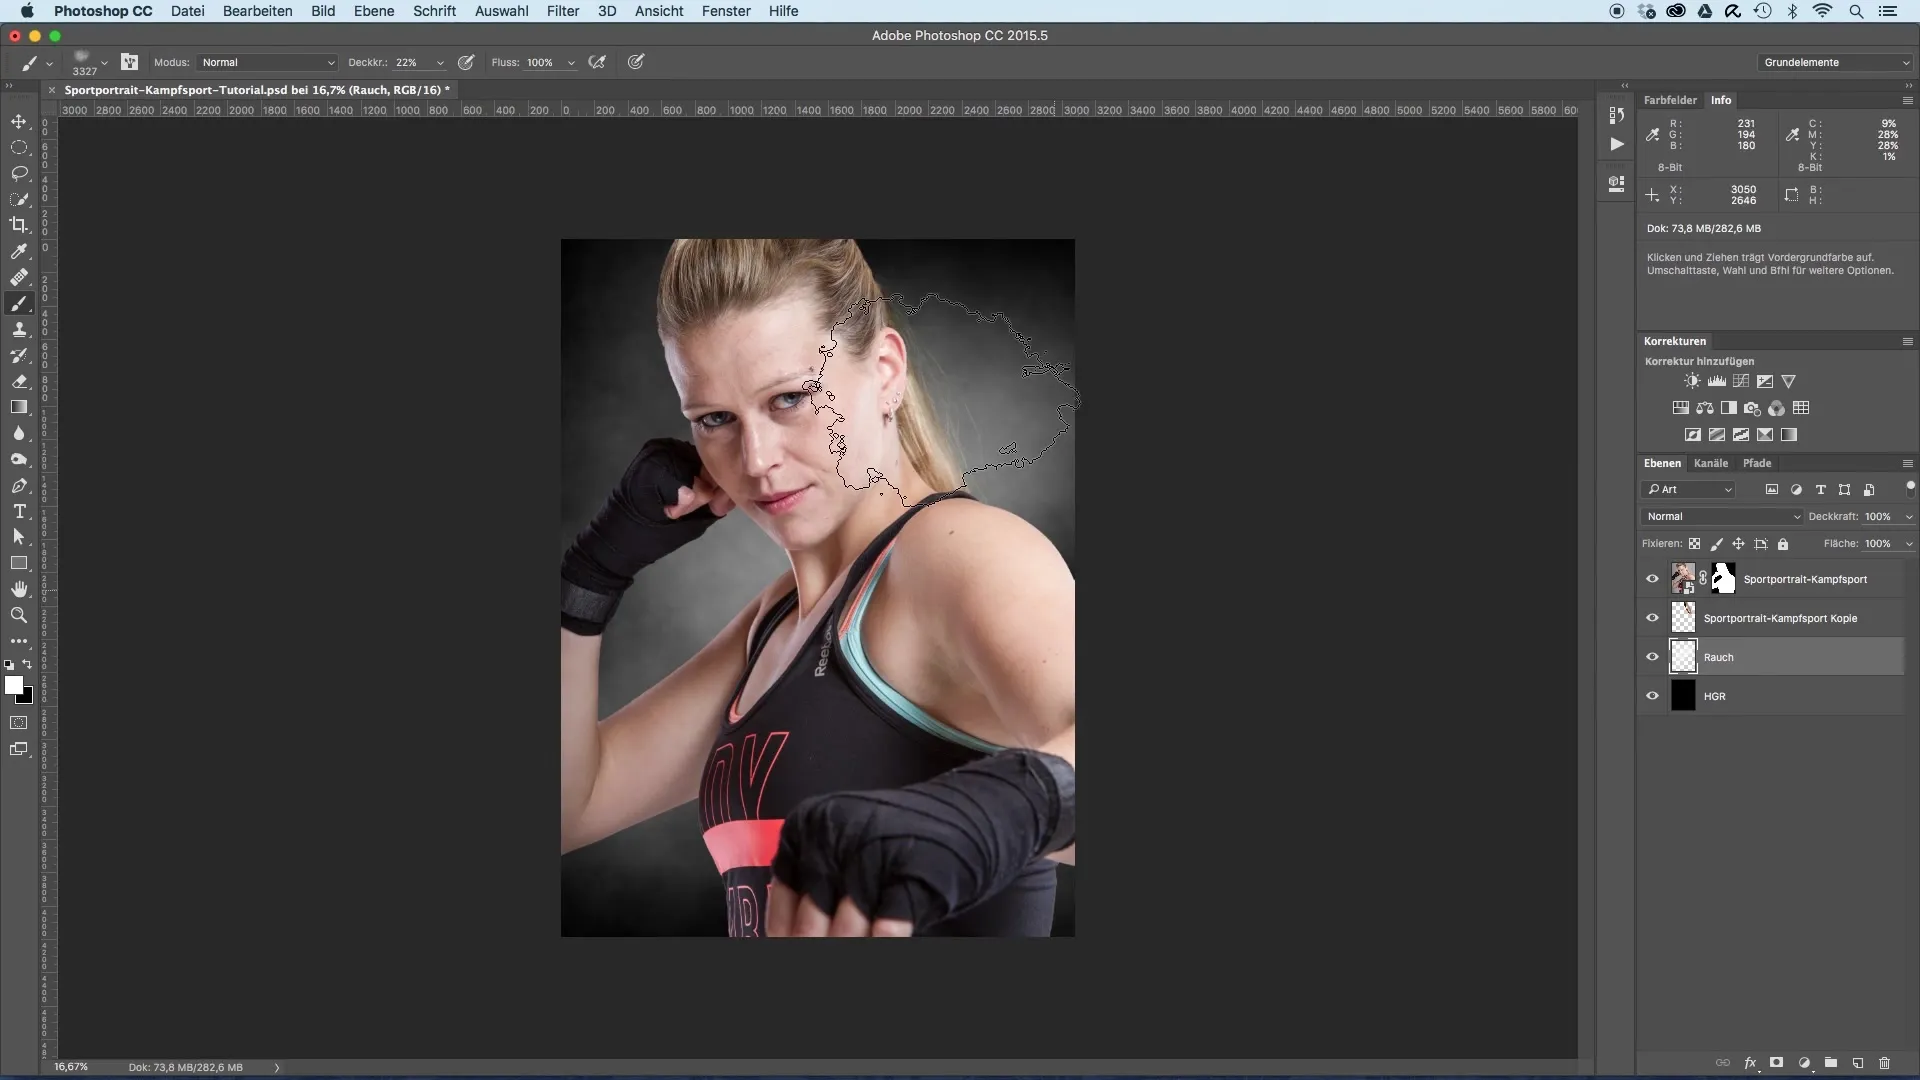
When you are satisfied with the smoke, take a look at the overall image. This technique ensures that the athletes in the foreground stand out more clearly, as the smoke serves as a harmonious, non-distracting background.
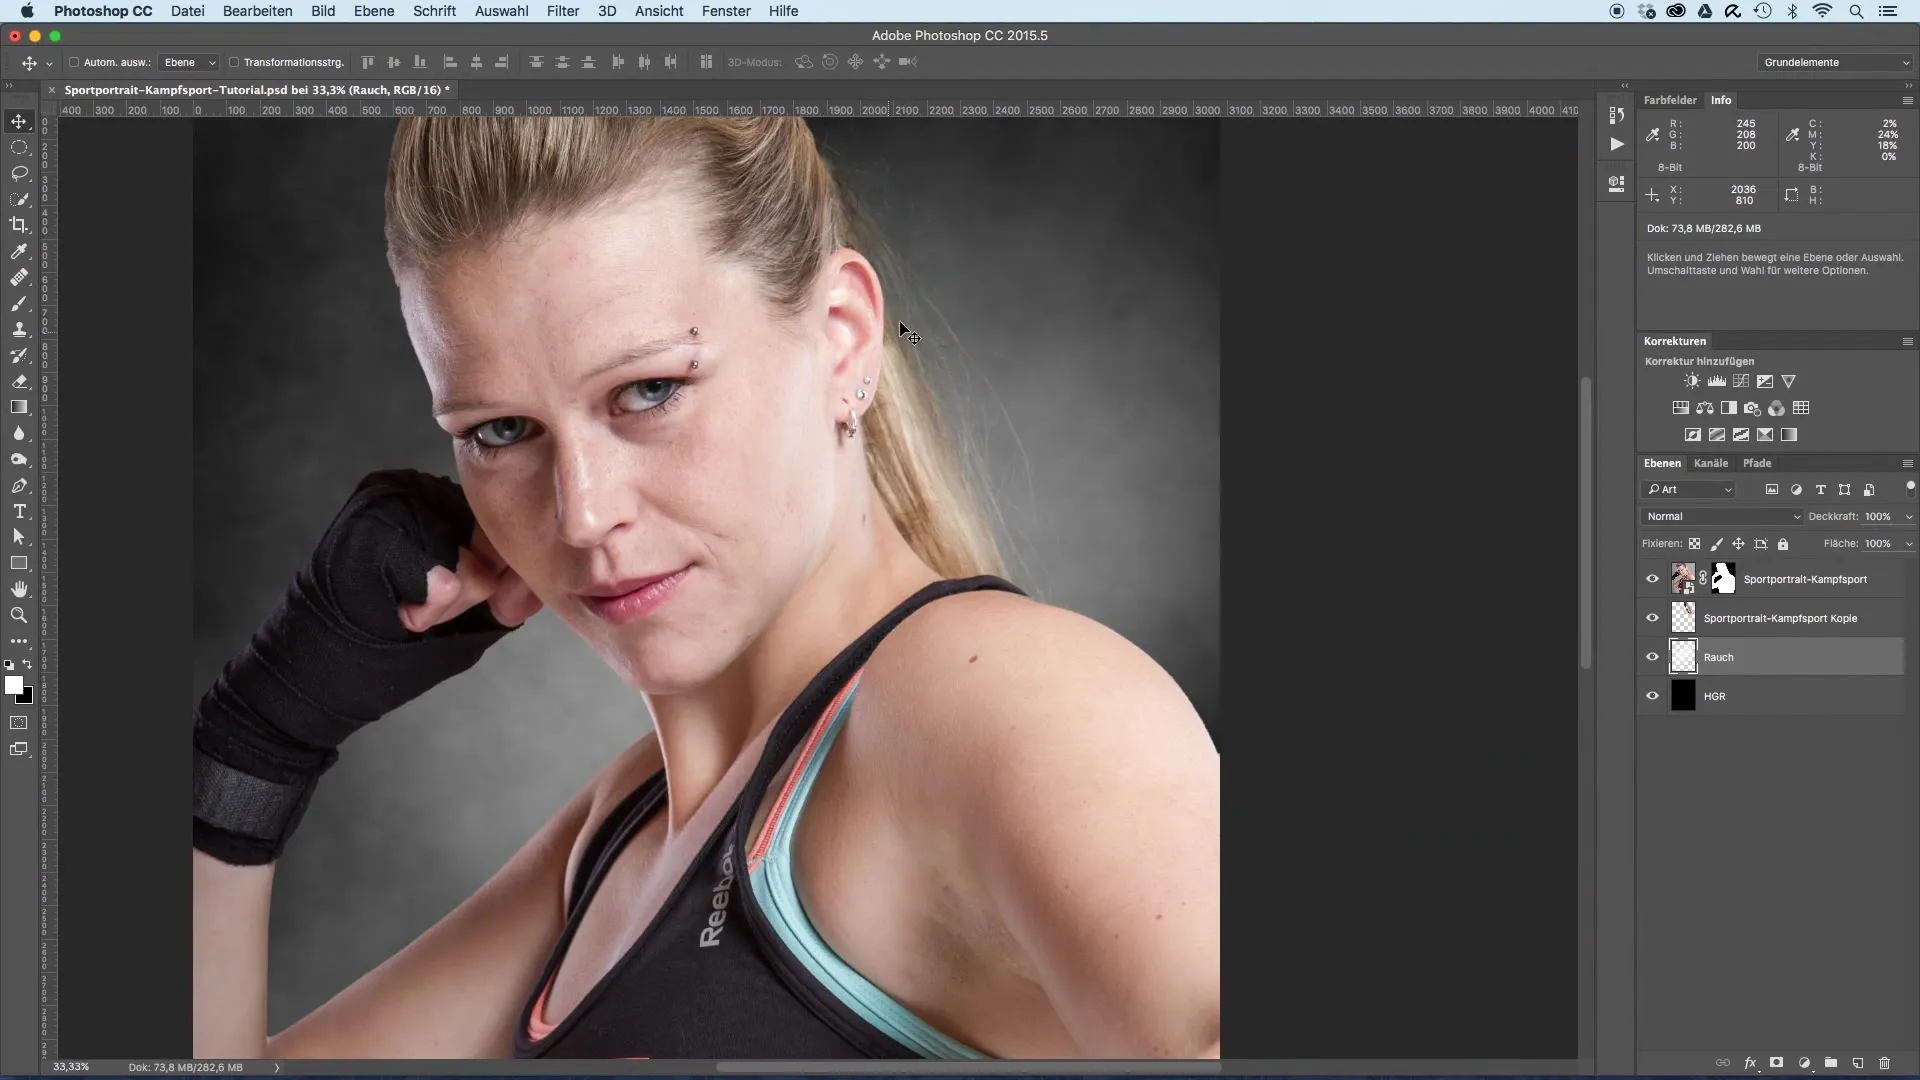
To further optimize the background, you may plan to add some color to it. The next step would be to tint the background a bit to give your sports portraits even more life and depth. The details on the colors and their application will be covered in the next video.
Summary - Creating a Misty Background for Sports Portraits
In summary, you have learned in this guide how to transform a solid background into an appealing misty background for sports portraits. By using specific brush techniques in Photoshop, you can achieve creative effects that give your image more expressiveness and perfectly showcase the main subjects.
Frequently Asked Questions
What are smoke brushes and where can I find them?Smoke brushes are specialized digital brushes for Photoshop that create a smoke-like effect. You can find these on various websites that offer free brushes.
How do I adjust the brush opacity?You can adjust the brush opacity in the upper menu bar of Photoshop after selecting the brush tool.
How can I change the color of the smoke?You can select the foreground color in the color palette and then simply paint in the background with the brush tool.
