To specifically improve the sharpness of your Sports Portraits, the High Pass Filter is an extremely useful tool. In this guide, you will learn how to enhance the details of your image and make it visually more appealing using this method. Let's dive in and go through the individual steps for applying the high pass filter.
Key Insights
- The high pass filter is used to increase sharpness in images.
- The application should be done sparingly; usually, a radius of 1 to 1.5 pixels is sufficient.
- The layer mode “Soft Light” is an optimal choice for gentle sharpness enhancement.
- Converting to a Smart Object allows for later adjustments of the high pass filter.
Step-by-Step Guide
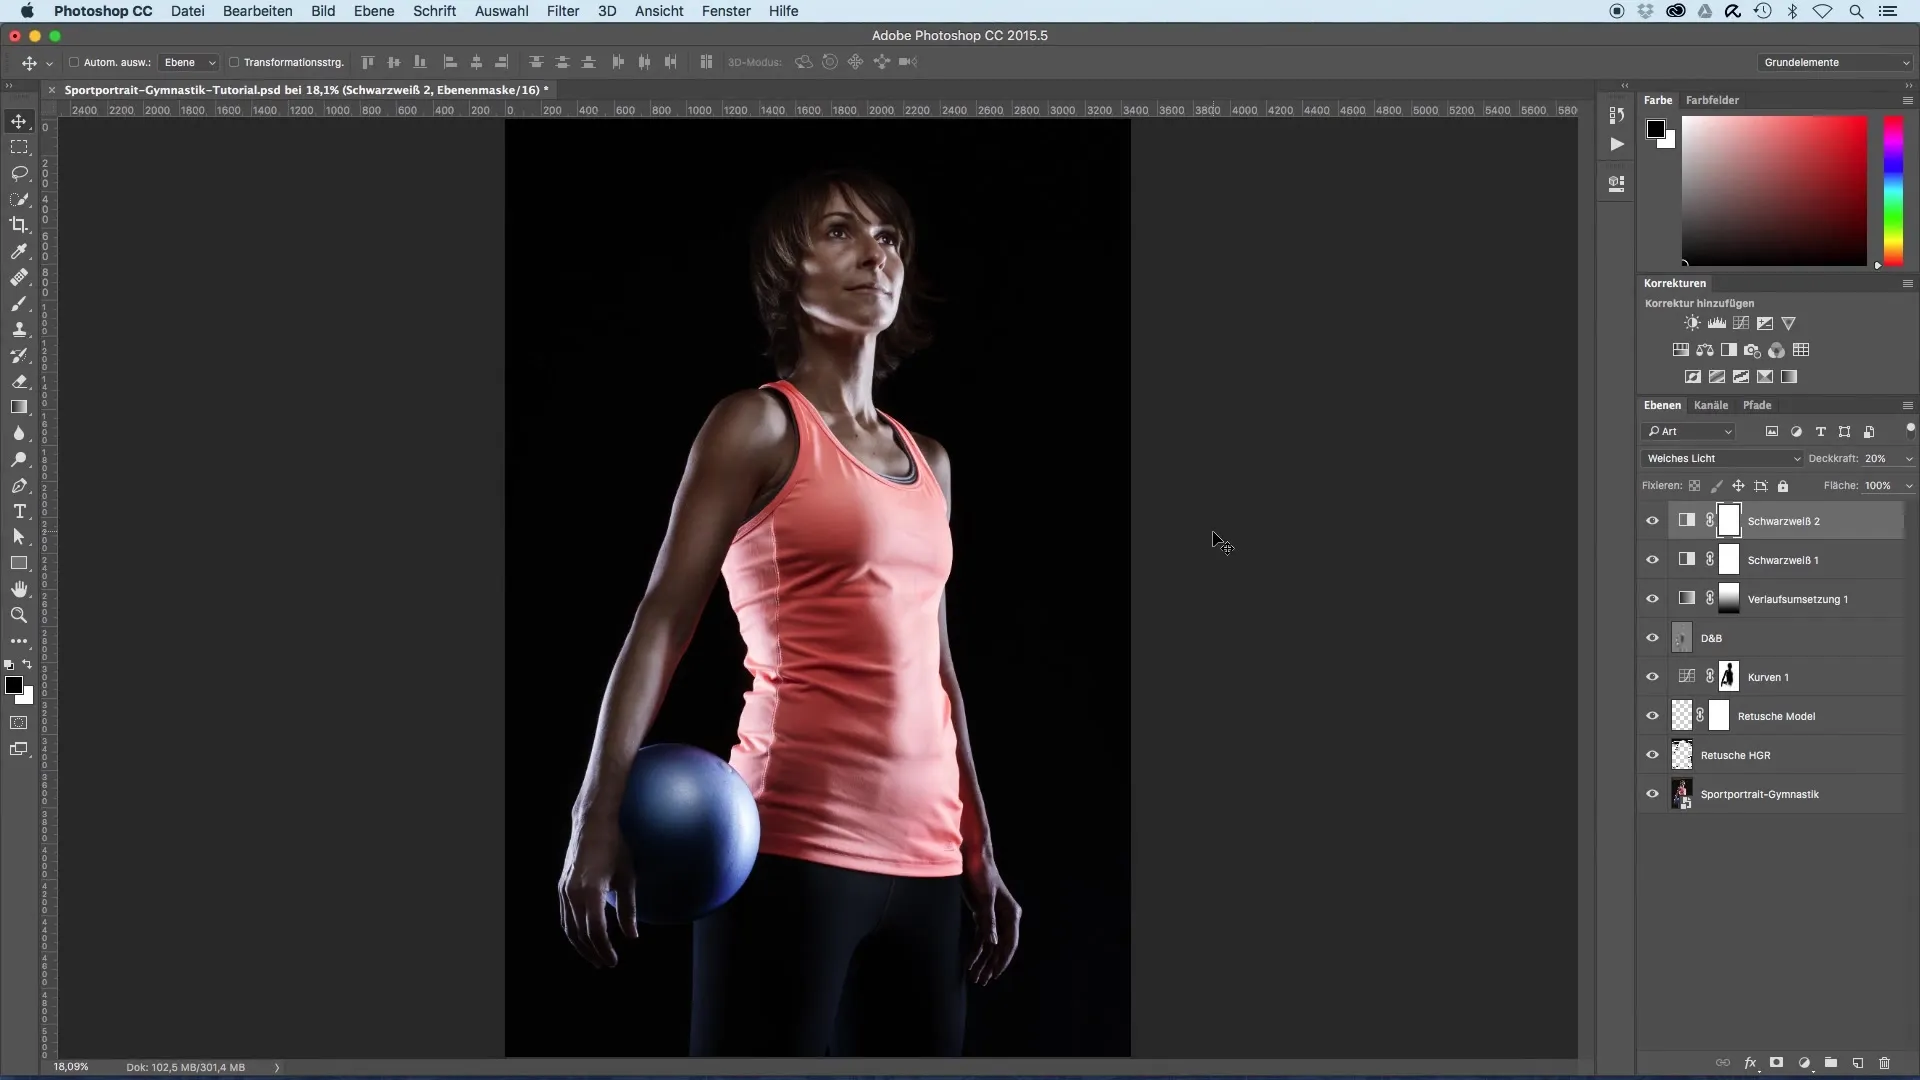
First, open your image in the desired editing software. Make sure all necessary layers are in place to ensure a harmonious edit.

To increase sharpness, select the top layer and copy all contents to a new layer. Use the keyboard shortcut “Command + Option + Shift + E”. This procedure creates a new layer that merges all contents.
After the new layer is created, select the high pass filter. Go to “Filter” and then “Other Filters” and select “High Pass”. Here you can adjust the radius of the filter – for most images, a value between 1 and 1.5 pixels is ideal.
Confirm the settings with “Okay” and rename the new layer to “Sharpness”. This helps you maintain clarity in your project.
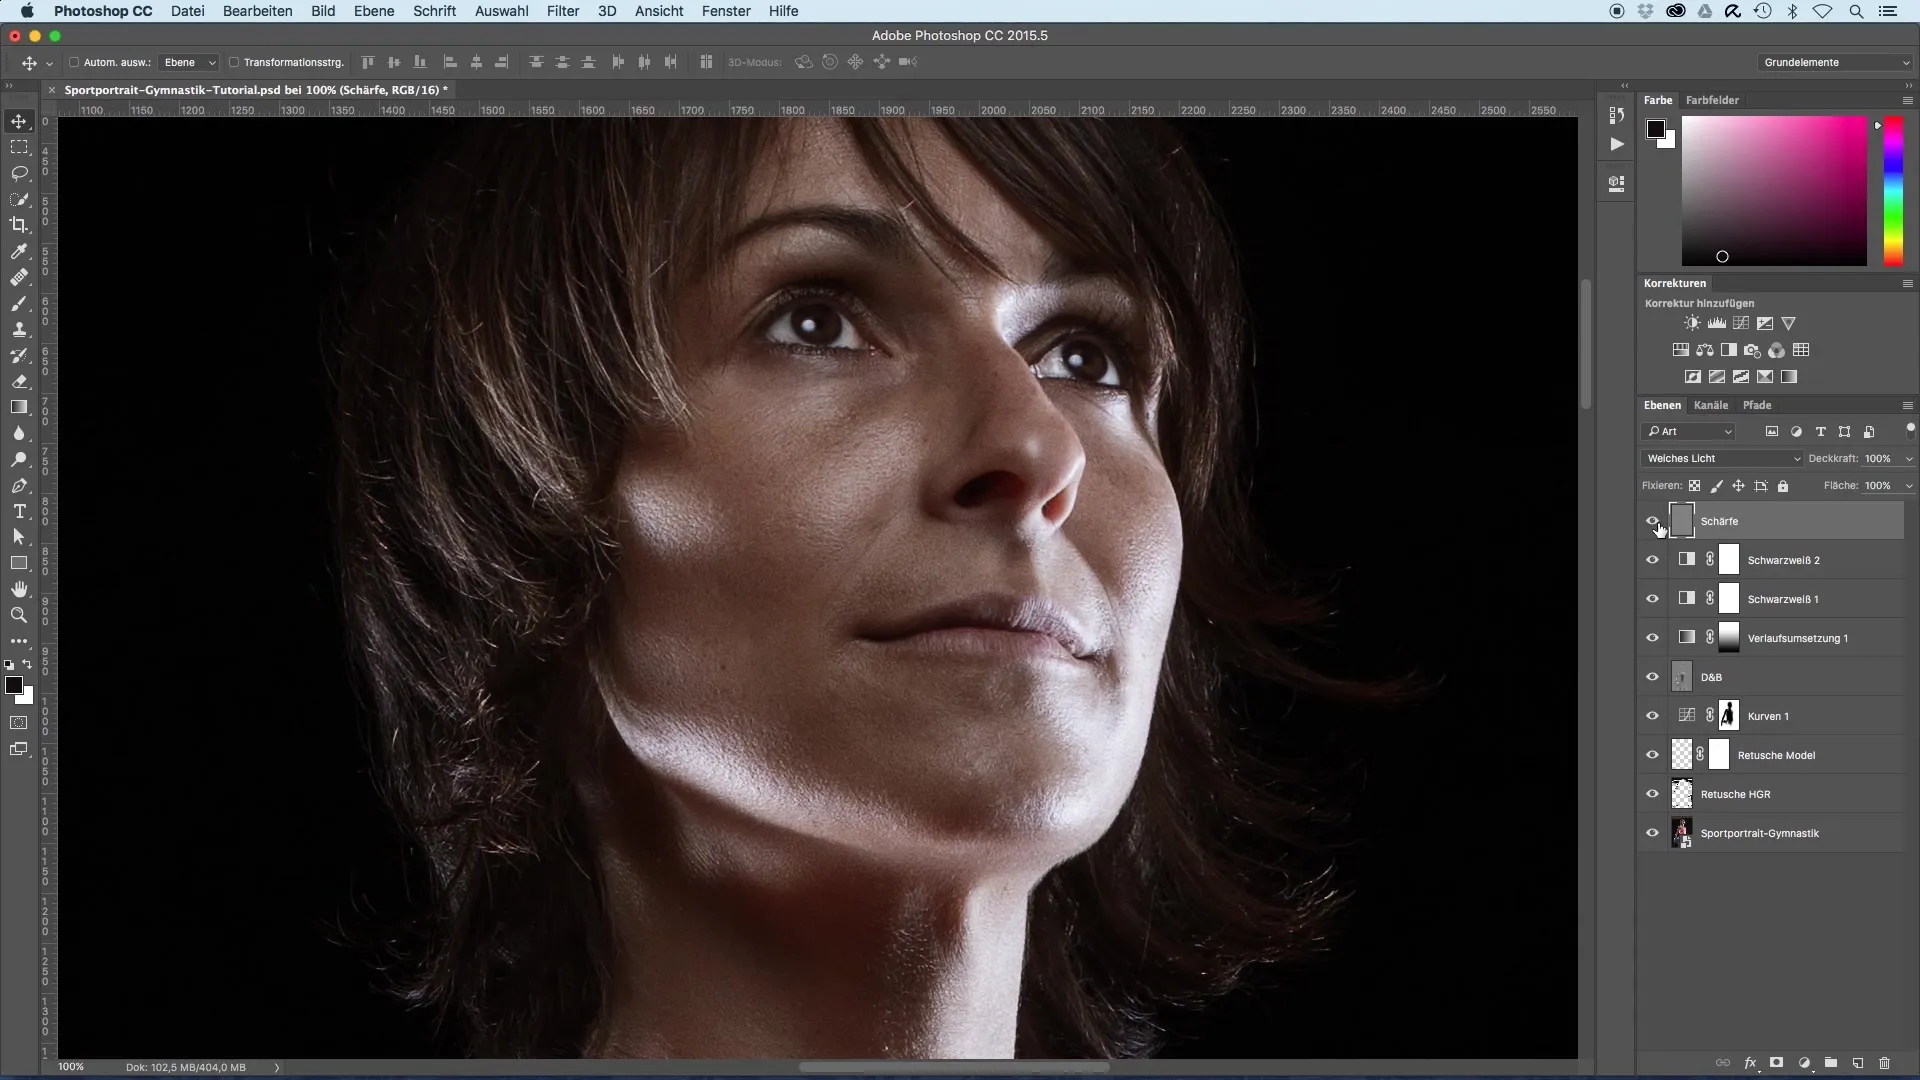
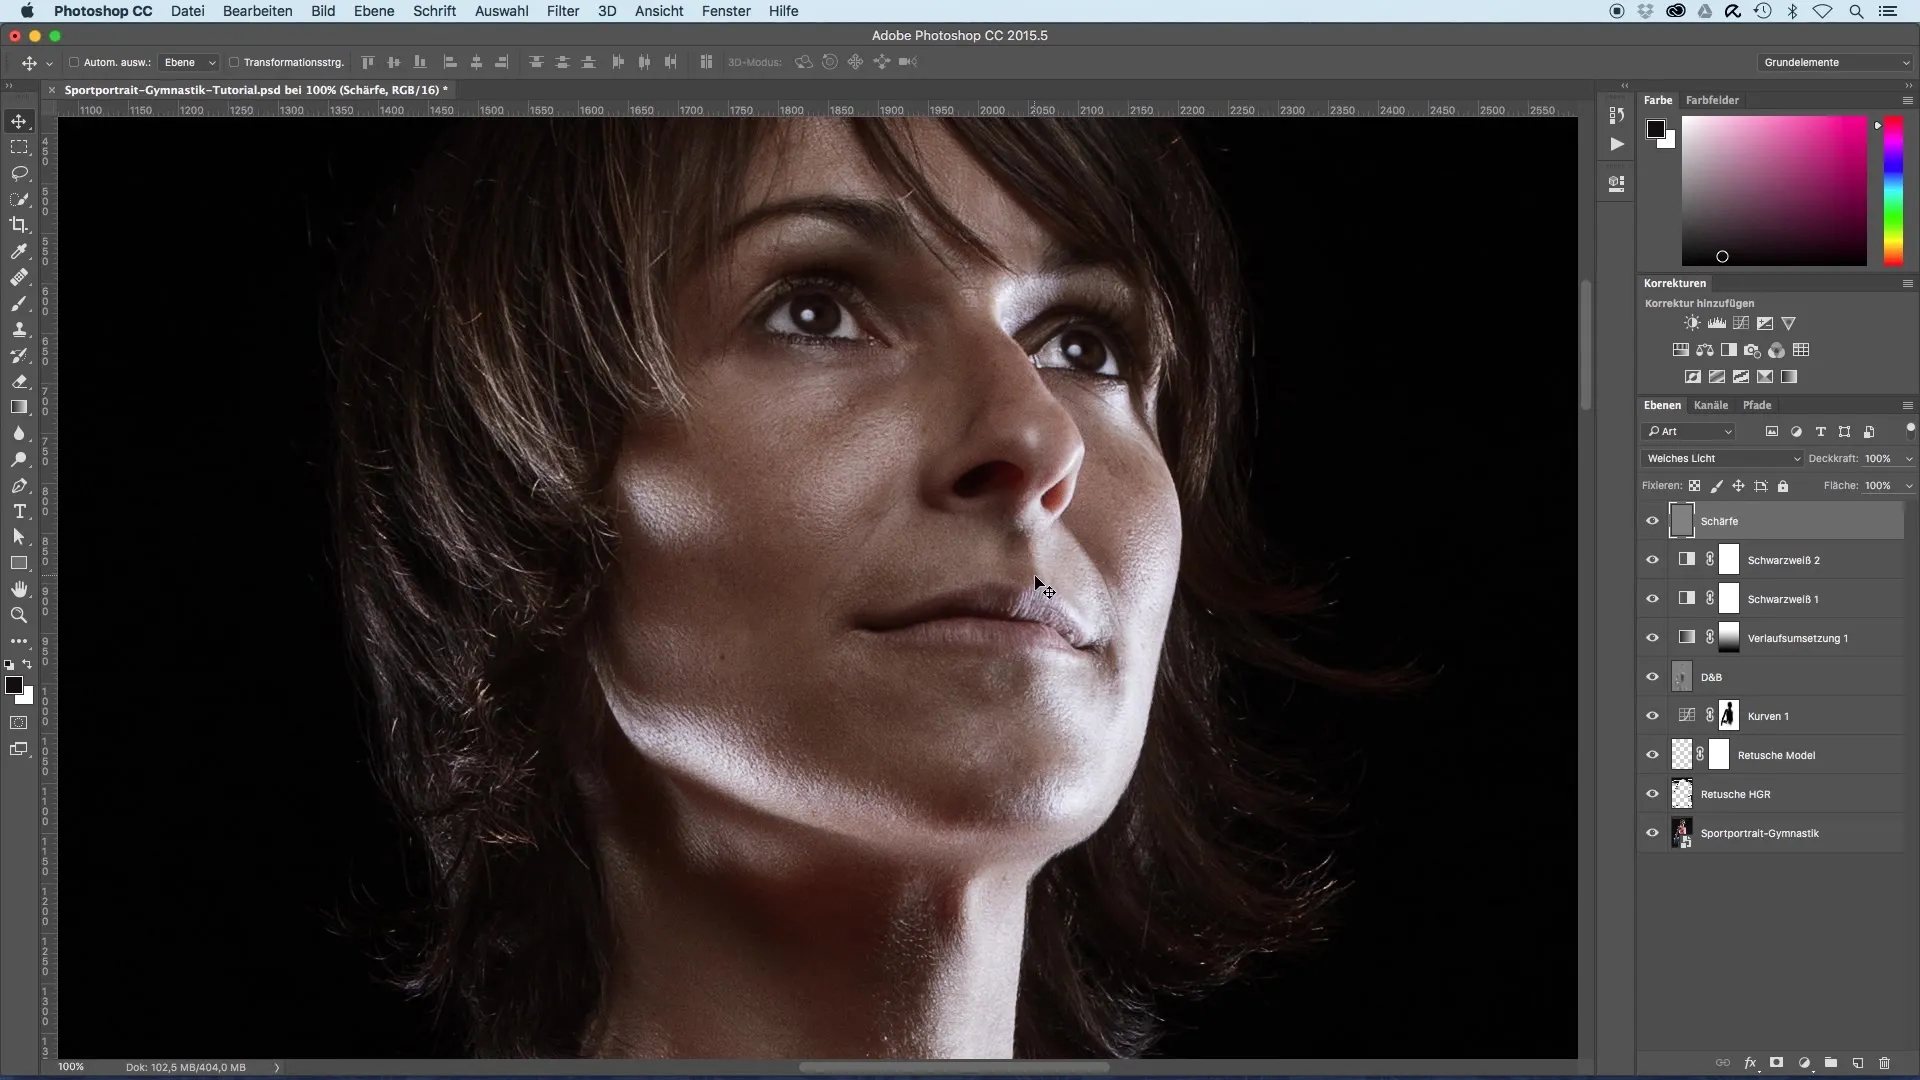
To actually apply the sharpness, you need to set the layer mode to “Soft Light”. This ensures a gentle, appealing enhancement of detail view. For a quicker overview of your edit, you can enable the 100% view to see the sharpening results more clearly.
Click on the face in the image to better perceive the changes. You will notice that the sharpness has significantly increased after applying the high pass filter. If you temporarily hide the sharpness layer, you will clearly see the difference: the image appears less sharp and the contours are less defined.

If you are not completely satisfied with the sharpness, you can try another layer mode such as “Overlay”. This enhances the result but can also lead to over-editing. The choice of mode is always a matter of taste.
An interesting method for better control of the sharpening is to first convert the sharpness layer into a Smart Object. This way, you retain the flexibility to change the settings of the high pass filter at any time.
In most cases, a radius of 1 to 1.5 pixels is sufficient for sharpening. However, if you plan to upload the images to the internet, additional sharpening after resizing is recommended.

For the original file, the application of the high pass filter, as described, is sufficient. Trust in this method and you will achieve positive results.
Summary - Image Optimization of Sports Portraits with the High Pass Filter
That's how simple it is to optimize the sharpness of your sports portraits using the high pass filter. With the correct application of the filter and control over the layer treatment, you will achieve impressive results that elevate your images to a new level.
Frequently Asked Questions
What is a High Pass Filter?The high pass filter is an image editing tool that helps increase sharpness.
How do I correctly use the high pass filter?Select the image, create a new layer, apply the high pass filter, and set the layer mode to “Soft Light”.
Can I adjust the high pass filter after application?Yes, if you have converted the sharpness layer into a Smart Object, you can adjust the settings at any time.
How strong should I set the high pass filter?A radius of 1 to 1.5 pixels is usually optimal.
When should I perform additional sharpening?After resizing the images for the internet, it is advisable to perform additional sharpening.


