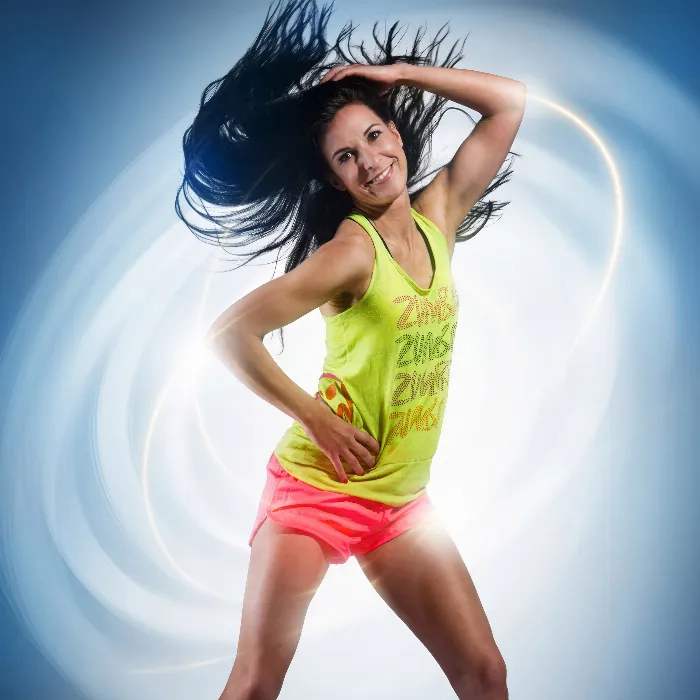
If you want to bring your sport portraits into a new light, adding lights to the edges is an excellent method. This not only draws attention to the model but also allows it to blend harmoniously with the background. I will show you exactly how to implement this technique in this guide. You will learn step by step how to create a new layer, highlight the contours of your model, and minimize the visibility of unwanted areas.
Key insights
- Adding lights to the edges enhances the effect of the model.
- A new layer allows you to make precise adjustments.
- Using layer masks makes editing clean and easy.
Step-by-step guide
Step 1: Create a new layer
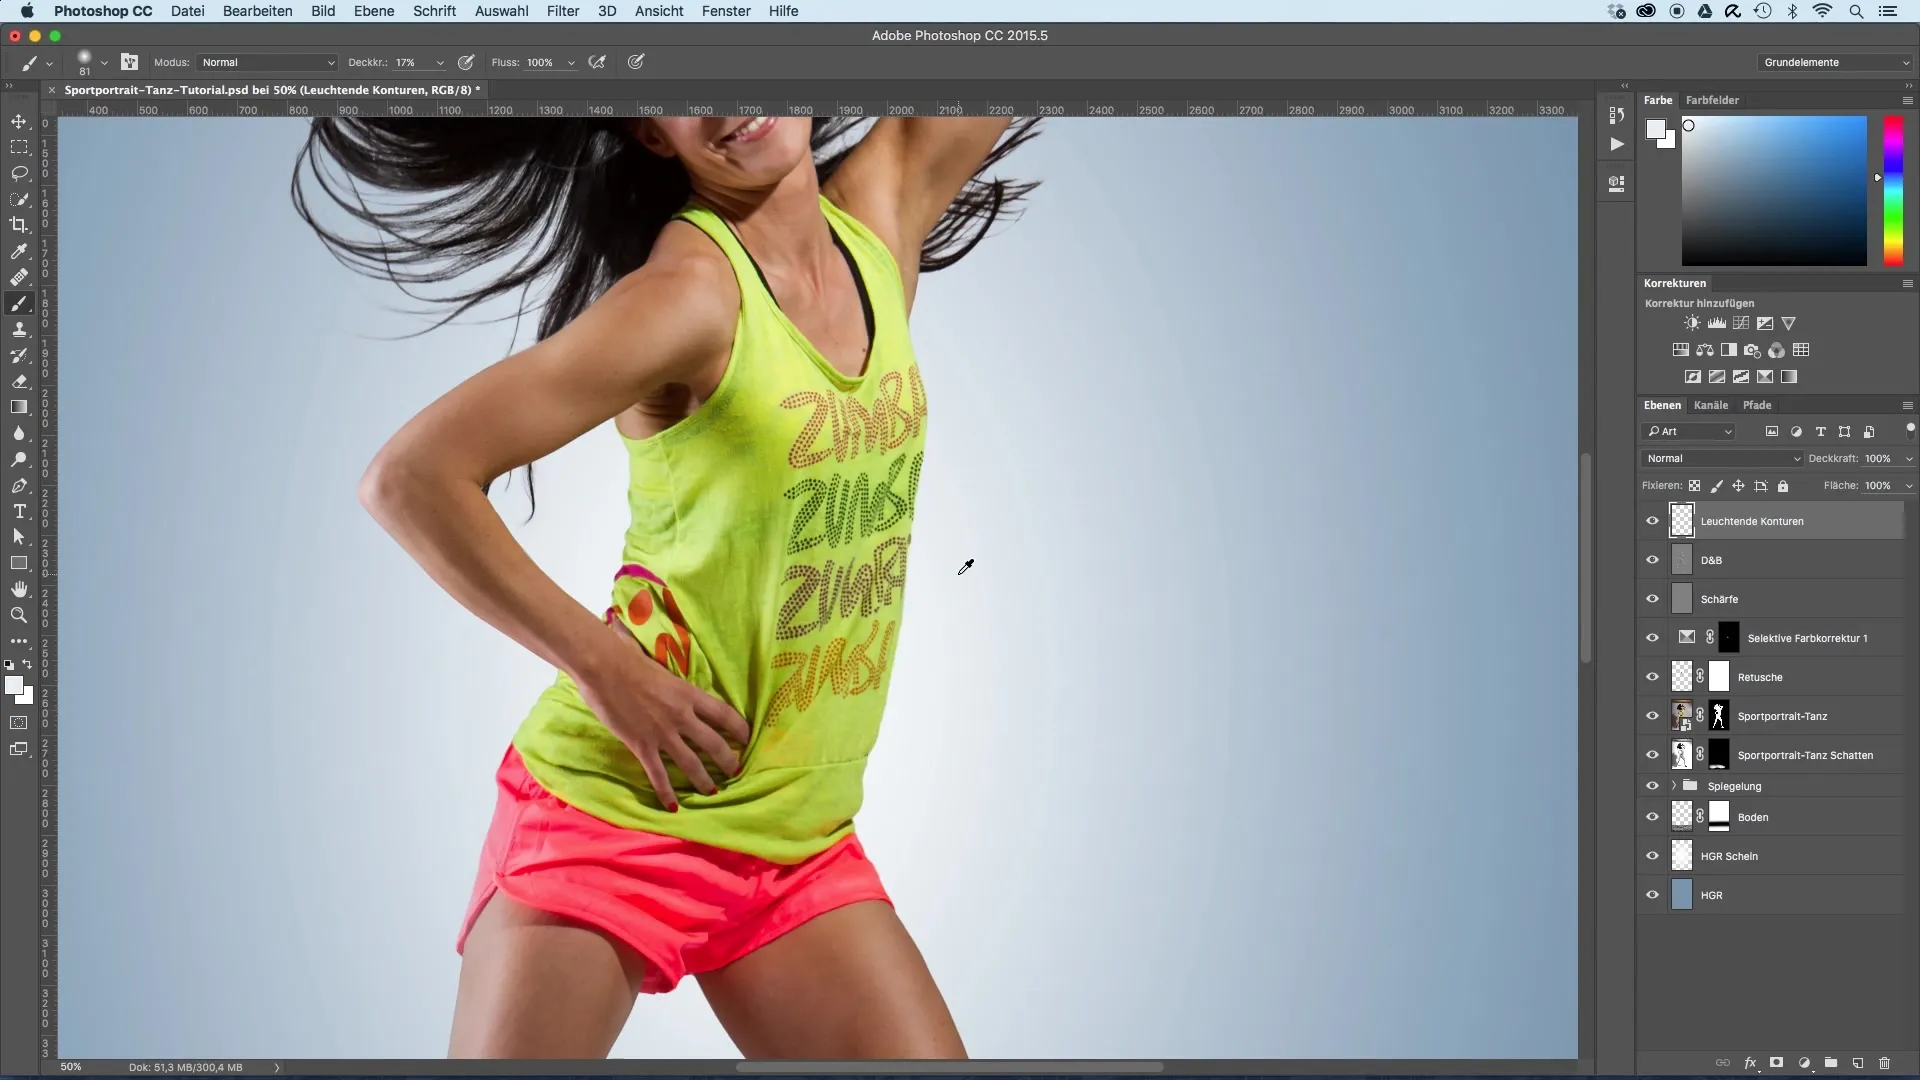
First, create a new layer that you name "glowing contours." This new layer will serve as a foundation for your adjustments. This is an important step that gives you flexibility and control over your image.
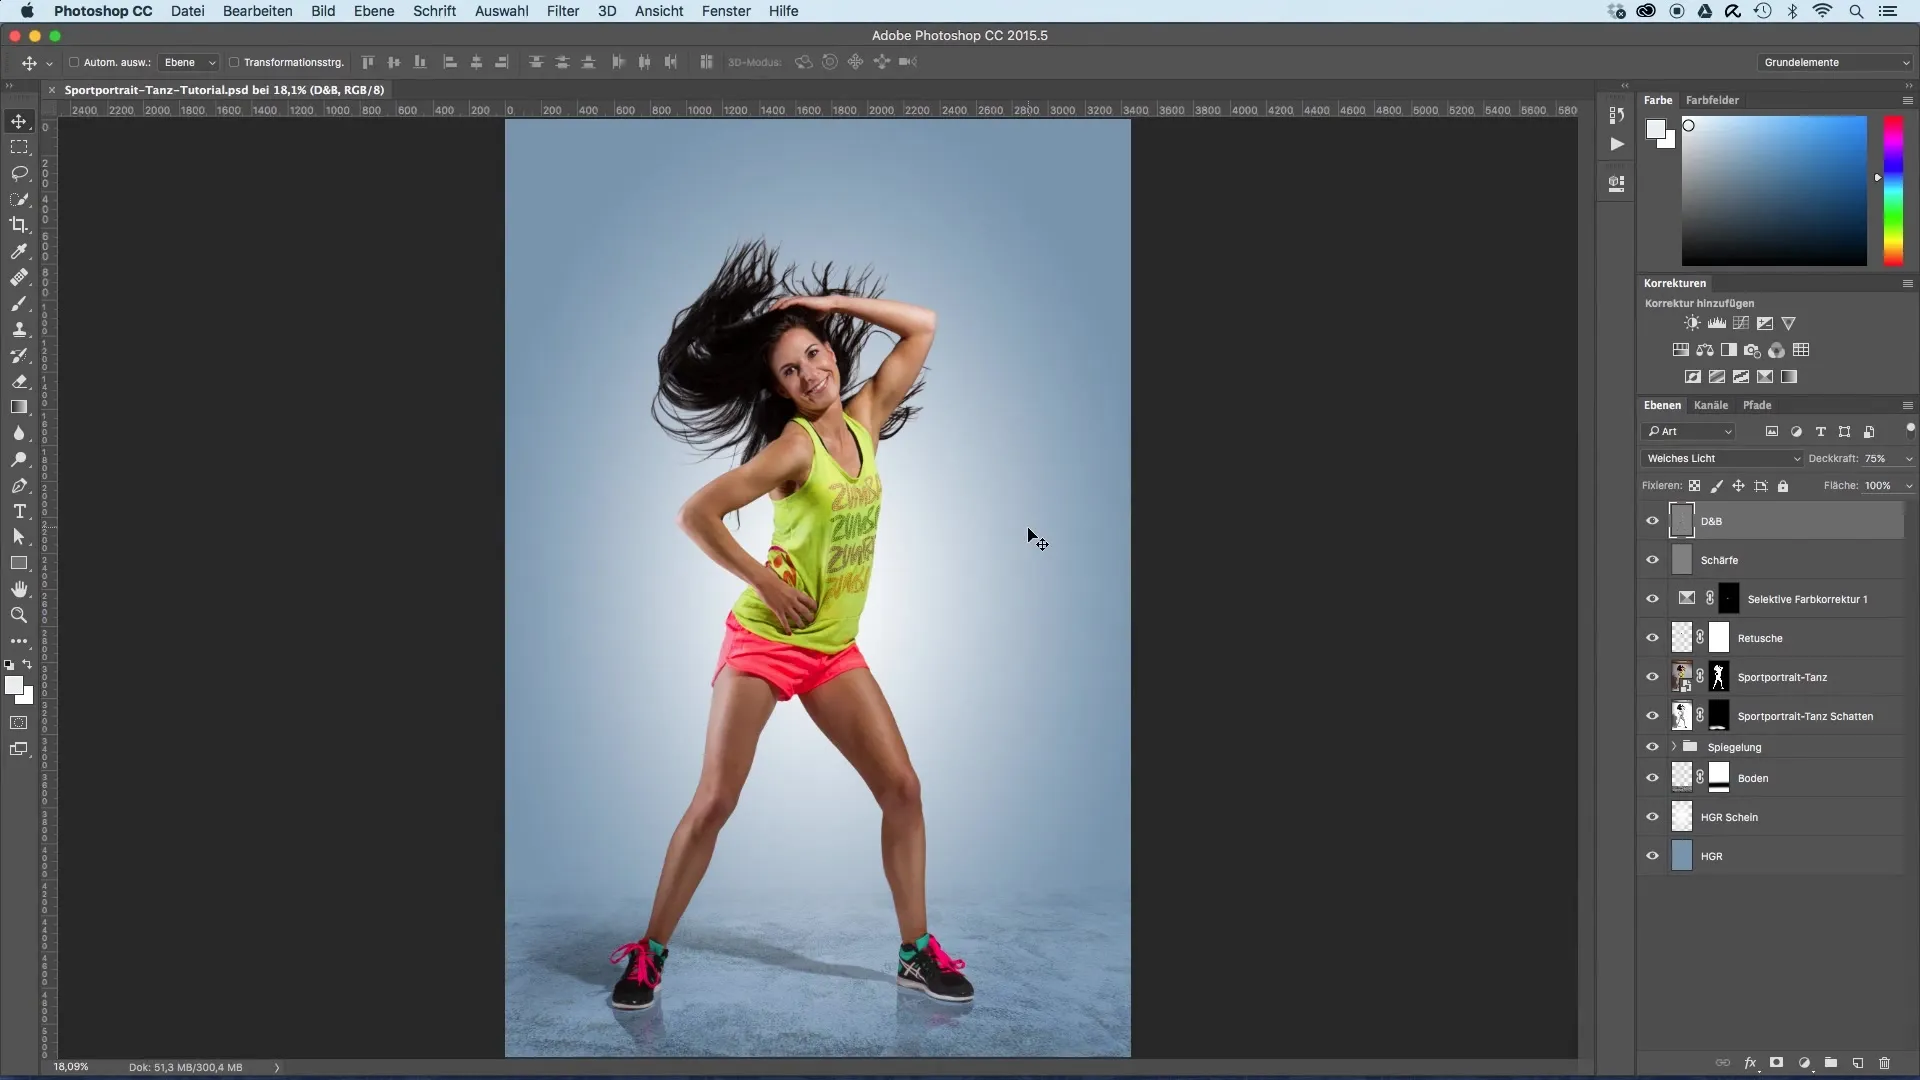
Step 2: Adjust the brush tool
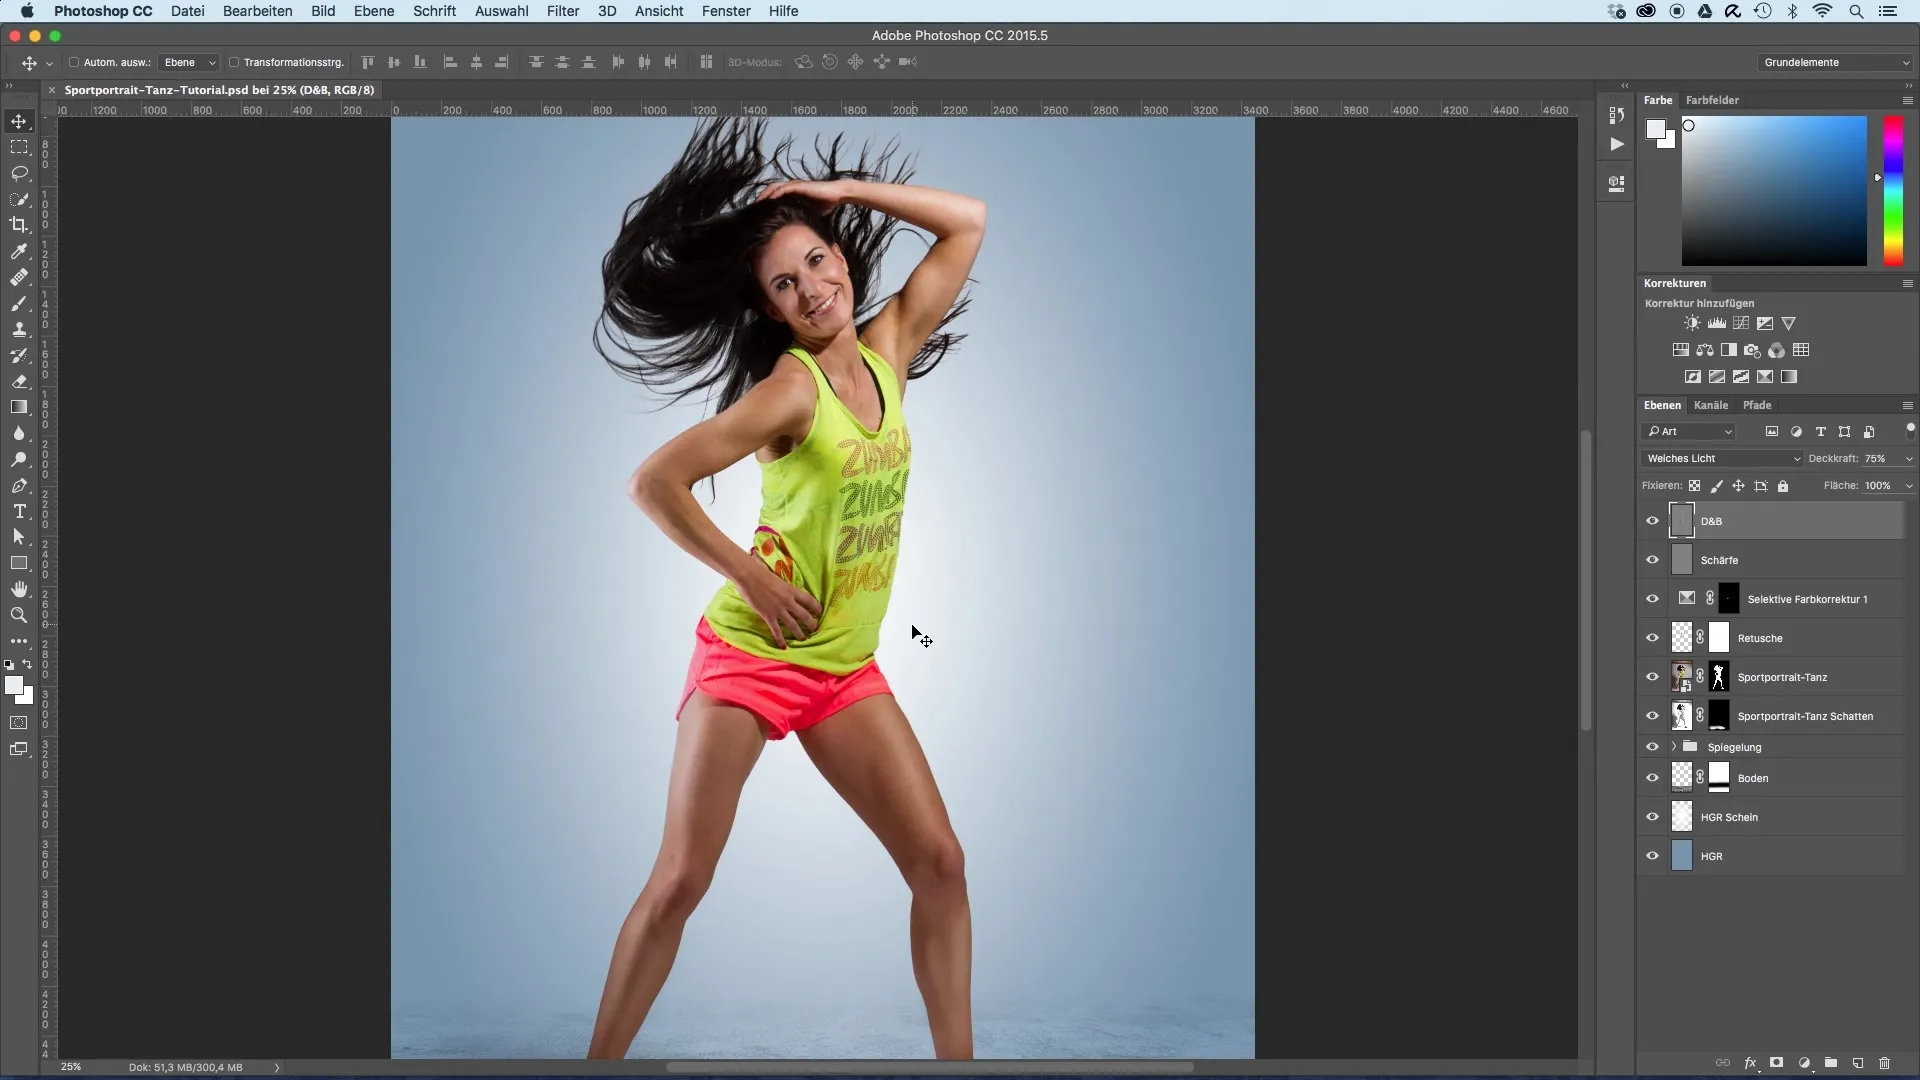
After creating the layer, select the brush tool. Set the brush size to about 80 to 90 pixels and reduce the opacity to around 15–16%. These settings will help you create fine and smooth transitions without overloading the image.
Step 3: Choose the background color
Now it's time to choose the background color that is placed directly next to the model. Hold down the "Alt" key and click with the eyedropper on the desired shade. This precise selection will allow you to set natural-looking highlights.
Step 4: Trace the contours
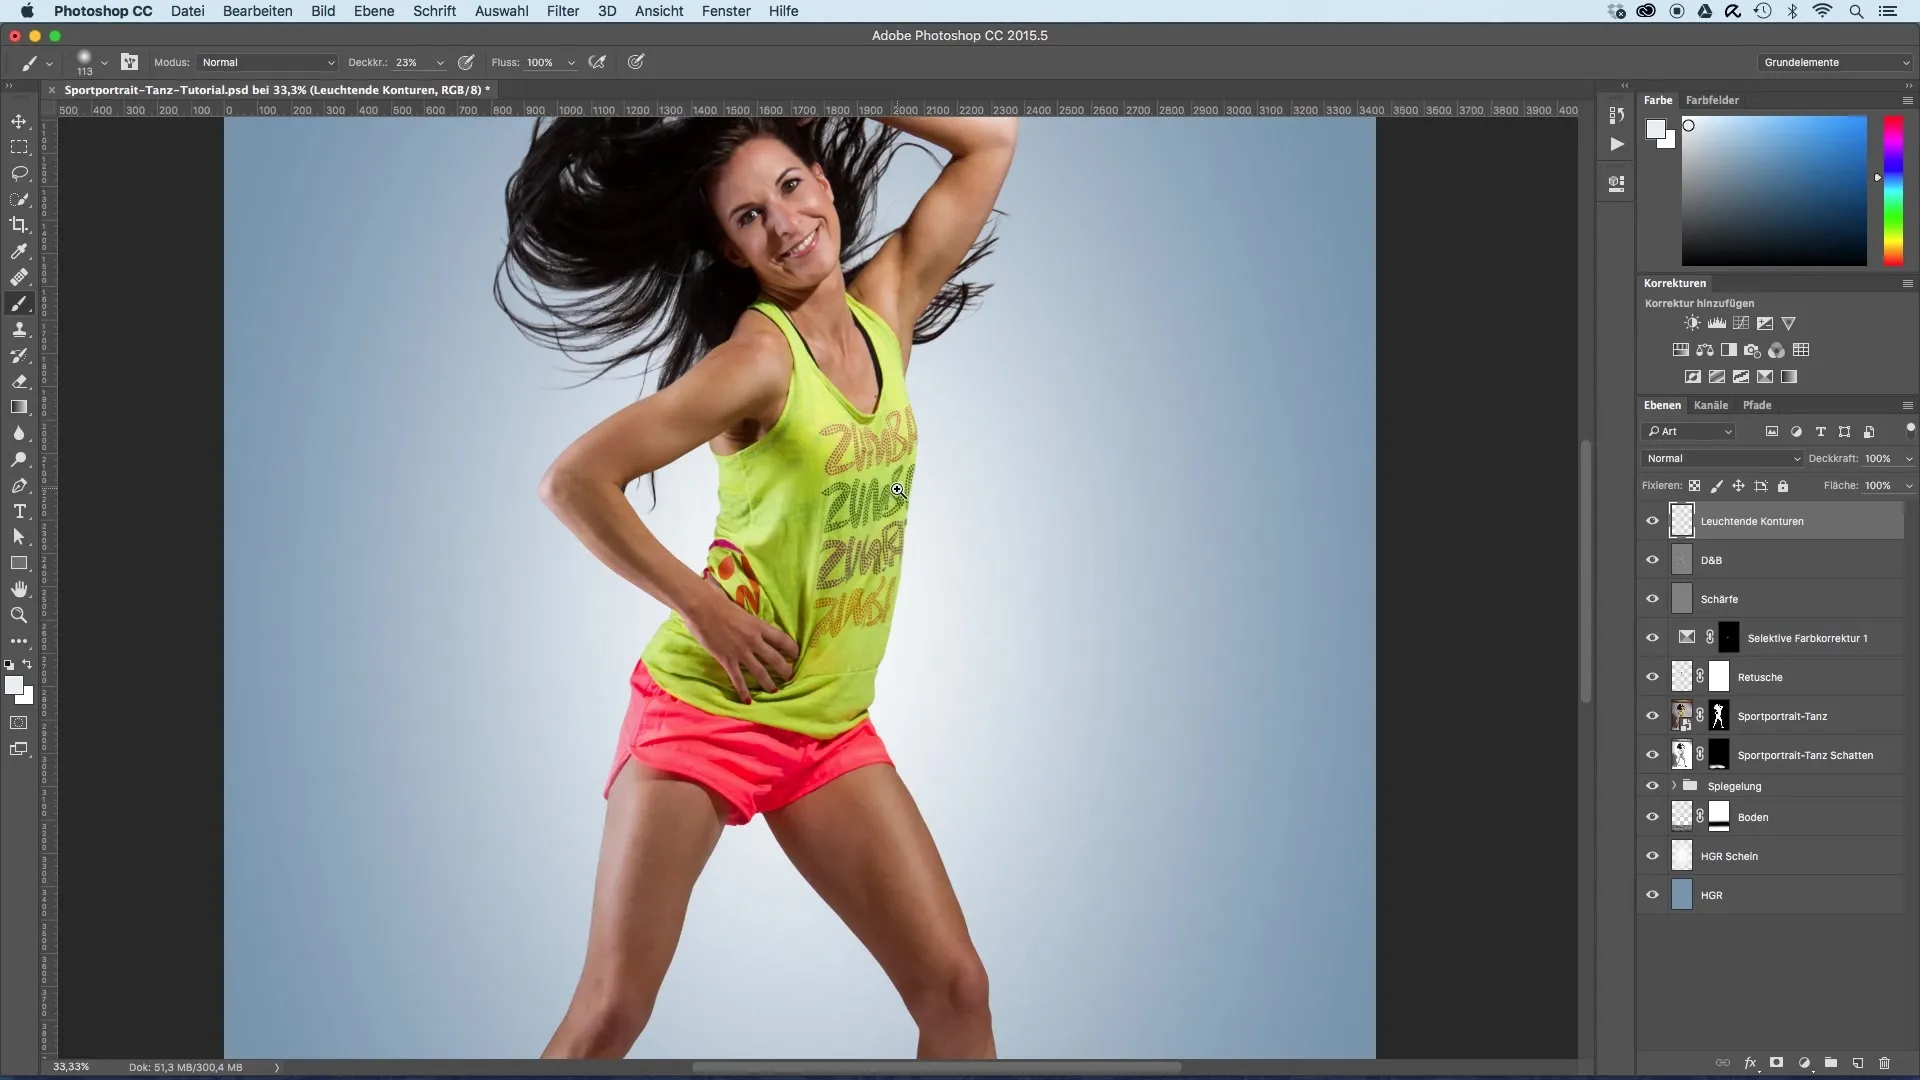
Now start painting over the contours of the model. You should only emphasize the areas where you can see the light from the bright light source in the background. Make sure not to shade everything around the model, but focus particularly on the middle area near the light source.
Step 5: Adjust areas
After the first pass, you can now use the layer mask. This allows you to hide specific areas of the model that you may have overpainted. To do this, drag the layer mask up onto your new layer while holding down the "Alt" key.
Step 6: Optimize the glow
Now you can further optimize the glow. The effect of the added light makes your model blend more with the background, creating a harmonious connection. You can draw a bit more intensely here, as you will later create an additional layer for enhanced glow.
Step 7: Make final adjustments
After completing your first edit, take a look at the overall picture. There should already be a noticeable improvement. You may want to increase or adjust the brightness of the lights. Keep in mind that this is just the first step, and you can work with additional layers to improve and intensify the effects.
Summary – Image optimization of sport portraits: Adding lights to the edges
In this guide, you have learned to work effectively with lights at the edges to optimize your sport portrait. You have experienced step by step how to create a new layer, highlight the contours of your model, and apply the mask to achieve the best results. Now it’s up to you to try out these techniques and make your sport portraits shine!
Frequently asked questions
How can I better match the colors?Experiment with different shades of the background to achieve the best results.
Can I apply this technique to other photos as well?Yes, this technique is universal and can be applied to a variety of image types.
How do I find the right opacity for the brush?Start with a low opacity and test whether the result meets your expectations. You can always adjust it later.
What do I do if I applied too much color?Use the undo function or the layer mask to correct the unwanted areas.
