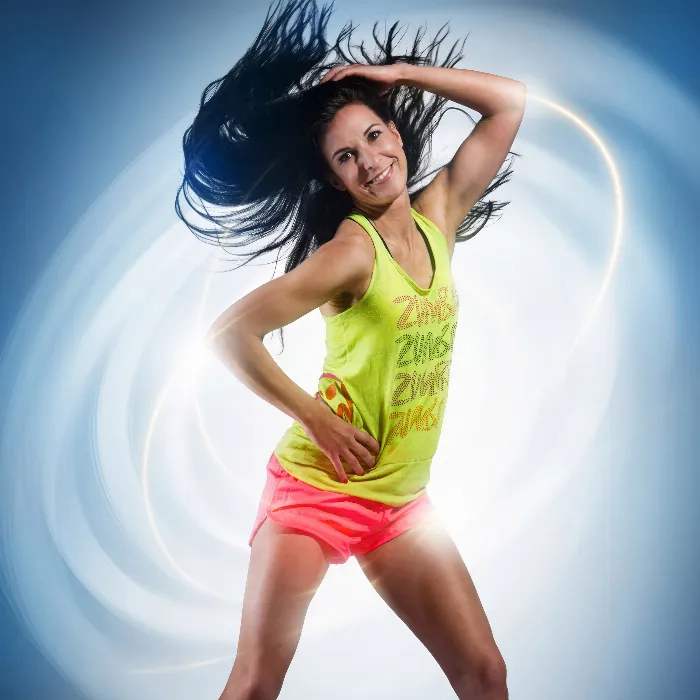
A sporty portrait not only requires a dynamic pose but also an appealing color scheme that flatters the model. This is achieved not only through the right lighting but also through color-coordinated image editing. In this tutorial, you will learn how to create a golden color look using gradient fills that especially gives the skin a warm tone.
Key Insights
- Use an adjustment layer with gradient mapping for color enhancements.
- Set the layer mode to “soft light” to apply the gradient subtly.
- Carefully select colors to achieve a warm, golden effect.
- Reduce the opacity of the adjustment layer to avoid over-processing.
- Use masks with gradients to limit the effect to specific areas.
Step-by-Step Guide
To give your model a nice brown-gold tone, start by creating another adjustment layer. You will use the gradient mapping feature for this. By default, it will be initially set to black and white since you have selected black and white as foreground and background colors. To apply the effect to your image, first set this adjustment layer to the “soft light” layer mode. This way, you can immediately see the impact of the changes.
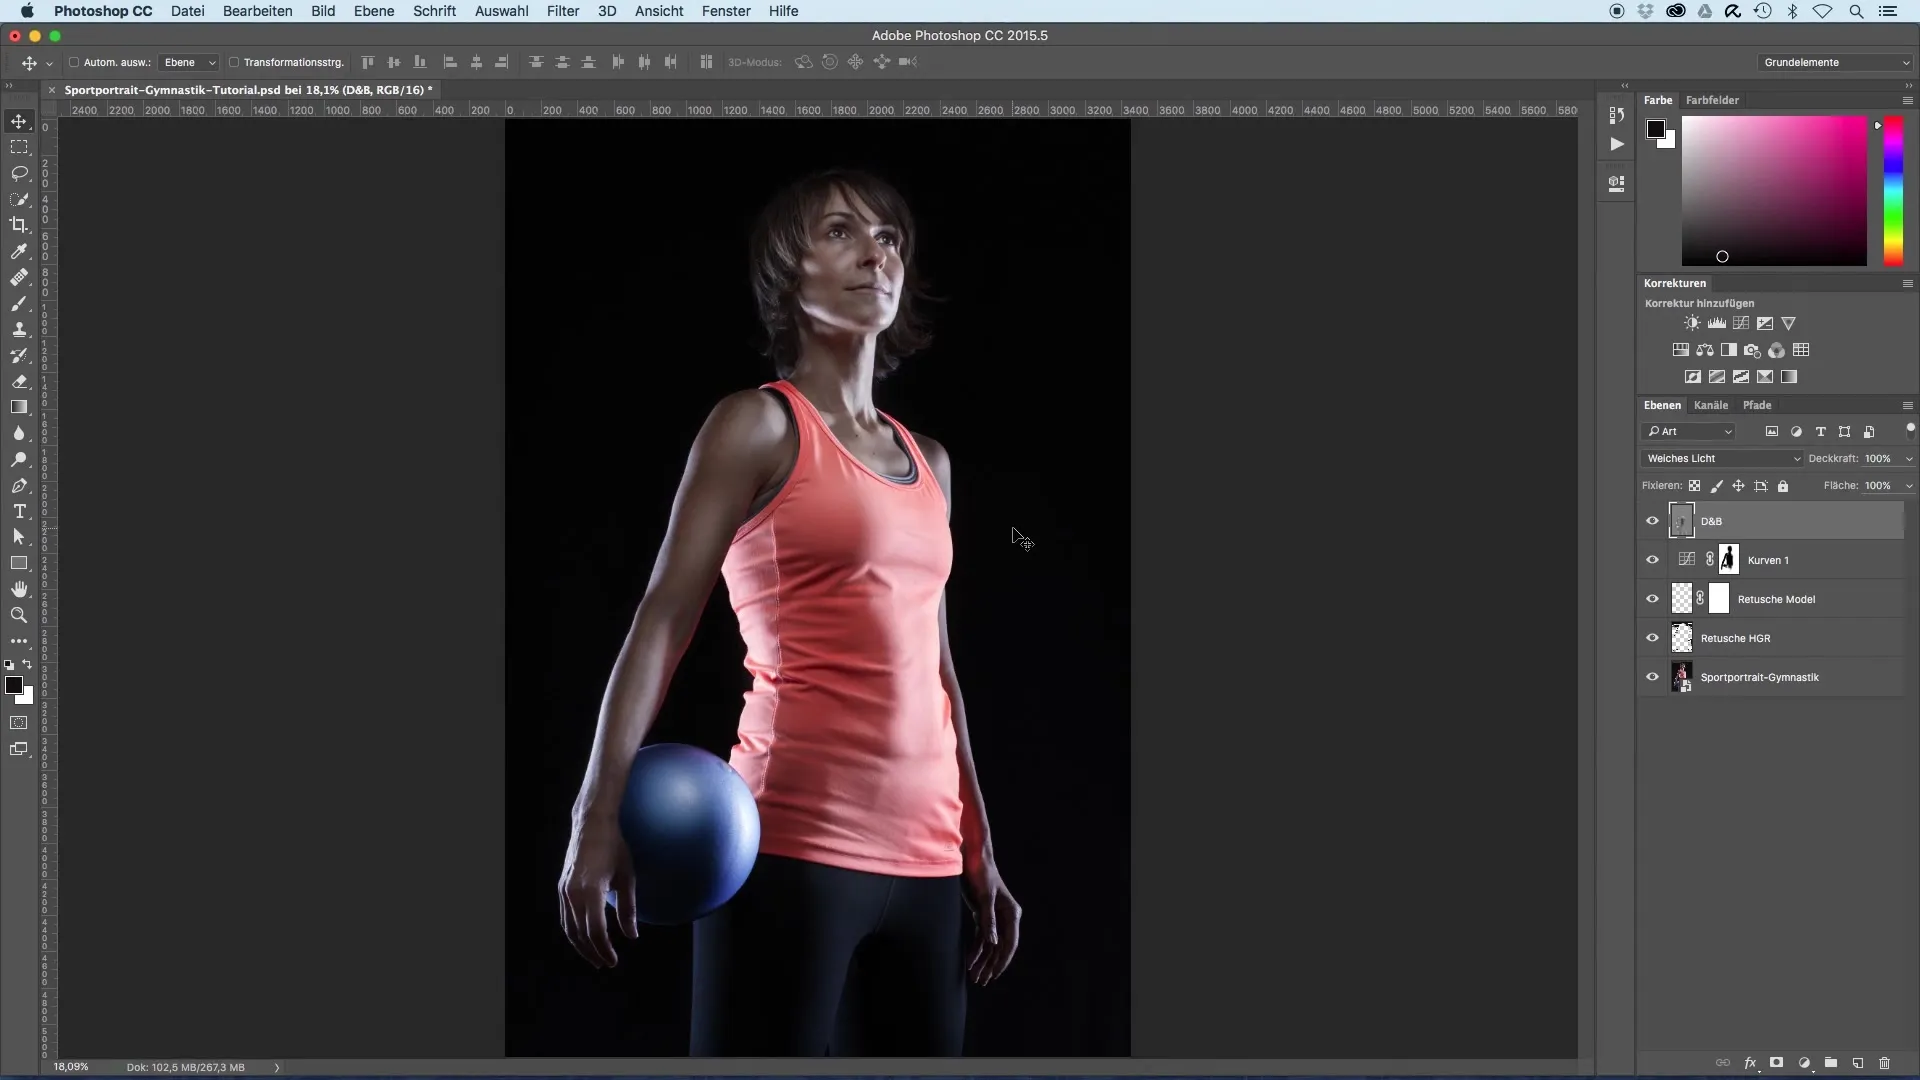
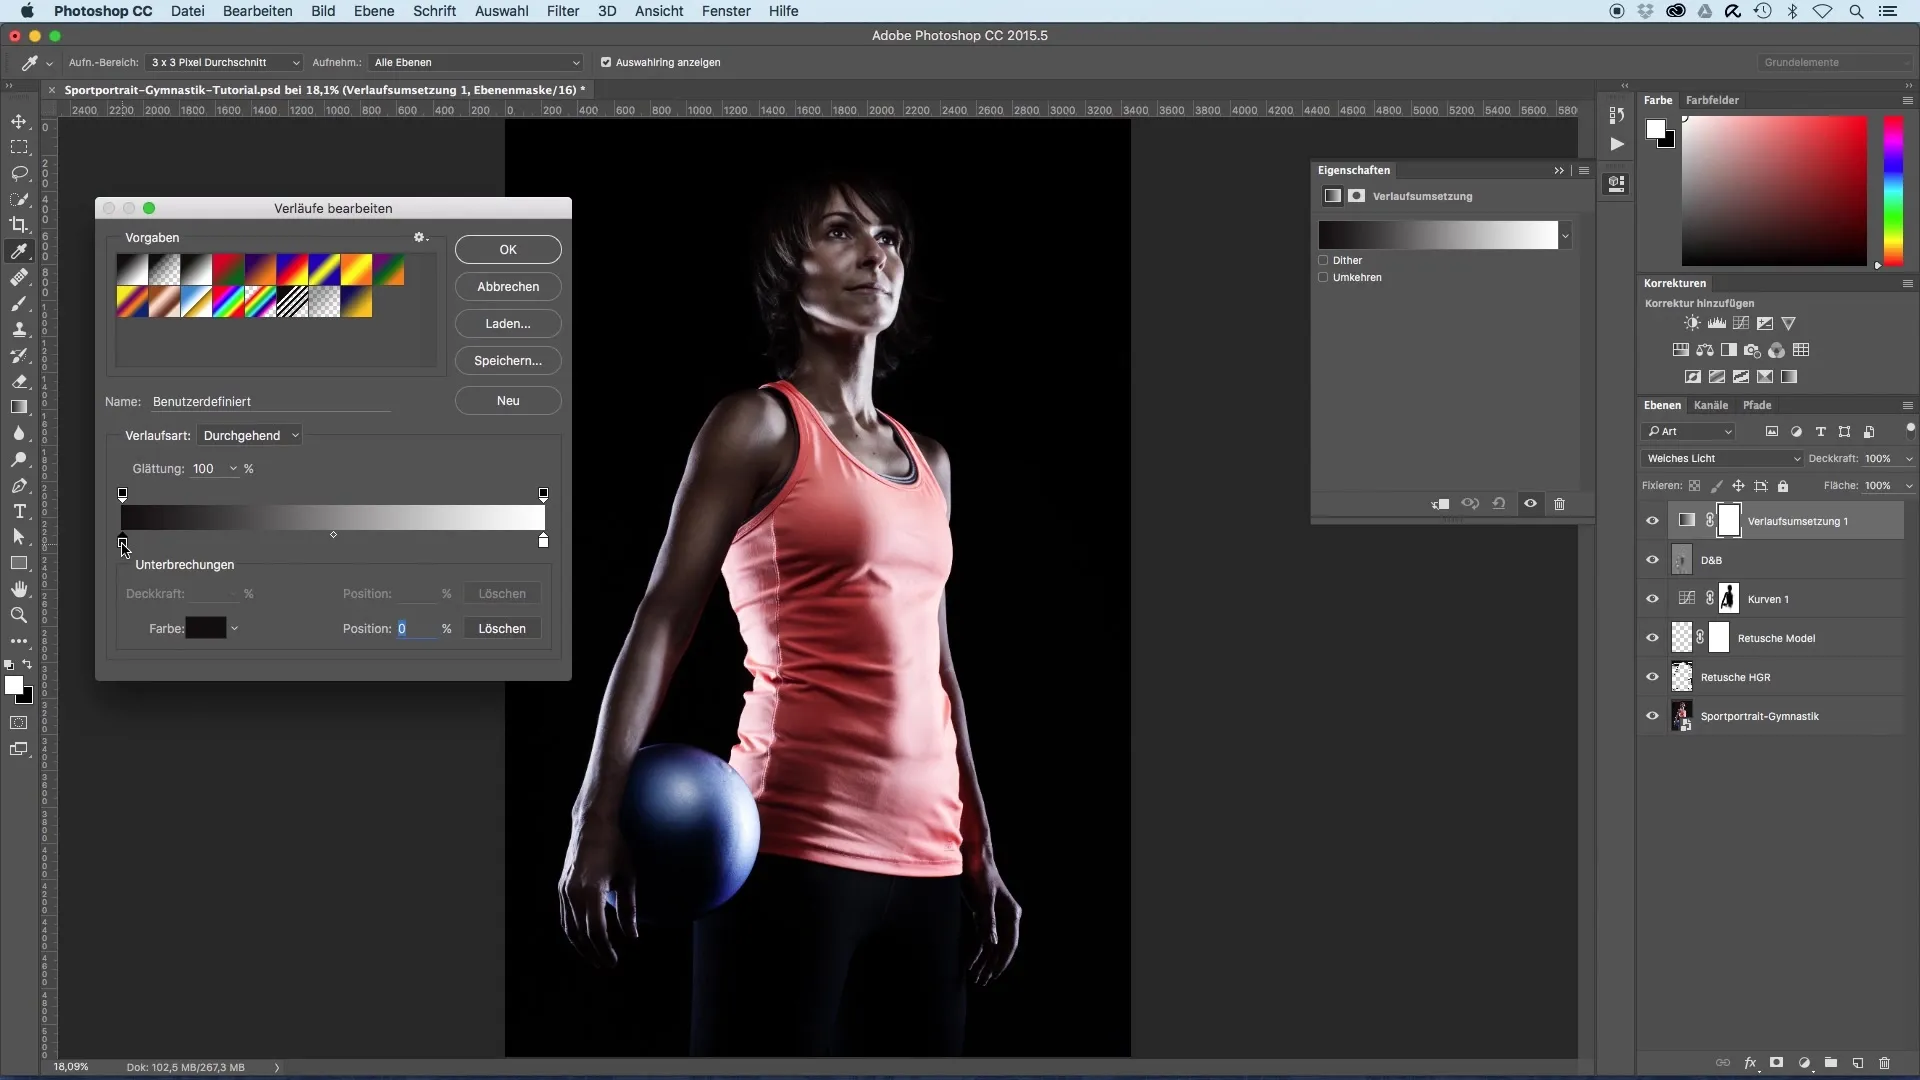
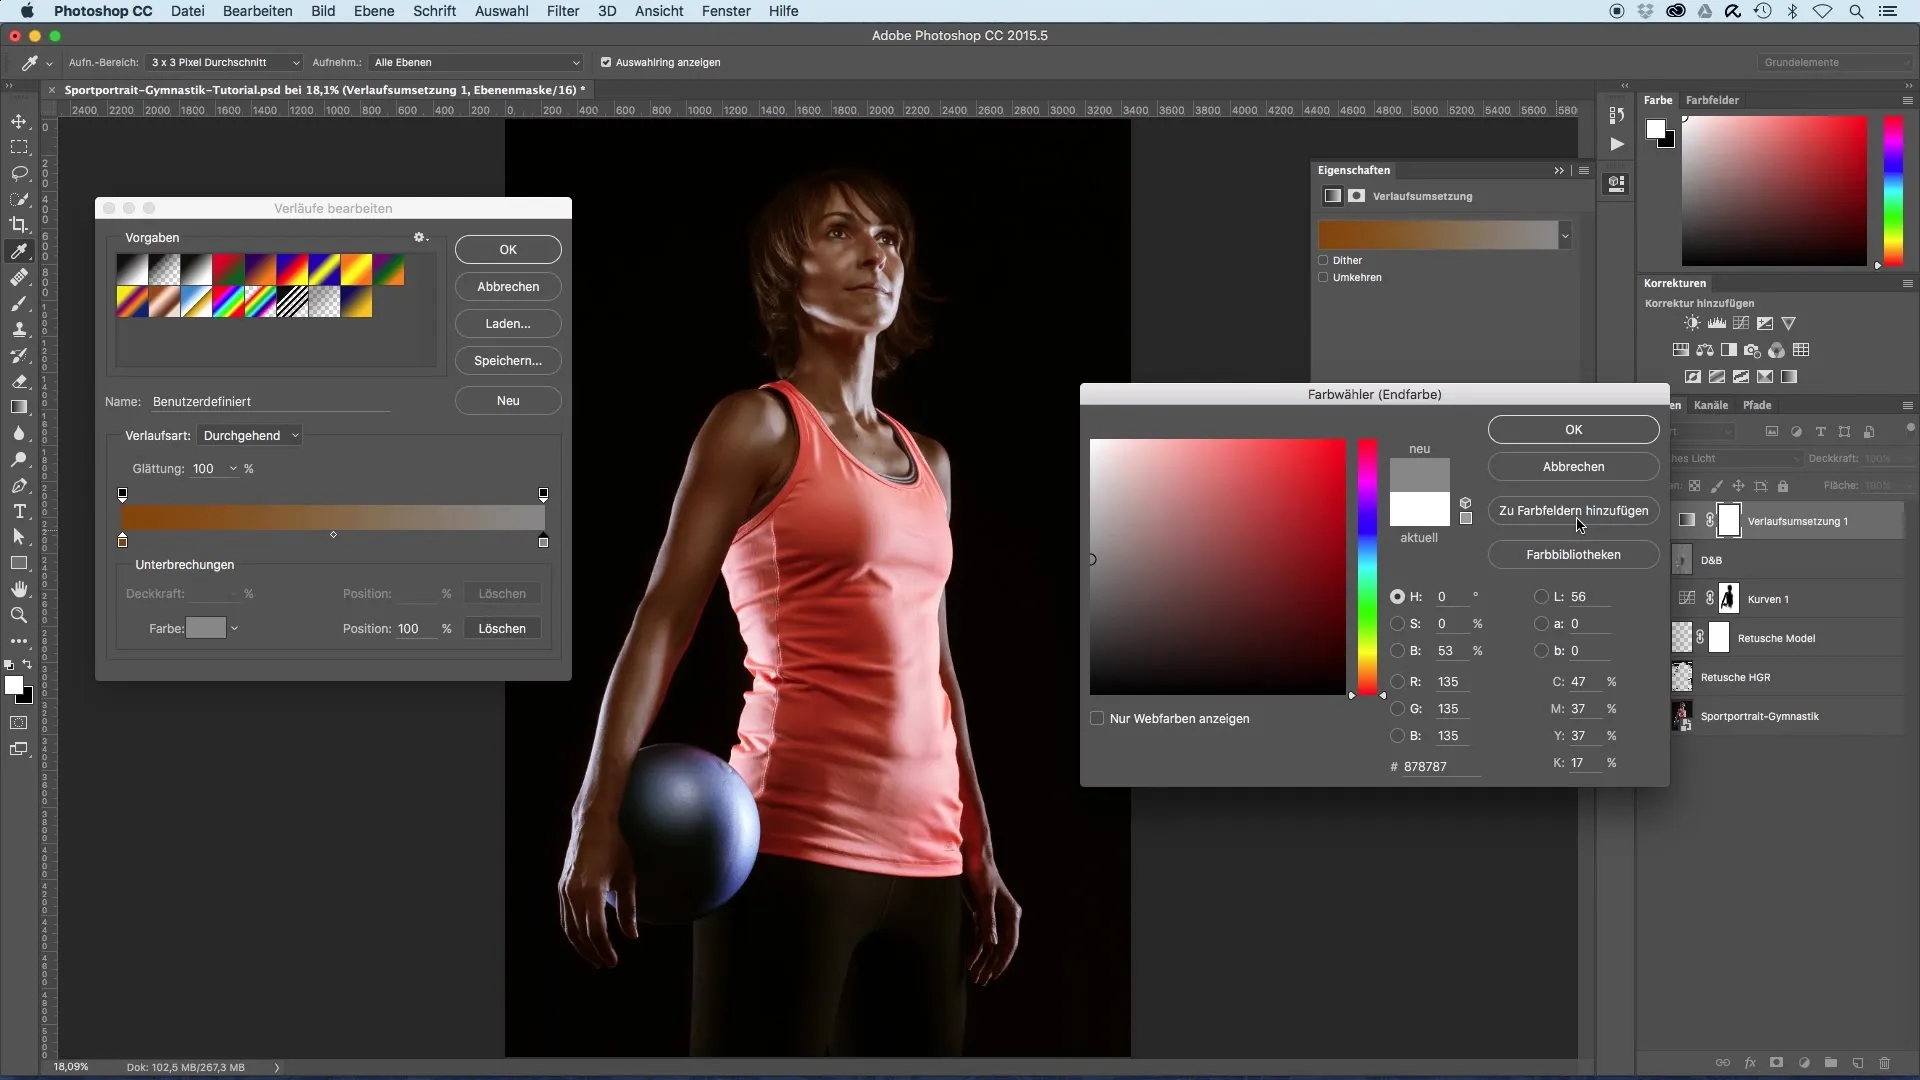
Now click on the gradient to adjust its color. On the left side, you will see the current black tone. To change the color, click on the bottom tab of the color selection. This will open a color picker where you can select a nice yellowish-brown. The goal is to create an almost golden hue. Click in the middle of the color picker and drag the selection to the desired brown tones.
Confirm your color choice with “OK”. Now switch to the right side of the color palette window and select the color again. In this case, you will choose a neutral gray tone. This ensures that the hue integrates well into the image with “soft light”, without emphasizing or darkening the bright areas too much. Confirm this selection with “OK” as well.
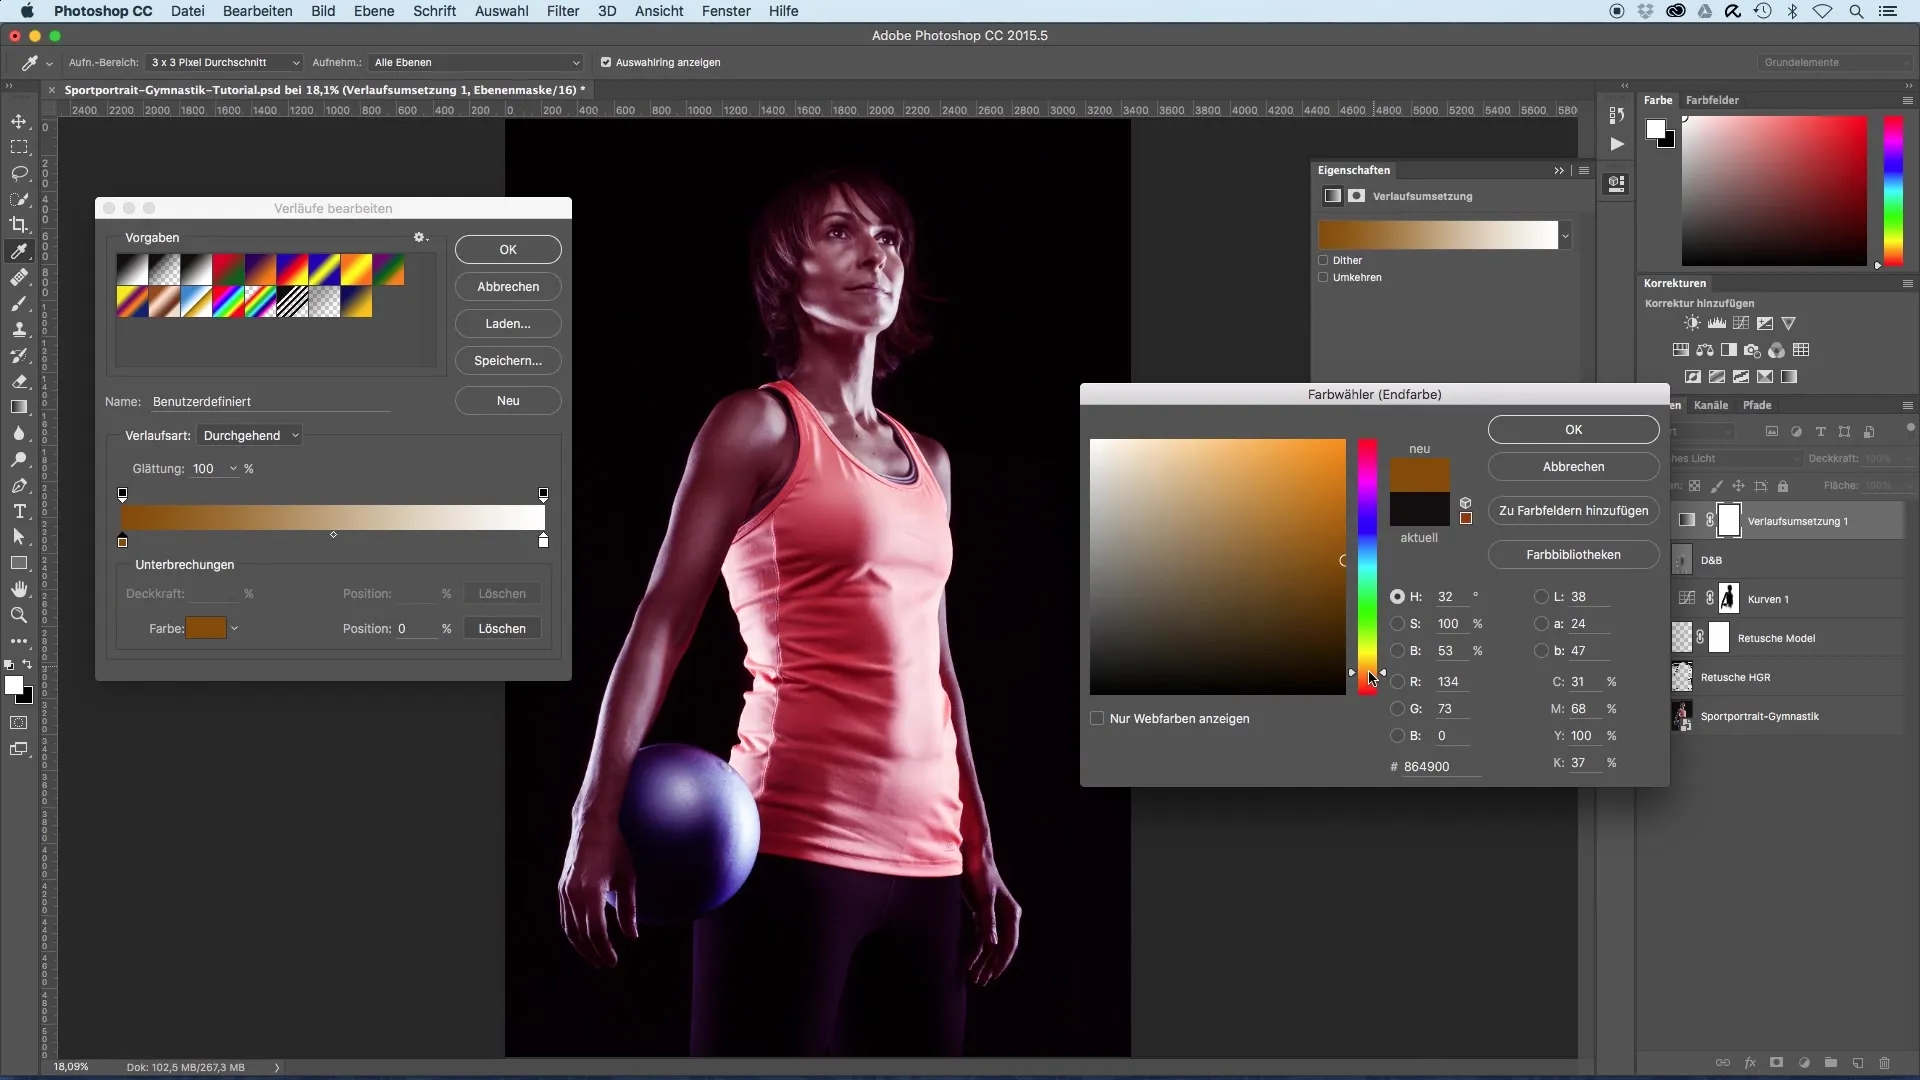
The gradients are now applied, but to avoid excess intensity, it is helpful to reduce the opacity of the gradient mapping. Initially set the opacity to around 35% to achieve a subtler effect that is less intrusive.
Additionally, you want to make the effect produced by the gradient mapping visible only in the upper part of the image. For this, you will apply a mask. Select the gradient tool on the left side and ensure that black is selected as the foreground color. Make sure you are on the mask before proceeding.
Set the gradient at the bottom of the image and drag it upwards. If you hold down the Shift key, you can create a straight gradient. Release at your desired point to pull the effect from bottom to top. This will reveal the golden hue in the upper area, while the lower part of the image remains untouched.
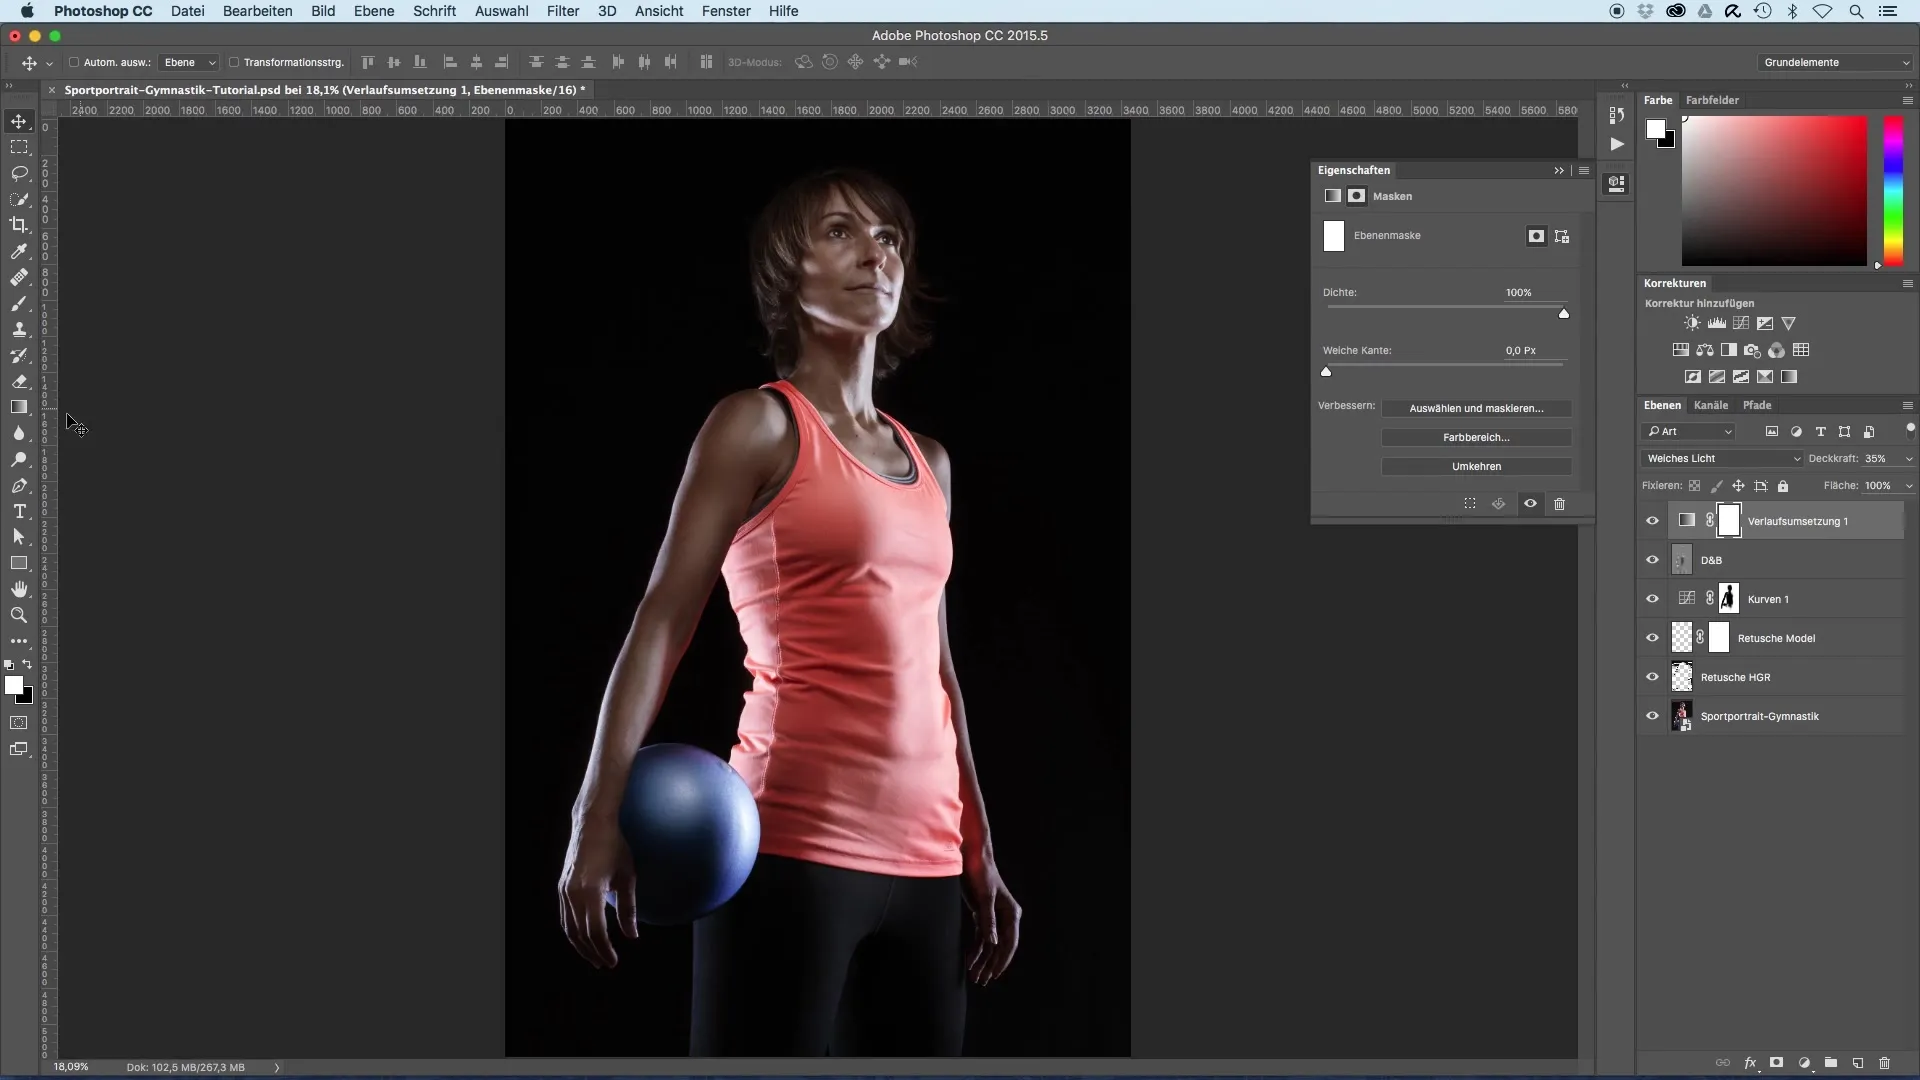
This way, you achieve a pleasant transition: in the upper area, a light golden-brown tone shimmers, giving the portrait a warm aura, while the lower areas maintain a cooler look.
Summary – Image Optimization for Sport Portraits: Tanning Skin with Gradient Mapping
The targeted use of gradient fills can give your image an appealing, warm color scheme that is especially beneficial for portraits of sports models. By properly applying colors, layers, and masks, you can easily achieve the desired look.
Frequently Asked Questions
How do I choose the right hue for my image?Make sure to pick a warm, pleasant color that flatters your model, such as a yellowish-brown tone.
Why is the layer mode “soft light” important?This mode provides a subtle effect and allows the colors to blend into the image harmoniously, without being overwhelming.
How can I control the intensity of the effect?Reduce the opacity of the adjustment layer to make the effect more discreet.
How do I use masks effectively?Use a mask to apply the color effect only to specific areas and avoid unwanted overlaps.
Can I apply the technique to other types of images as well?Yes, the technique of gradient mapping is versatile and can also be used for other portraits and landscape images.
