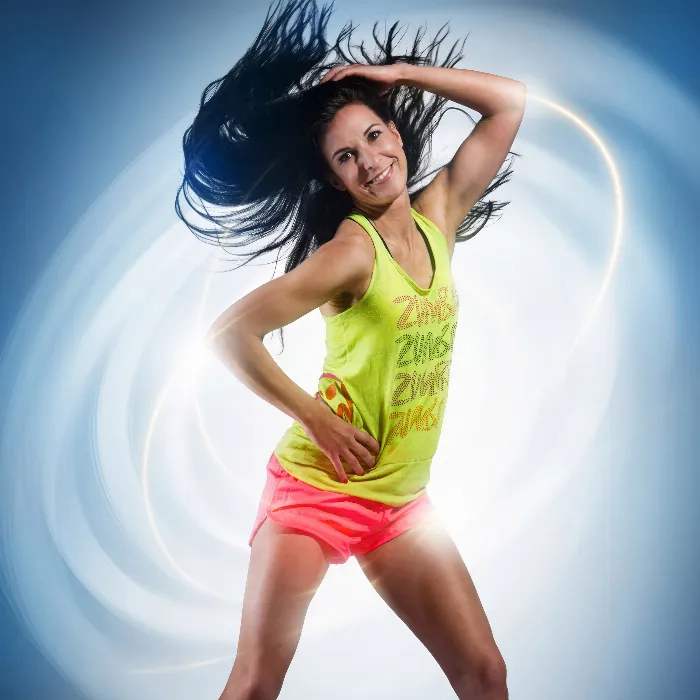
If you want to draw the viewer's attention to the main subject of a sports portrait, the proper use of light and shadow is crucial. By darkening the surroundings and skillfully masking certain areas, you can bring the model to the forefront and enhance the overall aesthetics of the image. In this guide, you'll learn how to tone down the environment and spotlight the model using a curves adjustment layer and clever masking.
Key Takeaways
- A curves adjustment layer helps you darken the surroundings.
- Use an oval, blurred mask to hide the inner part of the image.
- By painting accurately with a brush, you can ensure that the model does not get darkened.
Step-by-Step Guide
To achieve the darkening effect, follow these steps:
1. Add a Curves Adjustment Layer
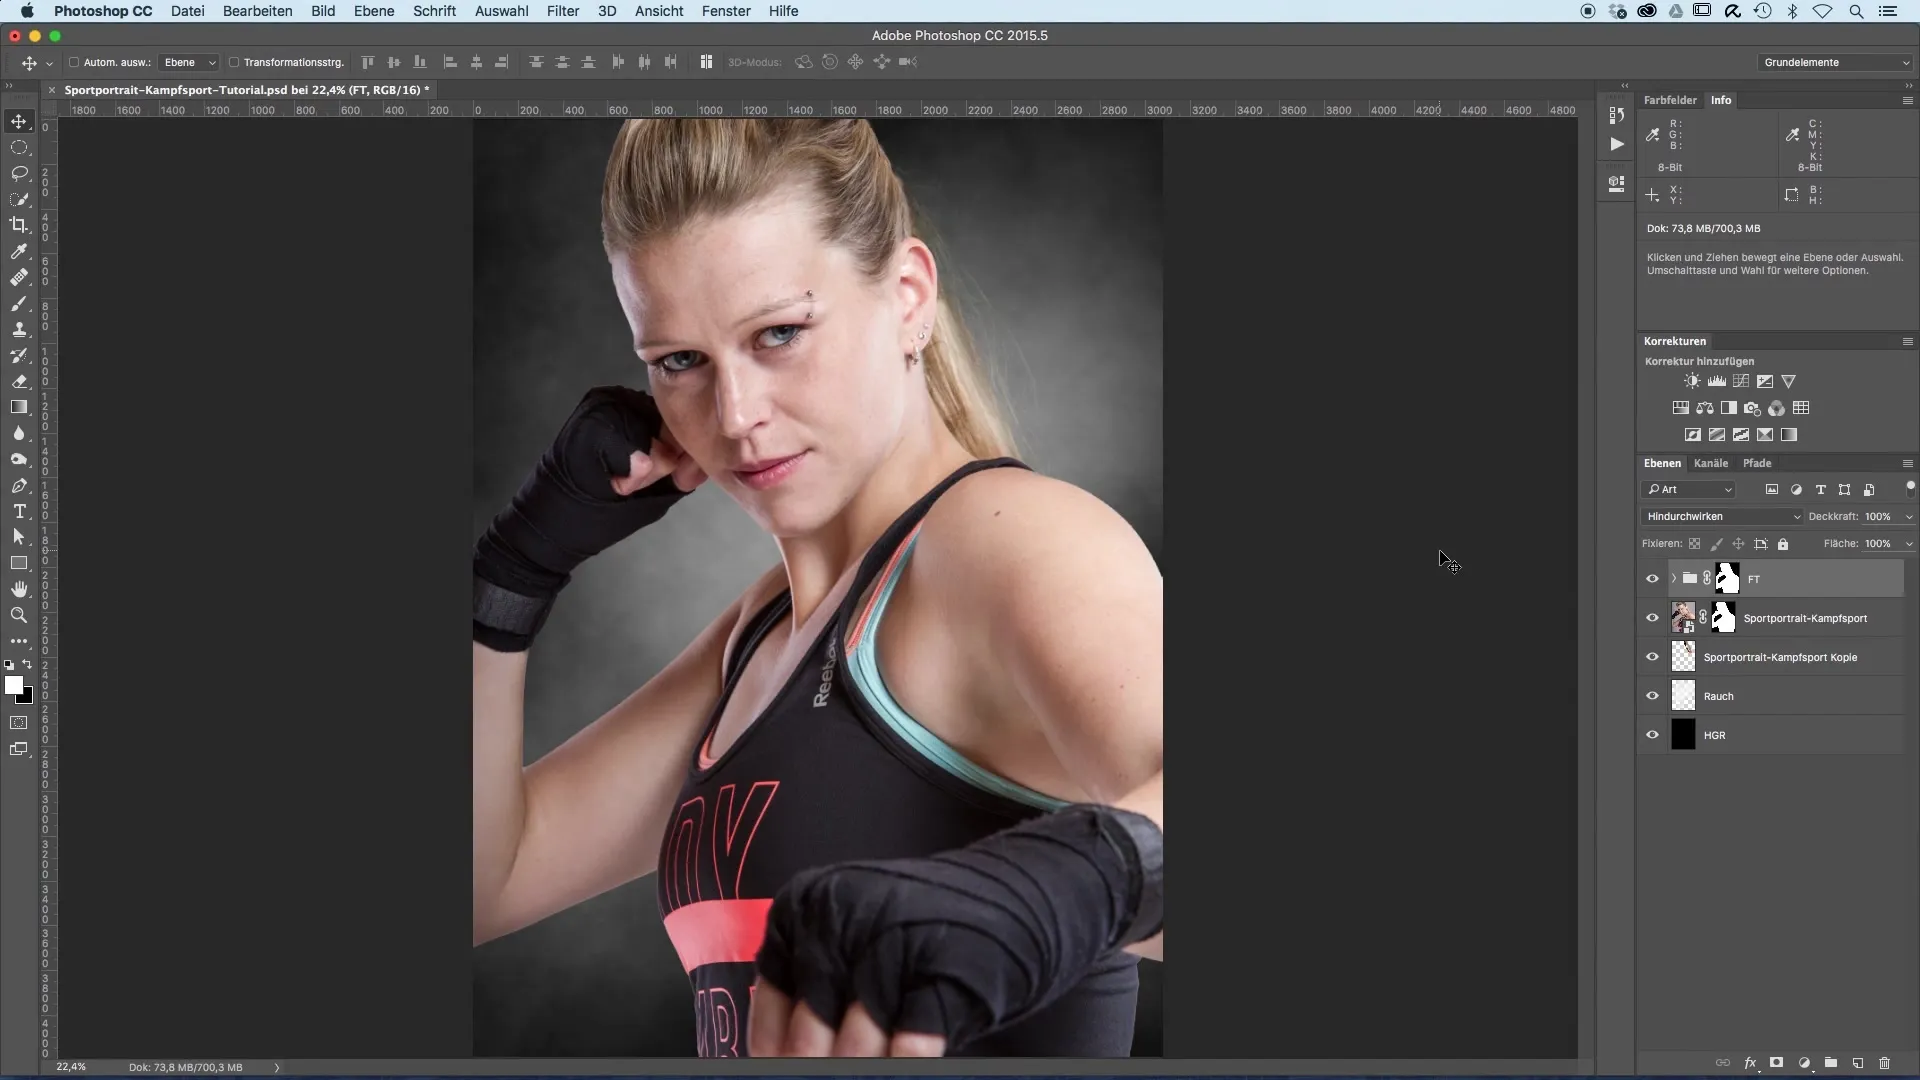
Start your image editing tool and select your sports portrait. To darken the background, add a curves adjustment layer. This can typically be done by simply clicking the corresponding icon in the menu bar.
2. Adjust the Curves
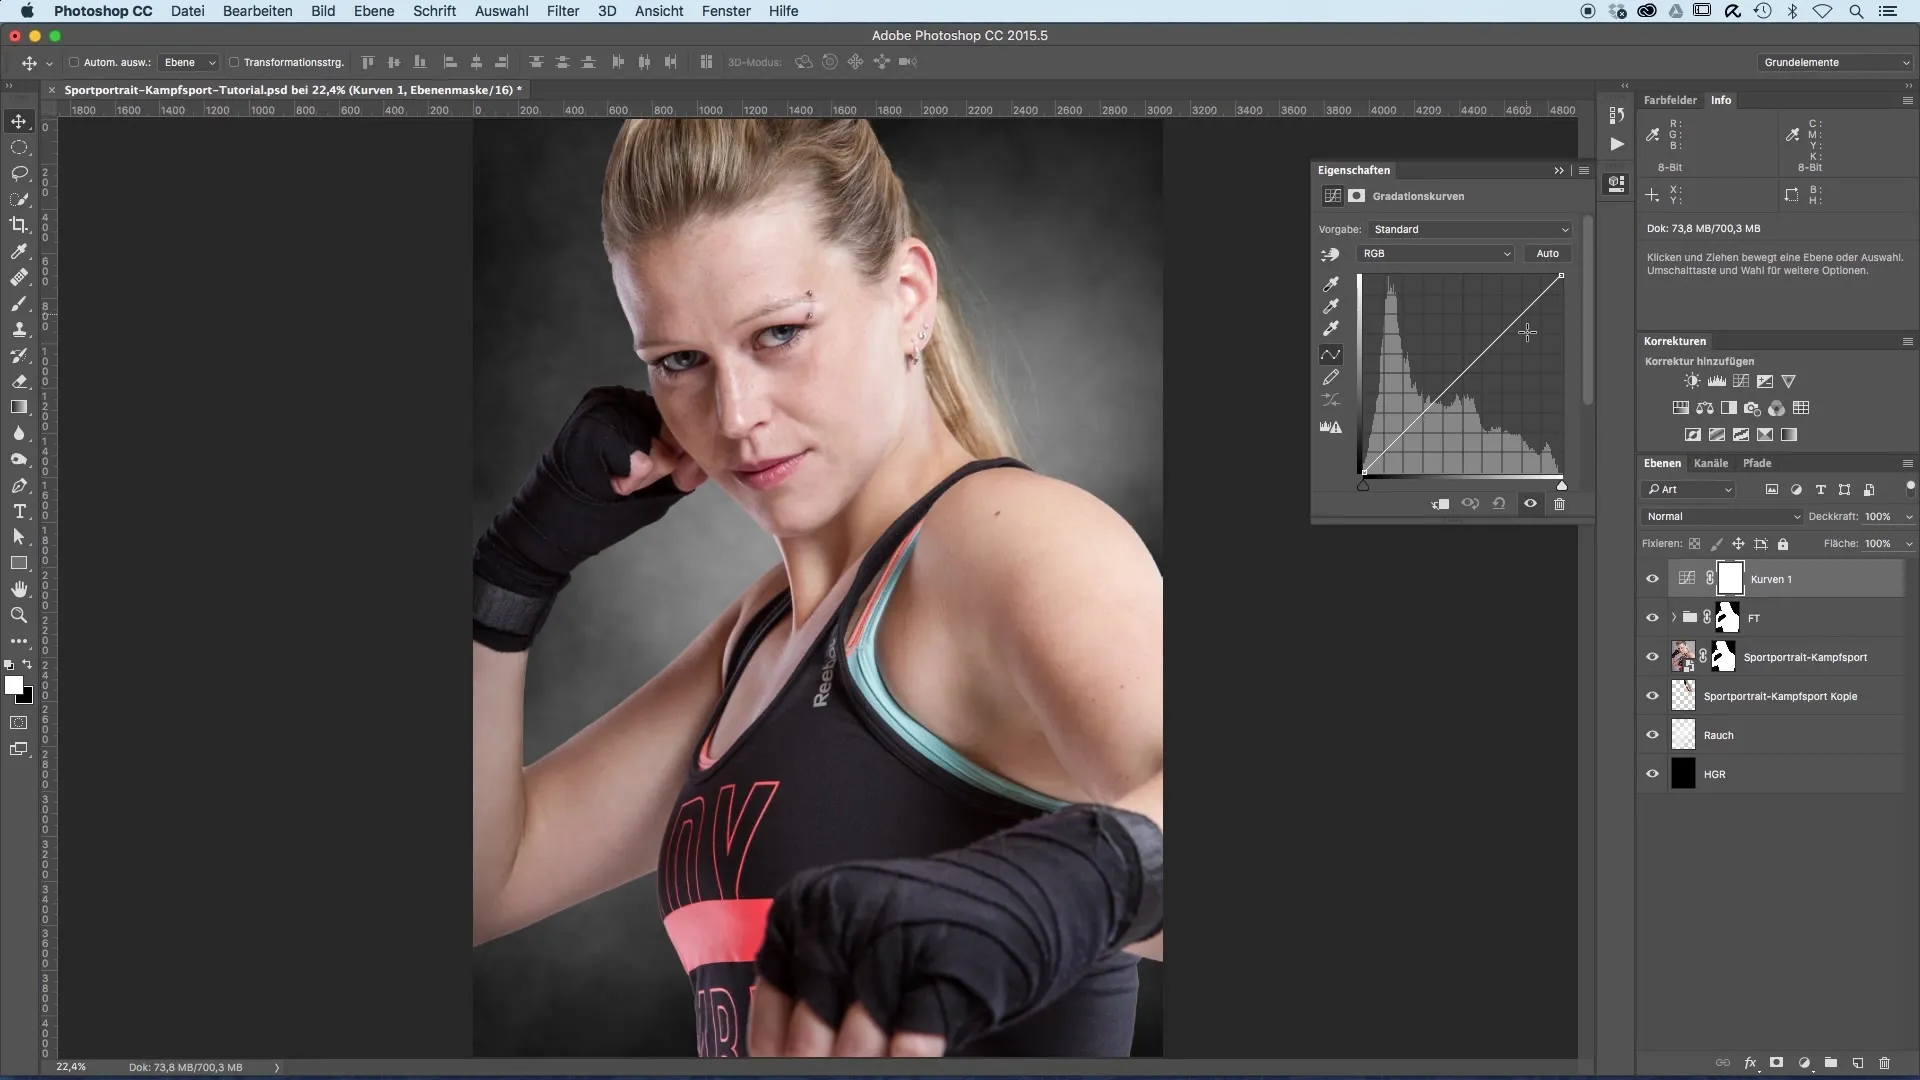
Once selected, a new window will appear where you can adjust the curves. Pull down the entire area of these curves slightly to create an initial dark base for your surroundings. Consider how dark you want the effect to be, as this setting can still be refined later.
3. Edit the Mask
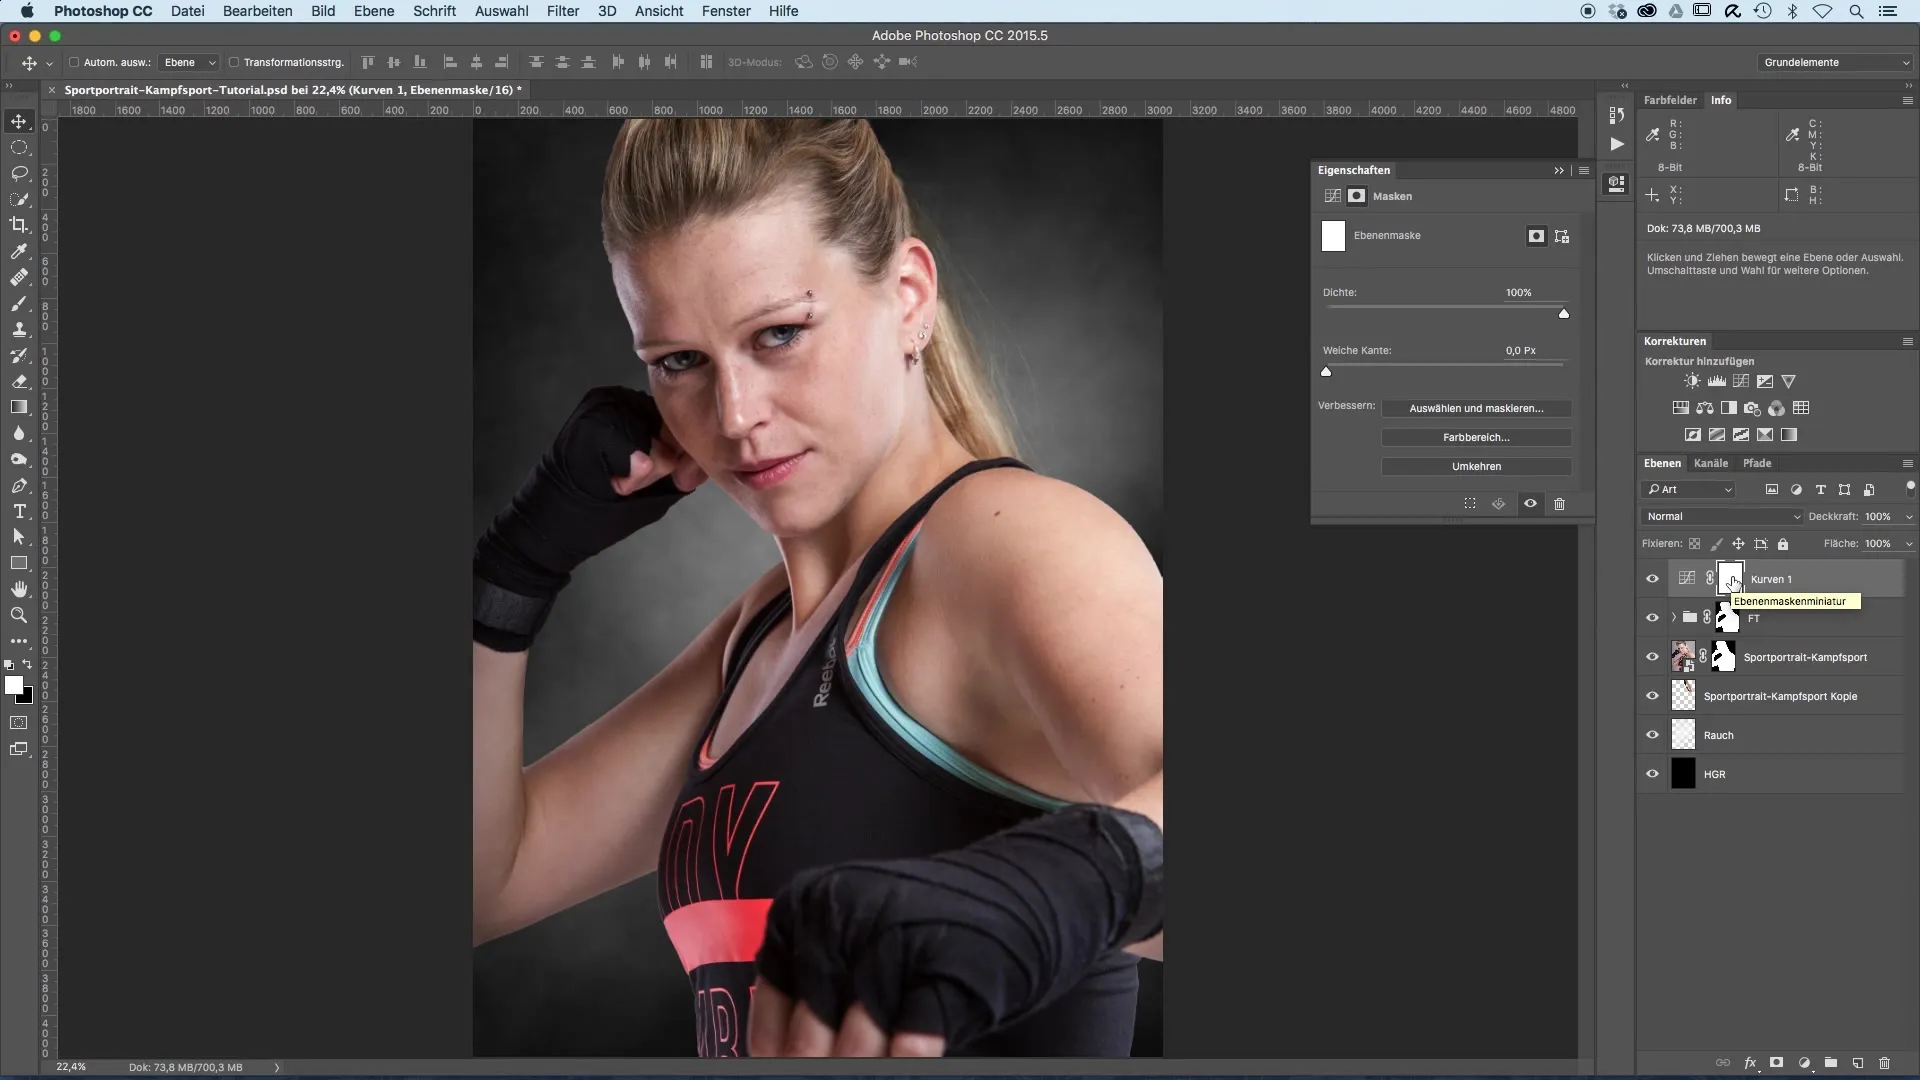
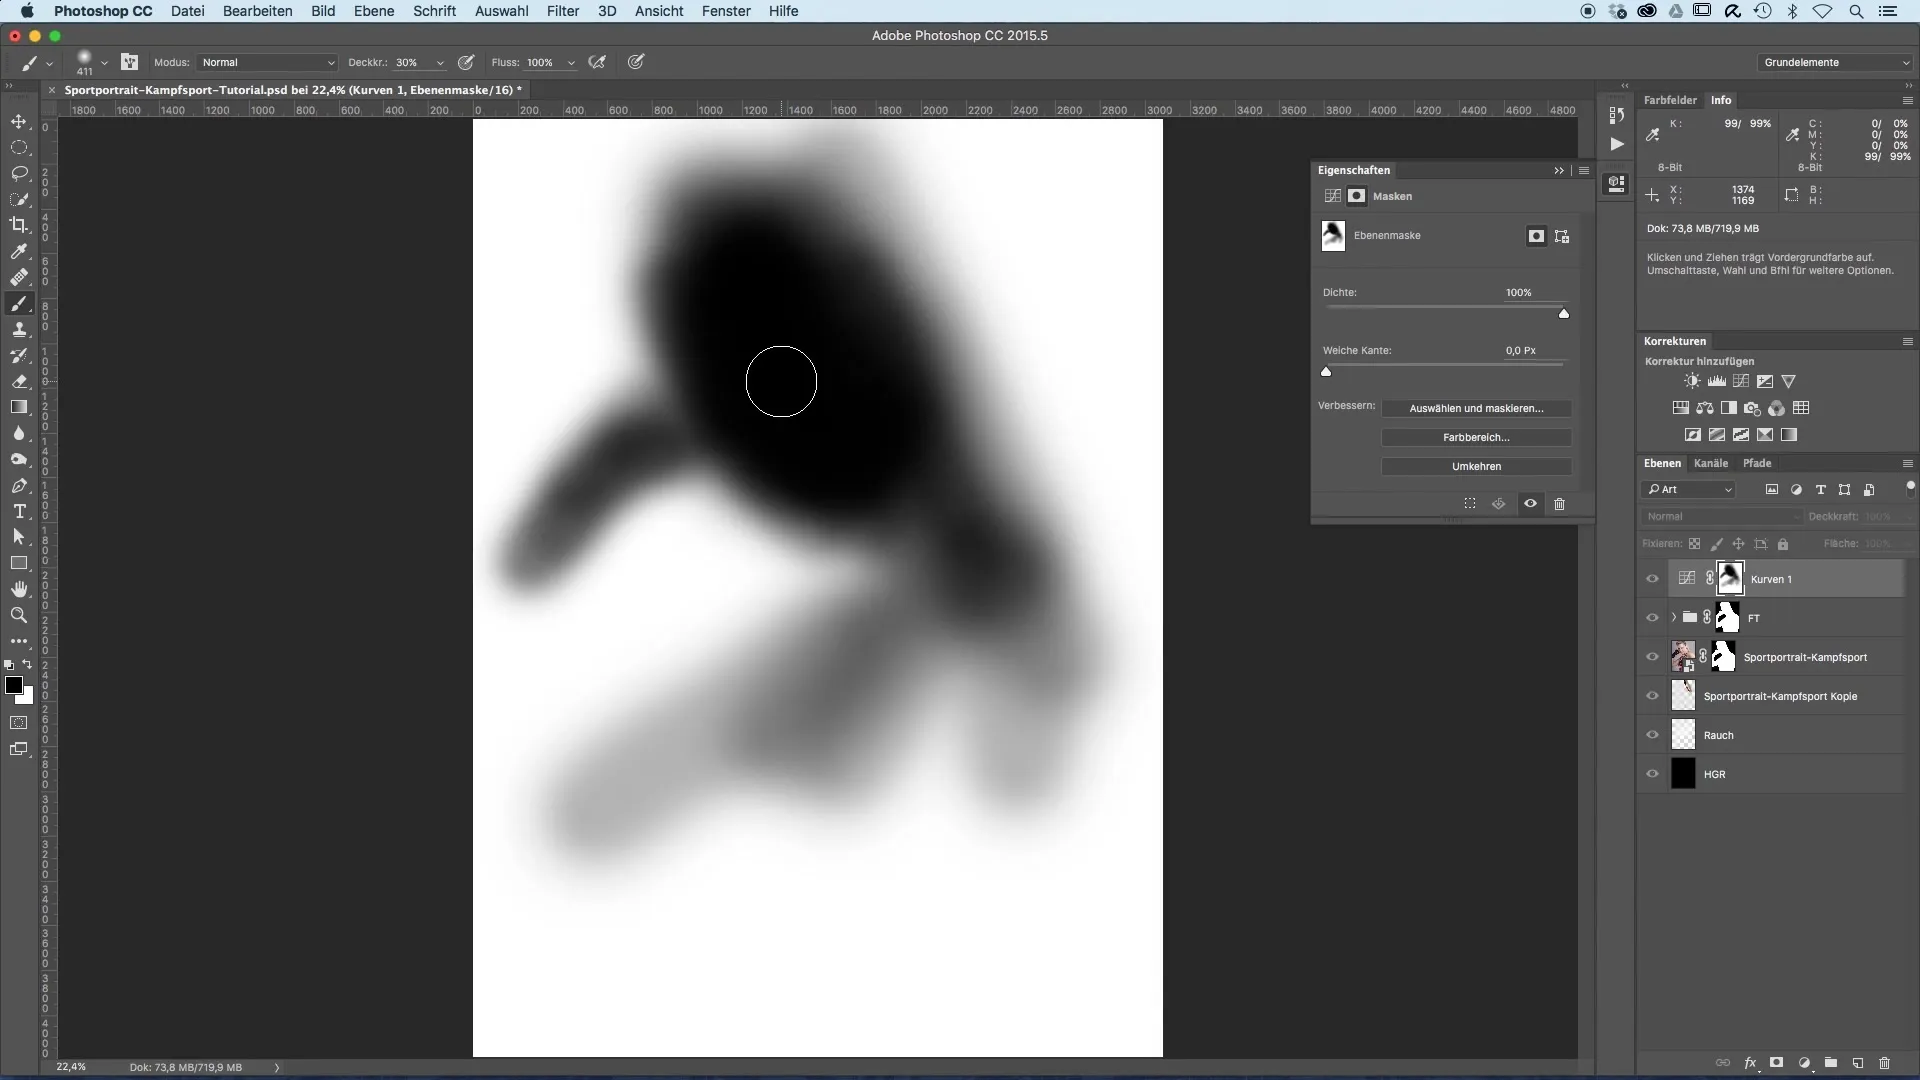
In the next step, the mask will be displayed, initially set to white. This means that the curves adjustment is active everywhere in your image. However, since you only want to darken the surroundings, you now need to modify the mask. Select a black brush from the tool menu to mask the areas where the darkening should not apply.
4. Adjust Brush Size and Opacity
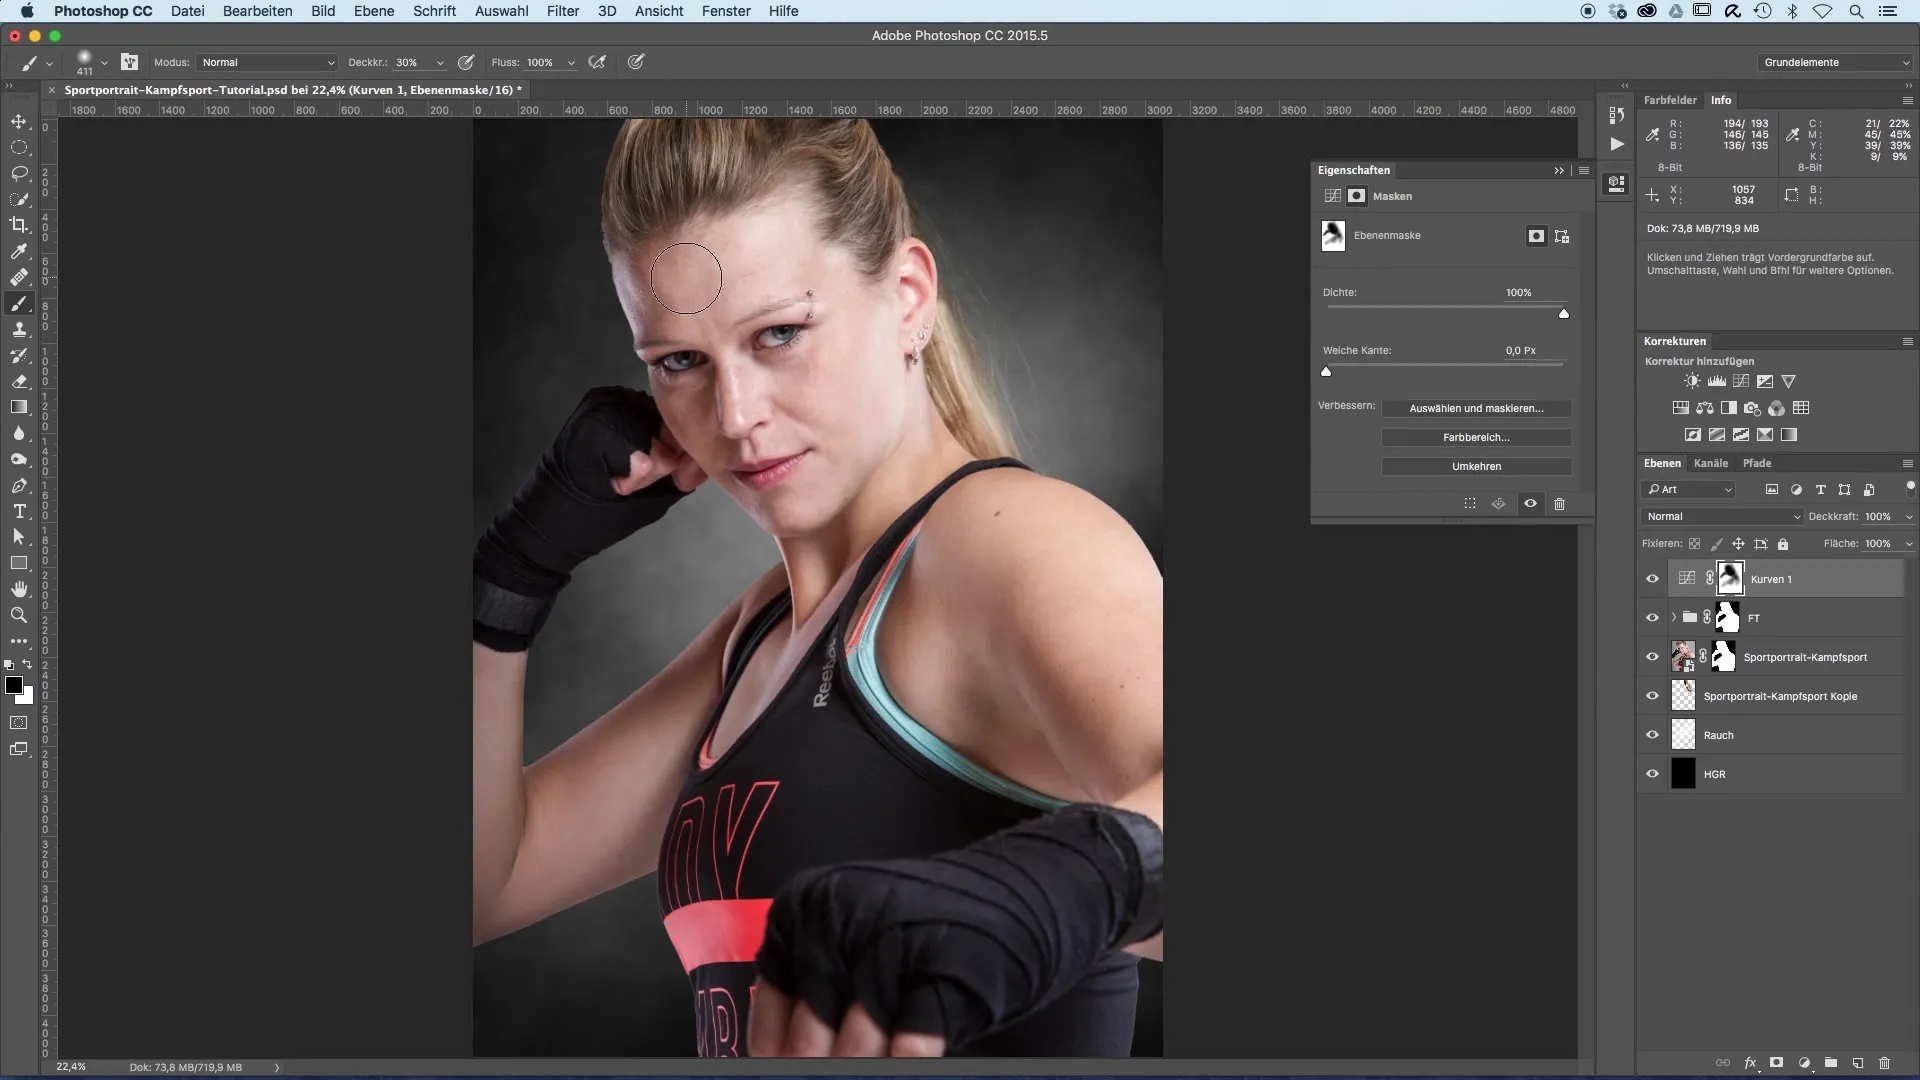
Set the brush size appropriately for precise work – an opacity of 30 could be ideal for this step. Ensure that the brush is large enough to work effectively, but still precise enough to avoid accidentally painting over areas of the model.
5. Masking the Model
Now start painting over the areas that you do not want to darken. Focus especially on the face and upper body of your model, as this is the focal point of the portrait. For detailed work, you can also increase the brush to 100% to ensure that the darkening is minimized in these areas.
6. Checking the Mask
A handy feature is to isolate the mask display. Hold down the 'Alt' key and click on the mask to view only this one. This will give you a clear idea of where the darkening does not apply. It helps ensure that the model does not unintentionally get pulled into the darker areas.
7. Final Touches
Return to your image and adjust the edges of the masking as necessary by adding more brush strokes to ensure no area darkens unintentionally. Focus particularly on details like the glove or the background.
8. Compare Before and After Effects
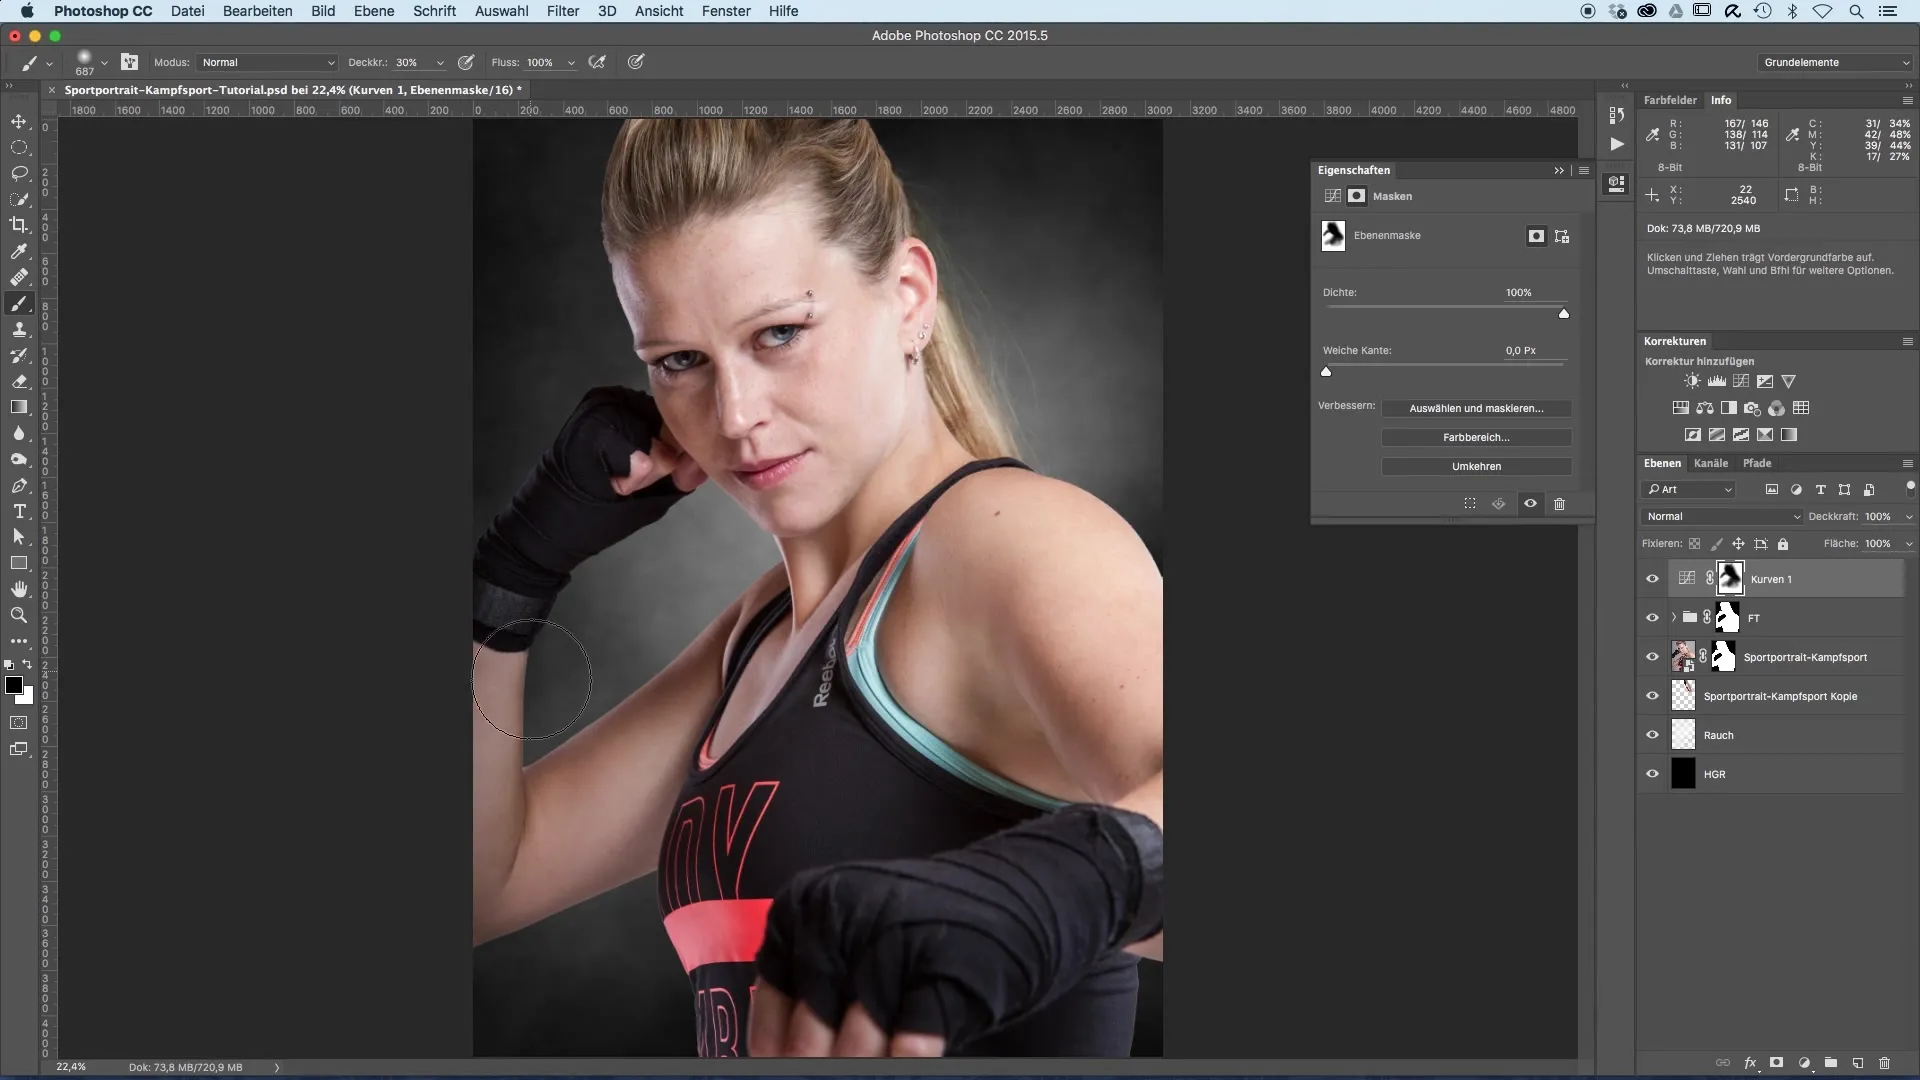
To assess the effect of darkening, make a before-and-after comparison. This comparison will help you see how darkening directs the viewer's attention to the model and how the overall impact of the image has changed. The difference will show you that the focus is now clearly more on the model.
9. Final Adjustments
Make any additional adjustments to the darker areas to create a harmonious balance. Pay attention to the darker areas of the image; the model's hair can also appear calmer and more harmonious if it is slightly darkened.
10. Experiment
Finally, it is important to continue experimenting and playing with different settings. The art of image editing lies not only in the techniques but also in your creative expression. Try different values to see what works best for your specific image.
Summary – Image Optimization of Sports Portraits: Darkening the Surroundings
By applying these techniques, you can significantly enhance the impact of your sports portraits. The combination of a darkened environment and a clearly focused model allows you to create impressive and engaging images that will captivate viewers.
Frequently Asked Questions
How do I add a curves adjustment layer?You select your image and click on the symbol for the curves adjustment layer in the menu bar.
What is the best brush size for masking?A brush size of about 30 is generally recommended for detailed work.
How can I check my mask?Hold down the 'Alt' key and click on the mask to see only this one and make adjustments.
How often should I make the before-and-after comparison?Perform this comparison regularly as you make adjustments to observe progress and make effective decisions.
Why is darkening the surroundings important?It helps highlight the main subject and directs the viewer's eye specifically to the model's face.
