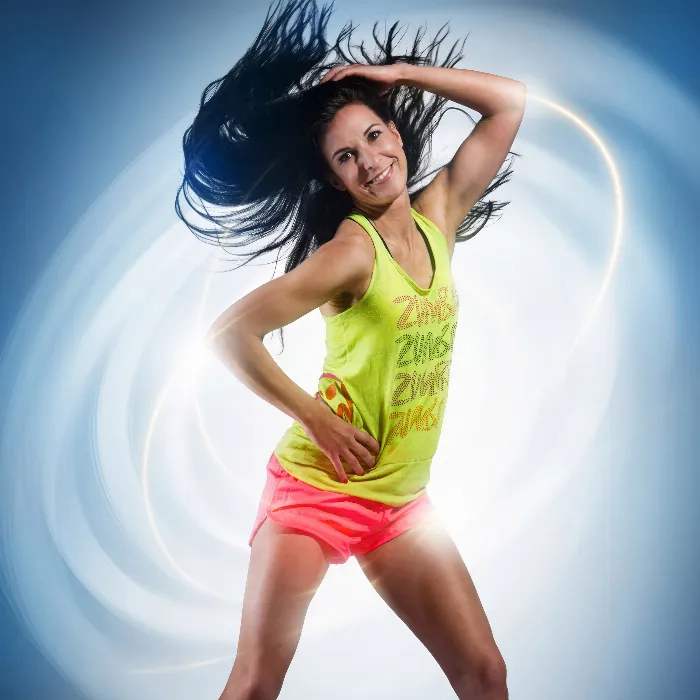
The editing of sport portraits offers you countless opportunities to highlight the dynamics and potential of the shots. With targeted image optimization, you can dramatically improve the appearance of your photos. Below, you will learn step by step how to optimize your sport portrait from the raw format to the final editing. This way, you not only achieve the best possible result, but can also play creatively with colors, light, and contrasts.
Key insights
- Every editing step is important, from RAW conversion to final effect creation.
- Different editing levels give you more control over the end result.
- The choice of lights and color tones has a significant impact on the image effect.
- Through specific retouching and contrast settings, your image gains more strength and depth.
Step-by-step guide
To achieve the desired sport portrait, it's best to proceed step by step and consciously with the various techniques. Start with the RAW conversion.
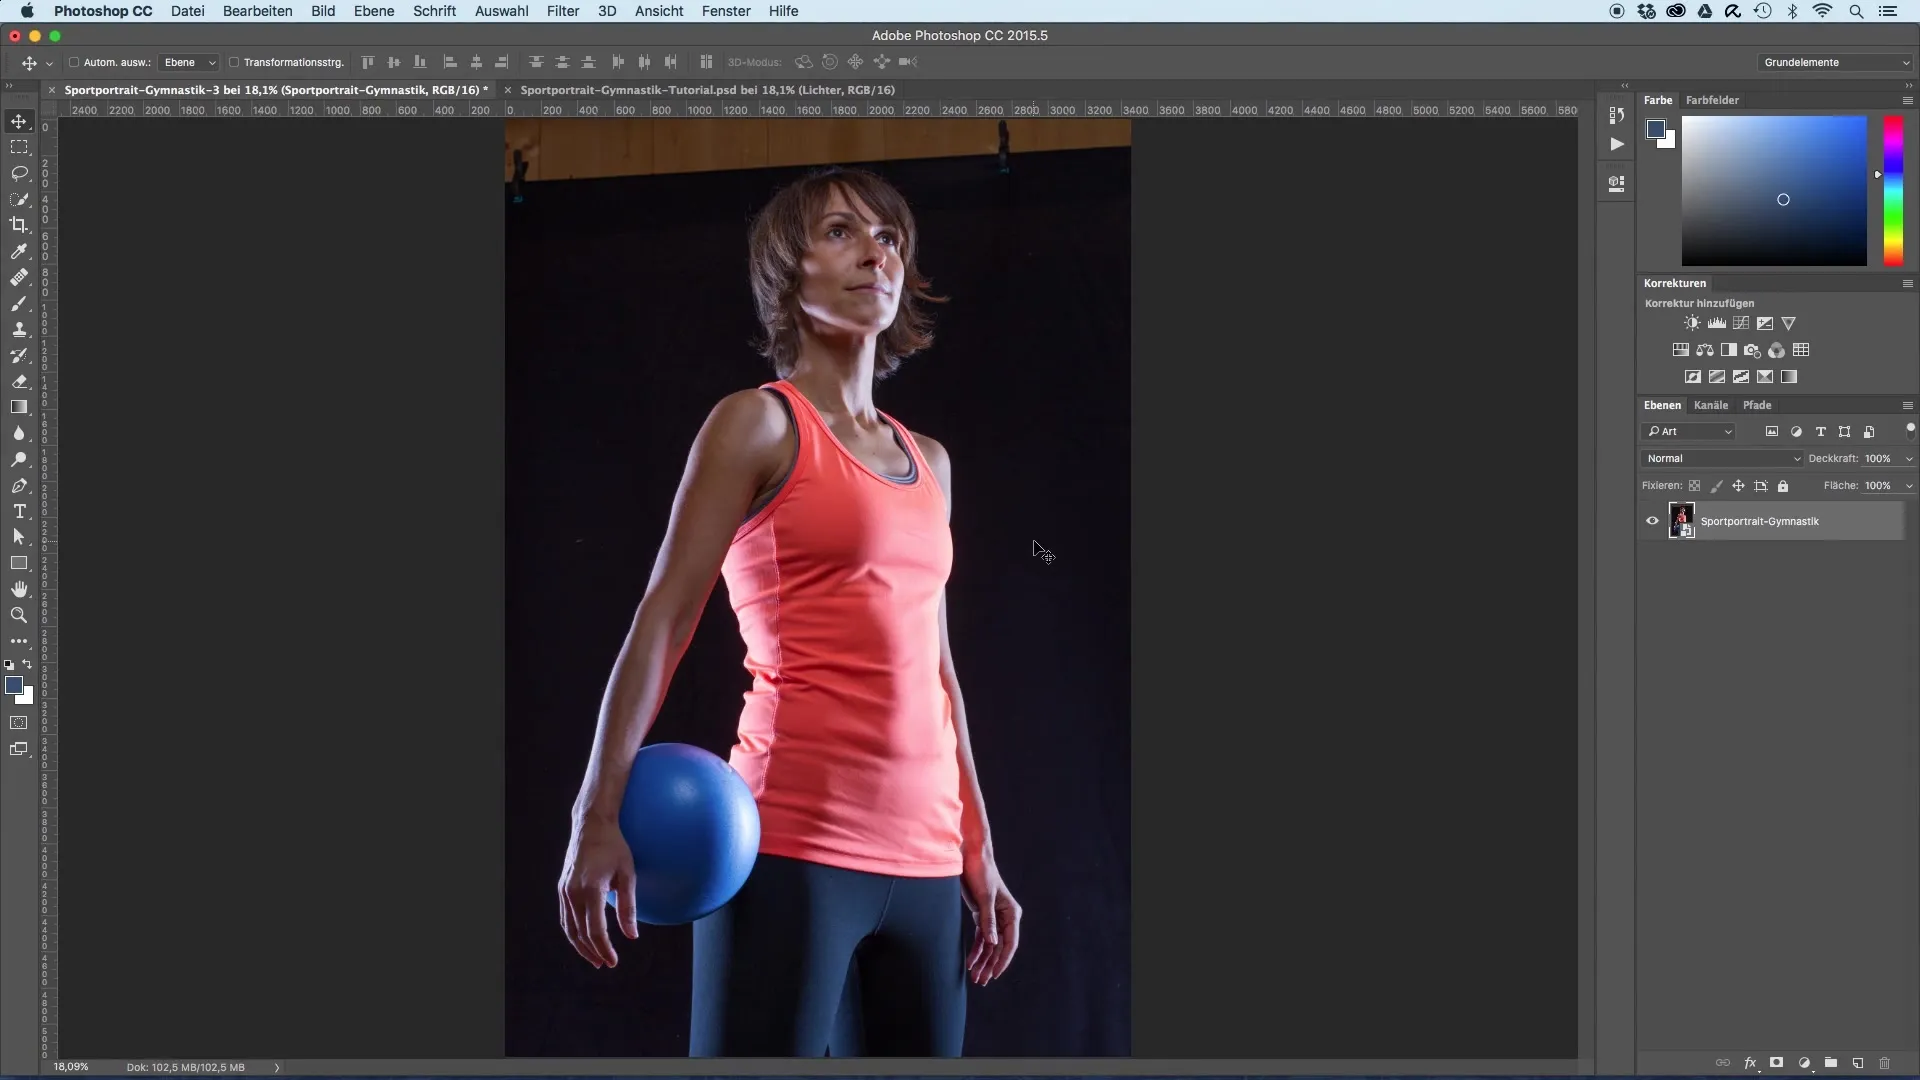
The RAW conversion is the first crucial step. Here, you convert your raw files into an editable format. Make sure to adjust the exposure, colors, and white balance to create a balanced foundation for further edits.
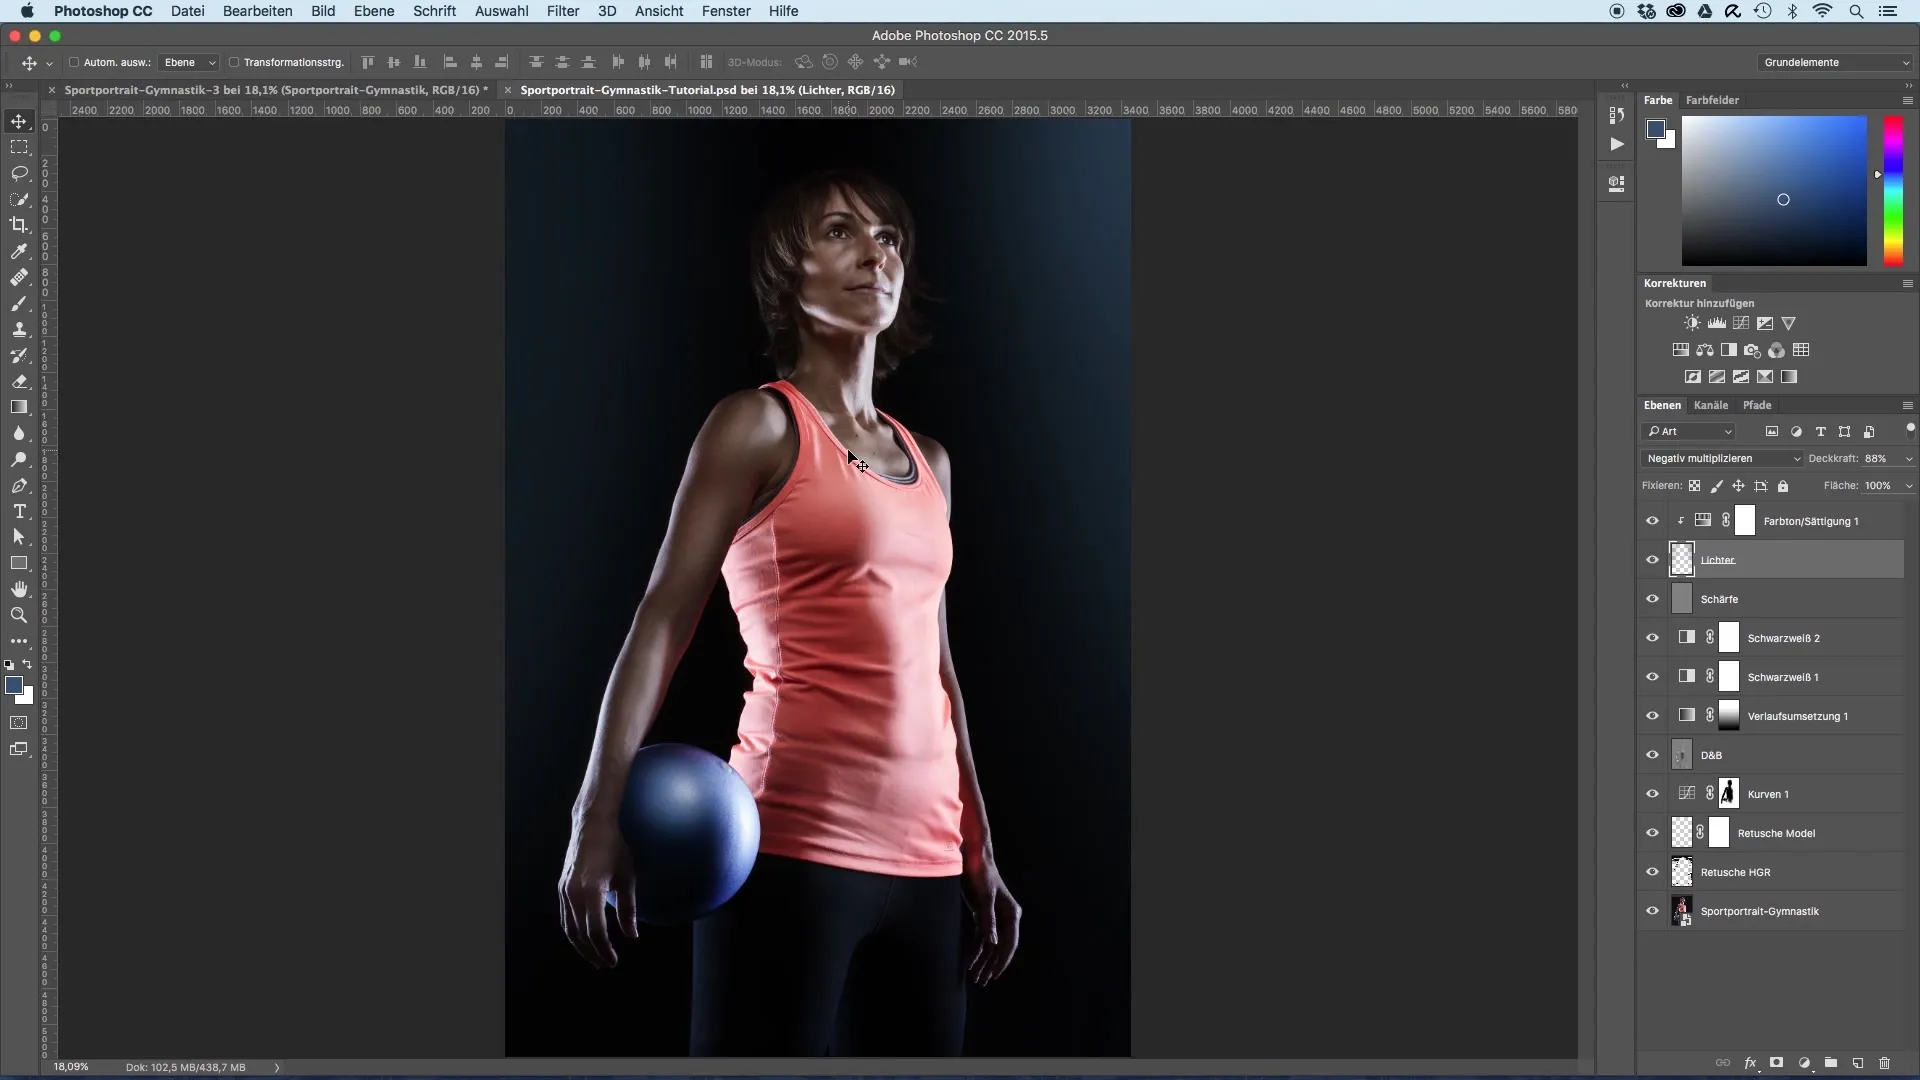
After converting the RAW data, you should start with the retouching of the model. Adjust the skin imperfections and shape the face according to your artistic vision. Make sure to retain the natural texture of the skin to achieve an authentic result.
In the next step, take care of the background. Darken it to highlight the model. With the help of masks, you can edit the area precisely and thus focus on the main subject. Consider how the background affects the mood of the image.
Now create a Dodge-and-Burn layer to give the model more plasticity and dimension. This technique emphasizes the highlights and shadows, creating an appealing 3D look.
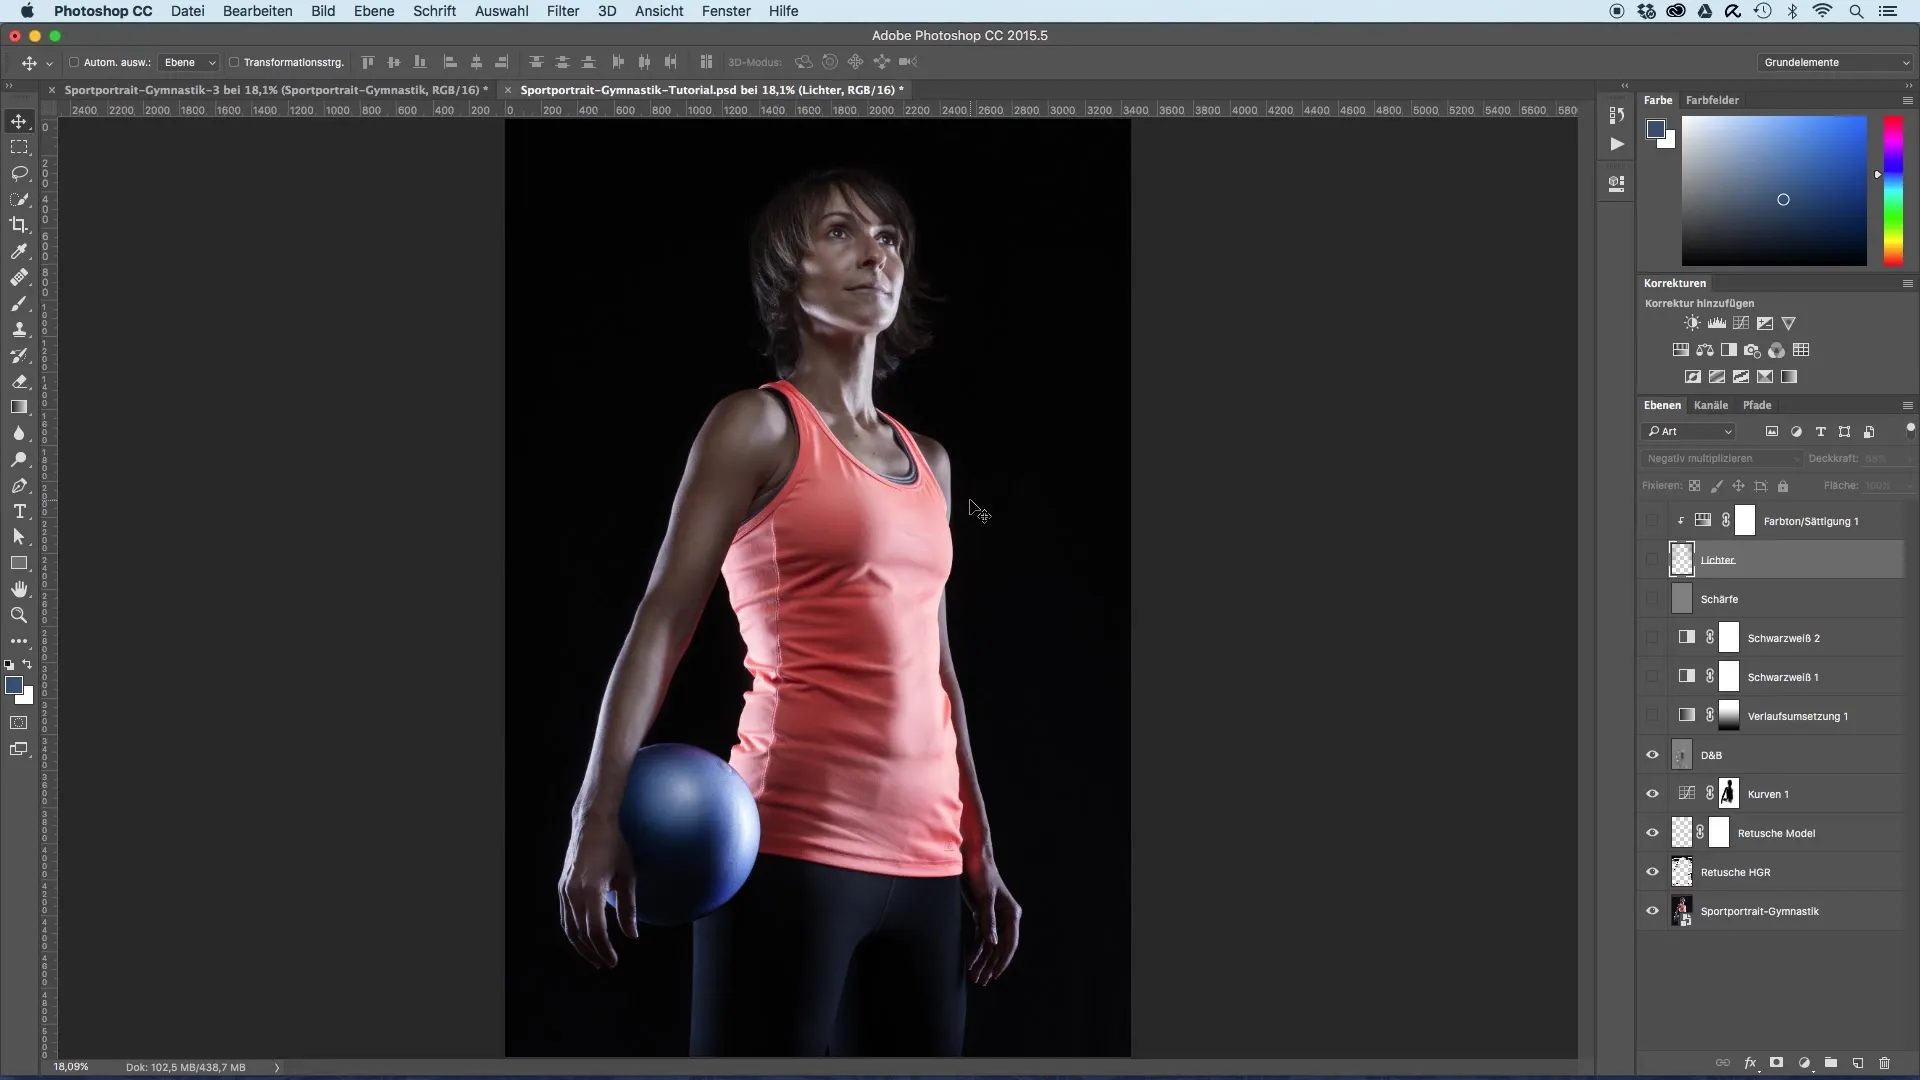
With various adjustment layers, you can add golden tones to your image. These create a warm atmosphere and enhance the positive perception of the sport portraits.
To increase contrast, using two black-and-white adjustment layers is a good idea. This amplifies the power of the image, which is particularly effective in sports shots.
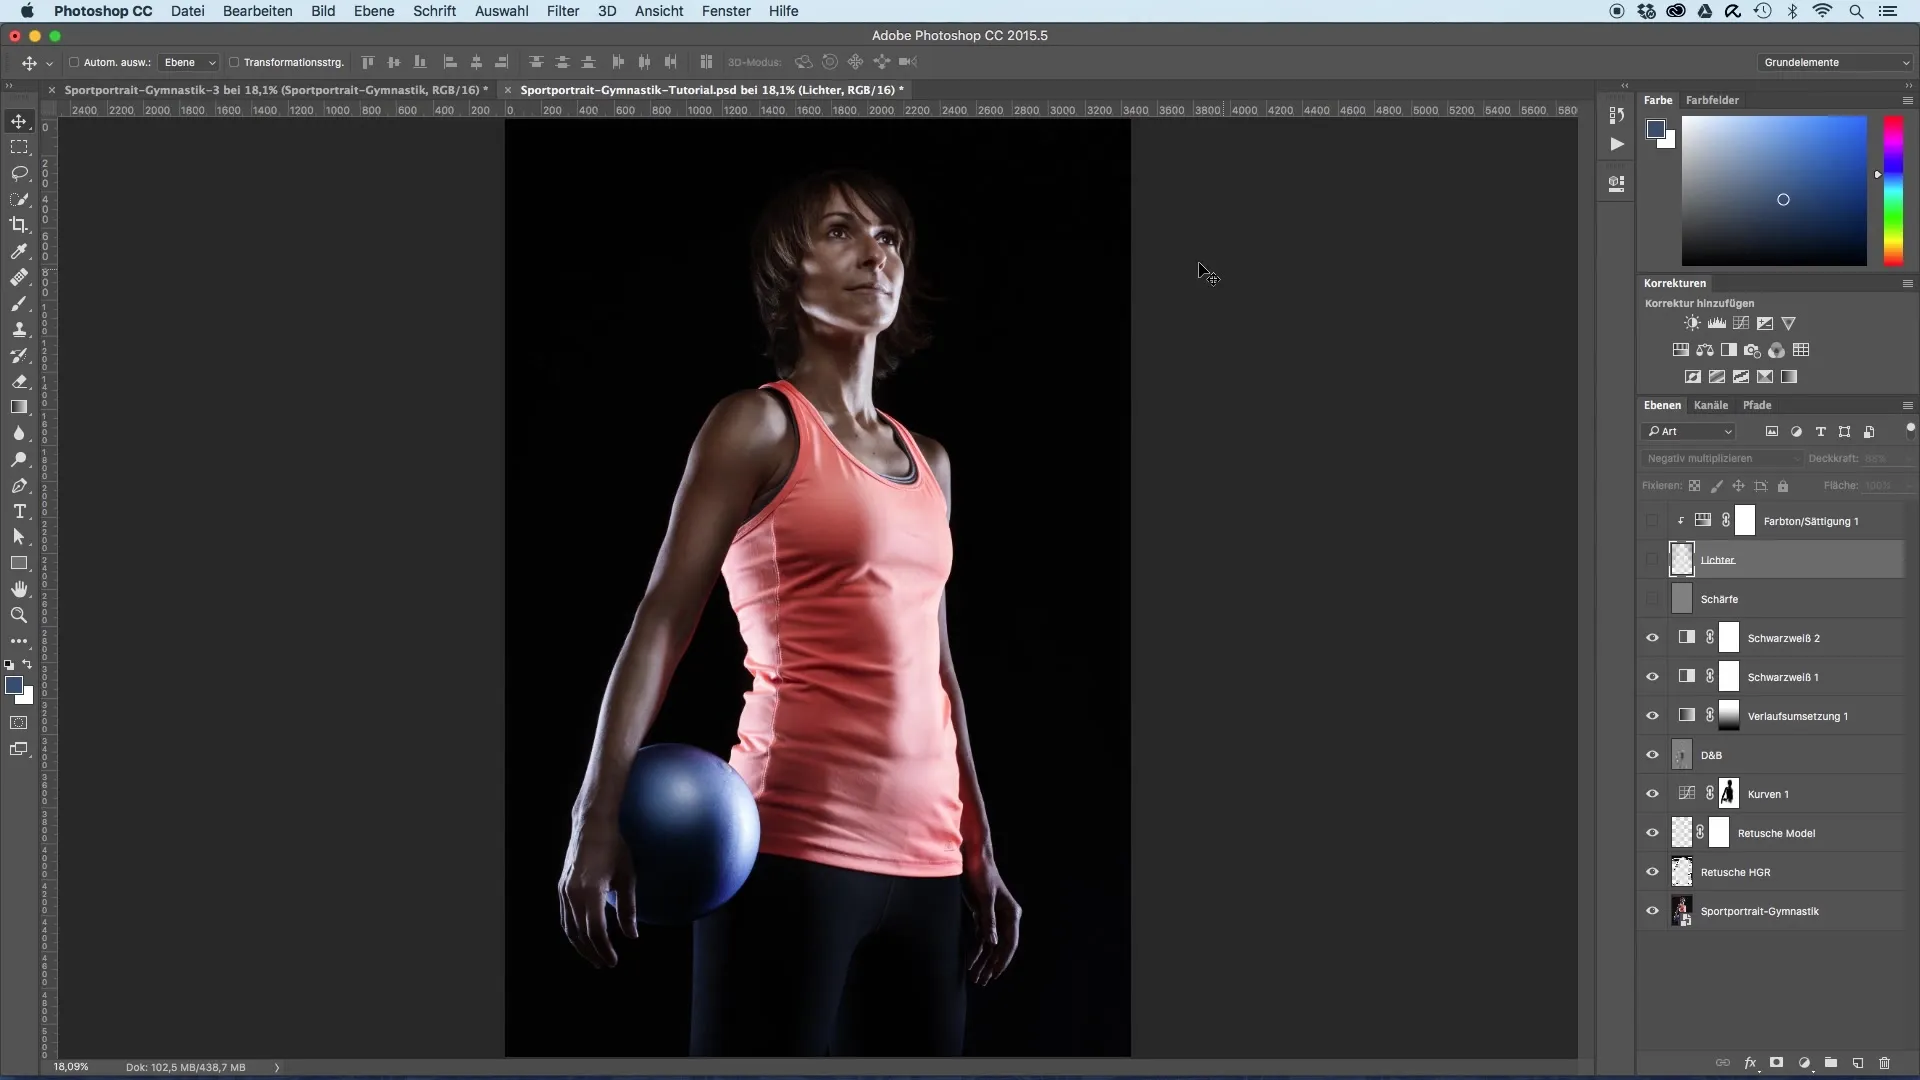
Now it’s time for the high-pass filter. It makes the image appear sharper. Be careful to use the filter only lightly to avoid an unpleasant "over-edited" look. The filter helps to highlight the details of the model.
To add the side lights, change the colors of the light sources. These lights can significantly affect the style of the portrait and make it appear more vibrant. Experiment here to achieve the desired effect.
Finalize your sport portrait and check if everything fits harmoniously together. Make all necessary adjustments to achieve a harmonious overall result. Go back through all the steps to ensure that you are satisfied with the end product.
Summary – Image optimization of sport portraits achieved step by step
The effective image optimization of sport portraits is based on precise editing ranging from RAW conversion, retouching, to fine-tuning of light and contrast. With the steps mentioned above, you are well equipped to achieve impressive results.
Frequently Asked Questions
How do I start my image editing?Start with the RAW conversion to edit your raw data.
What does Dodge-and-Burn mean?It is a technique for targeted brightness adjustment to create volume and depth.
How do I increase the contrast in my image?Use black-and-white adjustment layers to control contrast specifically.
How do I effectively use lights?Change the colors of the lights according to the mood you want to create.
How do I know if the image looks balanced?Make sure all elements fit harmoniously together and that the model remains in focus.
