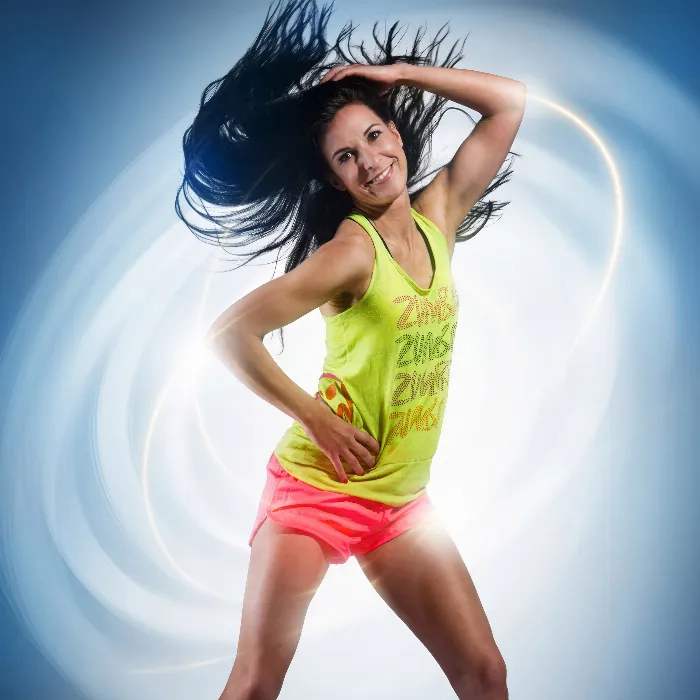
The process of cutting out sports portraits can be crucial to focusing on the model and creating an engaging composition. In this guide, I walk you step by step through the various techniques necessary to effectively separate a model from the background.
Main insights
- The first step is to create a suitable background layer.
- Selection tools, especially the quick selection tool, play a central role in cutting out the model.
- After the initial cutout, edge refinement may be necessary to achieve a seamless result.
Step 1: Create Background Layer
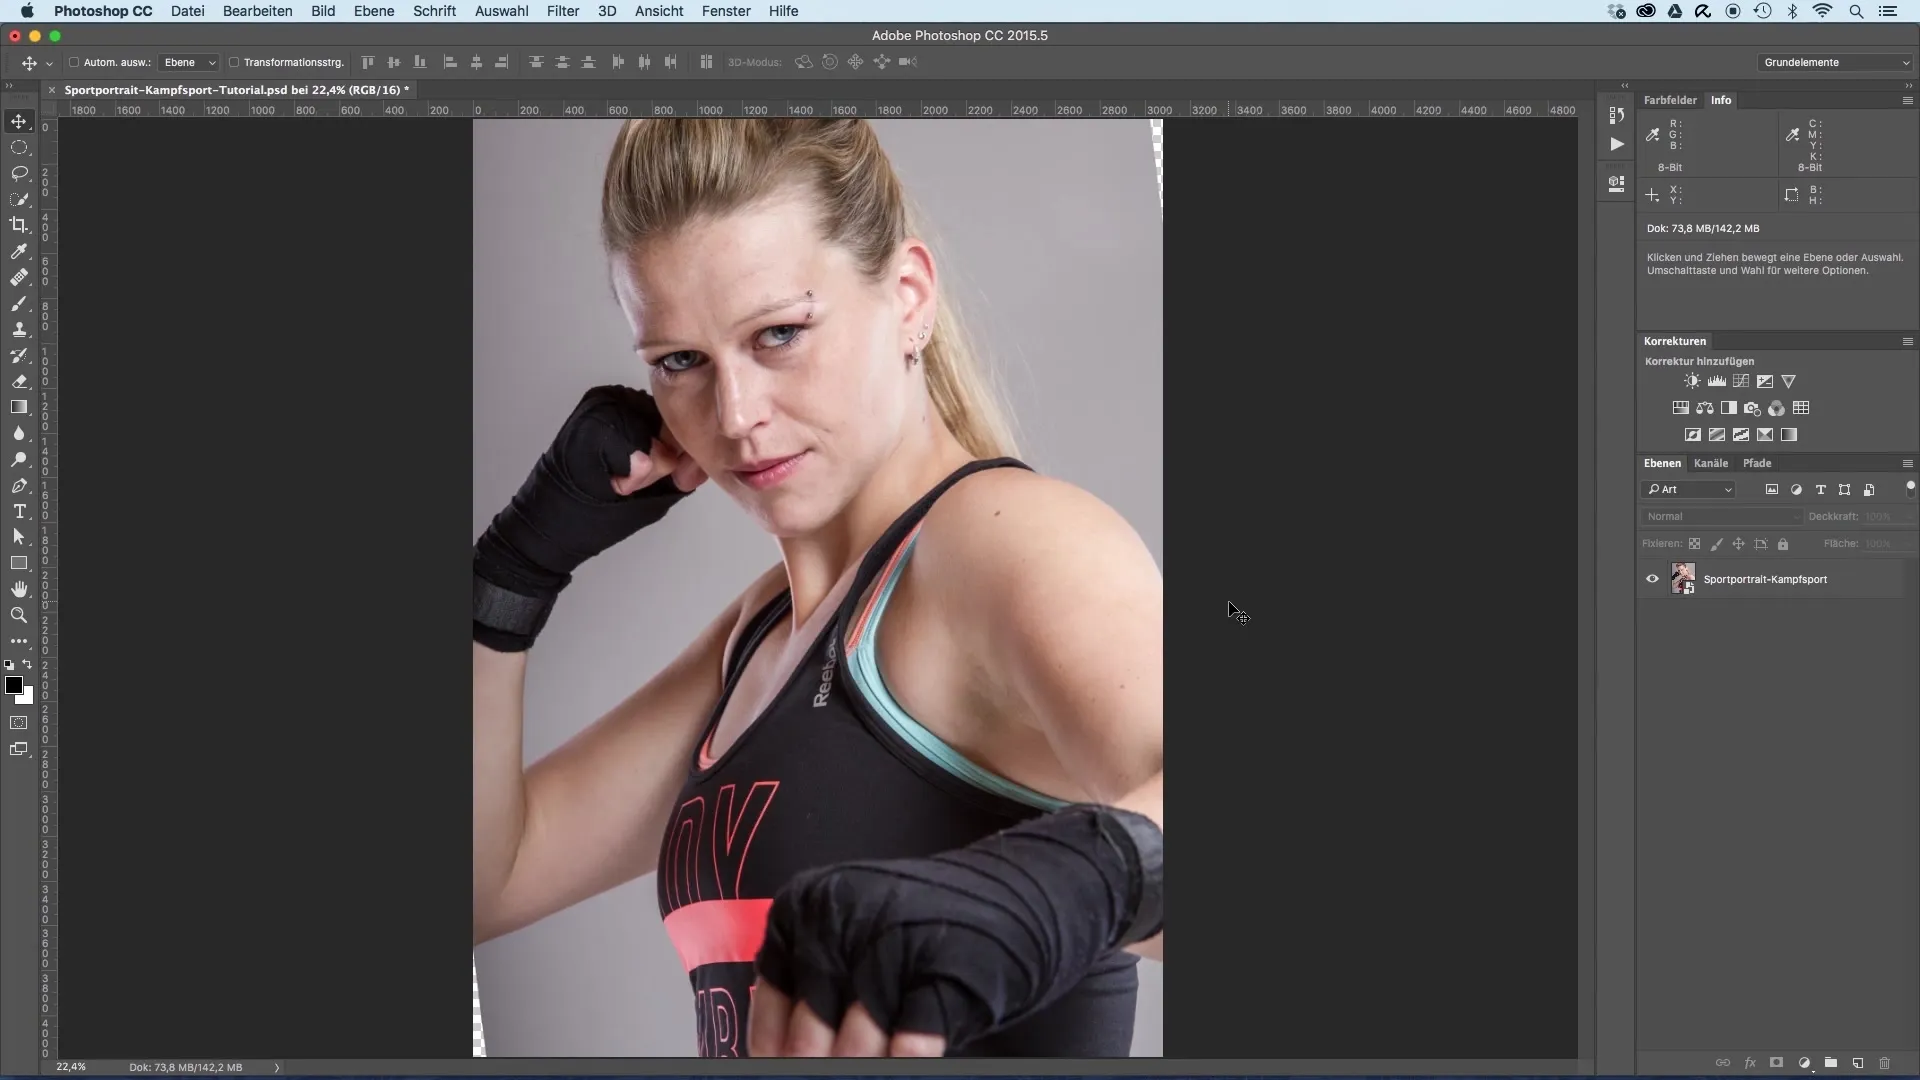
Start by creating a new background layer. Choose a black area since the model will later be placed on a dark background. This approach makes it easier to assess the cutout.
Step 2: Activate Selection Tool
Activate a selection tool by clicking on "Select and Mask" in the top menu. This opens a special area for cutting out.
Step 3: Adjust Transparency
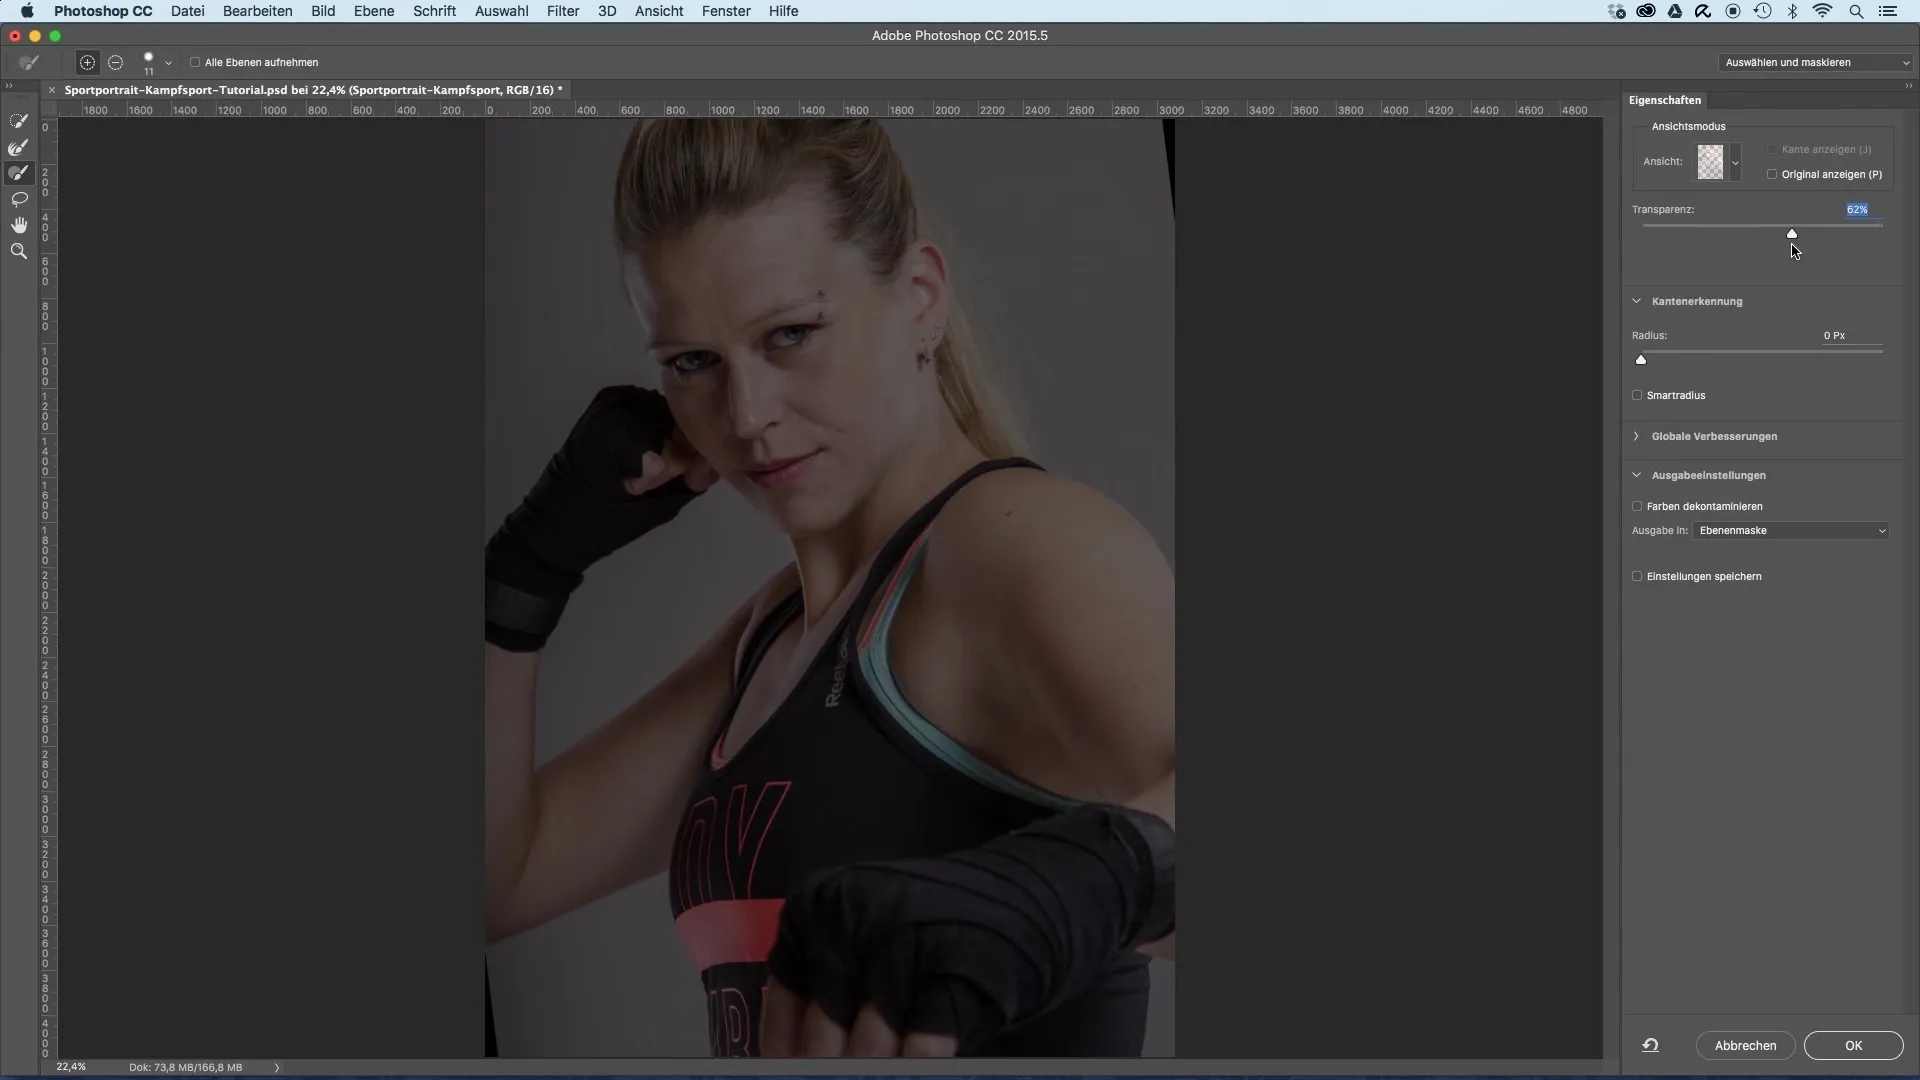
To get a first impression of how the model will be cut out, you can adjust the transparency of the upper layer. This gives you better visual aid when cutting out.
Step 4: Use Quick Selection Tool
Use the quick selection tool to gradually mask the body of the model. Start at the head and then continue over the body. Hold the Alt key to subtract from the background if unwanted areas have been selected.
Step 5: Fine Tuning with Brush Tool
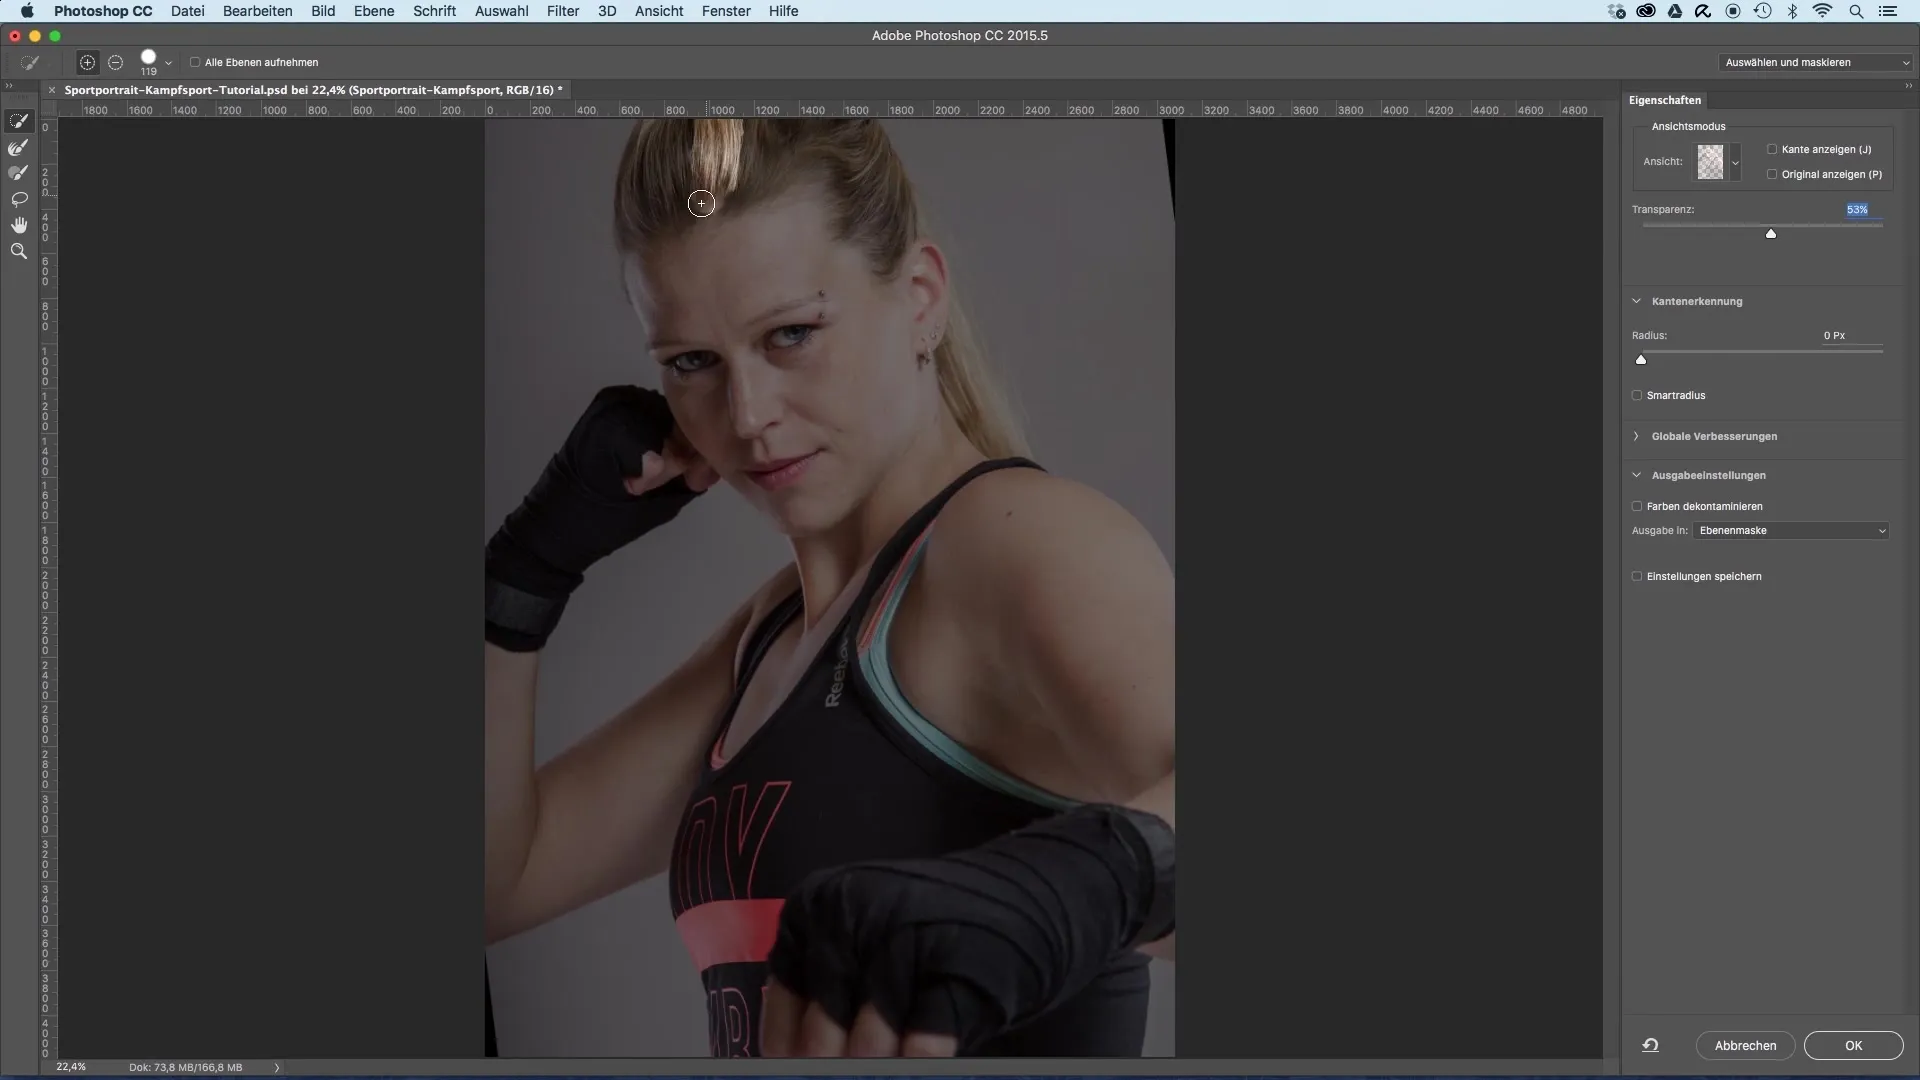
After making a rough selection, switch to the brush tool to refine the selection. Choose an appropriate brush tip and hold the Alt key to subtract areas from the selection. This allows you to achieve more precise edges.
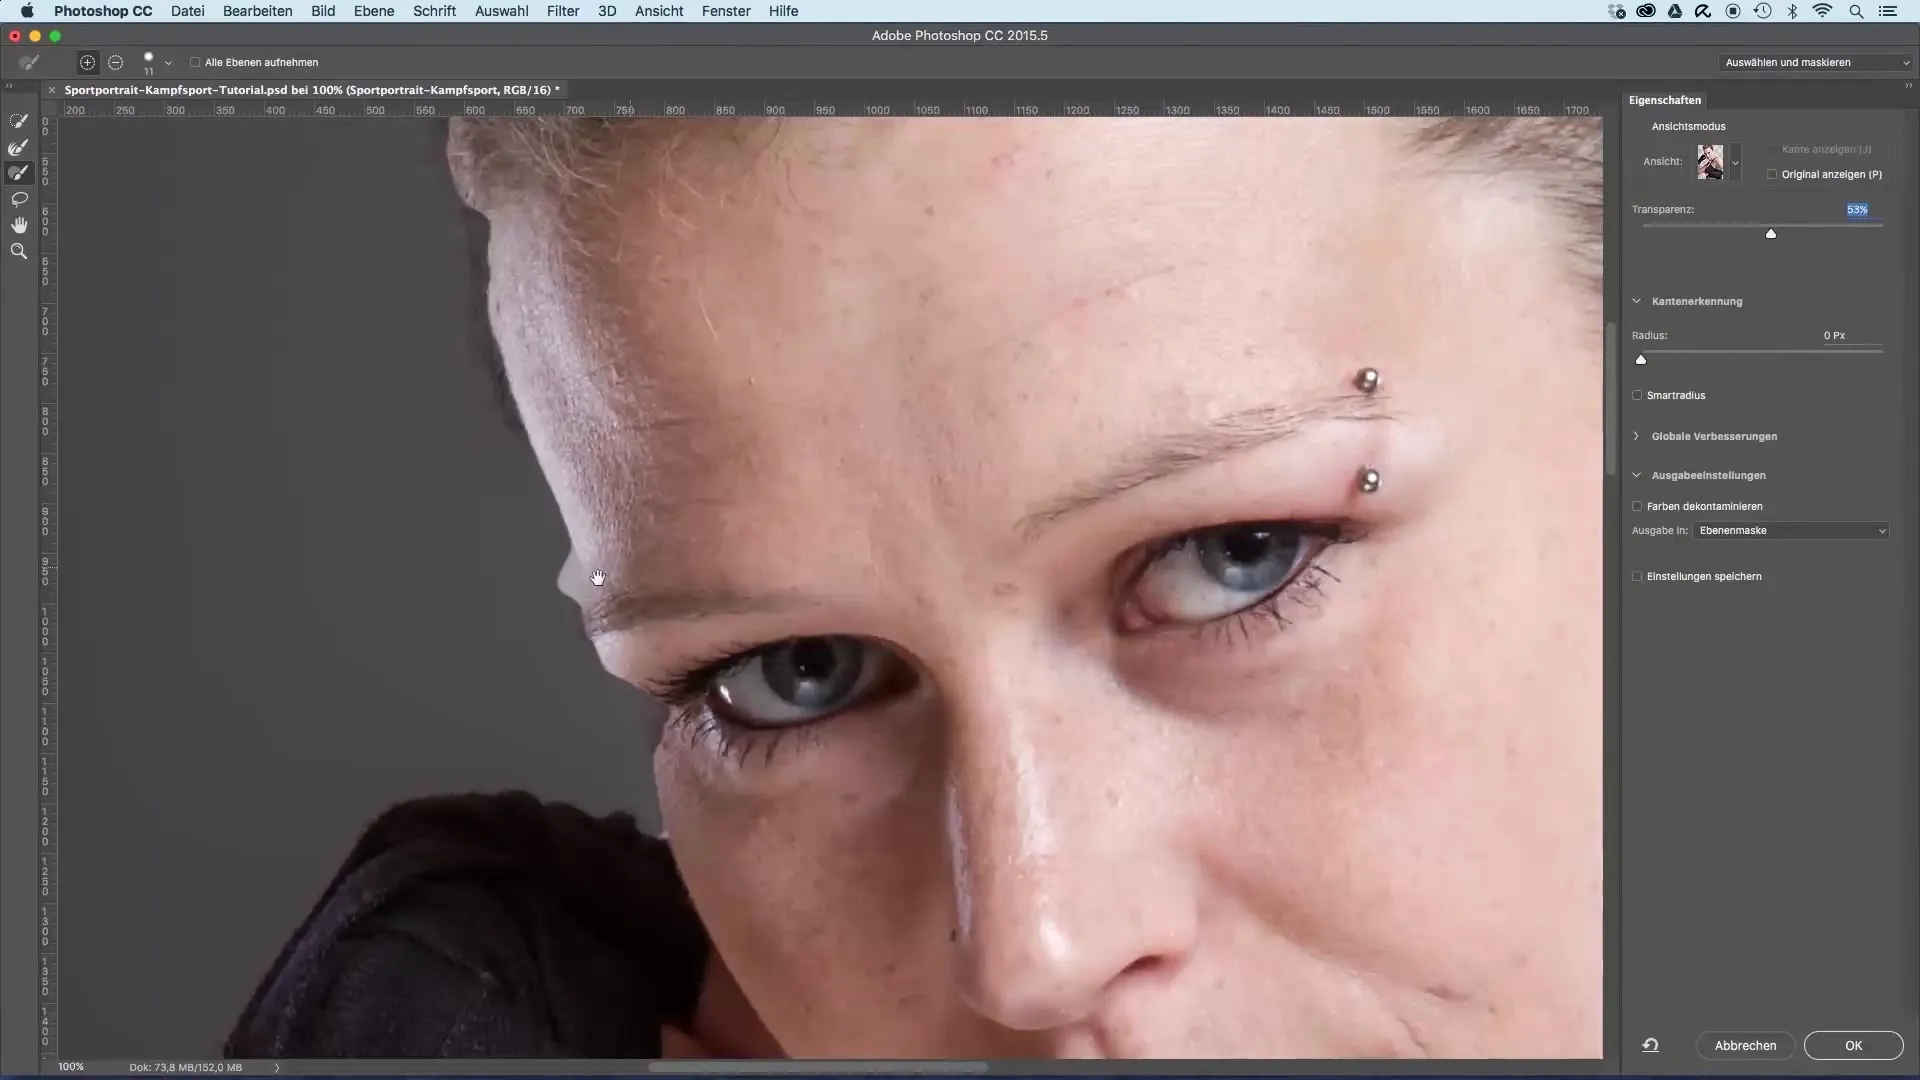
Step 6: Edge Adjustment
To create a soft edge for the model, increase the radius of edge detection. This makes the transition more natural and allows smaller hairs on the edges to become visible, resulting in a more appealing outcome.
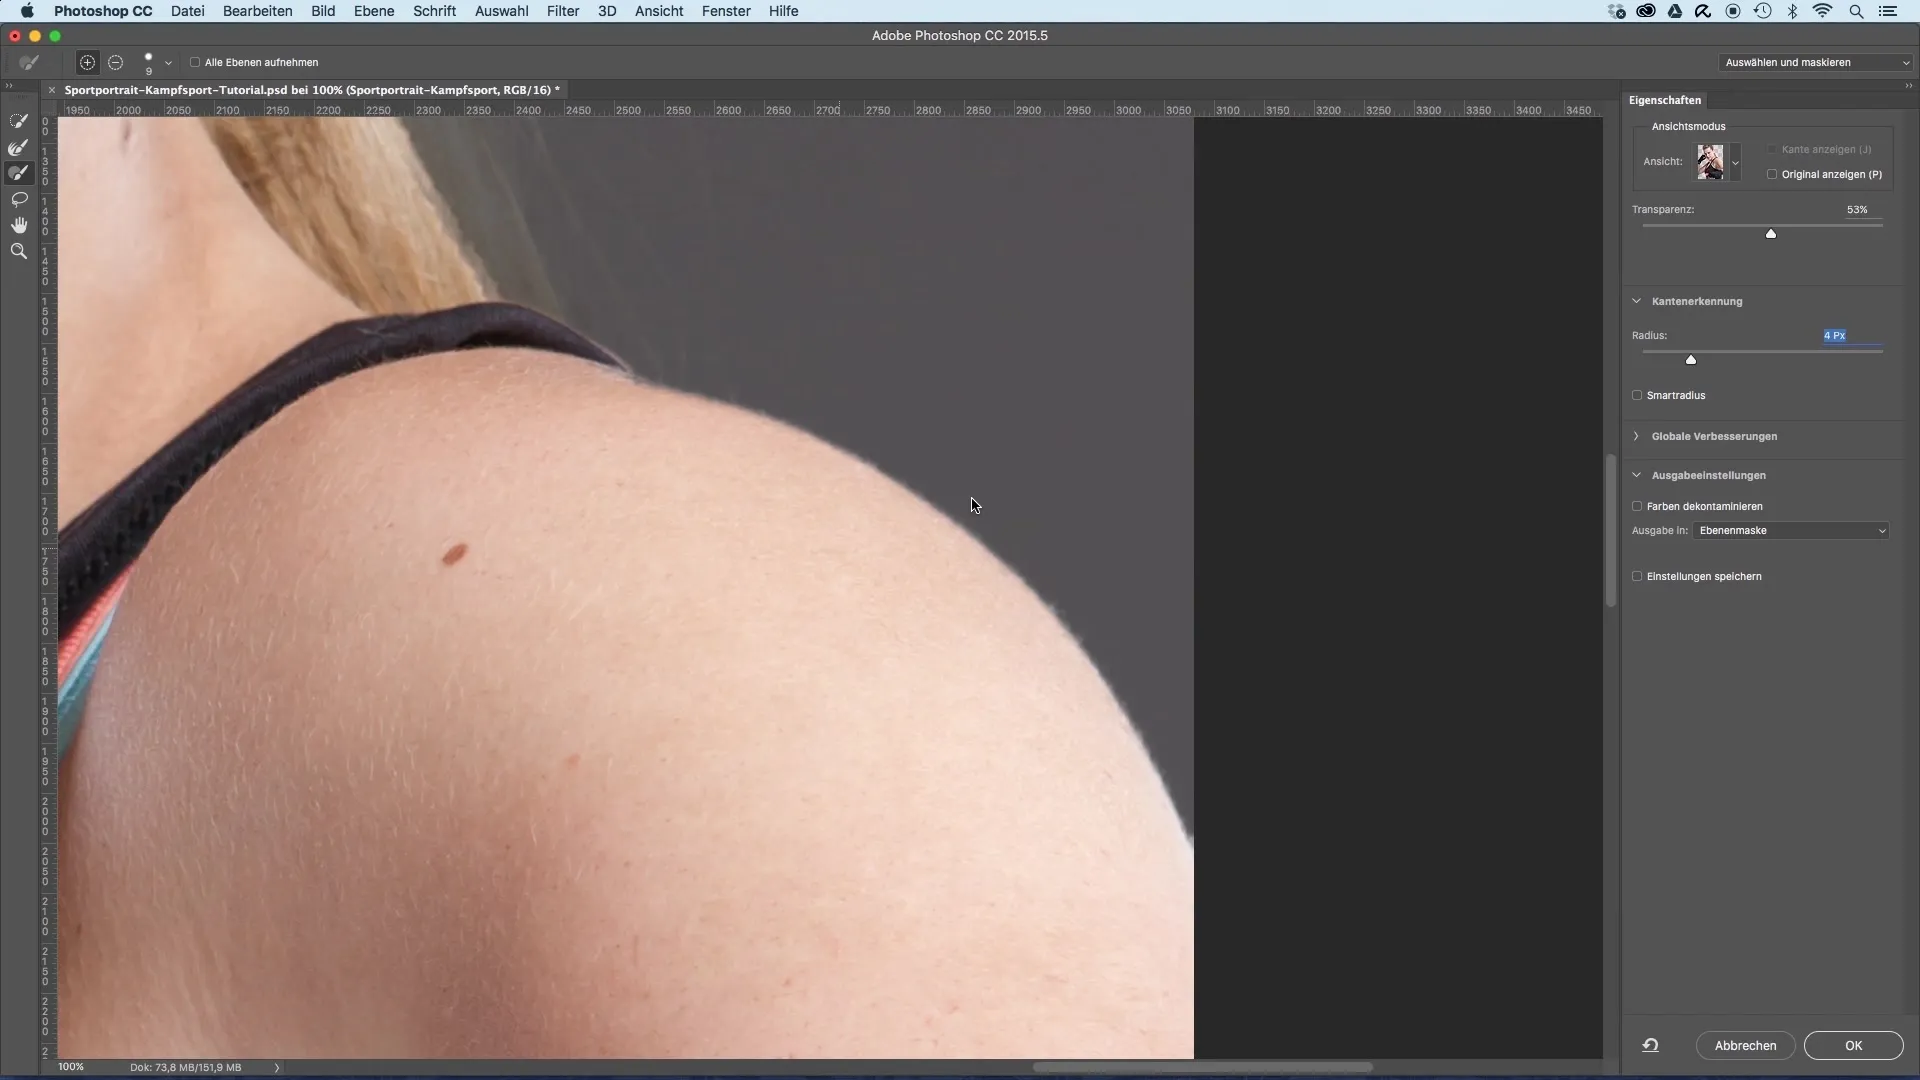
Step 7: Duplicate Layer for Hair
Now it’s time to create a new layer to better cut out the model’s hair. Duplicate the currently cut-out layer and delete the mask. Position the new layer behind the cut-out one.
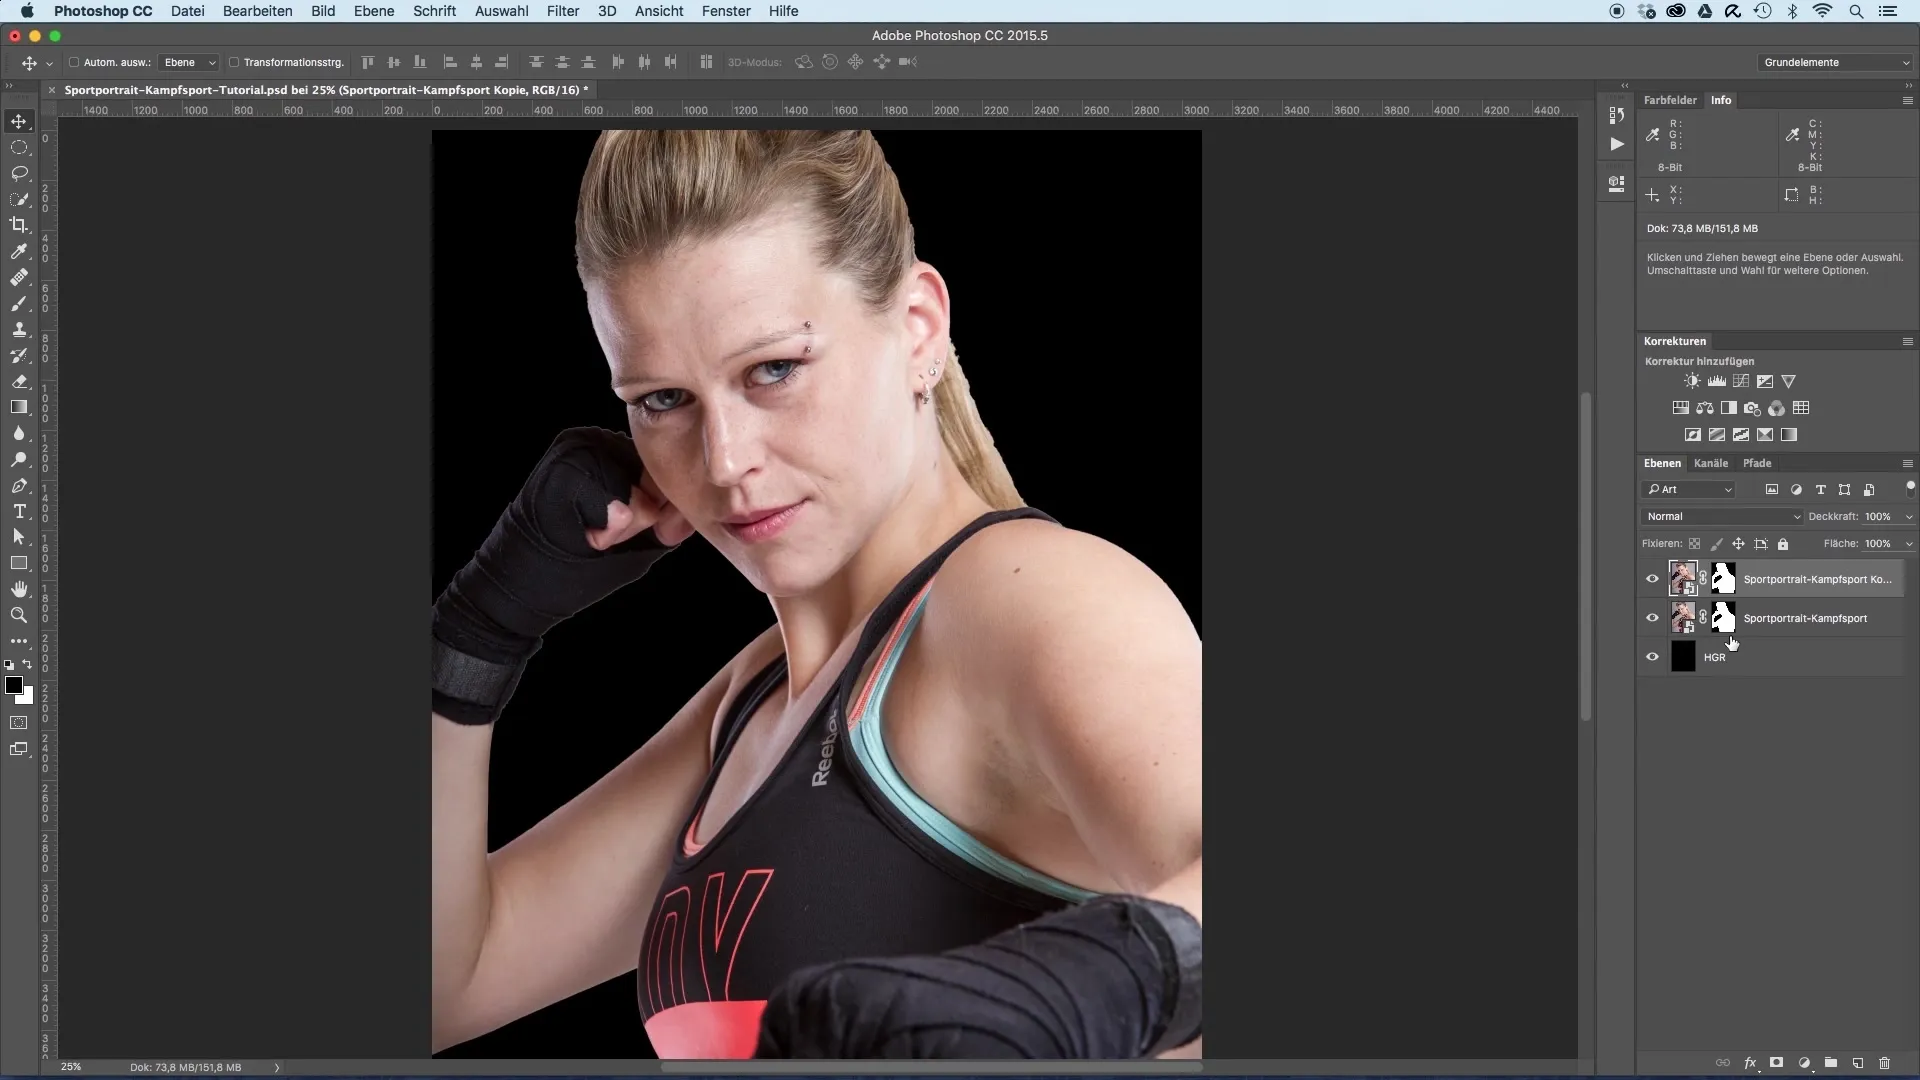
Step 8: Color Adjustment
Use a tonal correction to adjust the brightness value to the darker colors of the background. This reduces the contrast between the hair and the background.
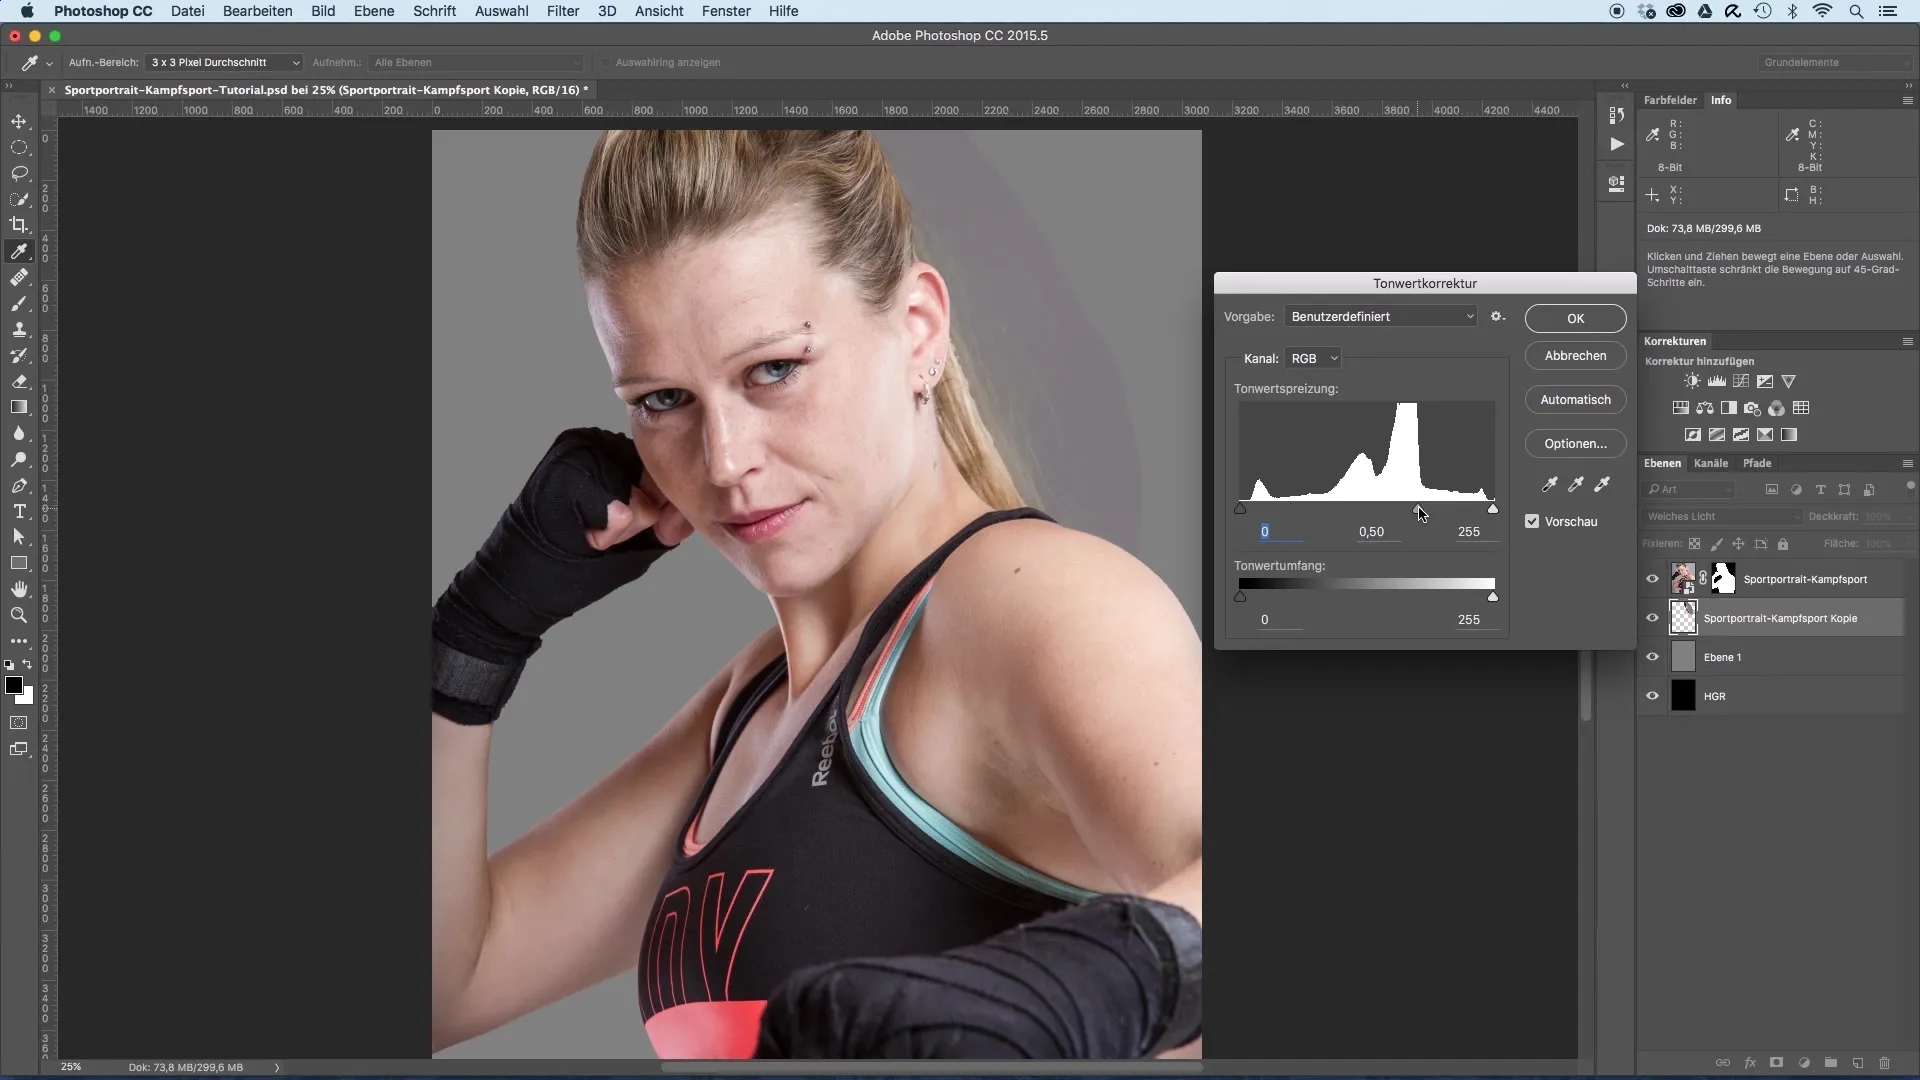
Step 9: Edit Objects and Masks
Use an eraser to smooth hard edges or unwanted transitions. Be sure to create a soft edge to make the transition between the model and the background gentle.
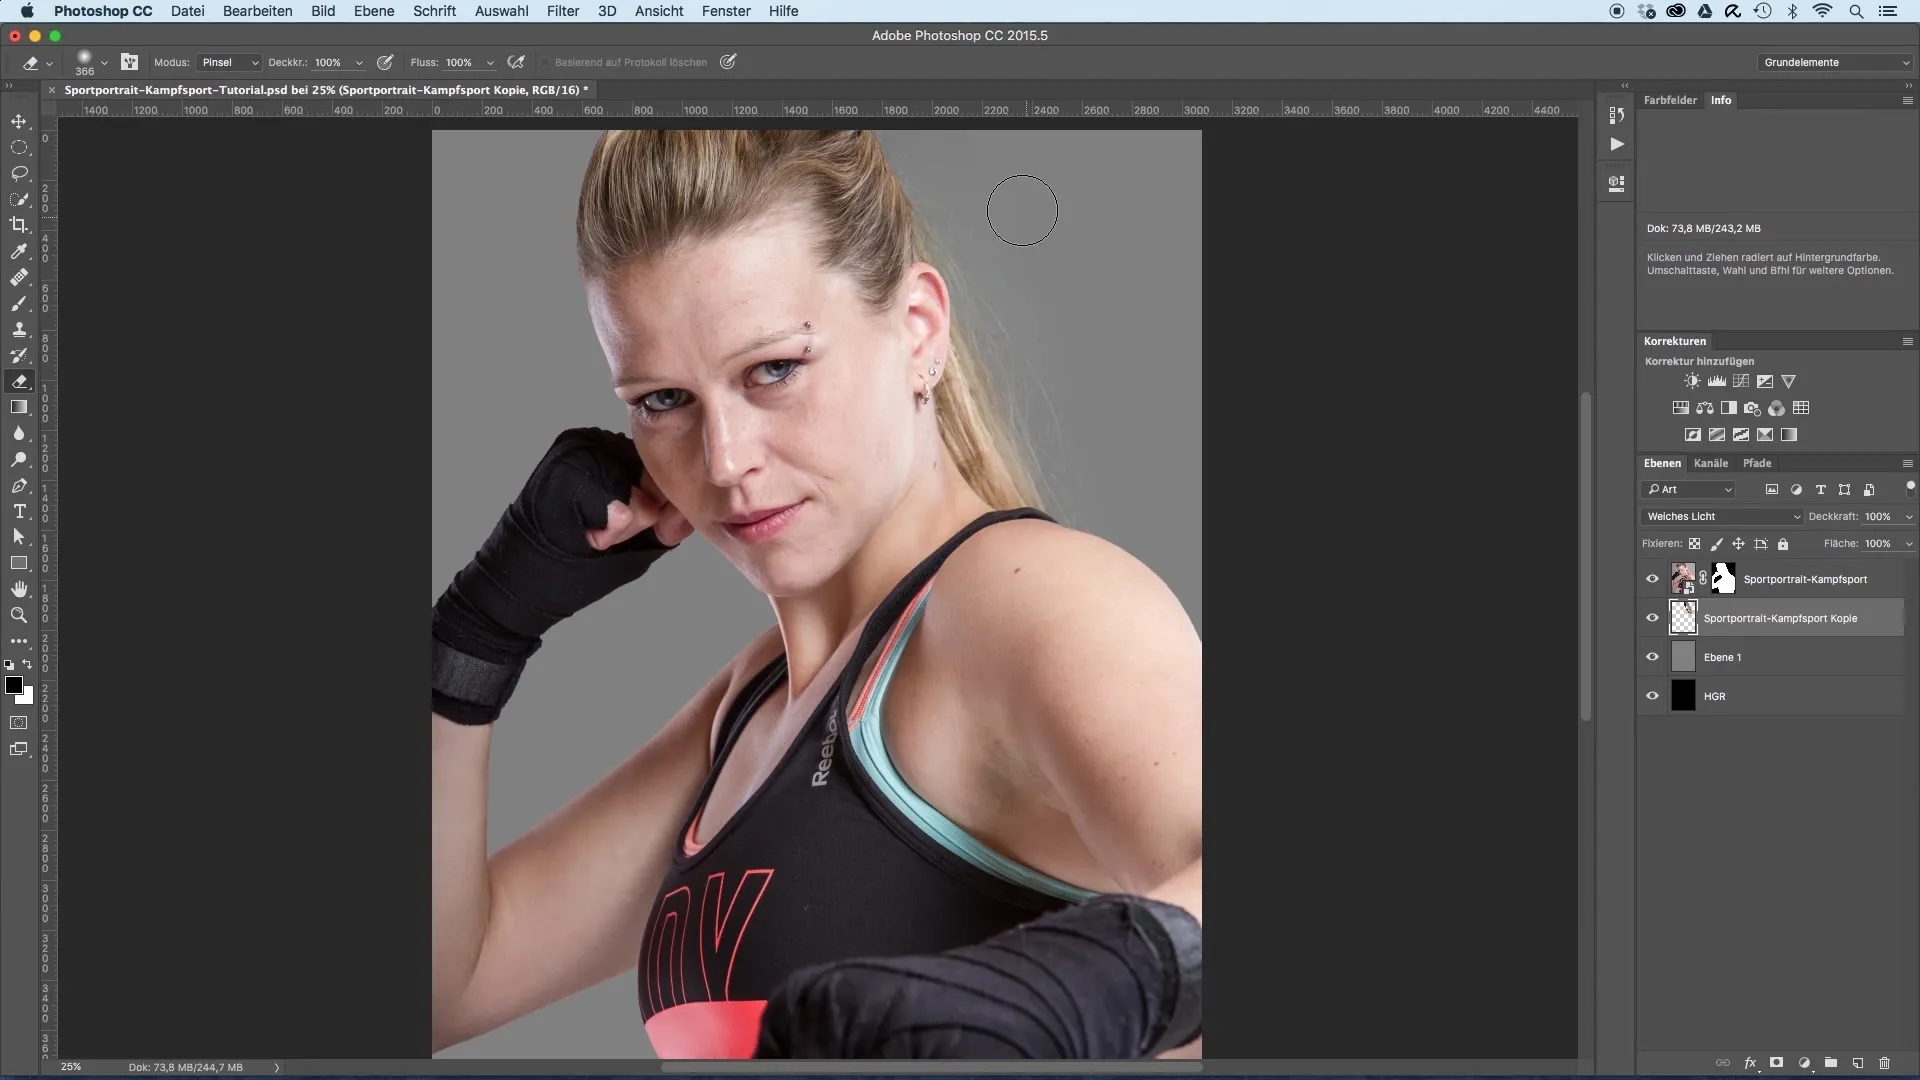
Step 10: Final Measures
Finally, you can hide the gray layer to ensure that all transitions appear harmonious. Check the final composition and, if necessary, adjust the edges to achieve a perfect result.
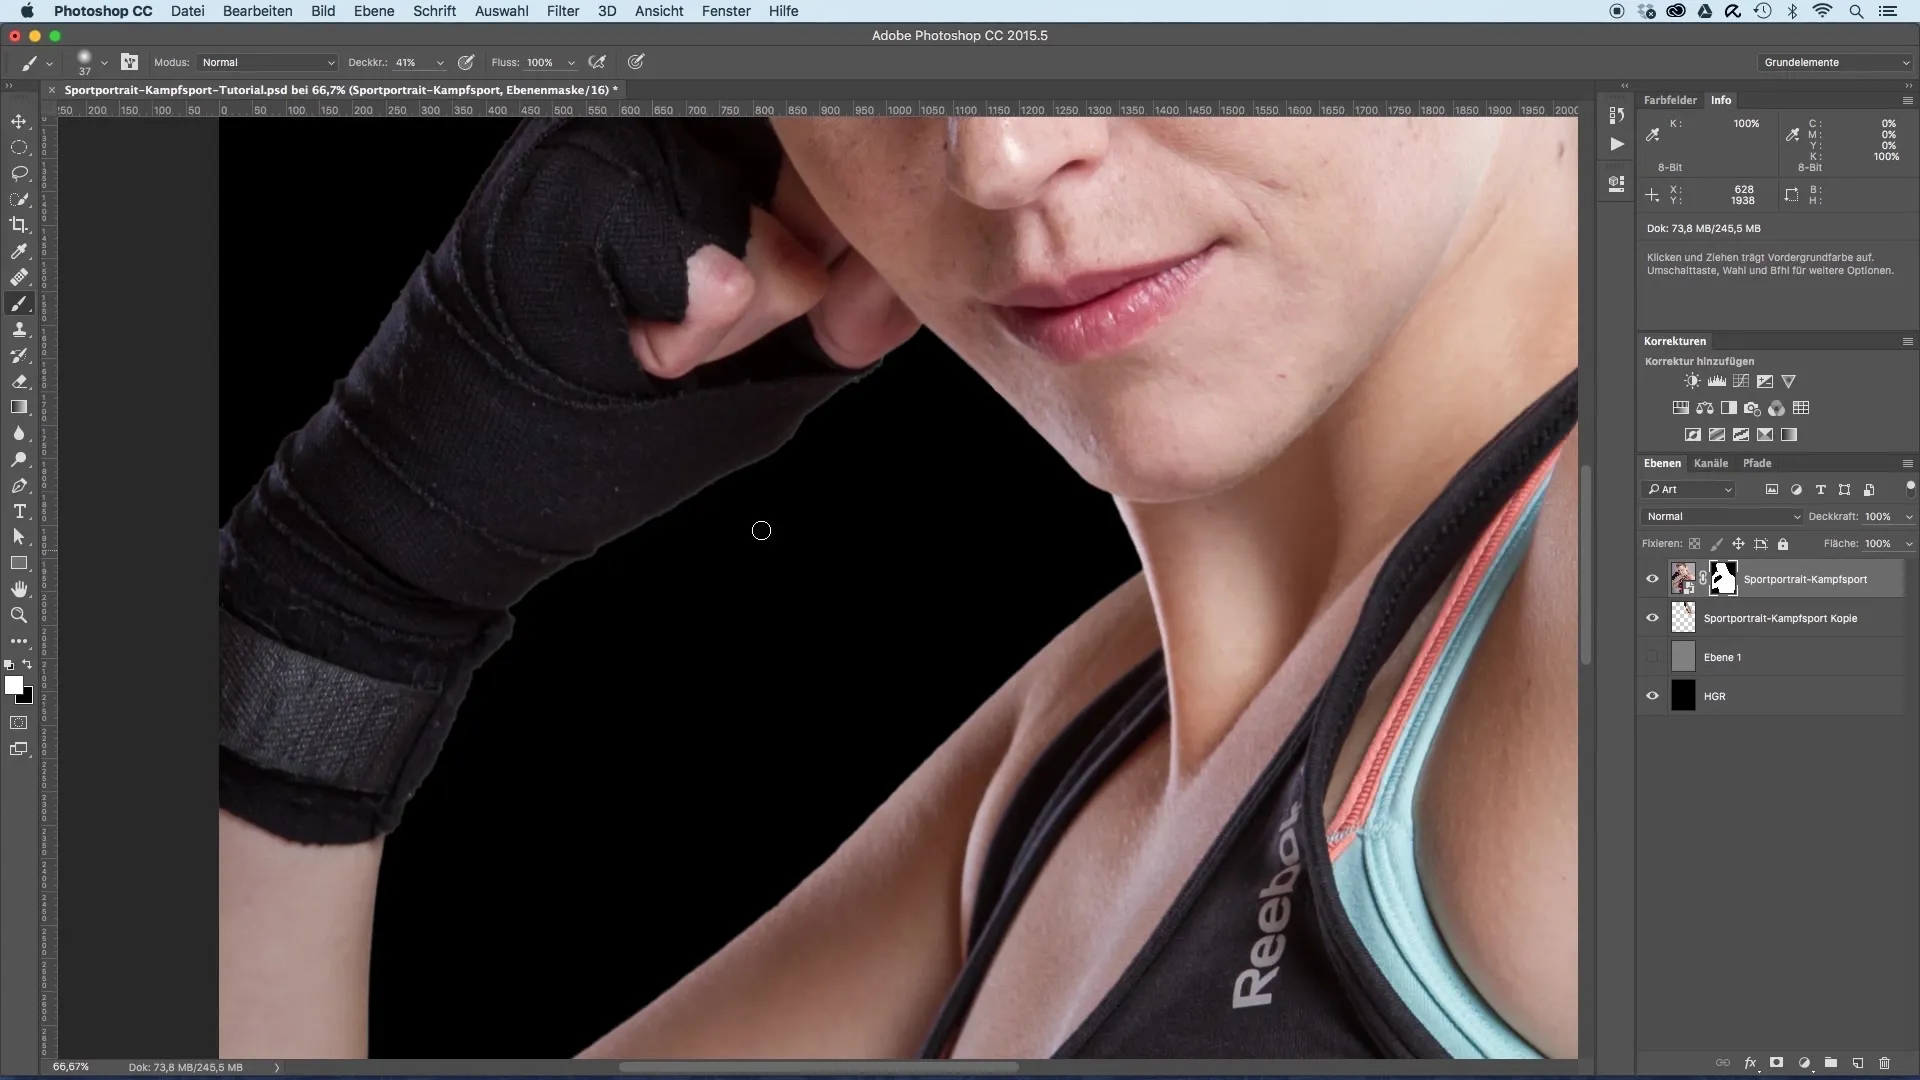
Summary – Cutting Out Sports Portraits Made Easy
In this guide, you have learned the steps necessary to effectively cut out a model and place it onto a new background. By using suitable tools and techniques, such as the quick selection tool and appropriately adjusted masks, you can achieve an appealing and professional result.
Frequently Asked Questions
How long does the cutout process take?It depends on the complexity of the image and your familiarity with the tools, but it usually takes 20-30 minutes.
What software do I need?Adobe Photoshop is the most recommended software for this type of image editing.
Can I use this process for other images as well?Yes, the techniques described are universally applicable and can be adapted for different types of images.
