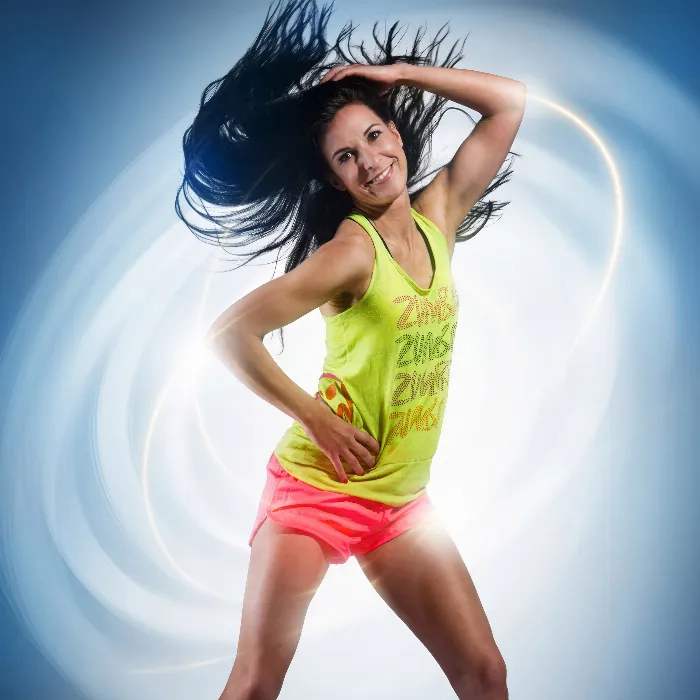
If you want to perfect sports portraits, designing an appealing background and floor is crucial. This guide shows you how to create a bright and vibrant background and design a floor with a realistic concrete look. Follow the individual steps, and you will be able to visually enhance your portraits.
Key insights
- A bright and vibrant background design highlights the model and enhances its colors well.
- The floor is created by distorting a concrete wall photo, giving it a realistic look.
- By creating layers and naming them properly, you keep track of the various design elements.
Step-by-Step Guide
Start by setting up your workspace. You need a bright background and a floor for your model to stand on. The goal is to create visual clarity that showcases your model.
Step 1: Create the Background
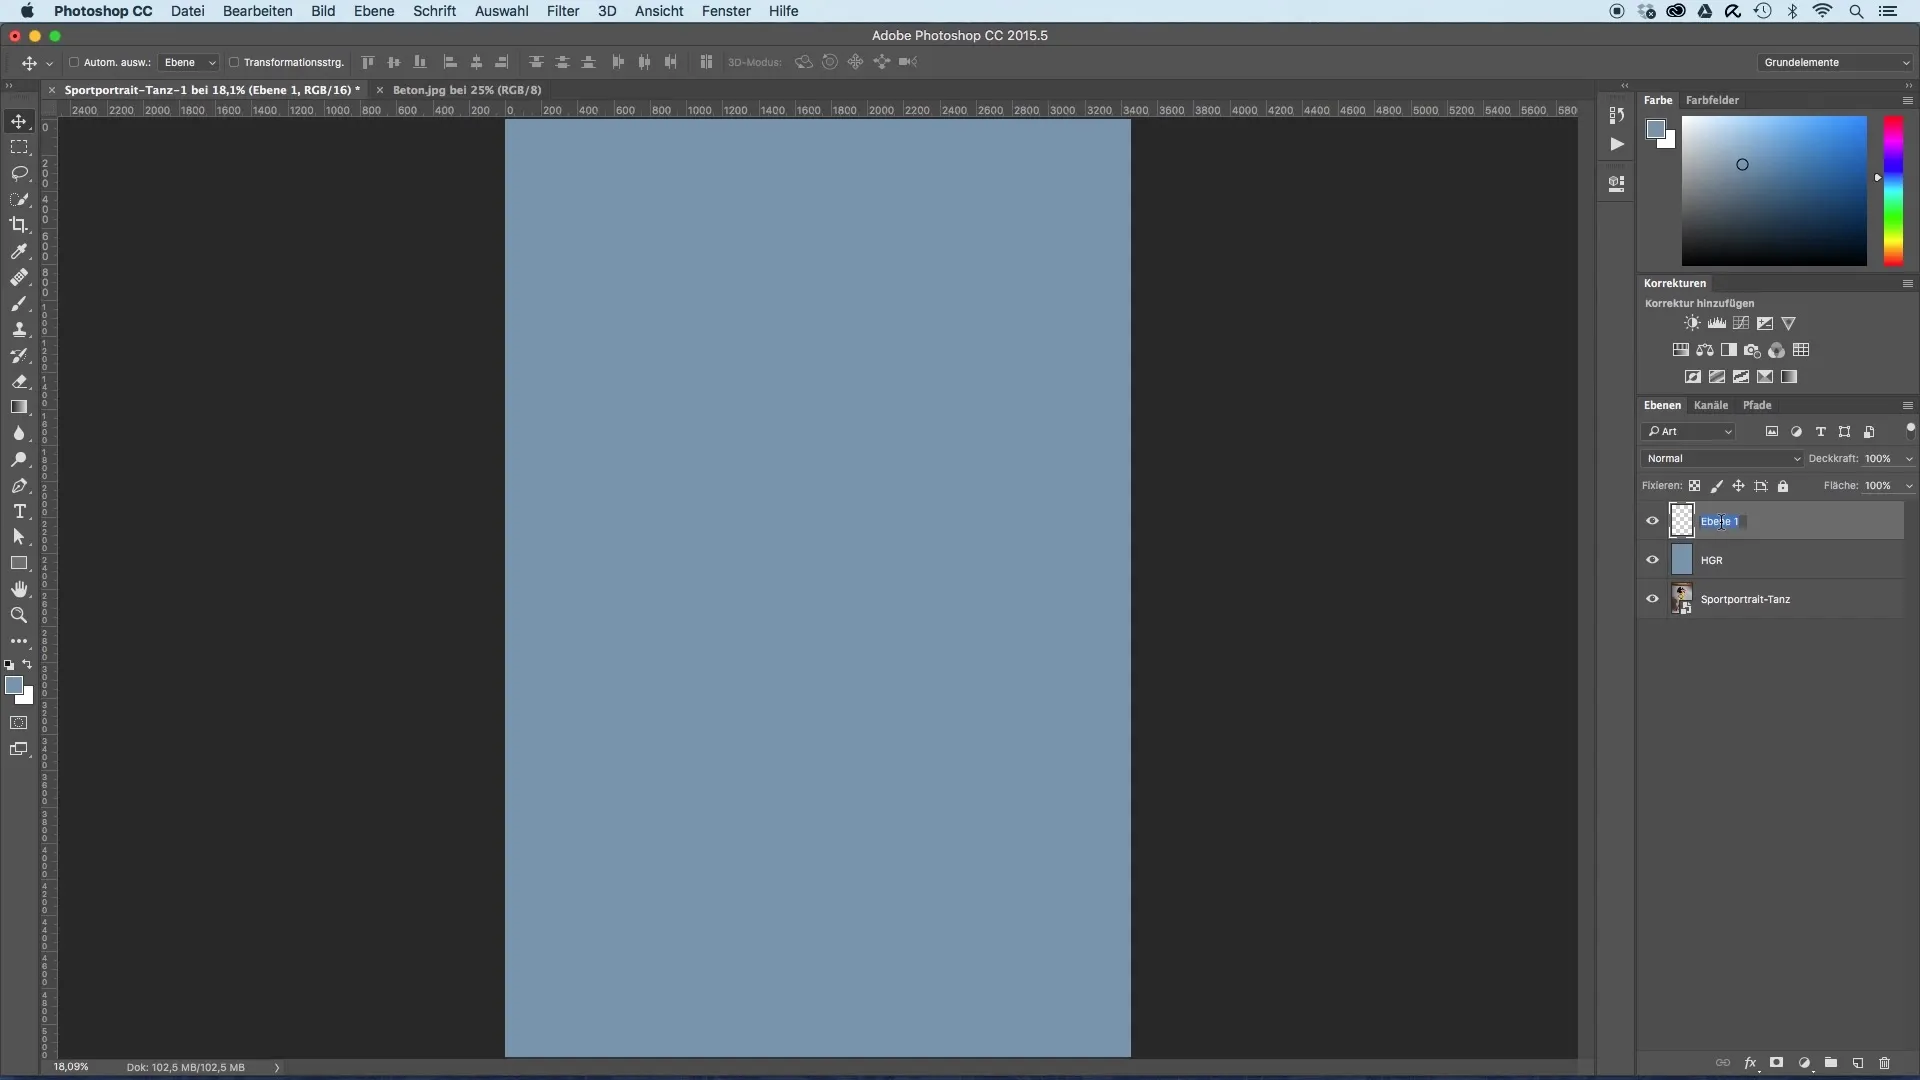
First, create a new layer and name it "Background." Fill this layer with a suitable shade of blue that contrasts well with the warm colors of your model. To fill the area, go to “Edit,” select “Fill Area,” and set the foreground color to the desired shade of blue.
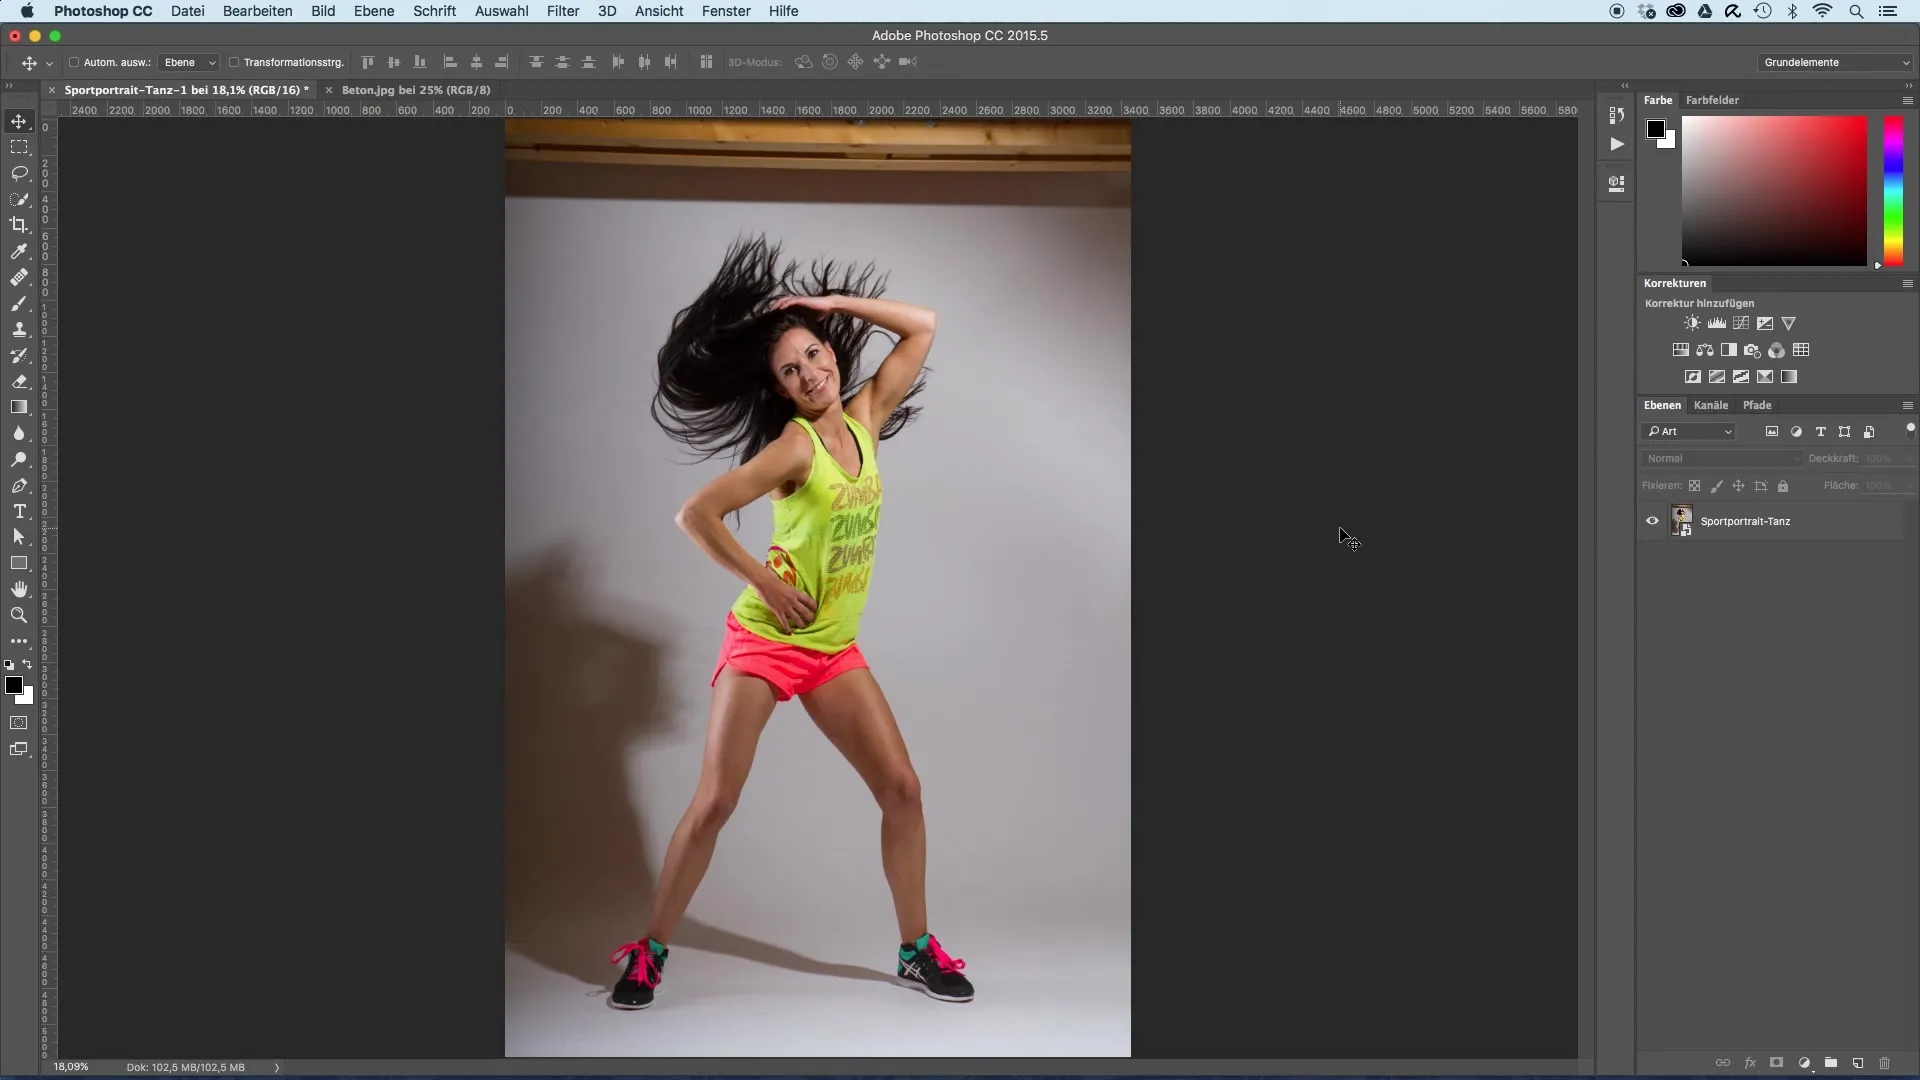
To ensure that the background is both visually appealing and bright, choose a cool shade of blue that accentuates the model.
Step 2: Add a Light Point
After creating the background, add a new layer and name it “Background Light.” Use the gradient tool and make sure the foreground color is set to white and the gradient goes from the foreground color to transparent. Choose a center point and drag the gradient evenly to the right without holding down the shift key.
A larger gradient creates more dimension. Zoom out if necessary to transform and adjust the gradient. The advantage of this method is that you can later adjust the brightness of the light point.
Step 3: Add the Floor
Now it's time to add the floor. Use an image of a concrete wall, which you insert by dragging it into your document with the move tool. Resize and distort the file so that it appears as a realistic floor. In the transformation settings, choose the perspective distortion and pull the bottom part wider to represent the floor perspective.
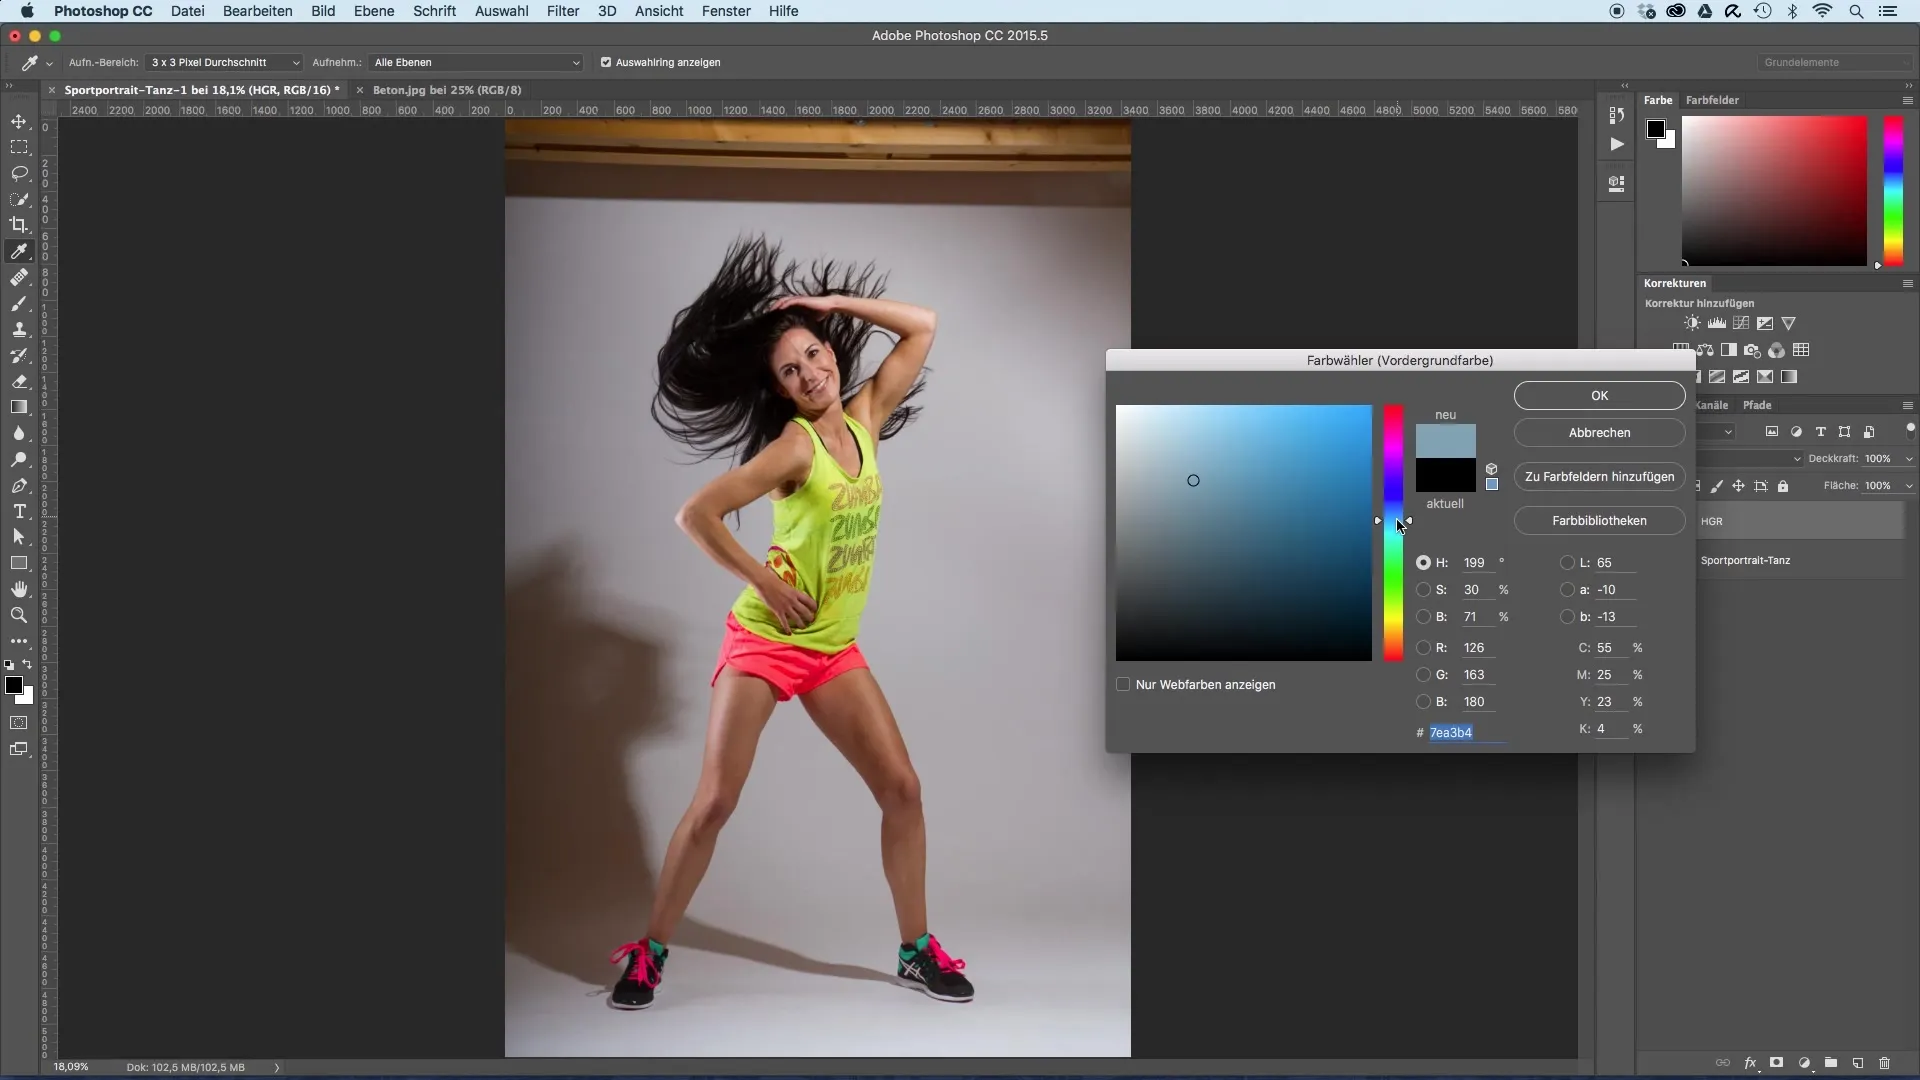
By selecting the layer mode, you can test which mode works best for your image. “Soft Light” could be effective in making the edges of the floor appear softer.
Step 4: Add a Layer Mask
To create smoother transitions between the floor and background, use a layer mask. Make sure you have black selected as the foreground color and paint over the hard edges with a brush. A 100% opacity helps you work precisely.
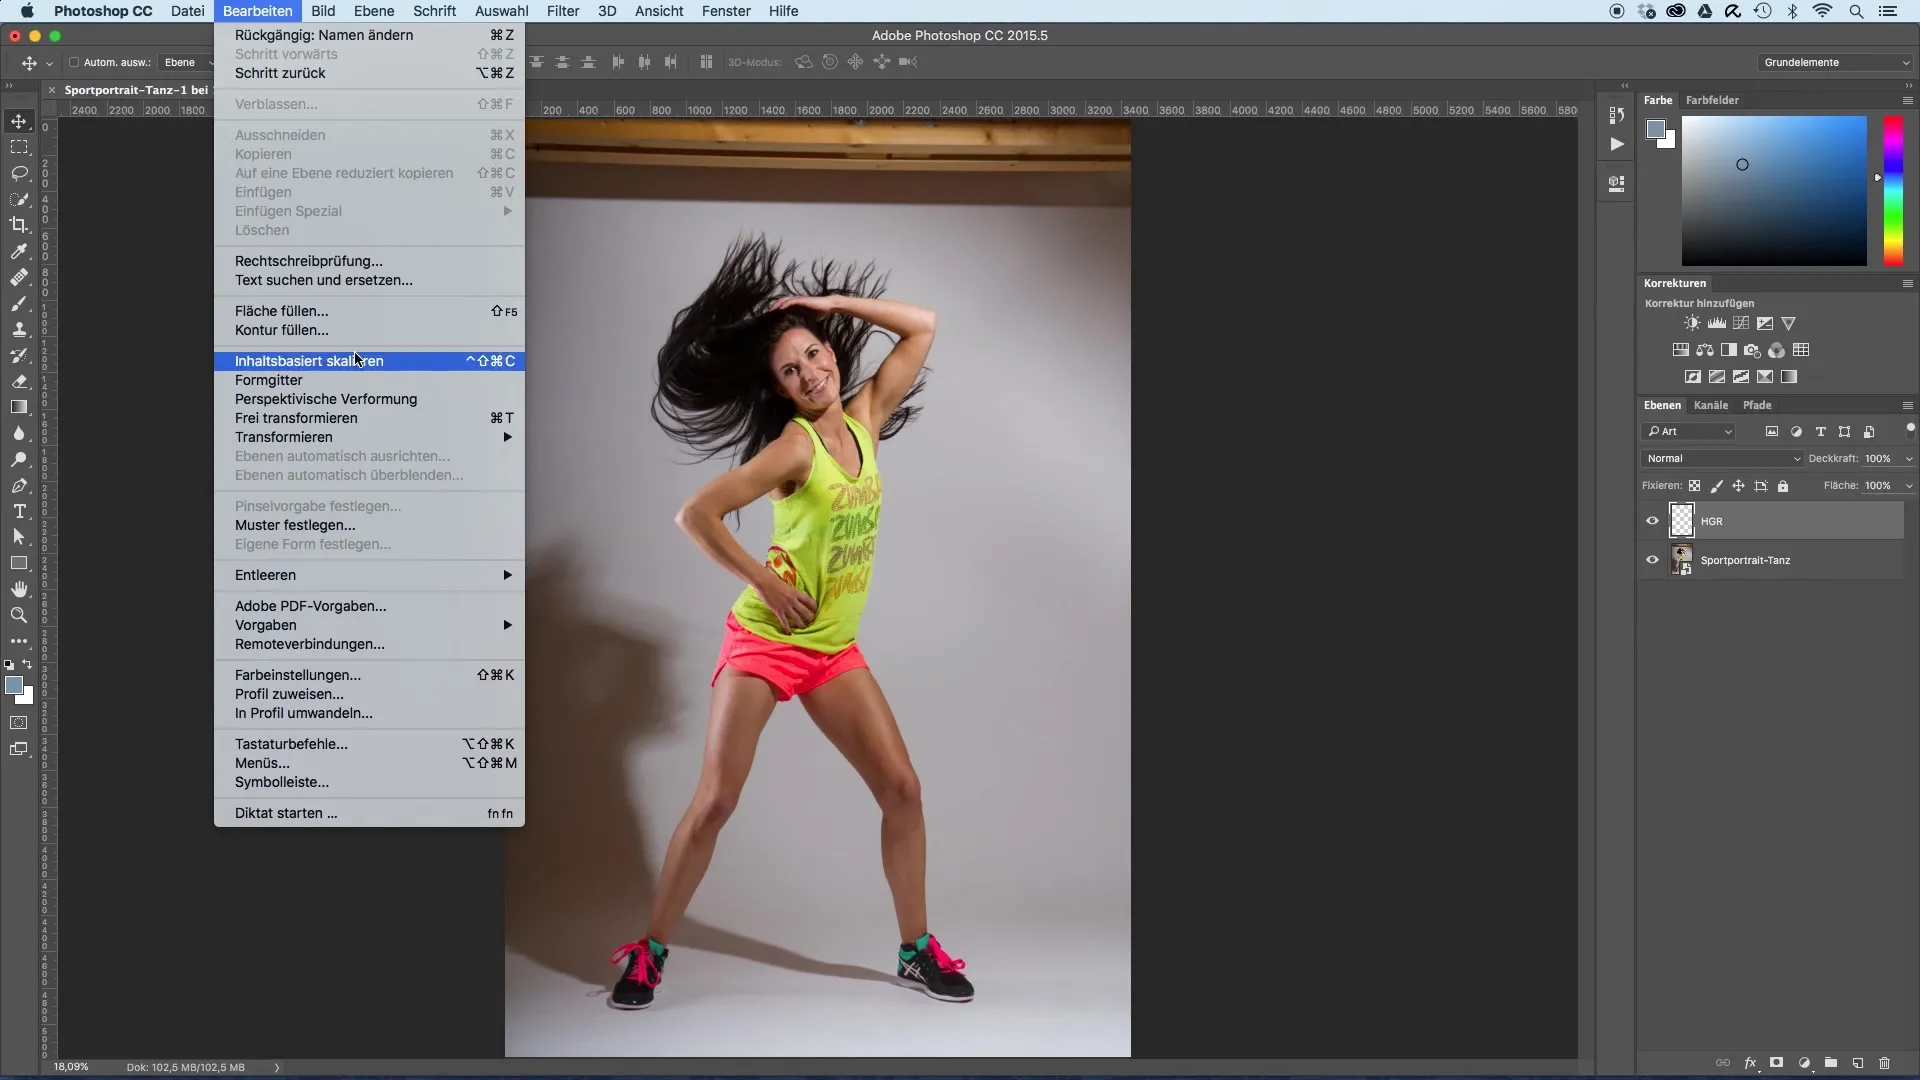
Once you are happier with the structure of the floor, add a tonal correction to adjust the brightness and contrast. Brighten the highlights and darken the shadows to create more texture and depth.
Step 5: Organizing the Layers
Finally, carefully name all layers and arrange them in the correct order beneath your model. Now you have a bright background, an appealing light point, and a solid floor for your model to stand on.
In the next tutorial, we will focus on isolating the model so that it harmoniously integrates into the new environment.
Summary – Guide to Creating Background and Floor for Sports Portraits
In this guide, you learned how to create an effective and appealing background as well as a realistic floor for sports portraits. These steps will help you optimize your images and give your model the desired focus.
Frequently Asked Questions
How do I fill the background layer?Go to "Edit," select "Fill Area," and set the foreground color to the desired shade of blue.
Can I adjust the light point later?Yes, since you have it on a separate layer, you can adjust it at any time.
How do I create a layer mask?Select the layer, go to "Add Layer Mask," and paint with black over the area you want to mask.
What is the best layer mode for the floor?“Soft Light” often works well, especially for softening hard edges.
Can I change the structure of the floor later?Yes, use tonal correction to change brightness and contrast and adjust the structure.
