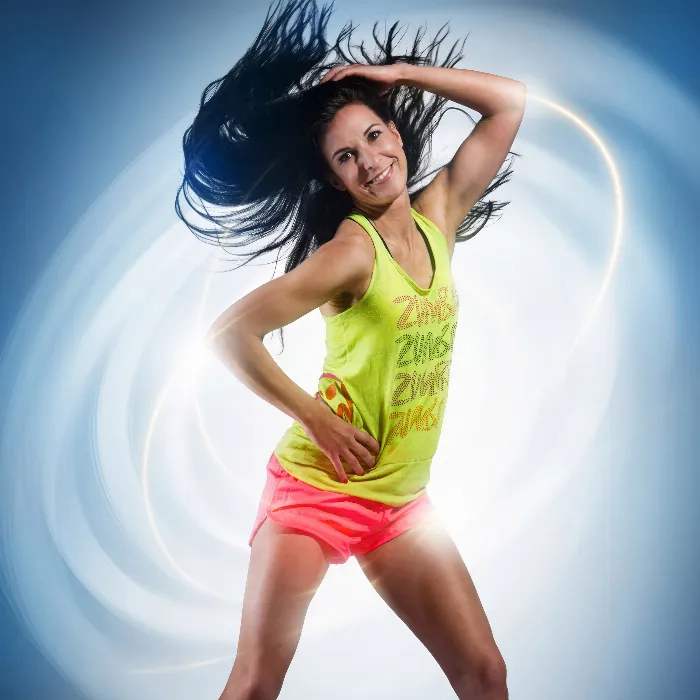
You have taken a sports portrait and want to perform the retouching so that the image looks fresh and professional. With the right technique, you can effectively remove blemishes on the face and clothing. This guide will take you step by step through the process of retouching, where you will use the healing brush in your image editing program.
Key Insights
- Use a new layer for retouching to avoid changing the original image.
- Make sure you can gently reduce details with the healing brush without losing the portrait's naturalness.
- Use masks to undo retouching as needed and make adjustments.
Step-by-Step Guide
1. Preparing for Retouching
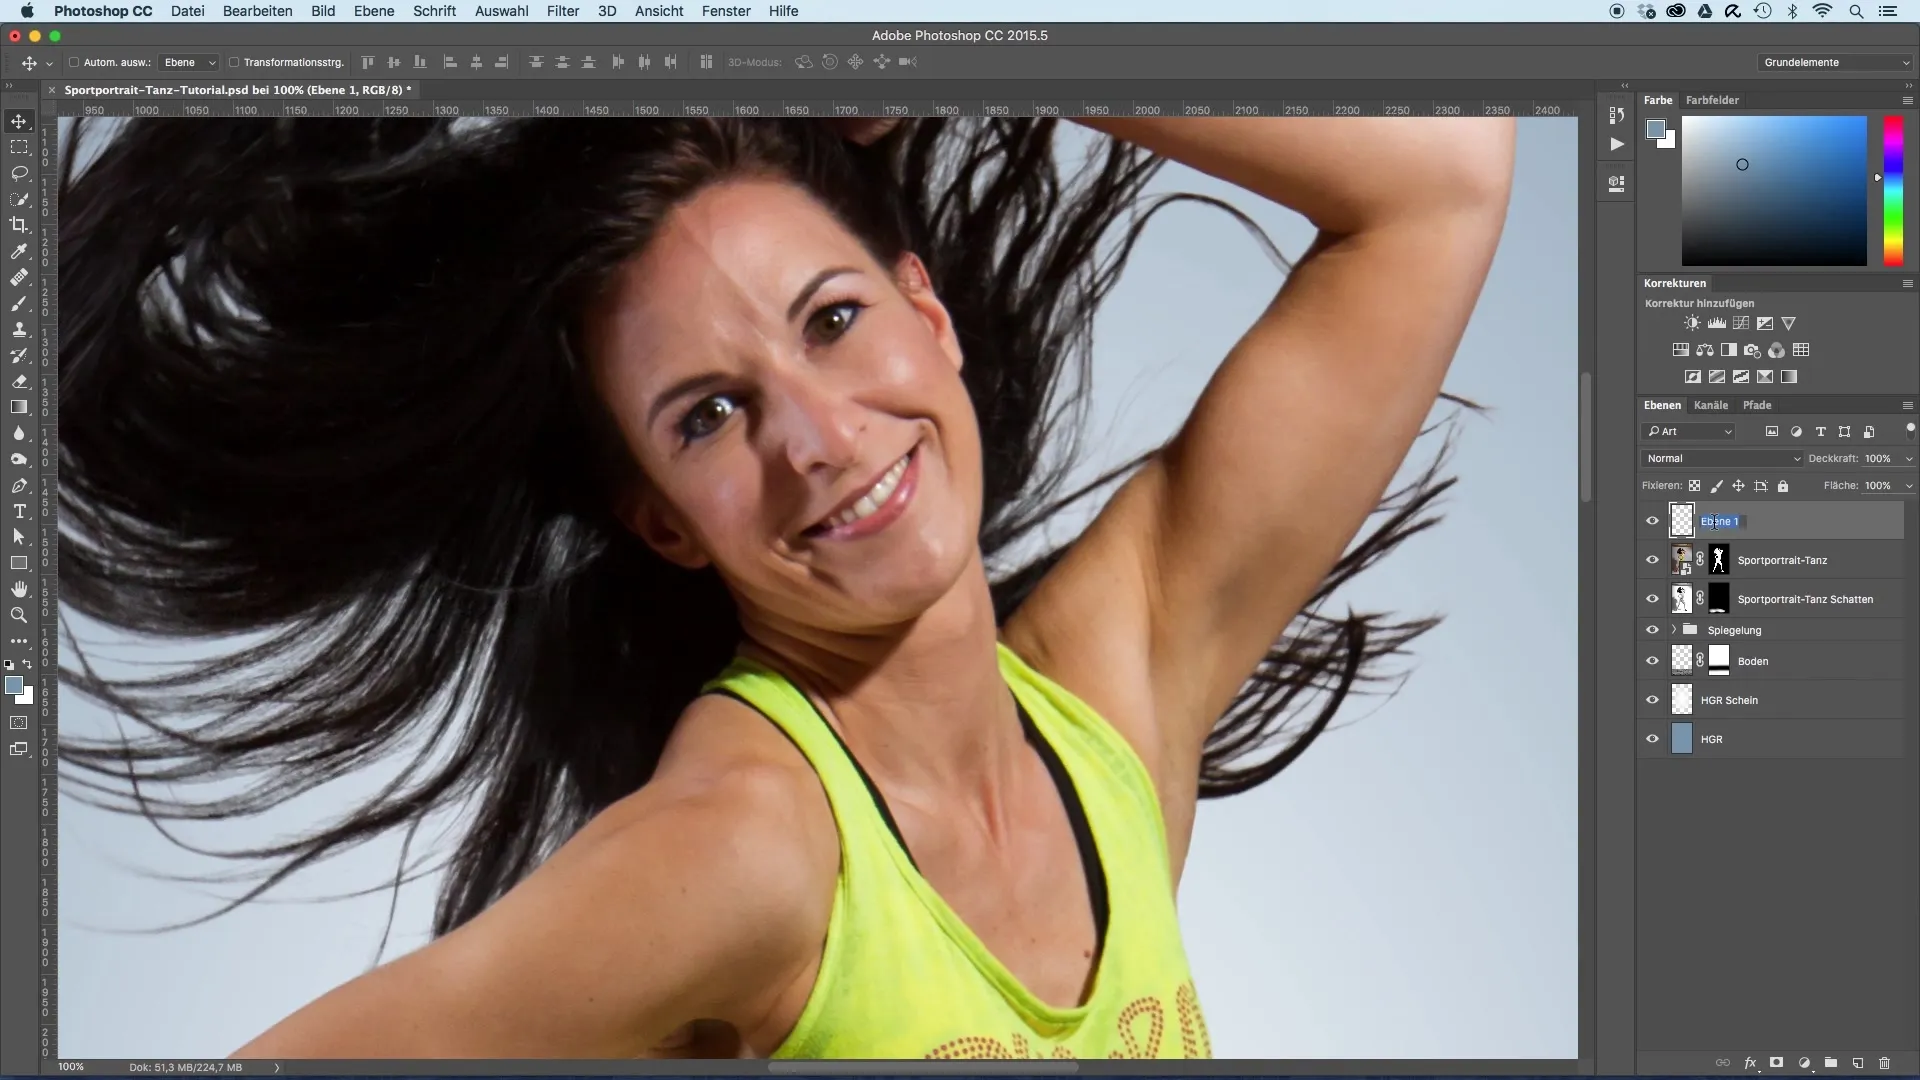
Before you start with the retouching, make sure to work with a new layer that you name accordingly. This keeps your original image untouched, and you have the flexibility to undo changes.
2. Selecting the Healing Brush
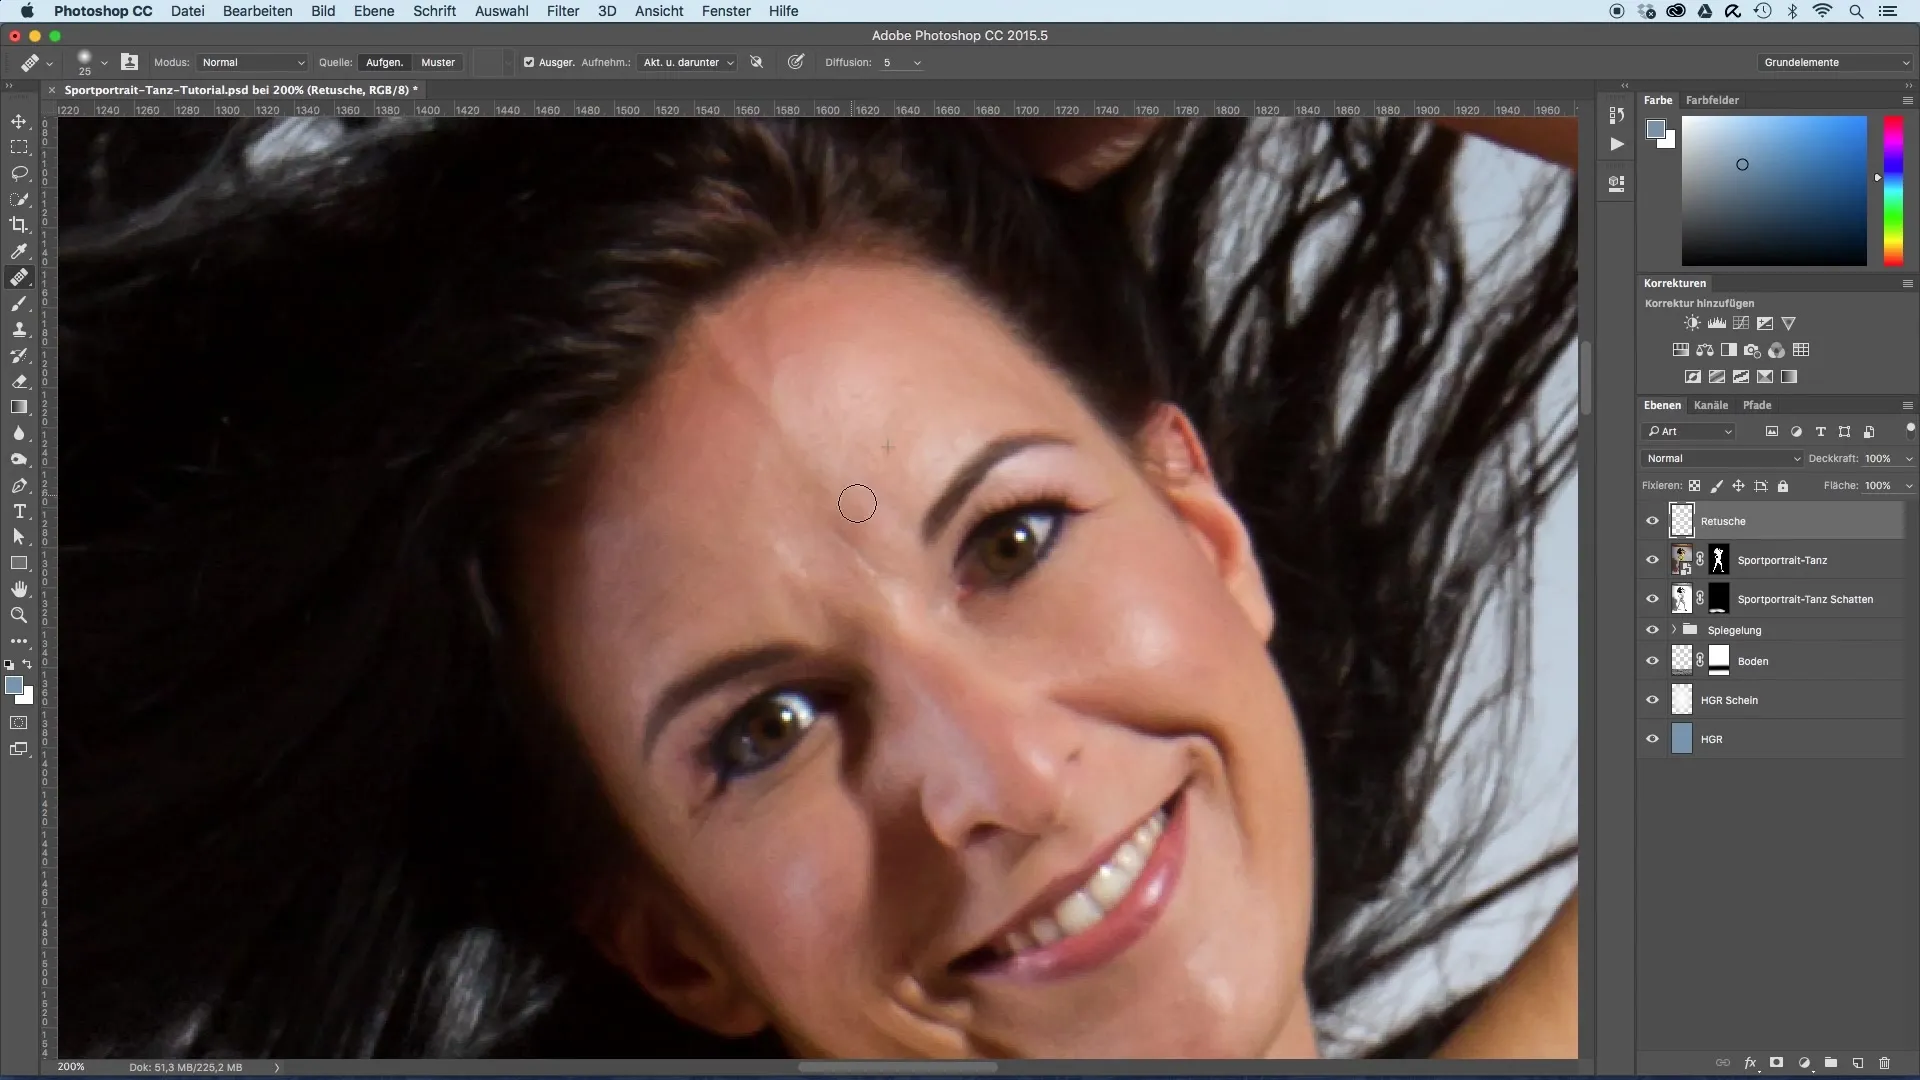
Select the healing brush from your toolbox. Make sure you are working on the new layer and that the "Sample All Layers" option is activated. This allows you to copy information from the underlying layer, which is crucial for a natural result.
3. First Corrections on the Face
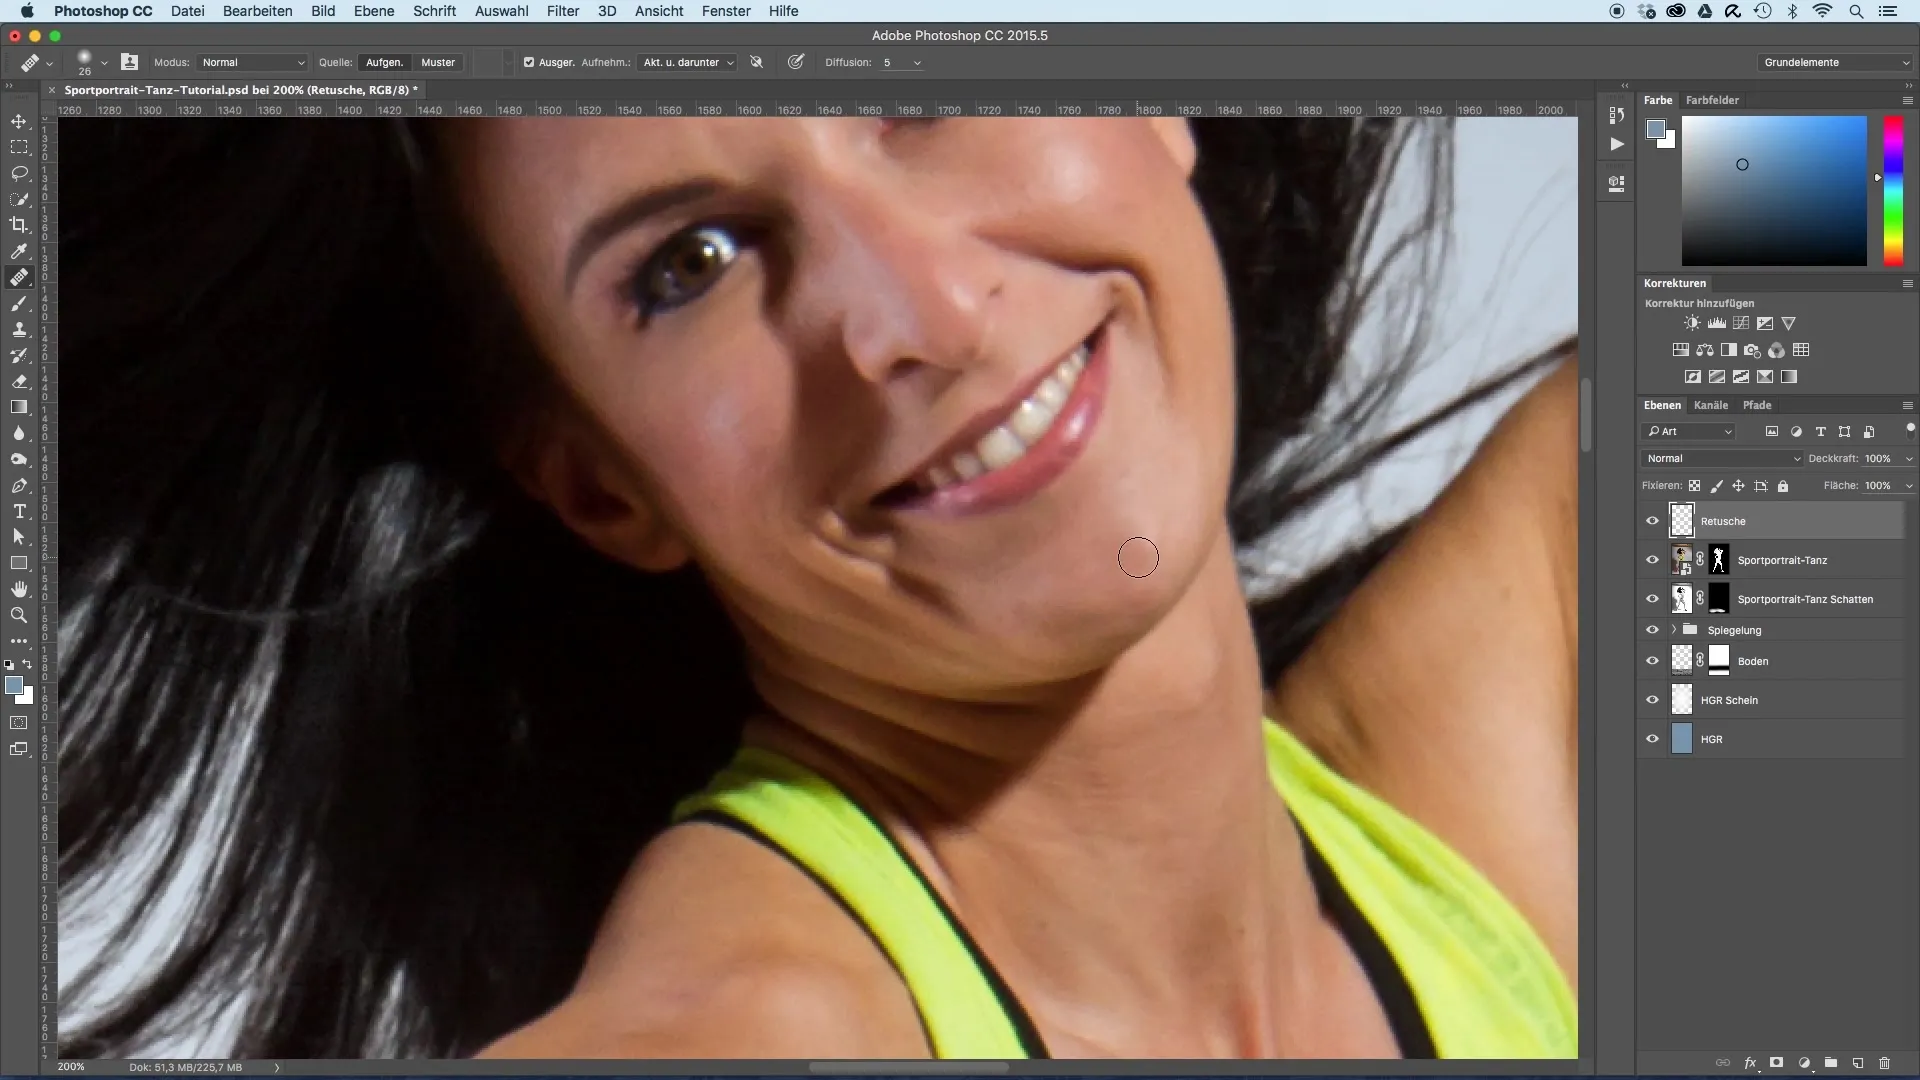
Now you begin to gently soften distracting elements on the face, such as visible veins on the forehead and small wrinkles. First, zoom in to work more precisely. Then select an area you will use to cover the unwanted elements.
4. Reducing Wrinkles and Redness
Reduce redness on the hands and face. Be careful not to overdo the effects to maintain a natural glow. Use a larger brush for broader areas to create softer transitions.
5. Fine-Tuning the Retouch
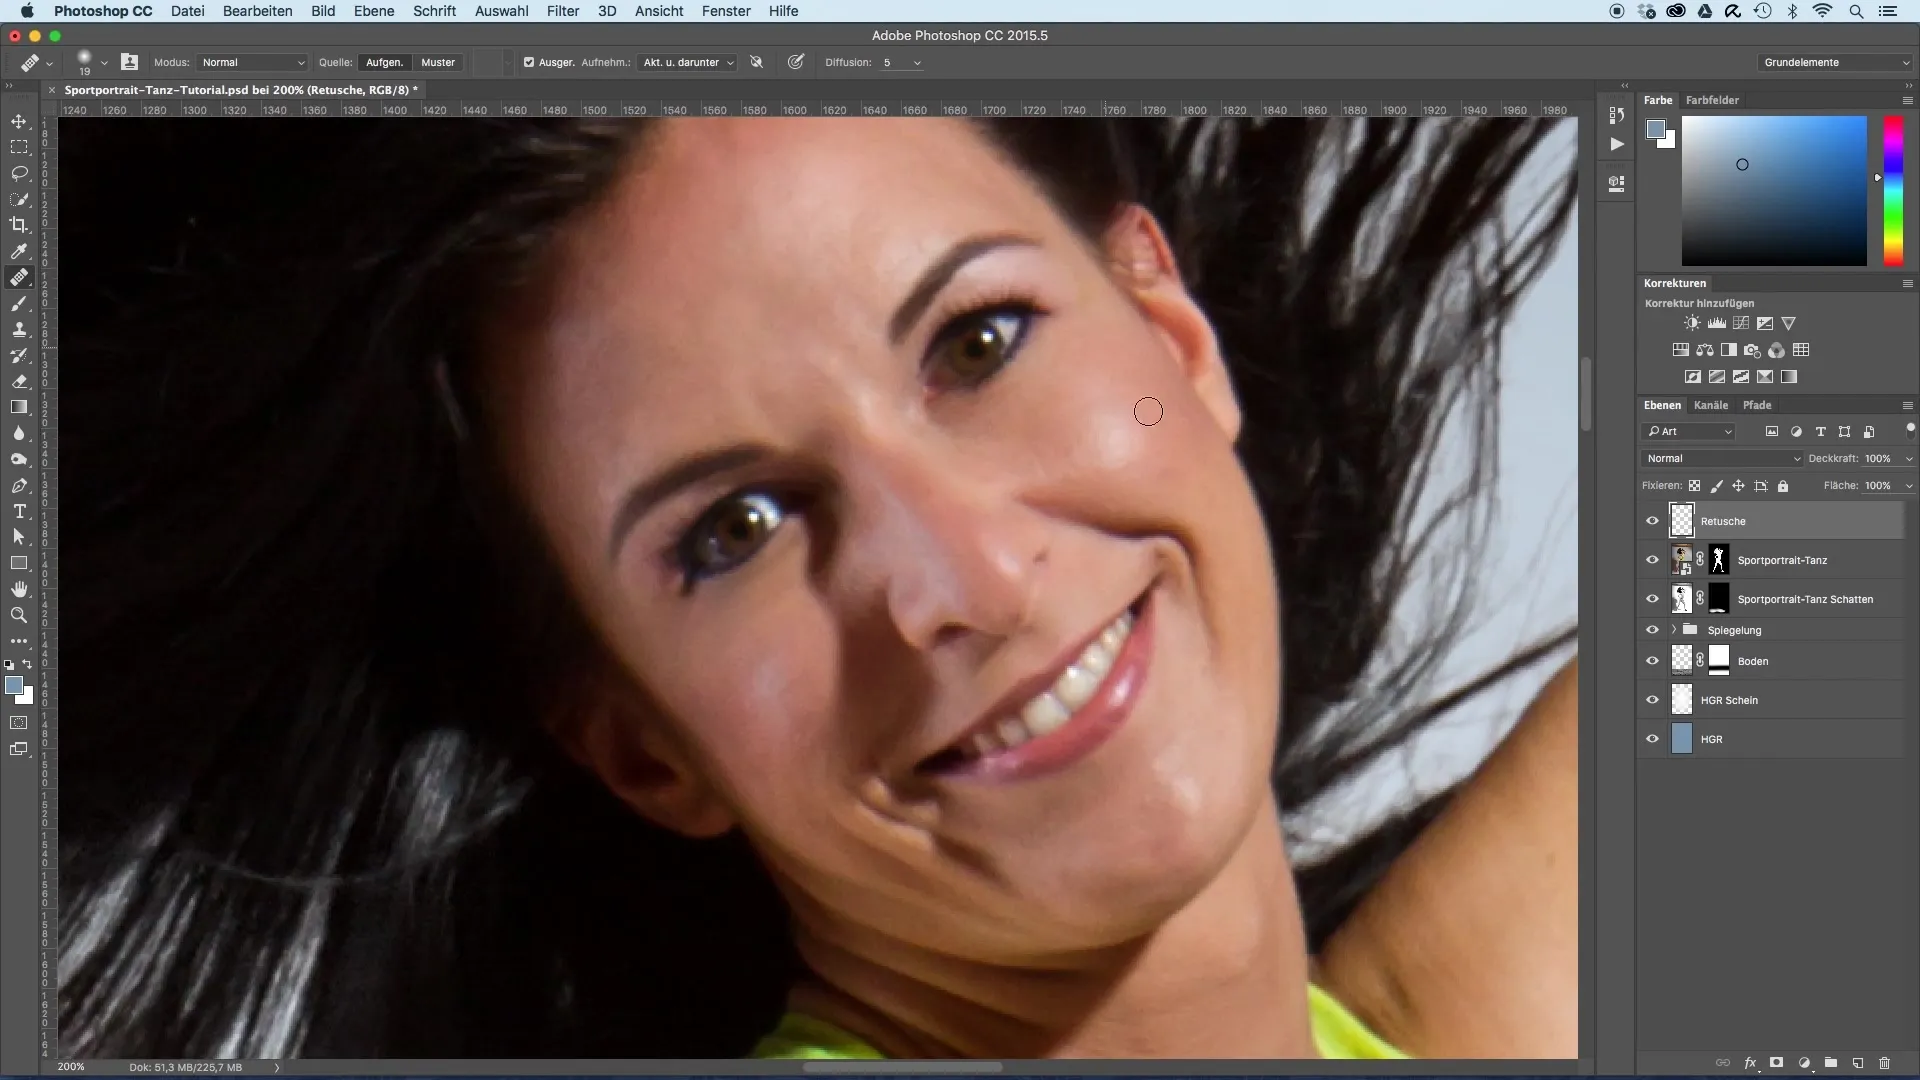
Once the major blemishes are eliminated, you can proceed with the fine-tuning. Make sure you can adjust the opacity of the retouching here and there. Through the layer mask, you can revert exaggerated corrections.
6. Minimizing Glare and Shine Spots
If you notice shine spots or red discoloration on the chin, gently retouch them as well. It is important not to completely remove the wrinkles that occur from smiling, as they contribute to the naturalness of the portrait.
7. Final Adjustments on the Body
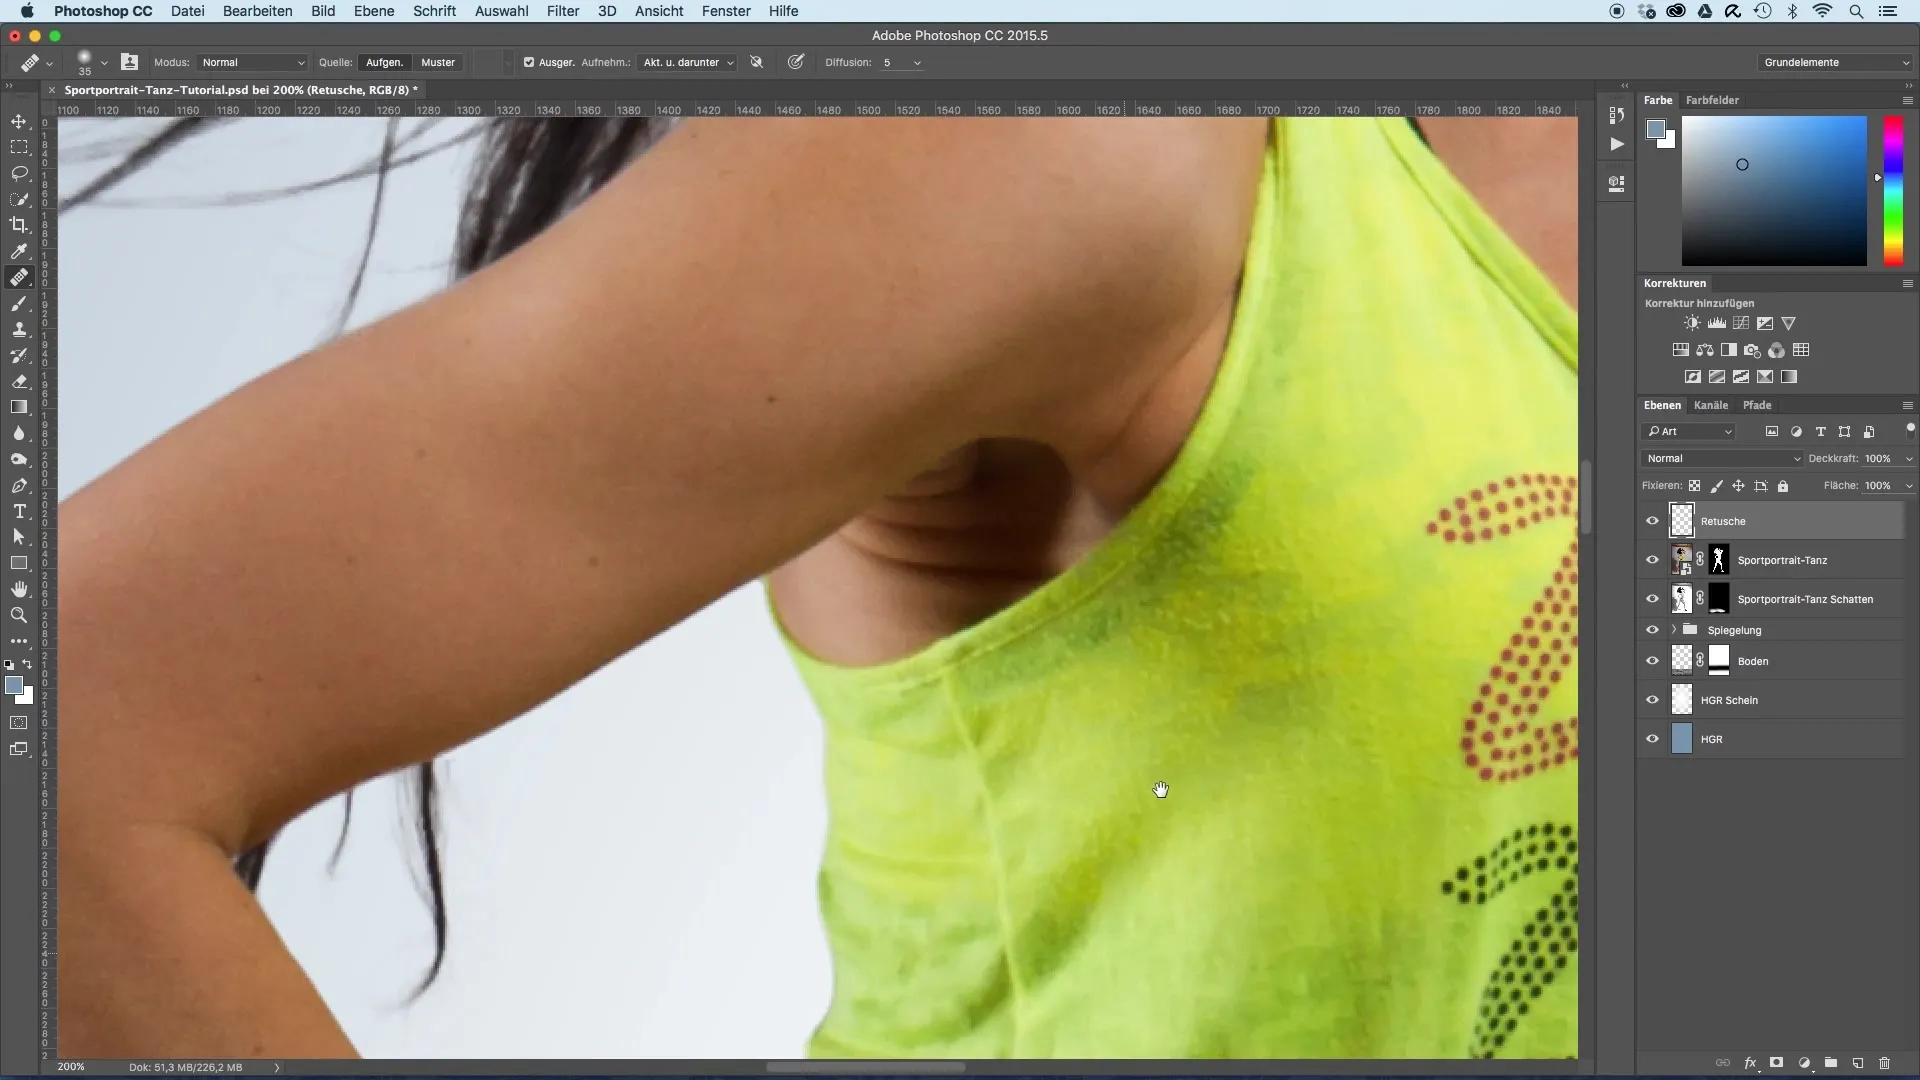
Check the rest of the model's body for small blemishes or spots you want to remove. Use the healing brush to make smaller corrections here as well.
8. Retouching the Hands
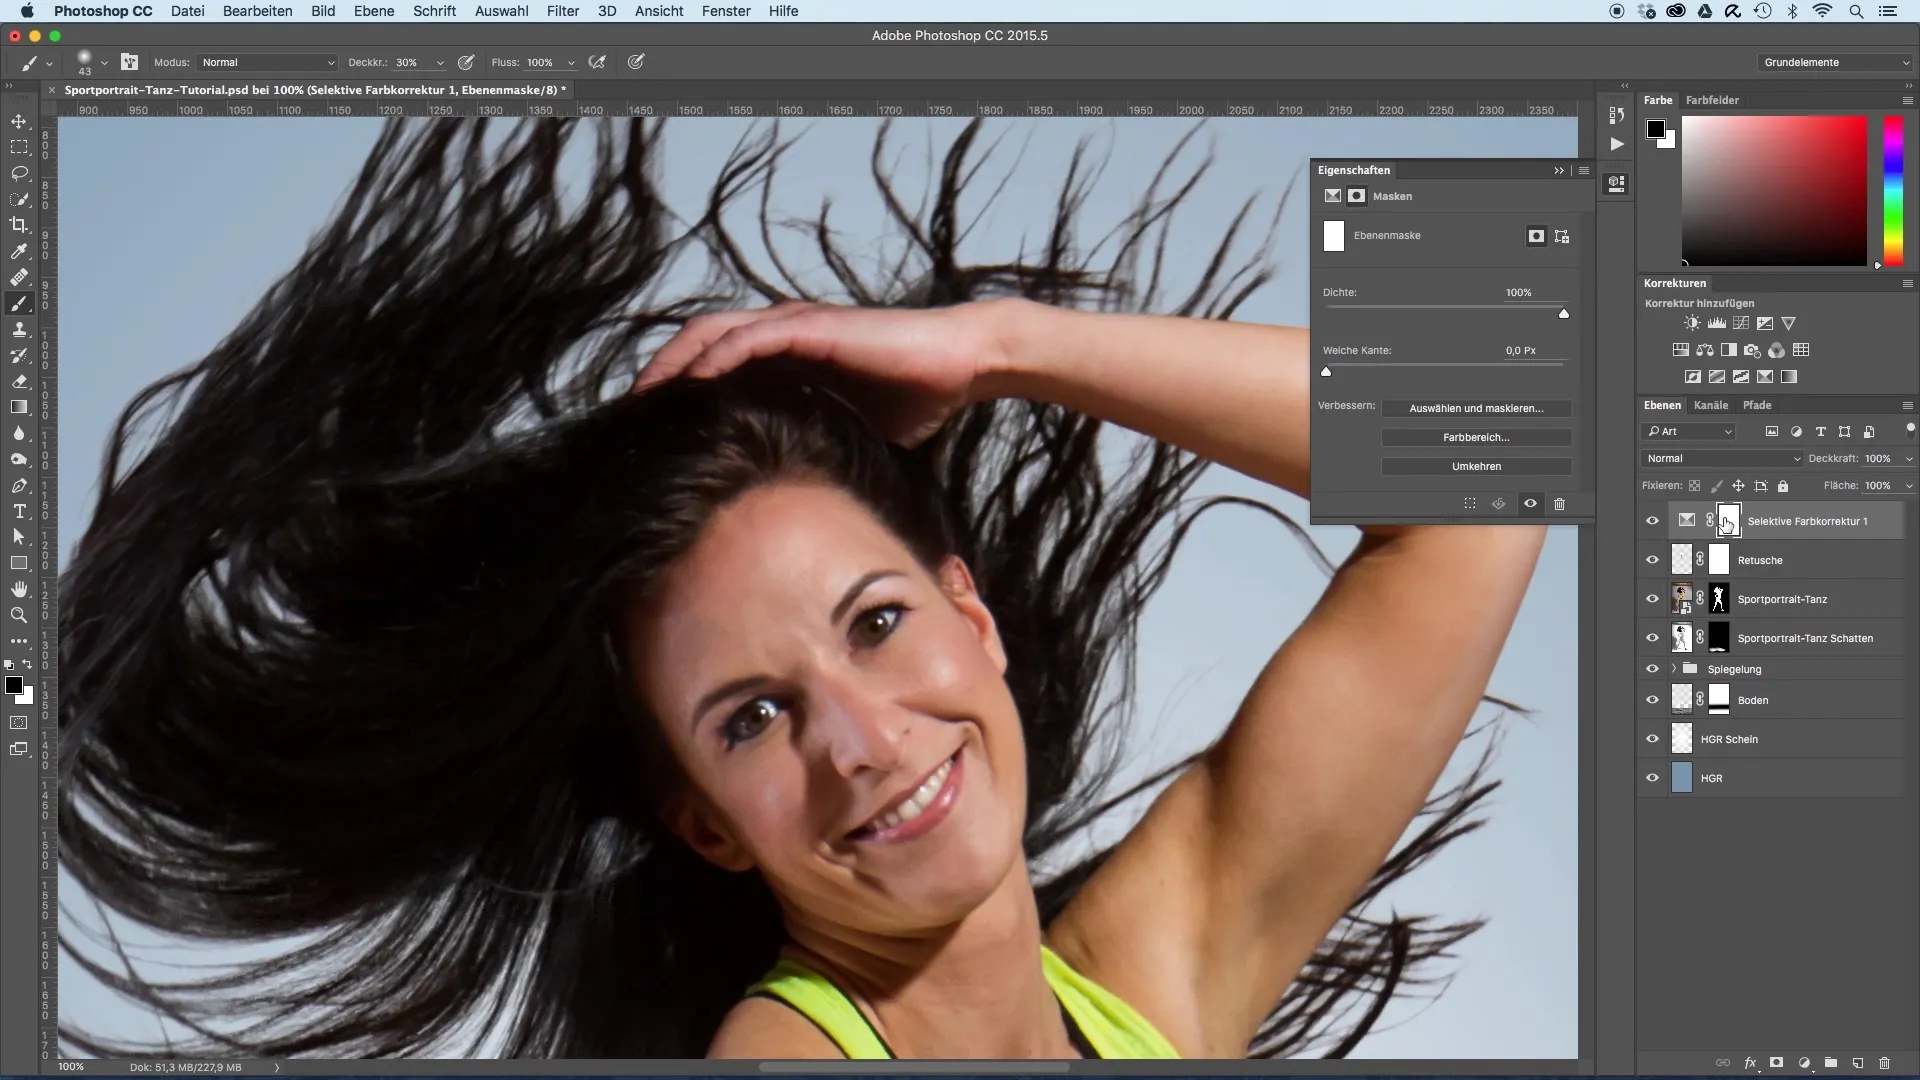
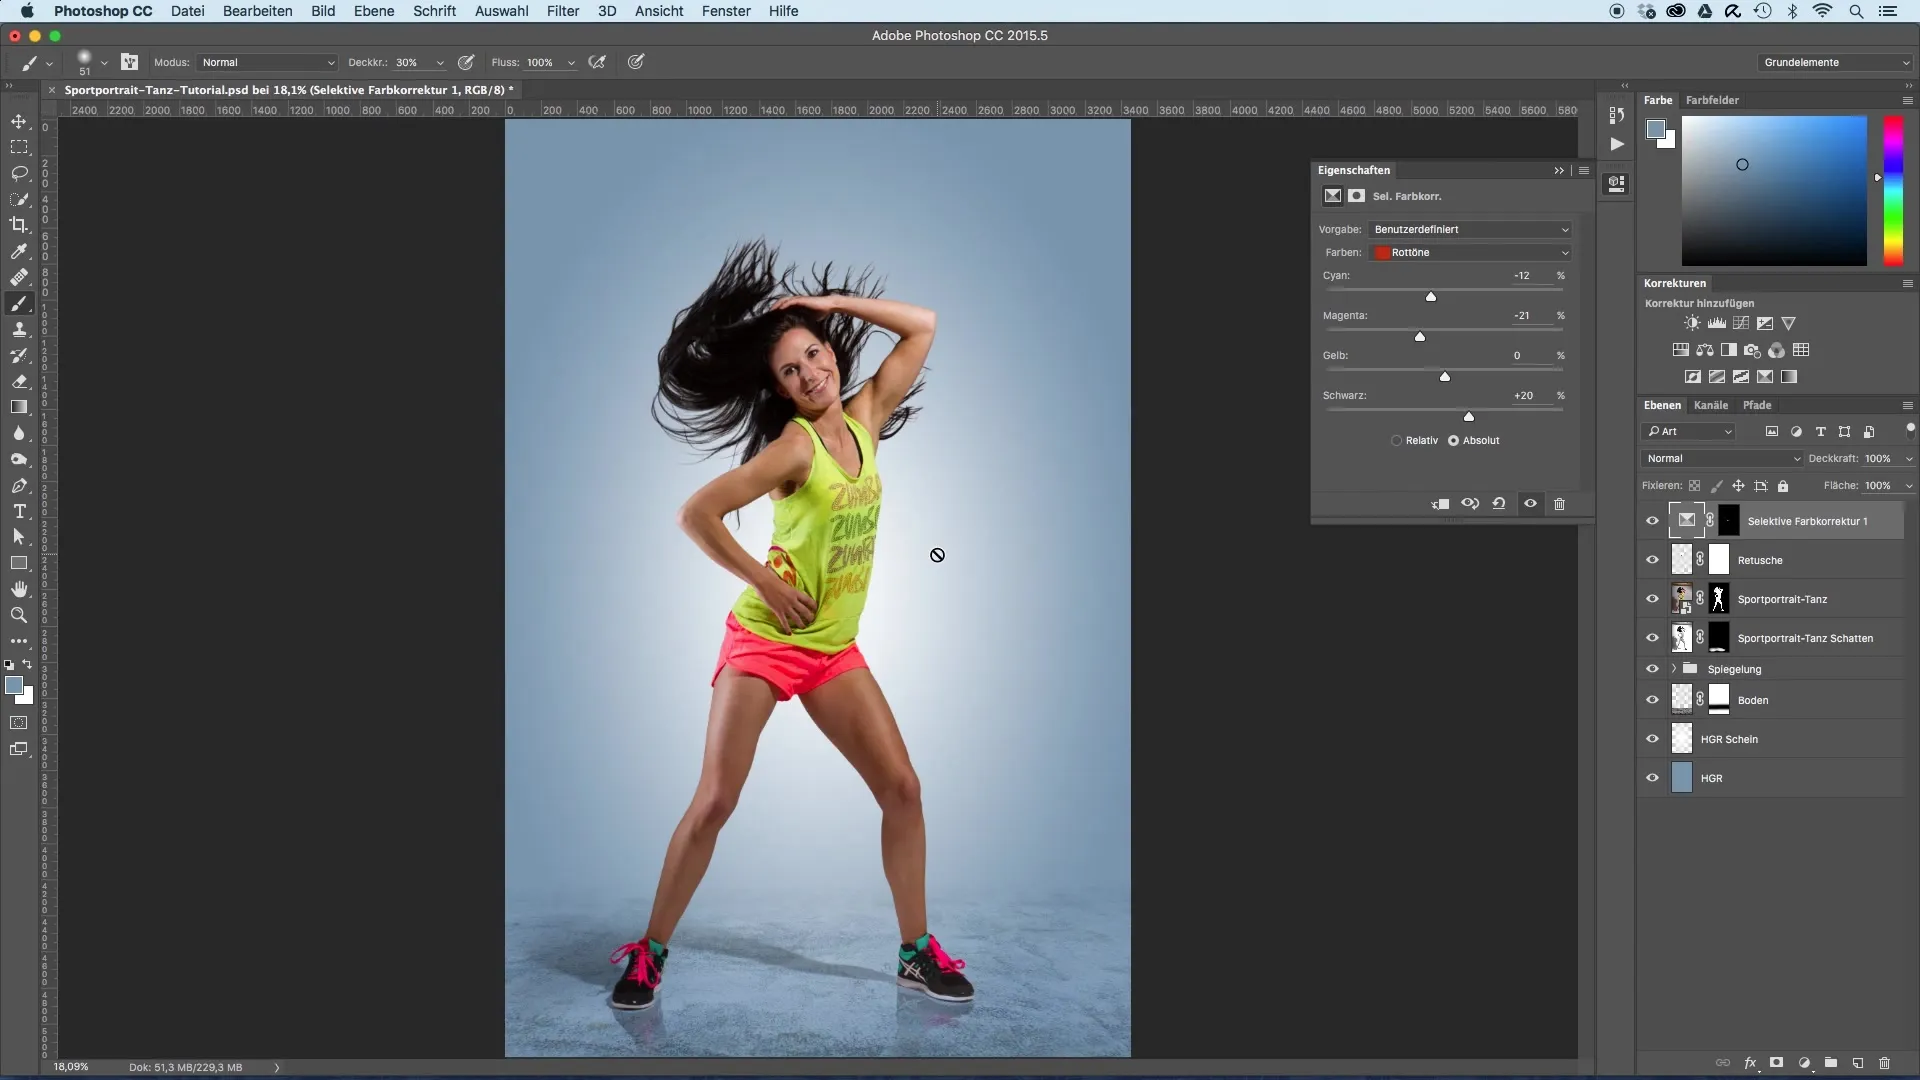
To retouch the hands, use an adjustment layer for selective color correction. Invert the mask so that nothing is visible at first, and then paint over the hands with white. Adjust the color intensity as needed to achieve a harmonious look.
9. Matching the Colors
Change the color proportions on the hands to free them from an overly red tone. Be careful that the changes are not too extreme, so all transitions remain natural.
10. Final Review
After the adjustments, take a close look at the final result. Keep the changes subtle so that the model still looks like they do, but with a nuanced presentation.
Summary – Image Optimization of Sports Portraits: Retouching for a Perfect Look
In this guide, you have learned how to effectively remove blemishes and unwanted elements in sports portraits through targeted retouching with the healing brush. The techniques applied are easy to follow and ensure you achieve a professional result.
Frequently Asked Questions
What is the first step in retouching?The first step is to create a new layer and name it accordingly.
What should I do if I over-retouched?You can revert the changes using a layer mask and by adjusting the opacity.
How do I remove redness in the image?You can use an adjustment layer for selective color correction and work subtly via the mask function.
Why are wrinkles important in the image?Wrinkles contribute to the naturalness of a portrait and should not be completely removed.
How can I effectively use the healing brush?Select an area you want to copy to gently cover blemishes without losing the natural texture of the skin.
