When you work with your RAW images, quick navigation through your collection of images is essential. In this tutorial, I will show you how to effectively switch between different images in DxO PhotoLab. Additionally, you will learn how to optimally use the zoom feature to edit details precisely. This significantly eases your work and saves time.
Key Insights
- Navigation through image files is done via both the folder structure and keyboard shortcuts.
- By using the zoom feature, you can specifically edit details in your images.
- With various mouse and keyboard functions, you can quickly zoom in and out of the image.
Step-by-Step Guide
Overview of the Folder Structure
To quickly navigate through your images, it's important to understand the folder structure you have on your hard drive. In the left sidebar of DxO PhotoLab, you will see the list of folders that reflects the structure of your hard drive. Here, you can easily switch between individual folders by clicking on the small triangle to expand or collapse a folder. This allows you to view the images contained within it.
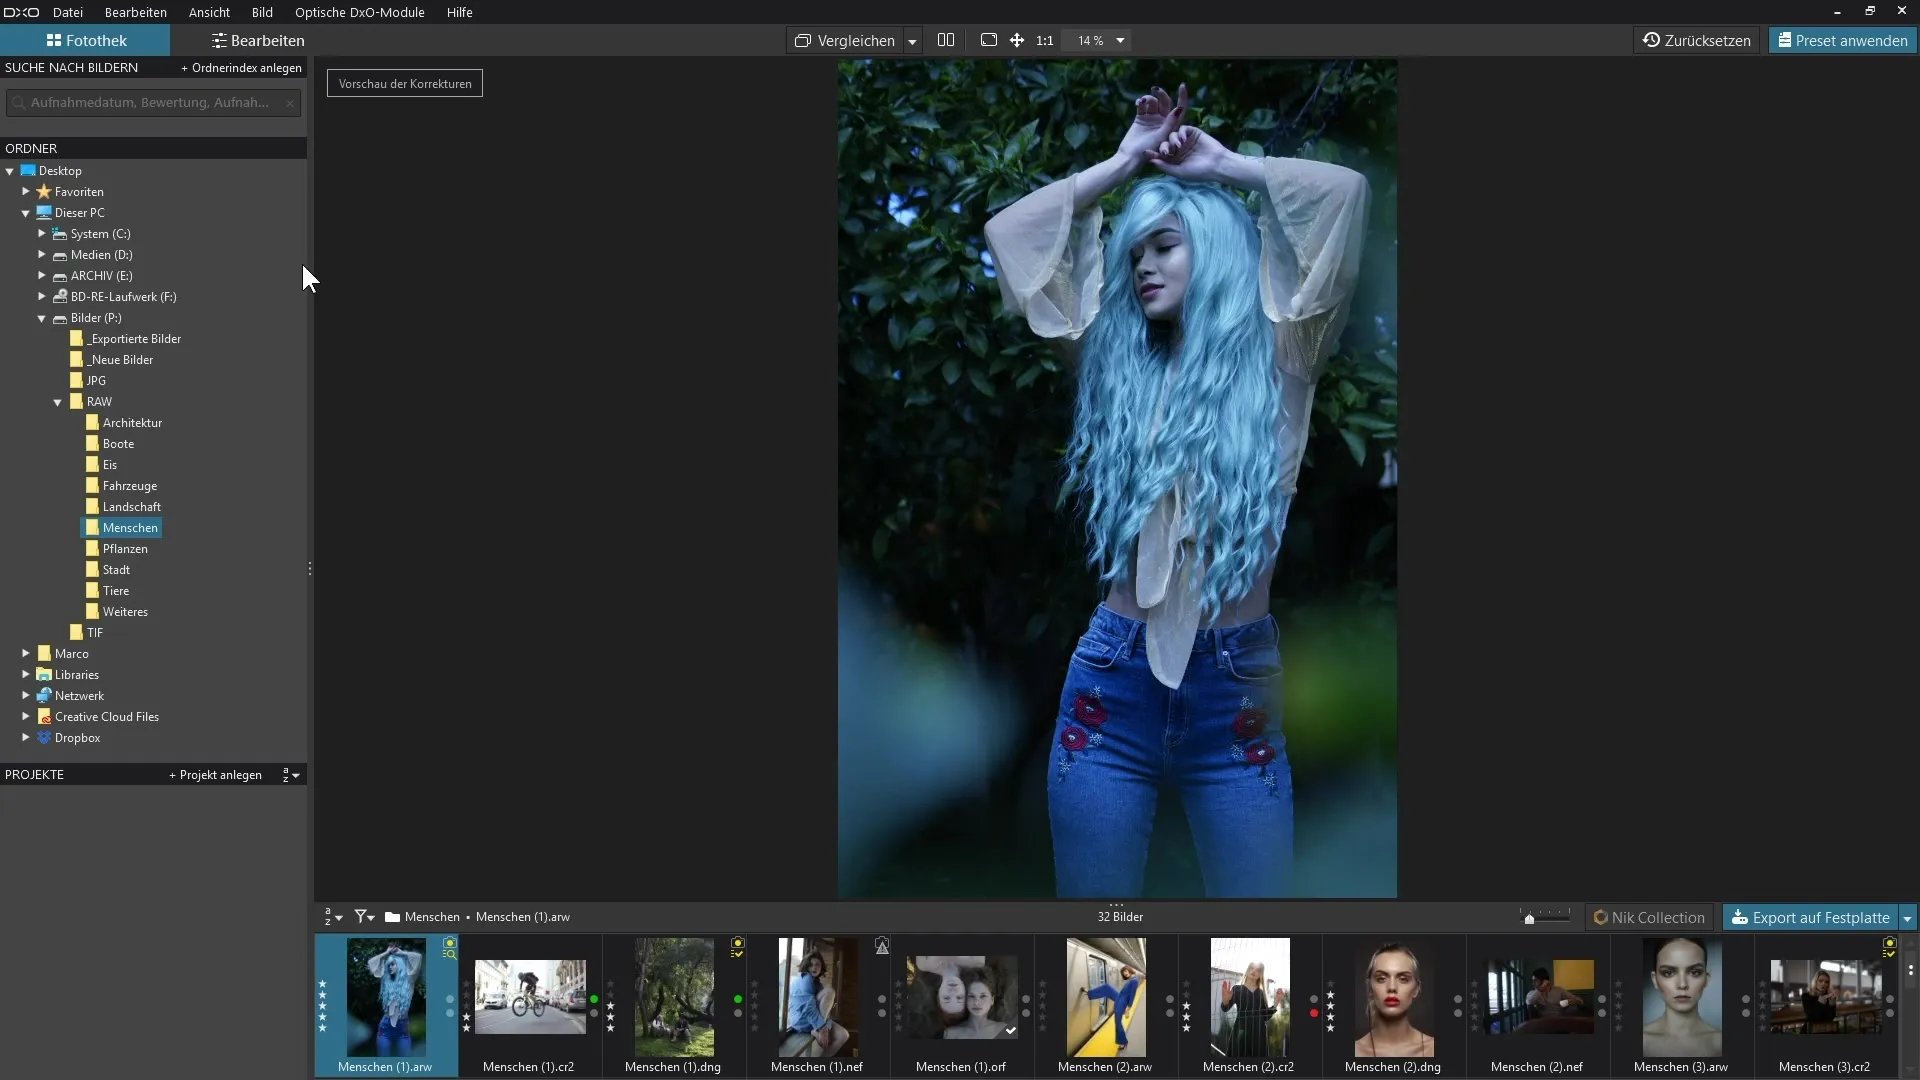
Image Selection and Navigation
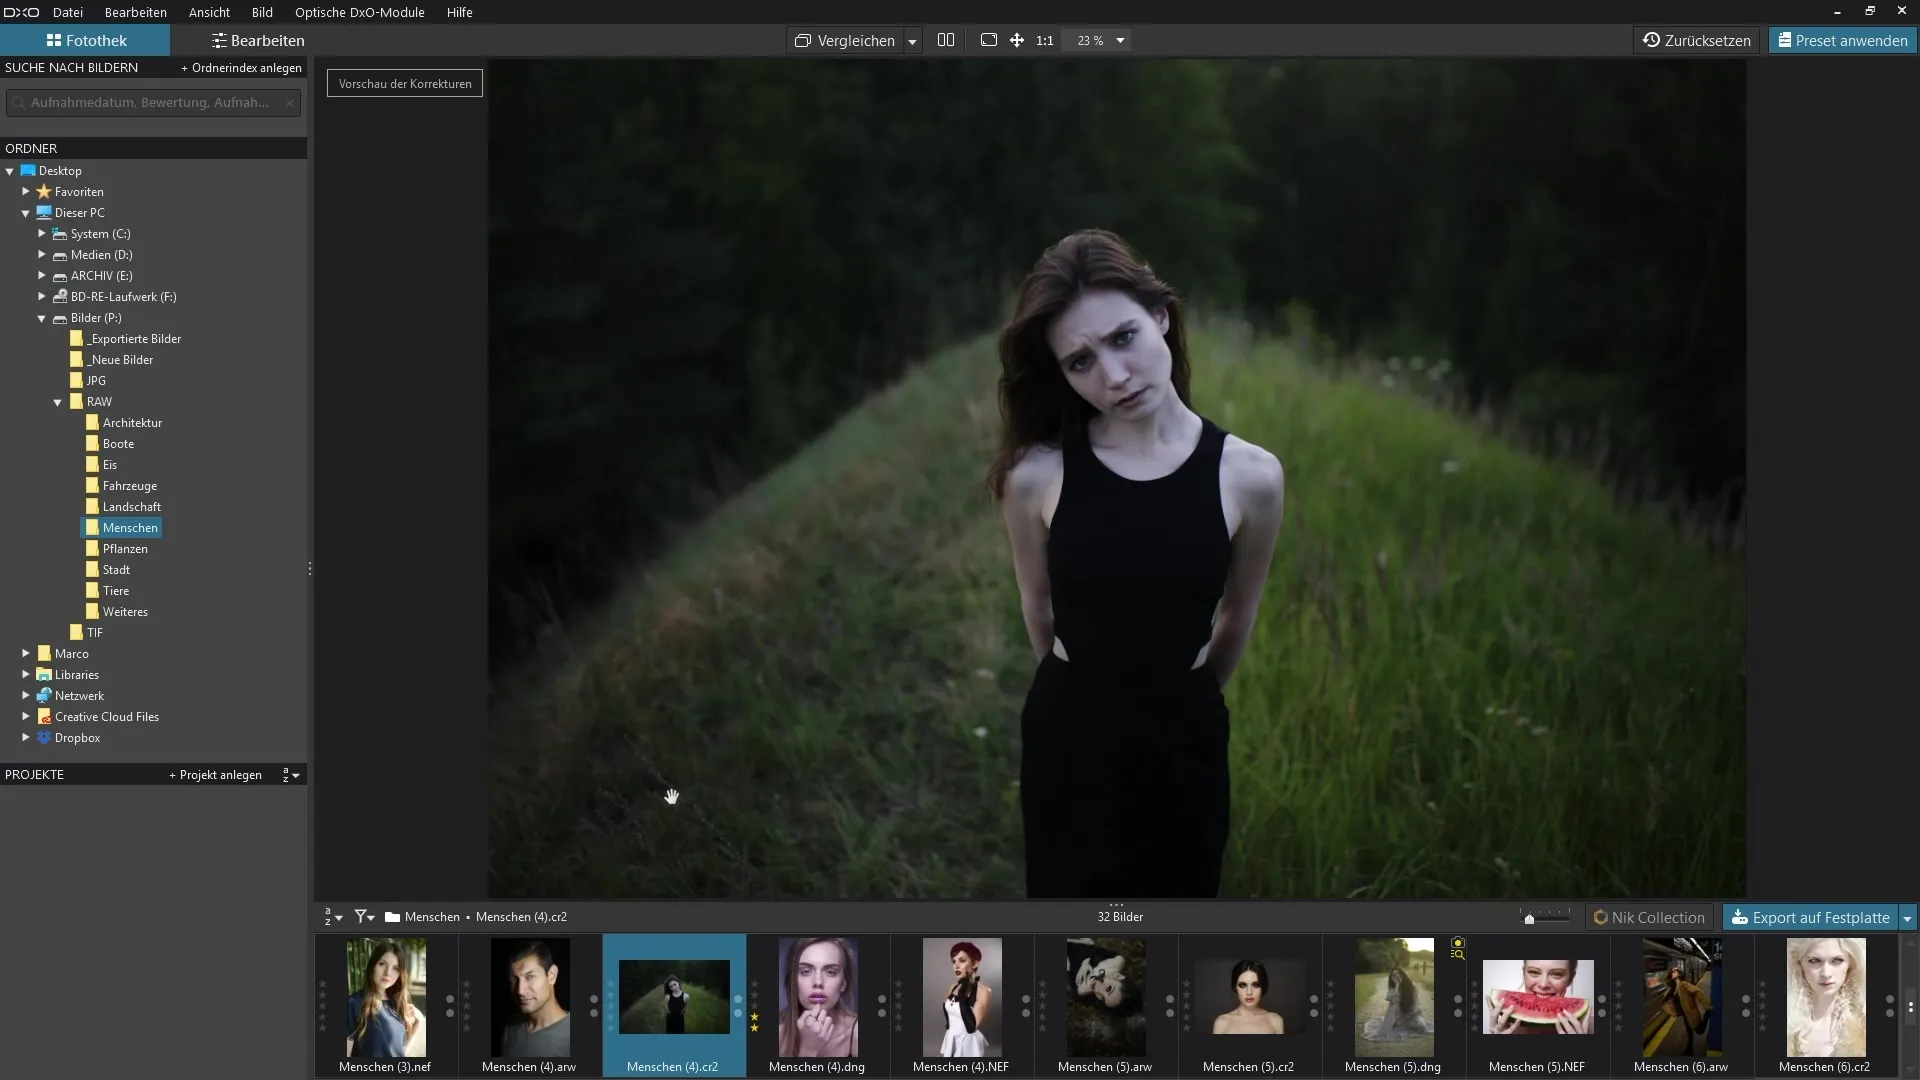
Once you have selected an image, you can switch between images. This can be done either by clicking on the images or by using the arrow keys on your keyboard. With the right arrow key, you move to the next image, and with the left arrow key, you go back to the previous image. Additionally, you can use the keyboard to move down the image bar to reach the next row.
Editing Details in the Image
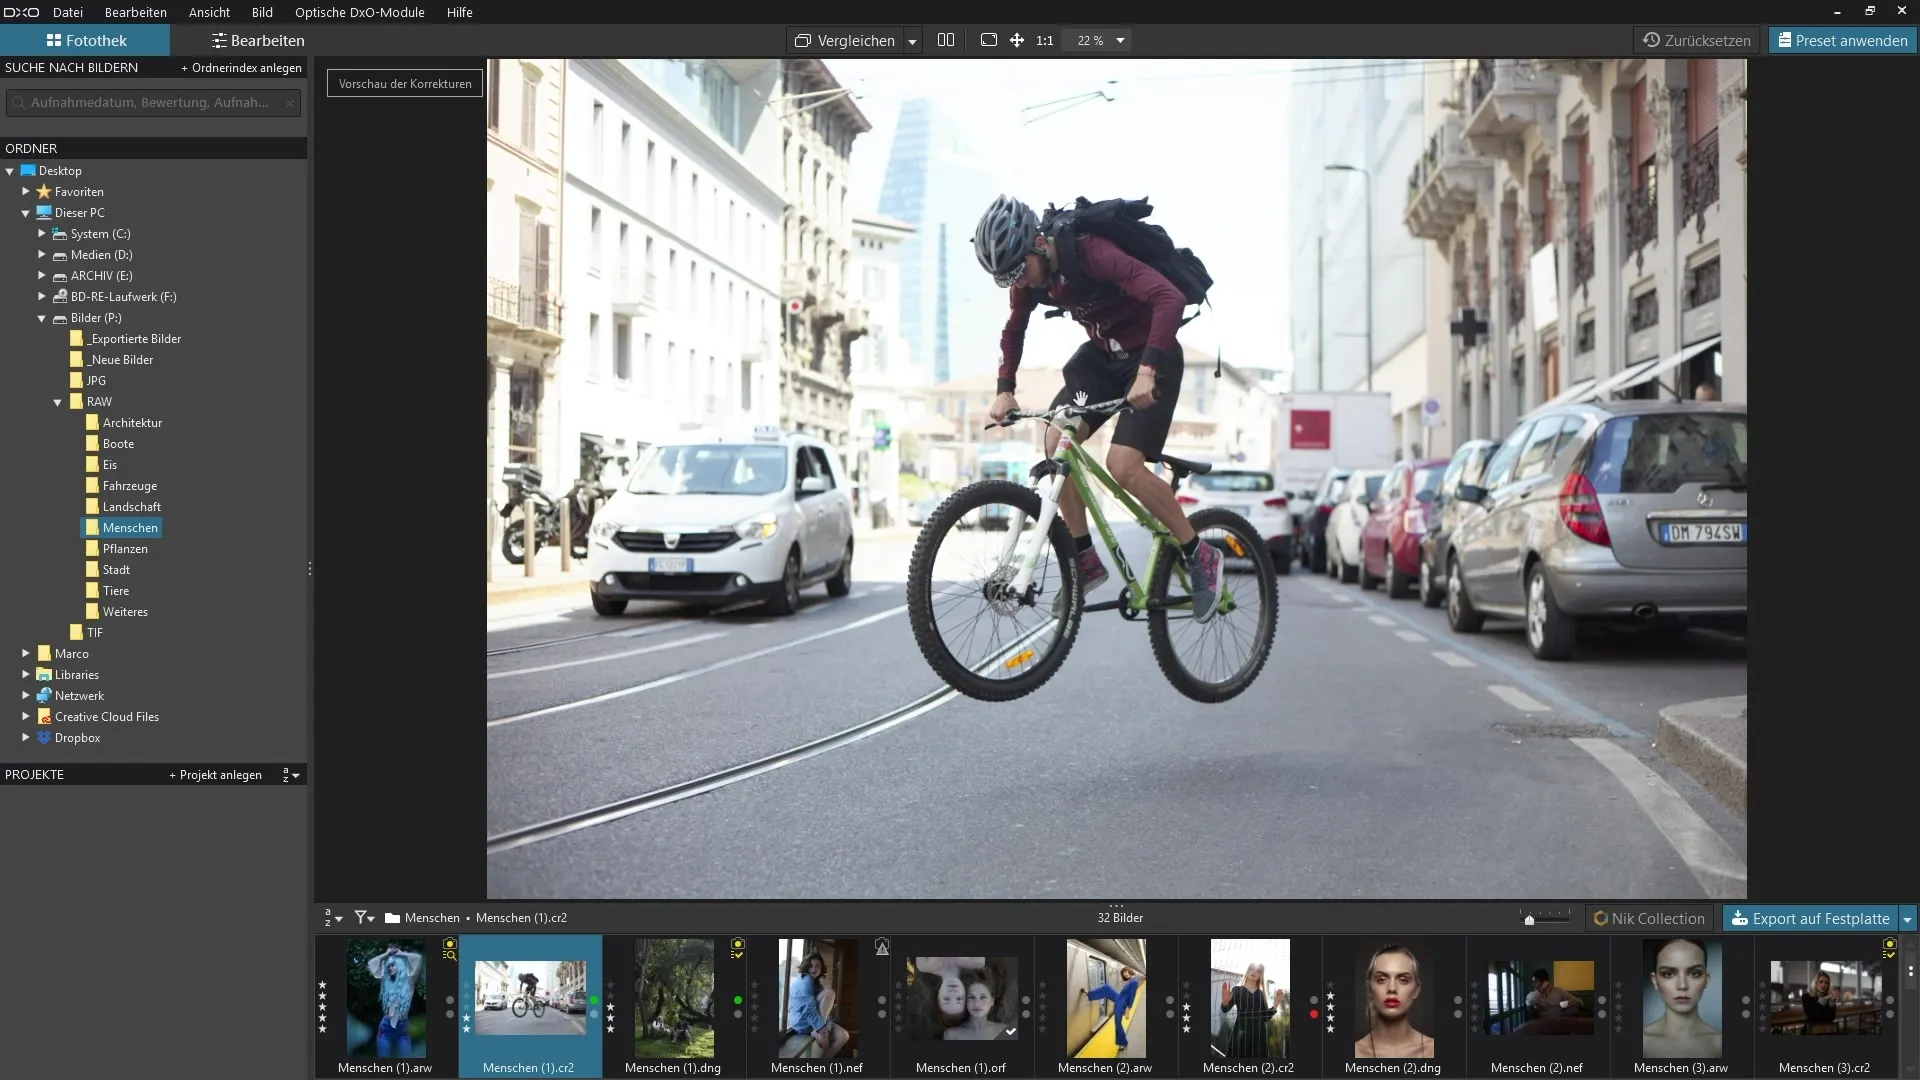
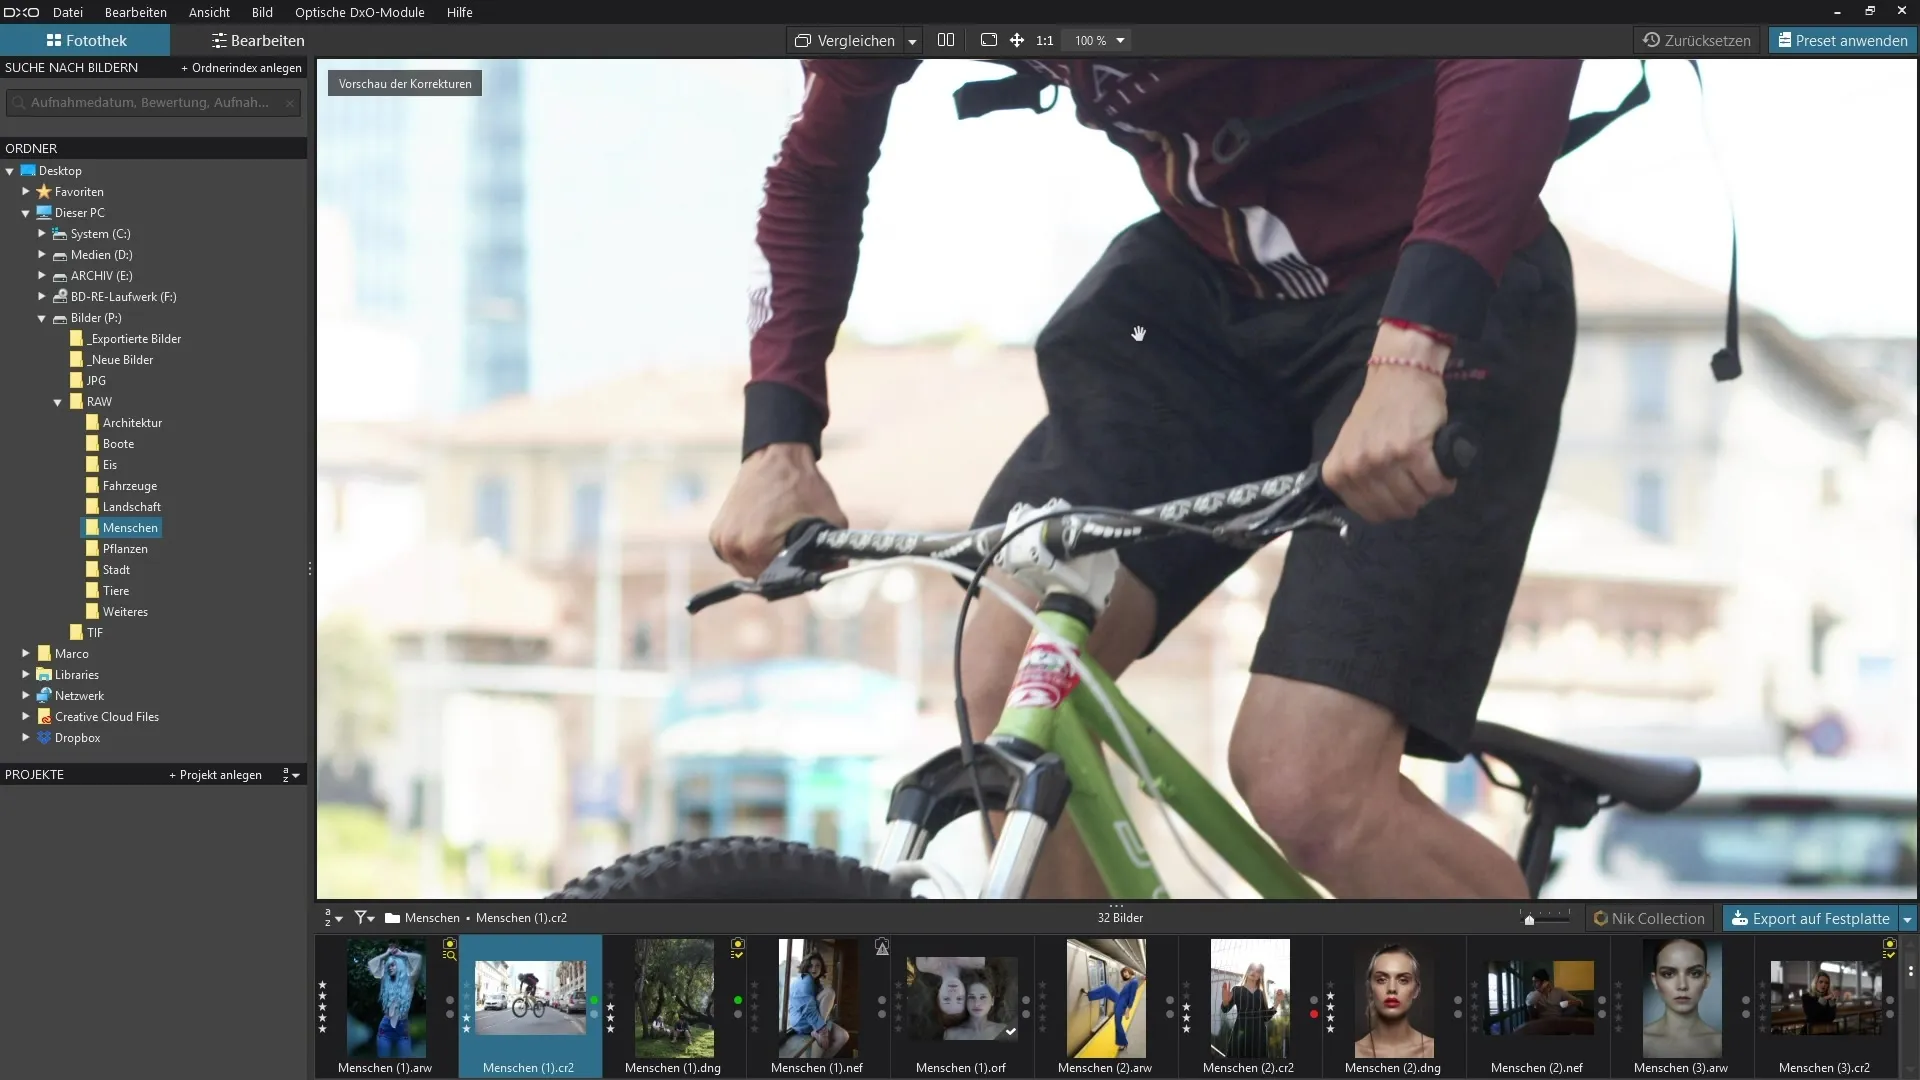
Most of the time, you don’t just want to look at the entire image but also edit small details. To do this, you use the zoom feature. You can find this at the top of the toolbar. By default, the image is set to 22% zoom, which means it is adjusted to the window size. A double-click on the image will automatically zoom to 100%, so that one pixel of the image corresponds to one pixel on your monitor.
Navigating with the Mouse
While you are in the image, you can easily navigate with the mouse. For example, if you want to examine a specific detail, the mouse cursor will display a hand symbol, allowing you to navigate through the image by pressing and dragging. If you have activated another tool, such as the pipette, you need to hold down the spacebar to switch back to hand mode.
Zoom Factor and Fine Adjustments
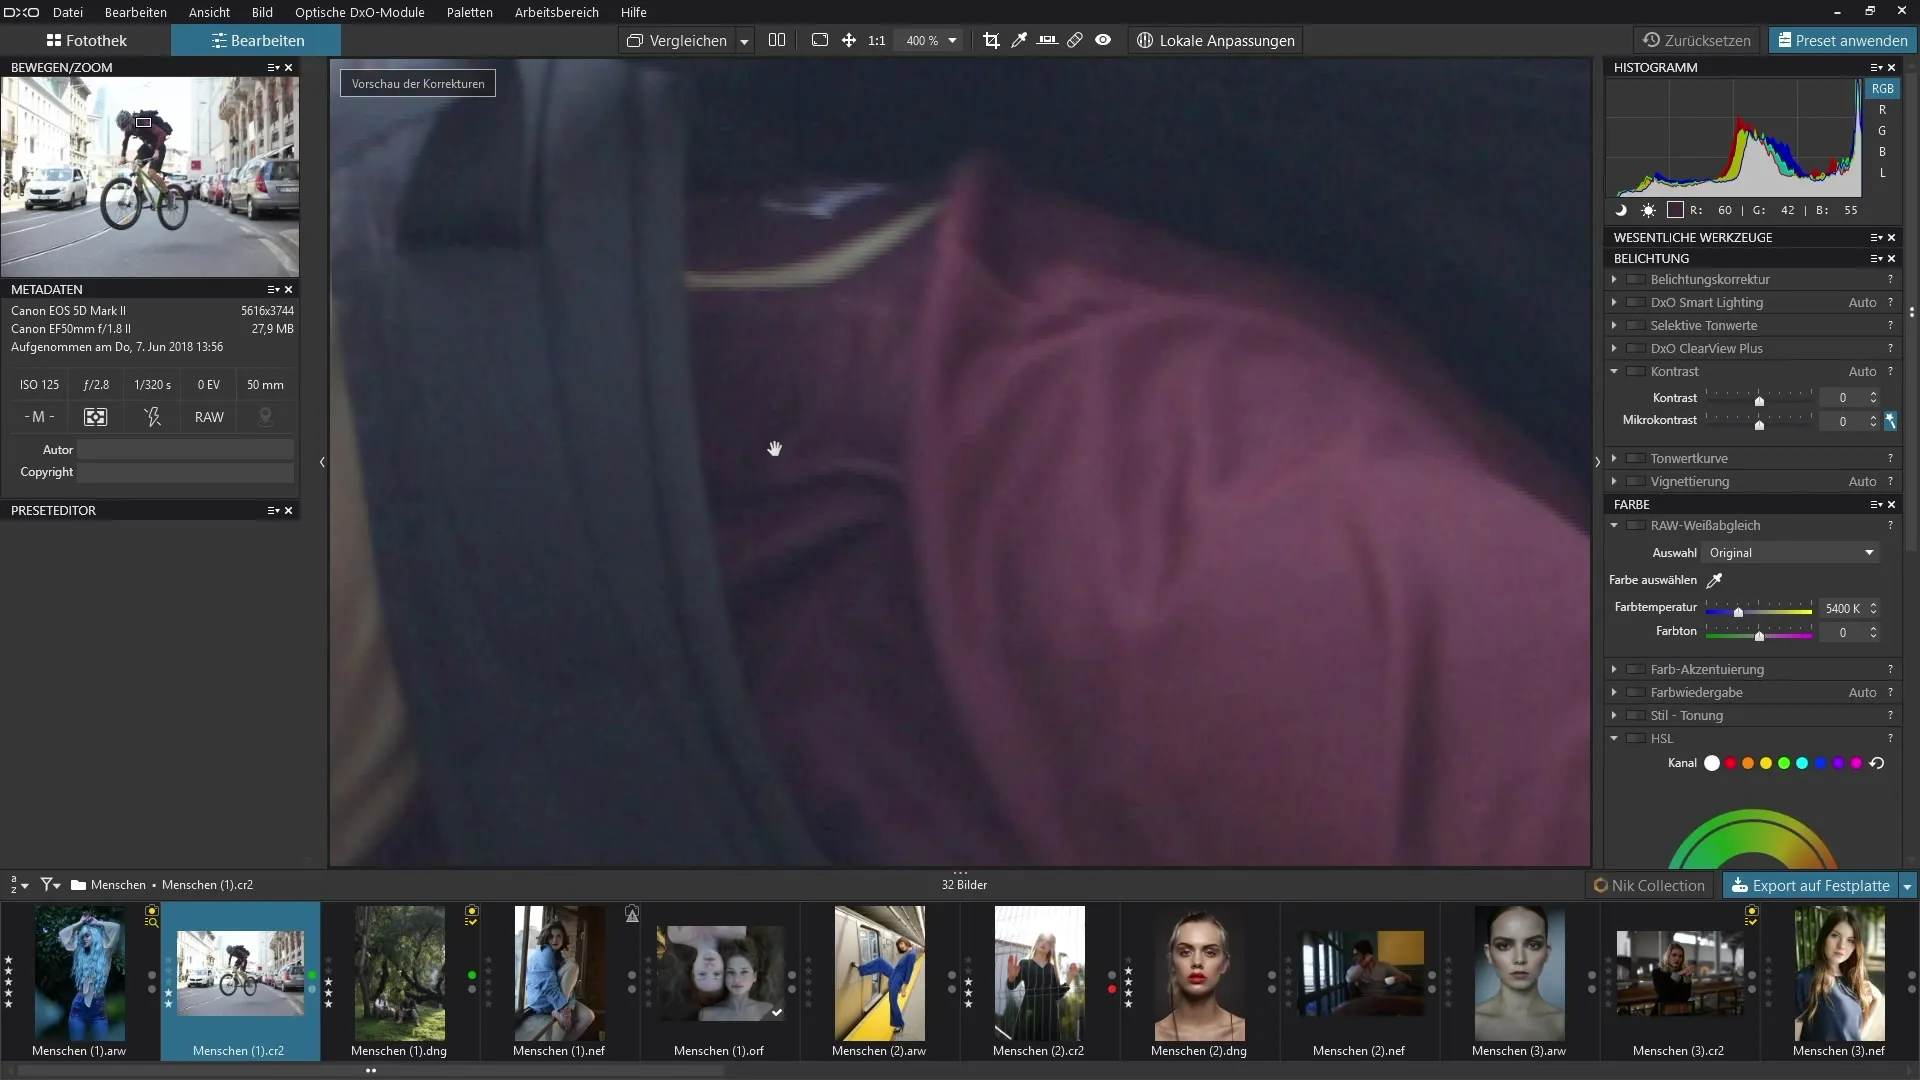
Assuming you want to increase the zoom factor to see finer details. The menu allows you to zoom in increments up to 400%. When viewing the image at 400%, you may be able to detect noise or other artifacts that were not visible at 100%. This gives you the ability to make your edits precise and detailed.
Enabling Fullscreen Mode
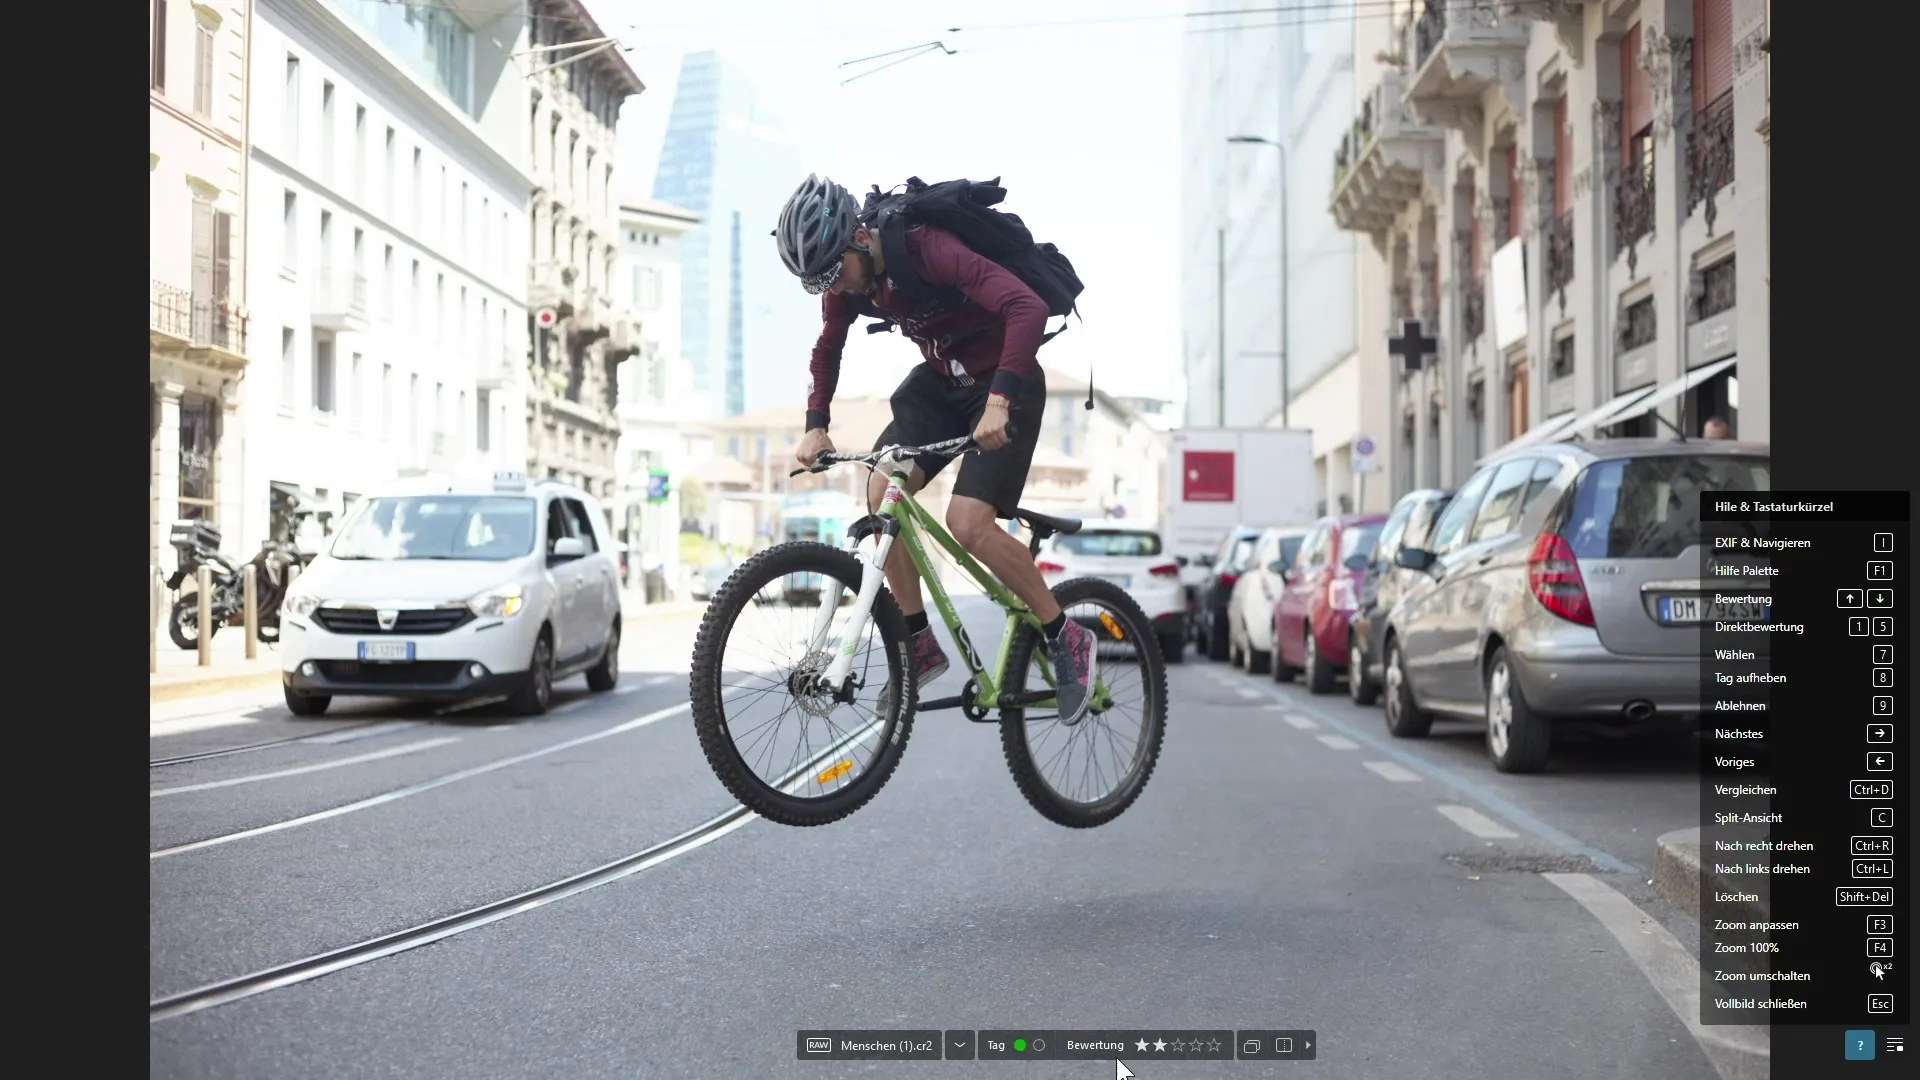
If you want to take a comprehensive look at your image, you can switch to fullscreen mode. Simply press the F11 key or click the corresponding button in the tool bar. Here you have the entire area for your image, allowing you to work more efficiently. Even in fullscreen mode, you can zoom using the mouse wheel by scrolling forward or backward.
Quick Image Navigation
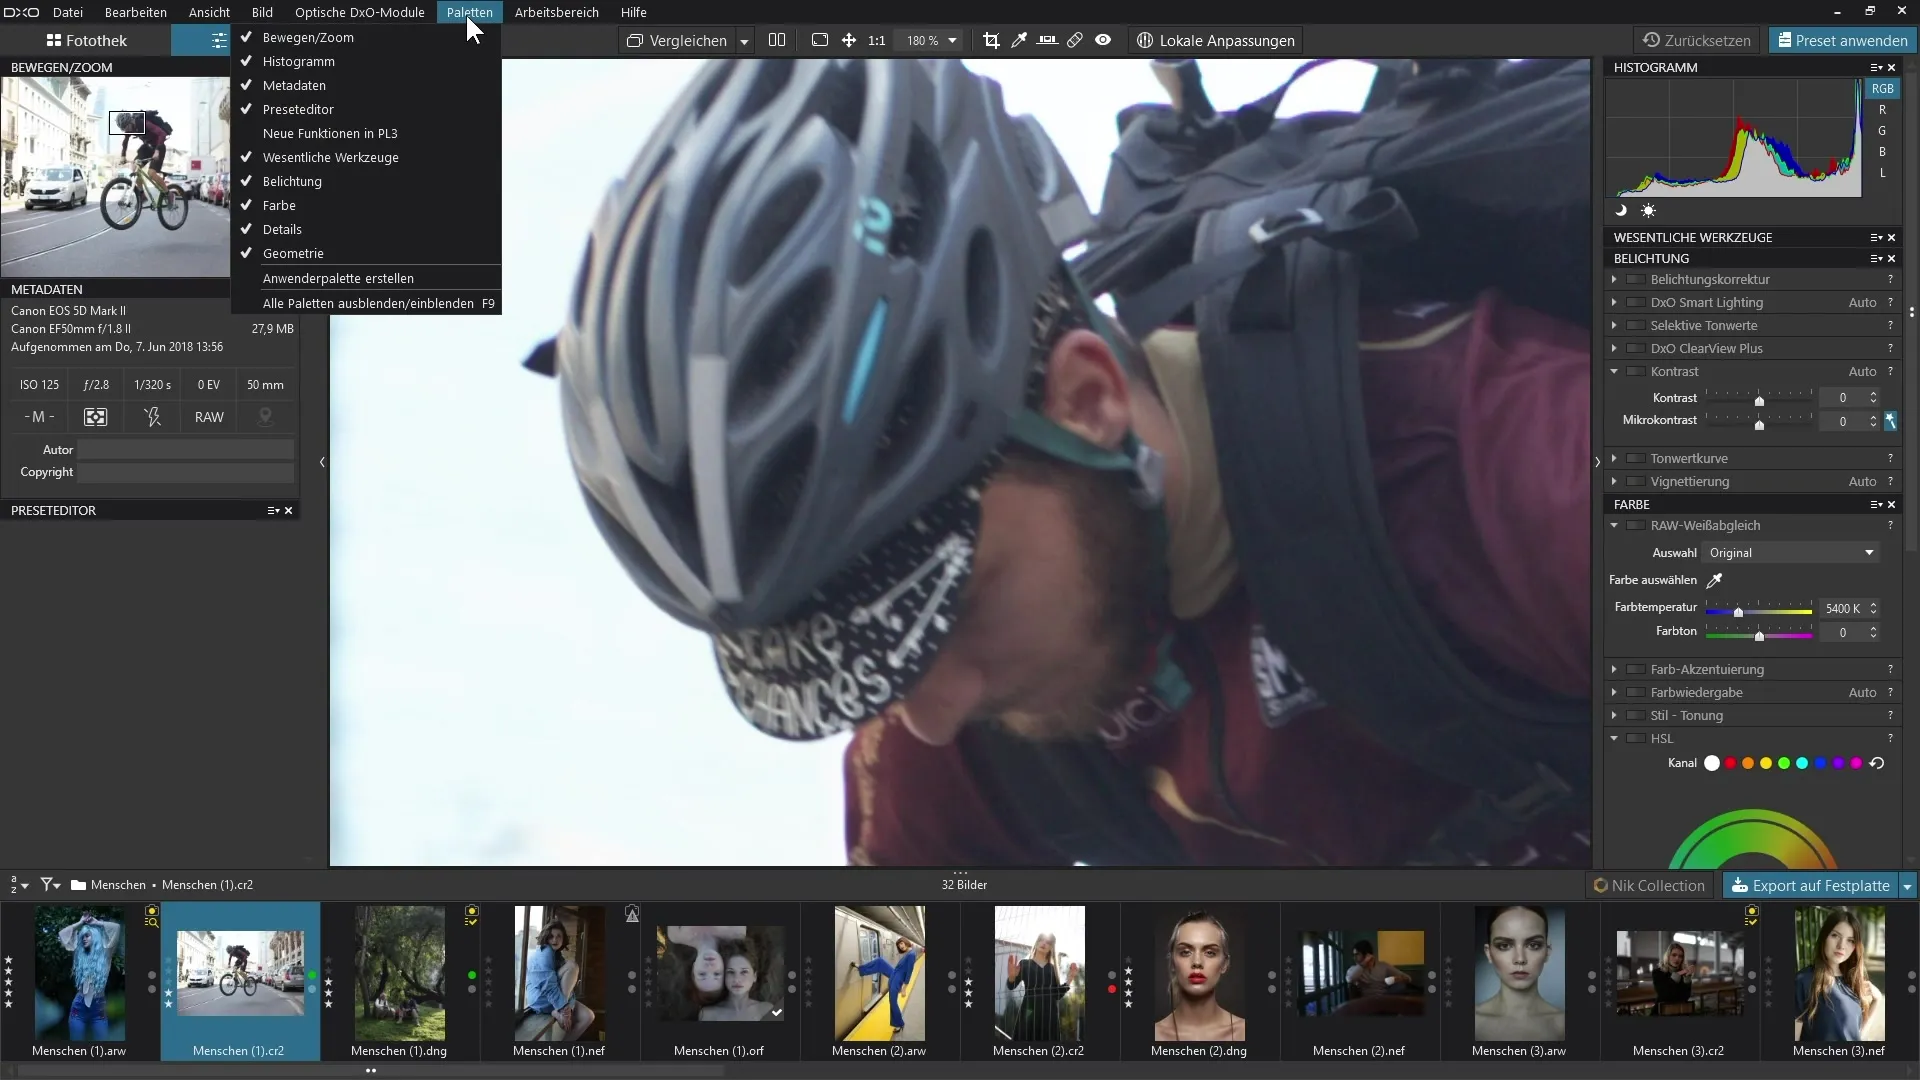
To navigate faster, you can also use the "Move and Zoom" palette. If it is not visible, check the menu above under the "Palettes" option. There you can show and hide the different palettes. This is helpful for quickly having these special functions at hand.
Display Image Location
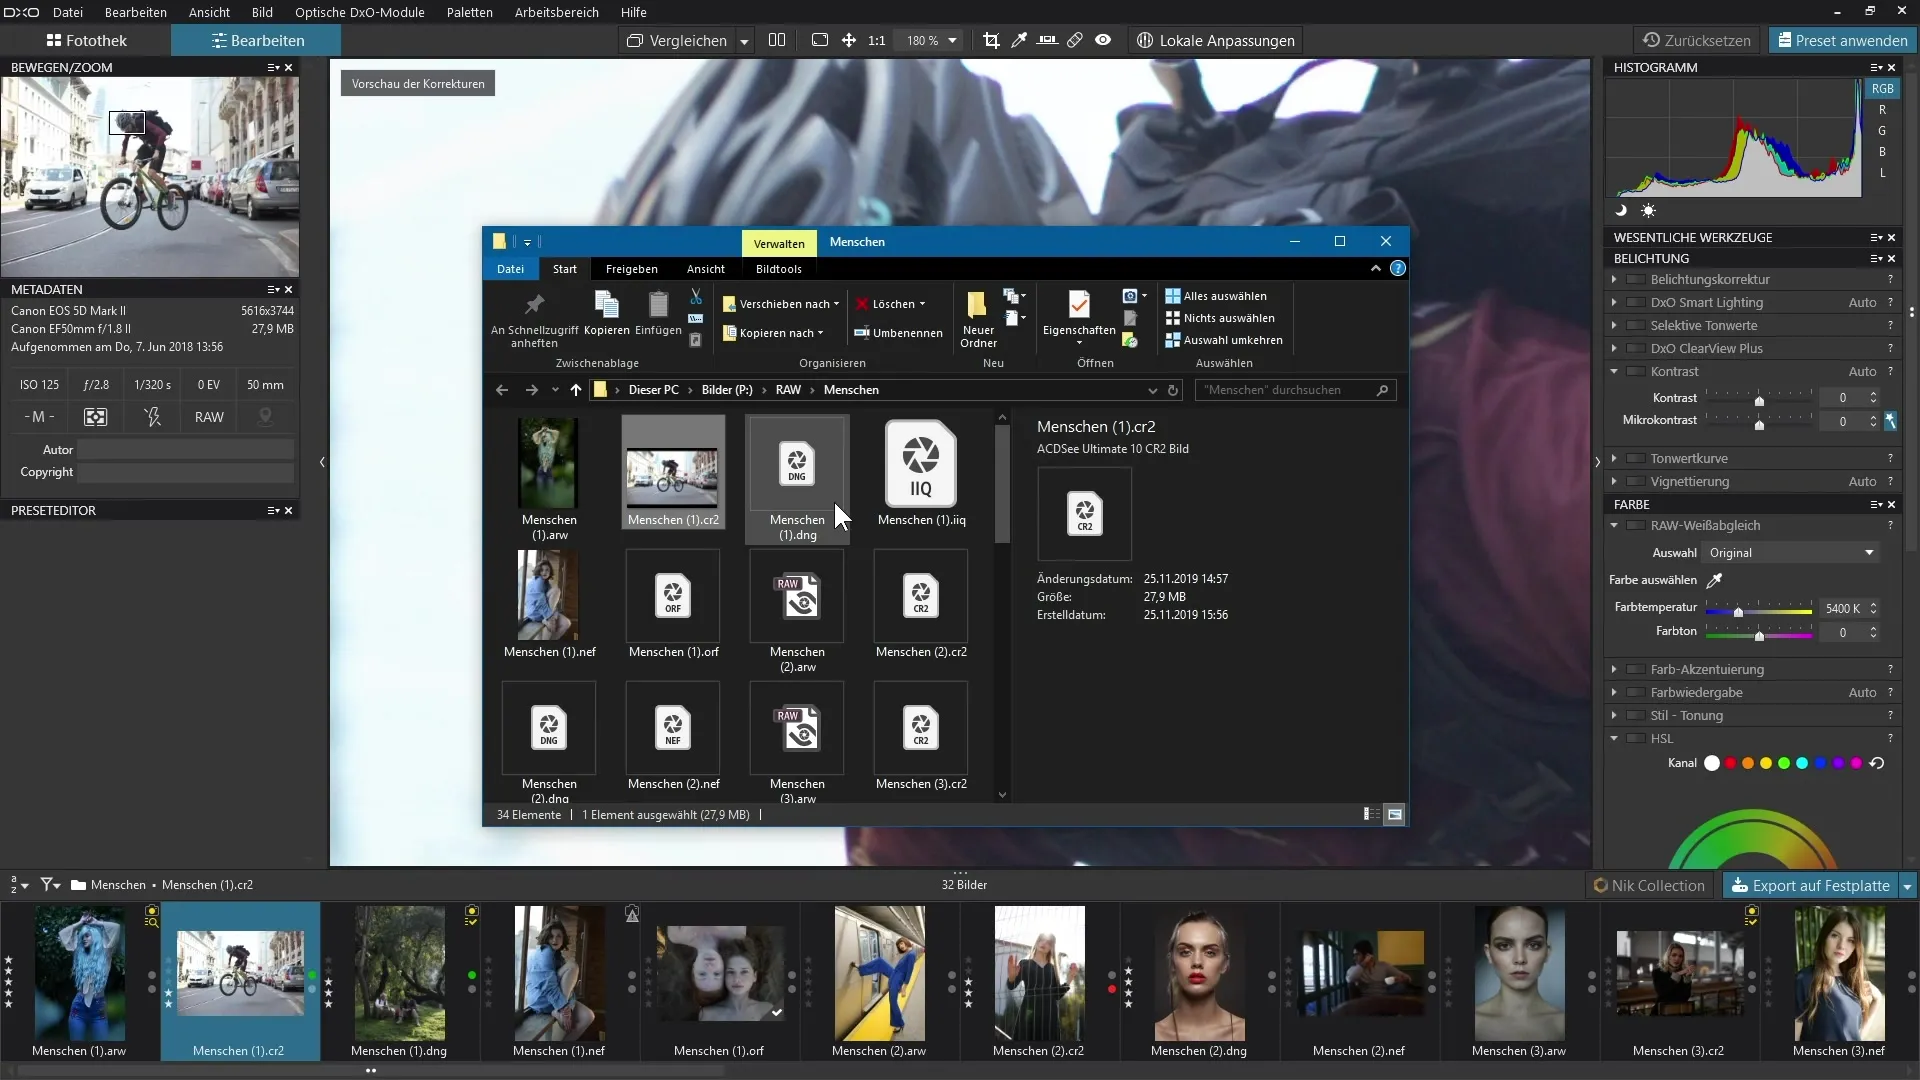
A useful feature is the ability to quickly show where your selected image is located on the hard drive. Right-click on the image in the image bar and select "Show Original in Windows Explorer." This will directly open the folder and highlight the image. This feature can help optimize your workflow, especially if you have many images.
Summary - Guide to Effective Navigation and Zoom in DxO PhotoLab
In this tutorial, you have learned how to efficiently navigate your images in DxO PhotoLab and use the zoom function effectively to edit details. Using keyboard shortcuts and mouse movements offers you flexibility and speed in your workflow.
Frequently Asked Questions
How can I display the folders?Simply click on the small triangle before the folder name to expand it.
How do you zoom into an image?Double-click on the image or use the mouse wheel to change the zoom factor.
What can I do if the "Move and Zoom" palette is not visible?Check in the menu under "Palettes" to see if the palette is activated.
How can I switch to the previous image file?Use the left arrow key on your keyboard.
How do I find the original image on my hard drive?Right-click on the image and select "Show Original in Windows Explorer."


