The correct alignment of the horizon is crucial for the quality of your photos. Even slight tilts can make the entire image appear disastrous. With the horizon tool in DxO PhotoLab 3, you have an efficient means to tackle this task with ease. Below, you'll learn how to quickly and accurately correct the horizontal alignment in your images.
Key Insights
- The horizon tool is easy to use and effective.
- It is important to set the cropping options correctly to avoid unsightly black areas.
- Fine adjustments are possible to achieve the desired result.
Step-by-Step Guide
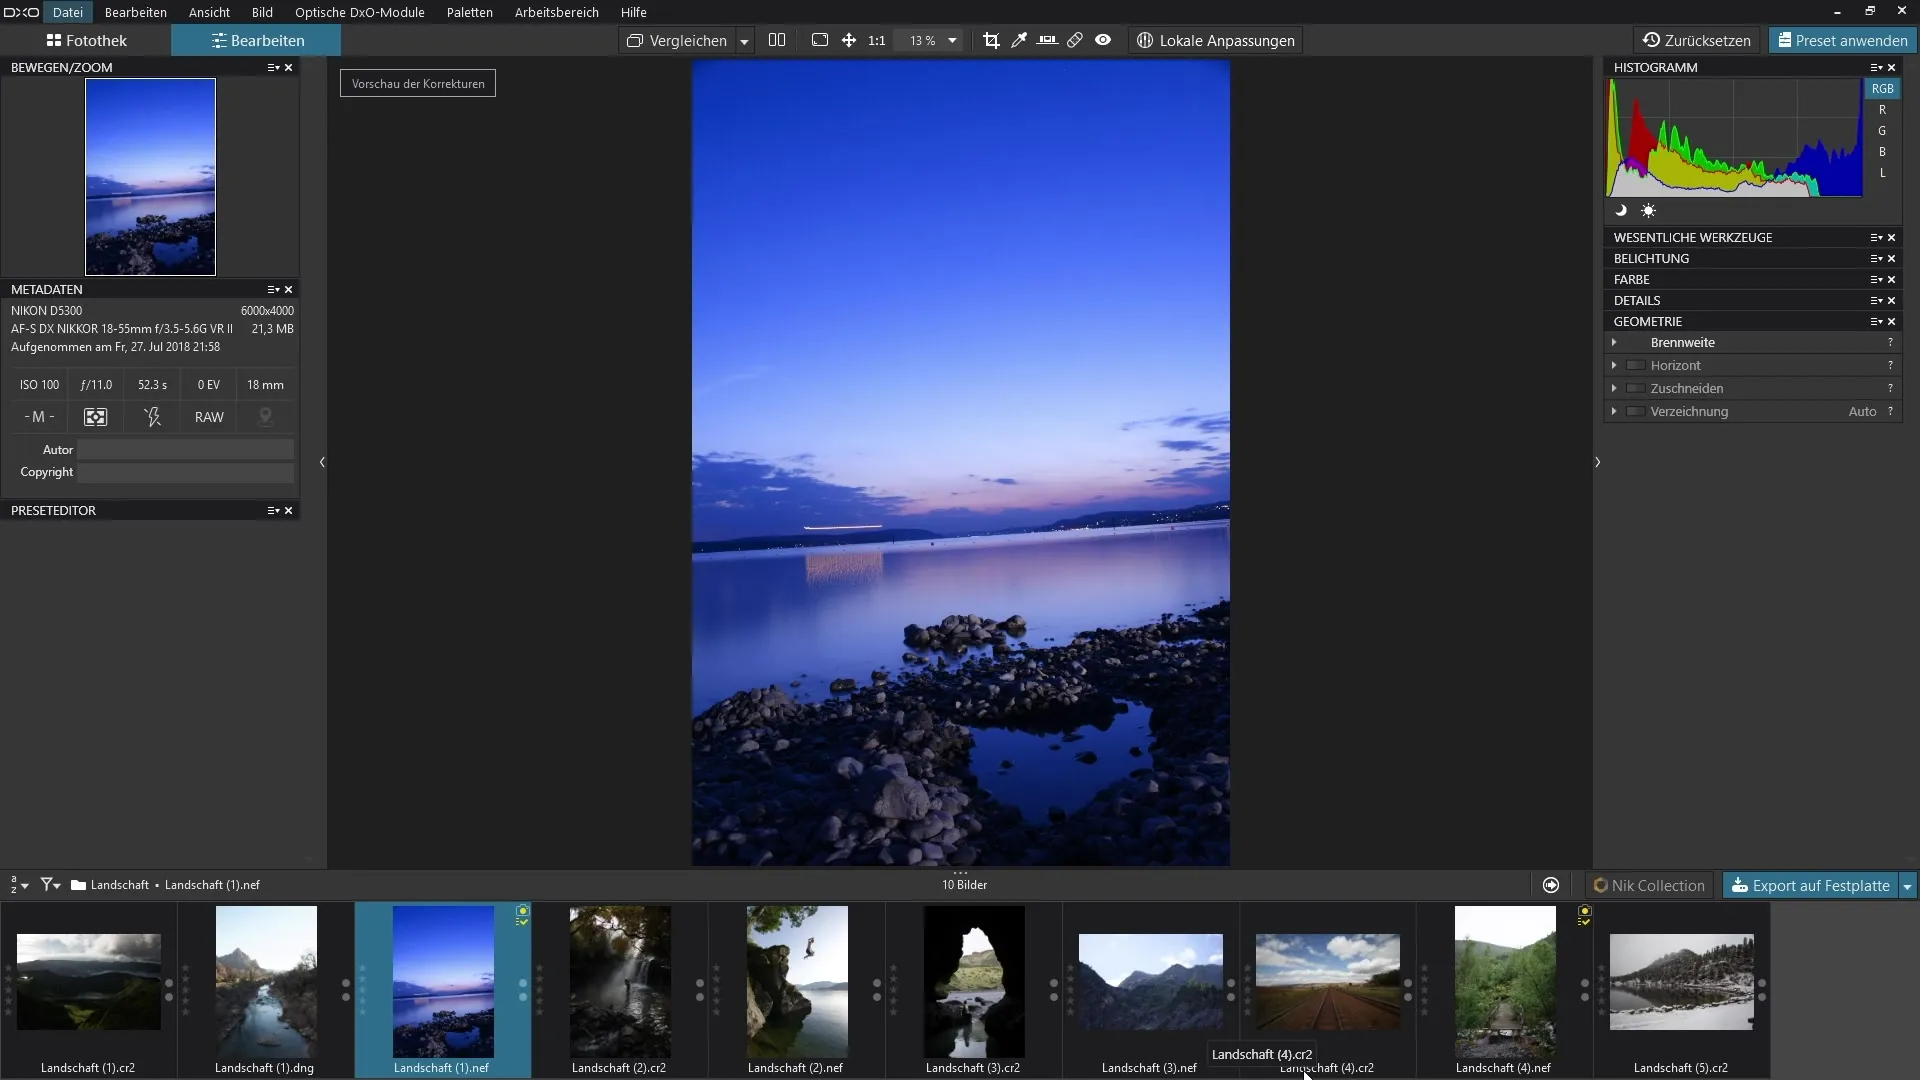
Start by opening DxO PhotoLab 3 and selecting the image you want to edit. Make sure that the horizon in your image appears tilted, as this is your first indication that a correction is needed.

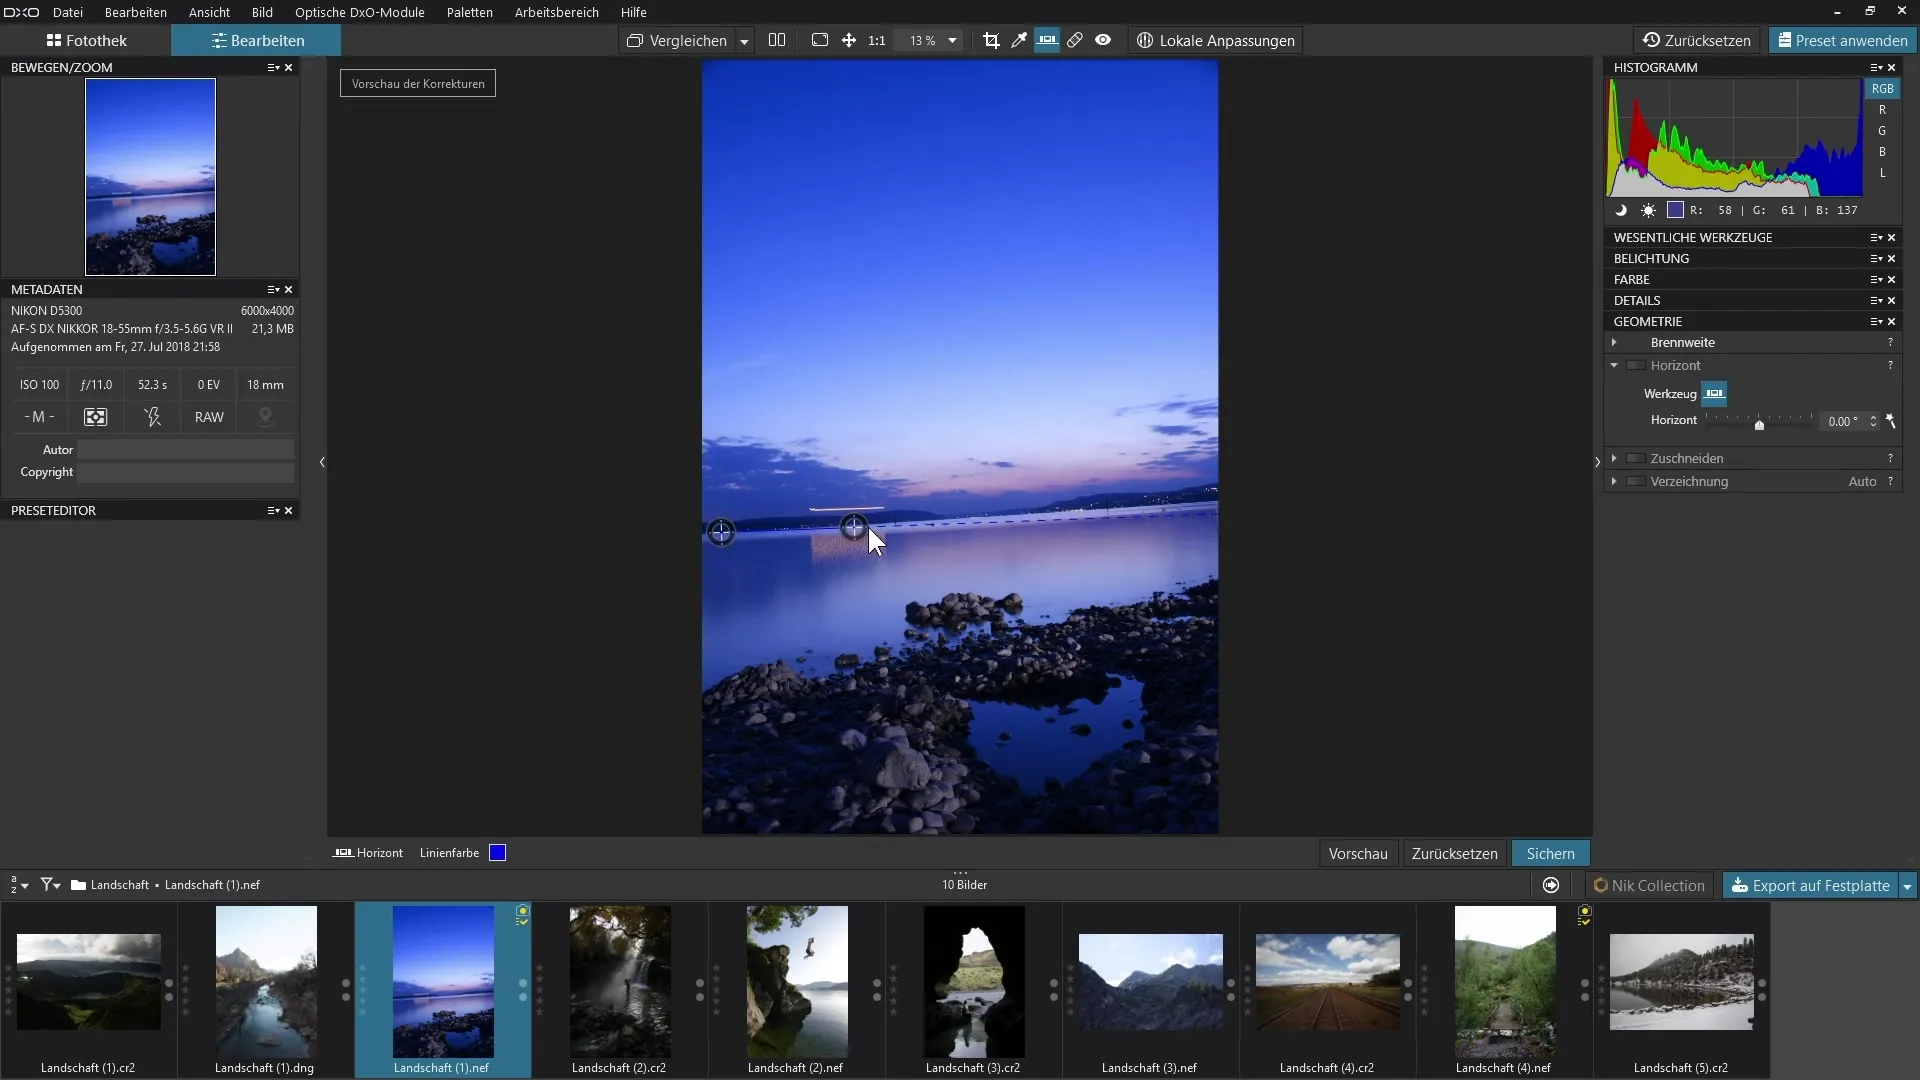
To select the horizon tool, you can either look for the icon directly in the toolbar or navigate through the "Geometry" menu. Click on the "Horizon" area to activate the tool. Alternatively, you can also double-click on the horizon icon to activate it more quickly.
Once the horizon tool is active, two circles will appear on your image. You can precisely move these to the point where your horizon lies. A simple way is to click directly at the left edge of the horizon. Hold down the left mouse button and drag the cursor to the right edge of the horizon. This creates a straight line that helps you align the horizon accurately.

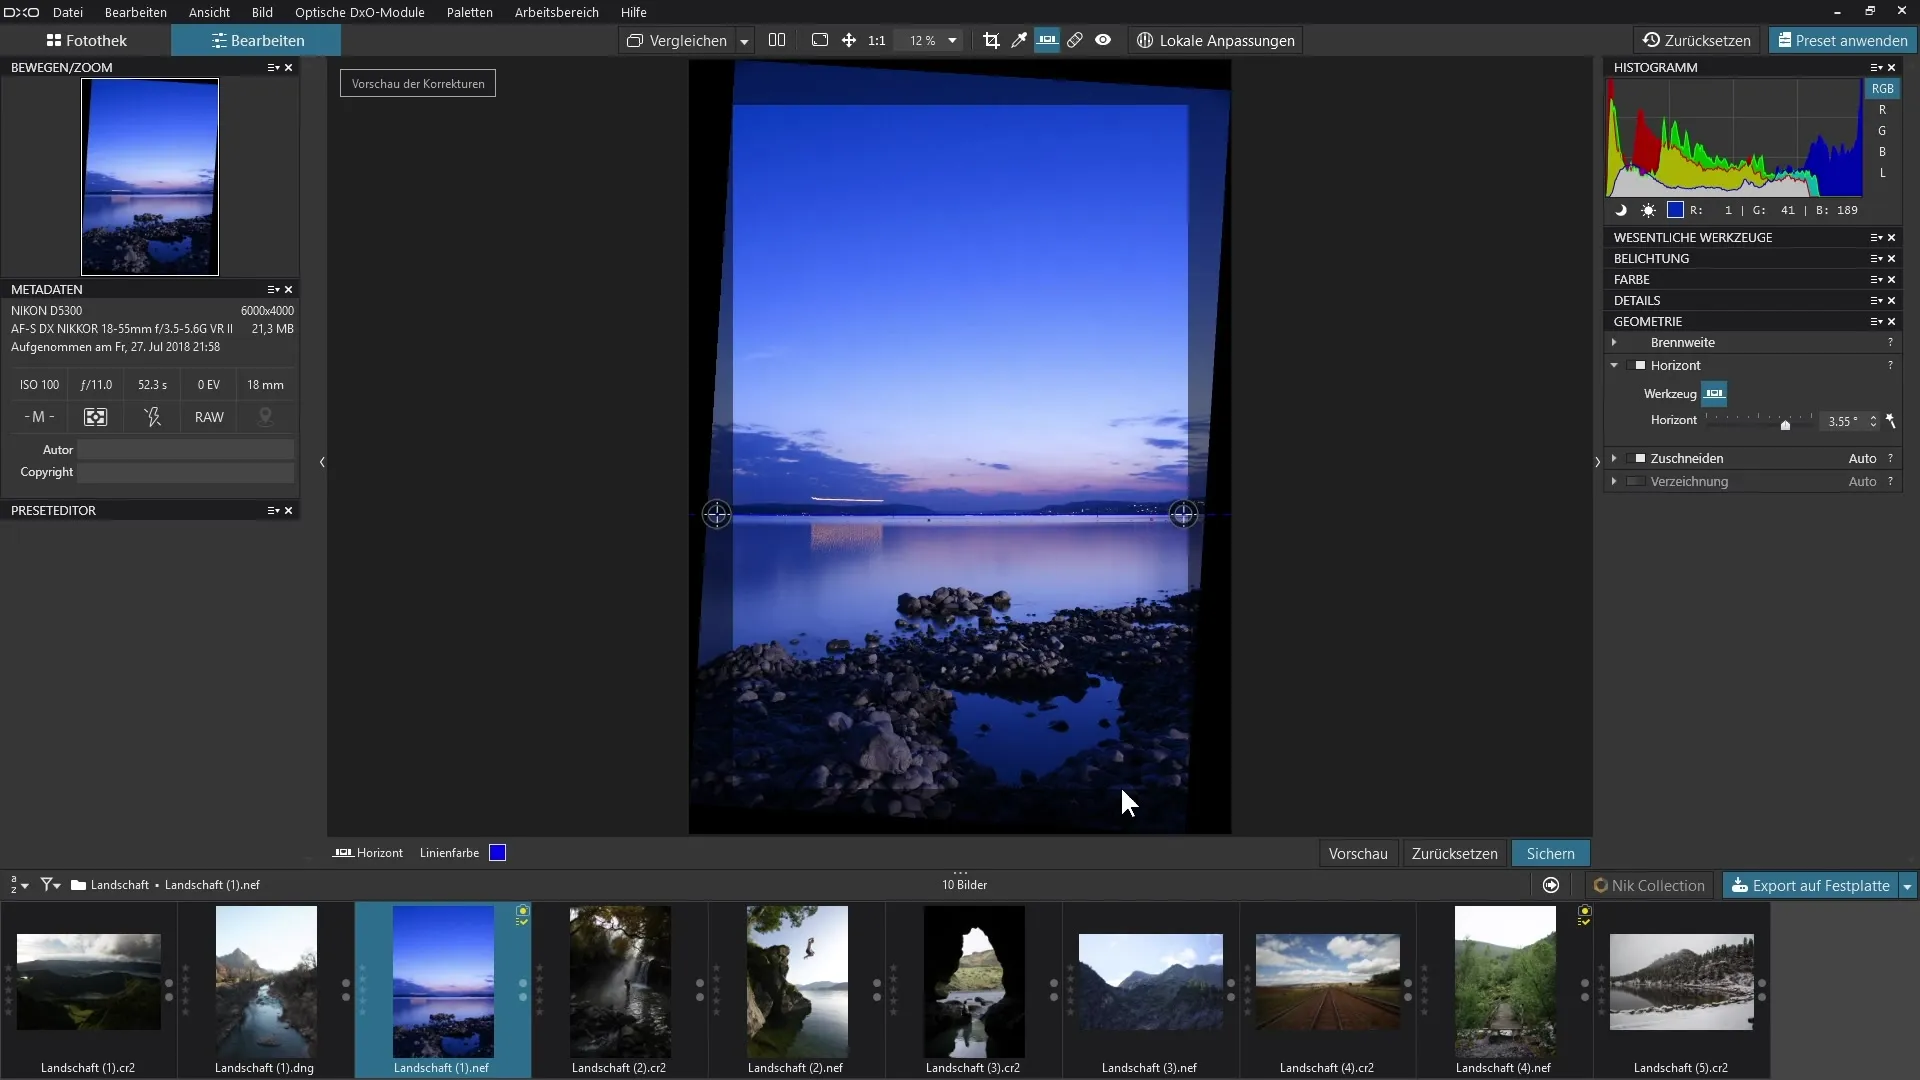
After you have drawn the line, you will notice that the image rotates. However, be aware that black areas can appear at the edges of the image during this process, which is undesirable for aesthetic reasons. If this happens, you can simply reset the process with the undo function. This is important to avoid unnecessary cropping errors.
Make sure that the cropping options are set correctly; there is a dedicated menu option in the "Crop" filter for this. The setting should be set to "Automatic" so that the correction works in conjunction with the perspective or horizon. Before closing this function, make sure everything is configured correctly.
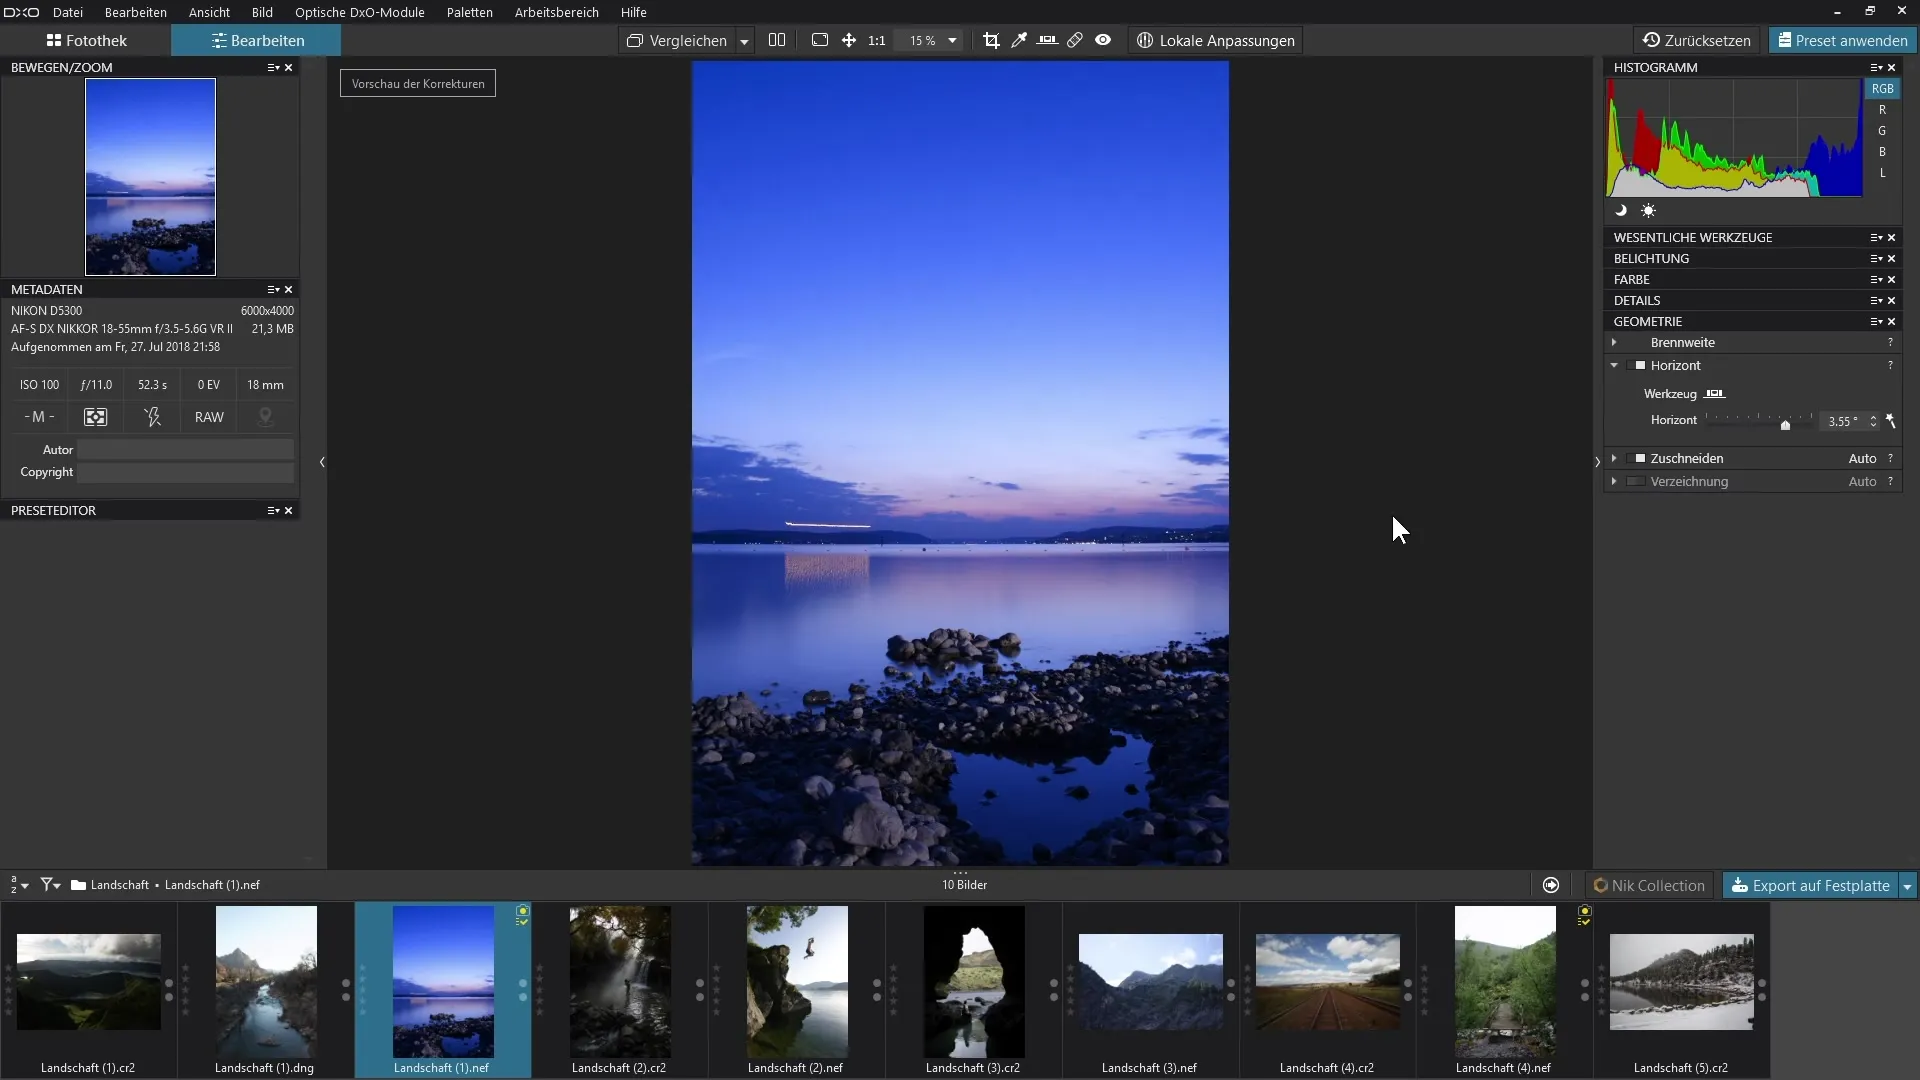
Once you have set the cropping options, you can reapply the horizon. Let go of the mouse to see how the horizon is now displayed correctly in your image. During the process, you might see heavily darkened areas that could arise from cropping, which allows you to assess whether the image meets your expectations.

To save the final image, click the "Save" button. This way, the editing is completed and your horizon is now correctly aligned.

If you wish to make manual fine adjustments afterwards, you can do so with the slider in the horizon tool. Adjust the settings so that you are completely satisfied with the final result.
Summary – Correctly Aligning Horizon in DxO PhotoLab: A Comprehensive Guide
Correcting the horizon in DxO PhotoLab is a straightforward process that saves you valuable time and significantly enhances the quality of your images. With the right tools and settings, you can easily adjust the horizon and take your photos to a new level.
Frequently Asked Questions
How do I activate the horizon tool in DxO PhotoLab?You can activate it via the toolbar or in the "Geometry" menu.
What should I do if black areas appear at the edge of the image?Use the undo function and make sure the cropping option is set to "Automatic".
Can I adjust the horizon manually?Yes, you can make manual fine adjustments afterwards with a slider.
Do I need prior knowledge to use the horizon tool?No, the tool is user-friendly and easy to understand, even for beginners.


