The ClearView Plus Filter is a powerful tool in DxO PhotoLab 3, designed specifically to remove fog and haze from images while simultaneously highlighting details. This filter significantly enhances image quality, especially in challenging lighting conditions. In this guide, you will learn how to effectively use ClearView Plus to achieve stunning results.
Main Insights
- The ClearView Plus filter is only available in the Elite version of DxO PhotoLab 3.
- The user interface is intuitively designed with a single slider.
- The filter is particularly effective for enhancing images taken in foggy conditions.
- Do not overdo the settings to avoid unpleasant results like overly processed skin textures.
Step-by-Step Guide to Using the ClearView Plus Filter
First, open an image that you want to edit. Then click the edit button and select the "Exposure" area to find the ClearView Plus filter. This filter is exclusive to the Elite version of DxO PhotoLab 3.
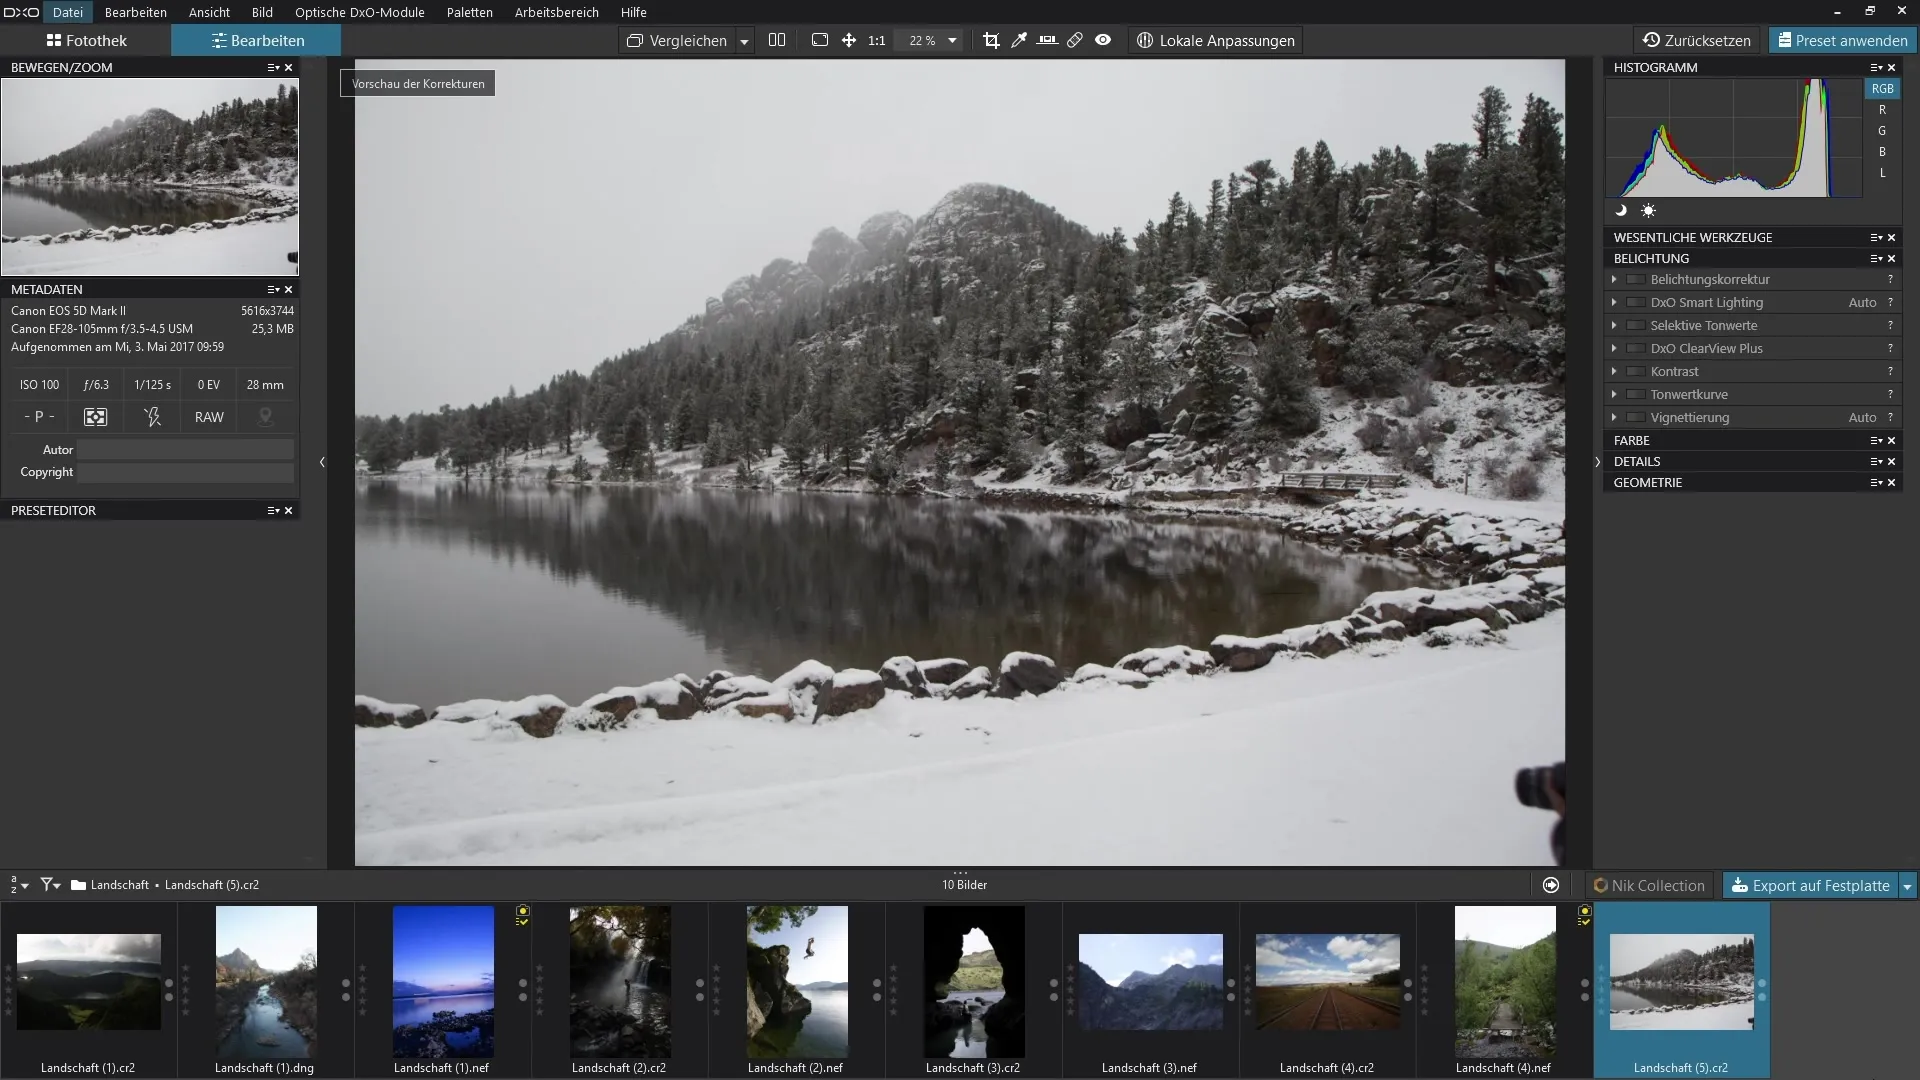
To show the effect of the filter, first set the slider to zero. This allows you to see your image in its original state before the filter is applied. Check how the image looks without the filter and note the areas you want to improve or highlight, especially in foggy zones.
Now select the ClearView Plus slider and slowly drag it to the right to increase the intensity of the filter. Pay attention to how the foggy areas behind the mountains become clearer and how the contrast in the image increases.
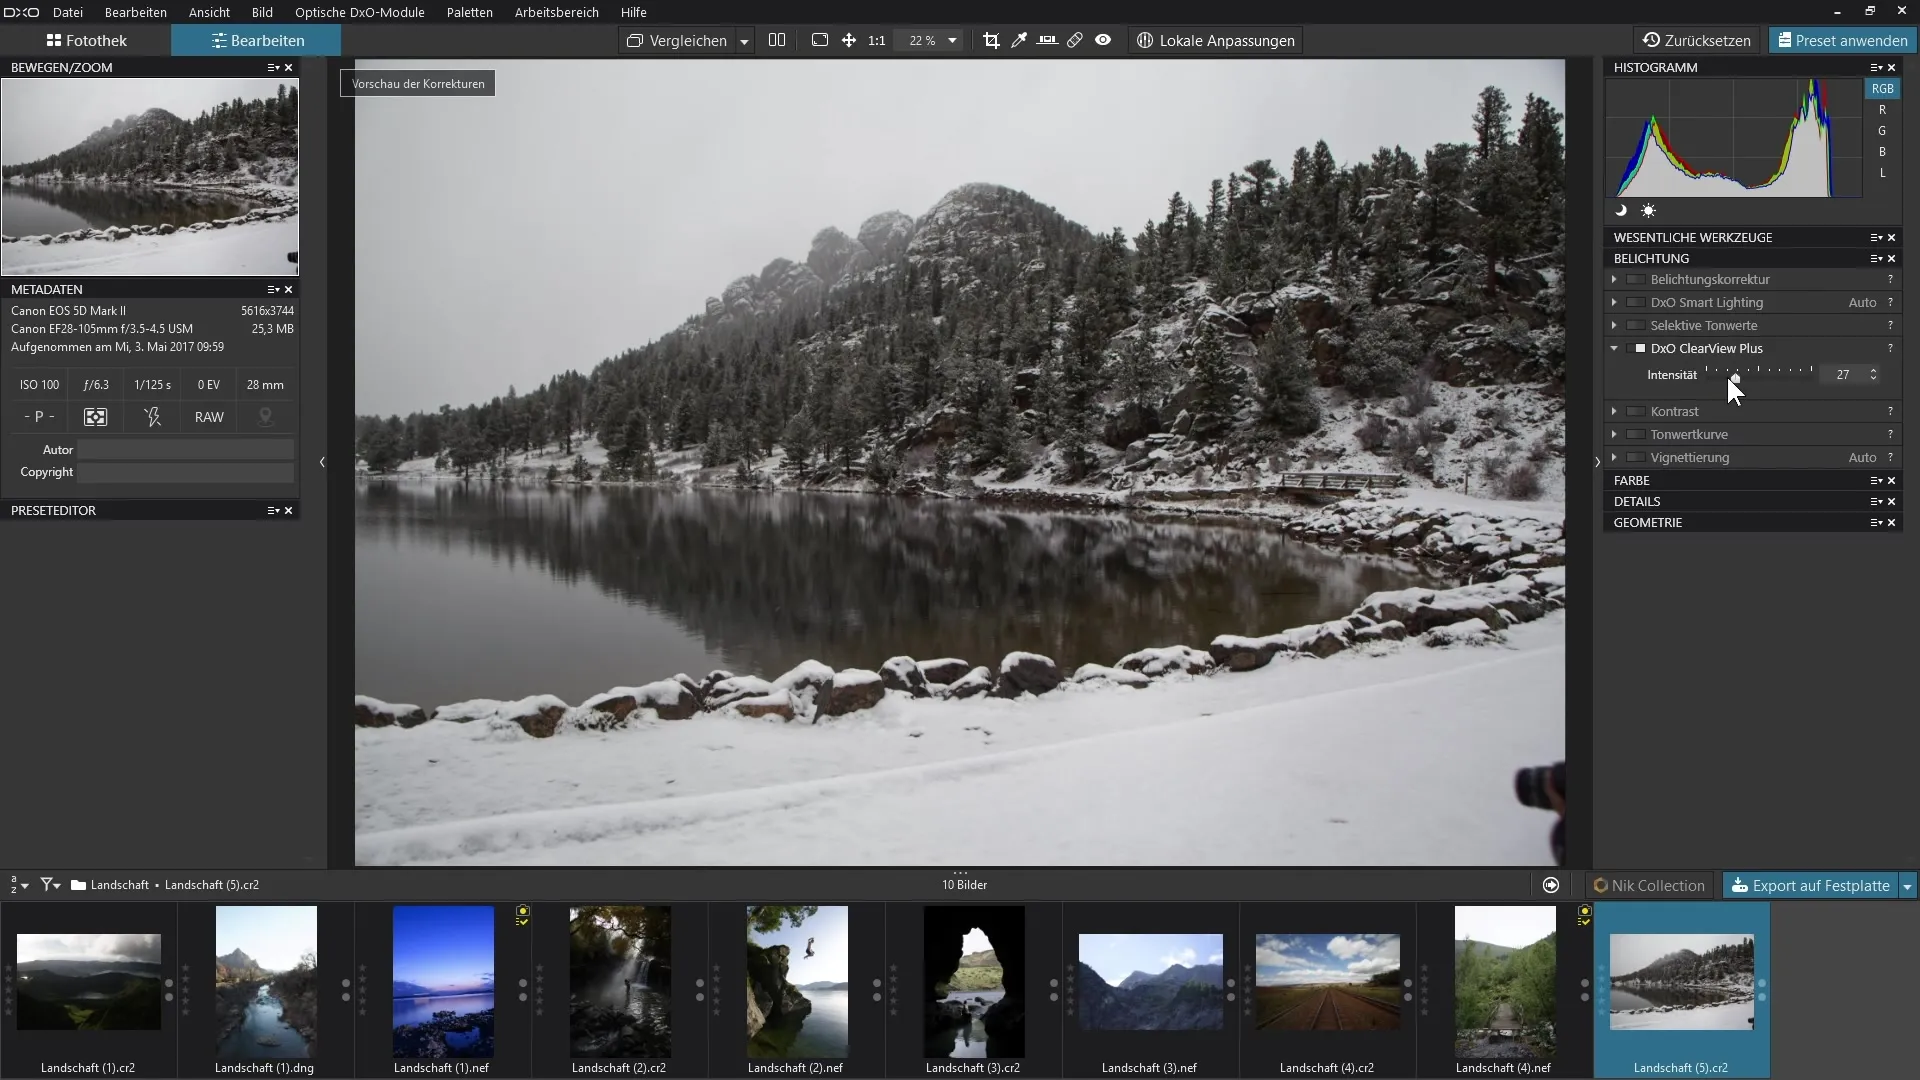
A detailed comparison between the original image and the edited image shows you how the filter helps highlight details that were previously hidden. If you increase the intensity significantly, you'll see that the fog disappears and the contrast increases, but be aware that this can make some areas of the image look over-processed.
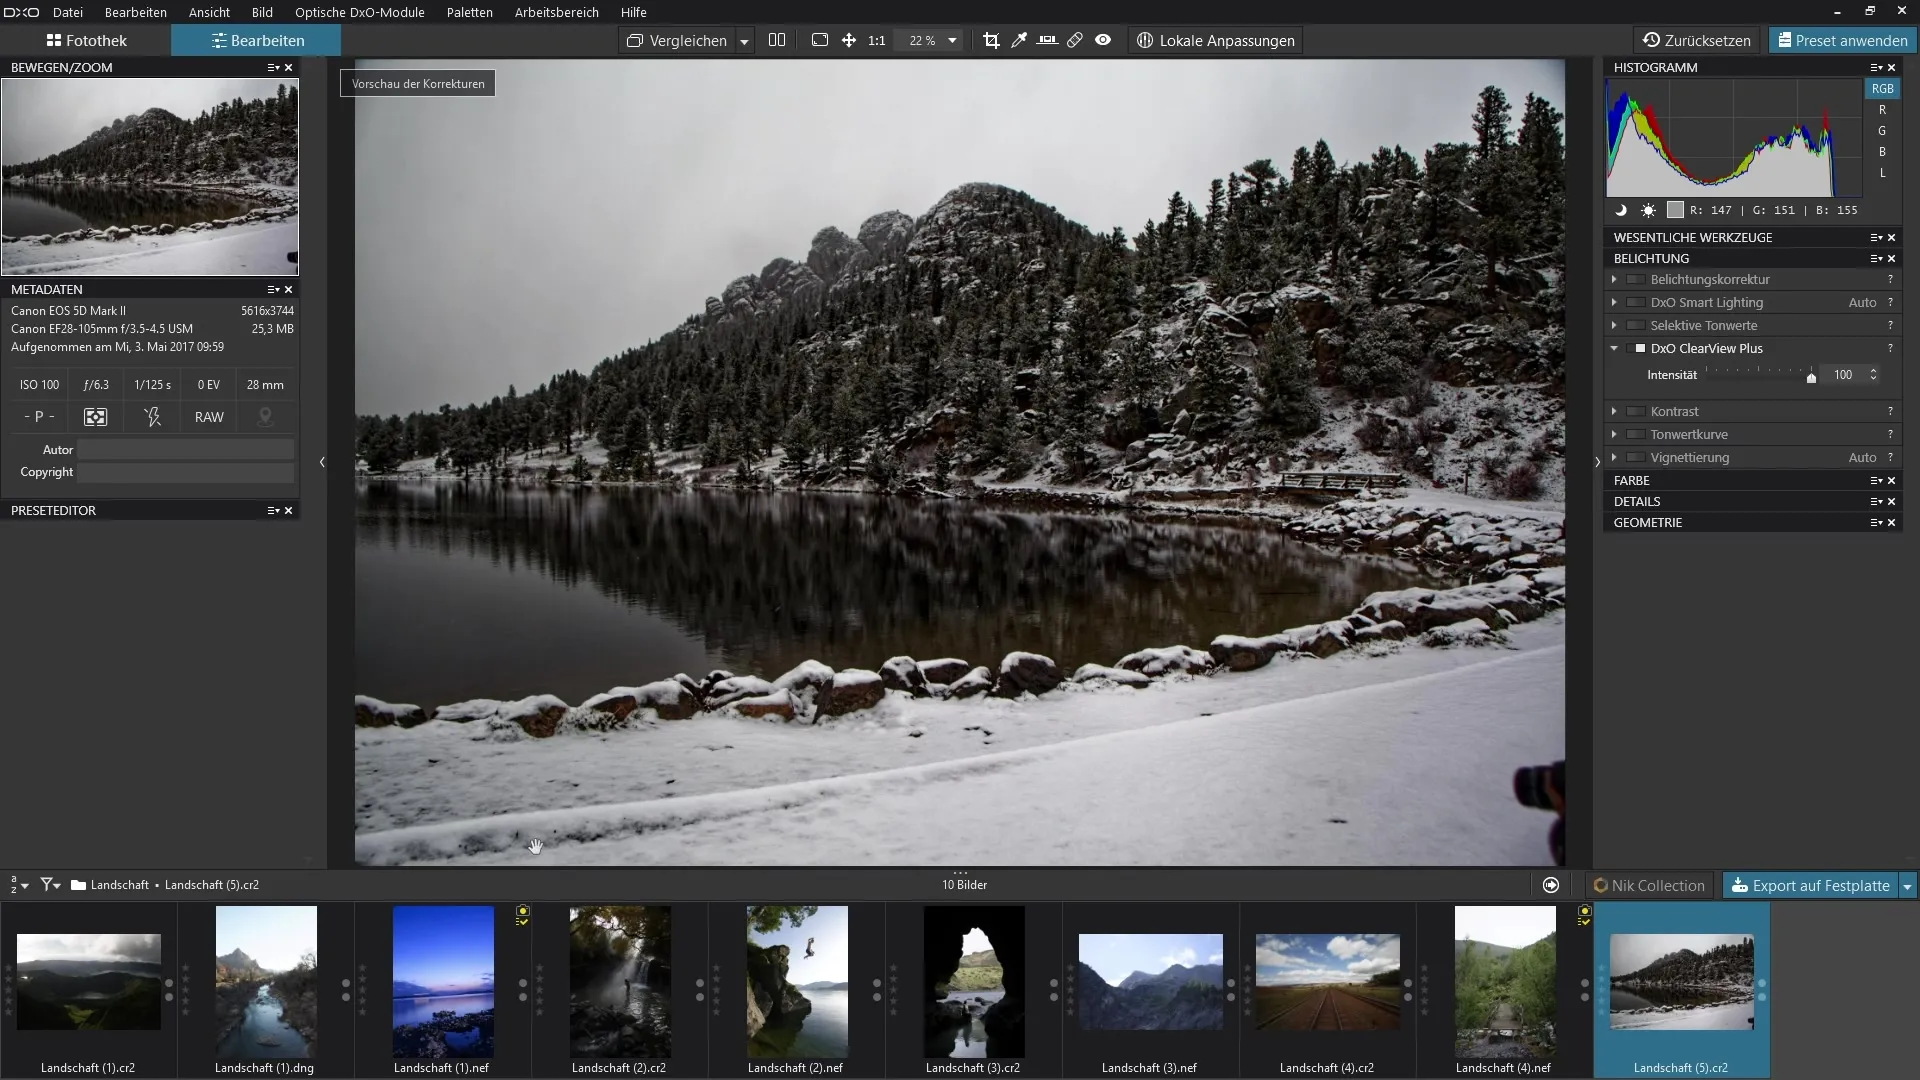
To achieve a better result, play with the filter's intensity until you reach the desired look. A before-and-after comparison is helpful at each step to make the changes visible.
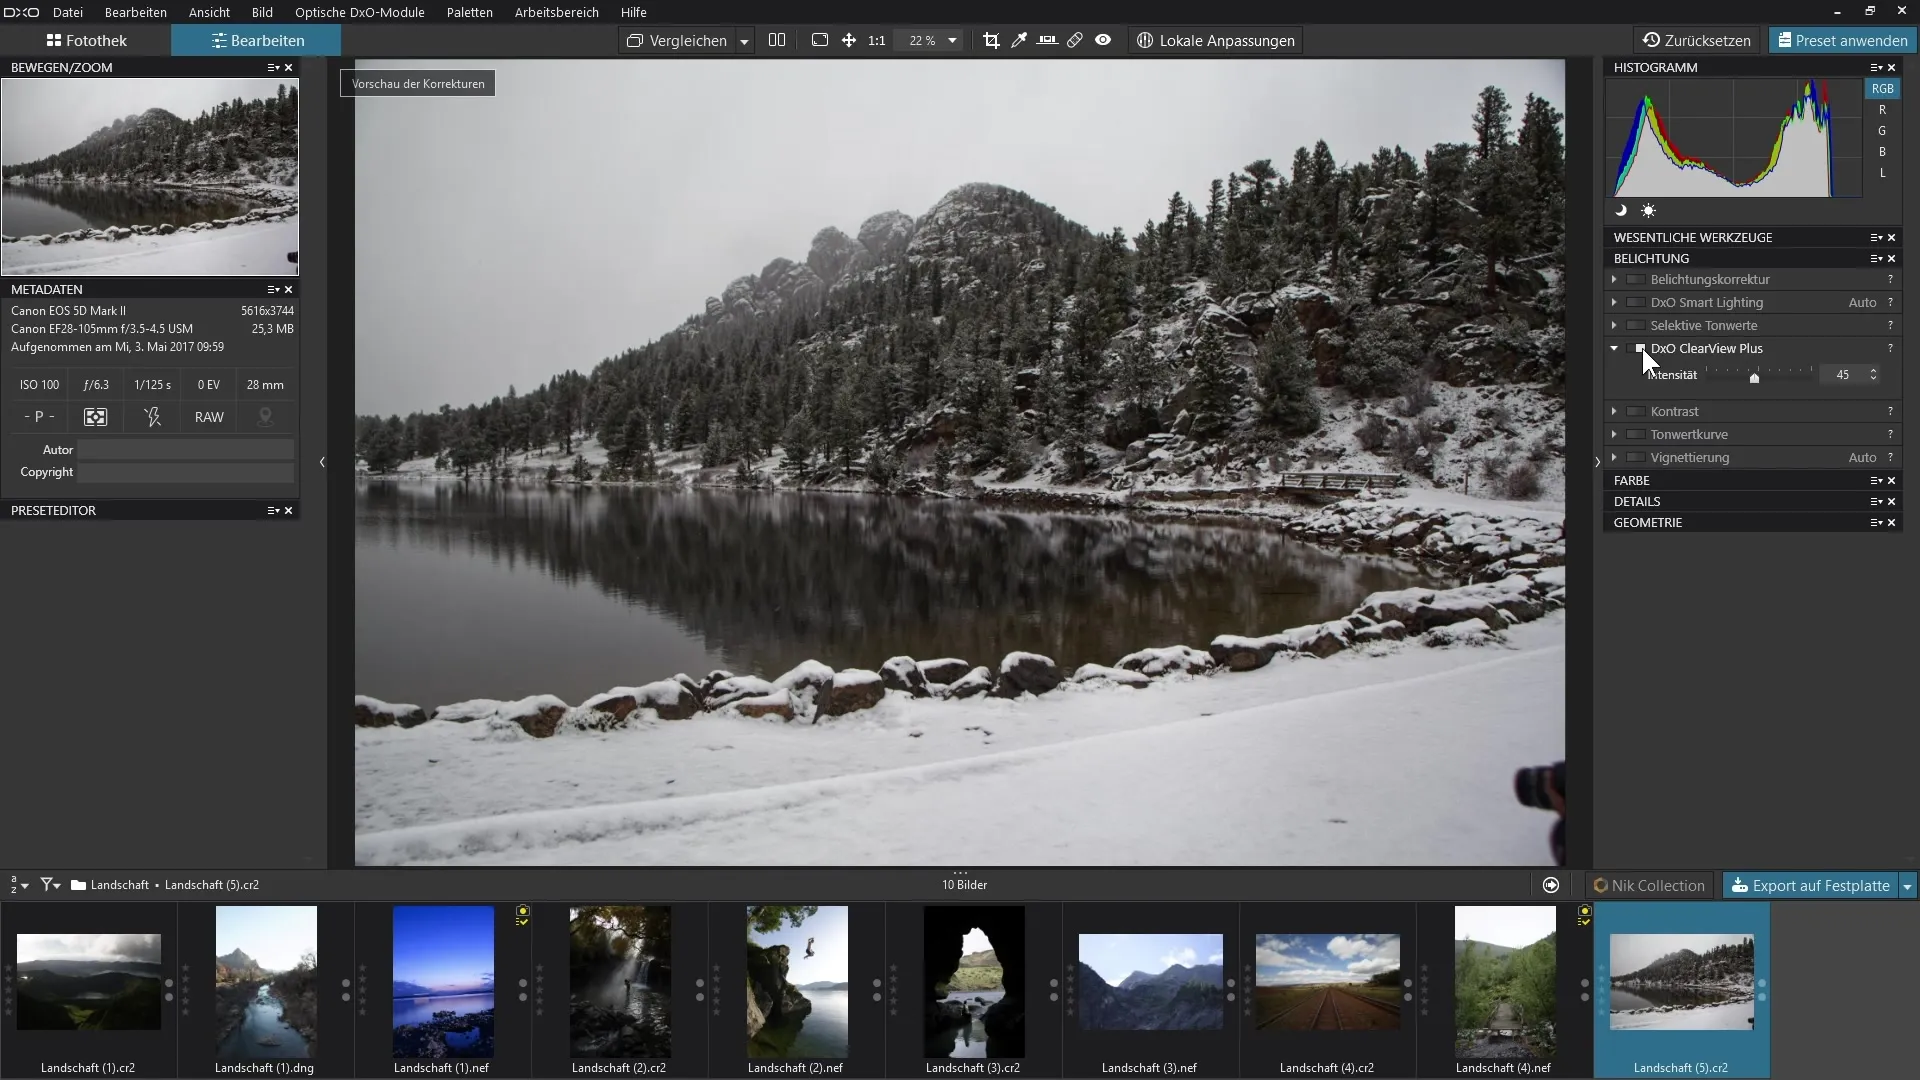
To further demonstrate the versatility of the filter, you can also try ClearView Plus on images without fog. You will quickly find that the filter can produce useful effects in these scenarios as well, making the sky appear clearer and more saturated.
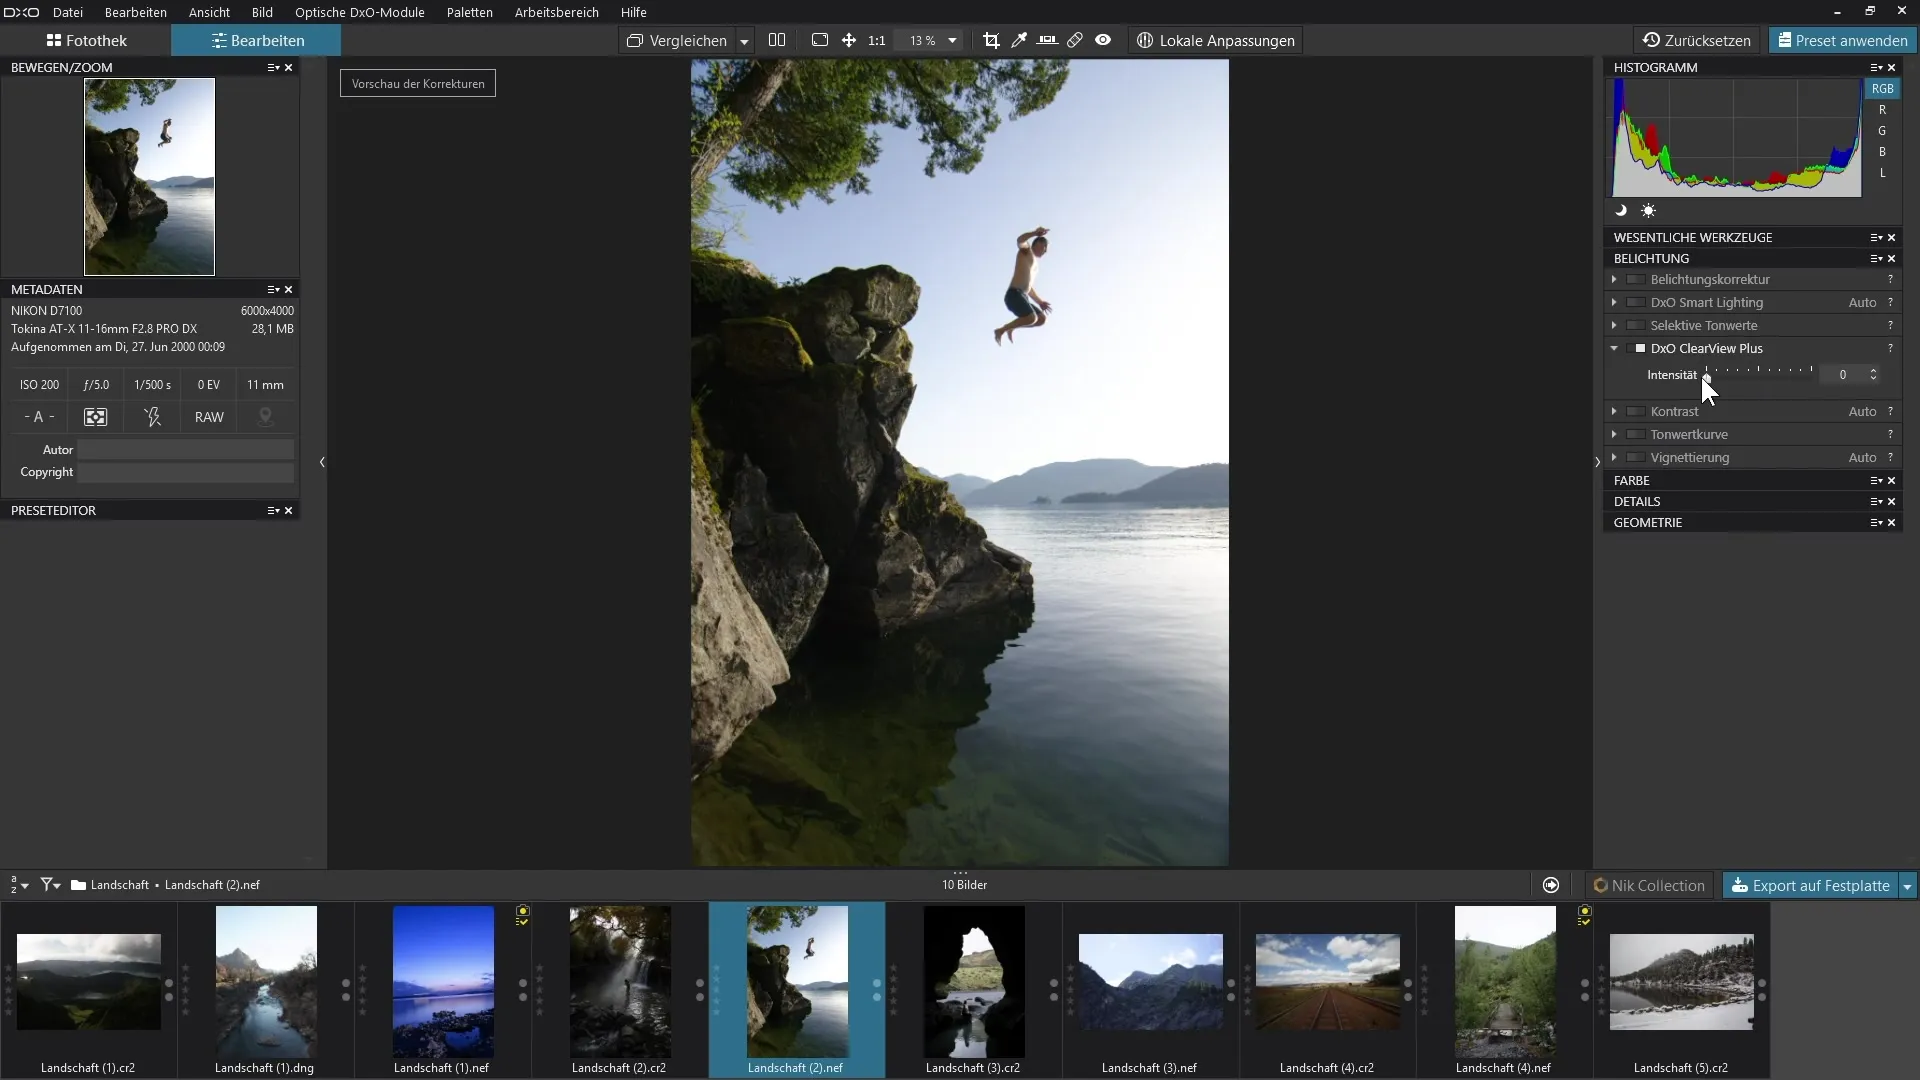
However, note that the filter is not always optimal for all subjects. Especially in portrait photography, ClearView Plus can create unpleasant effects on the skin. Apply the filter cautiously to avoid disproportionately highlighting skin details.
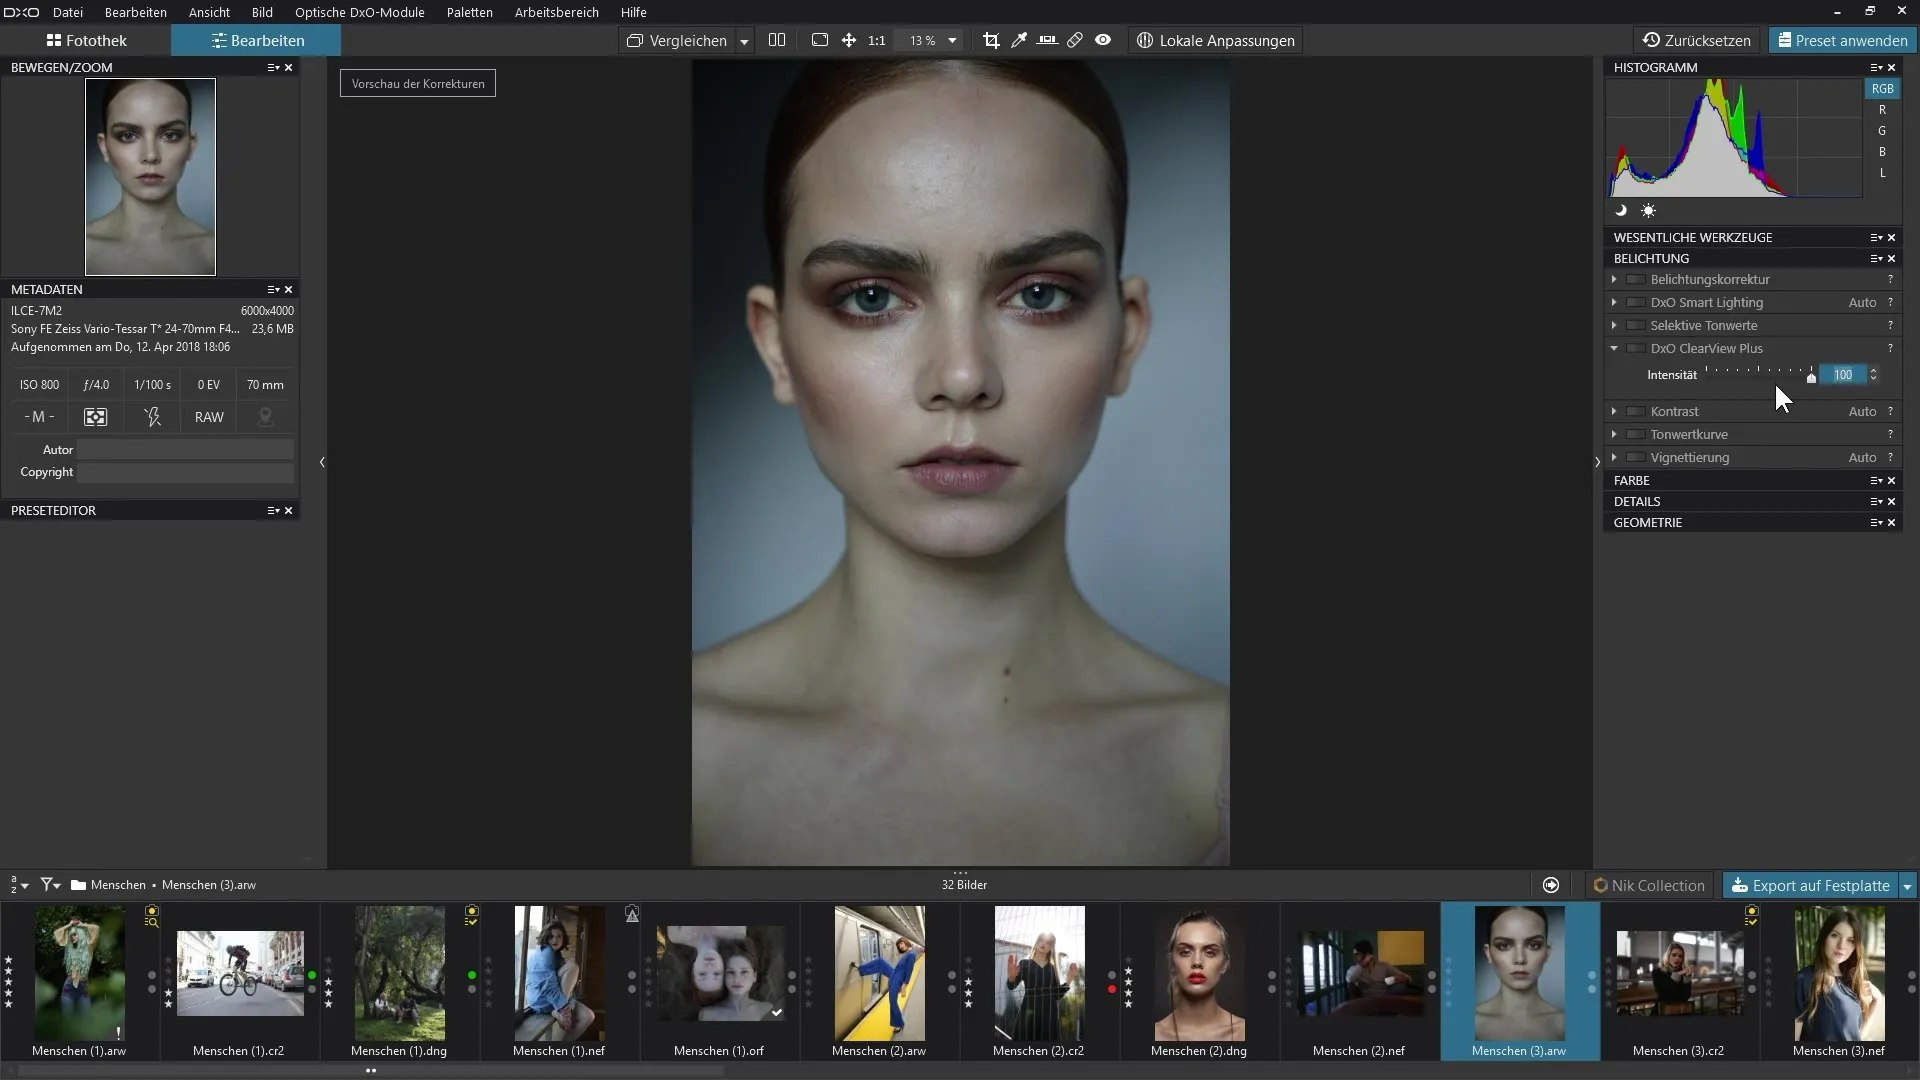
If you want to use the filter to improve skin correction, you can first apply it intensely to work out the troublesome spots. Then, you can use retouching tools to edit the blemishes and disable the filter after editing to achieve a natural result.
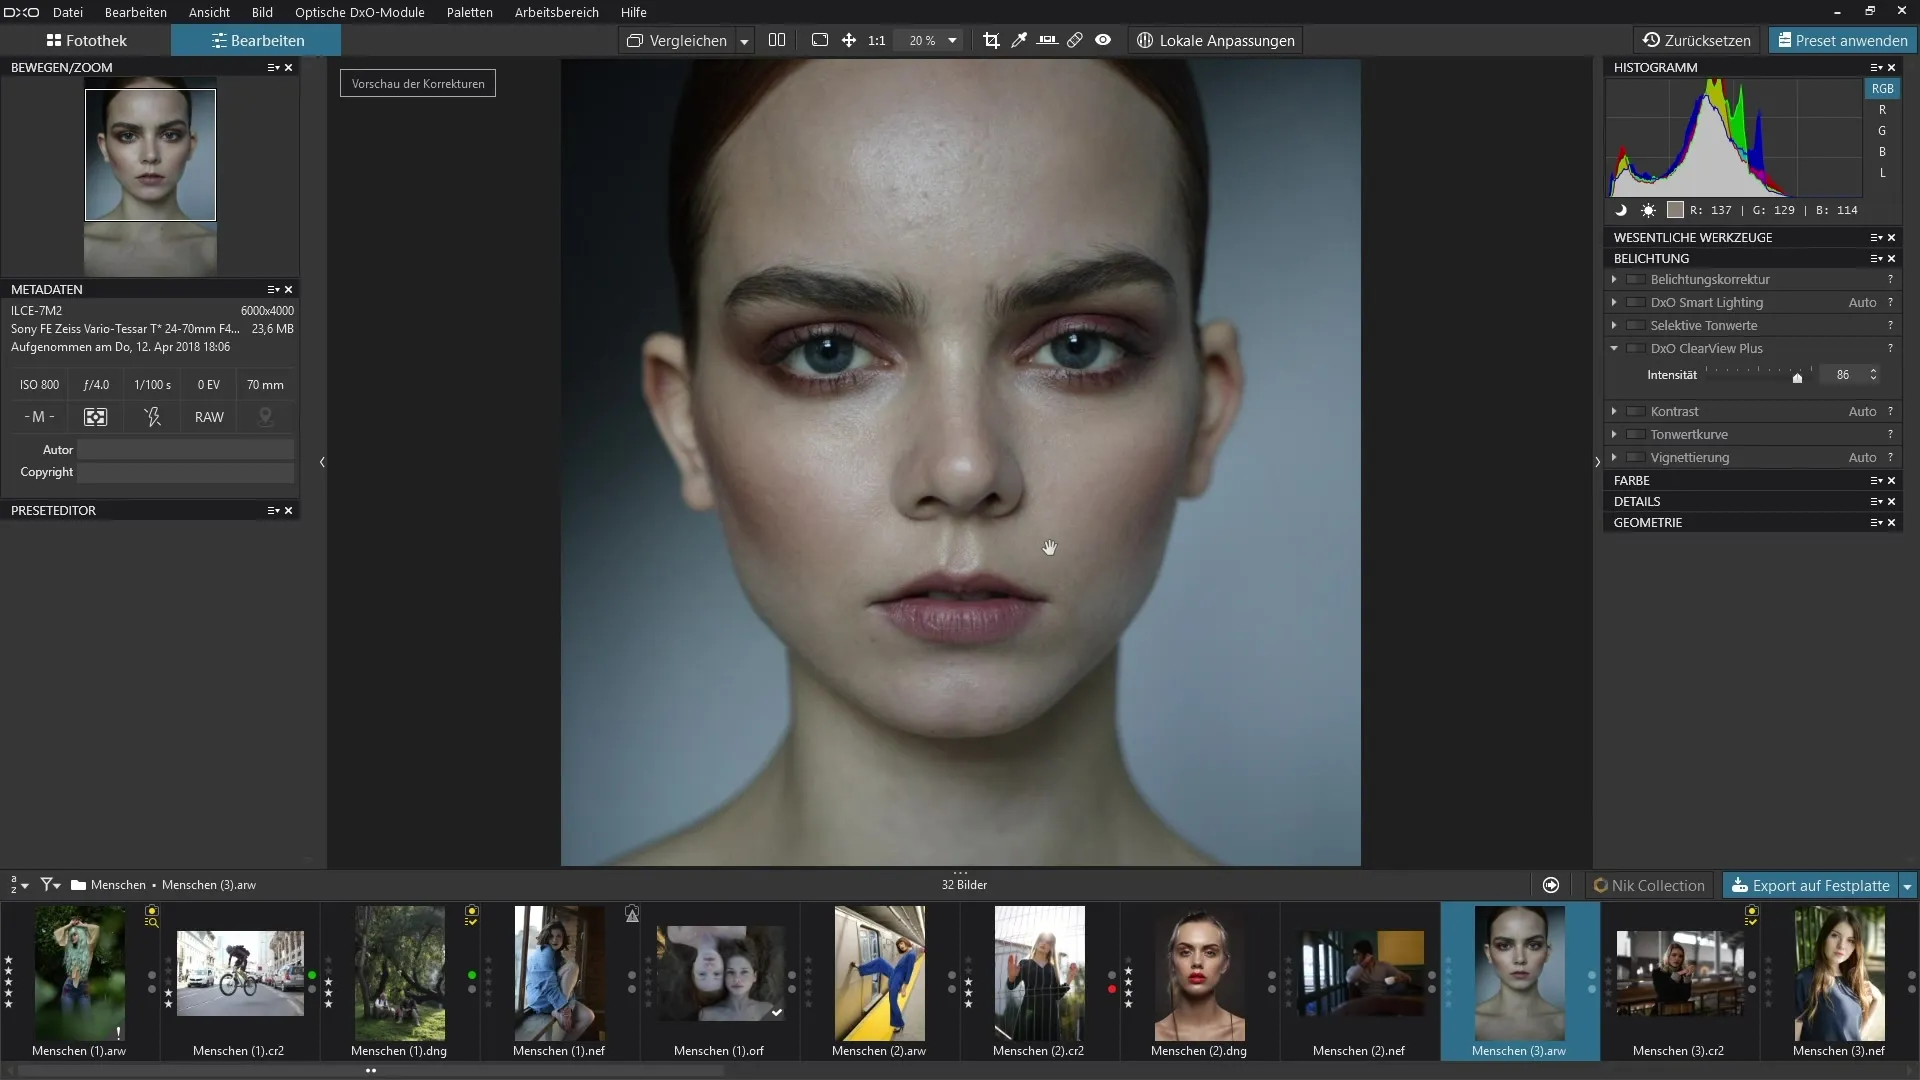
When you are satisfied with your result, save the edited image. Remember to always review the results critically to ensure that the editing meets your expectations and that the image does not appear exaggerated.
Summary - Guide to Using the ClearView Plus Filter in DxO PhotoLab 3
The ClearView Plus filter in DxO PhotoLab 3 is a powerful tool for bringing out details in foggy images and enhancing contrast. You will learn how to handle this filter playfully while optimizing image quality without overdoing it. Be sure to preserve the natural qualities of the images and always assess the results critically.
Frequently Asked Questions
What is the ClearView Plus filter in DxO PhotoLab 3?The ClearView Plus filter is a tool in DxO PhotoLab 3 designed to remove fog and haze from images and bring out details.
How does the ClearView Plus filter work?The filter has a single slider that allows you to adjust the intensity of the effect to achieve clear and detailed images.
Can I use the ClearView Plus filter for portraits?Yes, you can apply the filter to portraits, but you need to be cautious to avoid unpleasant effects on the skin.
When should I not use the filter?Avoid using the filter on images without fog or haze, as it can produce exaggerated effects.
How can I ensure my edits look natural?Regularly compare your edited image with the original and be careful with the filter's intensity setting to achieve natural results.


