Working with photos in DxO PhotoLab 3 can be so much more than just editing images. Efficient organization of your photos can help you keep track and access the desired images faster. In this guide, I will show you step by step how to effectively manage and organize your photos in DxO PhotoLab 3. You will learn how to rotate images, create virtual copies, and set up projects to optimize your work.
Key insights
- Rotate photos and adjust their orientation
- Create virtual copies for different editing variants
- Set up projects to bundle images from different sources
- Practical tips for evaluating and organizing your images
Rotating images and adjusting their orientation
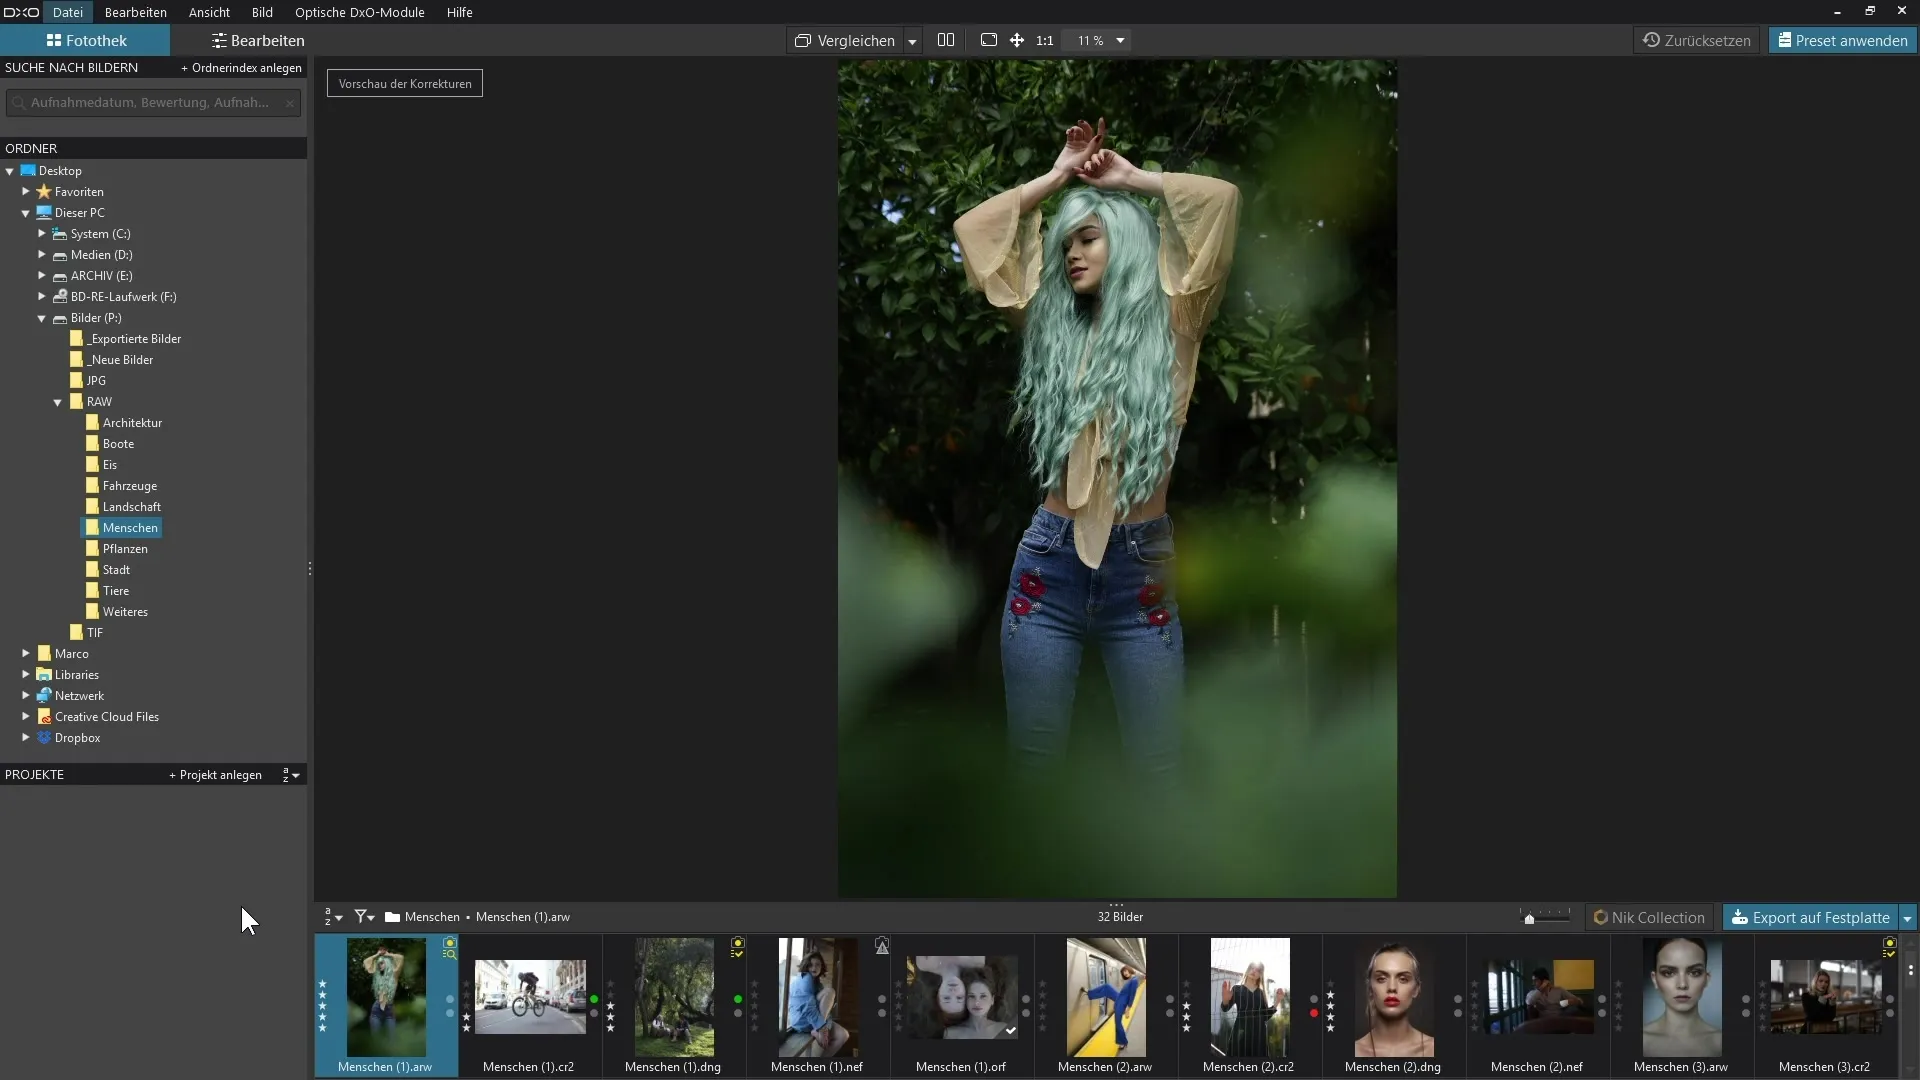
First of all, it is important that the images you work with in DxO PhotoLab 3 are correctly aligned. Sometimes photos are not oriented properly after import. You can use a simple method to rotate images.
To rotate an image, select it with a click. Using the right mouse button, you can adjust the "Orientation" and rotate it left or right. Alternatively, you can use the keyboard shortcuts (Ctrl + L) for rotating left and (Ctrl + R) for rotating right. These changes are initially only visible within DxO PhotoLab 3 and do not directly affect the file on your hard drive.
Creating virtual copies
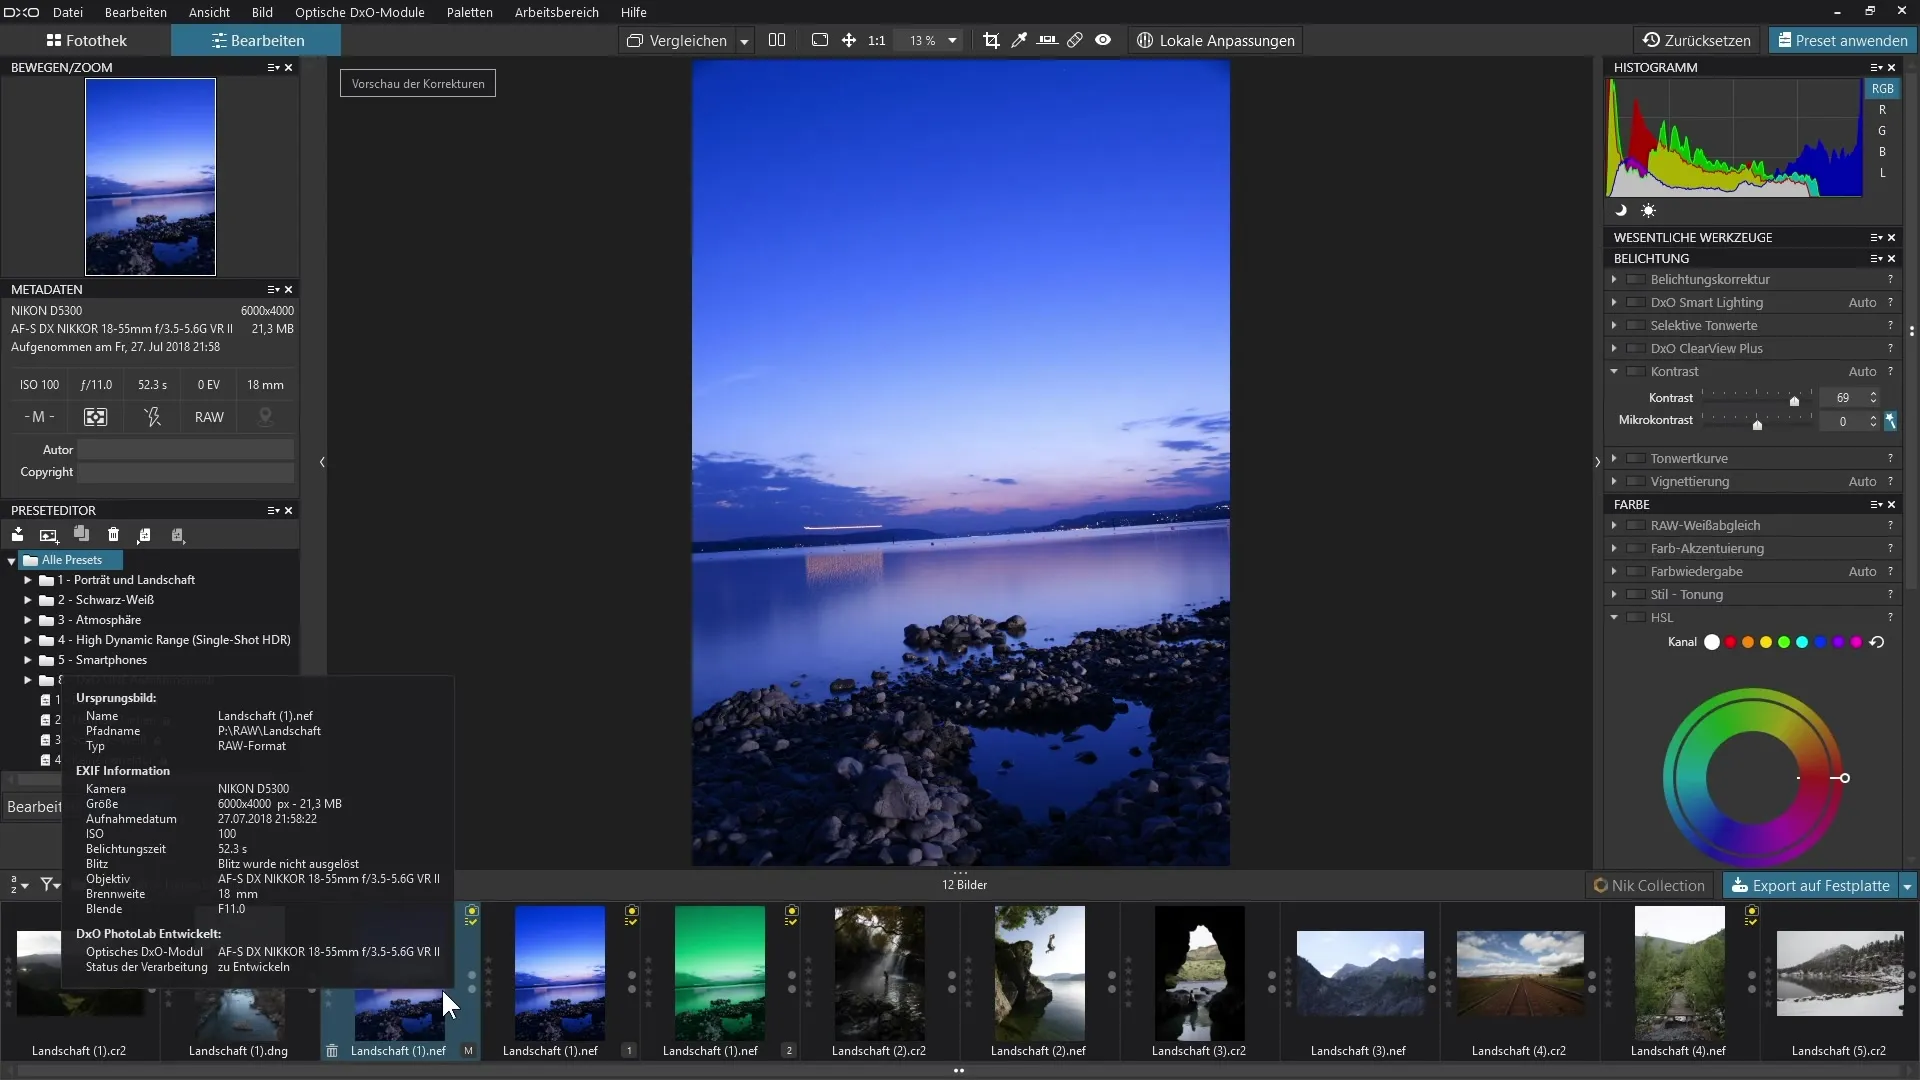
Have you ever wondered how to try out different variants of an image? With the virtual copies feature, you can easily do this. Right-click on the desired image and select the option "Create virtual copy." This creates a copy of the image that you can edit independently without altering the original file.
A virtual copy is classified in the user interface with a number. The original image remains as "Master," while the copies are displayed as "virtual copy 1," "virtual copy 2," and so on. You can edit the copies as you wish — for example, increase the contrast in one copy or adjust the colors in another.
Comparison between different variants
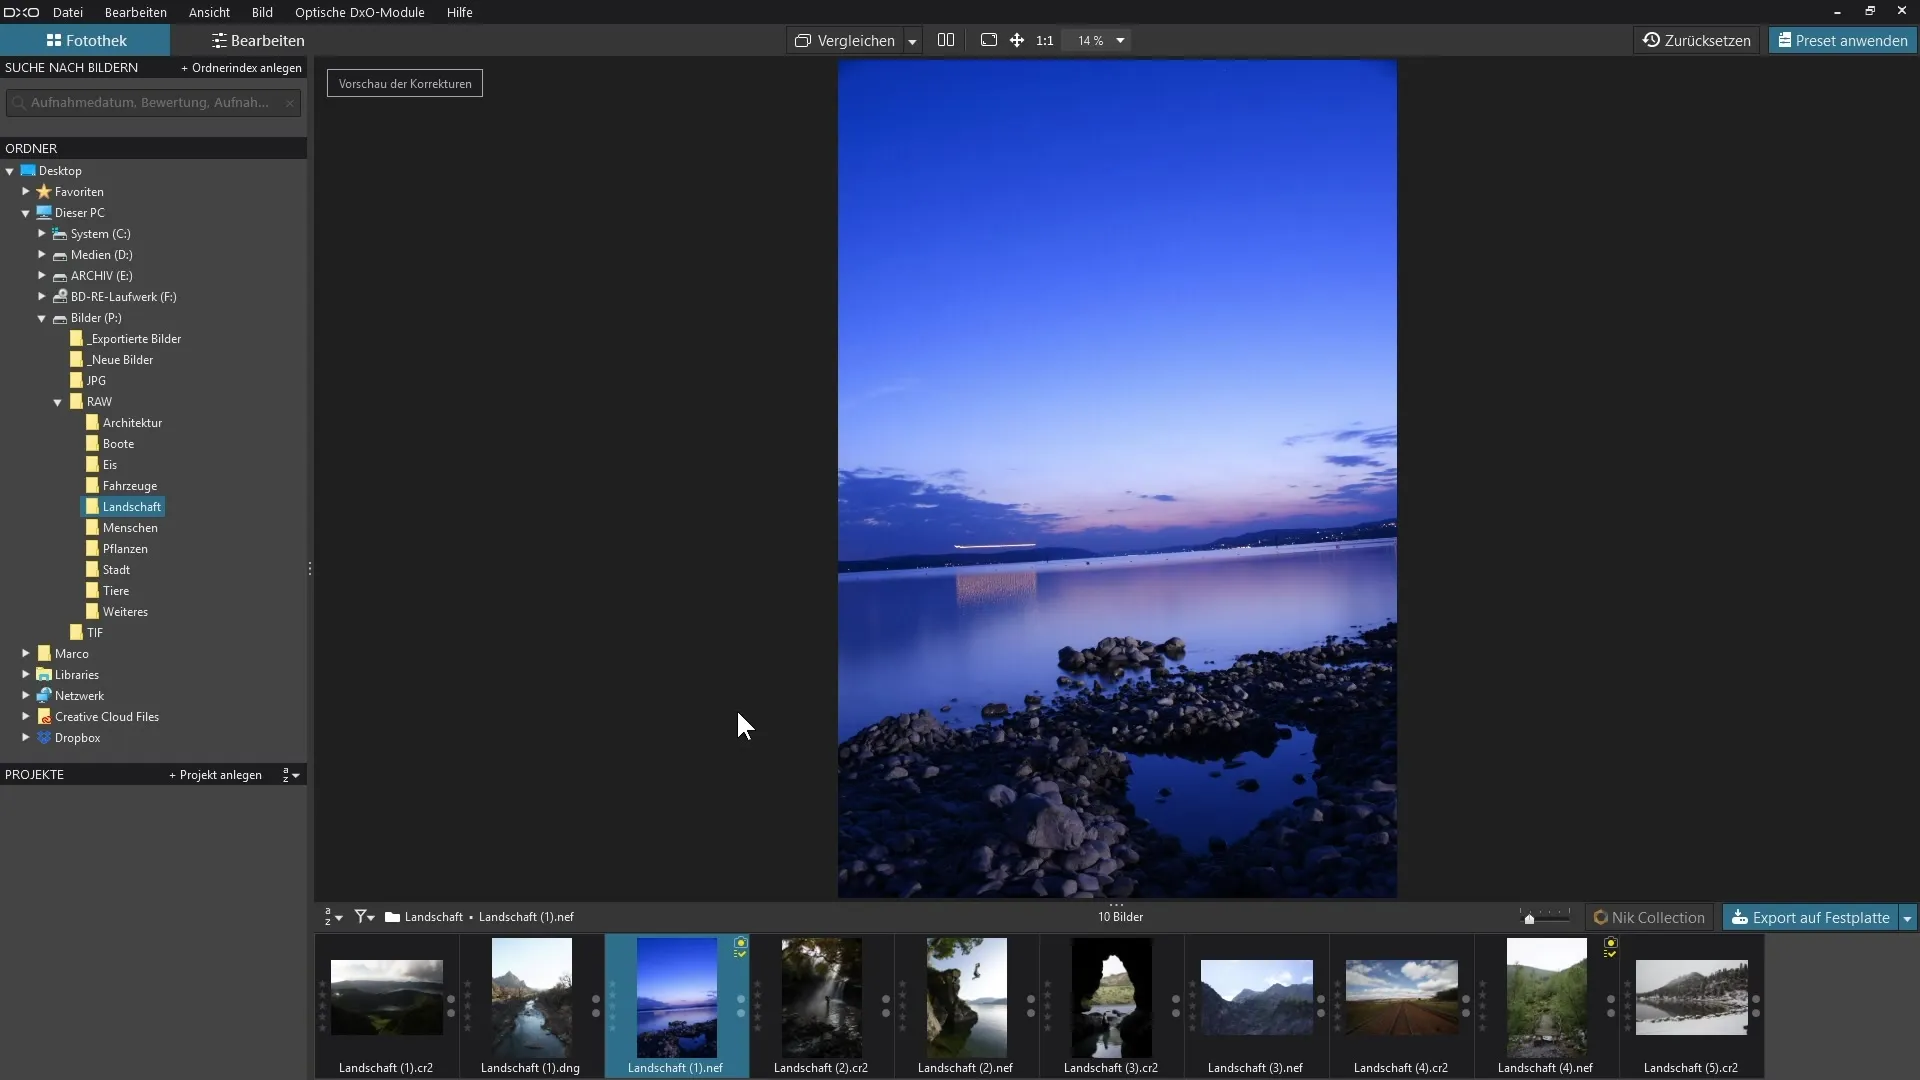
To clearly experience the differences between the original and the edited variants, you can switch to full-screen mode. Just press "F11" to enter full-screen mode. Then select which virtual copy you want to compare with the original image. This gives you a clear and unobstructed overview of the edited variants and helps you decide which one you like best.
The comparison also works among each other, which means you can also view two different virtual copies in succession. Thus, you have optimal control over all the changes and variants you need.
Setting up projects
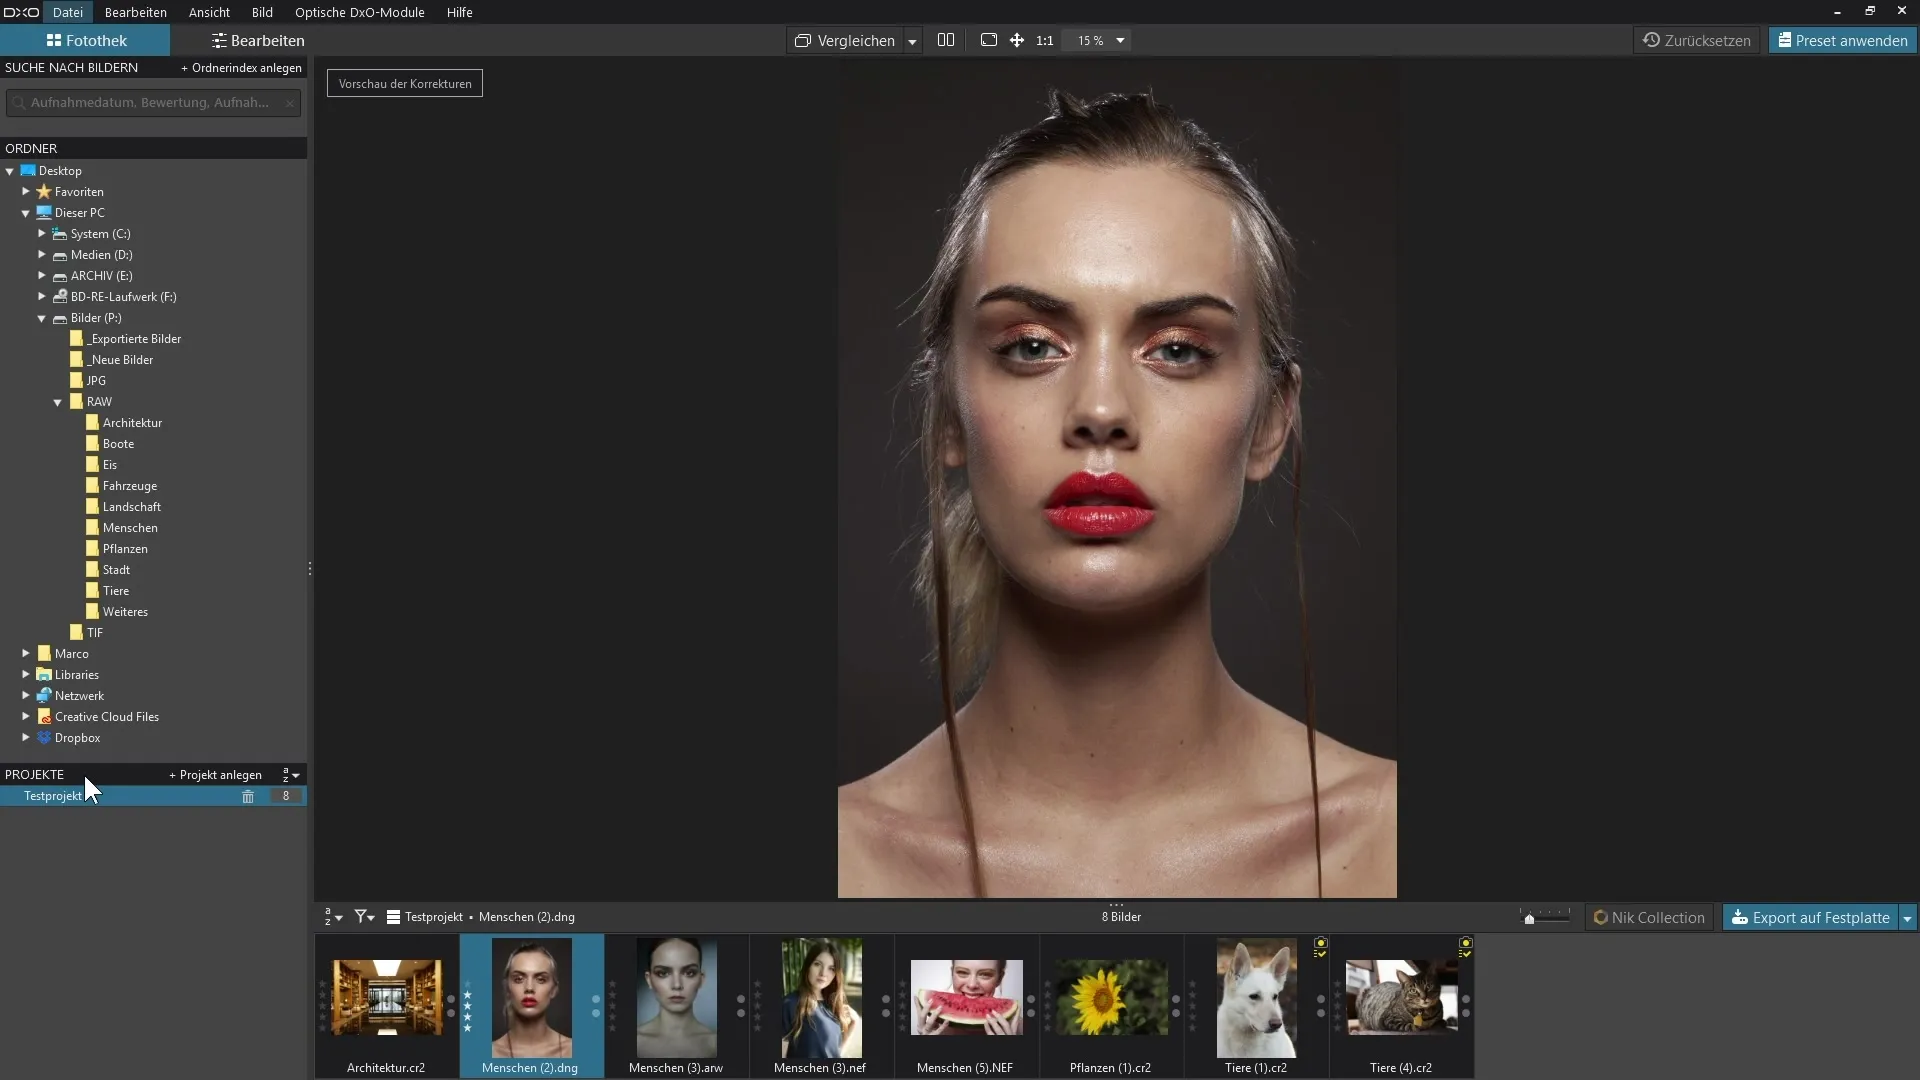
One of the particularly powerful features of DxO PhotoLab 3 is the ability to set up projects. This feature allows you to combine images from various folders or sources so that you can view and edit them collectively. To start a new project, click on "Create project" in the "Projects" area and give it an appropriate name, such as "Test project."
Next, you can select the desired images by holding down the Ctrl key and clicking with the mouse to select multiple images. With the right mouse button, you can either add the selection to the existing project or create a new project.
Working with projects
Once your images are added to the project, the original structure on the hard drive remains intact. This means you can continue to edit the images without needing to save them twice. Each project provides you with a workspace where you can work specifically.
Deleting a project that you no longer need is also easy. You just have to click on the trash can icon, and the project will be deleted while the original images remain on your hard drive.
Summary – Effective organization of photos in DxO PhotoLab 3
In this guide, you learned how to efficiently organize your photos in DxO PhotoLab 3. By rotating images, creating virtual copies, and setting up projects, you can maintain control over your photo work and structure your projects. These tools and techniques not only bring order to your photo editing but also promote your creative freedom.
Frequently Asked Questions
How do I rotate an image in DxO PhotoLab 3?Use the right mouse button and select "Orientation" or use the keyboard shortcuts Ctrl + L (left) or Ctrl + R (right).
What are virtual copies and what are they used for?Virtual copies are changes to images that you can create to compare different edits without affecting the original file.
How do I add images to a project?Select the desired images with the Ctrl key and right-click to add them to the project.
Can images in projects be changed?Yes, images in a project can be edited without changing the originals on your hard drive, as the project is virtual.
