The Repair-Toolin DxOPhotoLabis an indispensable tool for photographers who want to edit their images, especially when it comes to correcting skin blemishes or other unwanted areas. In this comprehensive guide, you will learn how to effectively use this tool to optimize and enhance your RAW images.
Main Insights
- The Repair Tool allows you to edit specific areas of an image by blending areas together.
- You can adjust the size and opacity of the tool to achieve precise results.
- There is also an option to simply copy areas of the image, which can be useful in certain situations.
Step-by-Step Guide
1. Accessing the Repair Tool
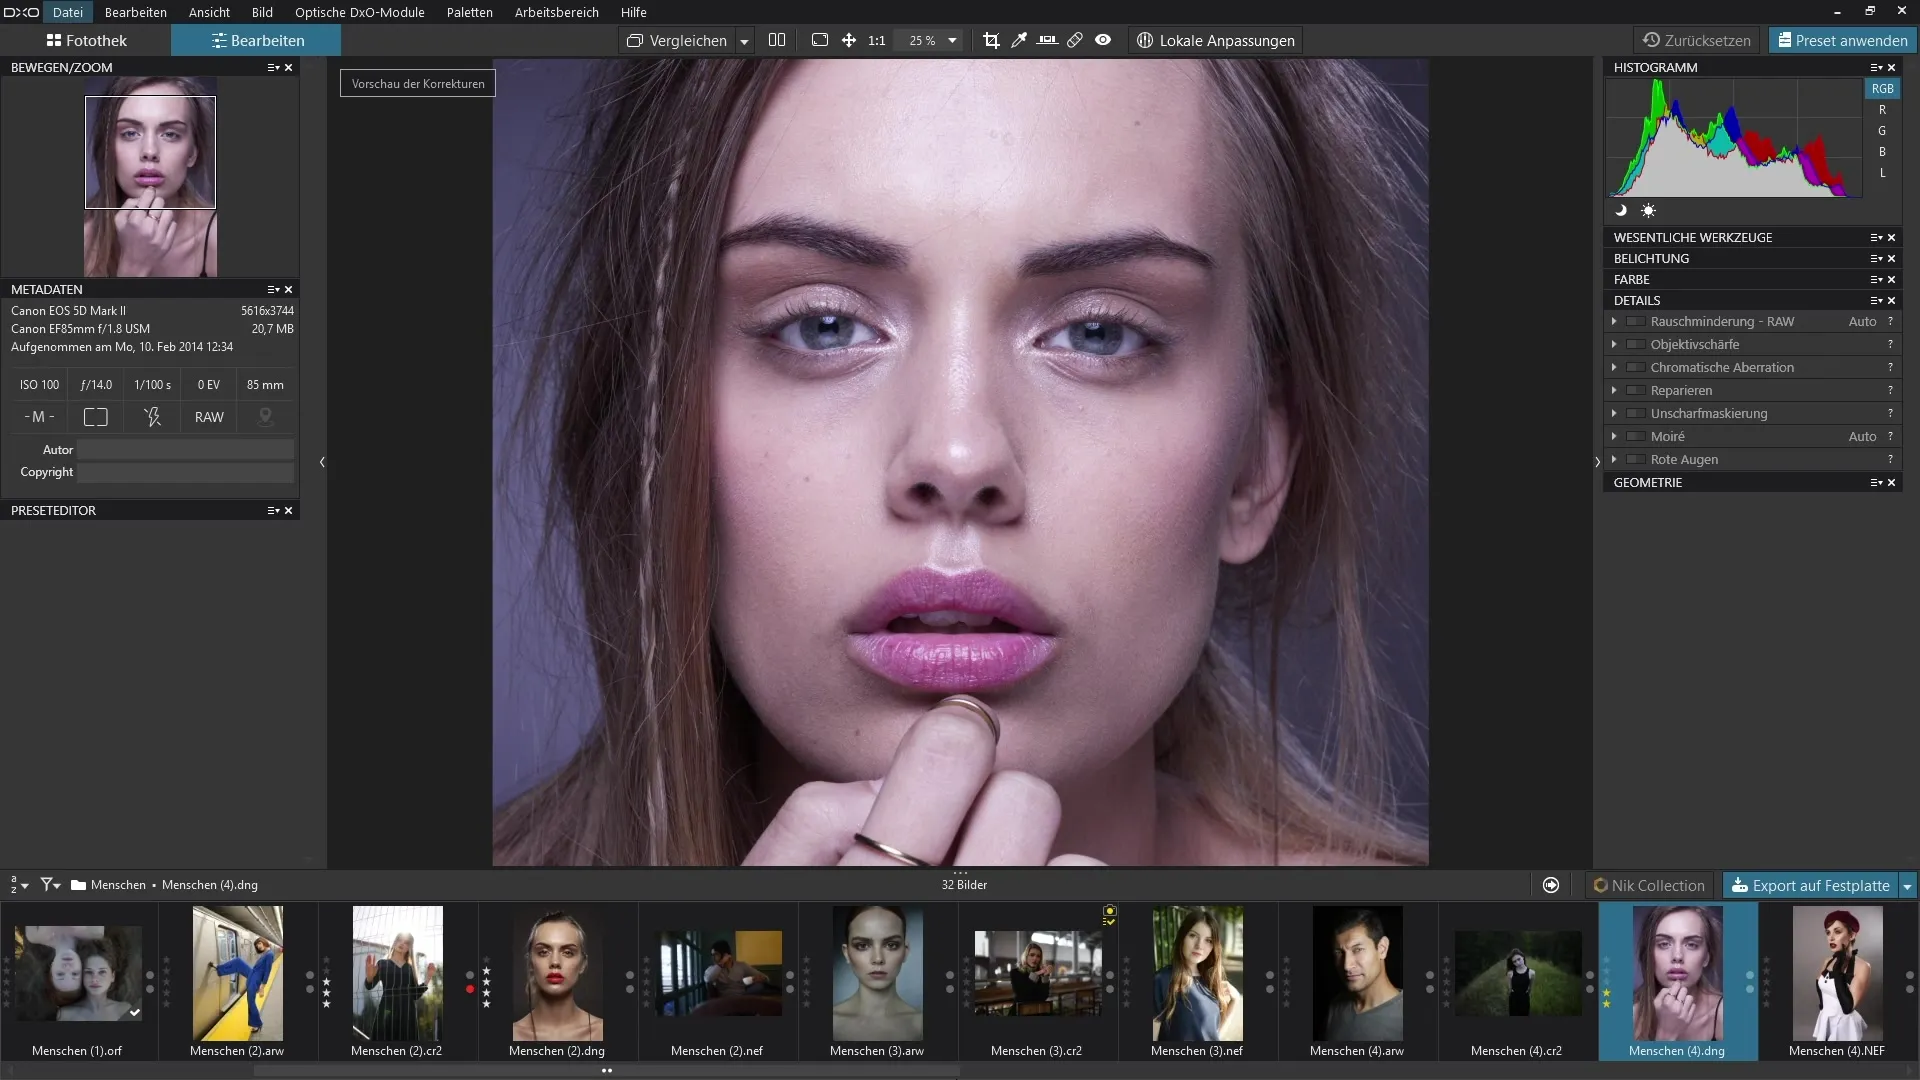
To work with the Repair Tool, first open the "Details" palette in DxO PhotoLab. Here you will find the Repair Tool represented by a small patch symbol. You can activate it either by clicking the icon or by selecting it in the toolbar.
2. Choosing the Repair or Copy Function
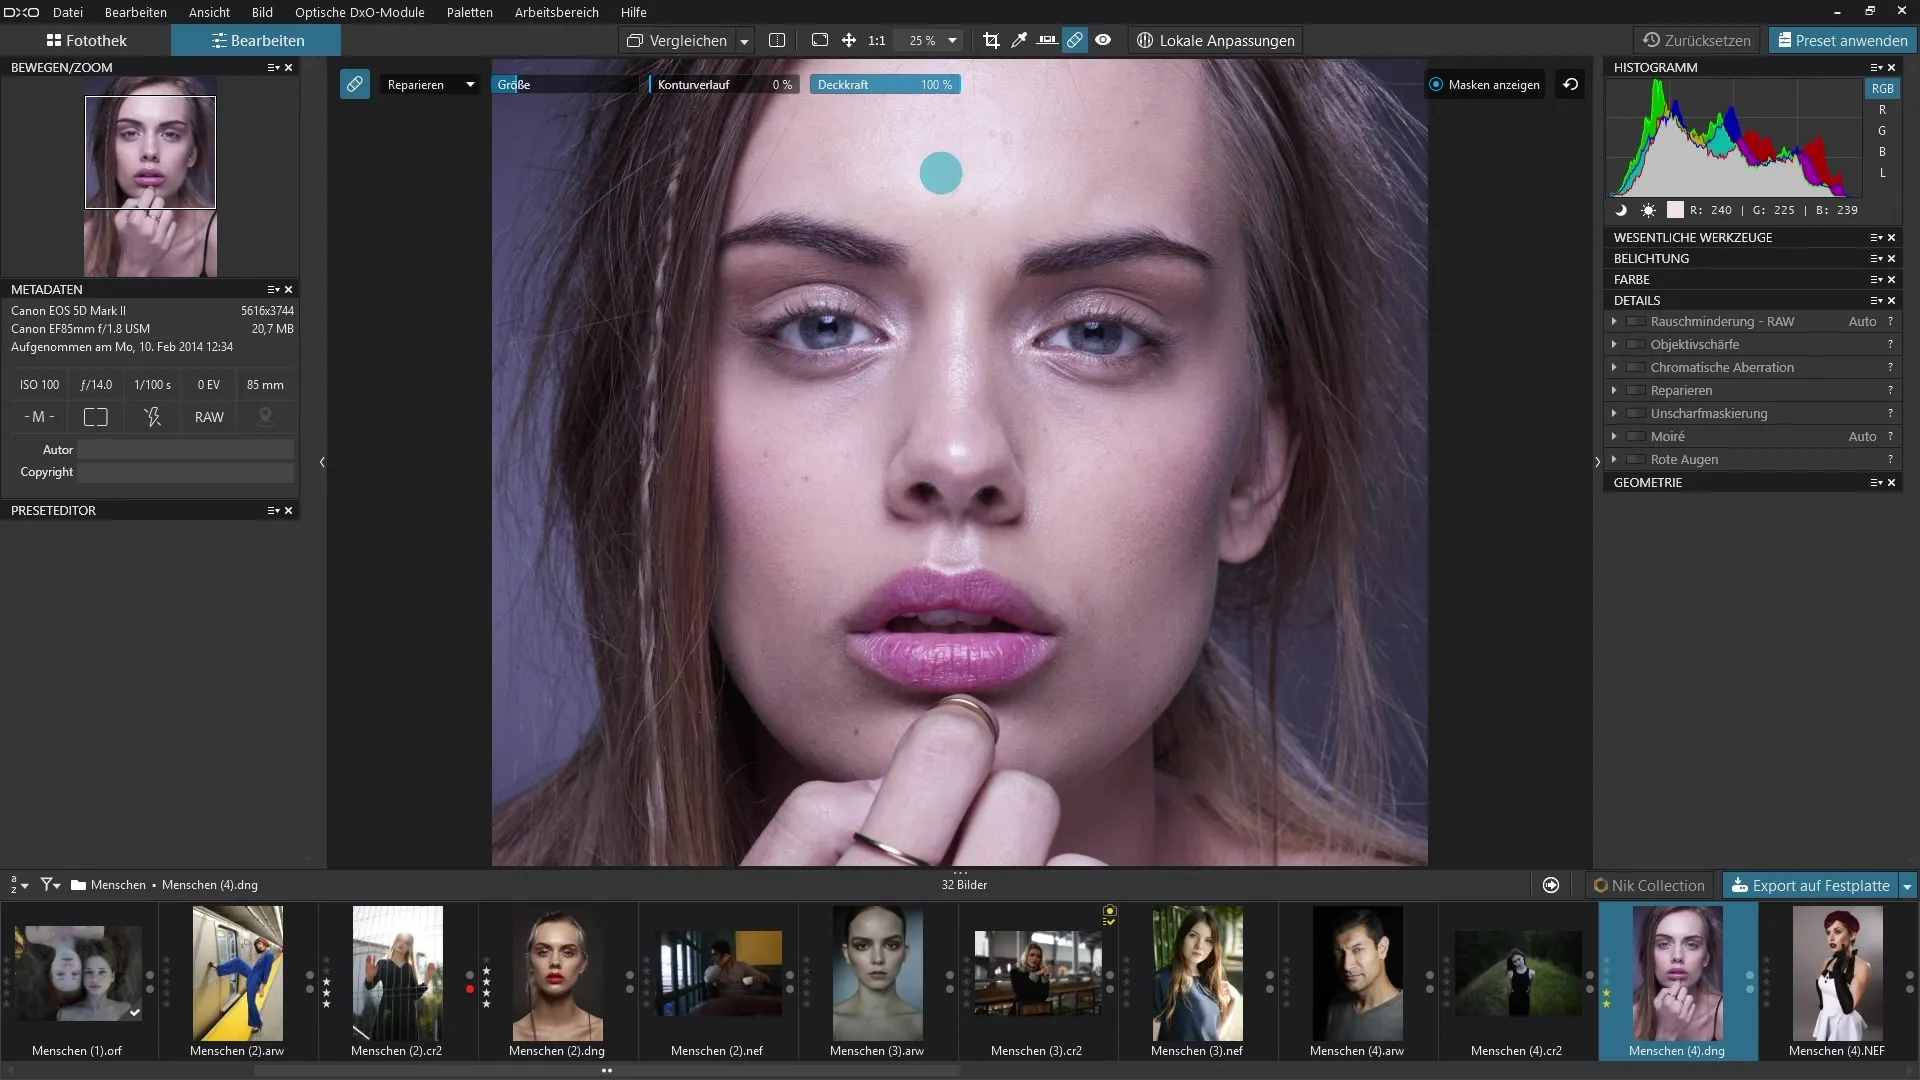
Once the tool is active, you have the option to switch between the "Repair" and "Copy" functions. With the "Repair" function, image areas are blended together, while the "Copy" function takes a section and places it elsewhere in the image.
3. Adjusting the Brush Size
An important option is adjusting the brush size. You can set the size of your brush tip directly in the tool layer or alternatively hold down the control key and use your mouse's scroll wheel. This allows for fine-tuning of the brush size, which is significant for precise retouching.
4. Setting the Contour Gradient
In addition to the brush size, you can adjust the contour gradient of your brush tip. To do this, hold down the Shift key and move the scroll wheel. This function helps you achieve a smoother transition in your retouches, which is particularly beneficial for skin retouching.
5. Setting the Opacity
The opacity allows you to control how strongly changes in the image are visible. With a setting of 100%, the corrected area is fully adopted, while lower values create a subtler effect and allow the original image to show through.
6. Performing a Retouch
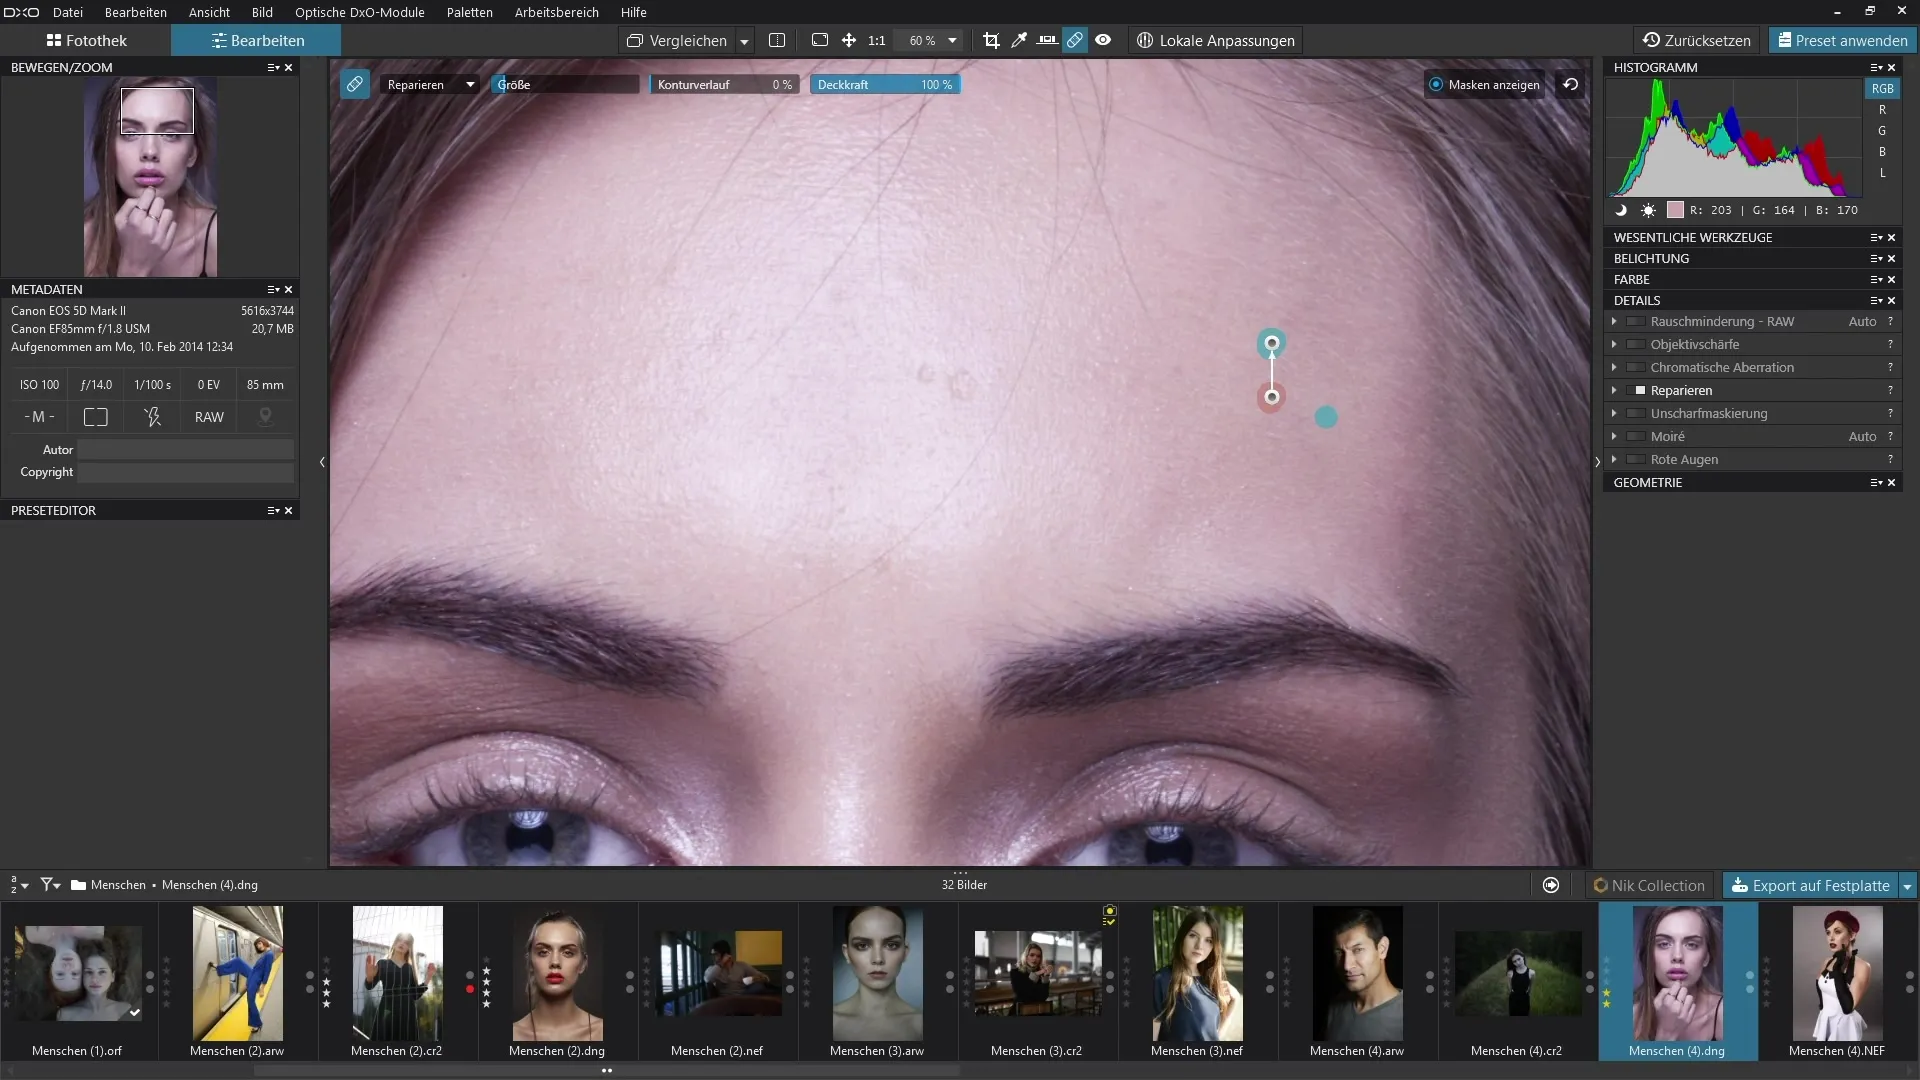
To perform a retouch, zoom into your image and navigate to the area you want to edit. Hold down the space bar and click on the unwanted area to paint over it. The repaired area will then be replaced by another healthy area. You can deactivate the mask display to see the actual changes and ensure everything looks good.
7. Changing Sources
If you are not satisfied with the repaired area, you can change the source at any time. Simply click on a new area you want to use as a replacement. This gives you the opportunity to try different areas until you achieve the desired result.
8. Advanced Adjustments
If you want to make more precise adjustments, you can reactivate the previous mask. This will show you exactly where the information was taken from. You can also deactivate the masks to get a clear view of the whole image.
9. Using the Copy Function
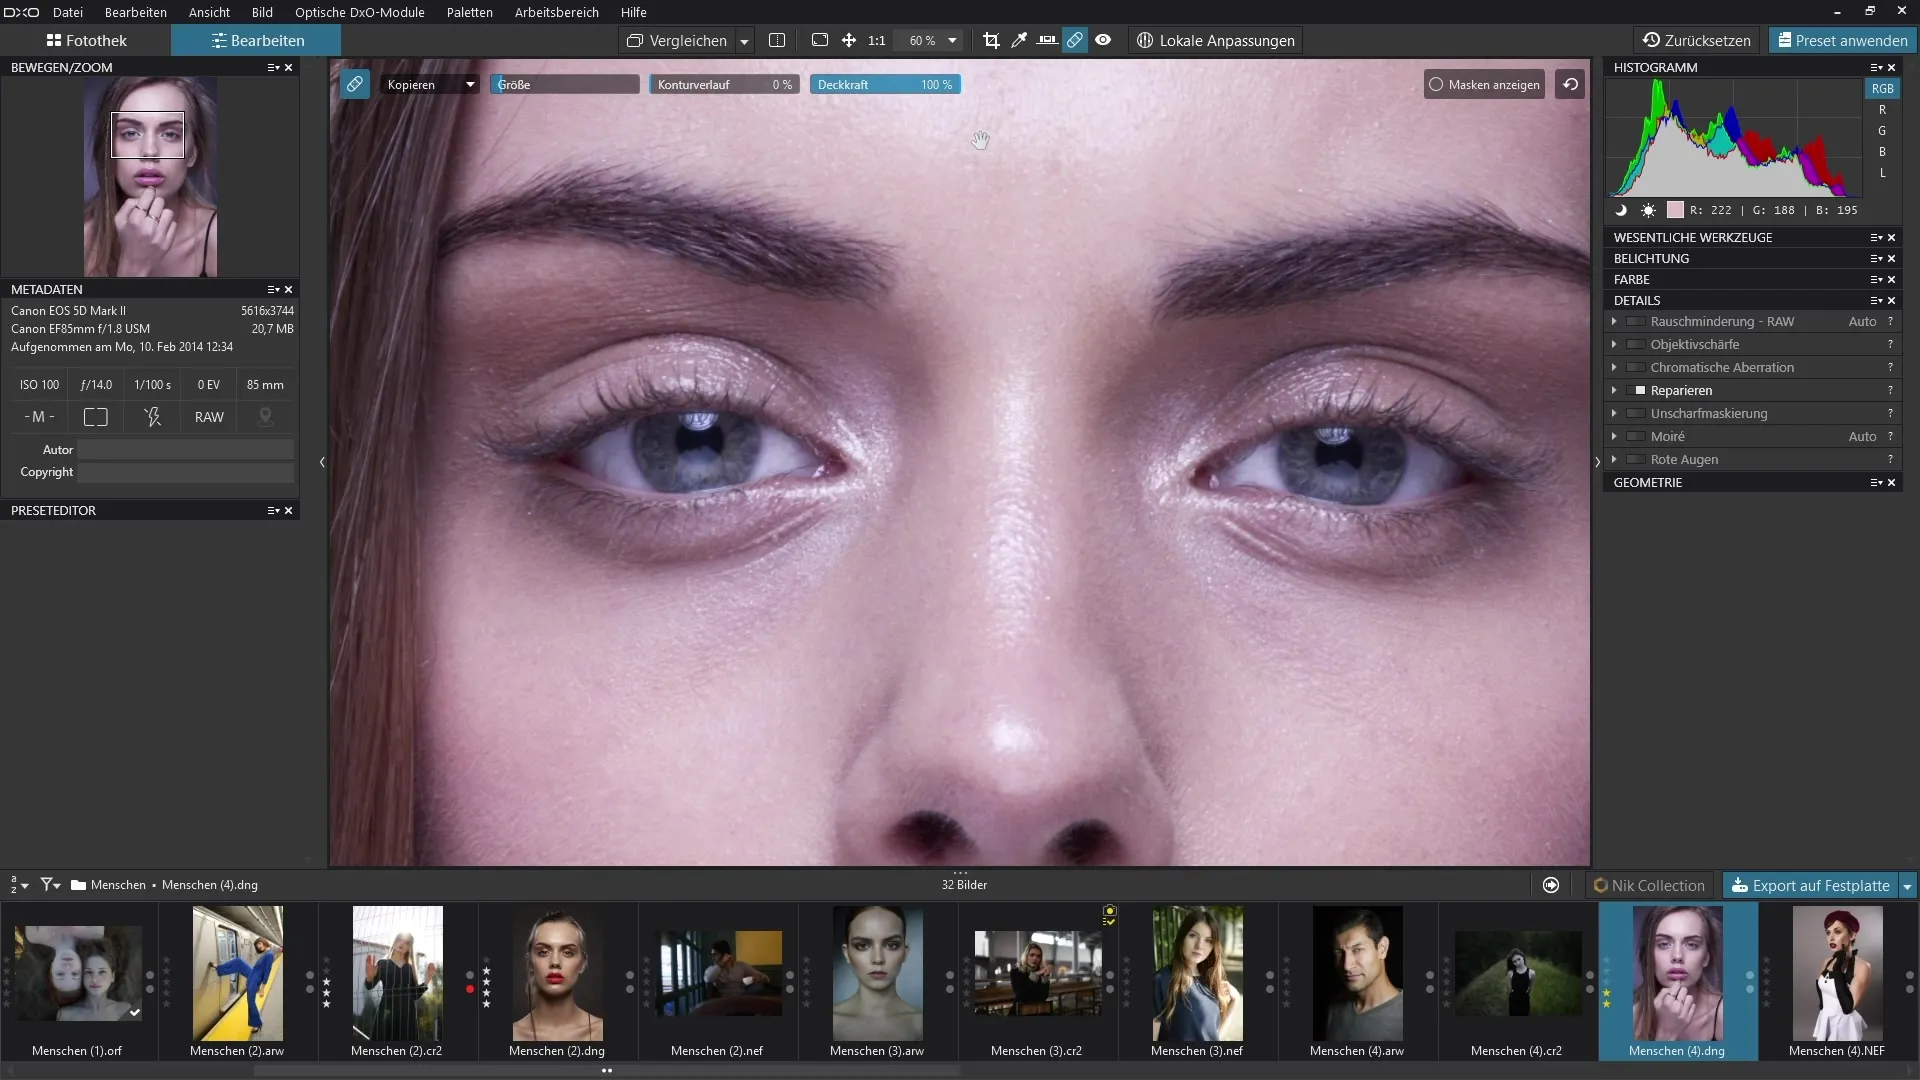
If you want to switch from the "Repair" to the "Copy" function, note that the selected areas will no longer be blended but copied directly. This option can be helpful for transferring specific details from one part of the image to another. Be mindful of the accuracy, as 1:1 copies can often look unnatural.
10. Final Adjustment and Review
After completing your retouches, it is helpful to review the results. You can activate or deactivate the function at any time to see exactly what has changed. This ensures that the alterations meet your desired outcome.
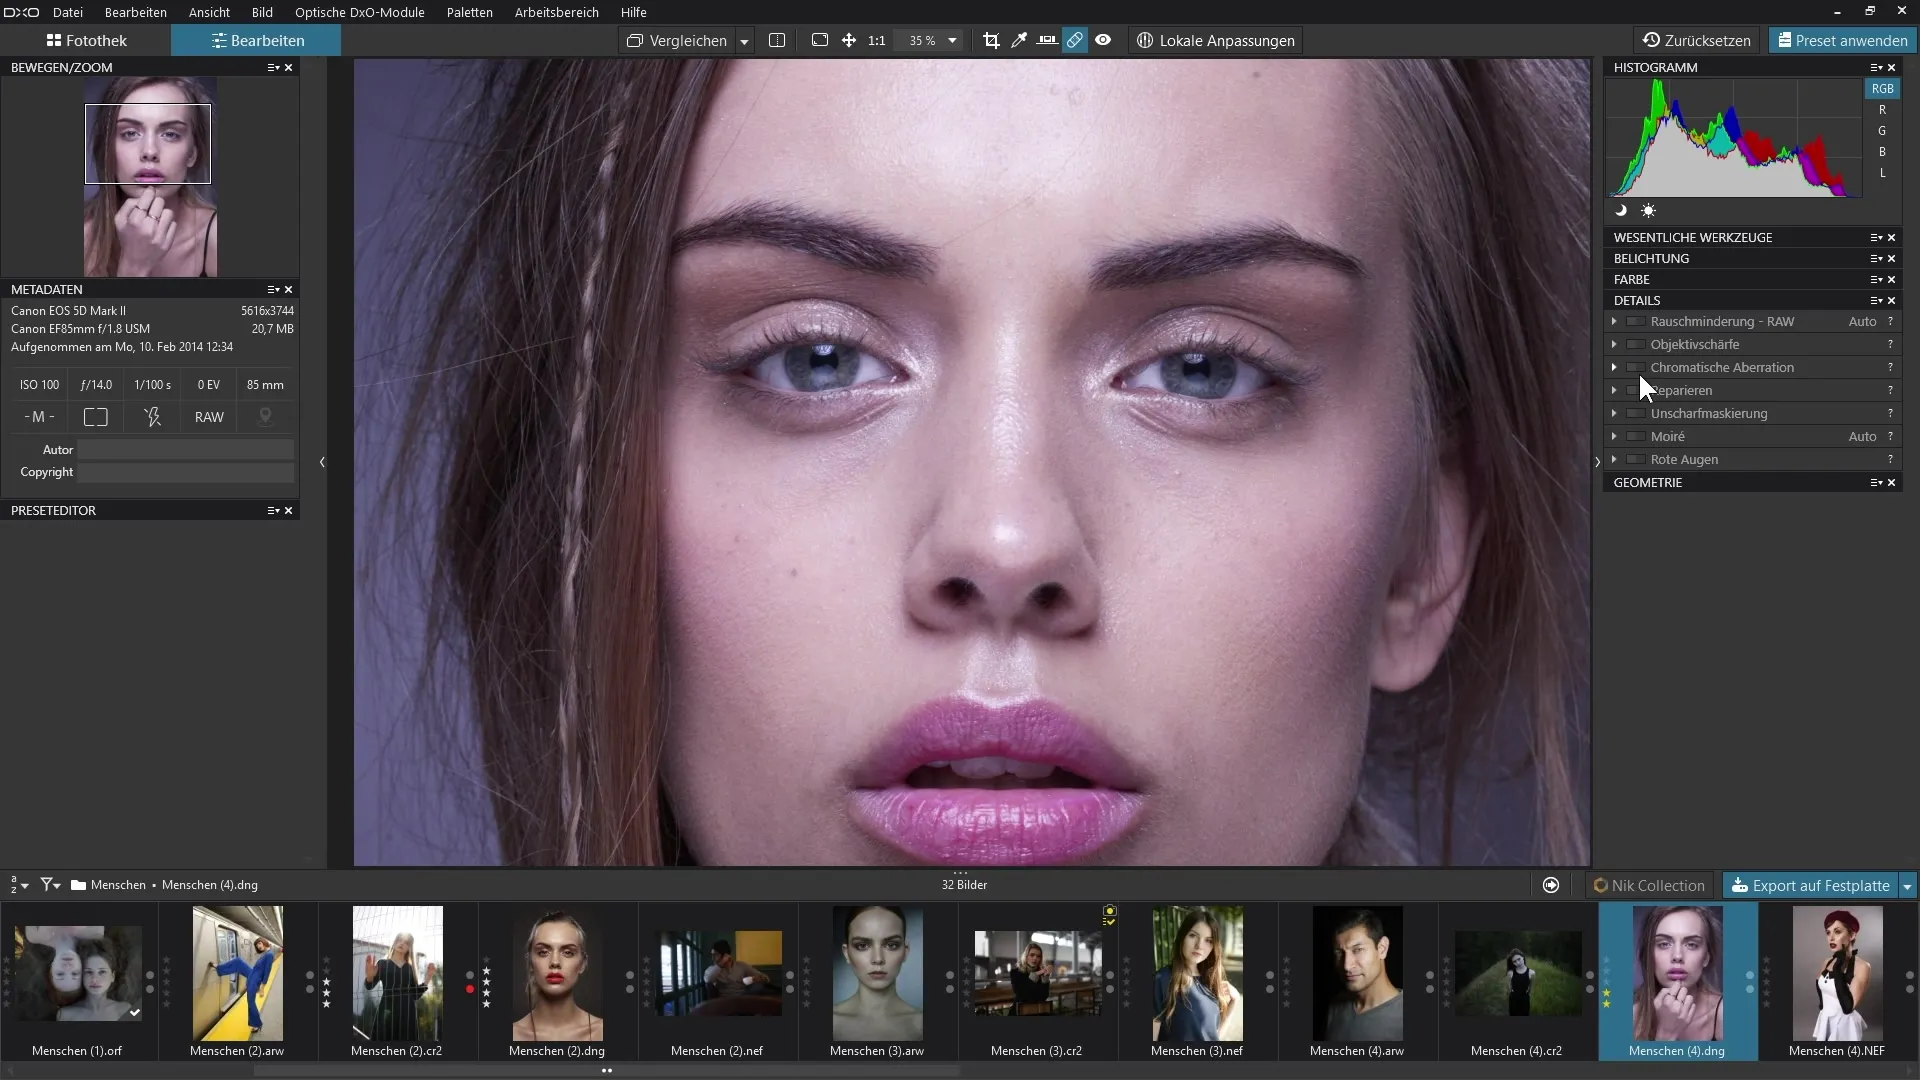
Summary - Mastering the Repair Tool in DxO PhotoLab: A Comprehensive Guide
In this tutorial, you have learned how to effectively use the Repair Tool in DxO PhotoLab to edit unwanted areas in your images. From selecting the tool, adjusting the brush size, to the final check of your retouches – these steps provide you with a solid foundation for your image editing.
FAQ
What is the Repair Tool in DxO PhotoLab?It is a tool that allows you to specifically repair or copy areas in an image.
How do I select the Repair Tool?You can find it in the "Details" palette under the symbol of a small patch.
What is the difference between Repair and Copy?Repair blends the areas, while Copy takes an area one-to-one.
How do I adjust the brush size?You can adjust the size directly in the tool layer or by holding the control key and scrolling with the mouse wheel.
How can I set the opacity?You can adjust the opacity in the tool to control the effect of your edits.


