With DxO PhotoLab 3, you get a powerful RAW developer that elevates your photos to a new level thanks to intelligent algorithms and automated optimizations. Although the installation of the software seems straightforward at first glance, there are some aspects you should pay attention to. This guide will take you through the entire process, from downloading the software to installation and the first steps, to ensure everything works smoothly.
Key Insights
- Visit the official DxO website and download the trial or full version.
- Check the compatibility of your camera and lenses.
- Pay attention to the license agreement and data privacy options during installation.
Step-by-Step Guide
To start the installation of DxO PhotoLab 3, follow this structured guide:
Step 1: Visit the Official Website
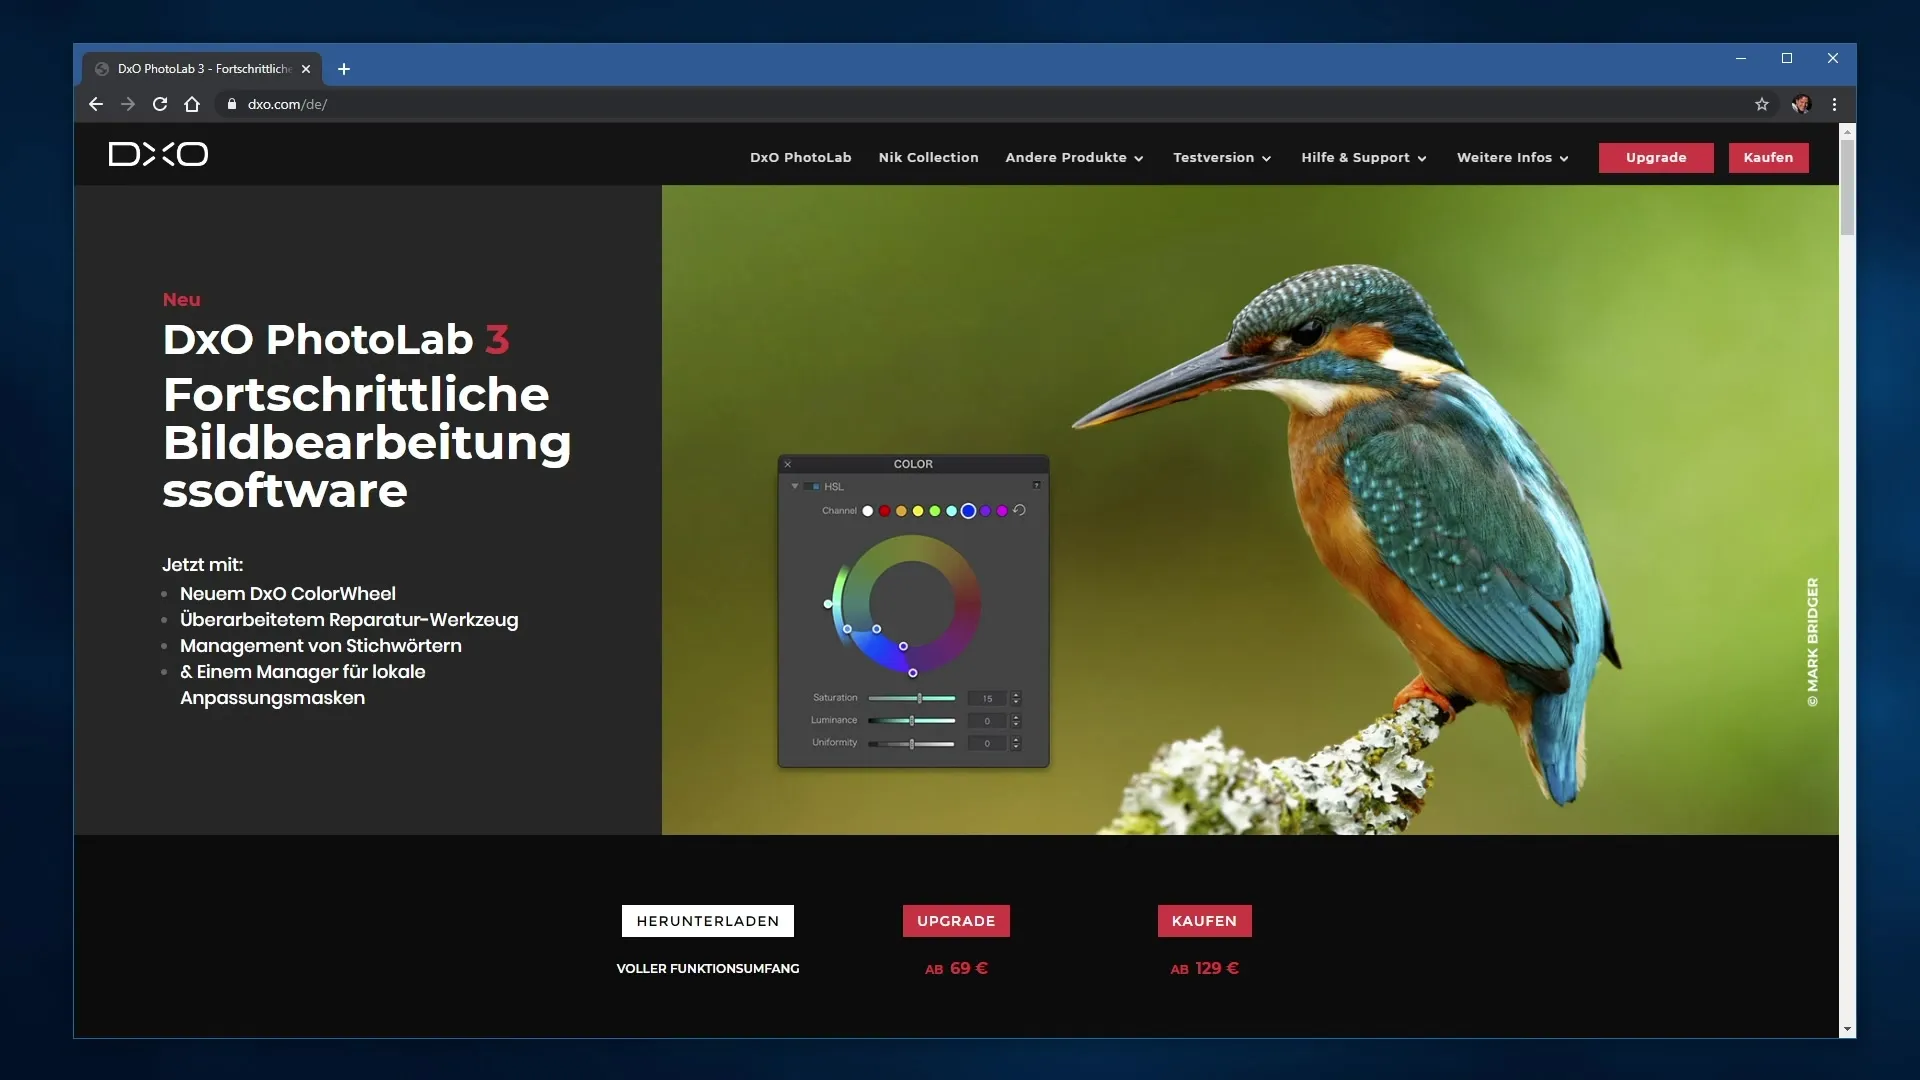
Open your web browser and go to dxo.com. By default, the English version of the site is usually displayed, but you can switch to the German version by appending “/de” to the URL.

Step 2: Select DxO PhotoLab 3
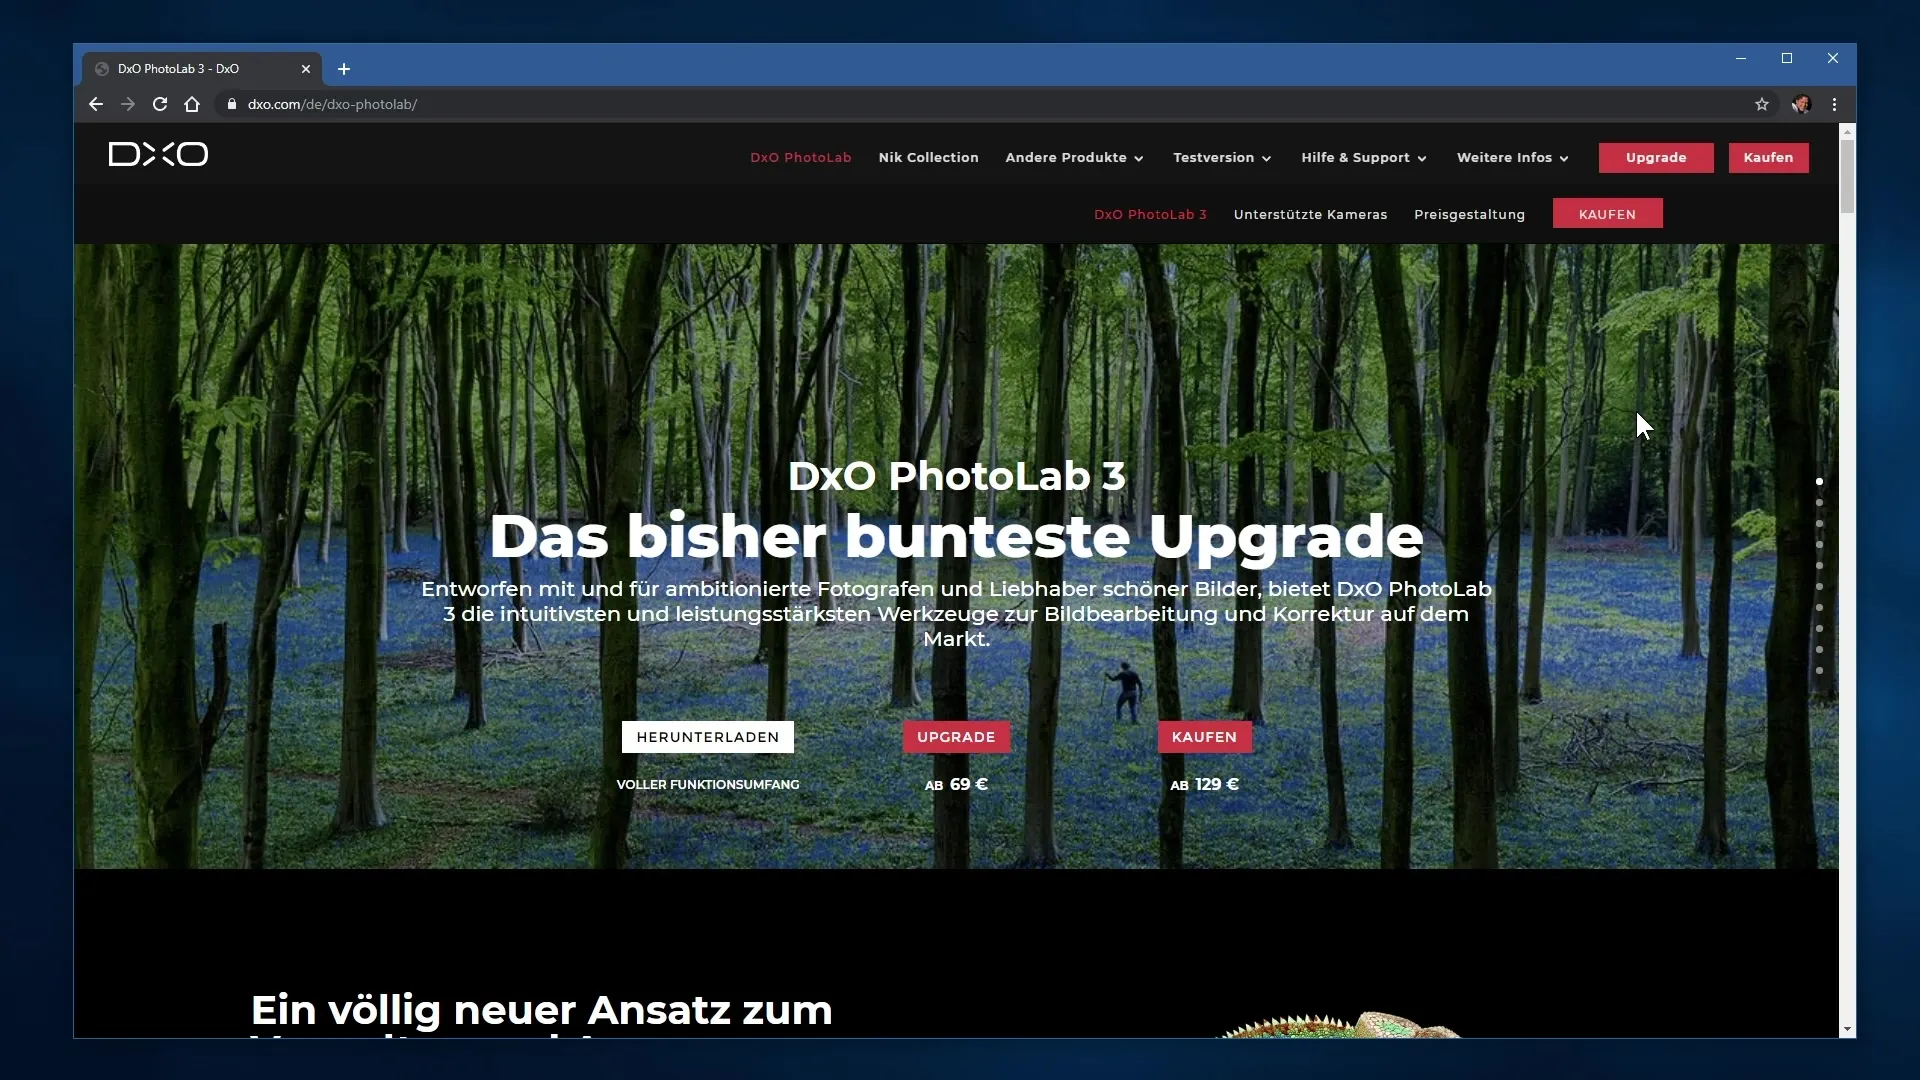
At the top of the menu, you will find the option “DxO PhotoLab”. Click on it to get information about the software and to see the different options for downloads and purchases.

Step 3: Download the Trial Version
On the DxO PhotoLab 3 page, you have the option to download a 30-day trial version. Click the corresponding button to transfer the file to your computer. If you already have a previous version, you can also perform an upgrade.
Step 4: Gather Information About Supported Devices
Scroll down to get information about supported cameras and lenses. Here you can check if your devices are compatible with DxO PhotoLab. This is important as the software provides automatic optimizations for specific models.
Step 5: Check Compatibility
Click on the “supported cameras” section. Here you will find not only an overview of the supported models but also a search field. Enter the name of your camera or lens to quickly check support for your device.
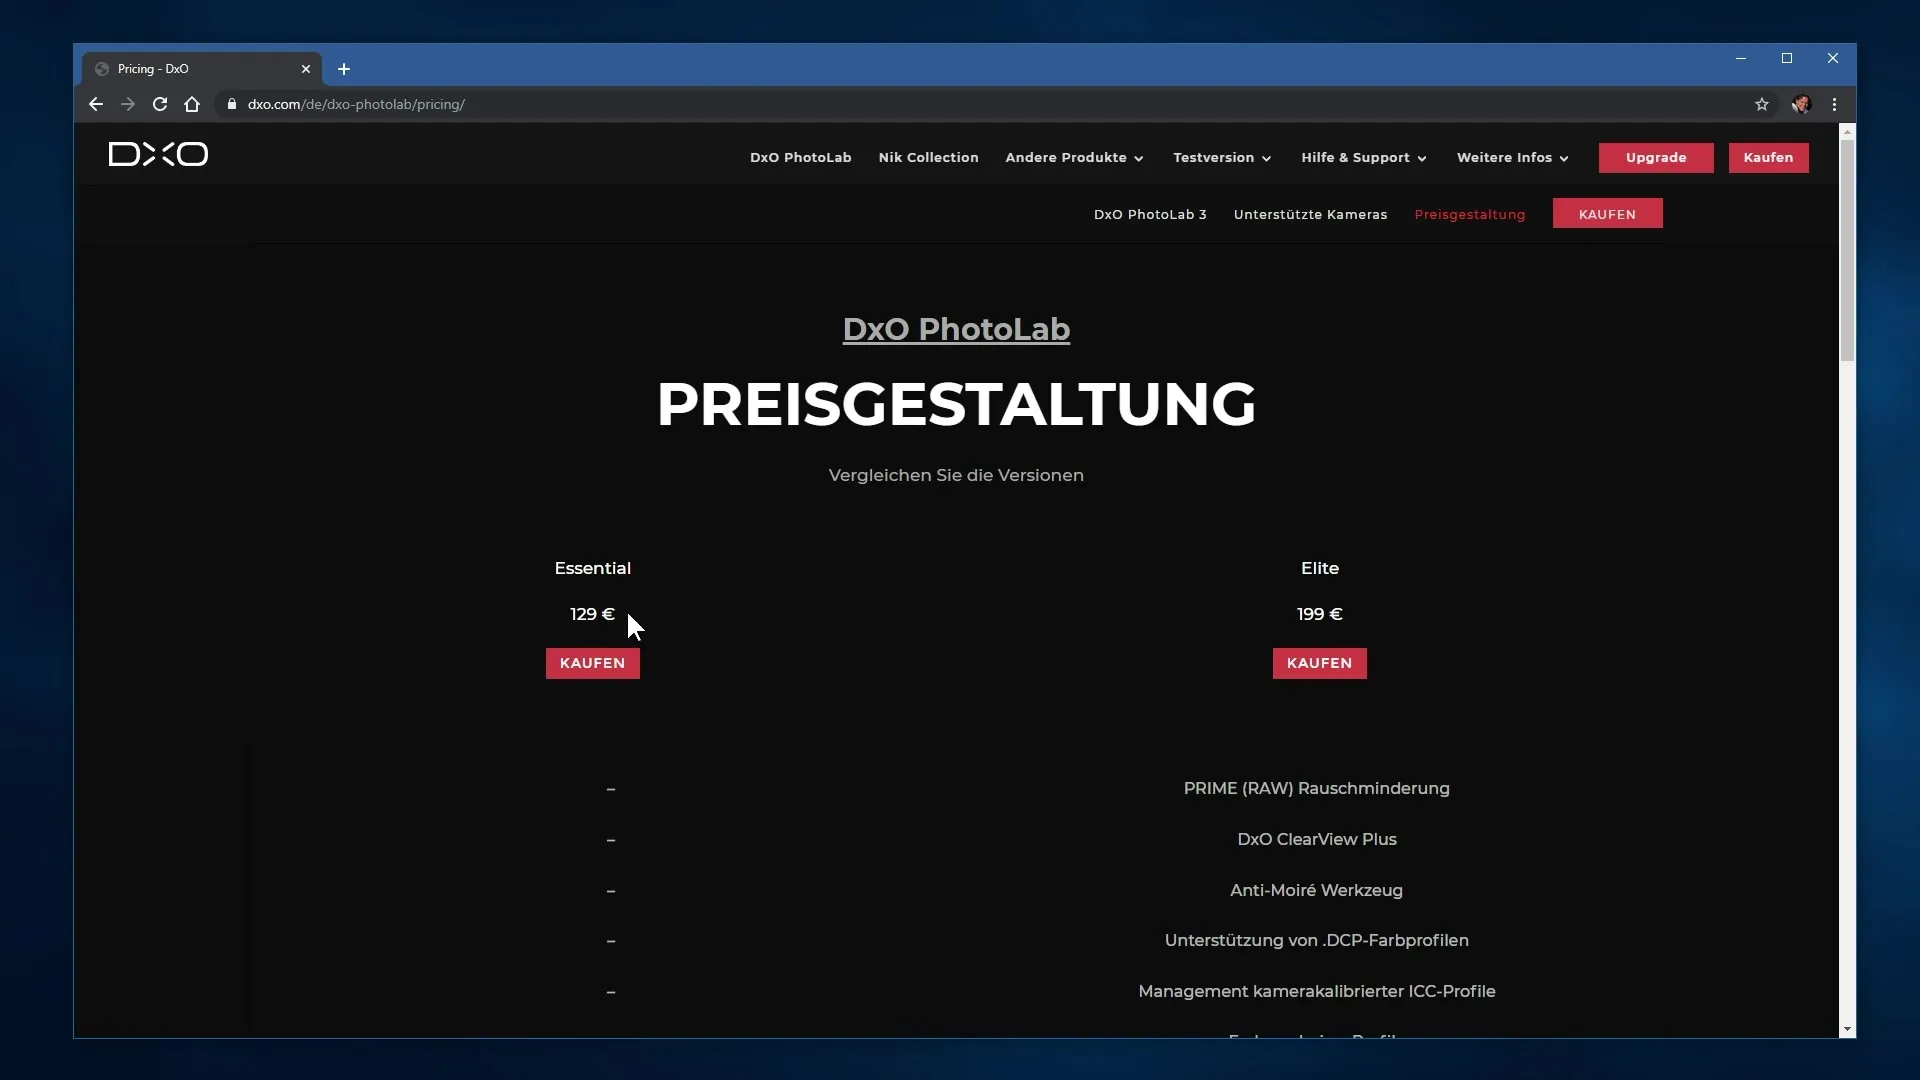
Step 6: Compare Pricing Options
Under the pricing section, you can choose between two versions: DxO PhotoLab Essential and Elite. Get informed about the differences in functionalities and decide which version best suits your needs.

Step 7: Installation of DxO PhotoLab
Once the download is complete, open the downloaded file to start the installation. During the installation process, you will be asked to accept the license agreement. Be sure to pay attention to the data sharing options – these are enabled by default.
Step 8: Adjust Data Privacy Options
You have the option to decline the forwarding of usage data to the developer. I recommend reconsidering this and disabling the option if you want to be more privacy-conscious. However, it's also helpful for the developer to receive error reports to improve future software versions.
Step 9: First Steps After Installation
After the installation is complete, open DxO PhotoLab 3 and begin importing your photos. Utilize the software's features to effectively edit your images and benefit from the valuable optimizations.
Summary - DxO PhotoLab Installation: Step-by-Step Guide
In this guide, you have learned how to download and install DxO PhotoLab 3. Pay attention to the compatibility of your devices and adjust the privacy settings during installation.
Frequently Asked Questions
What is DxO PhotoLab?DxO PhotoLab is a RAW developer that optimizes images and automatically fixes errors.
How do I download DxO PhotoLab?Visit the website dxo.com and click on the download button for the trial or purchase version.
How do I check the compatibility of my camera?Go to the page for supported cameras and search for your model.
What are the differences between the versions?DxO PhotoLab is available in Essential and Elite versions, with Elite offering advanced features.
Do I have to share data with the developer?You can disable the option to share usage data during installation.


