Image editing opens up numerous creative possibilities to perfect your photography. With DxO PhotoLab 3, you have a powerful tool at your disposal that not only helps you edit your images but also allows you to utilize the interface and functionalities to achieve appealing results. In this tutorial, you will learn everything necessary to work effectively with this software and optimize your photos according to your vision.
Key Insights
- You will gain an overview of the user interface of DxO PhotoLab 3.
- You will learn how to create custom workspaces that meet your needs.
- The efficient organization of your photos using ratings and color markings will be explained.
- Important tools for editing exposures, contrasts, and colors will be introduced.
- You will learn how to correct typical lens errors and make local adjustments.
Step-by-Step Guide
Start by installing and launching the software. Upon your first encounter, you will see the user interface that is crucial for how you handle your projects.
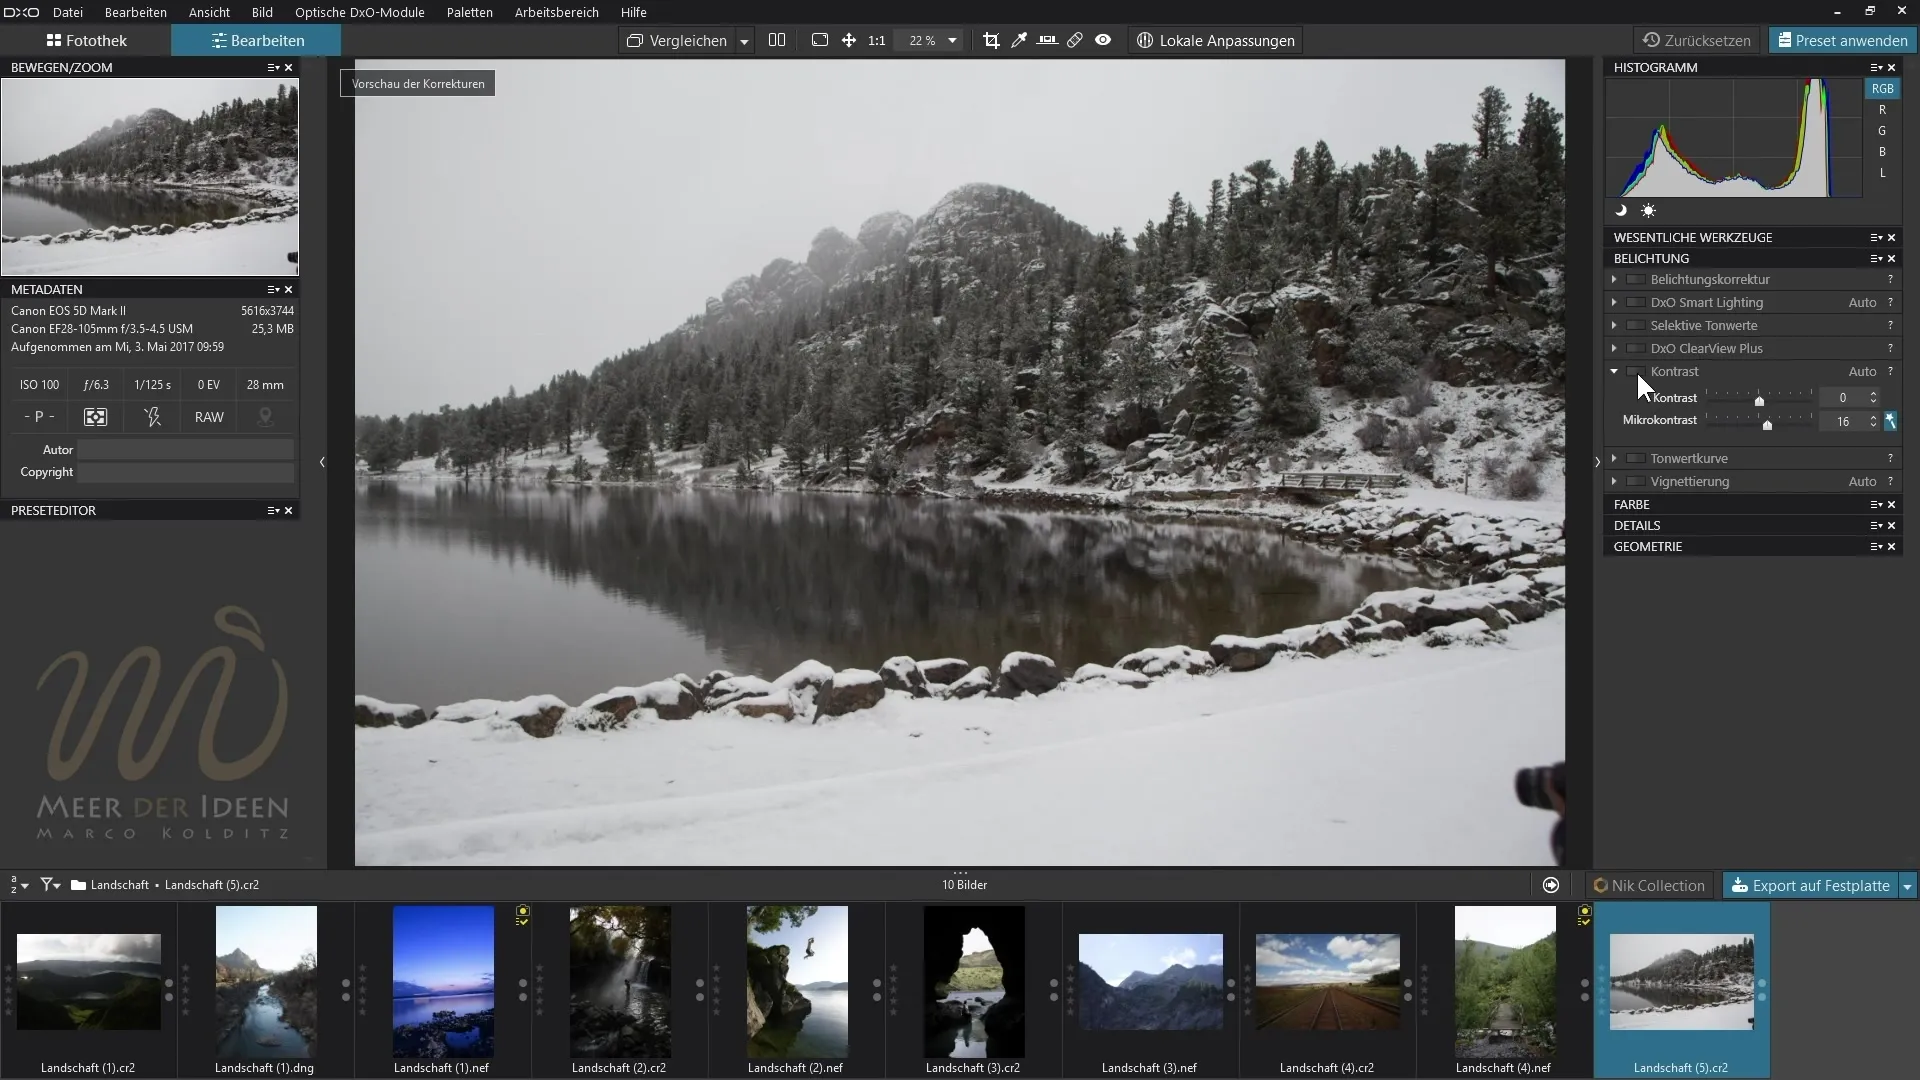
In the user interface of DxO PhotoLab 3, you will find various areas: the main view, editing tools, as well as a preview of your images. Through this area, you can quickly navigate to the different features that the software offers you.
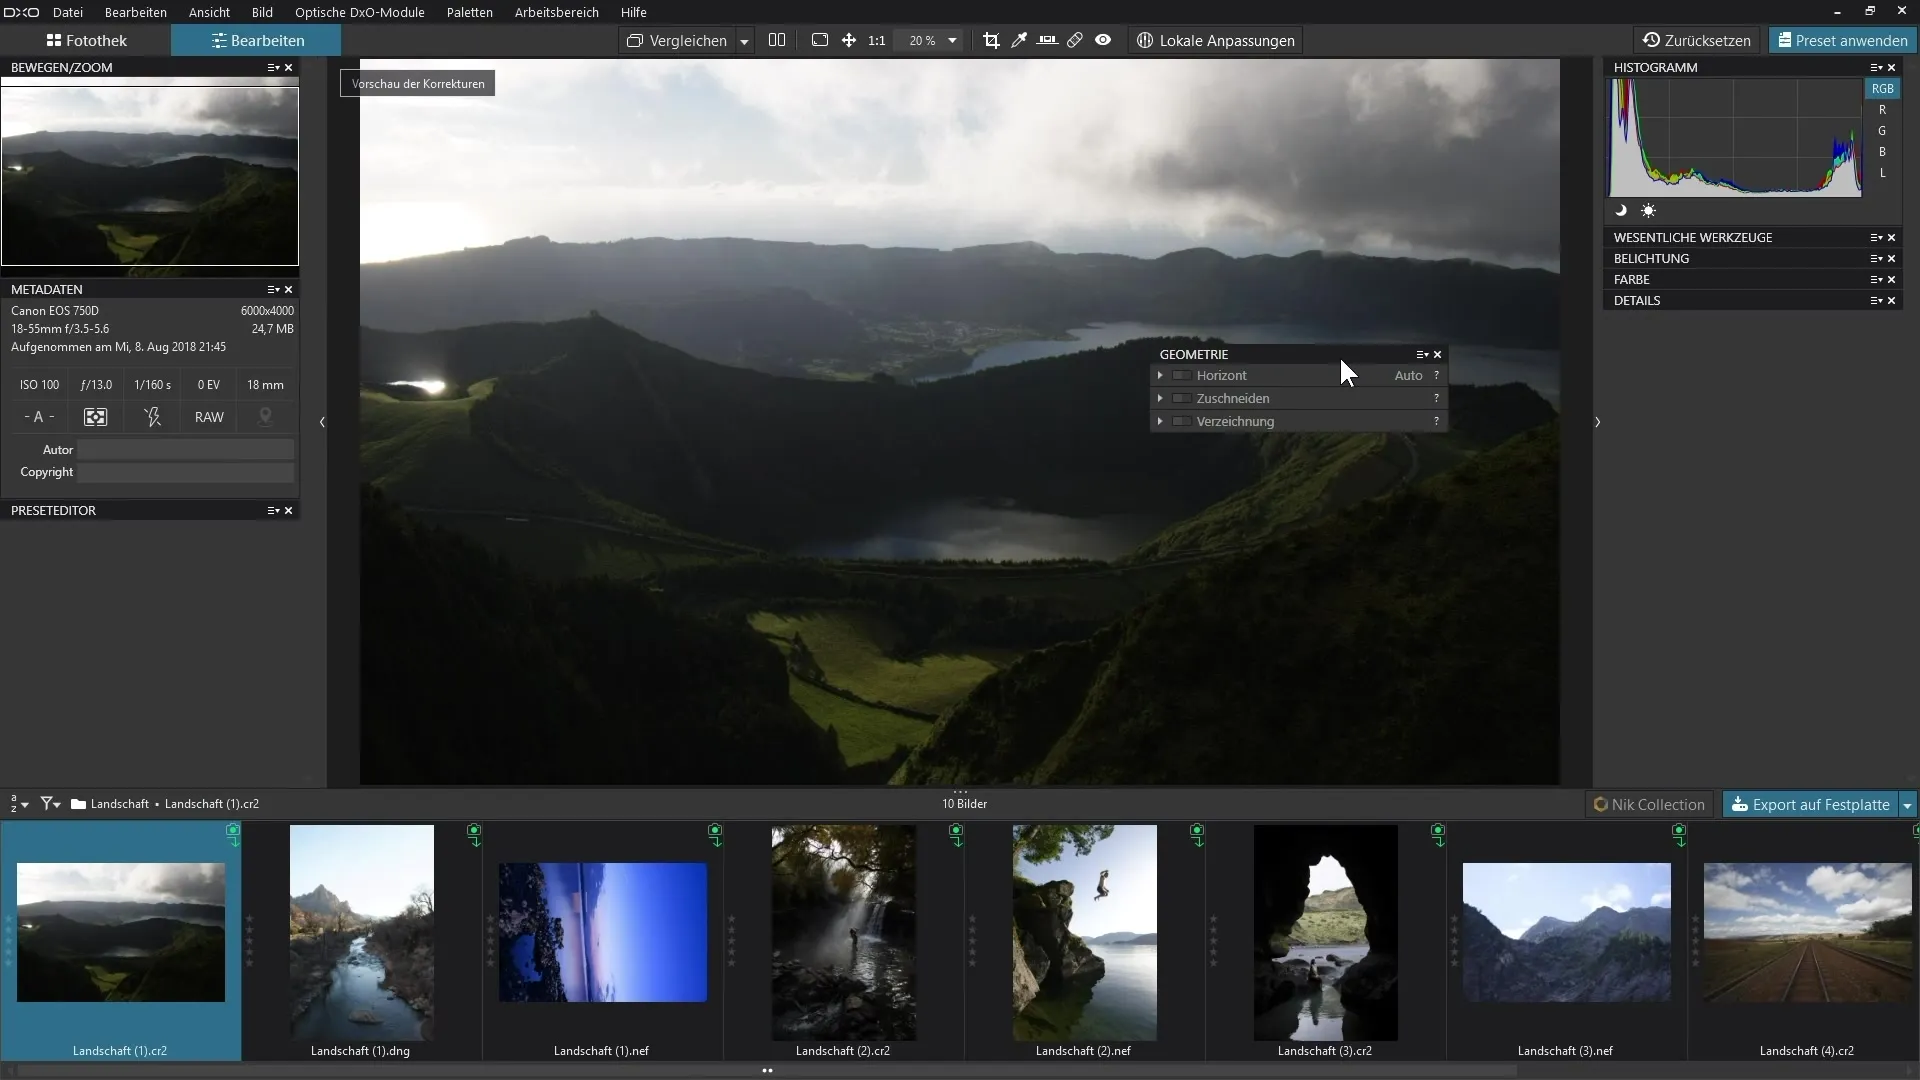
An important step is customizing your workspace. You can create custom workspaces that matter to you. For example, if you regularly work with specific tools, you can arrange them in your own workspace. Press the relevant options to customize the user interface.
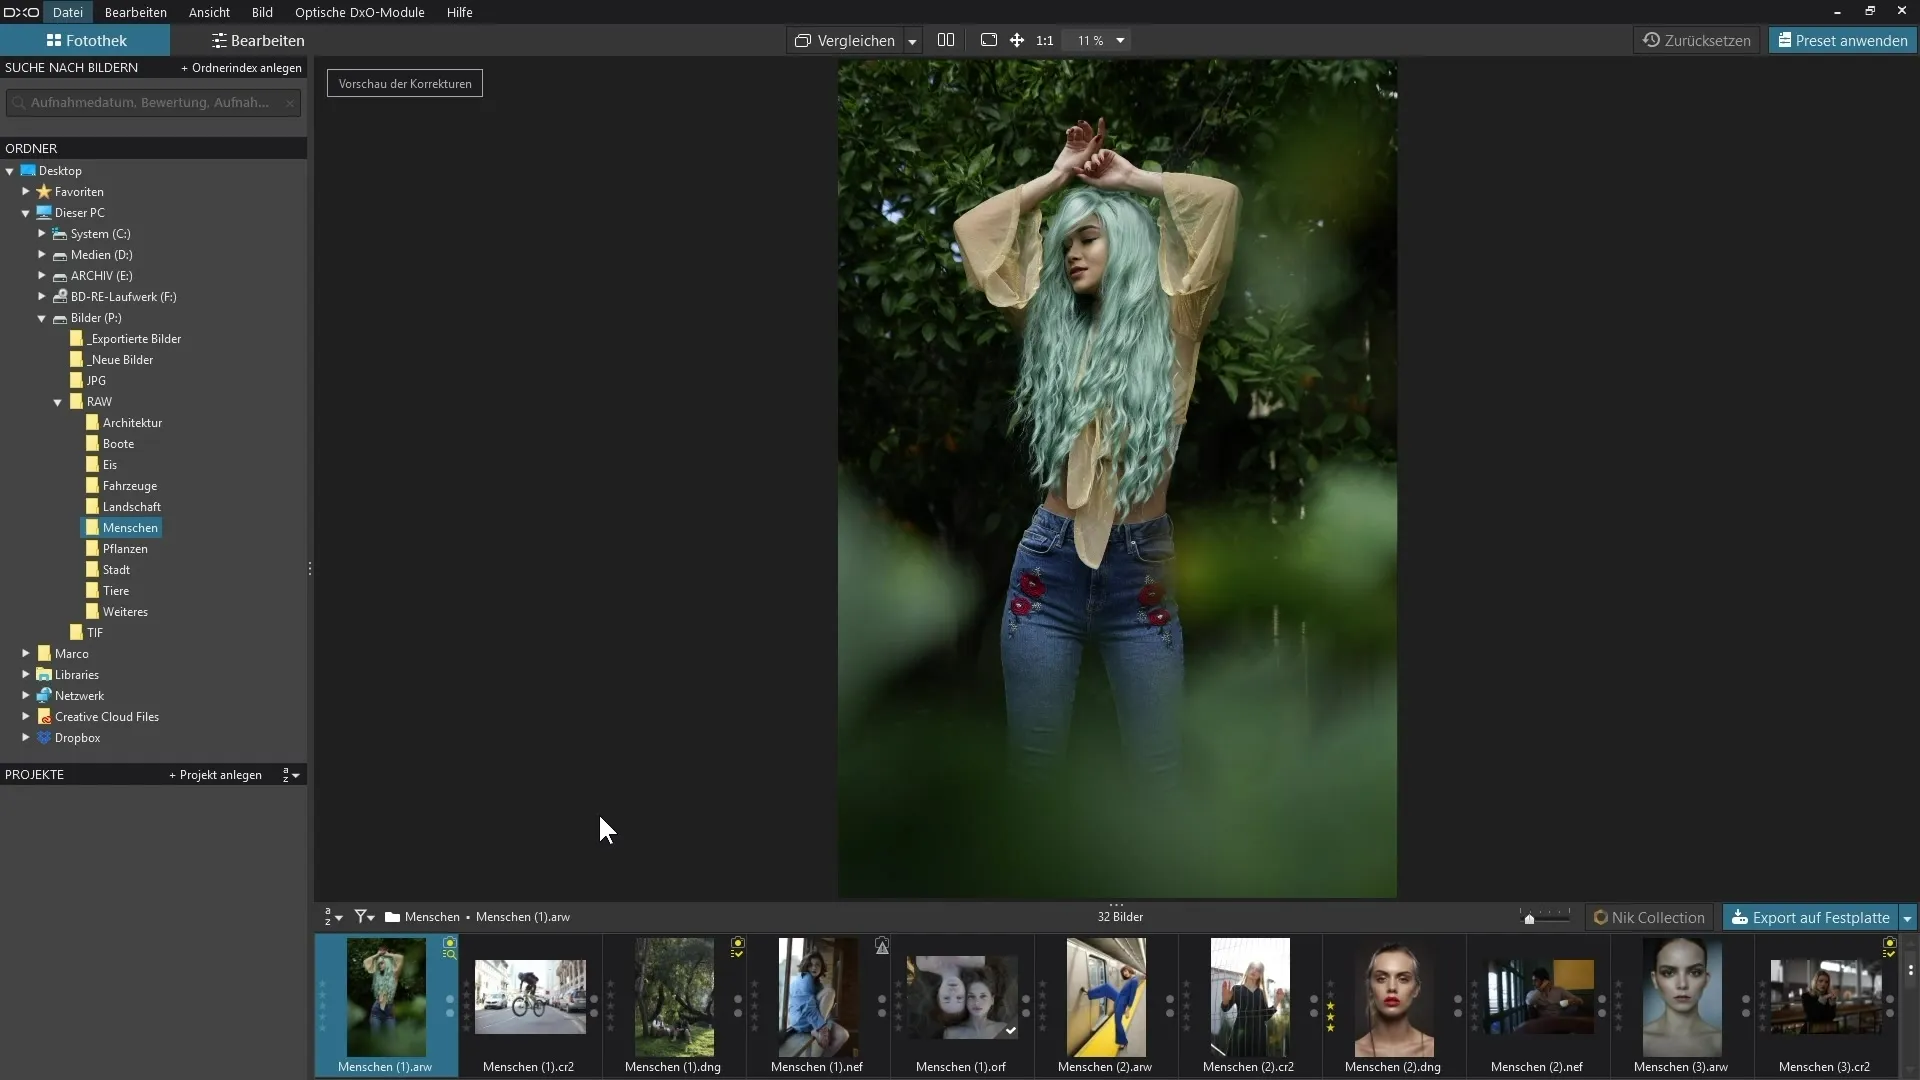
Organizing your photos is another central element in DxO PhotoLab 3. You can categorize your images using ratings and color markings. This way, you can find your best shots more easily and have a better overview of your photo collection.
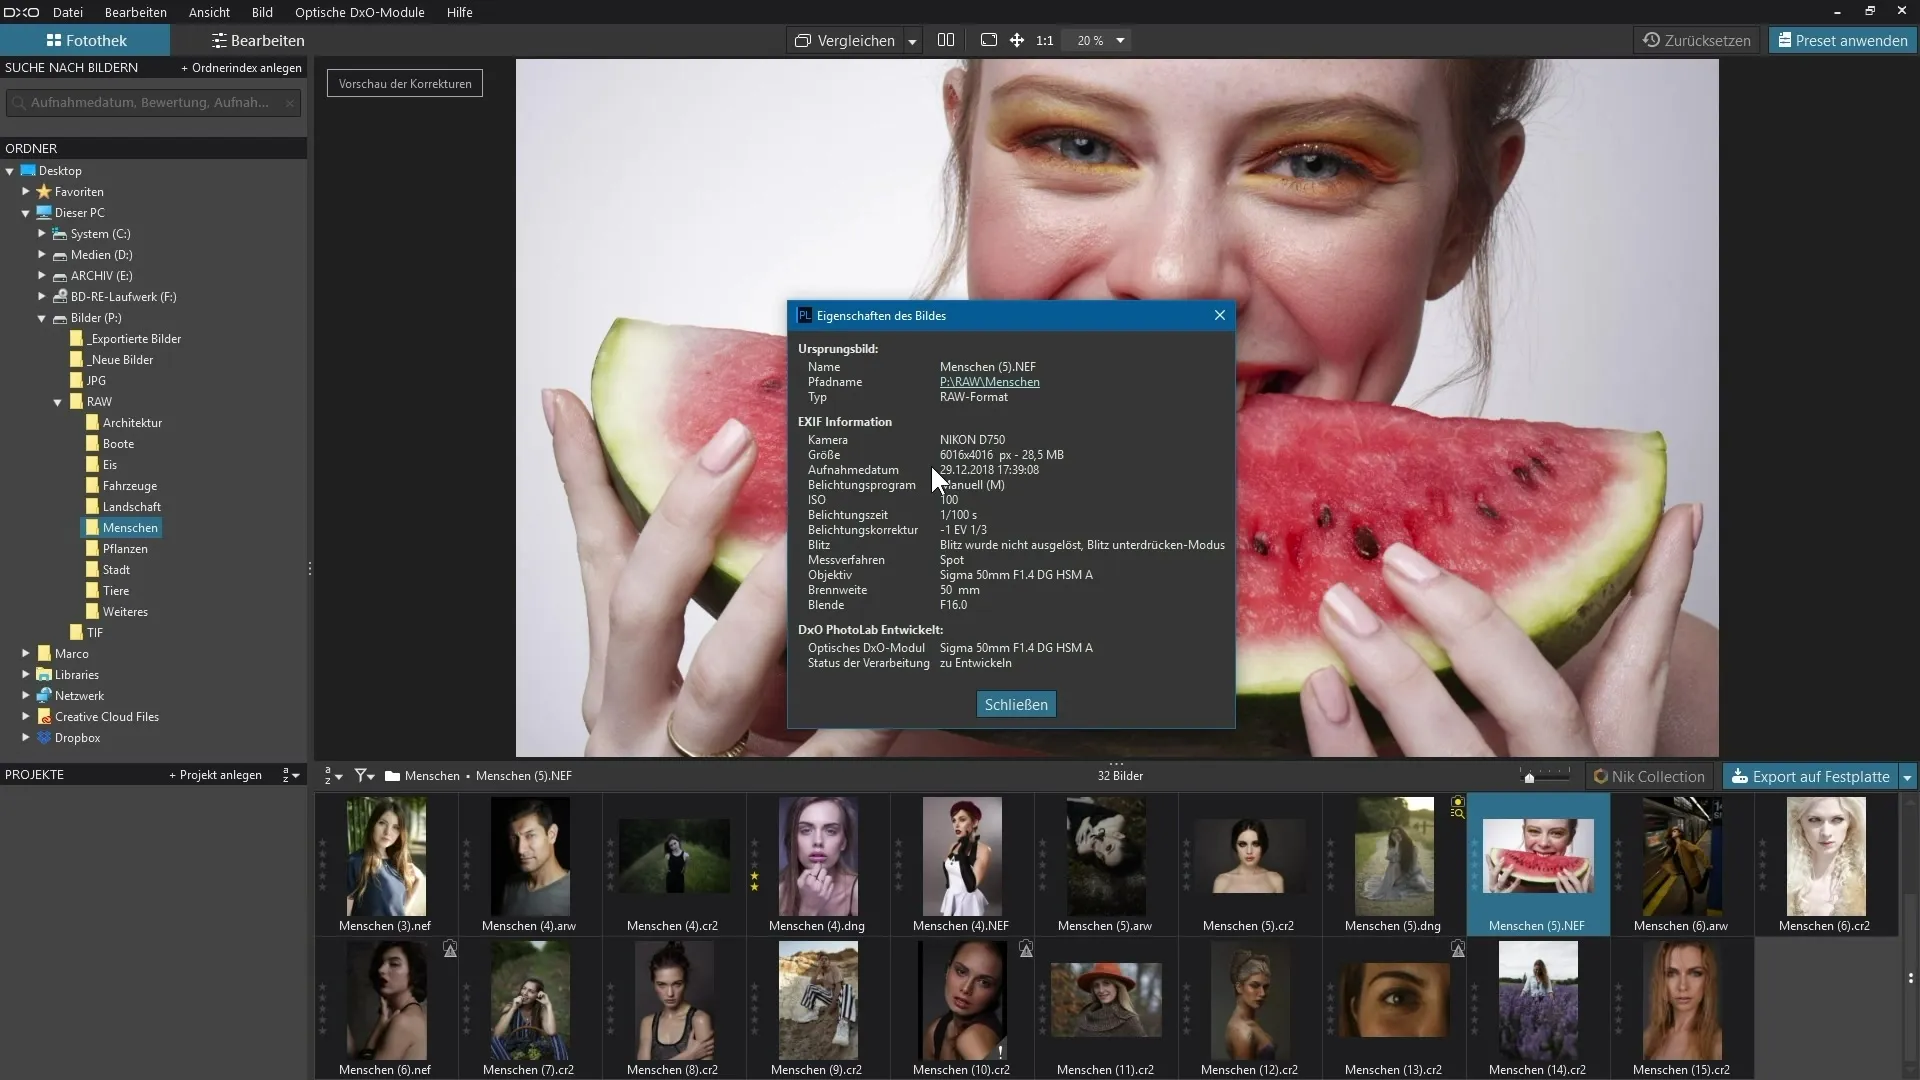
To manage your images effectively, it is sensible to read valuable metadata and edit it if necessary. This information provides you with important notes on shooting dates, locations, and camera settings.
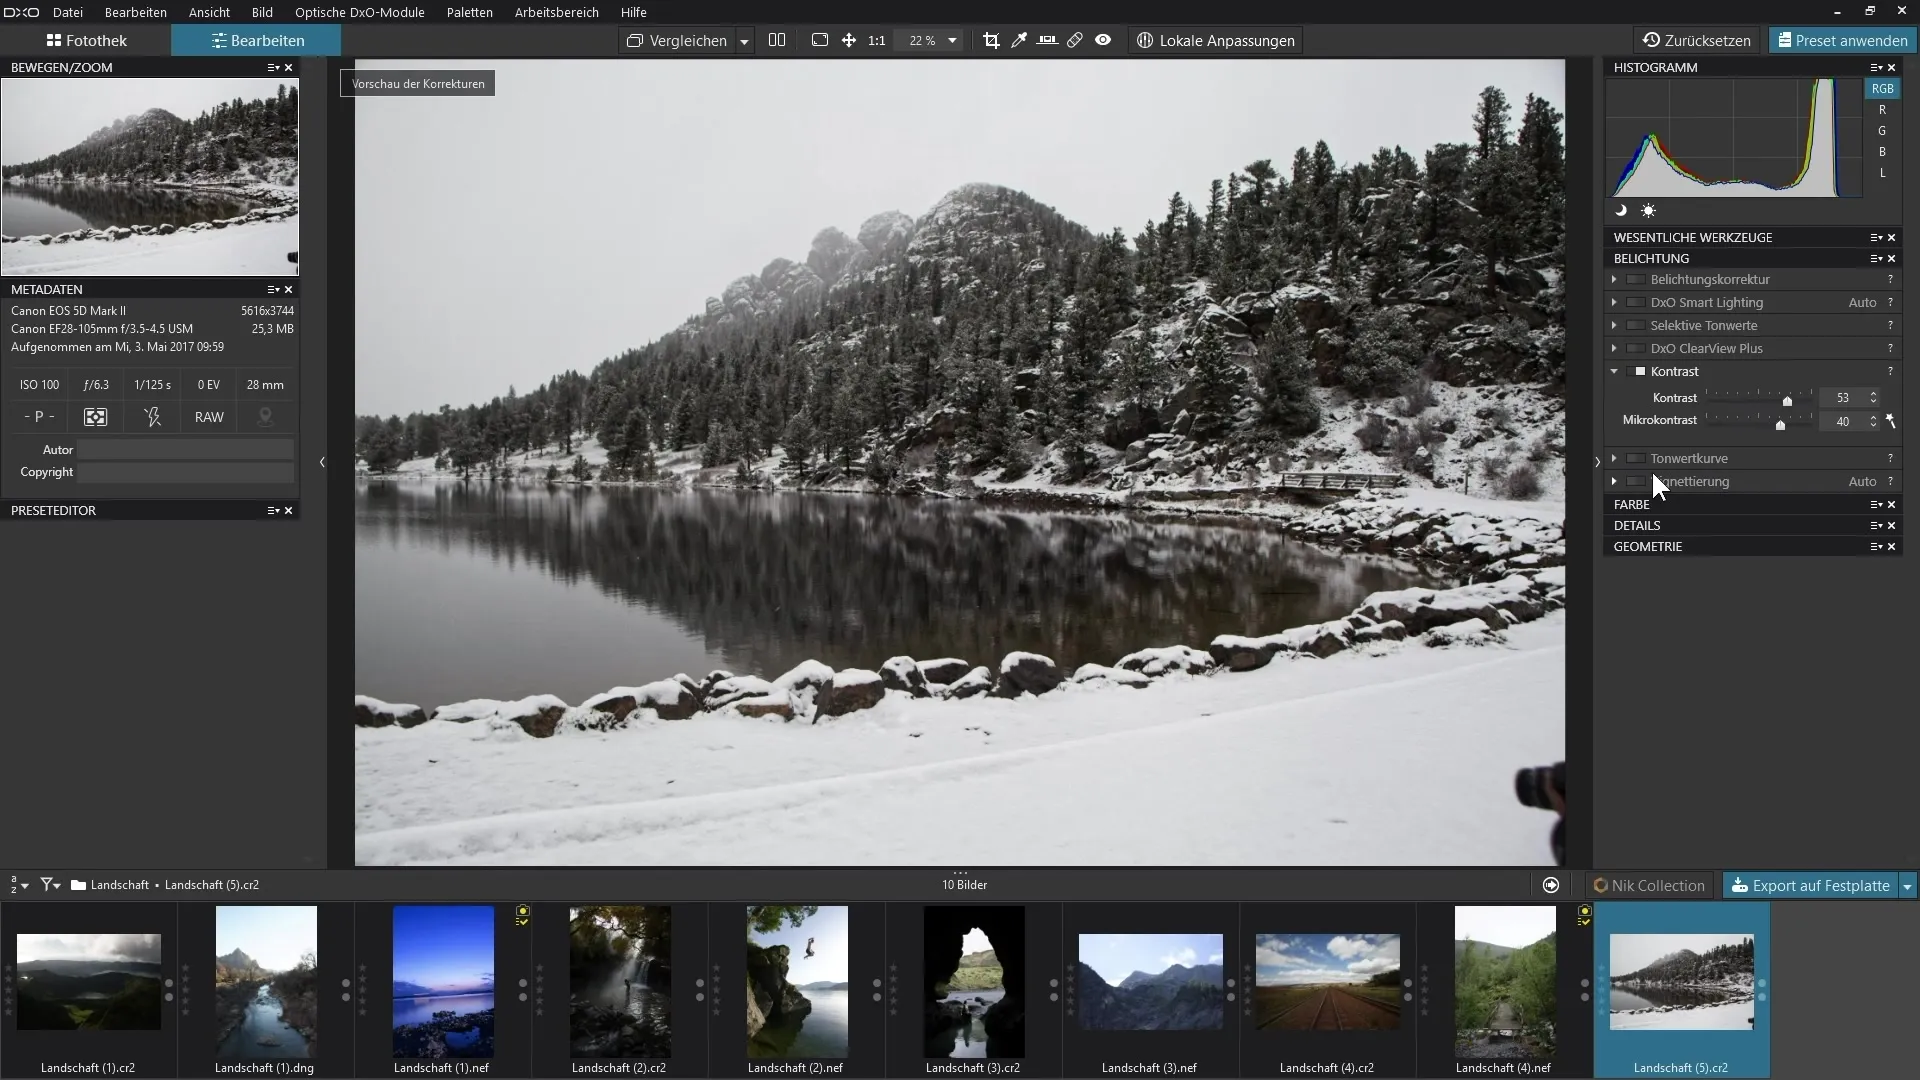
A central element of image editing is the ability to adjust exposures. Using the relevant tools, you can control brightness, contrast, and other important parameters of your images, allowing your shots to shine optimally.
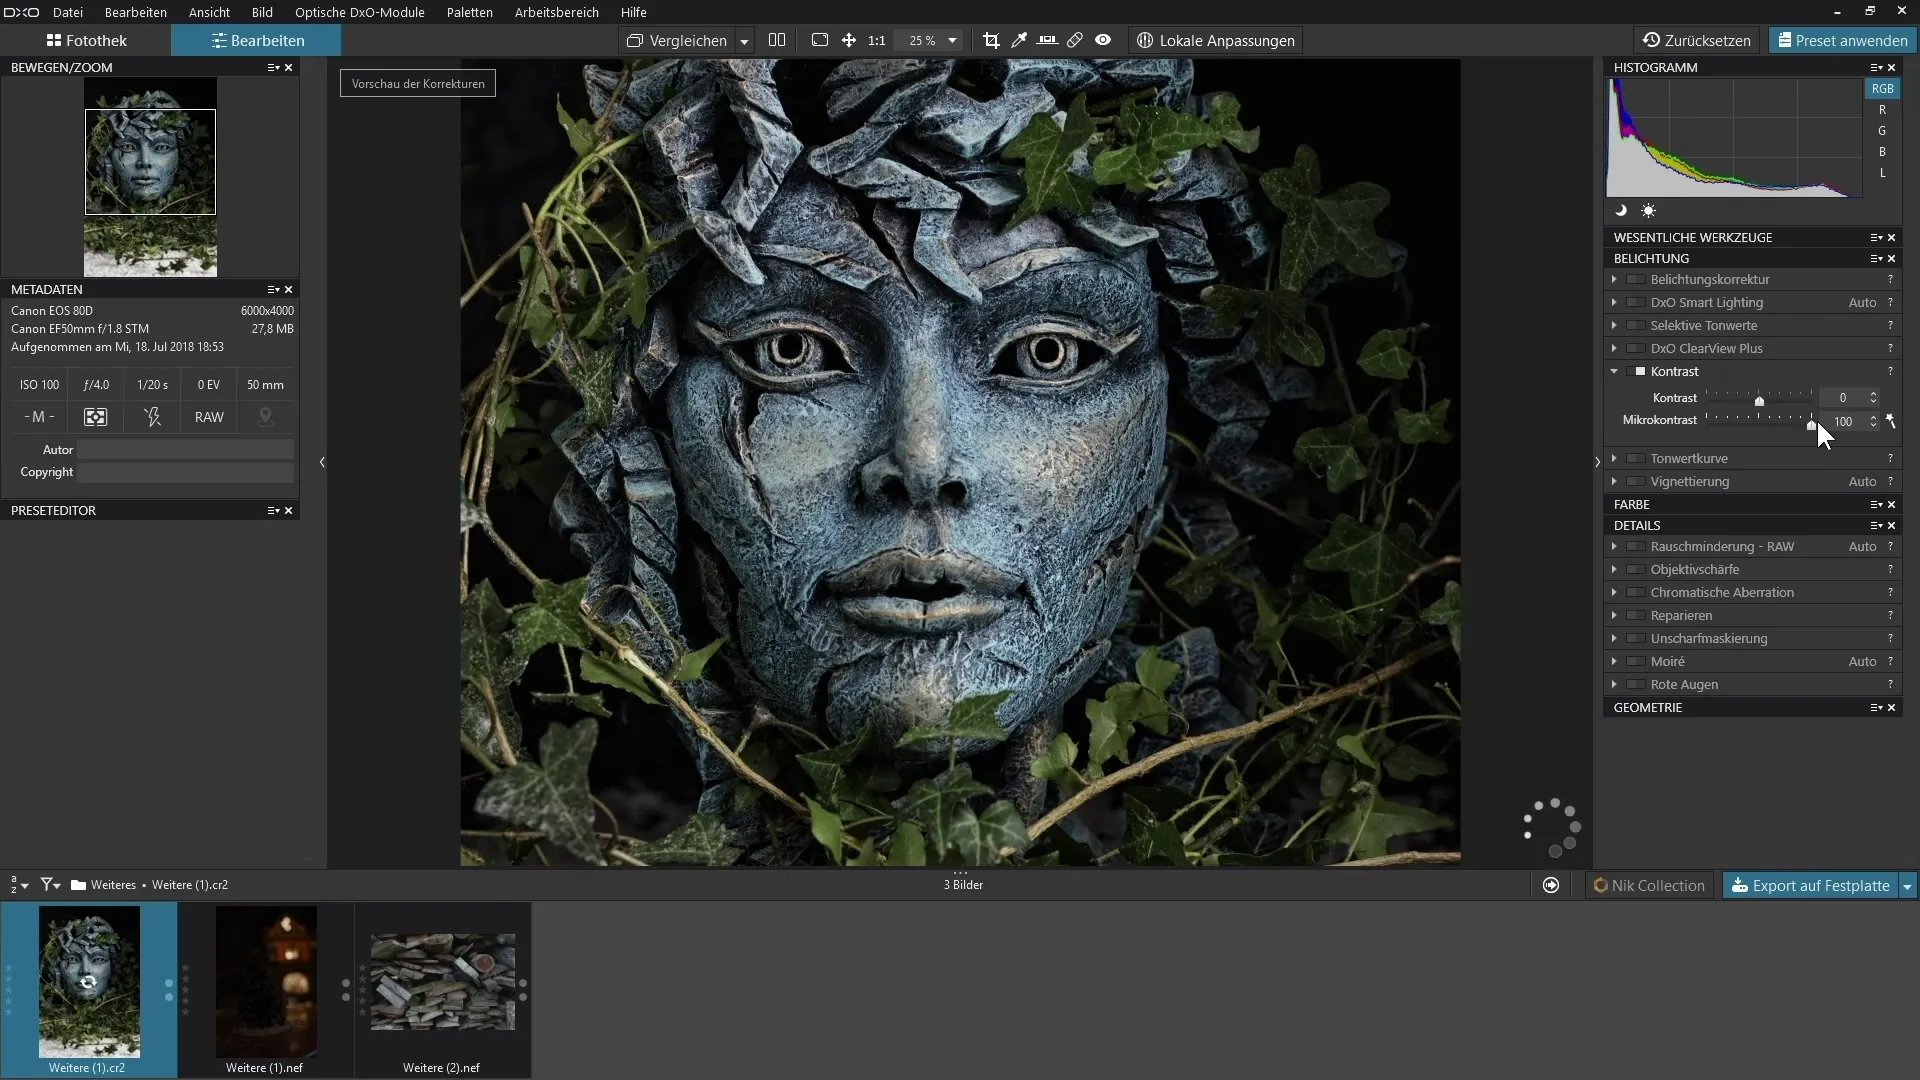
Additionally, you have the option to perform white balance adjustments. This ensures that the colors in your photos look realistic and appealing. Color casts can be effectively neutralized in this way.
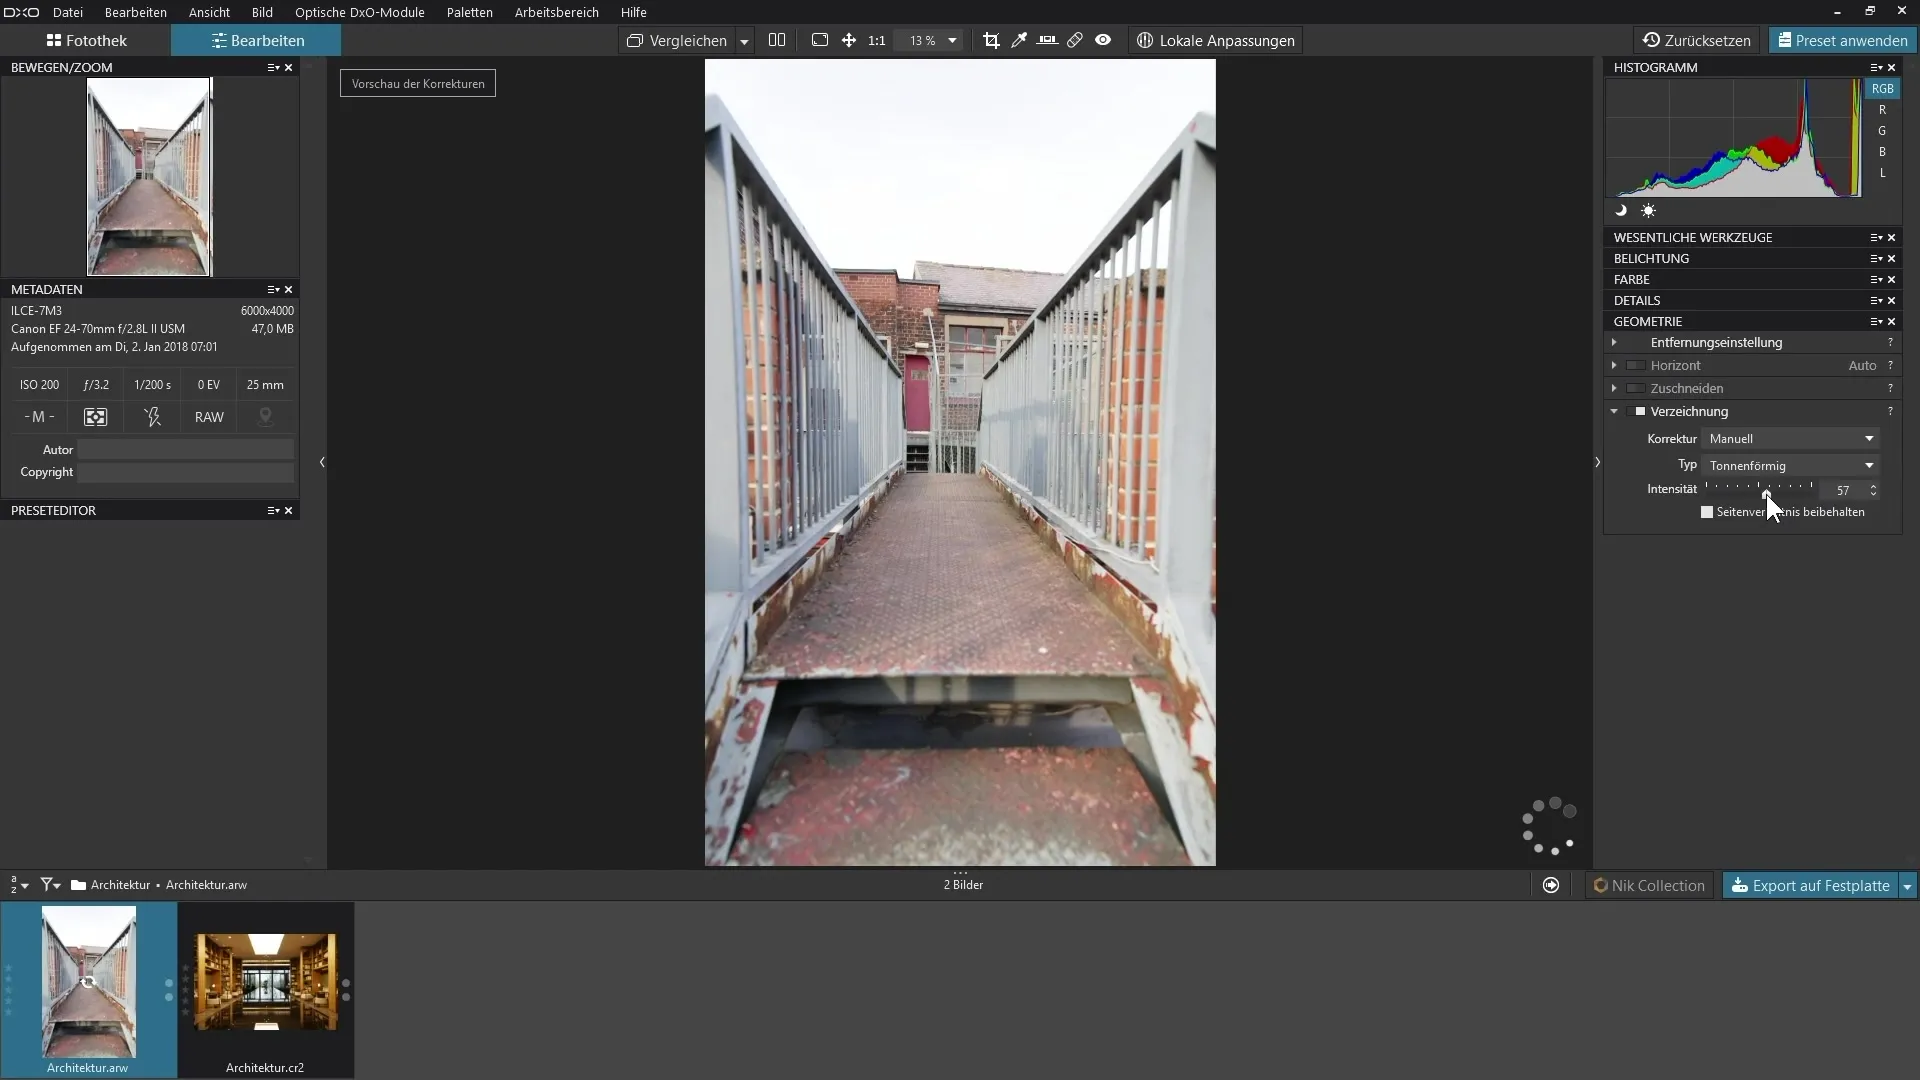
In image editing, typical lens errors such as distortions or chromatic aberrations can also occur. DxO PhotoLab 3 provides you with special tools to correct these effects, making your images clearer and finer.
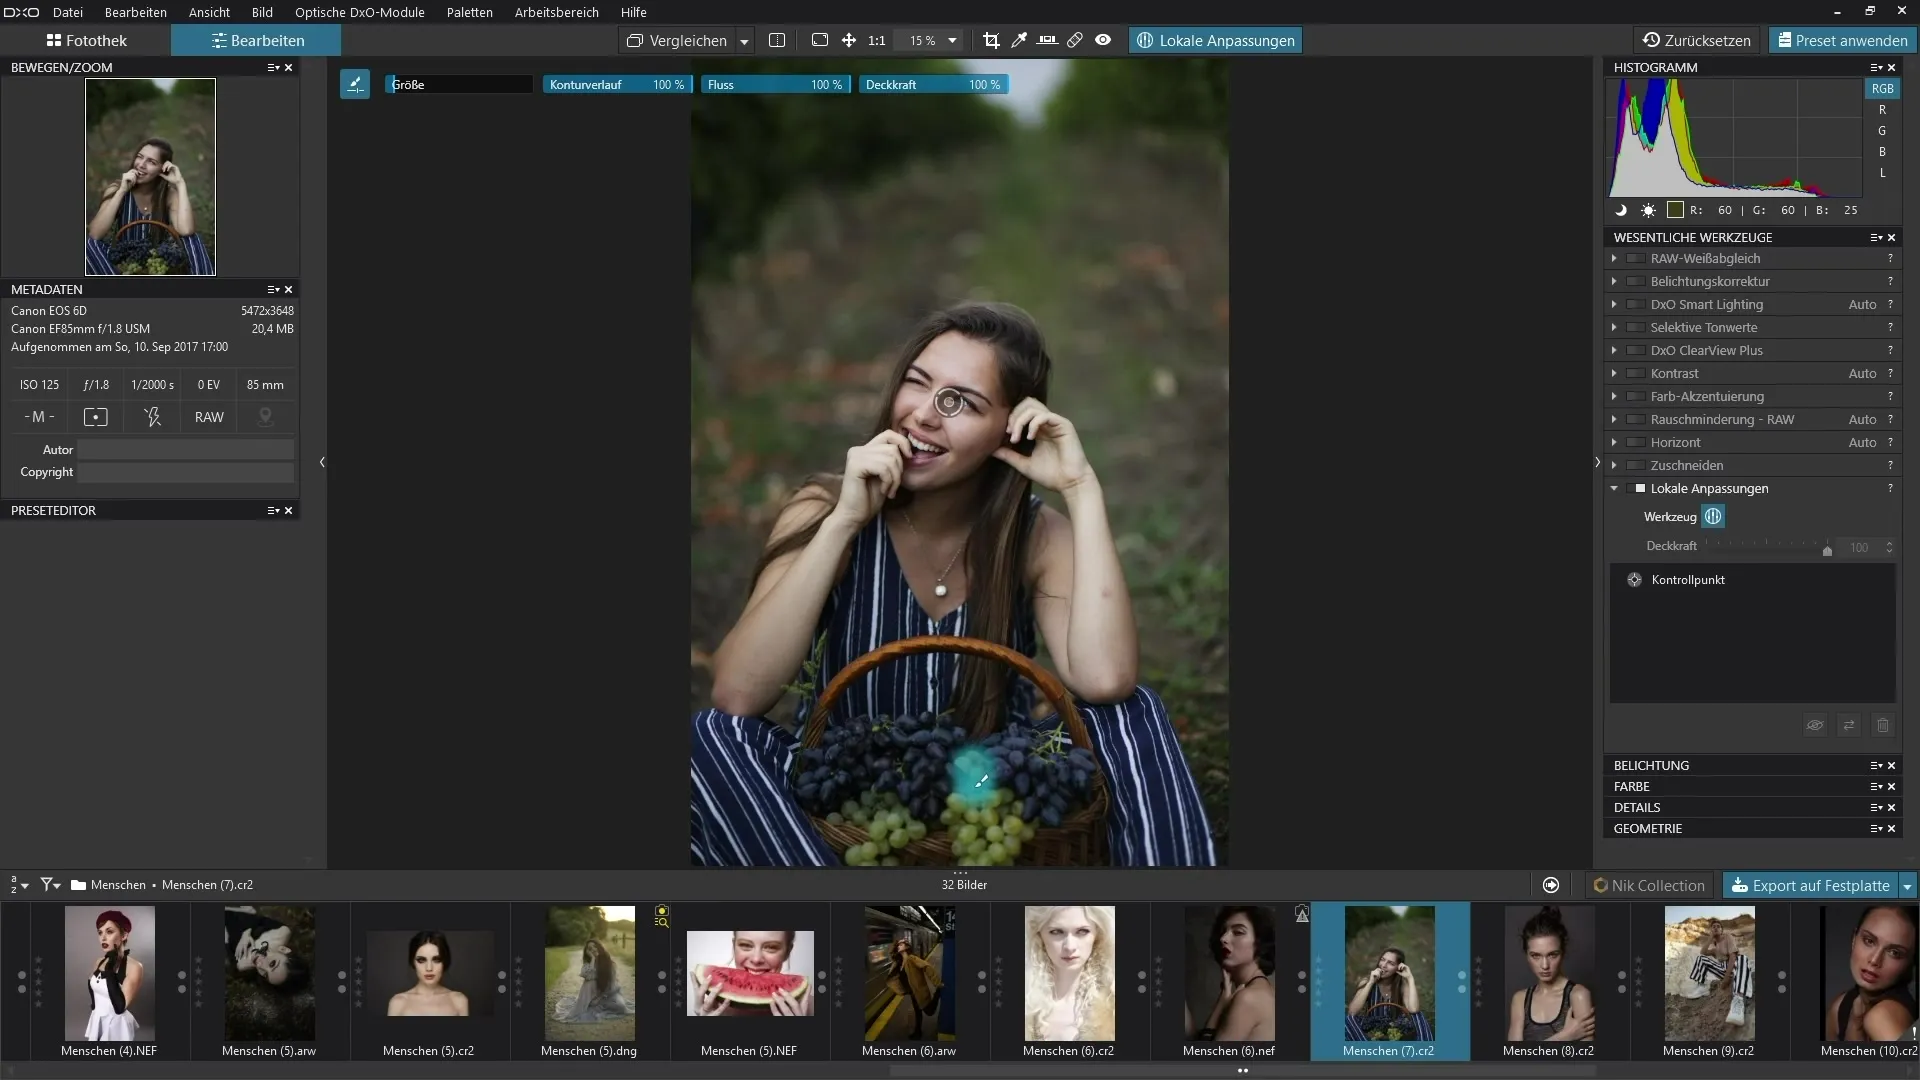
Also use the local adjustments feature to make targeted changes in specific areas of your image. This allows you to highlight special details and improve the overall impact of your images.
At the end of your image editing, you have numerous options to save the changes and repeat or modify your editing steps. This ensures that you are completely satisfied with the final result.
Summary – Guide to DxO PhotoLab: Basics and User Interface
In this tutorial, you learned how to navigate the user interface of DxO PhotoLab 3, customize your workspace, effectively organize photos, and utilize basic editing tools to optimize your images. Through targeted adjustments and correcting lens errors, you achieve professional results.
Frequently Asked Questions
How do I customize my workspace in DxO PhotoLab?You can customize your workspace in the software settings by arranging the tools you use most frequently.
Can I rate my photos in DxO PhotoLab?Yes, you can organize your photos with ratings and color markings for a better overview.
How do I correct lens errors in my images?DxO PhotoLab offers special tools for correcting lens errors like distortions and chromatic aberrations.
Is it possible to make local adjustments to an image?Yes, the software allows for targeted local adjustments so you can optimize specific areas.
Can I edit the metadata of my images?Yes, you can read and edit valuable metadata to optimize the information.

