Noise can significantly impact the quality of your photos, especially in darker scenes. The noise reductionfrom DxOPhotoLab3 offers advanced features to correct noisy images and enhance image quality. This guide shows you how to effectively use the noise reduction editing filter in your RAWimages to minimize unwanted noise.
Key Takeaways
- Noise often occurs at higher film sensitivities and in dark images.
- DxO PhotoLab offers specific noise reduction features for RAW images.
- Two main modes: High Quality (HQ) and Prime, with Prime providing cleaner results.
- Incorrect application of noise reduction can lead to loss of details.
Step-by-Step Guide
The following explains how to apply the noise reduction filter in DxO PhotoLab.
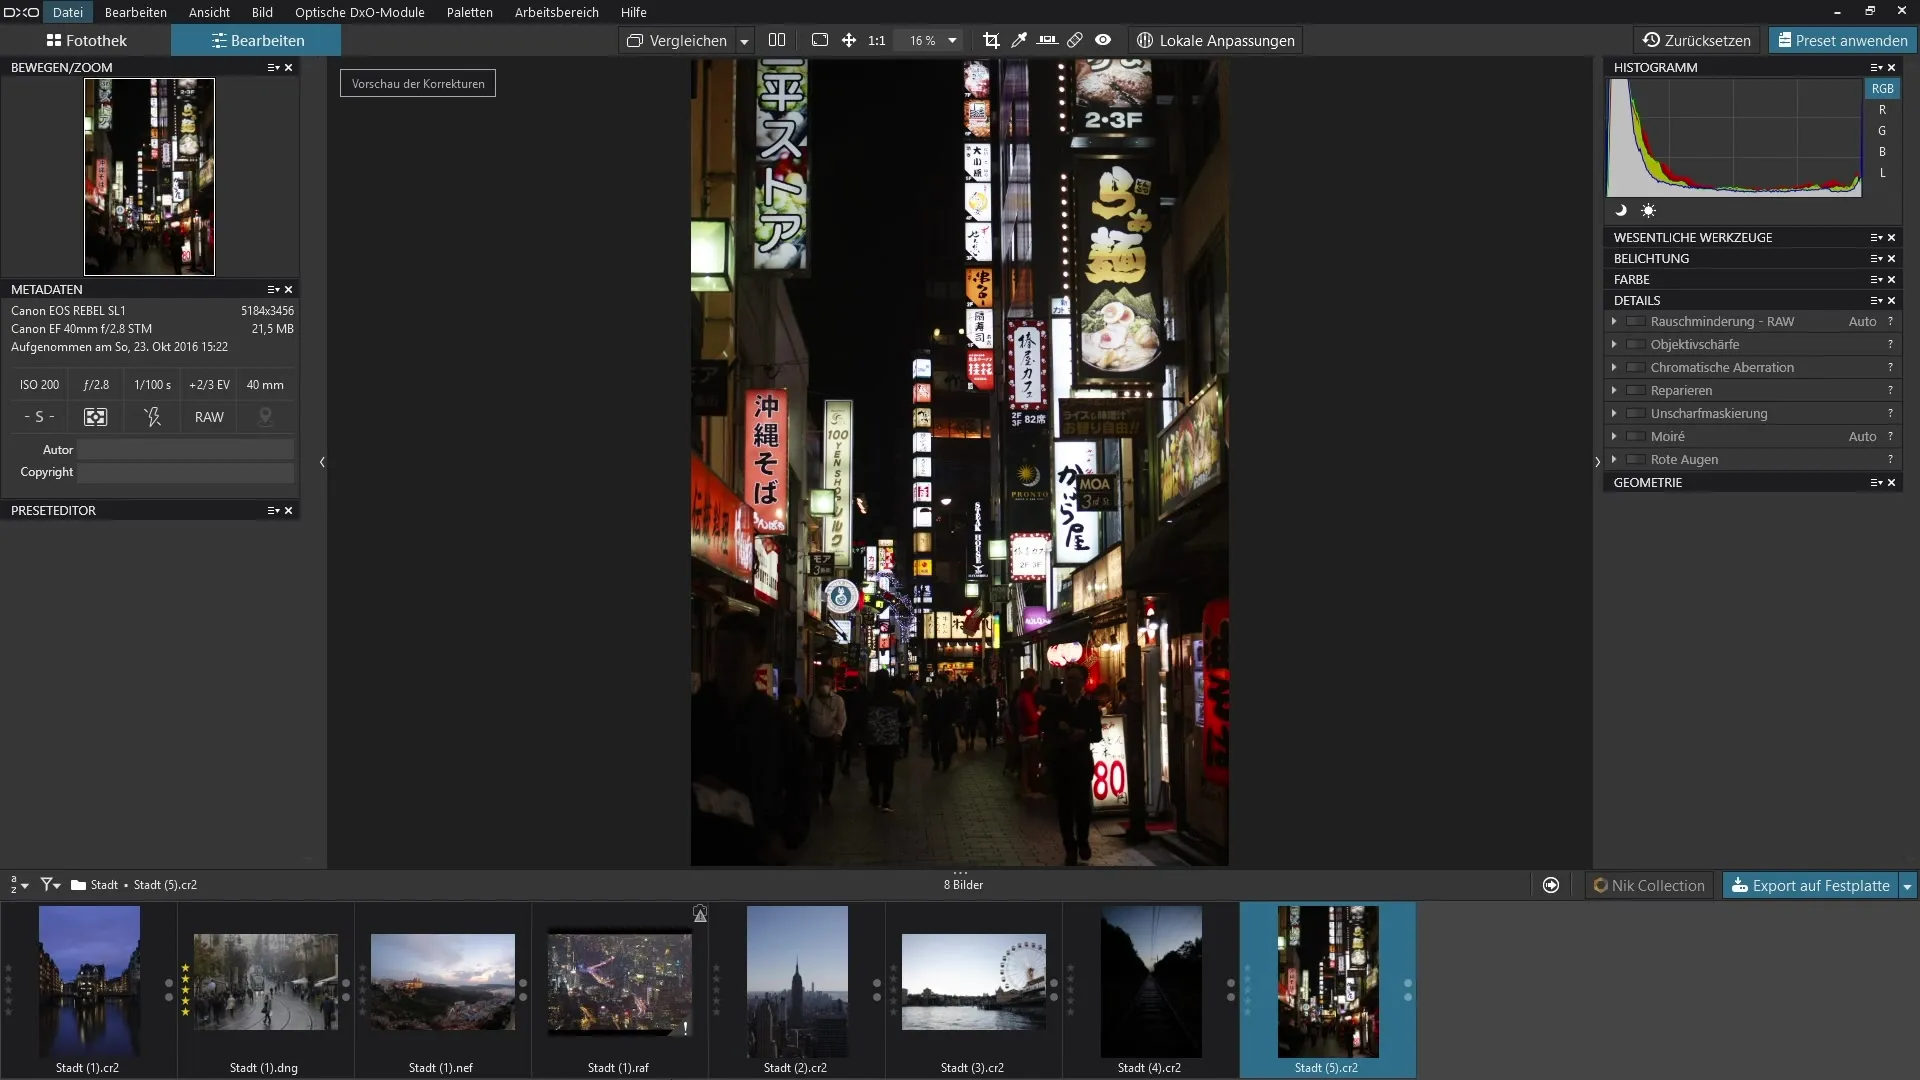
1. Import Image and Identify Noise
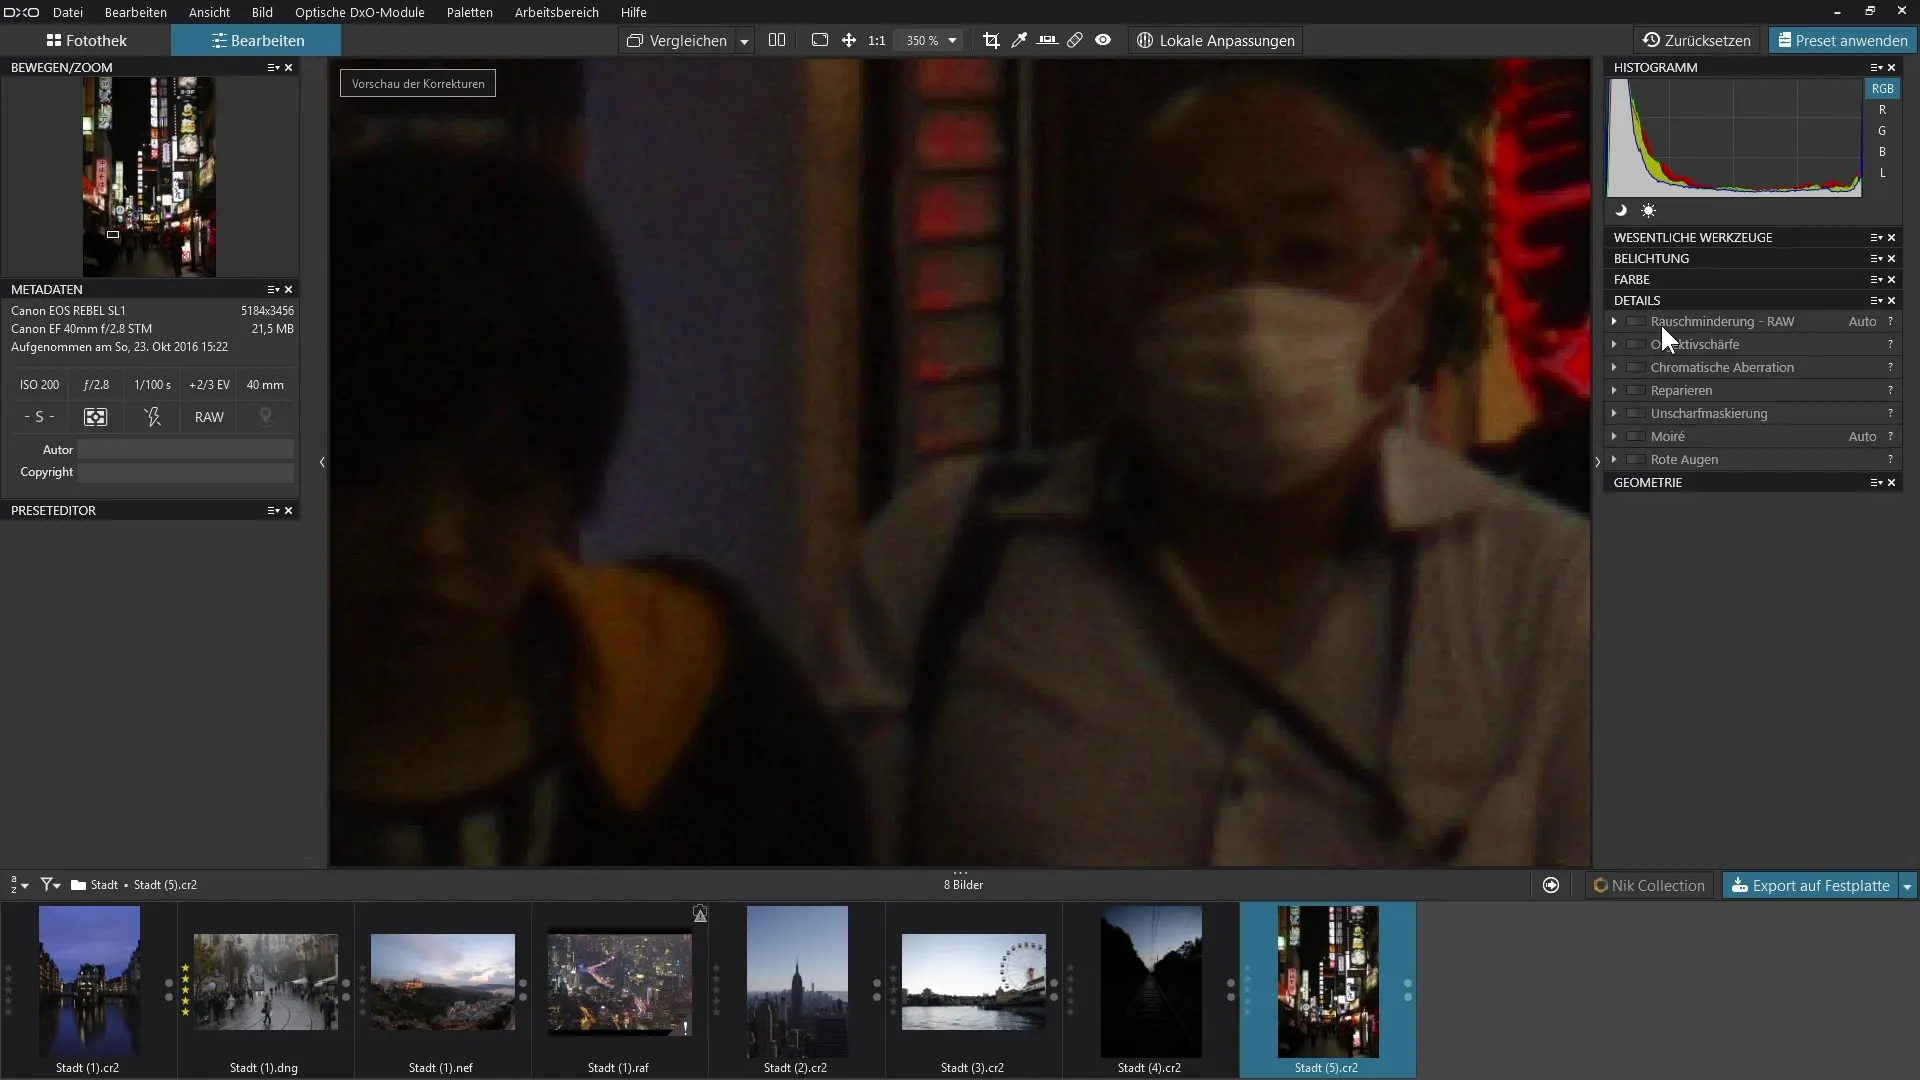
Start by importing your image into DxO PhotoLab. Make sure to select a high-noise RAW image to make the different types of noise visible. When you zoom in on an image, the noise becomes clearly visible, especially in darker areas. These details help you better understand the extent of the noise.
2. Select Noise Reduction Filter
Navigate to the "Details" section. You will find the option for noise reduction, which is specifically tailored for RAW images. This feature is not available for JPEG images, meaning you can rely on this specific noise reduction when editing your RAW images.
3. Activate Noise Reduction
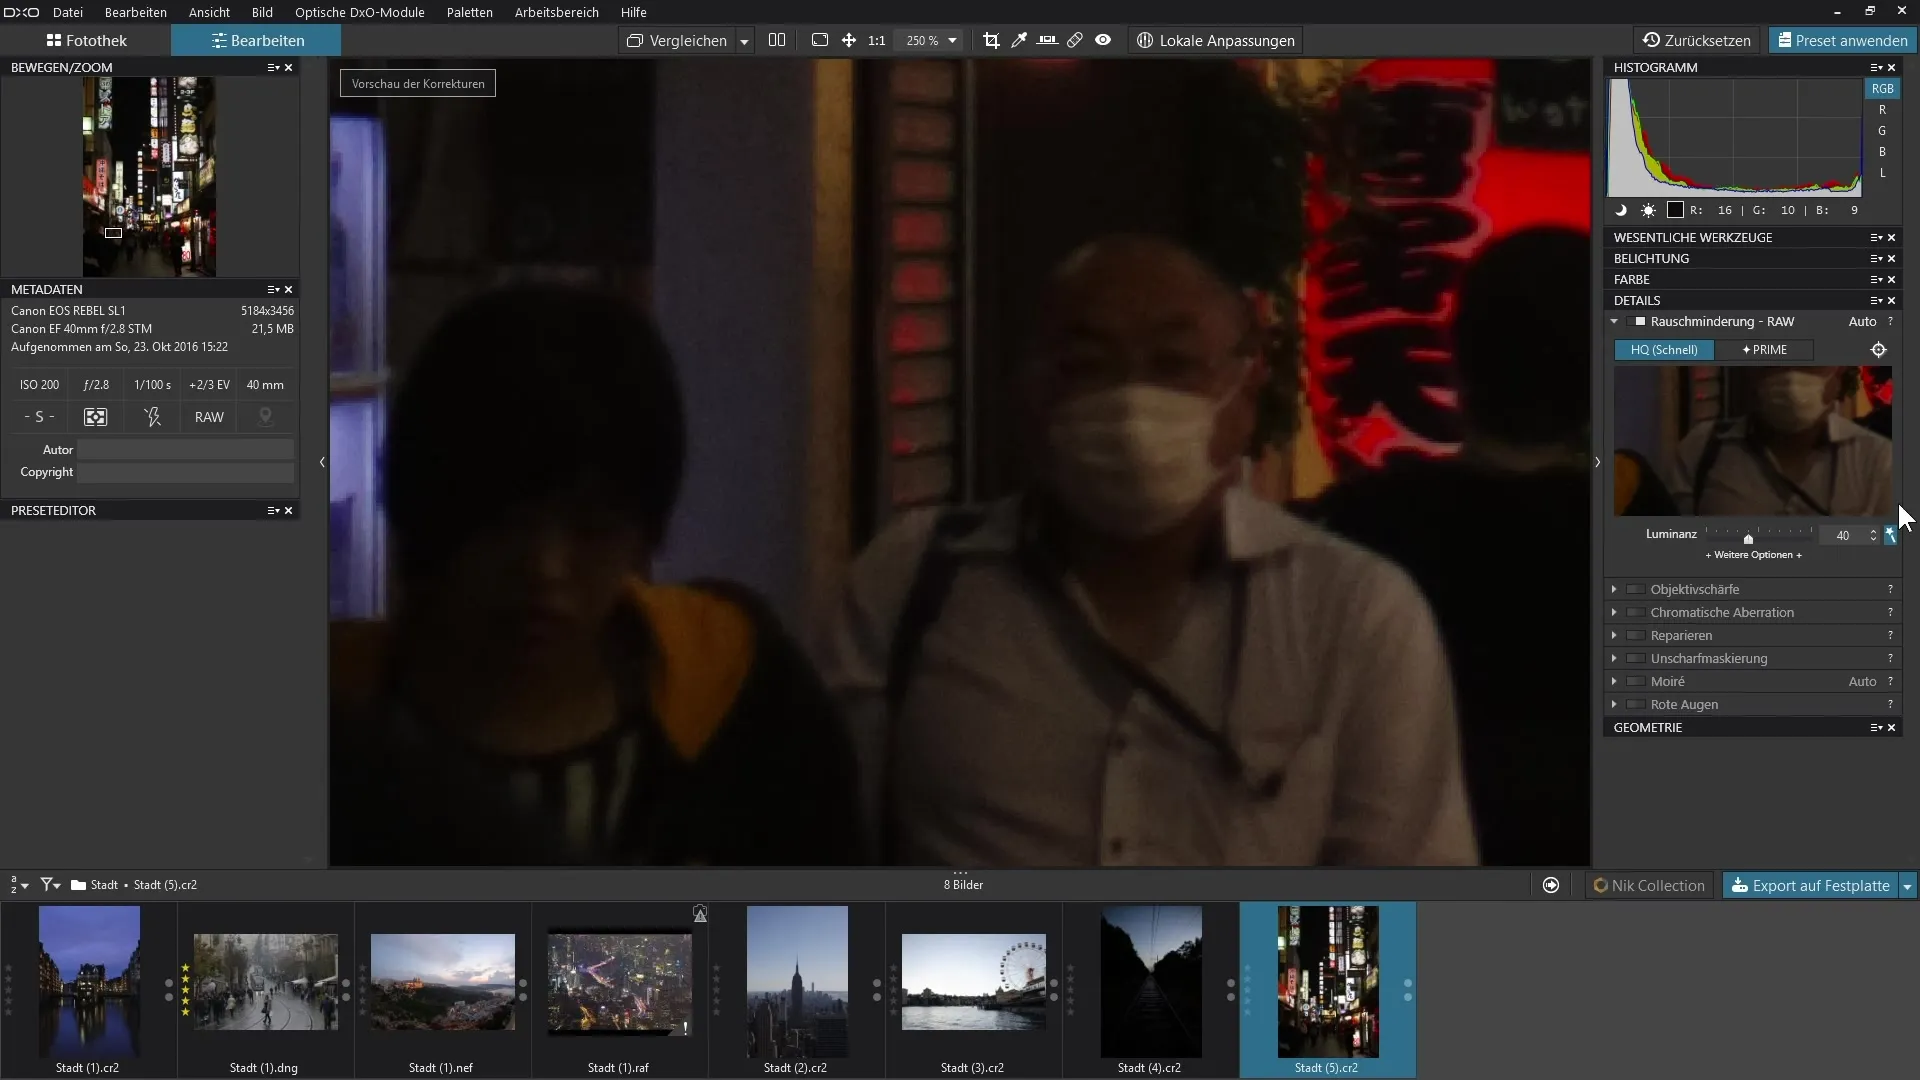
Now activate the noise reduction. You will immediately see an improvement in the image. Note that various automatic adjustments are active when you turn it on, which can help you automatically correct the noise. For example, the luminance can be adjusted automatically to reduce coarse noise.
4. Adjust Options
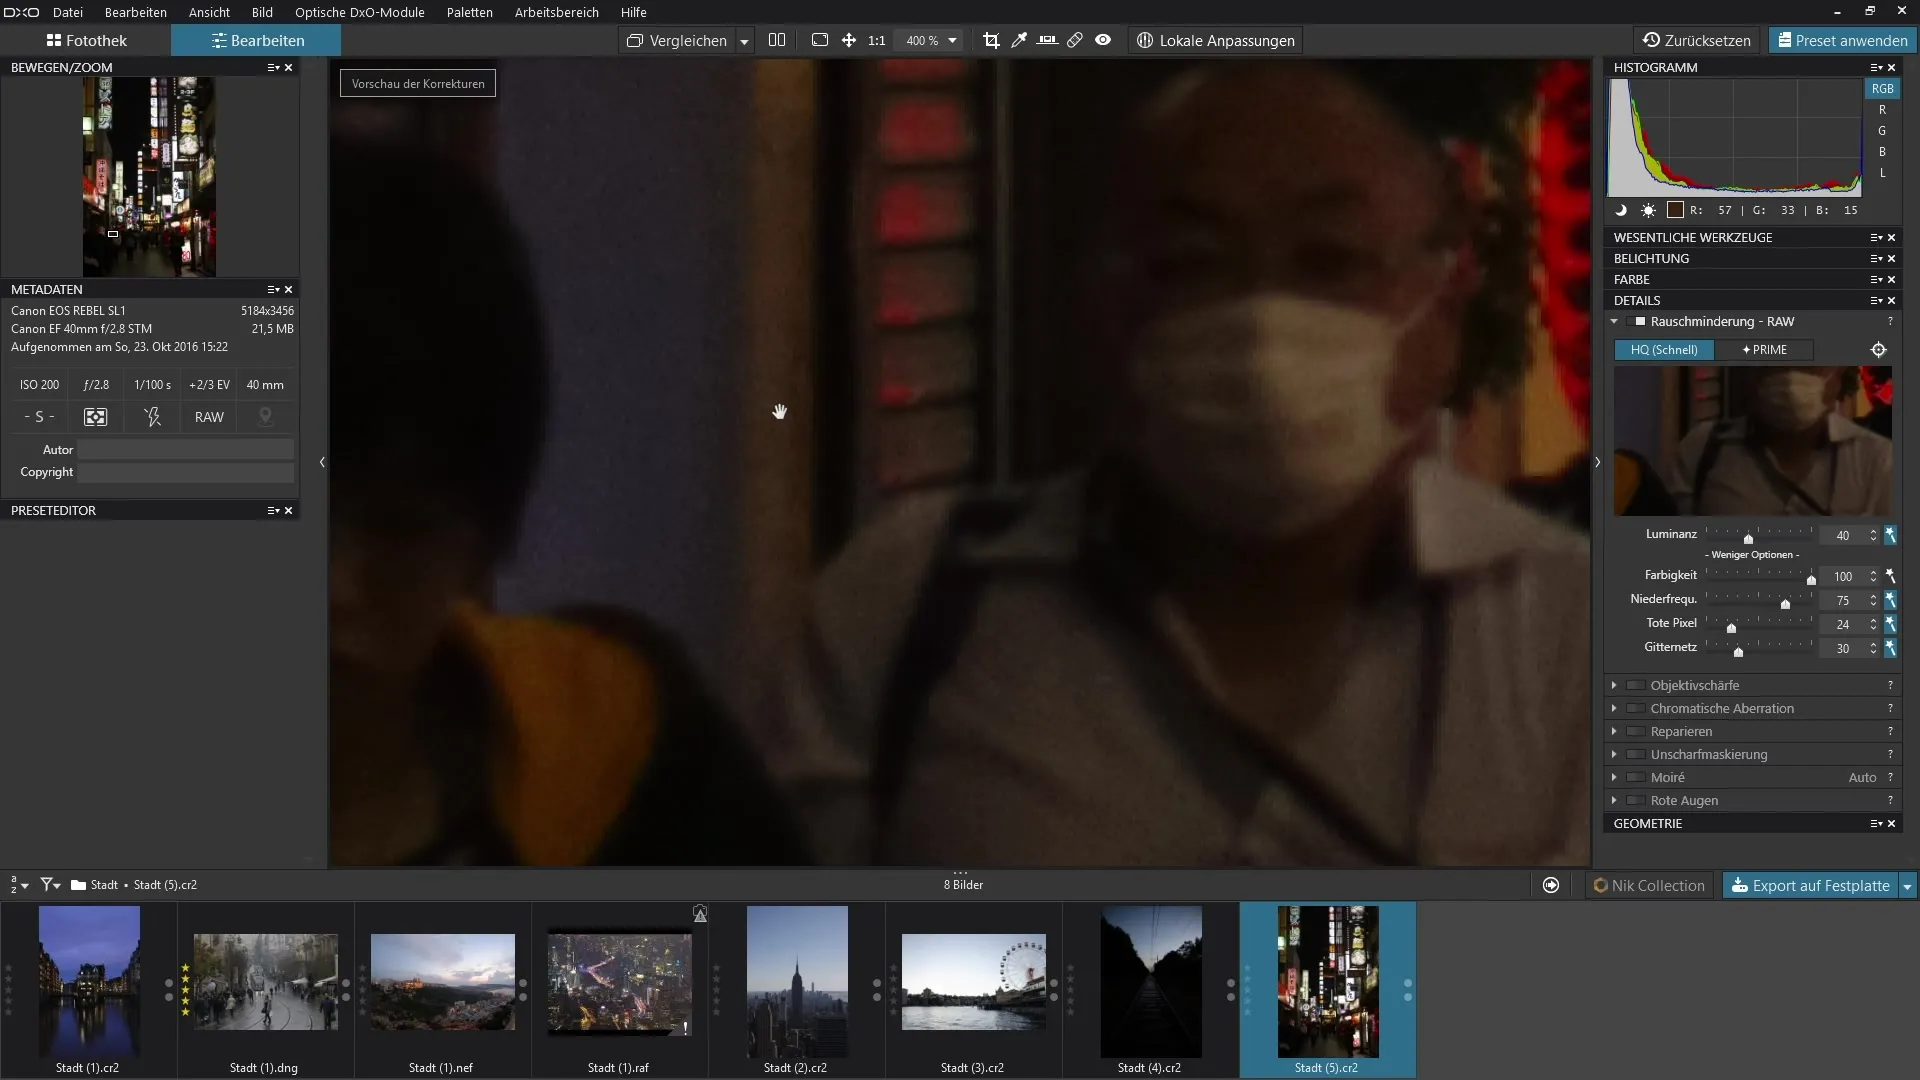
To further refine the results, click on "more options." Here you can fine-tune specific settings for luminance, chrominance, and other types of noise. Remember that removing dead or hot pixels is also possible in these settings, which can further improve image quality.
5. Turn off Automatic Adjustments and Make Manual Tweaks
If you are not satisfied with the automatic adjustments, you can turn off the automation. You can then manually adjust the sliders for luminance and chrominance or click the corresponding buttons. Now you have control over the noise reduction and can make more precise adjustments.
6. Fine-tune and Preserve Details
Go back to luminance and chrominance. If you notice that the image loses clarity at maximum noise reduction, be careful to move the sliders only slightly. Don't overdo the noise reduction to preserve details in the image.
7. Activate Prime Mode for Better Results
If you want to achieve even better results, switch to Prime. This feature works more effectively for noise reduction and delivers clean results for RAW images. Note that you may not see the difference in the original image immediately, but in the preview window, you can observe the effects of Prime closely.
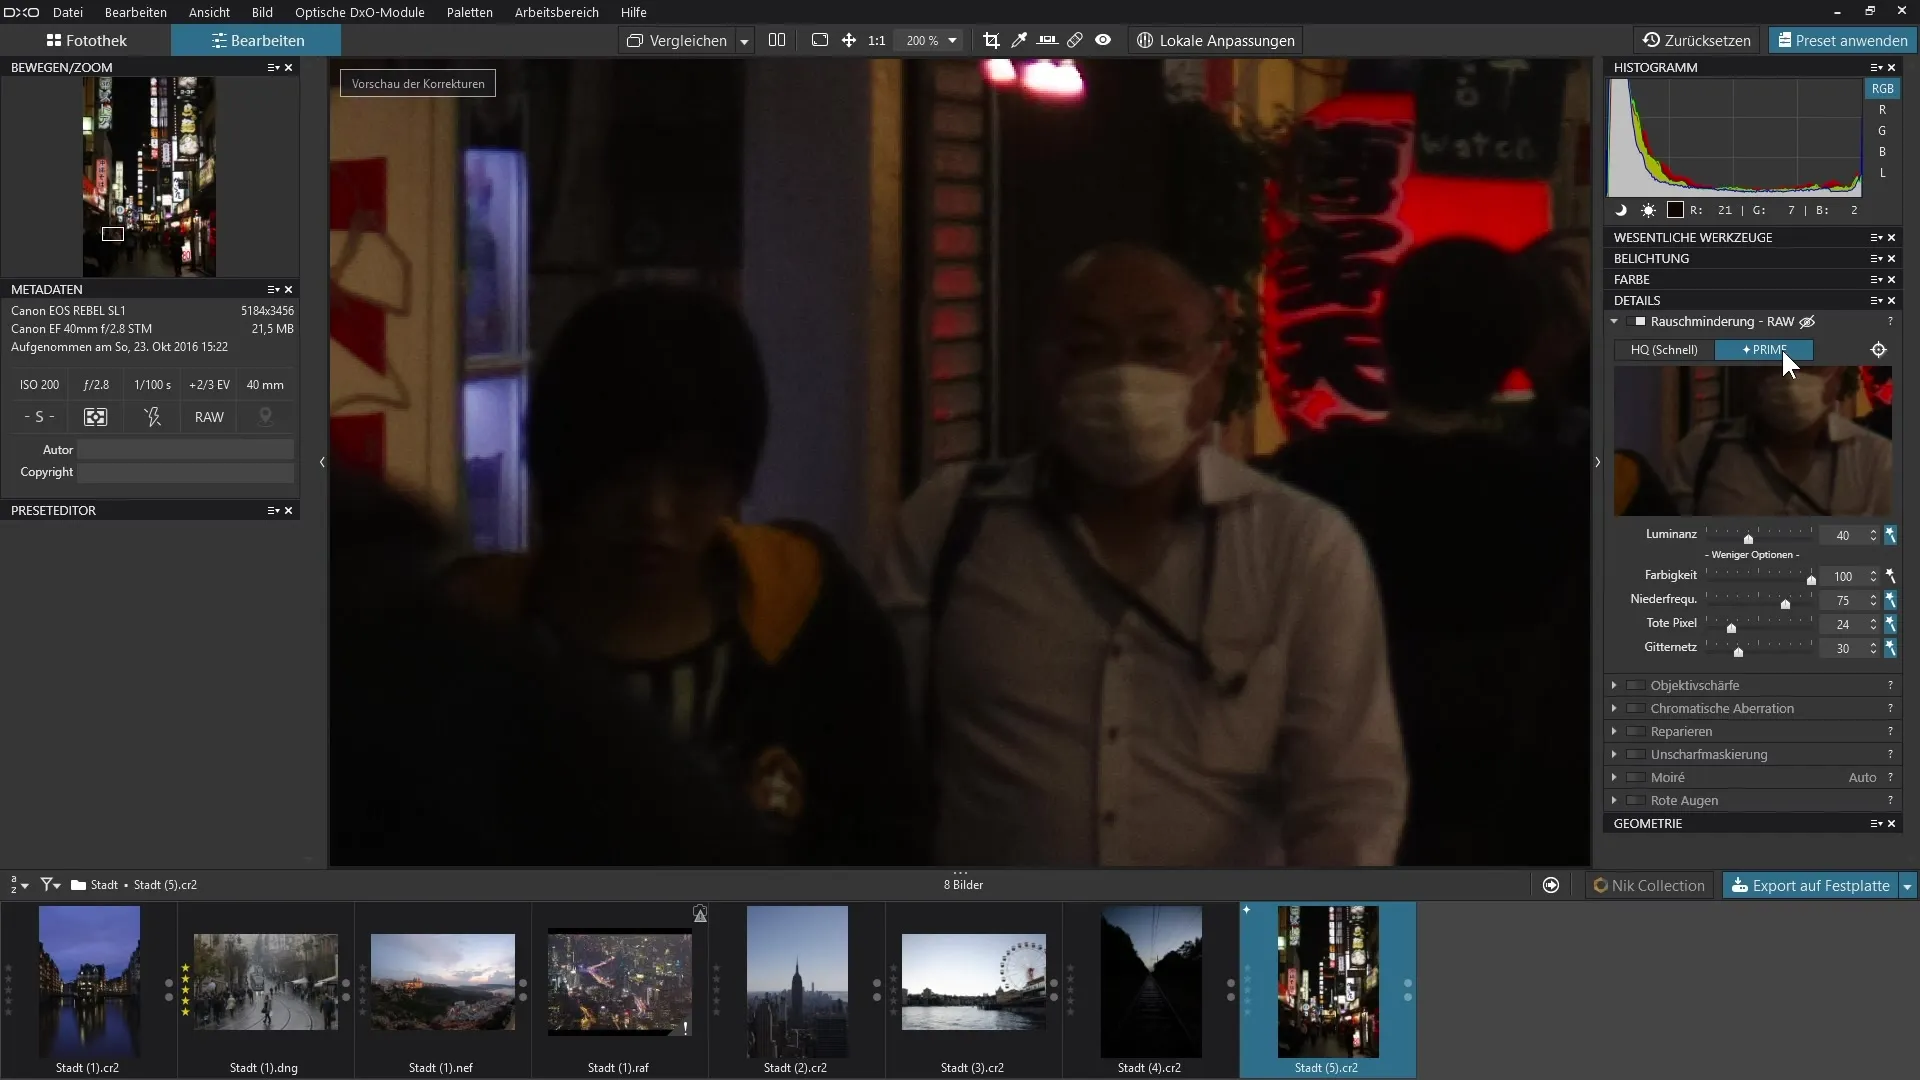
8. Detail View in the Preview Window
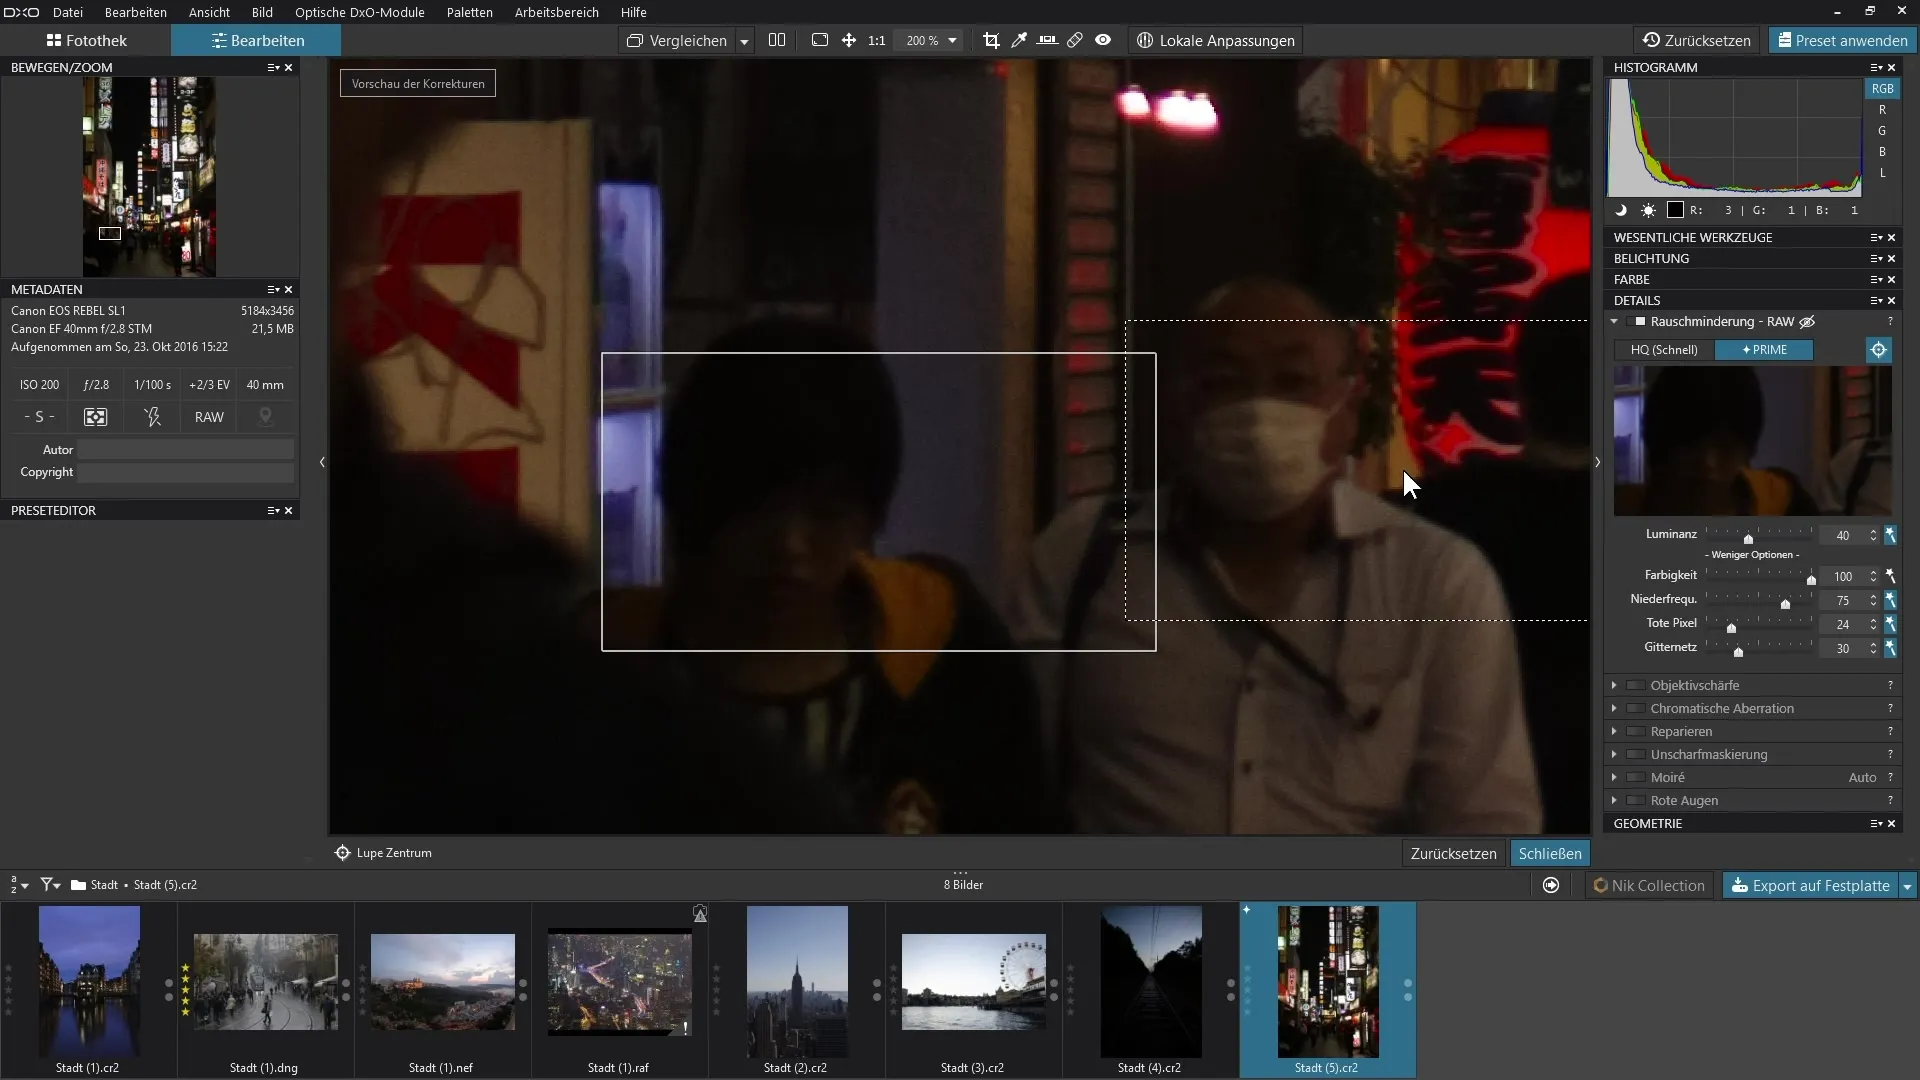
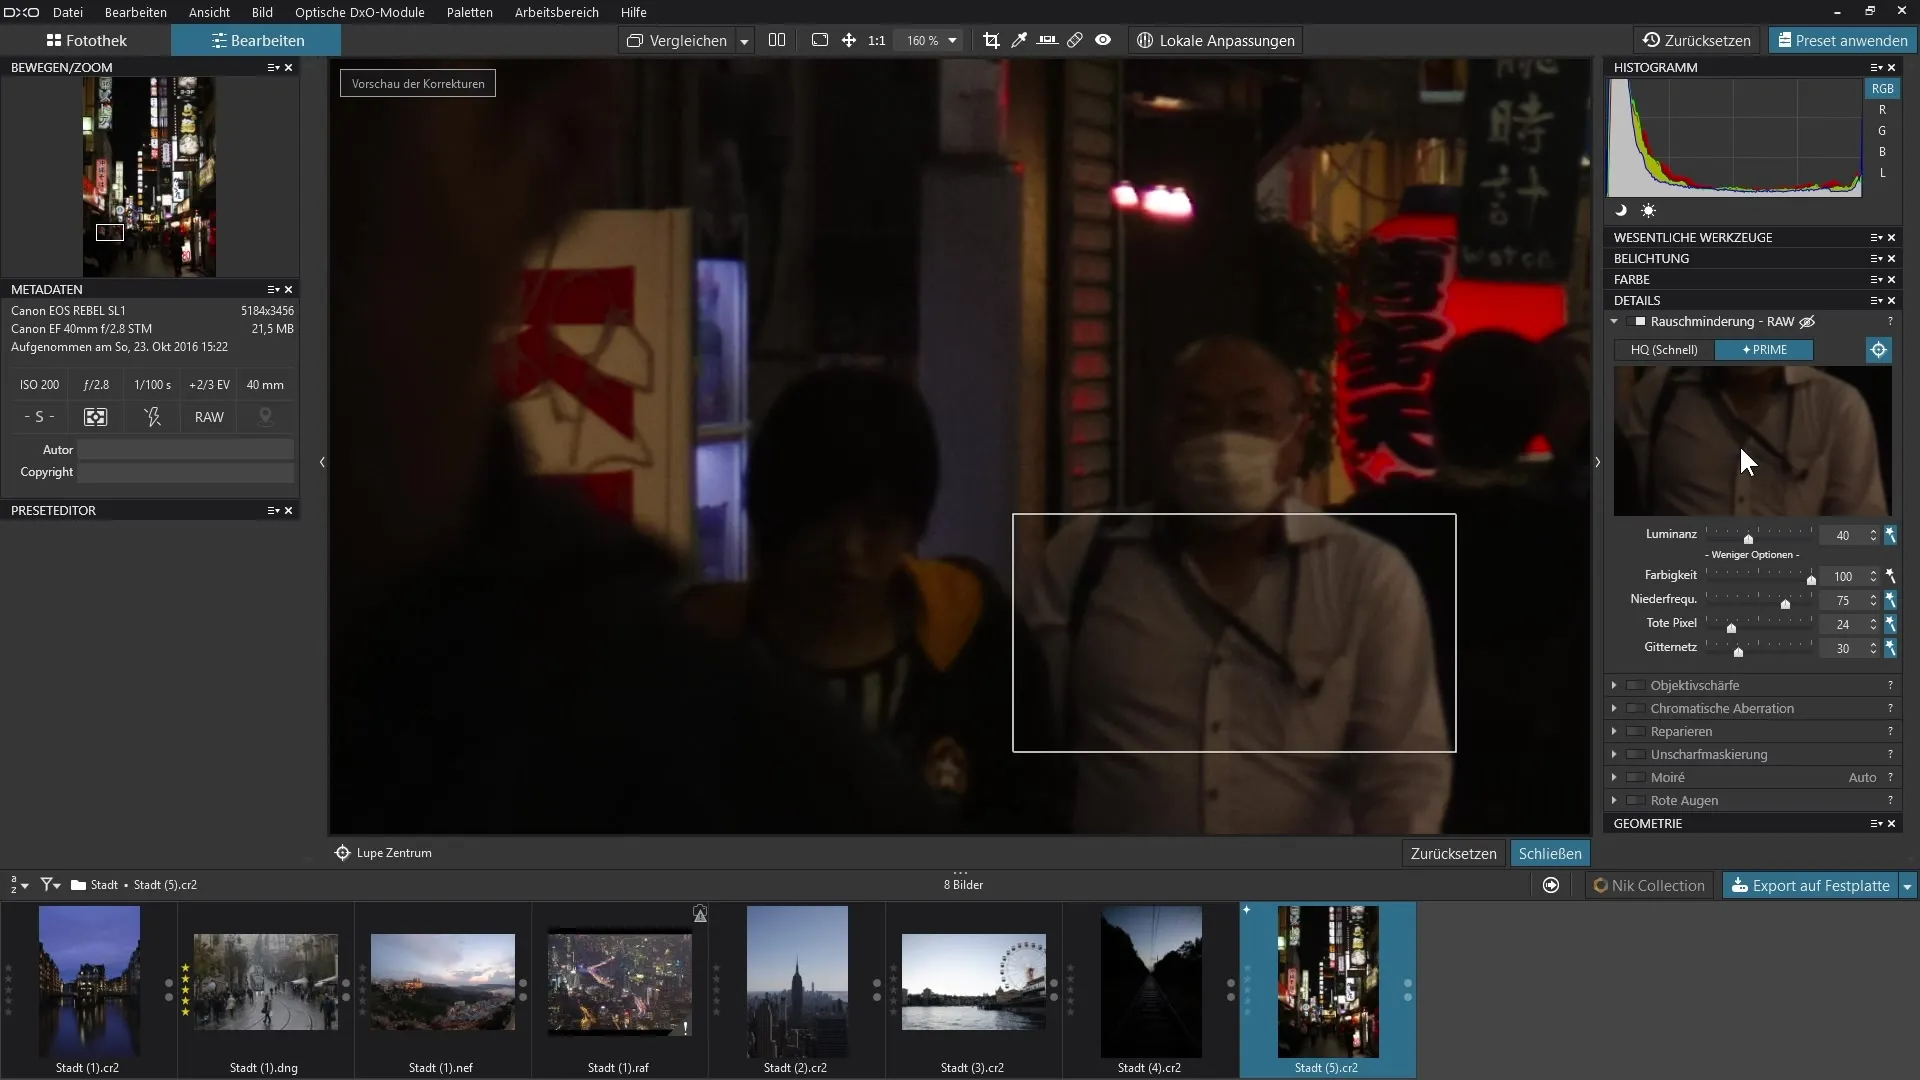
Use the crosshair to select a specific area of the image and examine it more closely. Even if you cannot zoom in on the area, you can see well in the preview window how well the noise reduction works. This fine-tuning will help you optimally prepare the image.
9. Export Image
To finally apply the noise reduction in Prime mode to your image, you need to export the image. Only then will the noise reduction in Prime mode be applied to the image, and you can enjoy the improved image quality.
Summary – Noise Reduction in DxO PhotoLab: Step-by-Step Guide
In this guide, you learned how to integrate the powerful noise reduction features of DxO PhotoLab into your RAW images. With targeted steps, you can effectively minimize noise and enhance image quality. Use the option between High Quality and Prime to achieve the best results while preserving the details of your images.
FAQ
How do I activate noise reduction in DxO PhotoLab?You navigate to the "Details" section and activate noise reduction for your RAW image.
What is the difference between High Quality and Prime?High Quality provides faster results, while Prime offers finer, higher quality noise reduction.
Could JPEG images also benefit from noise reduction?The specific noise reduction features only apply to RAW images.
Can I adjust the automation of noise reduction?Yes, you can turn off the automation and make manual adjustments.
How can I ensure that the details in the image are preserved?Avoid excessive noise reduction and be careful to move the sliders only slightly.


