If you deal with vignetting in image editing, you will quickly realize that this effect can occur both intentionally and unintentionally. Unintended vignetting is often the result of an inadequate combination of camera and lens, especially in cheaper models. Despite the challenges, vignetting can also be used intentionally to draw focus to the center of the image. In this guide, you will learn how to correct unwanted effects and deliberately use them for your purposes with the DxO PhotoLab 3 vignetting filter.
Key insights
- Vignetting can be both unintended and intentional.
- Filtering out unintended vignetting is possible with the optical DxO module.
- Manual adjustment of intensity and center emphasis offers creative freedom.
Step-by-Step Guide
Detect vignetting
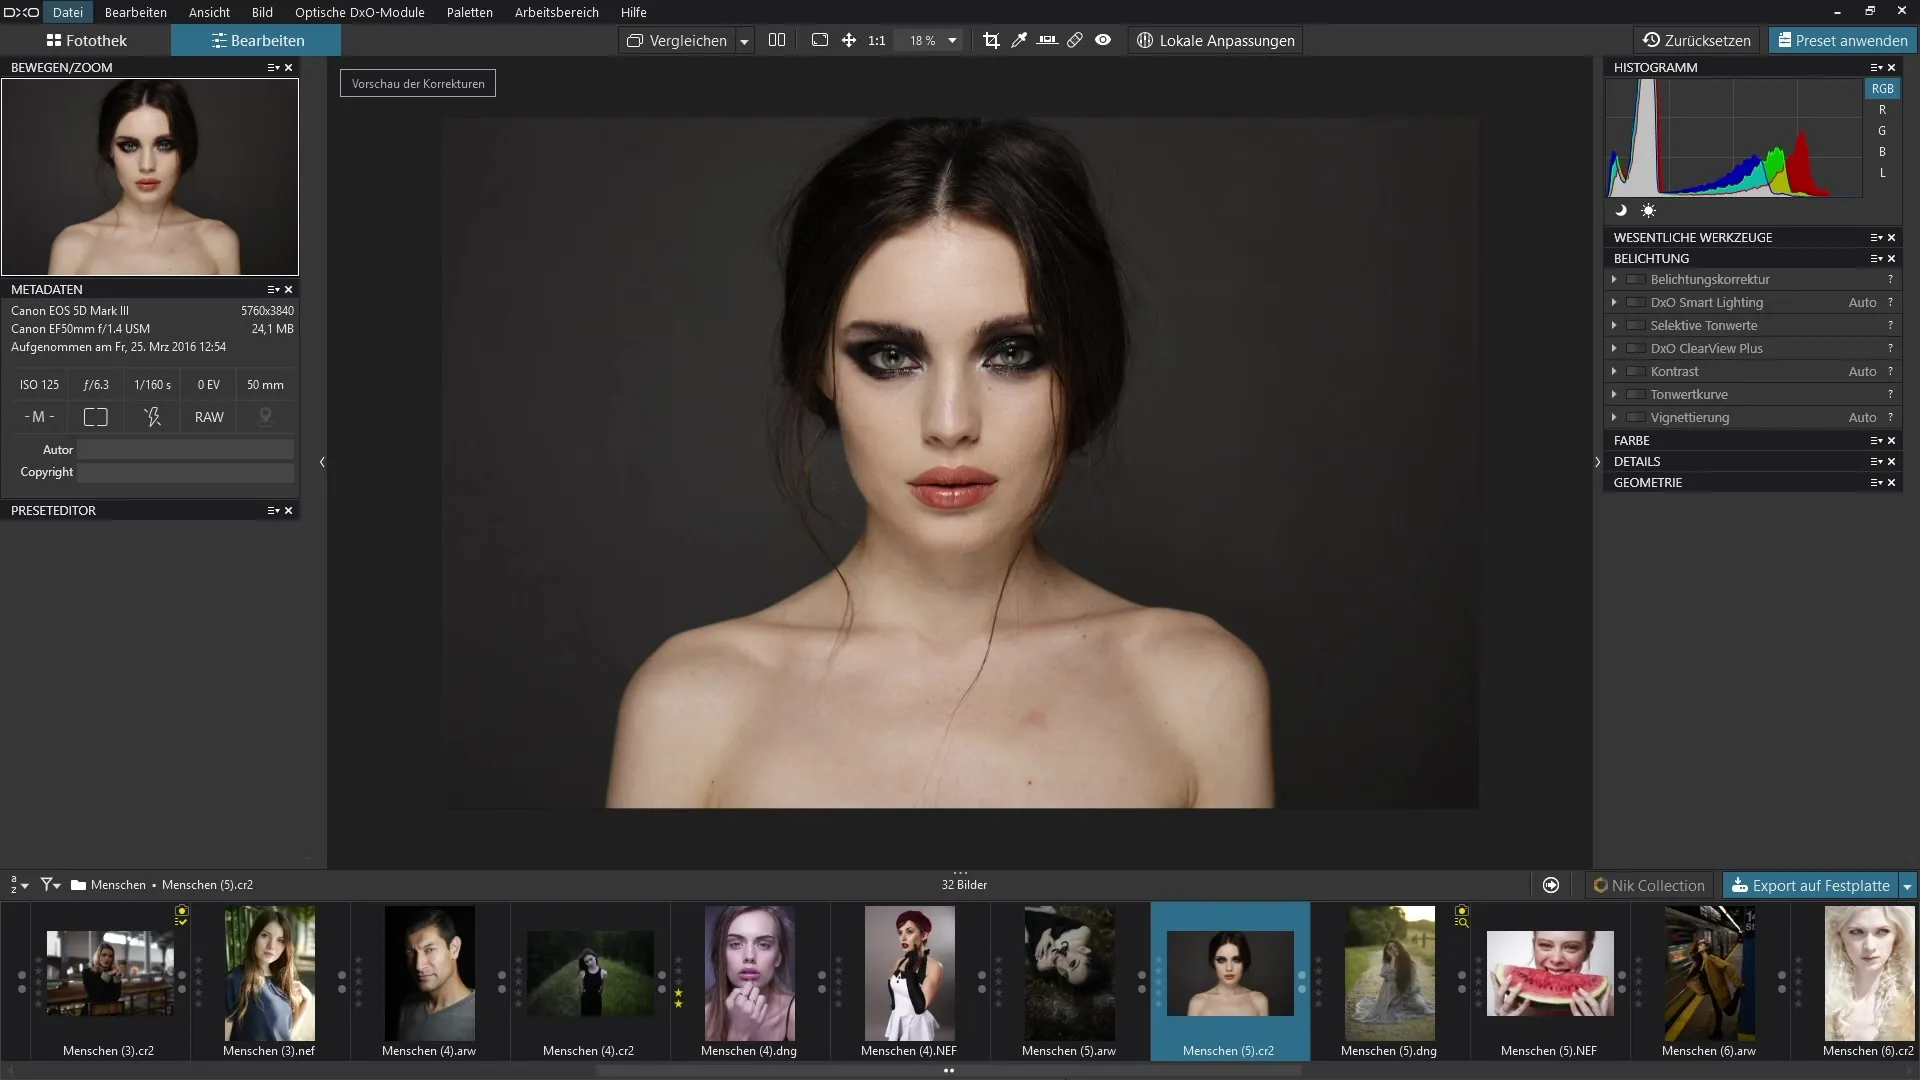
First, you need to check the image for any vignetting. You can often see this in the darker corners. If the image exhibits these characteristics, there is a high likelihood that it is unintended vignetting.

Apply automatic correction
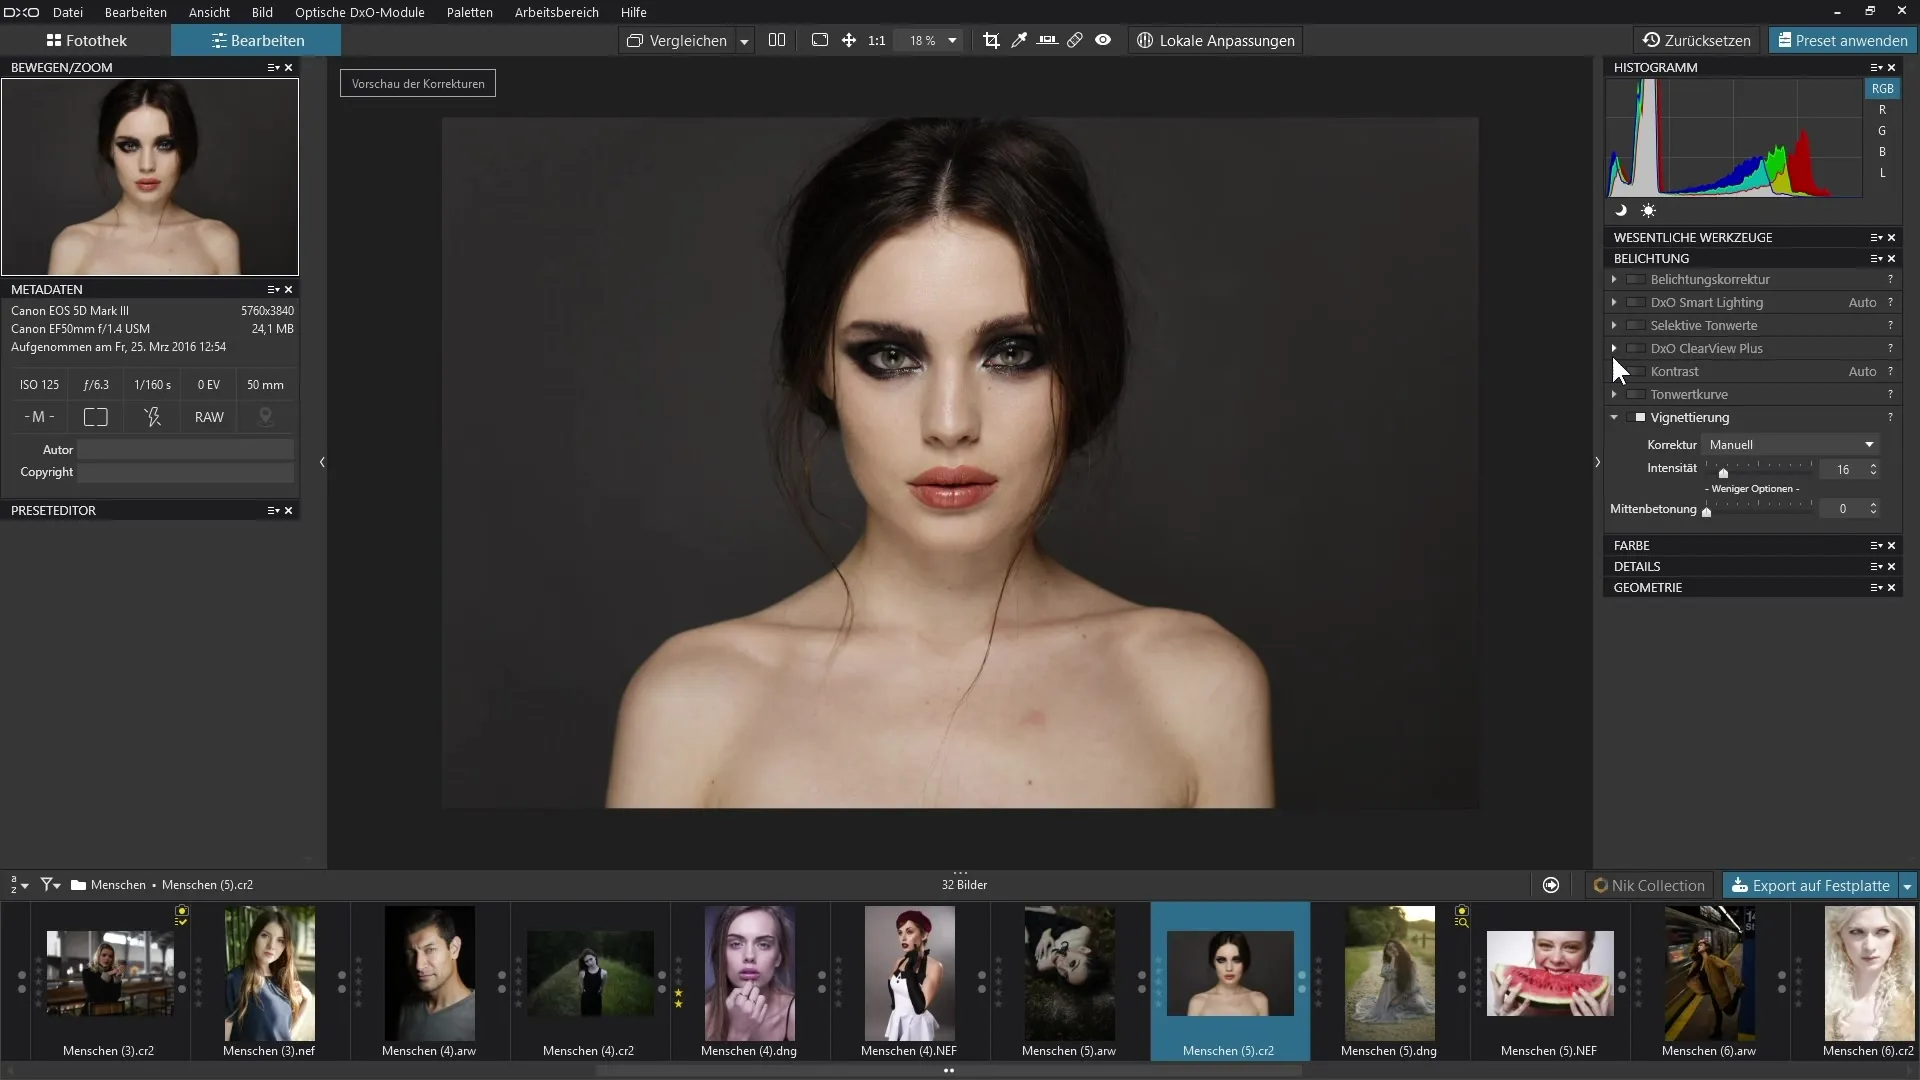
To fix the vignetting, navigate to the correction functions in the photo editor. Here you will find the "Vignetting" option. Use the optical DxO module to correct the vignetting automatically. To do this, you need to ensure that you have downloaded the appropriate DxO modules that contain specific information about your camera and lens.
Examine the effect of automation
After you have activated the automatic correction, pay close attention to the corners of the image. You should see the vignetting disappear. An immediate comparison between before and after will show the effectiveness of this feature.
Make manual adjustments
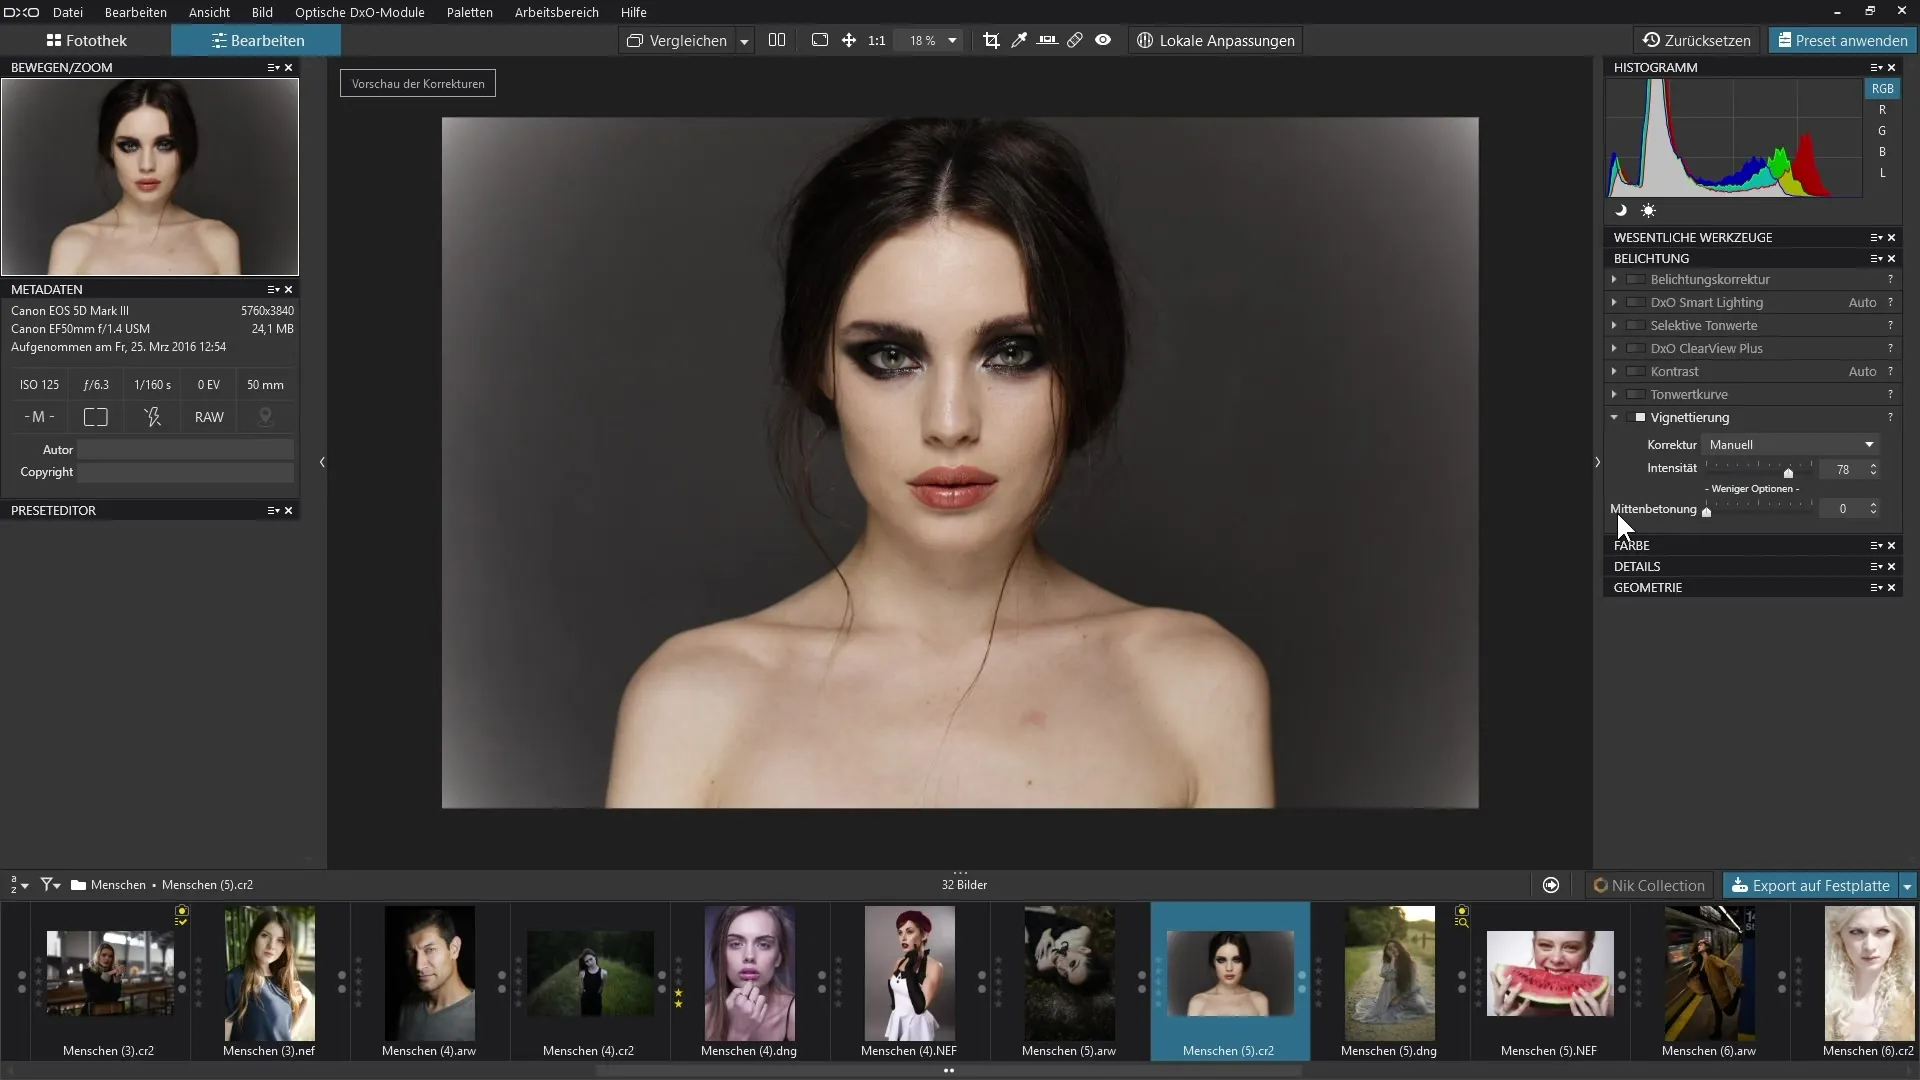
If you need more detailed control, you can switch the setting to "Manual". Here you can adjust both the intensity of the vignetting and the center emphasis. By default, both sliders are set to zero. To make the center emphasis visible, enable the "more options" setting.
Set intensity and center emphasis
Now you can increase the intensity of the vignetting. If you overdo it, this may lead to a white vignetting effect. Experiment with the sliders to achieve the desired effect. It is important to maintain balance so that the image remains harmonious.

Create a smooth gradient
Play with the center emphasis to create a smooth gradient at the edges. By expanding the center emphasis, the effect shifts more toward the center of the image, helping you achieve beautiful results intentionally.

Evaluate the final result
Look at the final result of the adjustments. You will often see a significant improvement; the focus is now clearly on the center of the image. A well-executed automatic correction combined with targeted manual adjustments can sustainably enhance the quality of your images.
Summary - Efficiently Correcting Vignetting with DxO PhotoLab: Your Step-by-Step Guide
In this guide, you learned how to effectively edit vignetting with DxO PhotoLab 3. From detection to automatic correction to manual adjustments – each phase contributes to taking your image to the next level. Use these steps to both correct unintended vignetting and intentionally utilize creative effects.
Frequently Asked Questions
How can I fix vignetting in DxO PhotoLab 3?Navigate to the correction functions and select the automatic option for vignetting correction.
Is the correction always effective?In most cases, the automation significantly improves the image, but may require manual adjustments.
What is the difference between automatic and manual for vignetting?The automatic option removes vignetting based on optical modules, while manual allows for individual adjustments.
Could vignetting also be intentional?Yes, vignetting can be used deliberately to focus on the center of the image.
How does center emphasis affect the image?Center emphasis controls how strongly the center is emphasized compared to the edges and can help create smooth transitions.


