With Unsharp Maskingin DxOPhotoLab, you have the tool at hand to sharpenyour images and add more detail accuracy. This filter is particularly useful when editing RAW images and can lead to significant improvements in image quality. In this guide, you will learn step by step how to use unsharp masking efficiently while maintaining control over the various parameters to achieve the best possible result.
Key findings
- The unsharp masking emphasizes contours and transitions in the image.
- Too high values can cause image noise, so careful adjustment is important.
- The effect of the filter is only visible when you zoom in to assess the effect.
Step-by-Step Guide
First, open DxO PhotoLab and load the image you want to edit. Then go to the Detail panel to access unsharp masking.
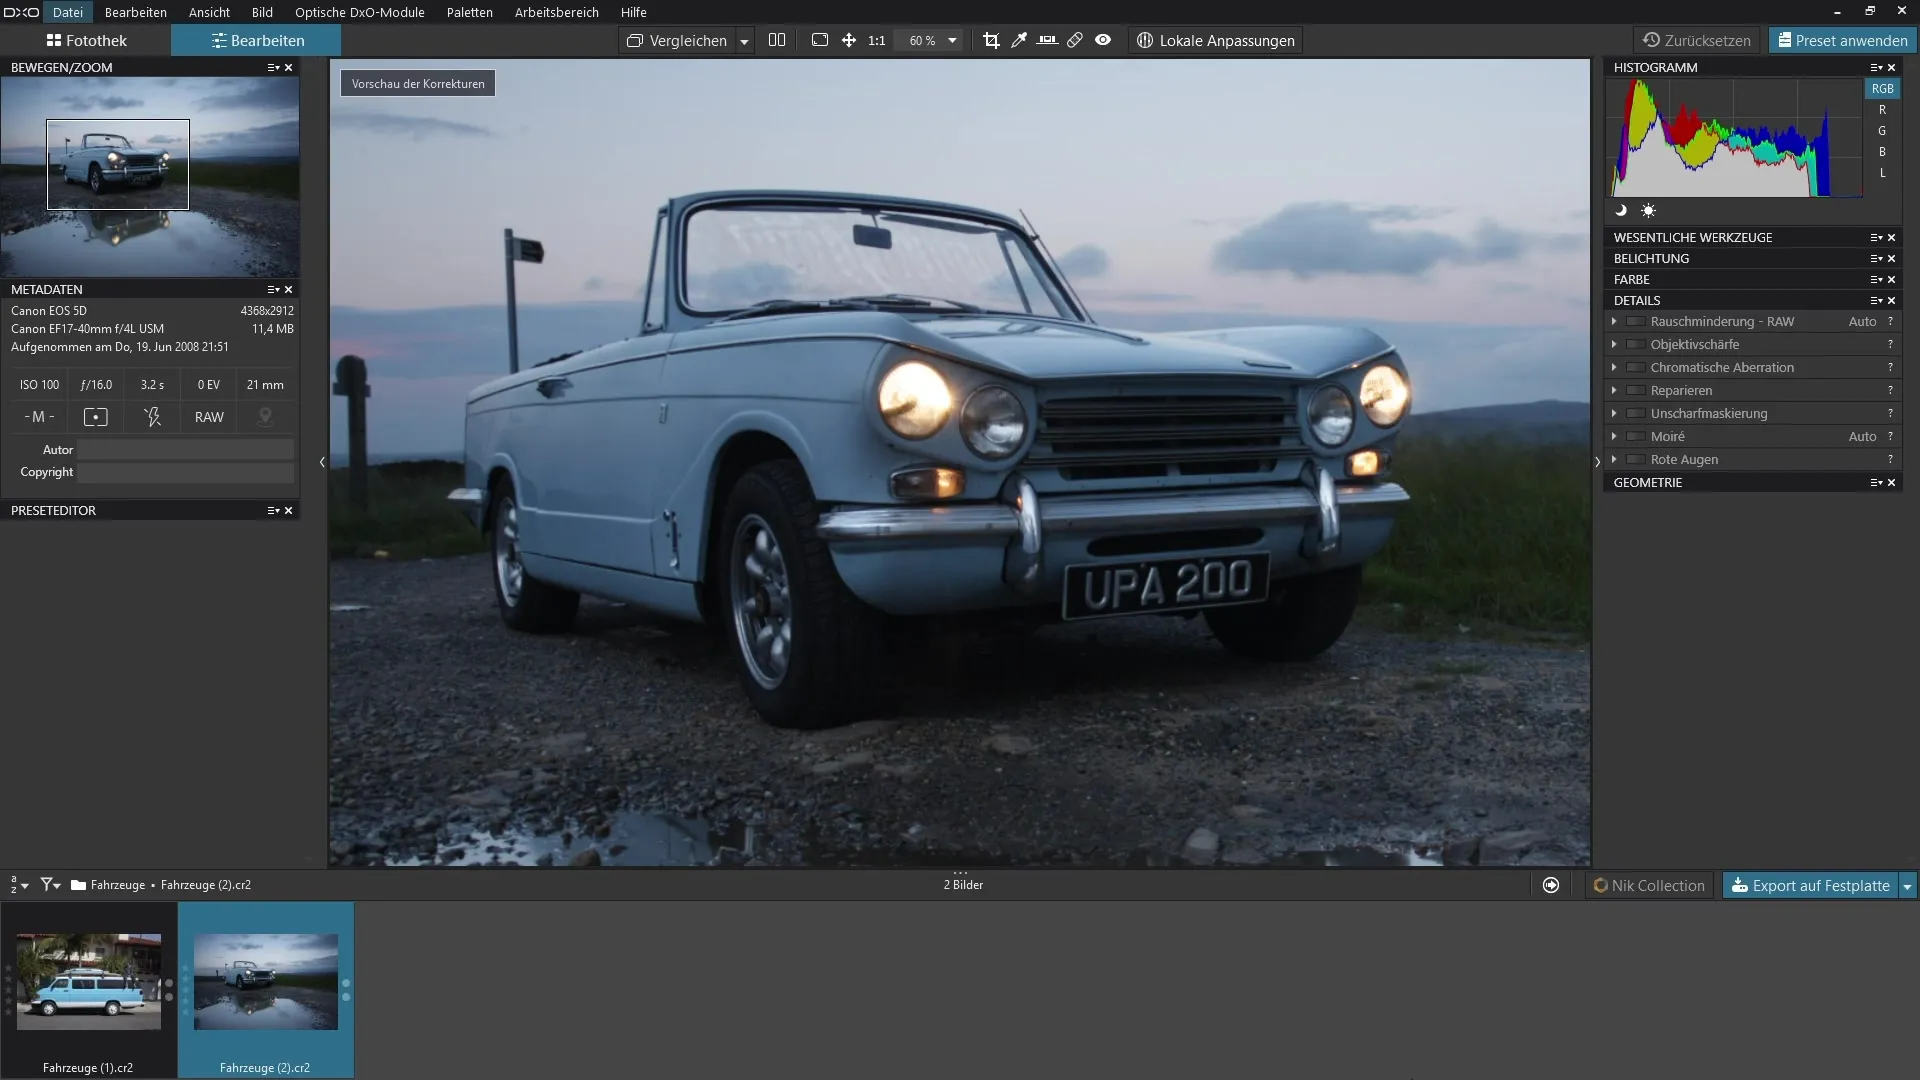
Activate the filter by clicking on the corresponding button. It is advisable to zoom in on your image, as the effectiveness of unsharp masking really shows in close views.
Now you can start adjusting the intensity of the filter. Increase the intensity and adjust the radius to see how the sharpening impression in your image changes. You will easily notice that certain areas now appear sharper.
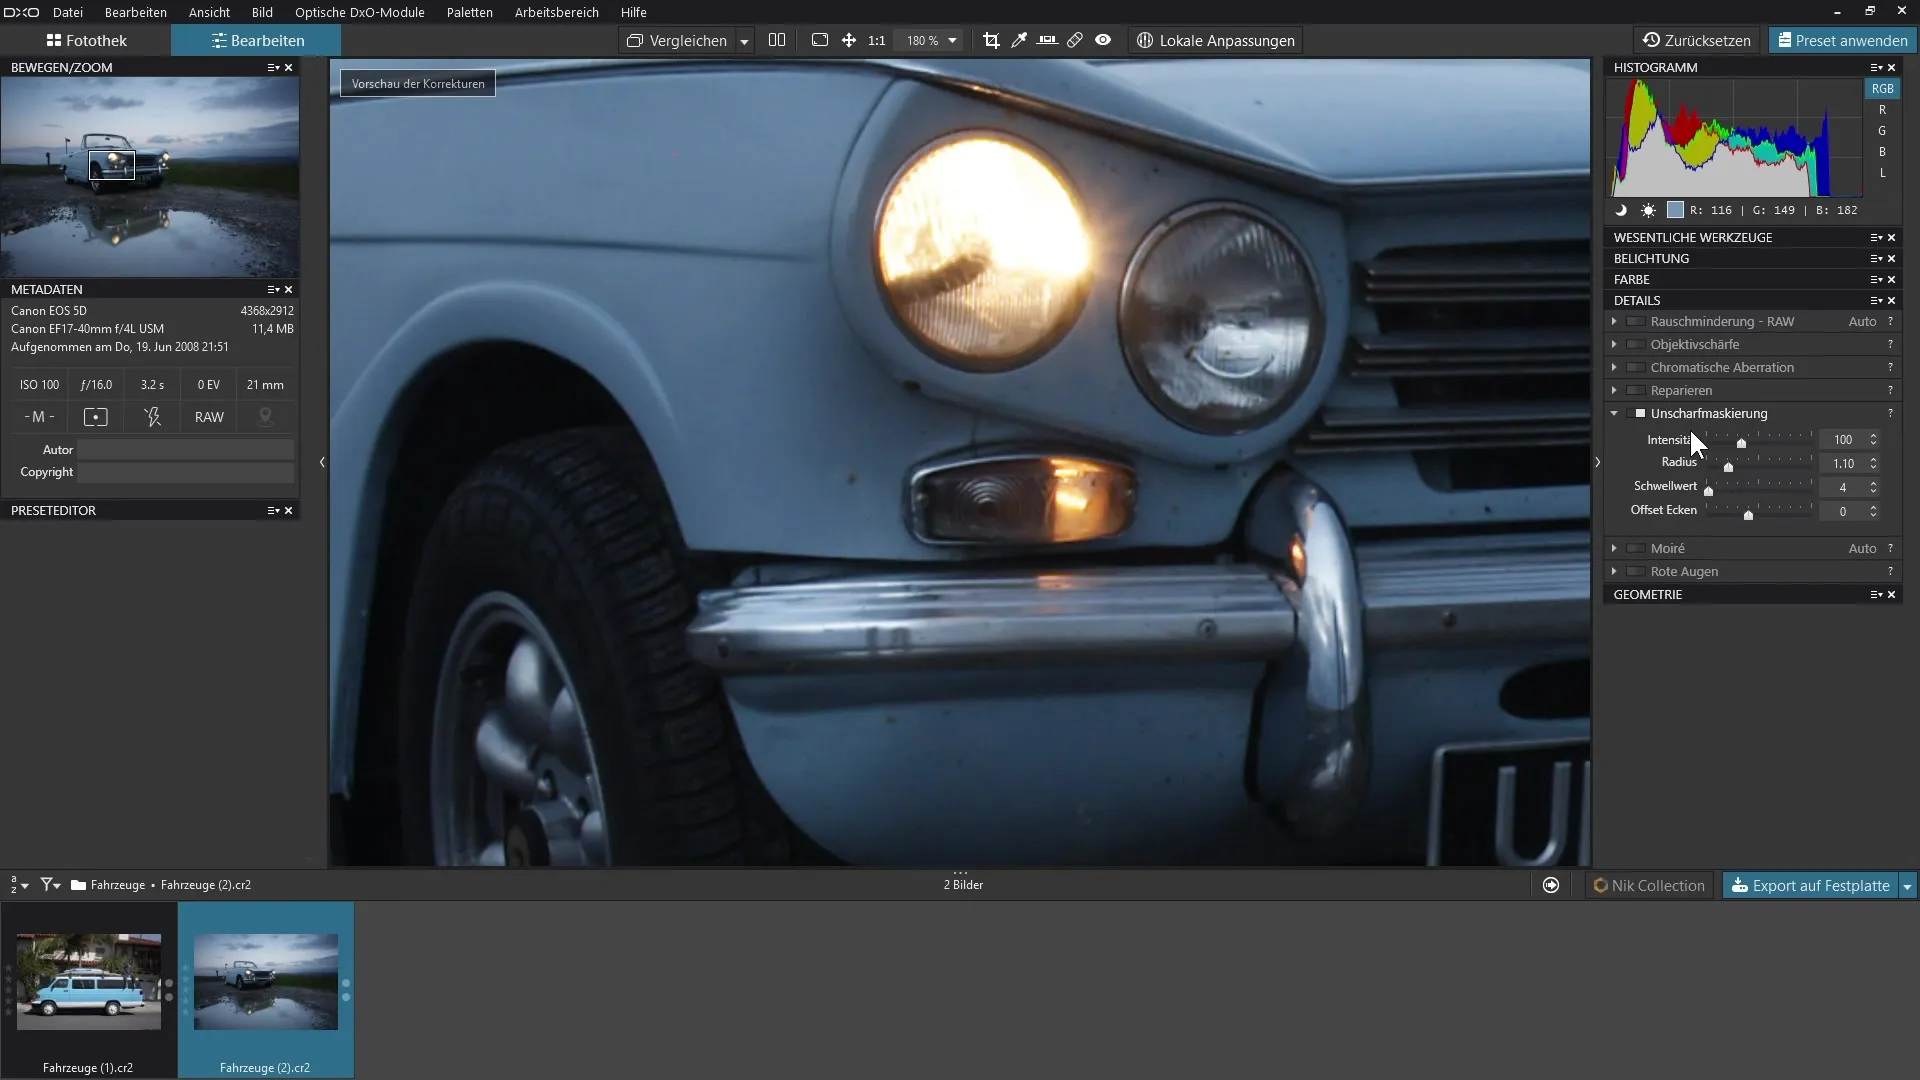
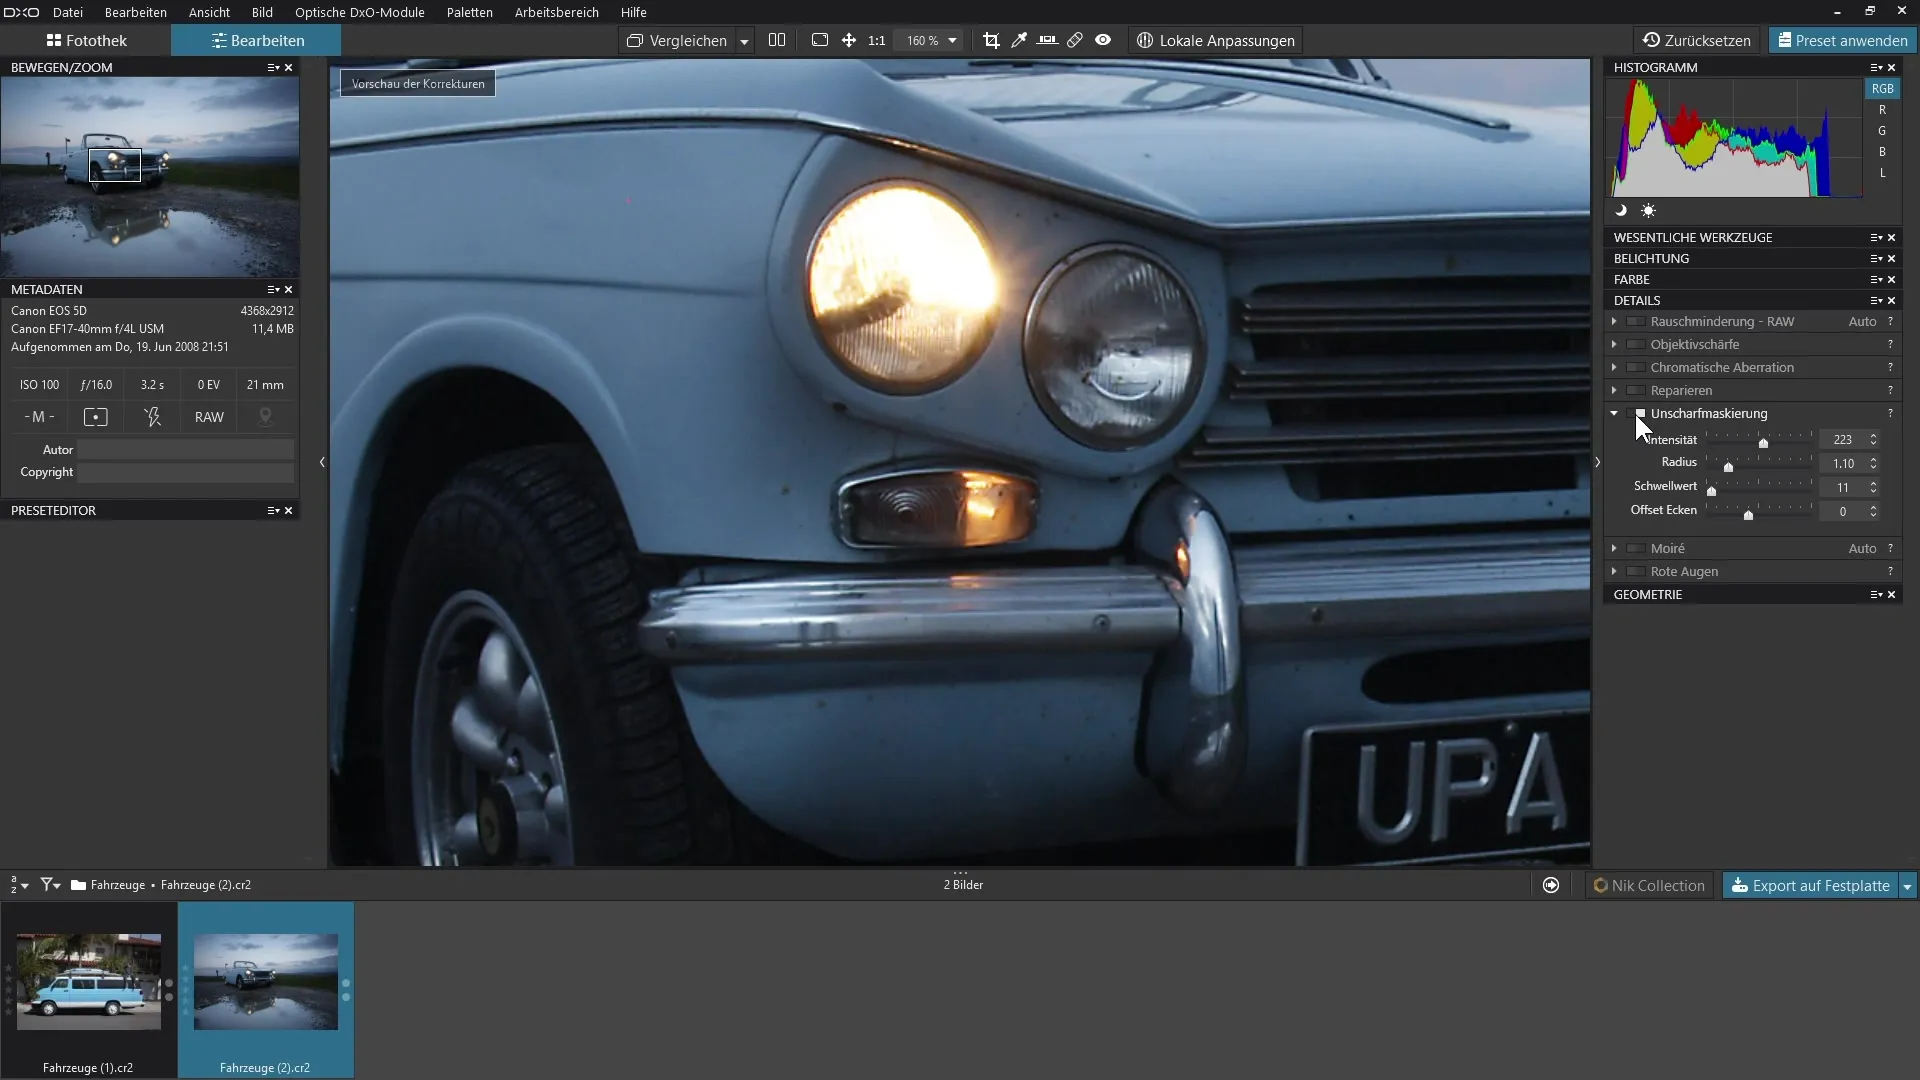
The unsharp masking works by looking for contours in the image and enhancing the contrasts at these transitions. This results in the image appearing sharper overall. Toggle the filter on and off to directly compare the results. You will clearly perceive the difference.
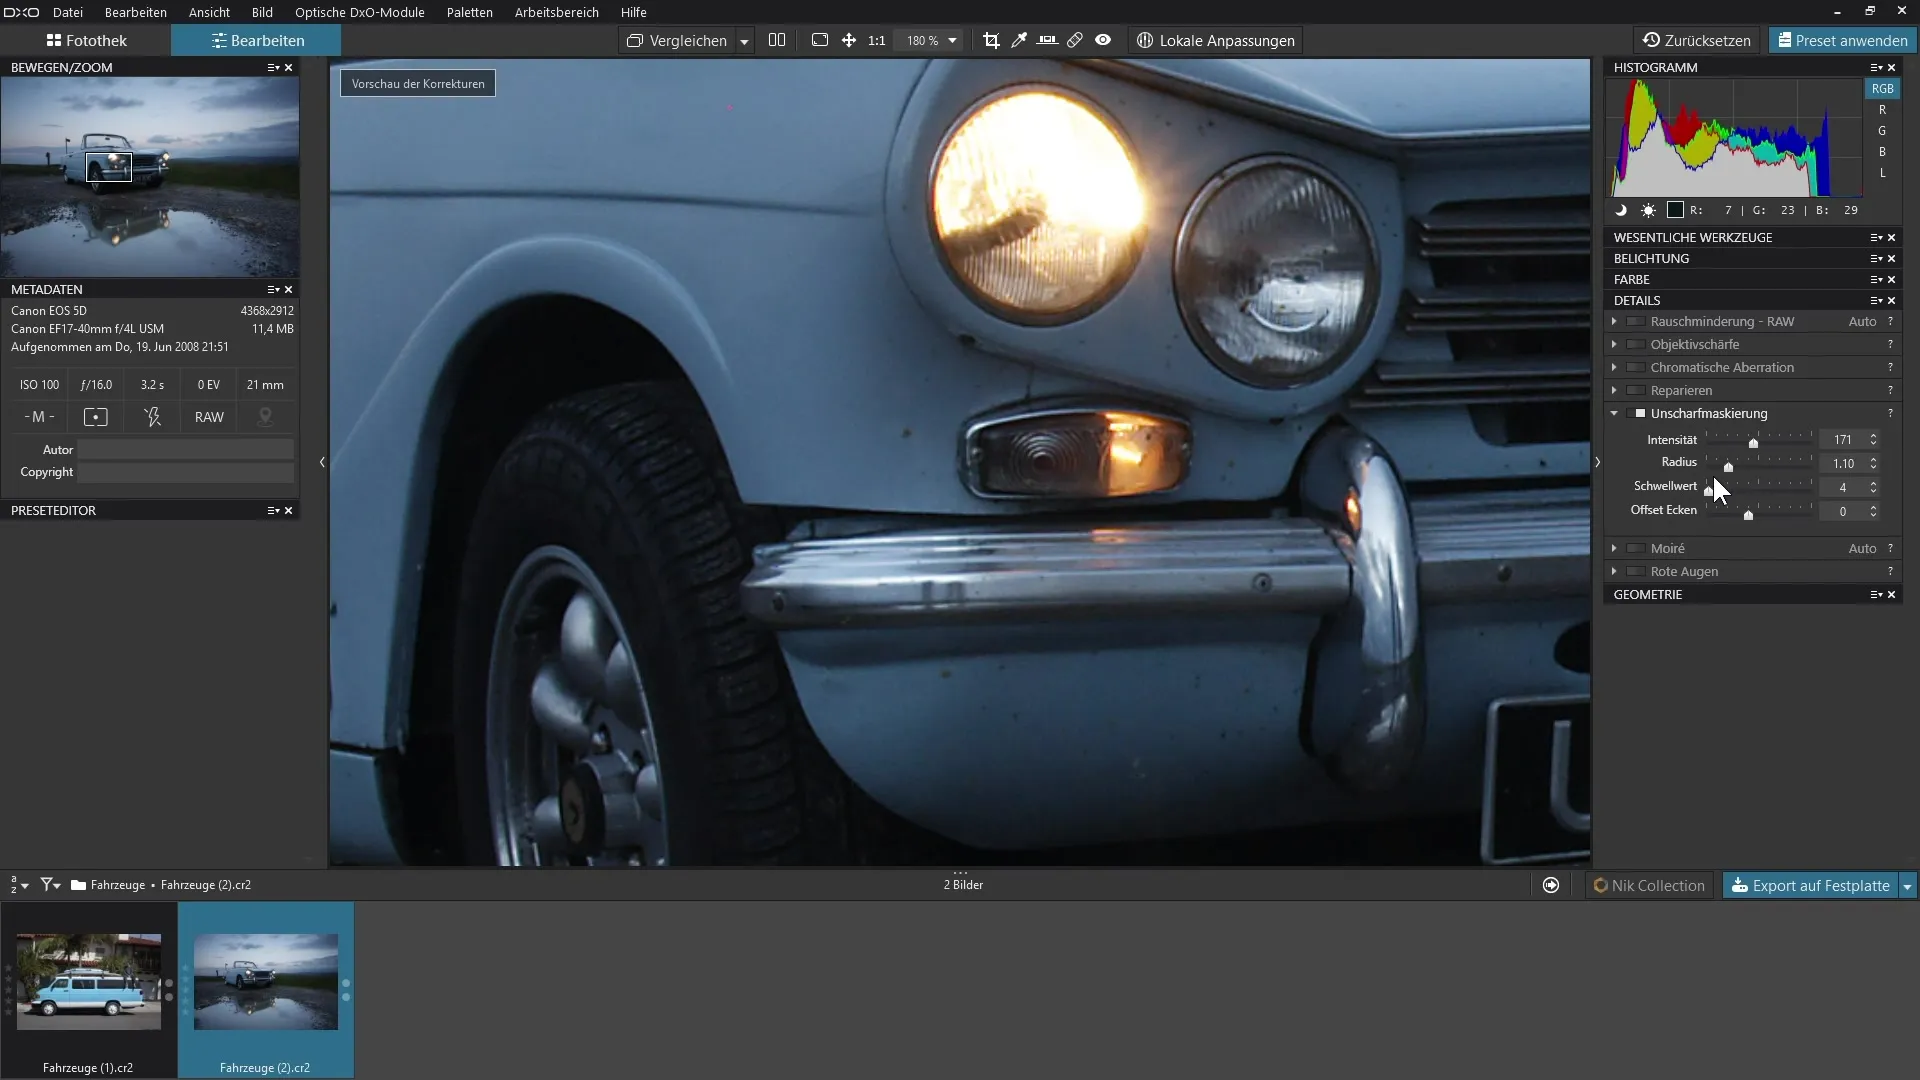
Another crucial parameter is the threshold. If this value is too low, even very fine details can be enhanced, leading to unwanted image noise. Increase this value carefully. Less noticeable contrasts should not be enhanced unless they are significant, such as highlights or shadows in the image.
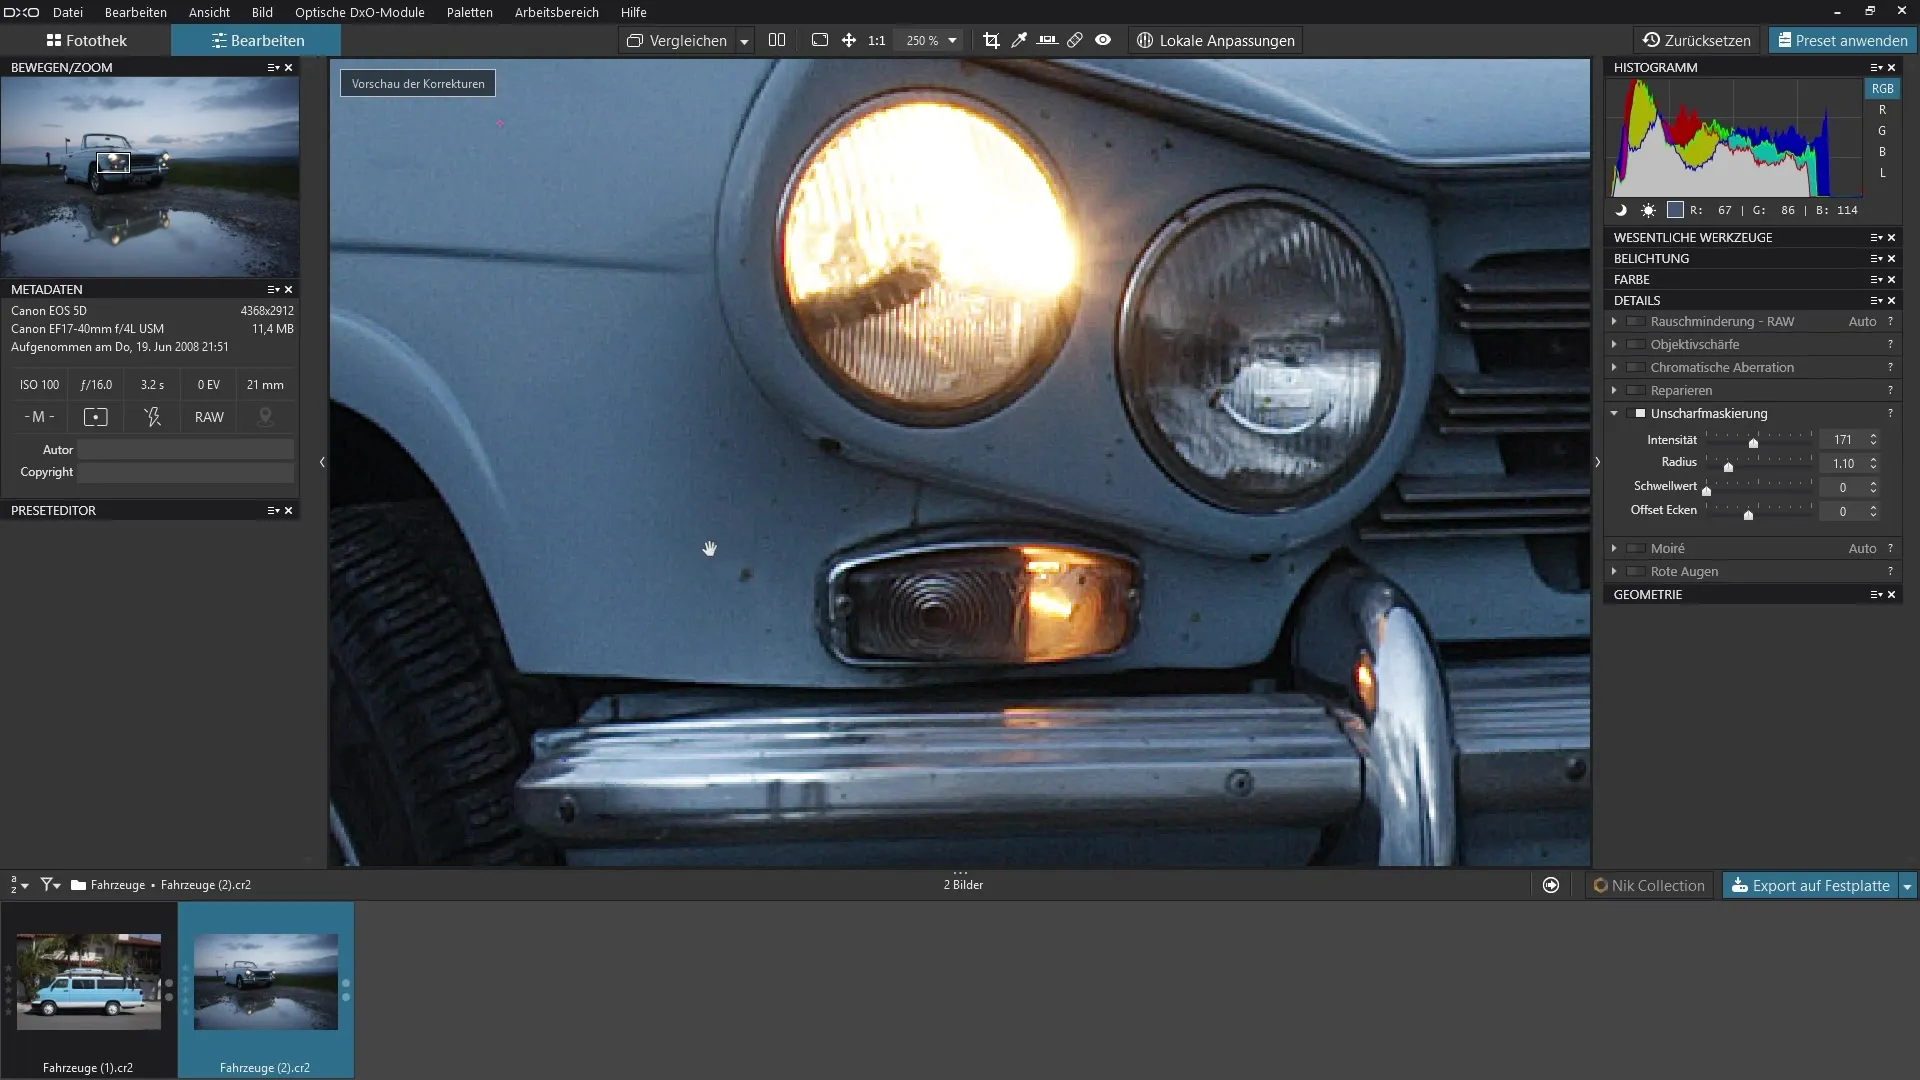
Play with the intensity and threshold to achieve the desired sharp look. Pay attention to how the image behaves as you zoom in and out. This way, you can evaluate the effect of unsharp masking.
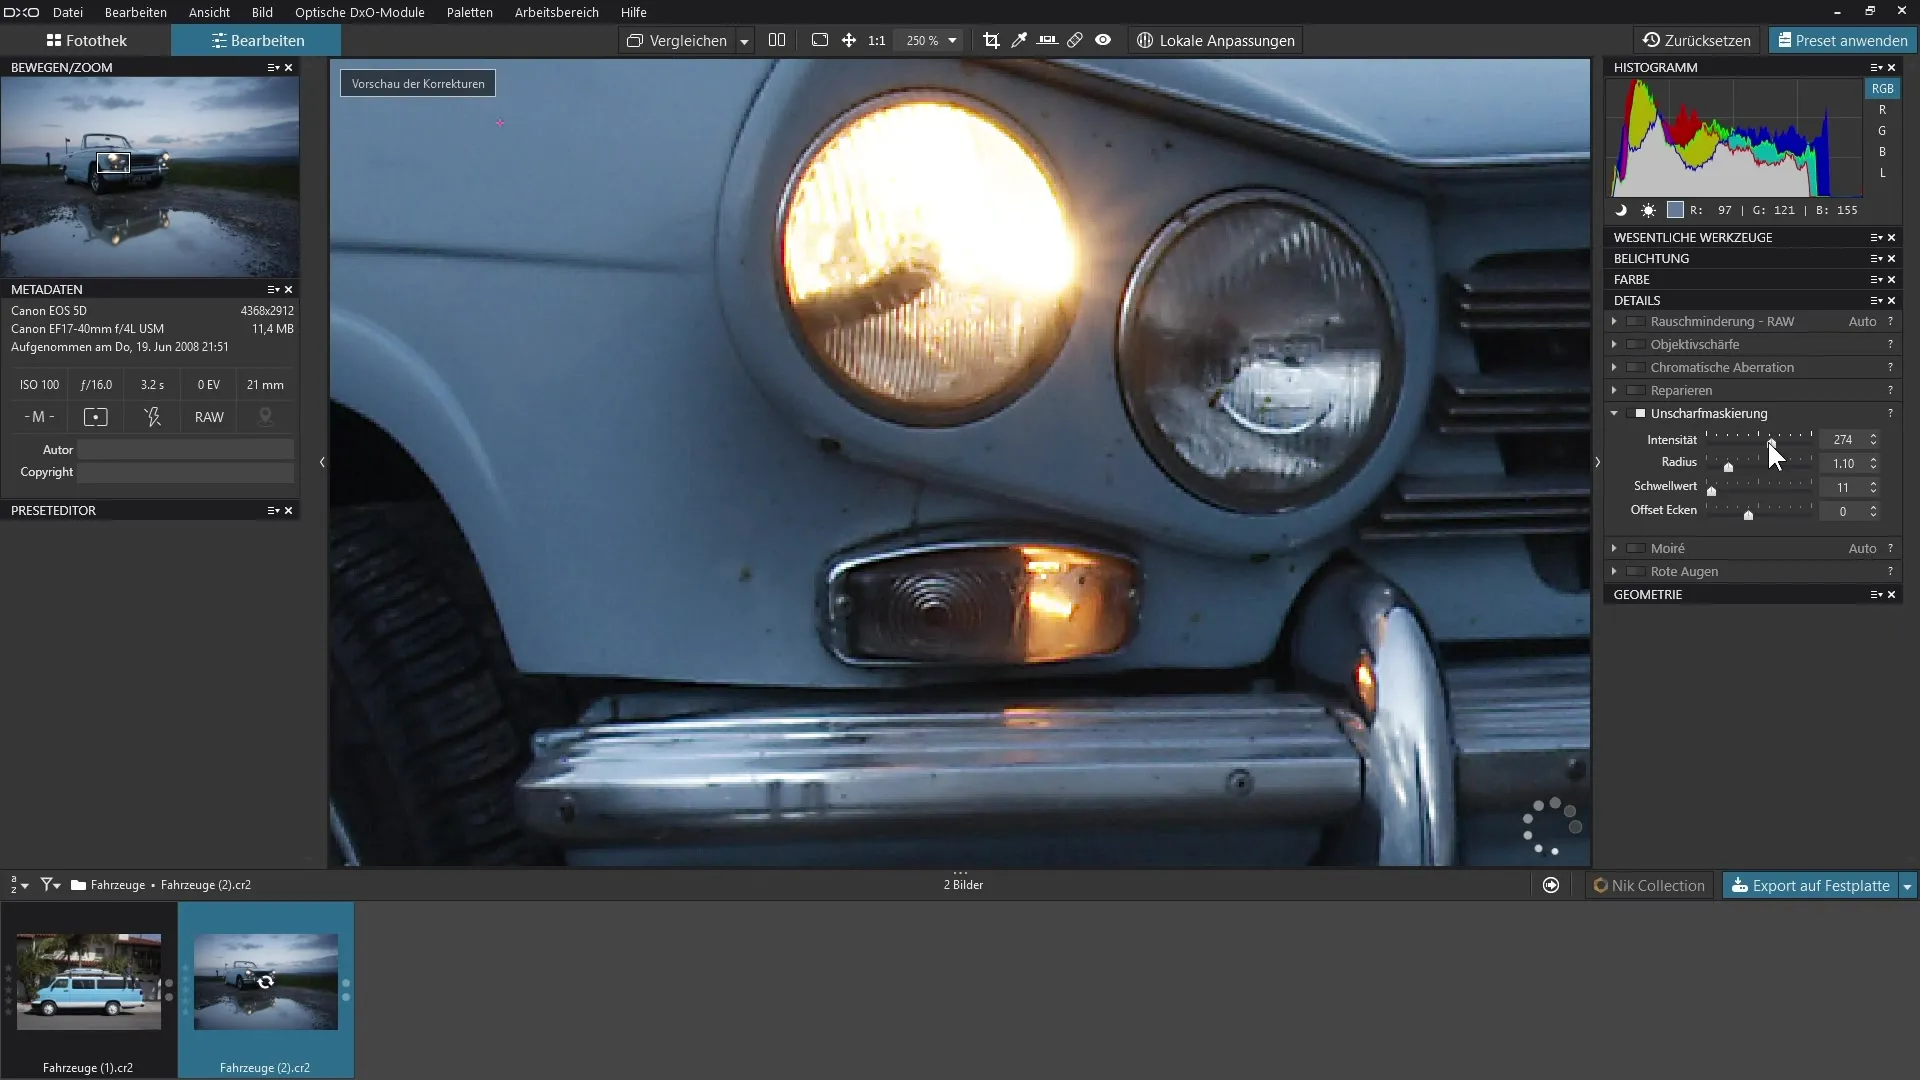
Also, note that unsharp masking is only visible when you zoom in over 75%. This is important, as the effect is applied when exporting the image even if you are currently working at a smaller view.
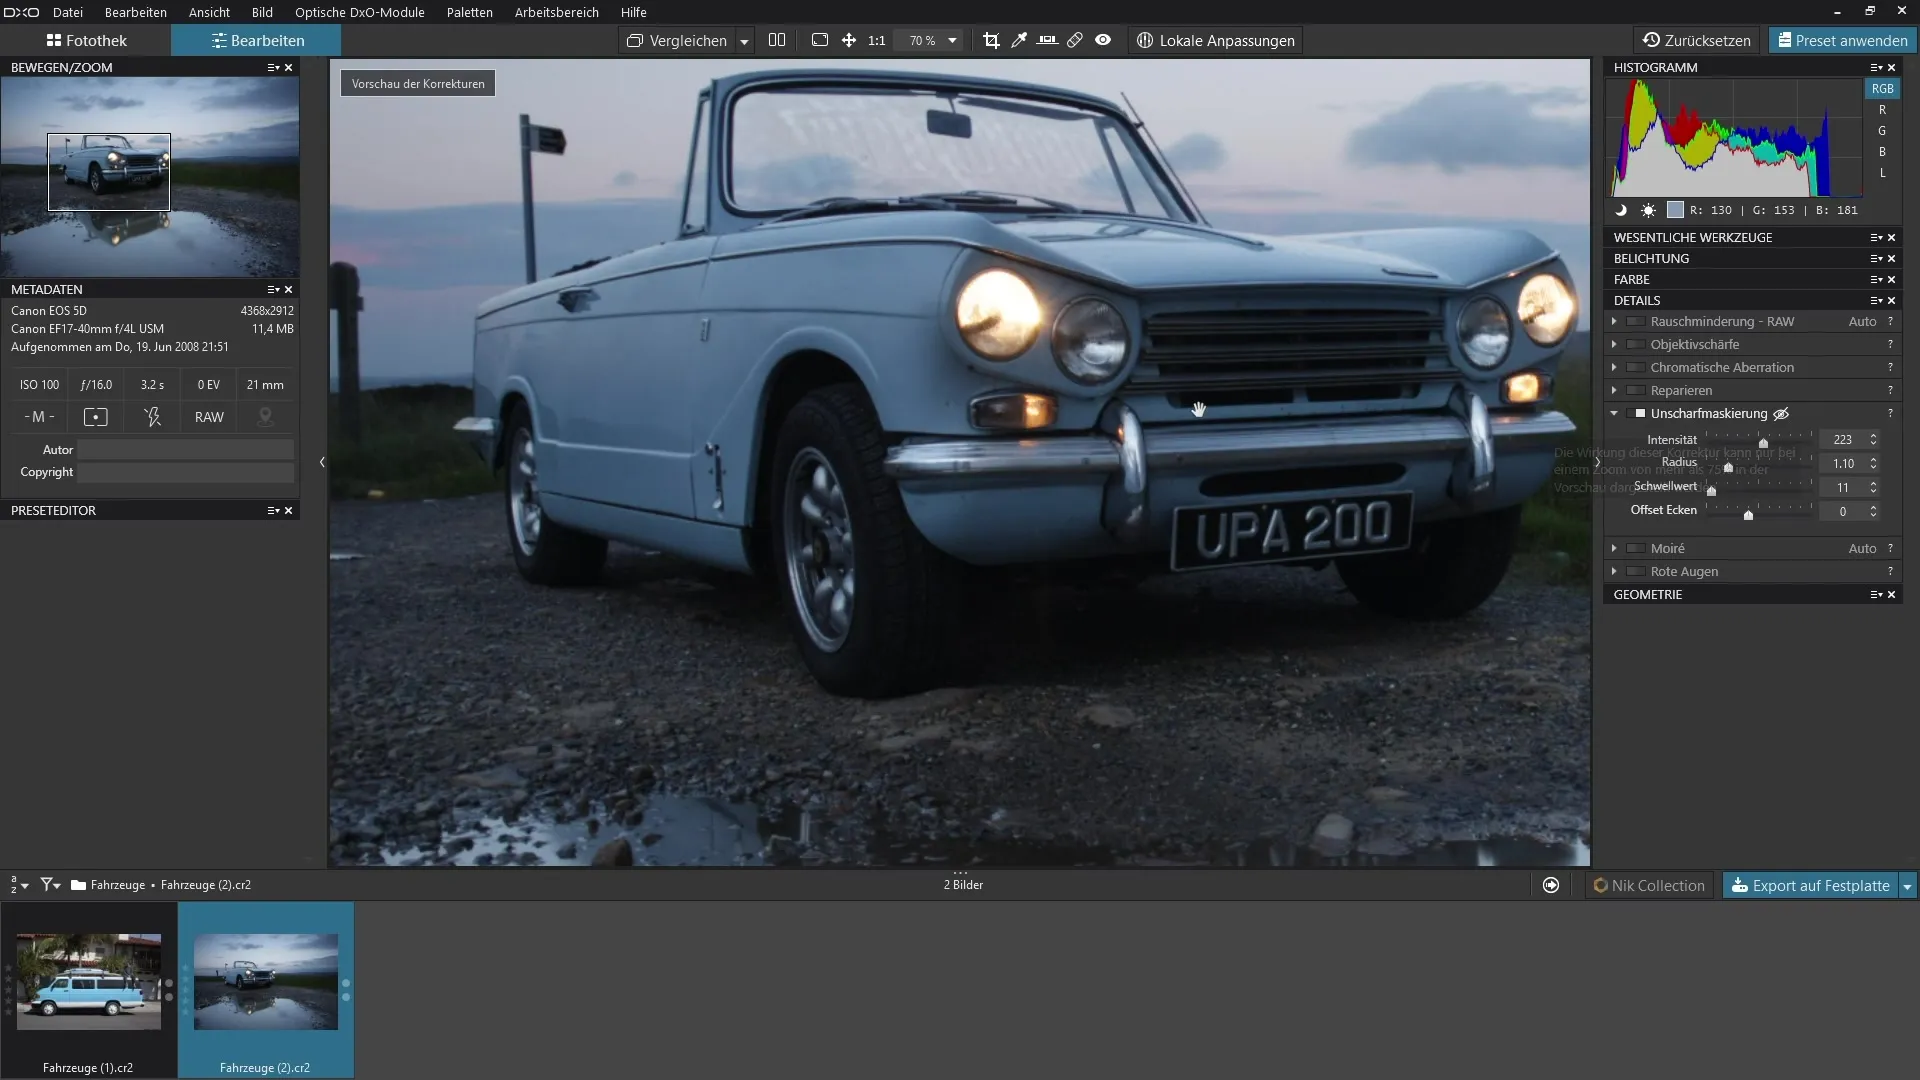
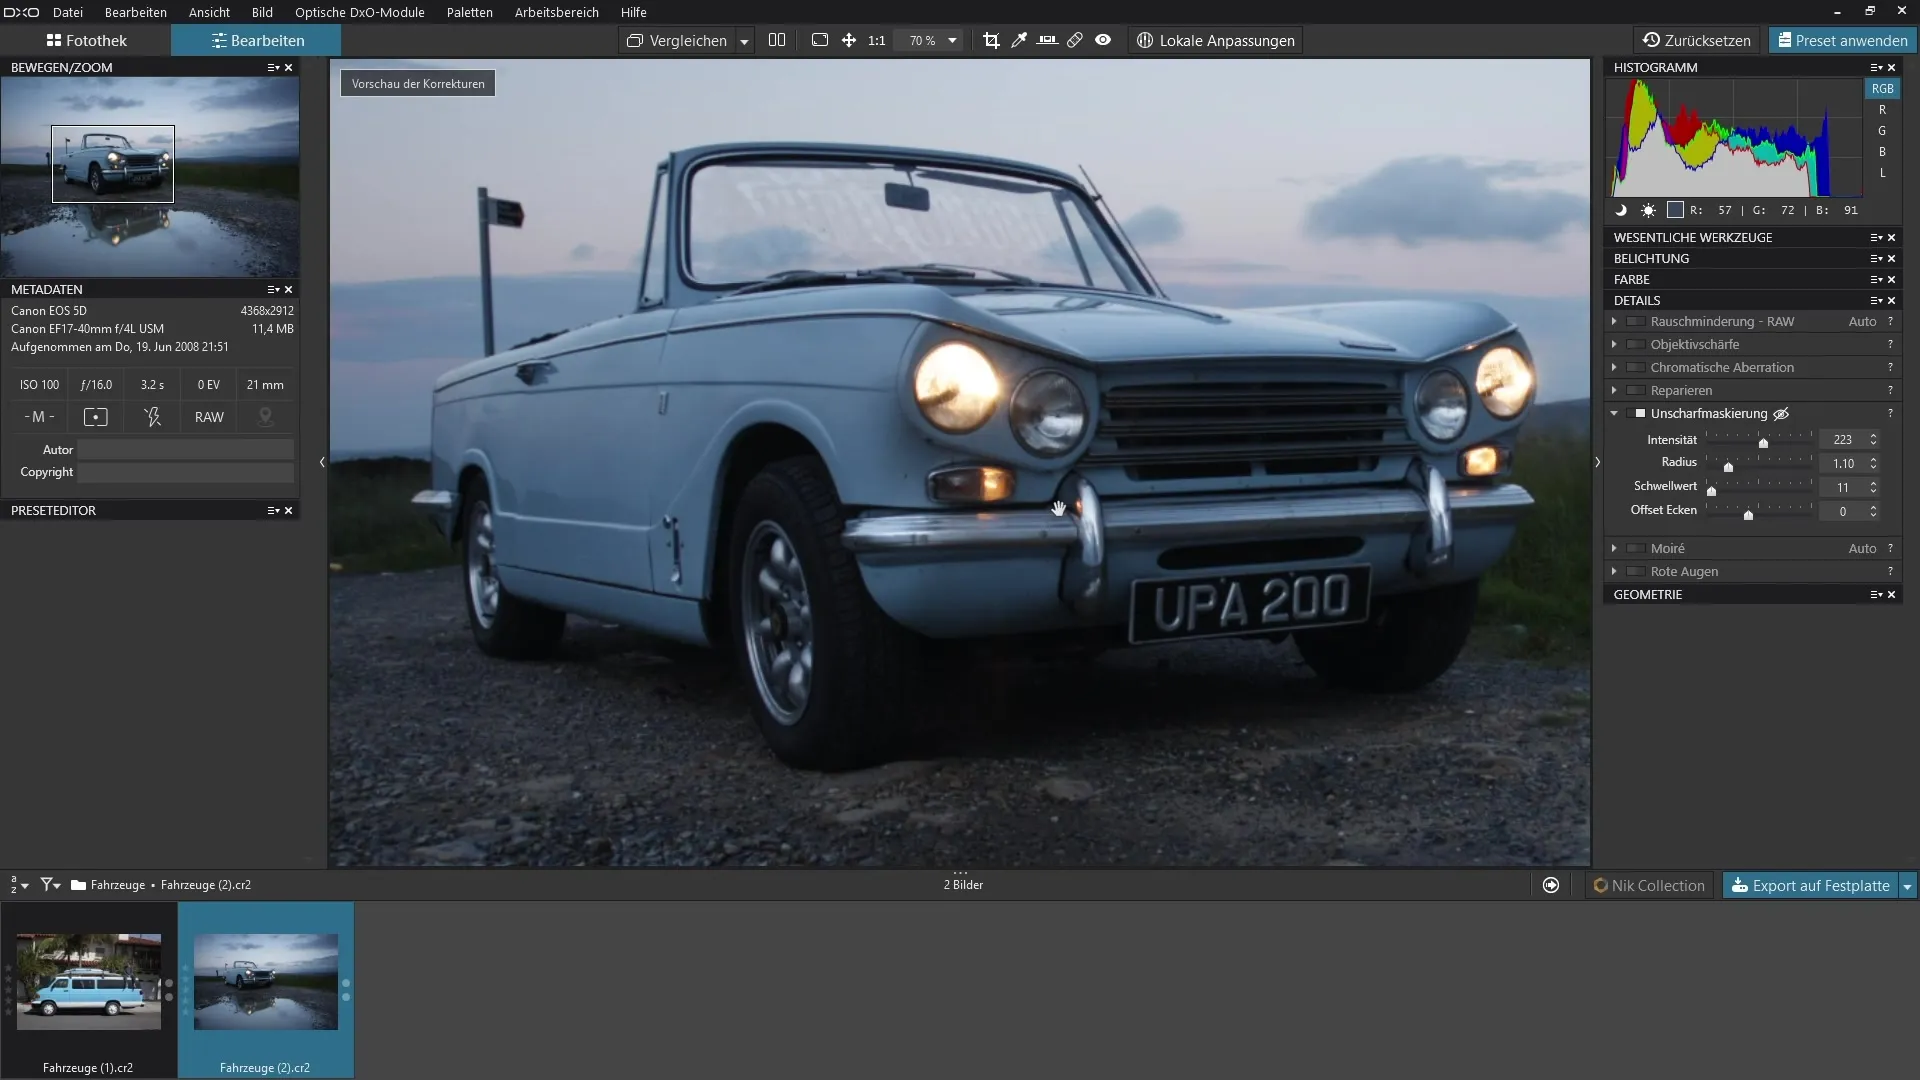
When you step out of the image, you should see the crossed-out eye symbol on the filter setting. This indicates that unsharp masking is only visible in the enlarged view.
Overall, this feature gives you immense control over the sharpness of your images, especially in fine details like highlights. You will notice a significant improvement in image quality when you set the parameters correctly.
Summary - Guide to Using Unsharp Masking in DxO PhotoLab
The unsharp masking in DxO PhotoLab is a powerful tool for optimizing the sharpness of your images. By making targeted adjustments to intensity, radius, and threshold, you can achieve impressive results and significantly enhance the detail accuracy of your RAW images.
FAQ
How do I activate unsharp masking in DxO PhotoLab?Unsharp masking is activated via the detail panel.
Which parameters can I adjust in unsharp masking?You can adjust intensity, radius, and threshold to control sharpness.
Why does the effect of unsharp masking only appear when zooming in?The effect is only visible at a zoom level of over 75% to accurately assess the details.
Can I influence image noise through unsharp masking?Yes, a too low threshold can lead to image noise.
How do I compare the results of unsharp masking?Toggle the filter on and off to see the difference directly.


