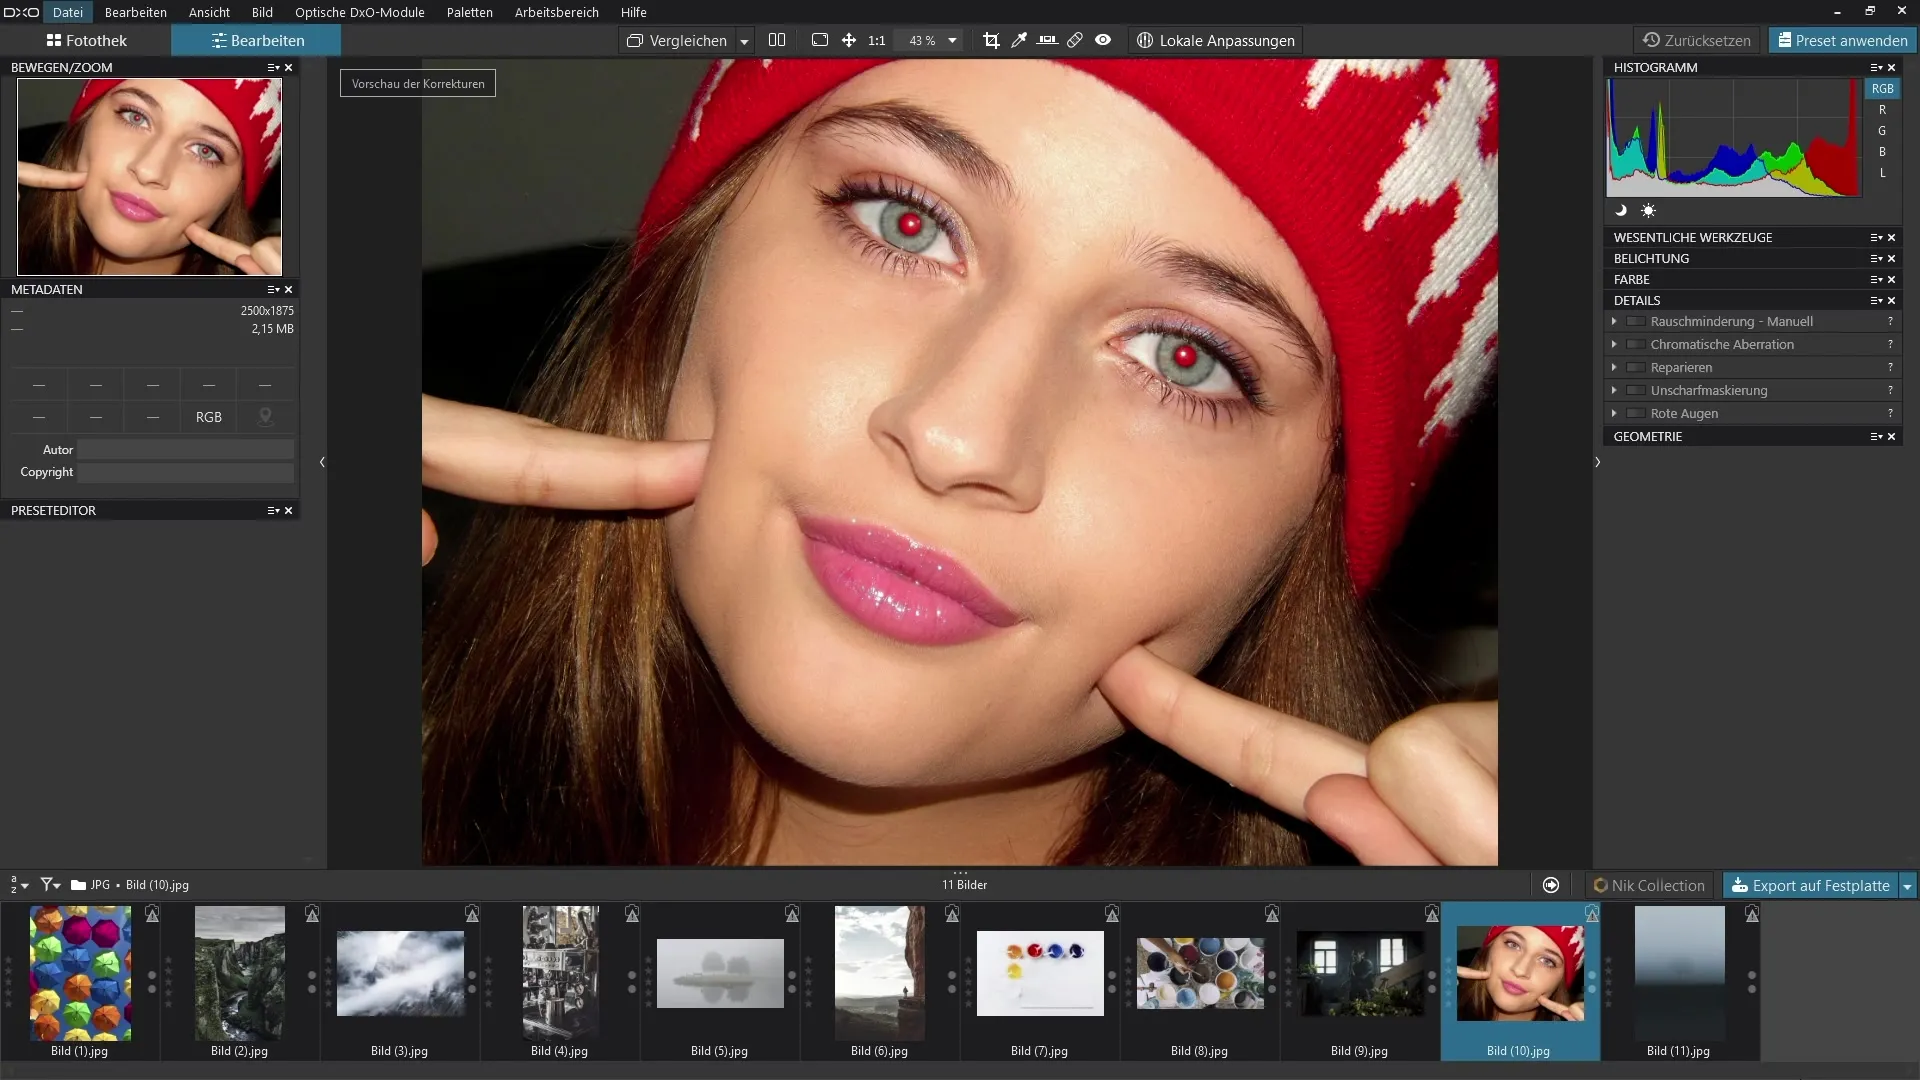
Portrait photos are often the treasure of our personal photo albums. Sometimes, an unwanted detail sneaks into the pictures due to unfavorable lighting conditions: red eyes. This is not only annoying but can significantly impair the overall impression of the shot. Fortunately, you have a powerful tool at your disposal with DxO PhotoLab that allows you to quickly and efficiently remove red eyes. Let's go through the process step by step.
Key Insights
- Red eyes often occur due to flash in low light.
- The red-eye filter in DxO PhotoLab allows for easy correction.
- The tool automatically analyzes the image and offers adjustment options.
Step-by-Step Guide to Removing Red Eyes
To remove red eyes, first open your image in DxO PhotoLab and go to the Detail panel. Here you will find the "Red Eyes" filter that helps you quickly resolve the issue.

Start the process by selecting the "Red Eyes" filter from the Detail panel. You will see that this tool is just one of the tools available in the tool palette. It is easy to find and simple to use.
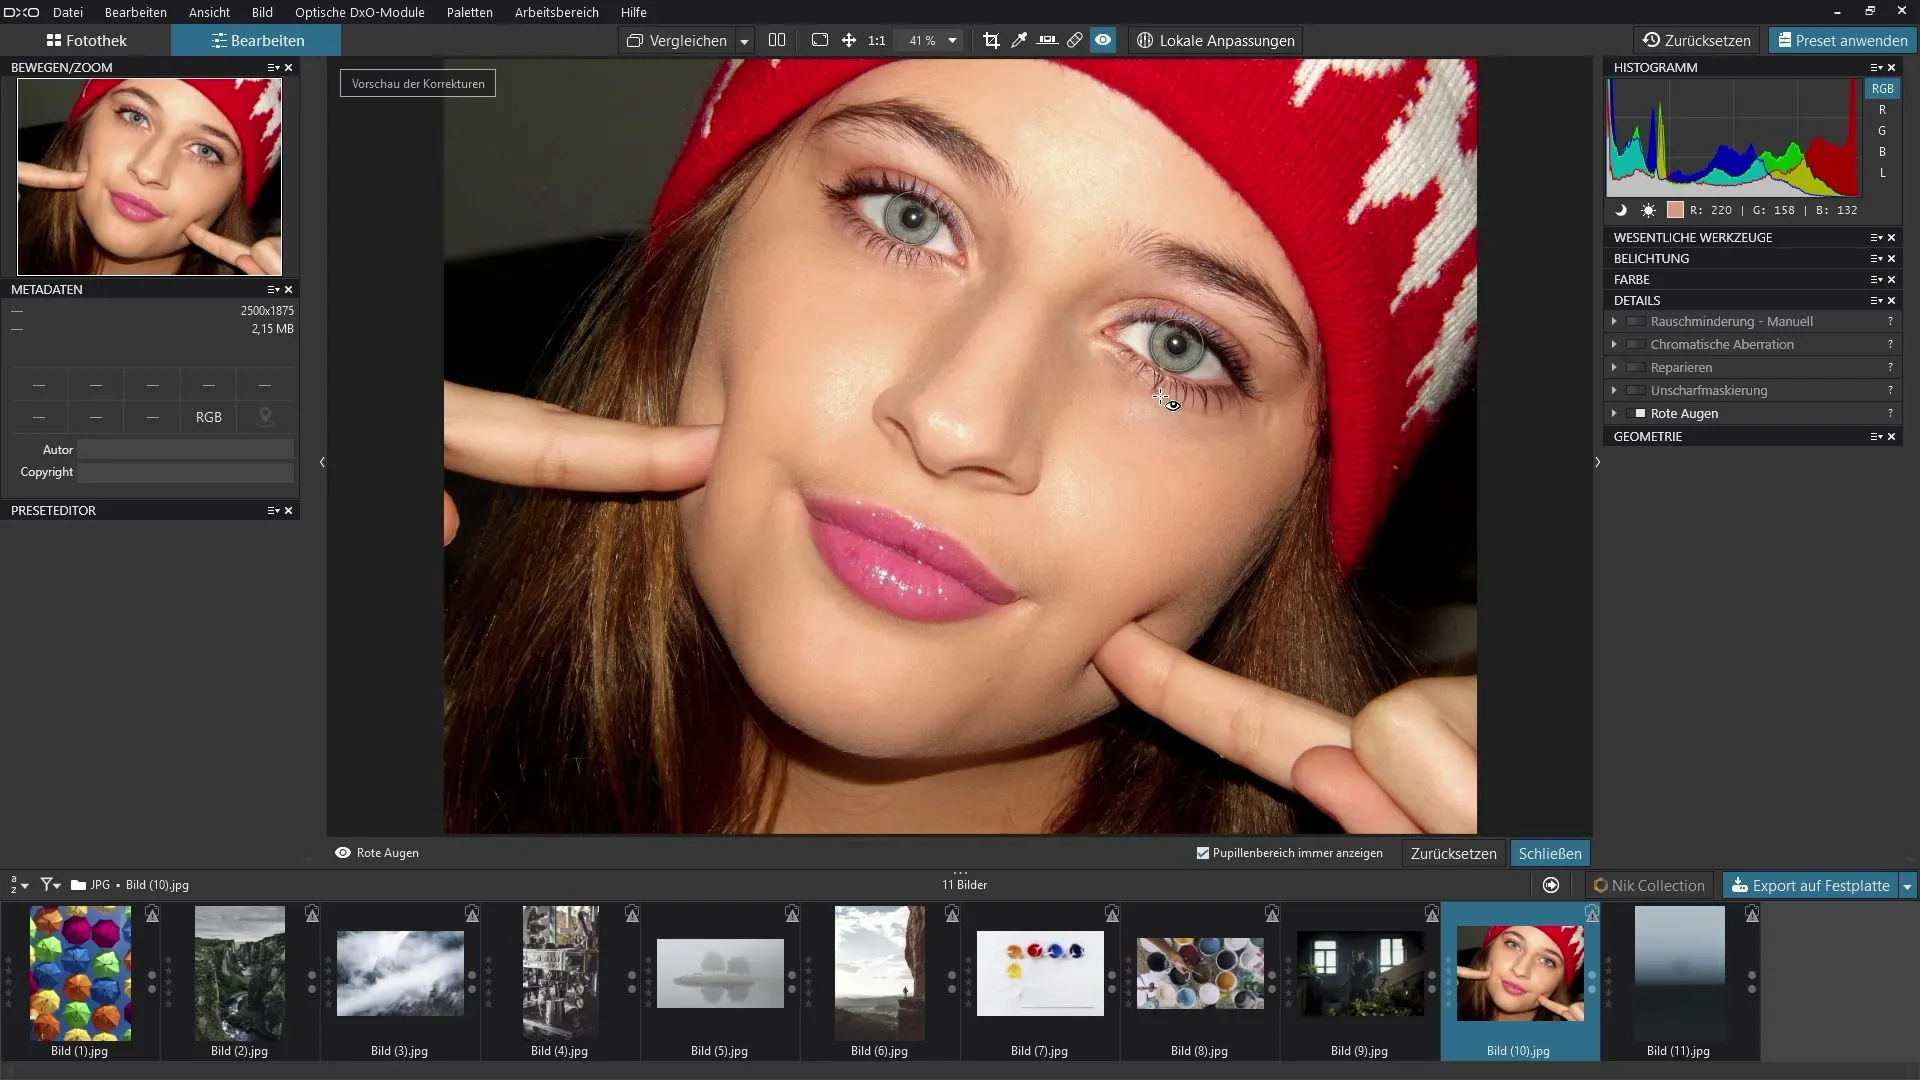
After activating the red-eye tool, PhotoLab automatically analyzes the image. It finds the red eyes and places two circles at the corresponding locations. This resolves the issue immediately, allowing you to take a look at it.

If necessary, you can click and move the circles that were placed to mark the eyes. Sometimes the circumstances require a slight adjustment, and you can easily move the circle to the right position to achieve a perfected correction.
If you want to change the size of the circles, two handles are available to you. With these, you can adjust the circles so that they fit optimally to the eyes. This ensures for a more precise editing and a natural result.
If for any reason you want to reset the effect, you can also remove the circles by clicking the “x” at the top. This gives you the flexibility to change the settings as desired or restart the entire tool.
Another option is to click and drag to select specific areas and define where the red eyes should be removed. Again, PhotoLab will automatically analyze these areas for you and apply the correction.
After this quick editing, you have optimized the image, and the red eyes have now disappeared.
Summary – Guide to Removing Red Eyes with DxO PhotoLab
By using the red-eye tool in DxO PhotoLab, you can efficiently eliminate unwanted red eyes in portrait photos. The steps are simple: activate the tool, let the program perform the analysis, make adjustments if necessary, and enjoy the improved result.
Frequently Asked Questions
How do red eyes occur in photos?Red eyes often occur in poor lighting conditions due to the flash illuminating the reflective tissue of the retina.
Can red eyes be modified manually?Yes, the circles that mark the eyes can be moved or resized.
What happens if I deactivate the tool?You can simply remove the set circles via the “x” and restart the tool.
What do I do if I have more than two red eyes?You can use the specific area selection feature to make corrections at other spots as well.


