You have already learned some basics of After Effects, and now it is time to dive deeper into the subject. Time distortion is a fascinating topic that can greatly help you create dynamic and creative projects. In this guide, you'll learn not only how to apply time distortion in After Effects but also how to use various frame blending methods to achieve impressive effects.
Main Insights
- Time stretching is a simple way to change the speed of a clip.
- Time remapping allows for flexible speed changes using keyframes.
- Frame blending and pixel motion can enhance the quality of your slow-motion footage.
Step-by-Step Guide
To apply time distortion effectively, follow these steps:
1. Prepare the Footage
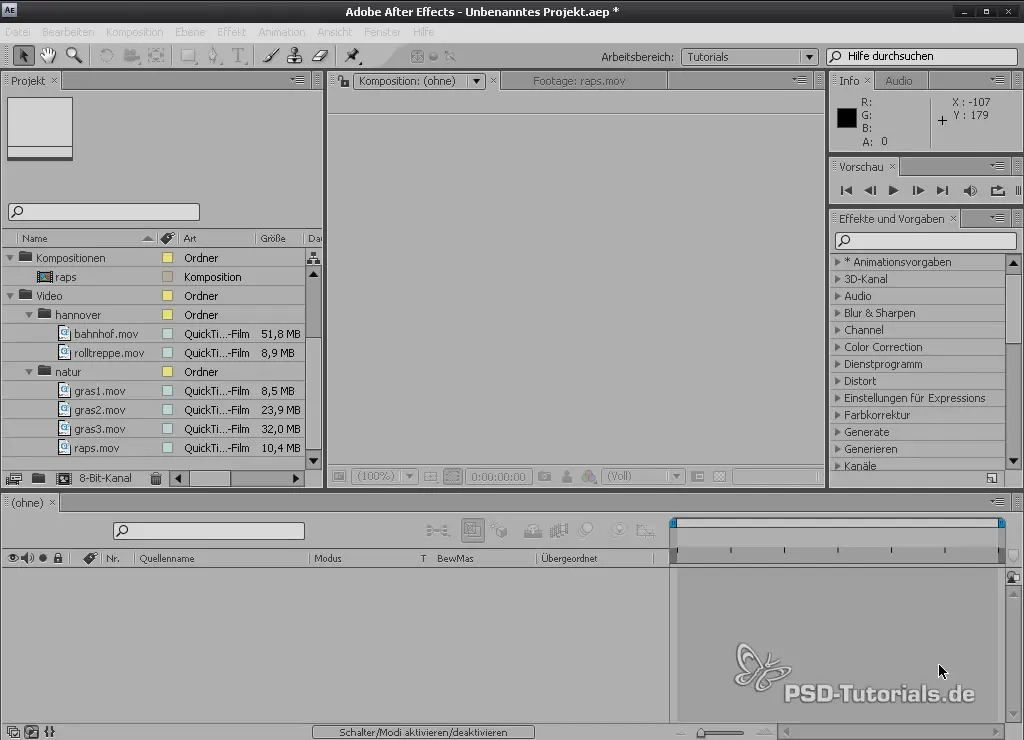
Start by importing your footage into After Effects. Drag your chosen video into a new composition. Make sure you have all the required clips ready, such as a clip filmed in Hannover.
2. Change Speed with Time Stretch
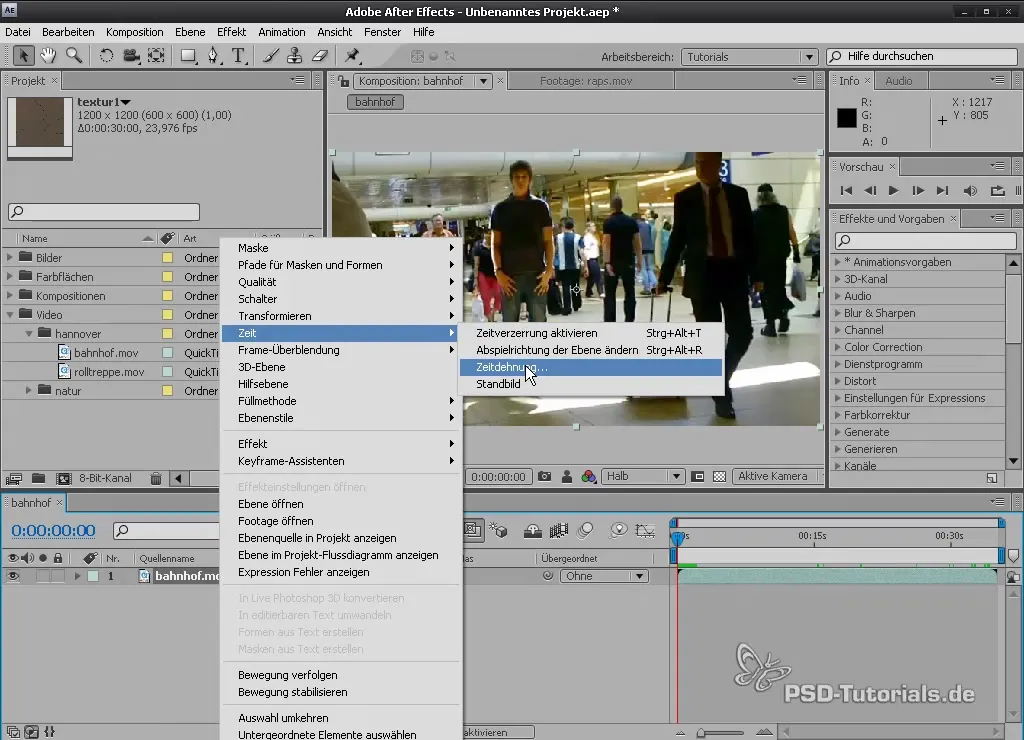
Select your footage and right-click on it. Go to the "Time" menu and choose "Time Stretch." Here, you can adjust the speed of your clip. For example, set the factor to 50% if you want to double the speed.
3. Add Motion Blur
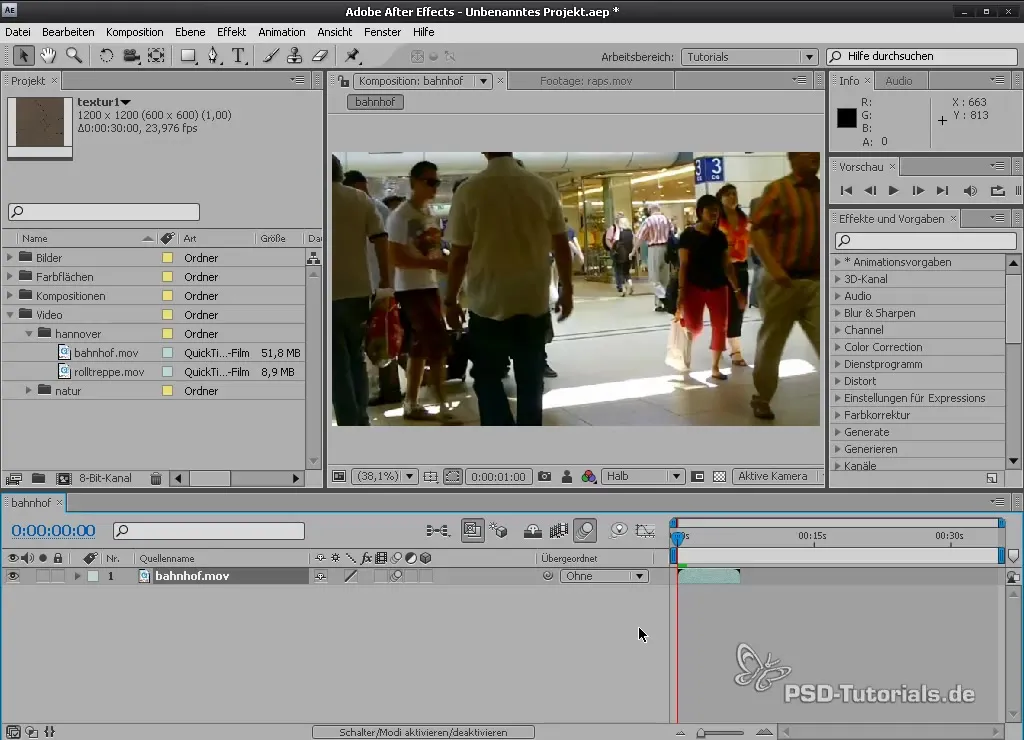
To bring more realism and dynamics to your faster sequences, enable motion blur. Go to the settings for motion blur and enable it for the respective layer. Note that you may need to add the "Force Motion Blur" effect to achieve the desired dynamics.
4. Create Keyframes for Time Distortion
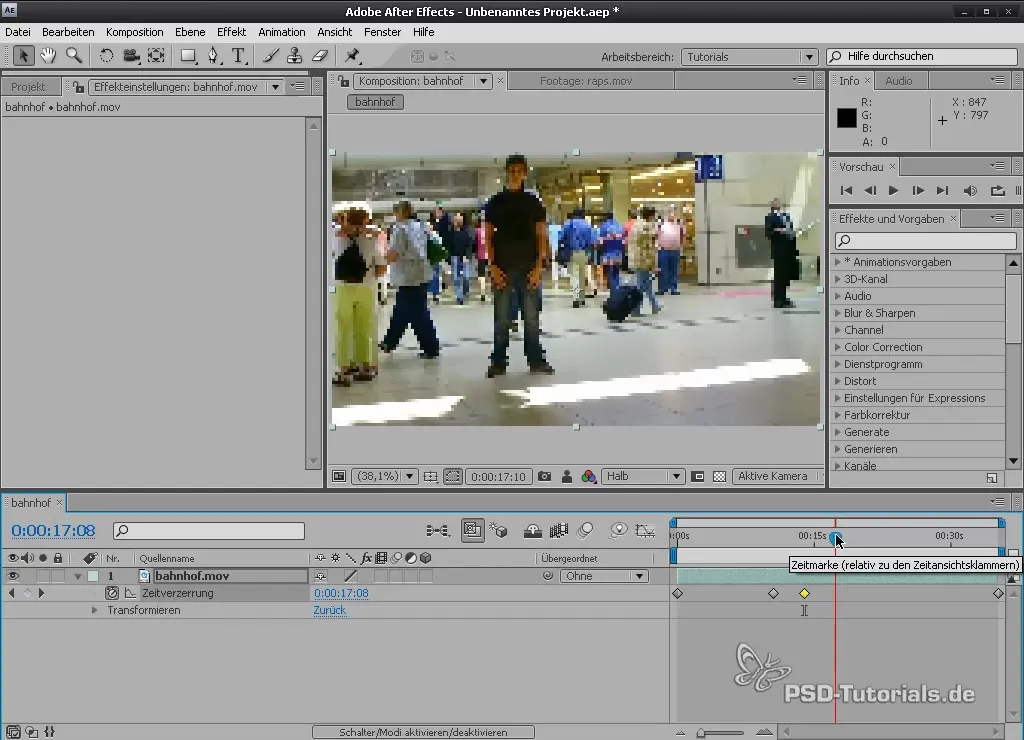
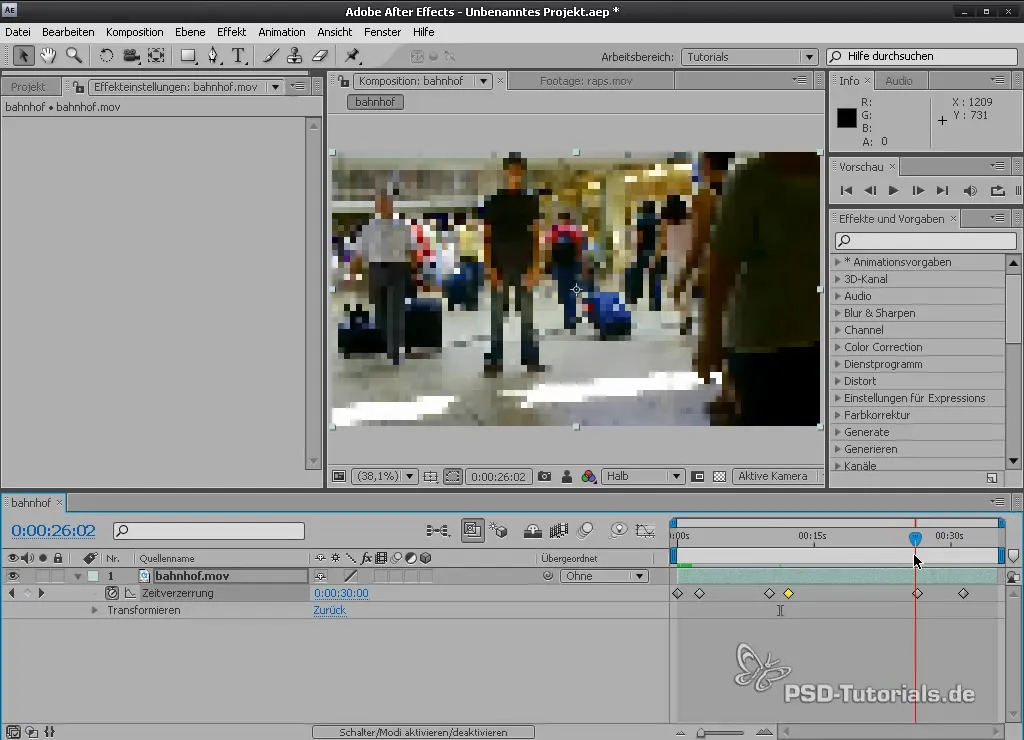
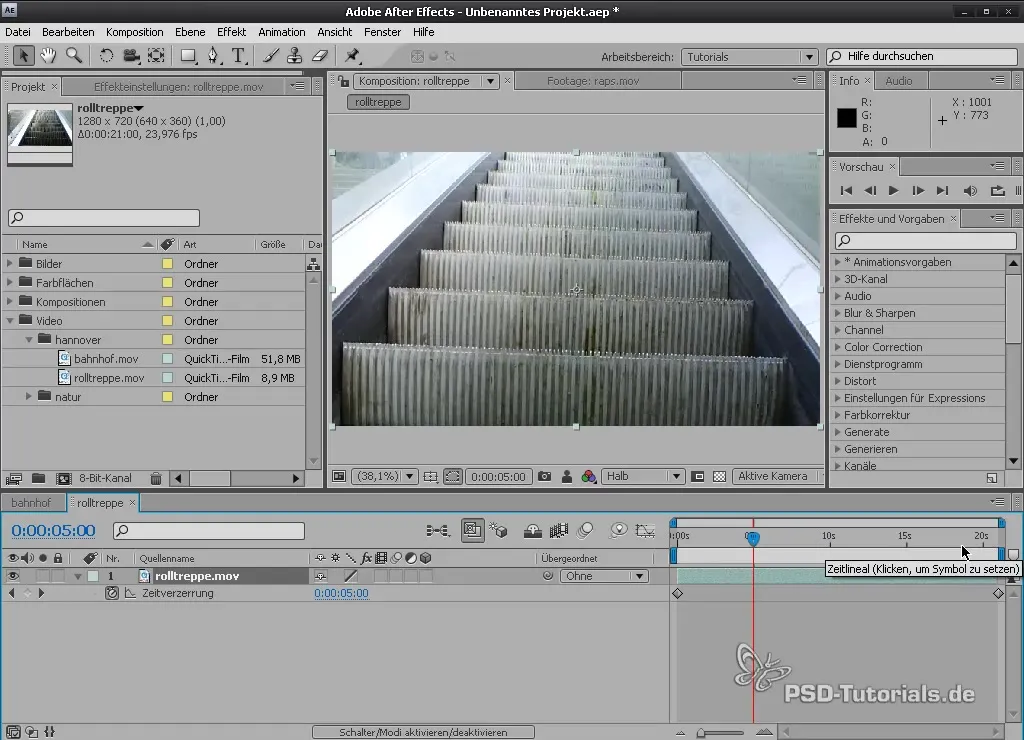
For varying speeds, you can set keyframes. Enable time distortion in the settings and place keyframes at the desired points in the clip. For example, you can set a keyframe when people walk by and another when the place is empty.
5. Adjust Speeds
Select all the keyframes you have set and move them accordingly to change the speed. For example, you can drag them to the desired timing, making the segments play faster or slower.
6. Activate Frame Blending
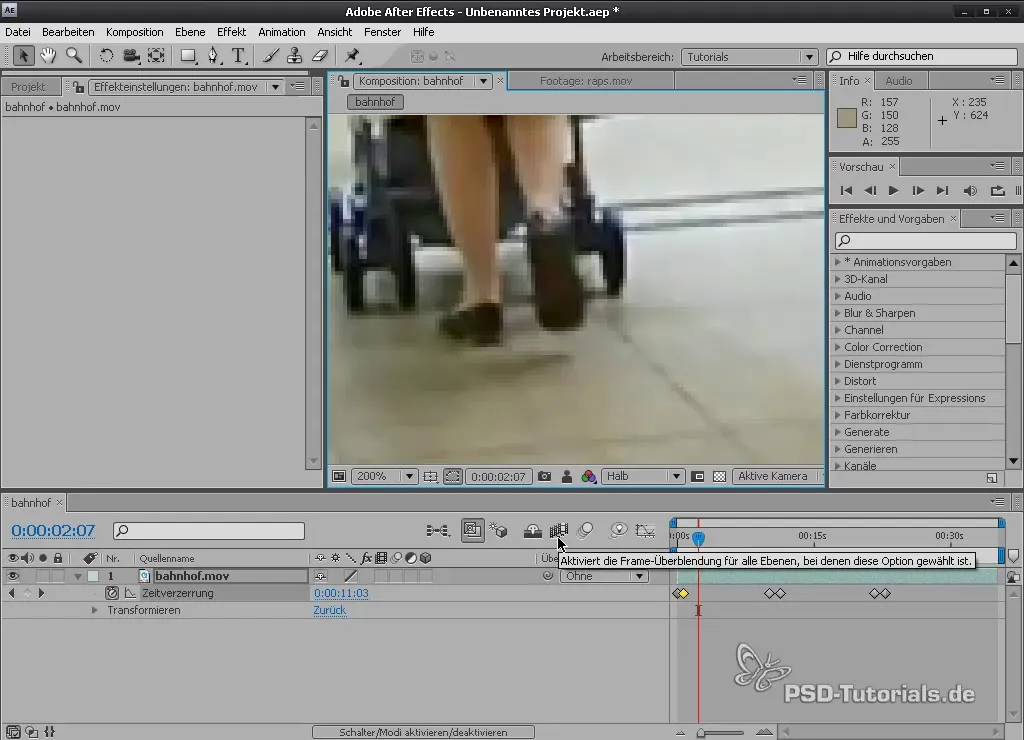
To avoid choppy transitions between frames, enable frame blending. This ensures the transition between two frames looks smooth and natural, especially in slow-motion sequences.
7. Use Pixel Motion
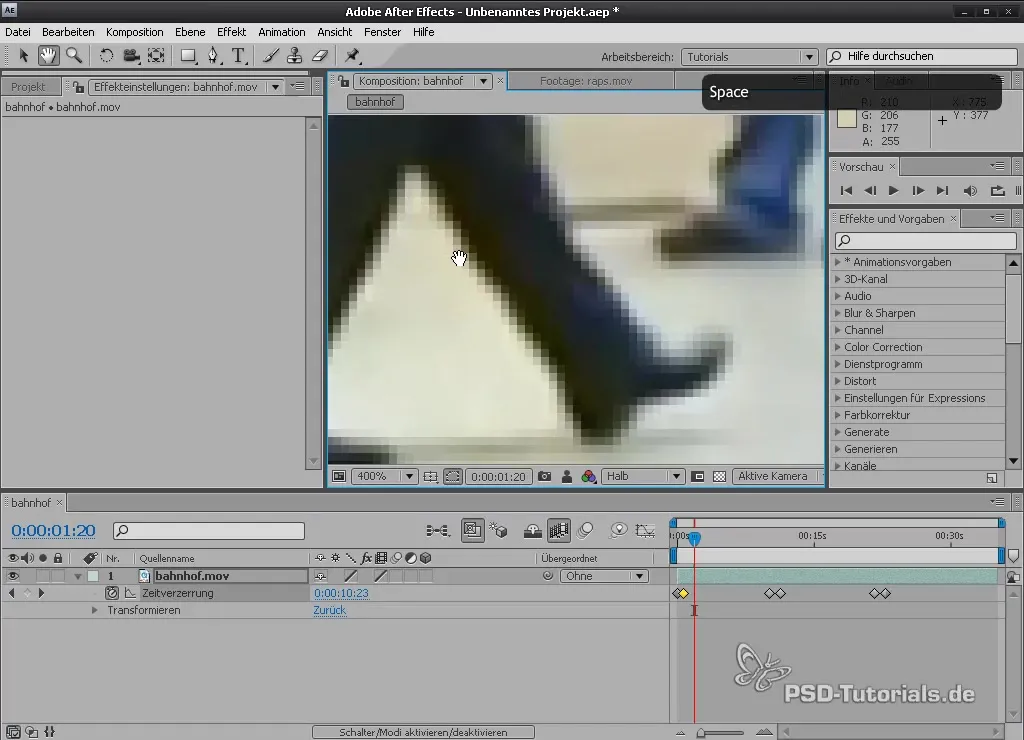
If you feel frame blending is not enough, enable the pixel motion feature. This option creates a unique image for each frame, significantly improving the quality of your slow-motion shots.
8. Check Previews
Don’t forget to regularly check your progress with a RAM preview. This way, you can ensure everything looks as you envisioned it.
9. Implement Additional Footage
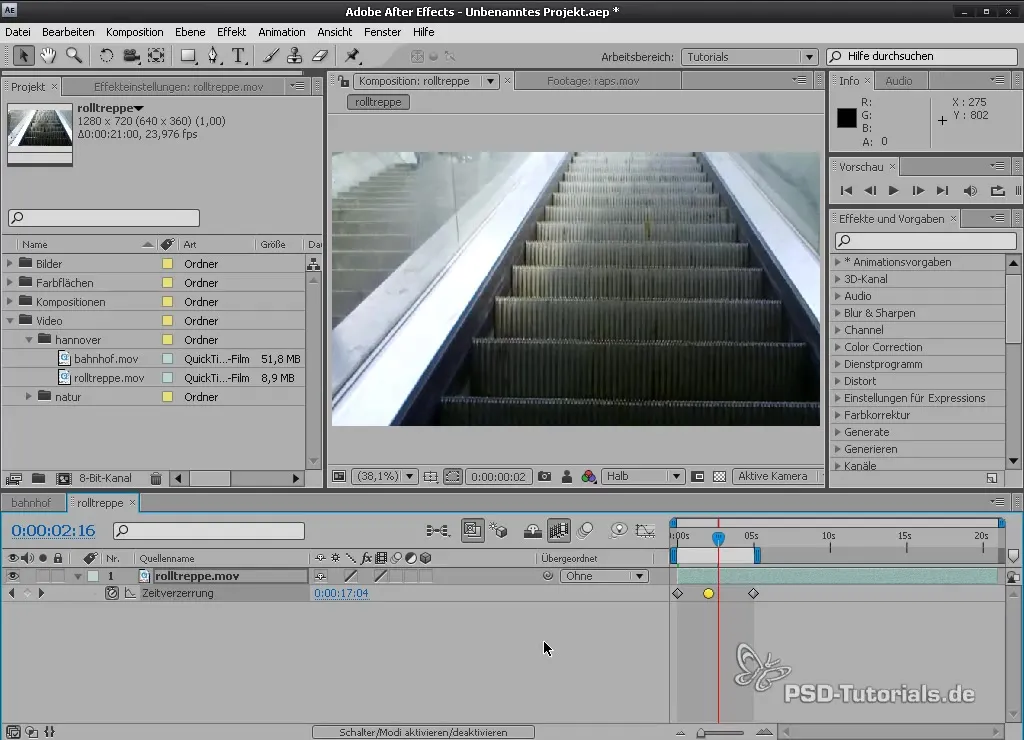
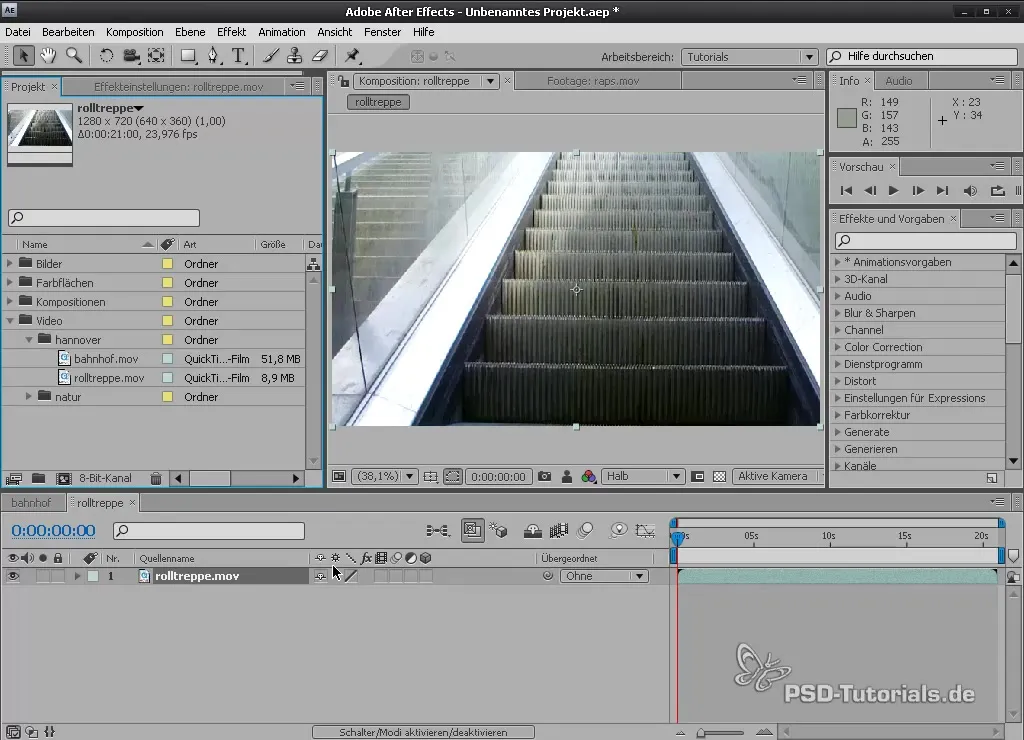
If you have another example, like an escalator, import it into a new composition and repeat the steps mentioned above to also use time distortion here.
10. Set Work Area
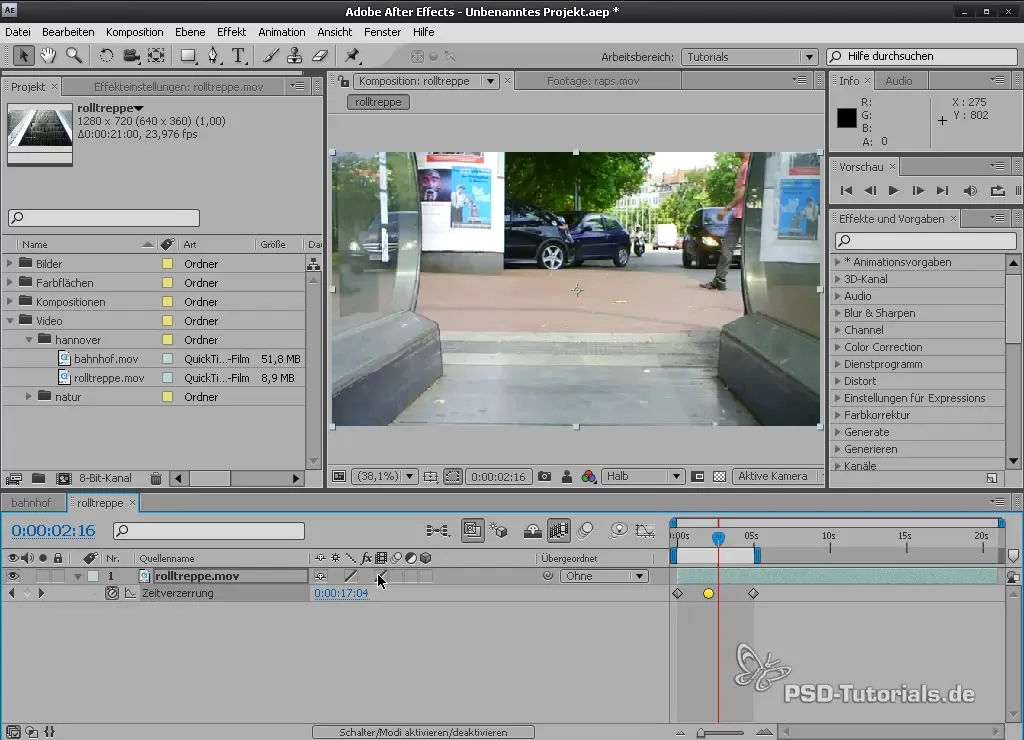
To specifically edit a certain area of your footage, use the work area settings. Drag the blue area in the timeline to set what you want to render.
11. Aggressively Adjust Keyframes
Experiment with the keyframes to create both rapid and slow transitions. Place new keyframes at meaningful points to create interesting motion patterns and make it more dynamic.
Summary - Mastering Time Distortion in After Effects
In this guide, you have learned how to effectively apply time distortion in After Effects. From preparing your footage to advanced techniques like pixel motion and frame blending, you have deepened your understanding of the basics. Experiment with various settings and create dynamic results that enhance your projects.
Frequently Asked Questions
How can I change the speed of a clip in After Effects?You can change the speed by right-clicking on the layer and selecting "Time Stretch."
What is the difference between motion blur and pixel motion?Motion blur adds a blur effect, while pixel motion creates new pixels for each frame, allowing for higher quality slow motion.
What does frame blending do?Frame blending creates a smooth transition between frames, which helps create a fluid motion, especially in slow motion.
Can I use multiple clips in one composition?Yes, you can use multiple clips in different compositions and apply the same time distortion techniques.
How do I visually check if my effects look good?Use the RAM preview to ensure everything looks fluid and appealing while making your adjustments.


