Video effects give your projects a certain something, as they can intensify visual storytelling and create dramatic arcs for the viewer. In this guide, you will learn how to implement two exciting effects from Philip Sota's video tutorial on YouTube: the Sin-City-Look, which is characterized by a reduced color palette, and the realistic Earthquake effect, which places the viewer in a shaky, thrilling action scenario. Let’s get started without delay!
Main Insights
- The Sin-City look is achieved by removing colors and focusing on a single hue.
- To implement the Sin-City look, use the hue, saturation, and contrast settings in After Effects.
- The Earthquake effect is generated using expressions that add random movements to position, motion, and scaling.
- These techniques result in a professional and engaging visual style.
Step-by-Step Guide
Creating the Sin-City Look
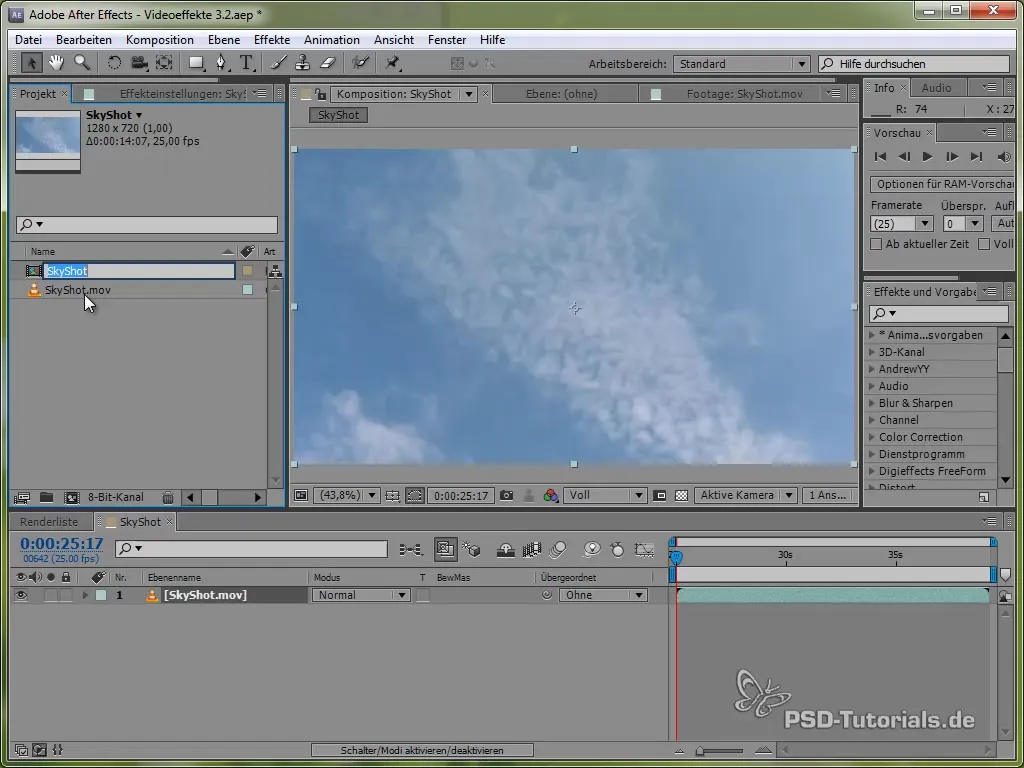
First, we will focus on the Sin-City look. You start by importing your video footage into After Effects.
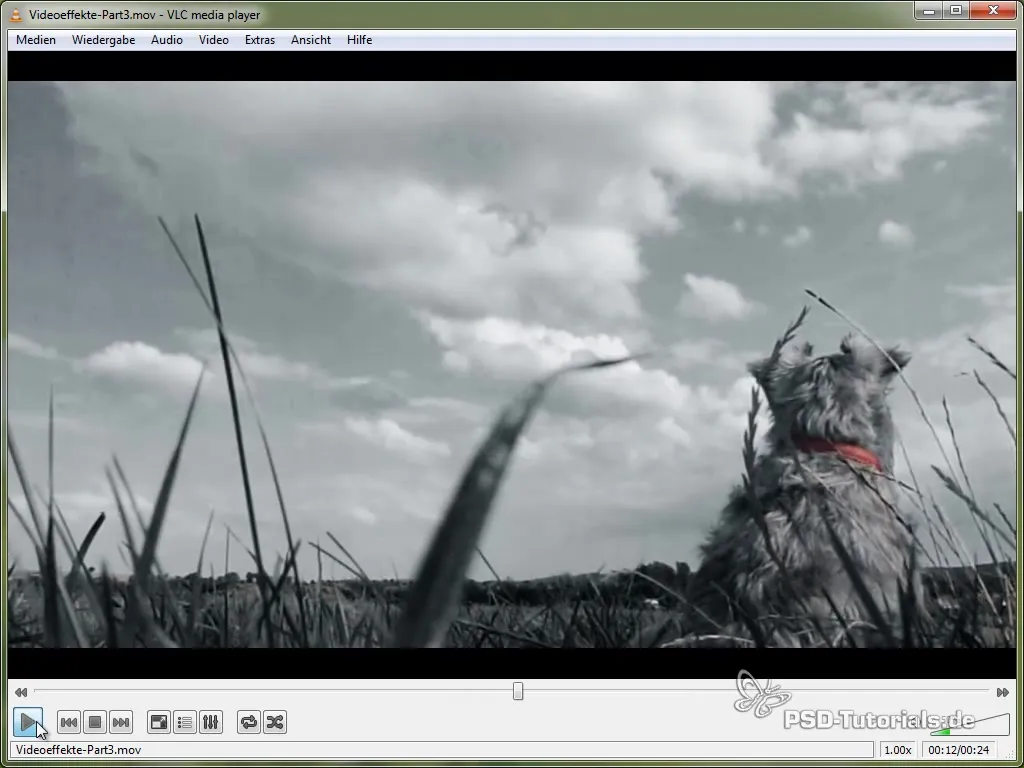
- Create a new composition: Open After Effects and create a new composition with your footage. Name the composition something like “02 Sin City.” You've already completed the first step here.
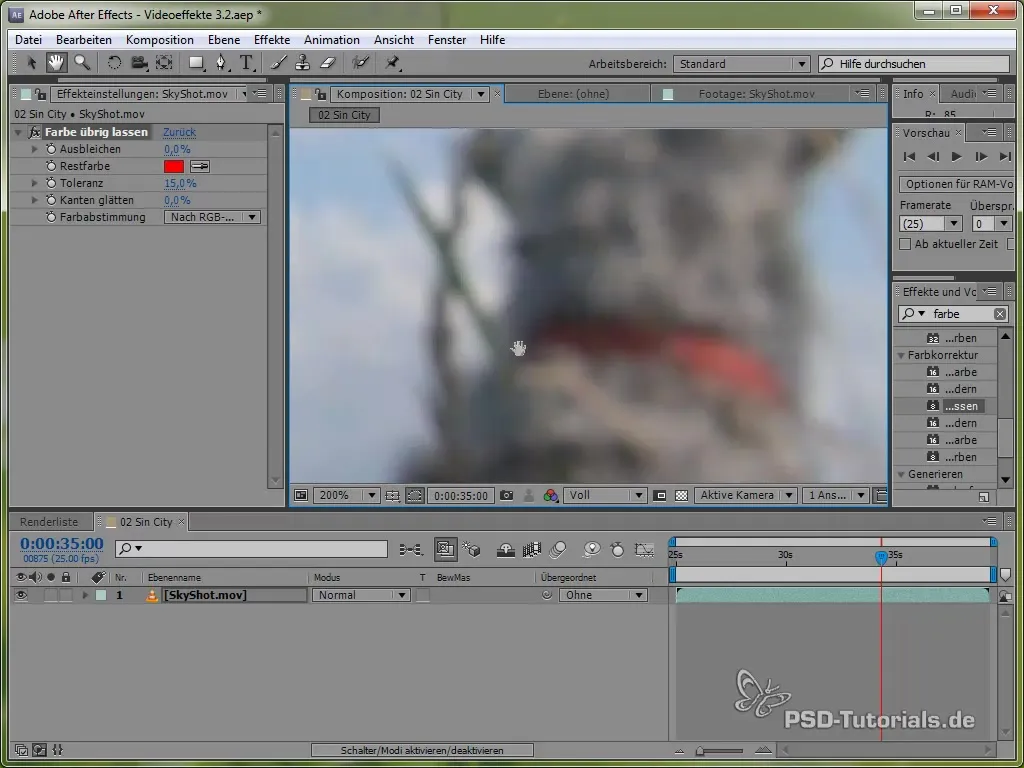
- Adjust saturation: To create the desired look, use the “Leave Color” effect. You can do this by applying the effect to your composition and selecting the specific hue you want to keep. In this case, the red of your dog's collar should remain as the dominant hue.
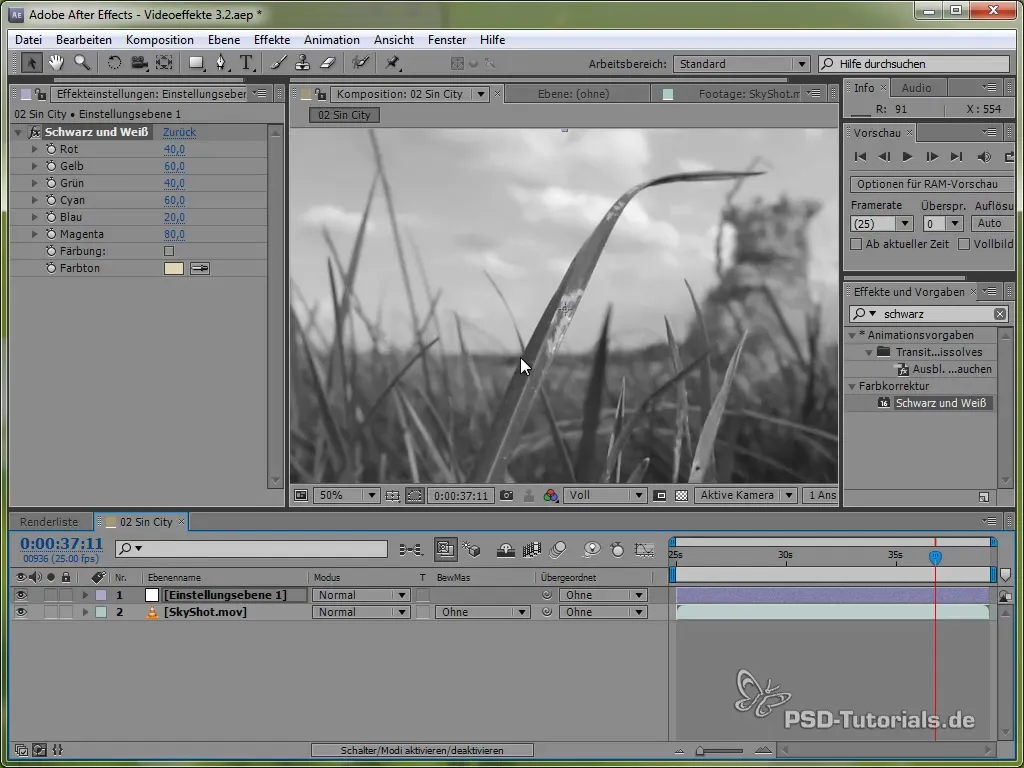
- Enhance contrast: After adjusting the colors, proceed to the next step by adding a new adjustment layer for “Black and White.” This helps to enhance the contrast in the image and gives the overall look more depth.
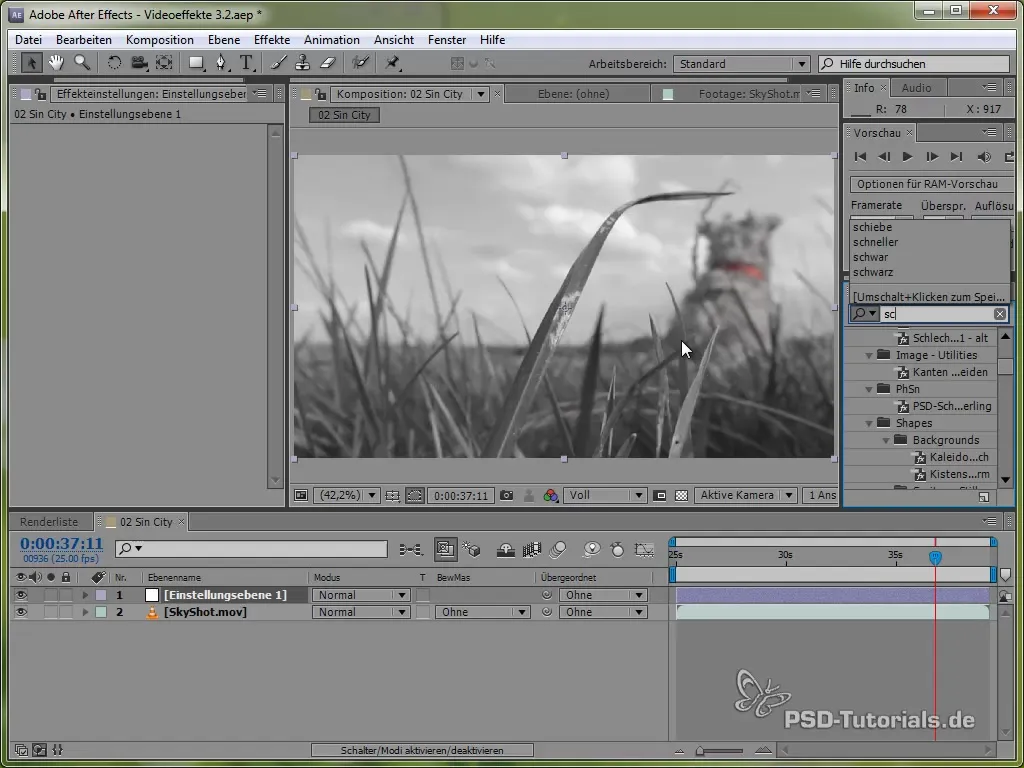
- Apply soft light: To create a pleasant contrast and soft appearance, use the “Soft Light” blending mode. This helps to brighten the lighter areas of your composition and gives more structure to the darker areas.
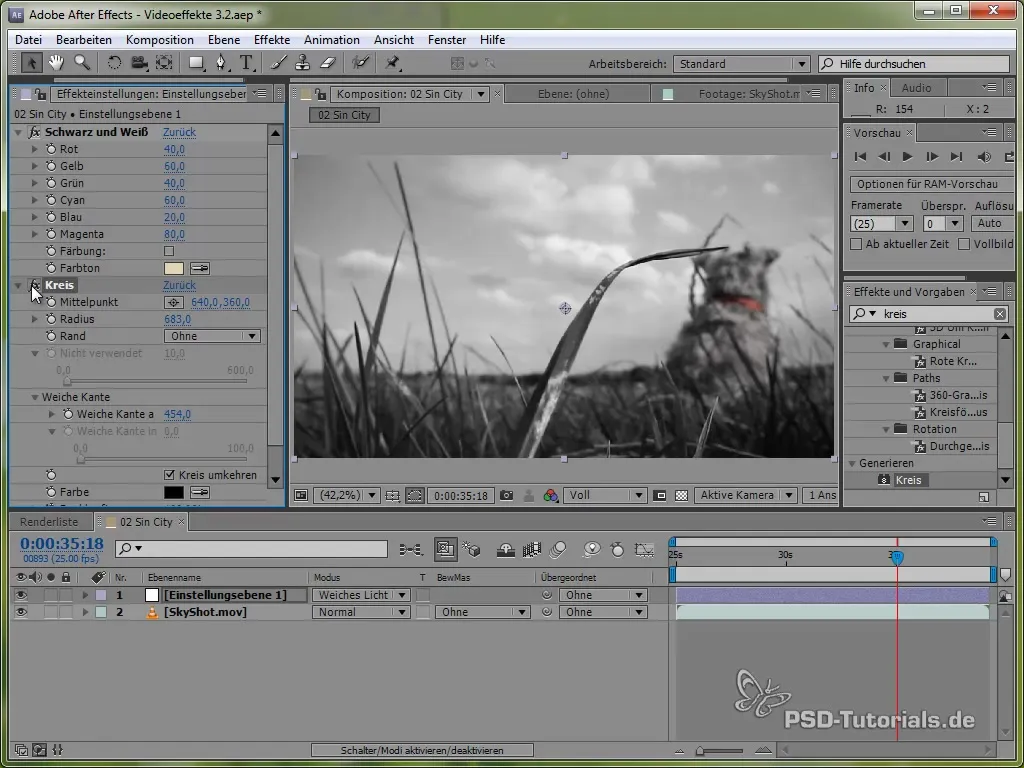
- Add vignetting: To give the image a cinematic look, add a vignette. You can control this over the soft light layer by creating a round gradient. Make sure the vignette remains subtle so it does not distract from the main content.
- Adjust coloring: Finally, you can make a hue adjustment to give the image a cool, cinematic look. Slightly shift the image towards a blue tone to enhance the feeling of a cold, urban environment.
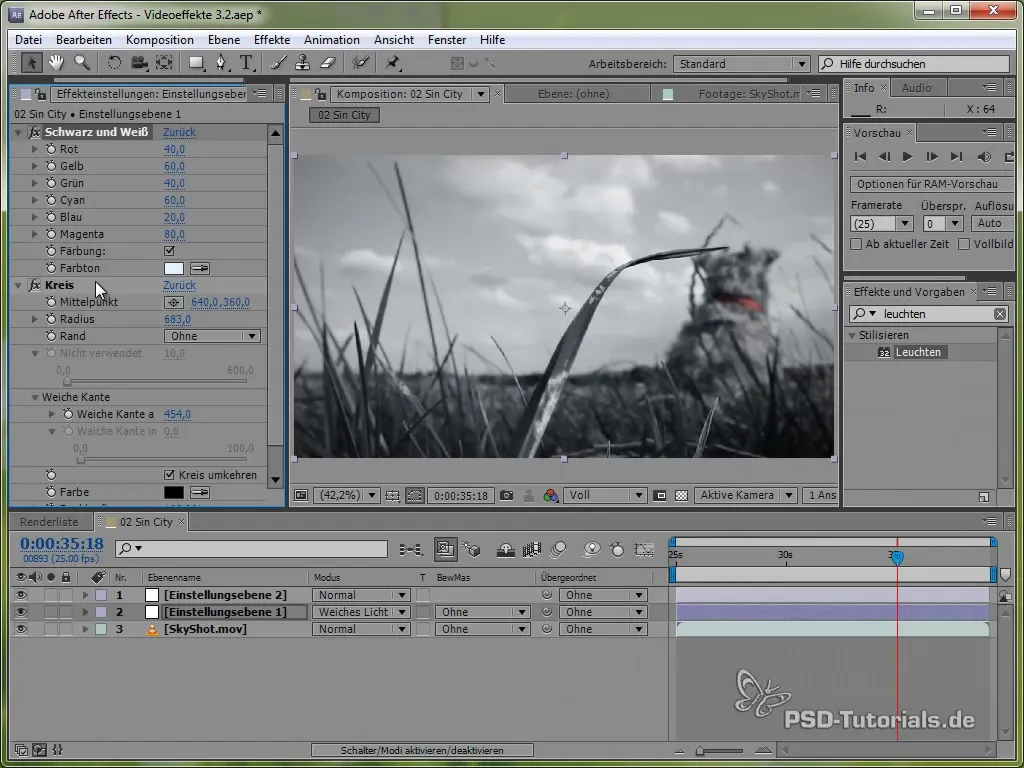
Now you have successfully created the Sin-City look, which gives your video a unique visual presentation.
Creating the Earthquake Effect
Next, we will freeze the thrill with an Earthquake effect. This effect requires a bit more interactivity with expressions in After Effects.
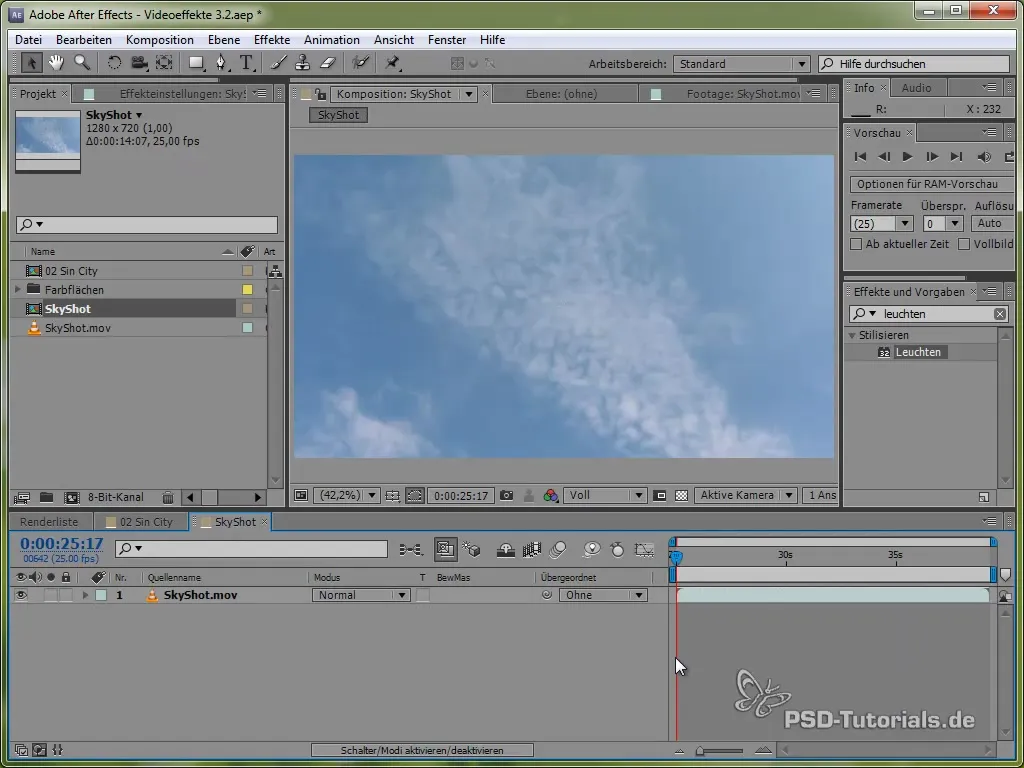
- Insert footage: Place your existing composition into a new composition. Use the footage you want to employ for the earthquake effect.
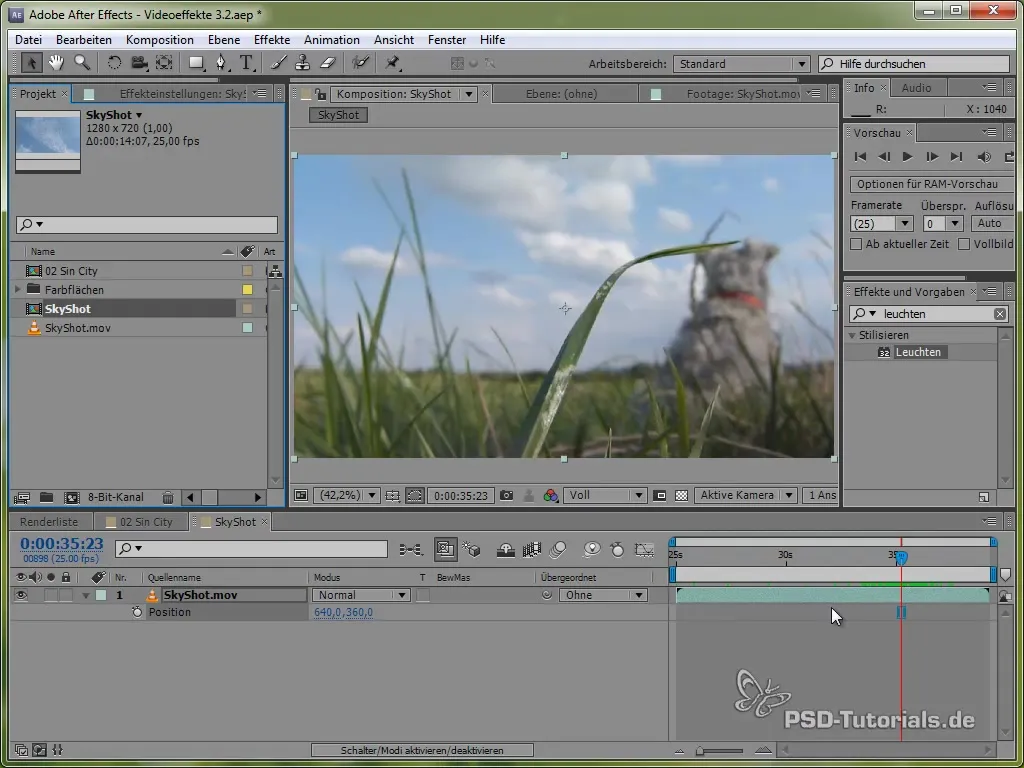
- Insert expressions: Select the position parameter of your layer and press “Alt” while clicking on the stopwatch. If you want to add a Wiggle effect, enter the formula “wiggle(frequency, amount).” A frequency of 8 and an amount of 15 is a good starting point for earthquake sensations.
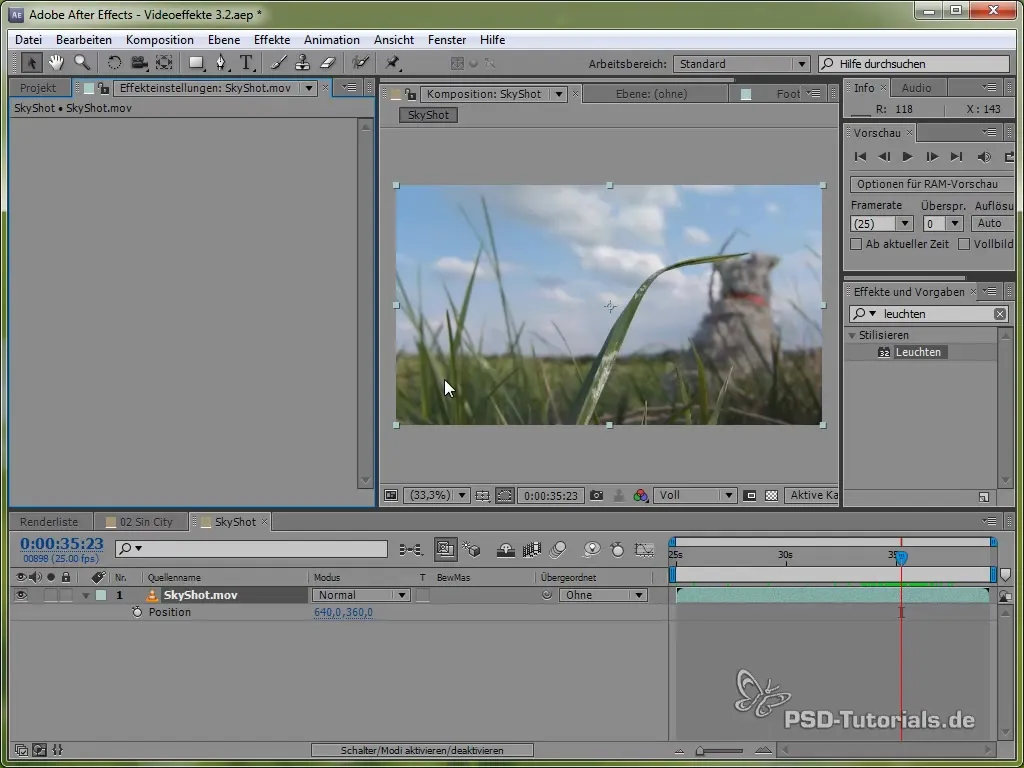
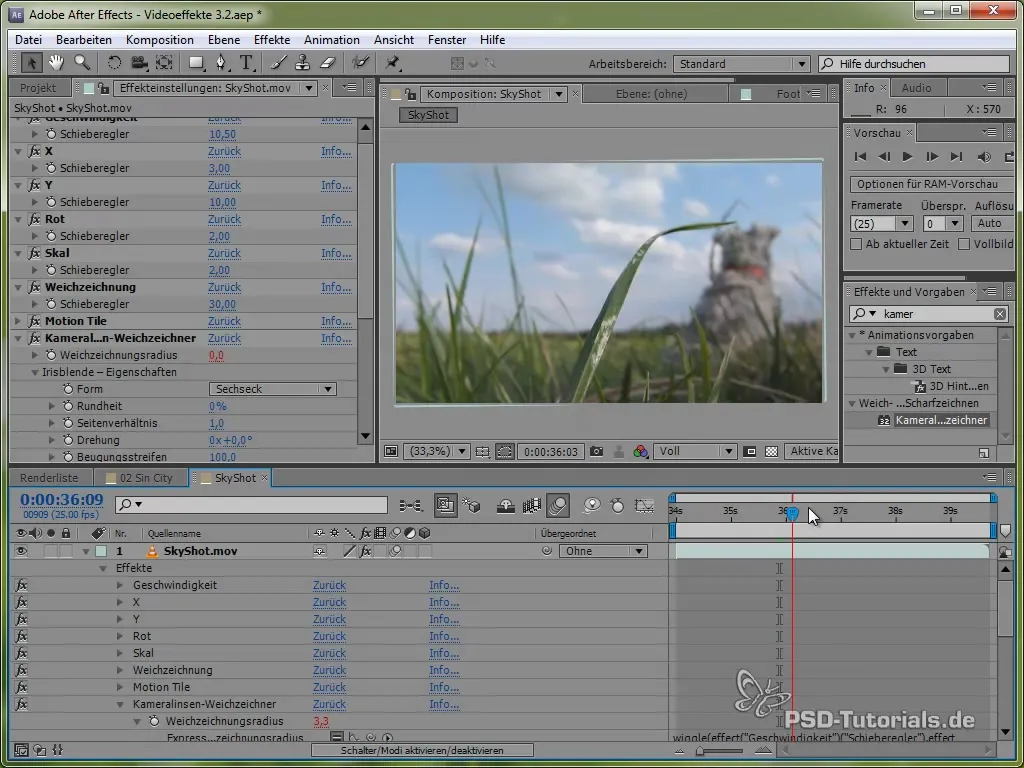
- Adjust rotation and scaling: Add the same wiggle expression to the rotation of your layer. Additionally, implement a wiggle expression for the scaling to make it appear as if the camera shakes during the earthquake. Keep the scaling value proportional so that the motion remains realistic.
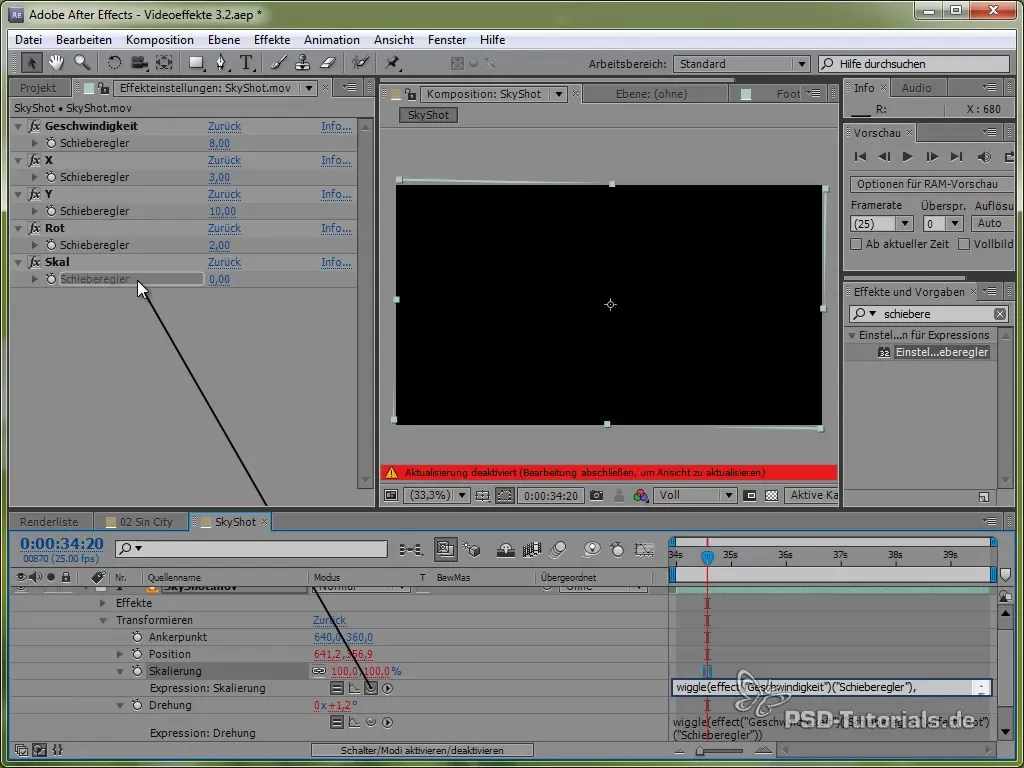
- Camera shake: To create a sense of blur and focus, you could additionally add a blur. Set a new slider value for the blur and use the wiggle expression again to sporadically change the blur throughout the shot.
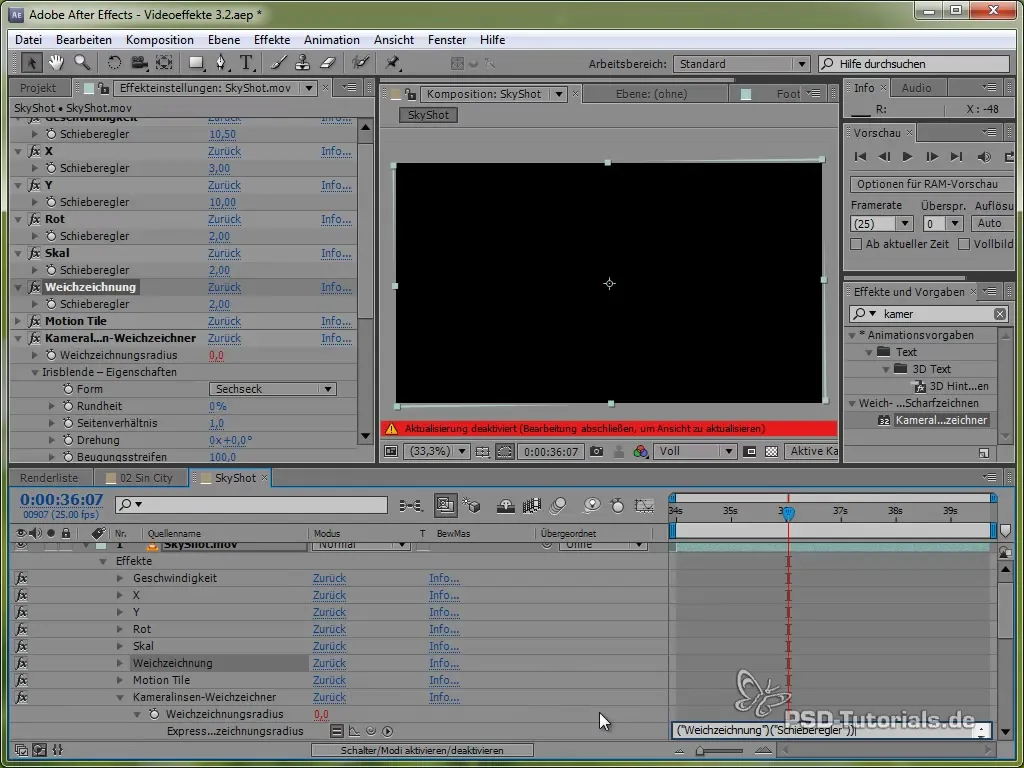
- Enable motion blur: Activate the motion blur for your composition to enhance the dynamic impression of quick movements and tremors.
Summary – Implementing Sin-City Look and Earthquake Effects in After Effects
You have learned how to create the Sin-City effect by manipulating colors and adjusting contrast values. Subsequently, you created the Earthquake effect, which was realized by adding wiggle expressions for movement and rotation. These methods help you give your videos an exciting and professional look.
Frequently Asked Questions
How do I create the Sin-City look?Use the “Leave Color” effect to retain one hue while desaturating the rest of the image. Then add a black-and-white adjustment and use the “Soft Light” blending mode.
How can I realize the Earthquake effect in After Effects?Use the wiggle expression on the position, rotation, and scaling of your layer to create a realistically shaking image.
What is a vignette and how do I add it?A vignette darkens the edges of the image and highlights the focus on the center. You can set it using a black ellipse and blending mode.
Can I apply these effects to any footage?Yes, you can apply the described techniques to almost any footage. However, make sure that the material is suitable for these effects.
