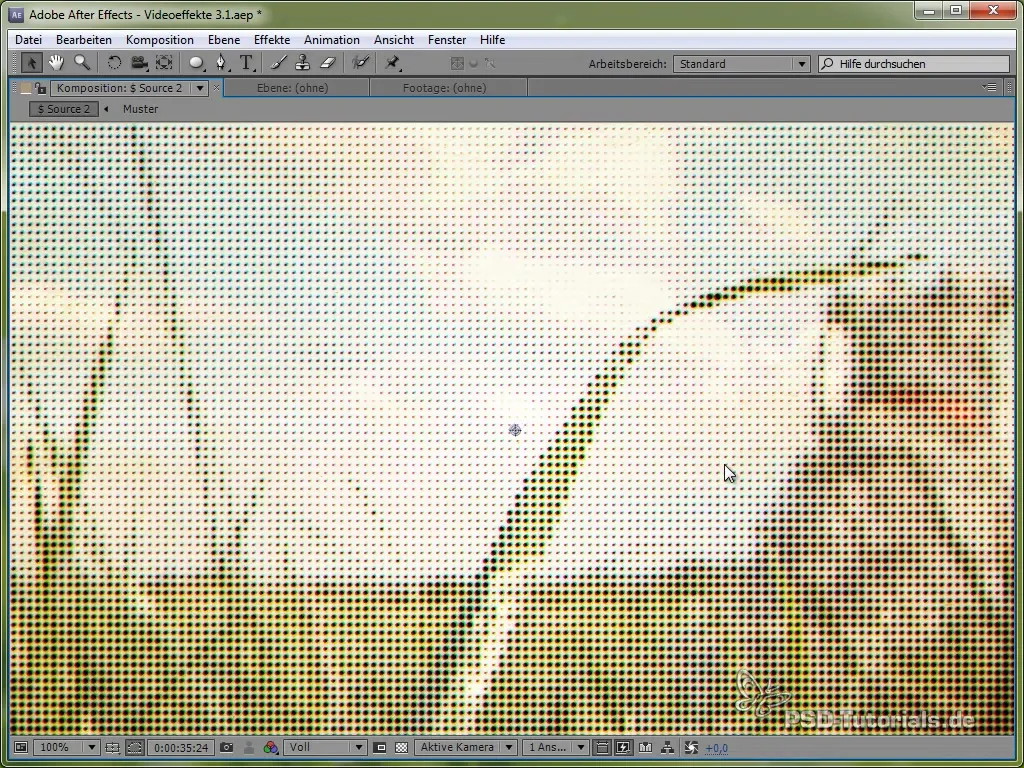
The halftone effect is a remarkable technique to change the appearance of a video and make it look like a print effect. This method transforms traditional pixels into small circles that represent the colors Cyan, Magenta, Yellow, and Black (CMYK). The following guide shows you step by step how to implement this exciting effect in your video production.
Key Insights
- The halftone effect transforms the video footage into a print effect made up of tiny circles.
- The effect can be created using various color channels (CMYK) and requires the use of specialized video tools and techniques.
- With creative adjustments and the application of effects, you achieve a unique visual result.
Step-by-Step Guide
1. Create Composition
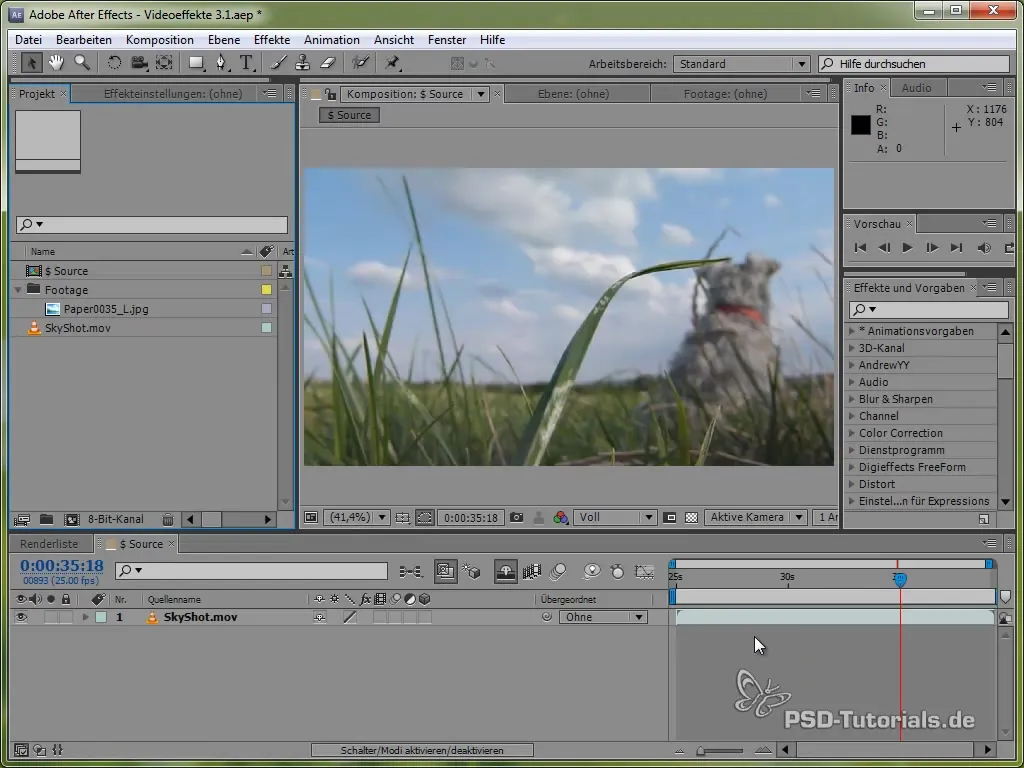
To start the halftone effect, you first need to import your video into a new composition. Create a composition that you name "Source" and into which you can load your desired footage.
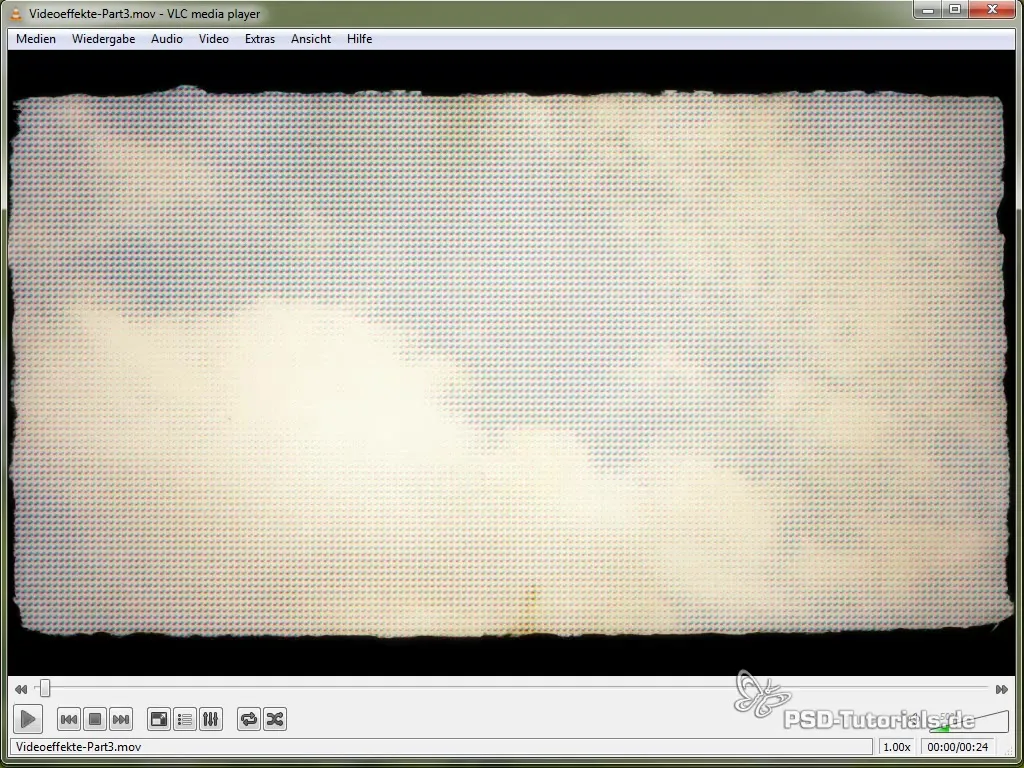
2. Add Texture
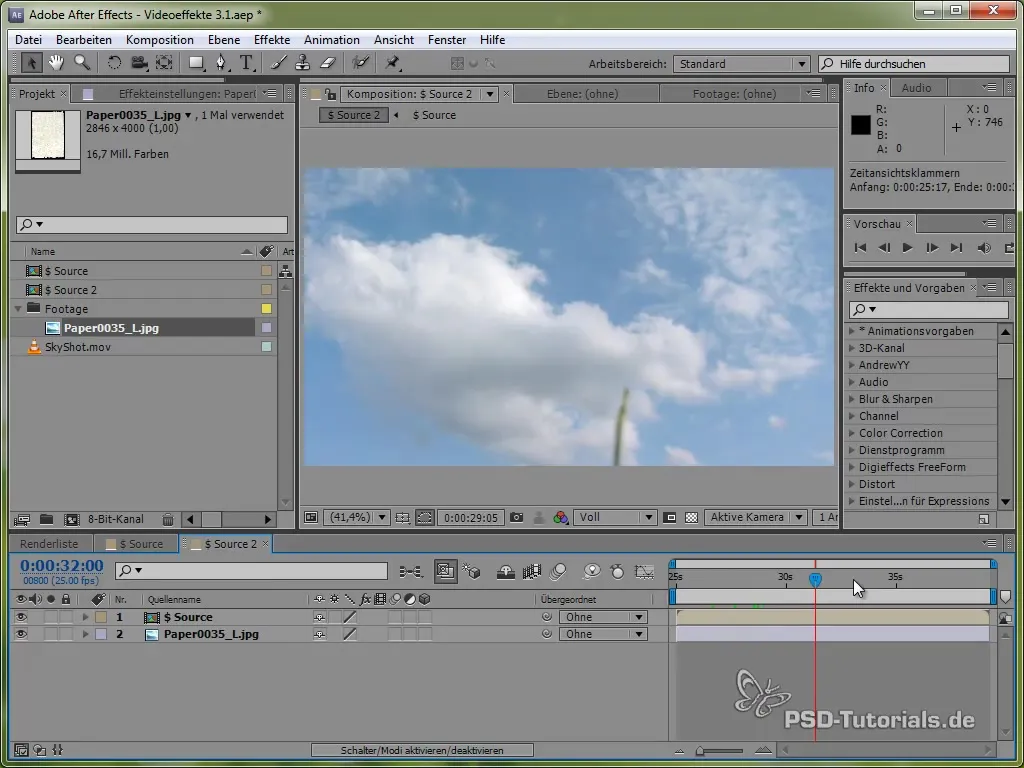
Download an appropriate texture that you want to use as the basis for the halftone effect, such as torn paper or another suitable texture. Ensure that this texture can be used for commercial and non-commercial projects.
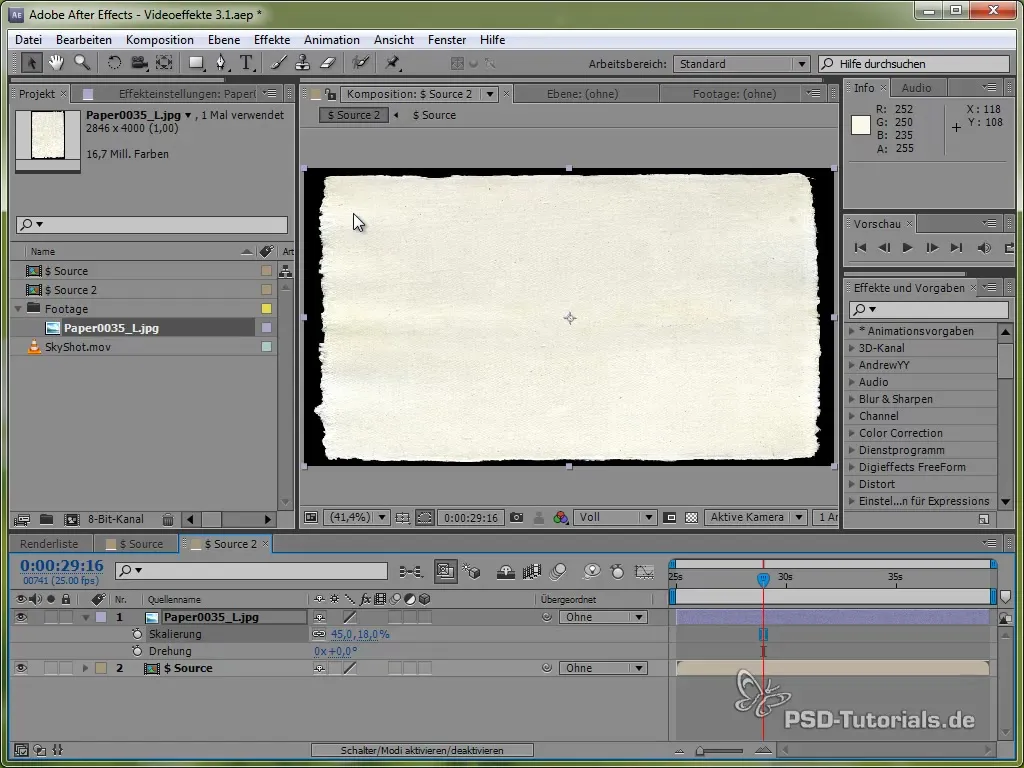
3. Adjust Texture
Place the texture over your footage in the composition. Use the shortcut Control + Alt + F to fit the texture to the composition size without distortion.
4. Create Pattern for Halftone Effect
Now you need to create a new composition for the circles to create. These circles will be used later as a pattern for the halftone effect. Start by creating a shape layer in which you draw an ellipse.
5. Adjust Radius and Position
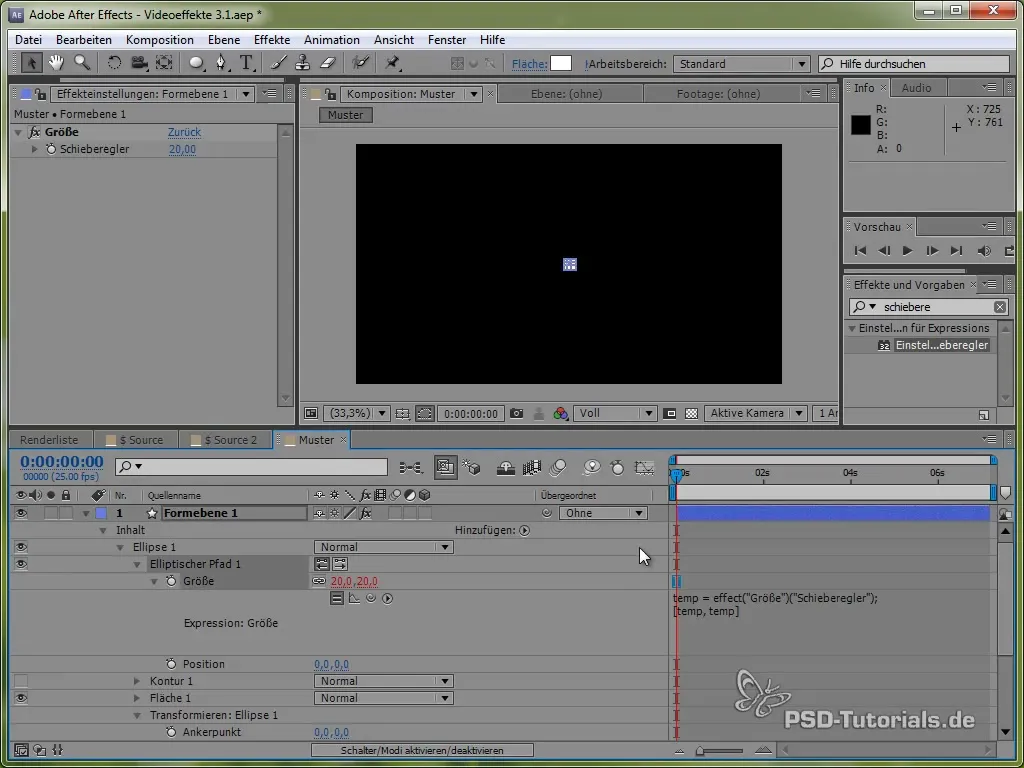
We can adjust the radius of the ellipse to create a specific data element. Use the "Slider" effect to control the size and position of the ellipse.
6. Add Repeater
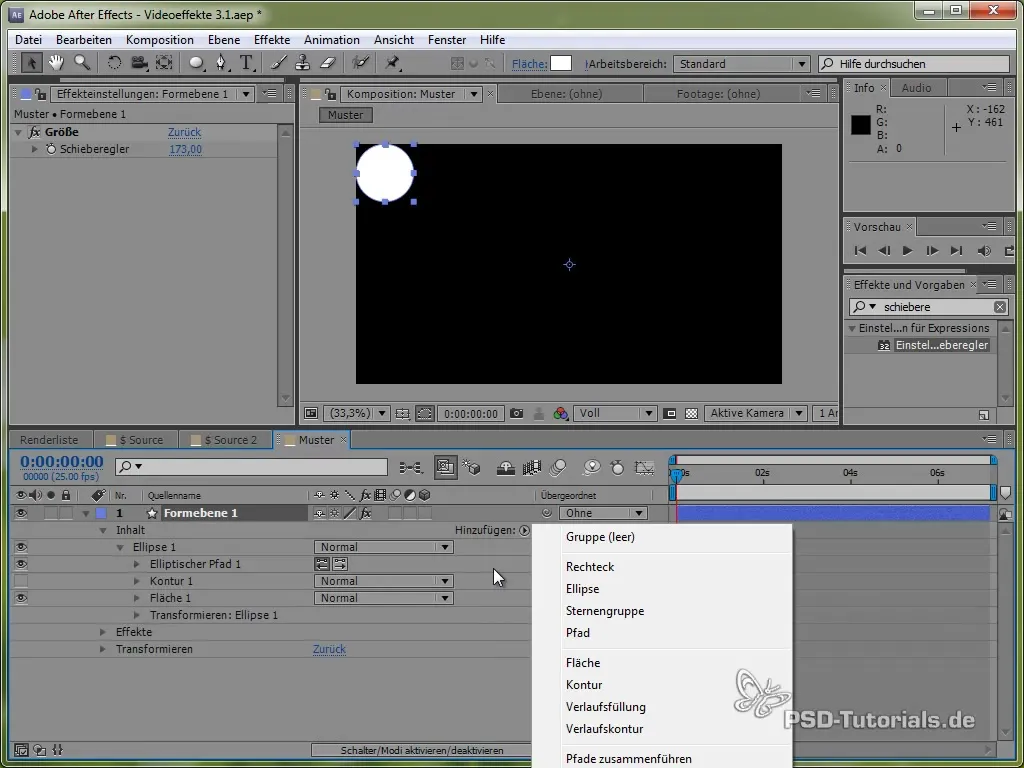
To generate multiple circles in a row, add the “Repeater” effect. This allows you to quickly create numerous copies of your ellipse and arrange them evenly.
7. Calculate Size and Number of Circles
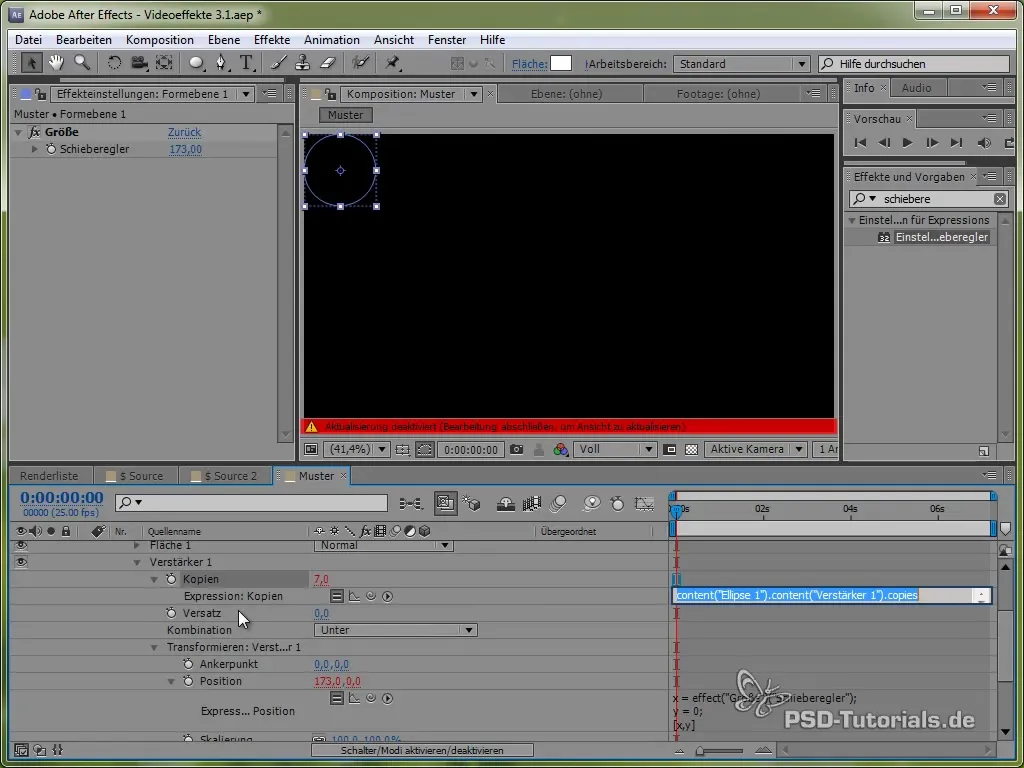
Determine how many circles fit in row and height by dividing the width and height of the composition by the size of the individual circles. These values help us determine the exact number of copies.
8. Apply Card Dance Effect
To control each individual circle, we add the “Card Dance” effect. This effect allows you to break down the footage into rows and columns, which can then be manipulated individually.
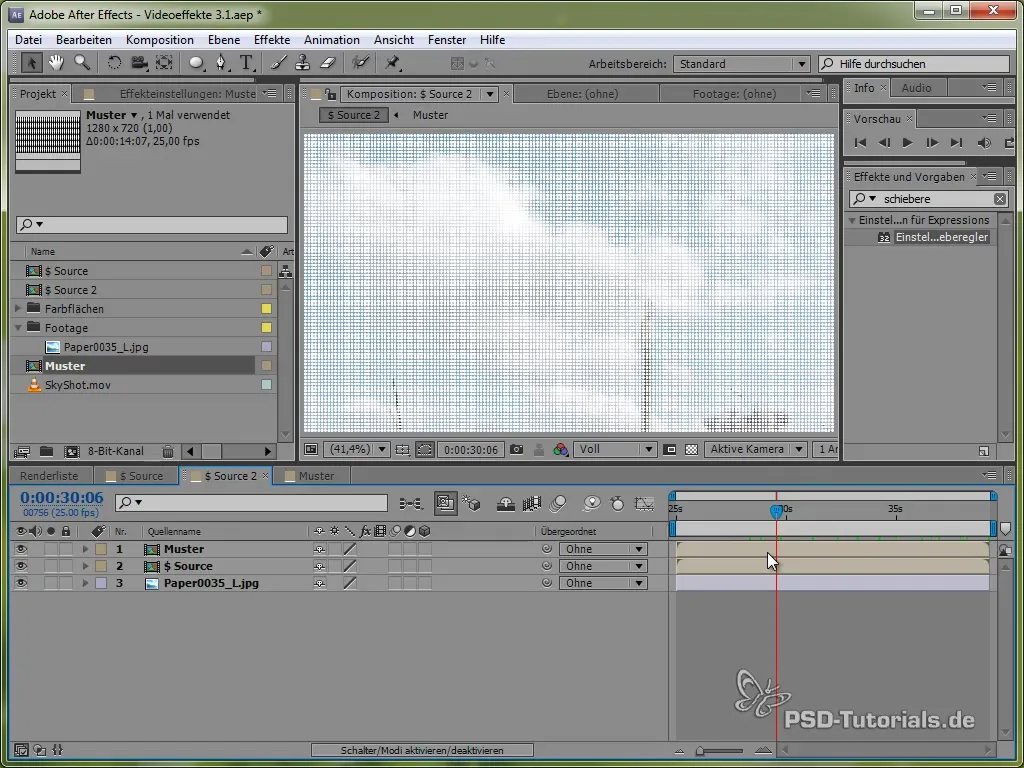
9. Extract Color Channels
Create a color channel to implement the halftone effect based on the intensities in the CMYK colors (Cyan, Magenta, Yellow, and Black). Each of these channels will become an independent layer.
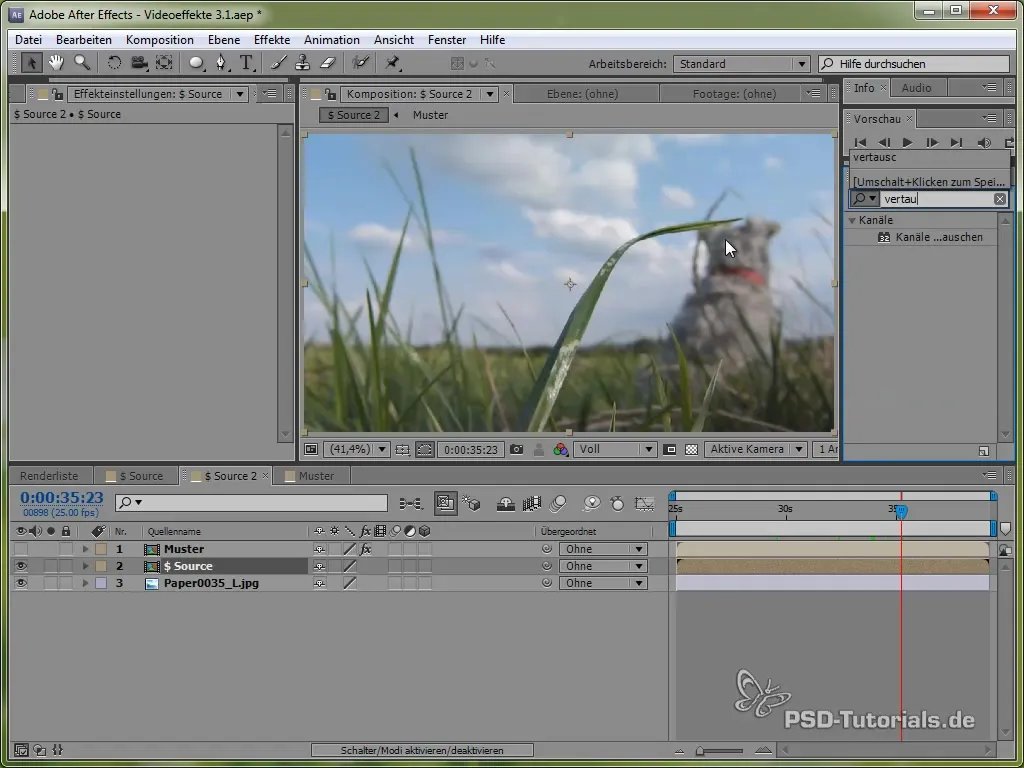
10. Create Masks
For each color channel, create a mask that crops the original material so that the circles can be scaled according to the color intensities. Black represents the maximum size of the circles, while other shades of gray are scaled according to intensity.
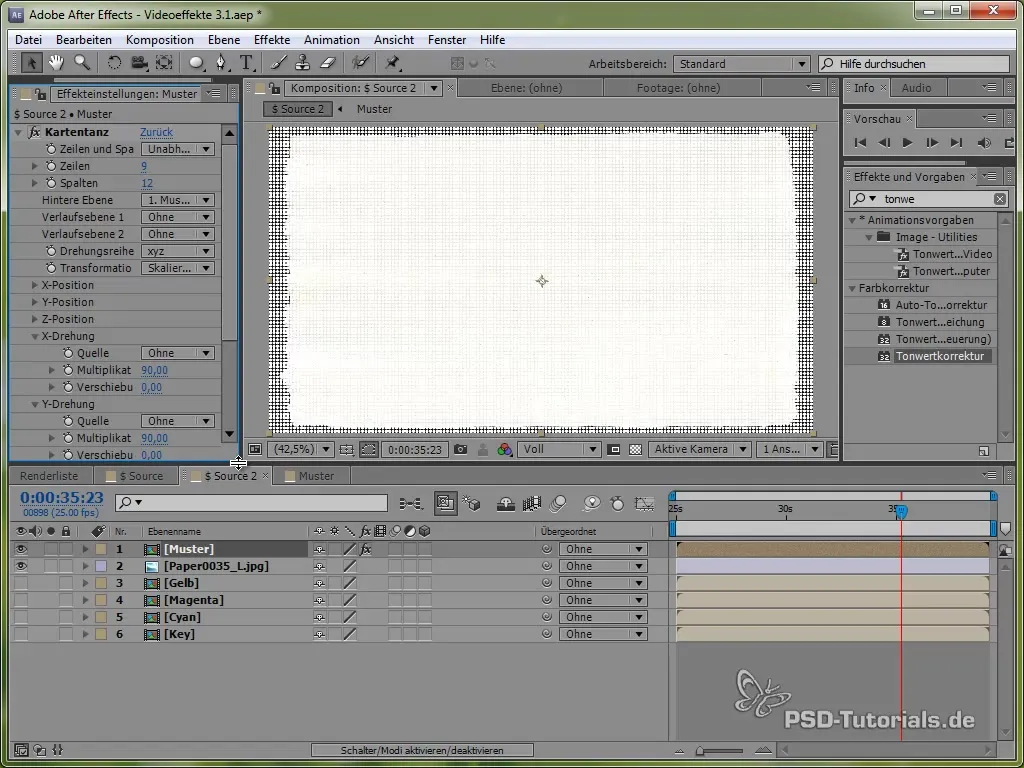
11. Apply and Adjust Circles
Now it is time to move and adjust the individual circles based on their position and size. Fill the circles with the corresponding shades to achieve the desired effect.
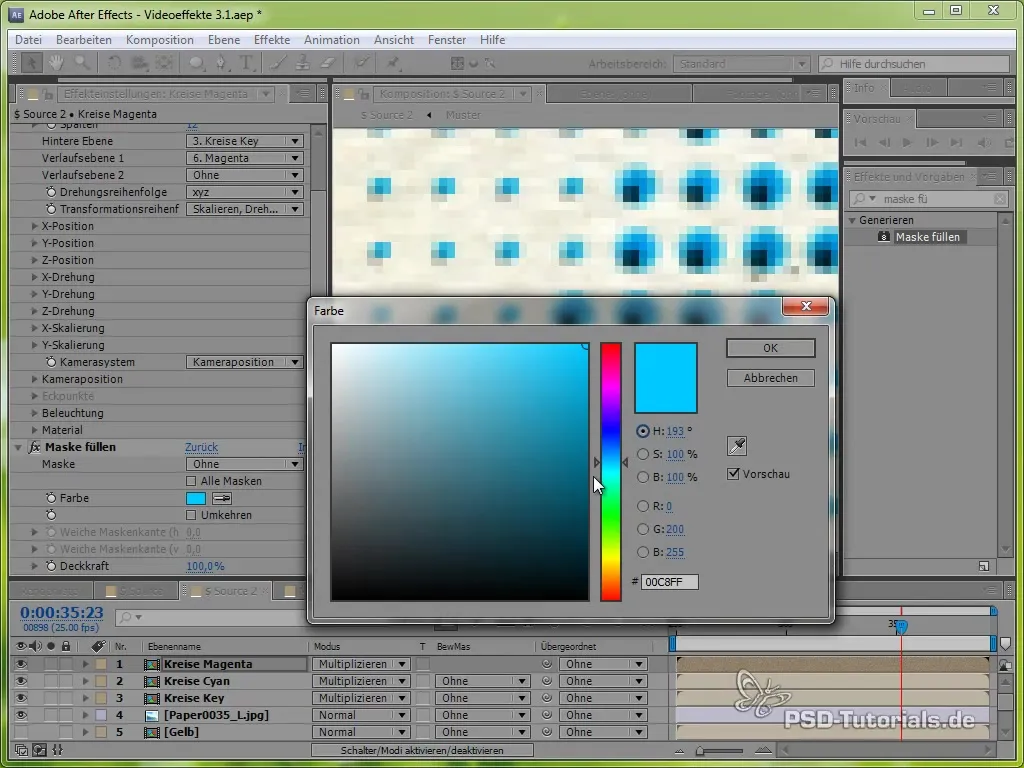
12. Final Adjustments
For the final look, you can add last effects, such as vignetting or color corrections, to give your composition the desired print look.
Summary – Halftone Effect in Video Production
This step-by-step guide gives you a comprehensive overview of the halftone effect. You have learned how to apply and adjust the effects to creatively alter your video footage. Experiment with different settings to achieve the best result for your projects.
Frequently Asked Questions
How long does it take to create the halftone effect?It depends on your experience, but you should generally be able to finish in about 30-60 minutes.
Can I apply the halftone effect to any video?Yes, the effect can be applied to almost any form of video material, especially with moving images.
Is special software knowledge required?A certain level of knowledge in video editing software (e.g., Adobe After Effects) is necessary.
