You have probably heard often about the impressive effect of a lightsaber, right? This iconic effect from the Star Wars universe not only makes hearts race but also poses an exciting challenge for any After Effects user. In this tutorial, I will show you how to create the popular lightsaber effect in After Effects – both in the classic way and with a modern preset. With my step-by-step guide, you can quickly stage your own cool lightsaber.
Main Insights
- You can create the lightsaber effect in two ways: manually or with a preset from Video Copilot.
- For the manual effect, you need a color solid and mask animation.
- The preset from Video Copilot provides efficient and high-quality results in a shorter time.
Step-by-Step Guide
Step 1: Preparing the Footage
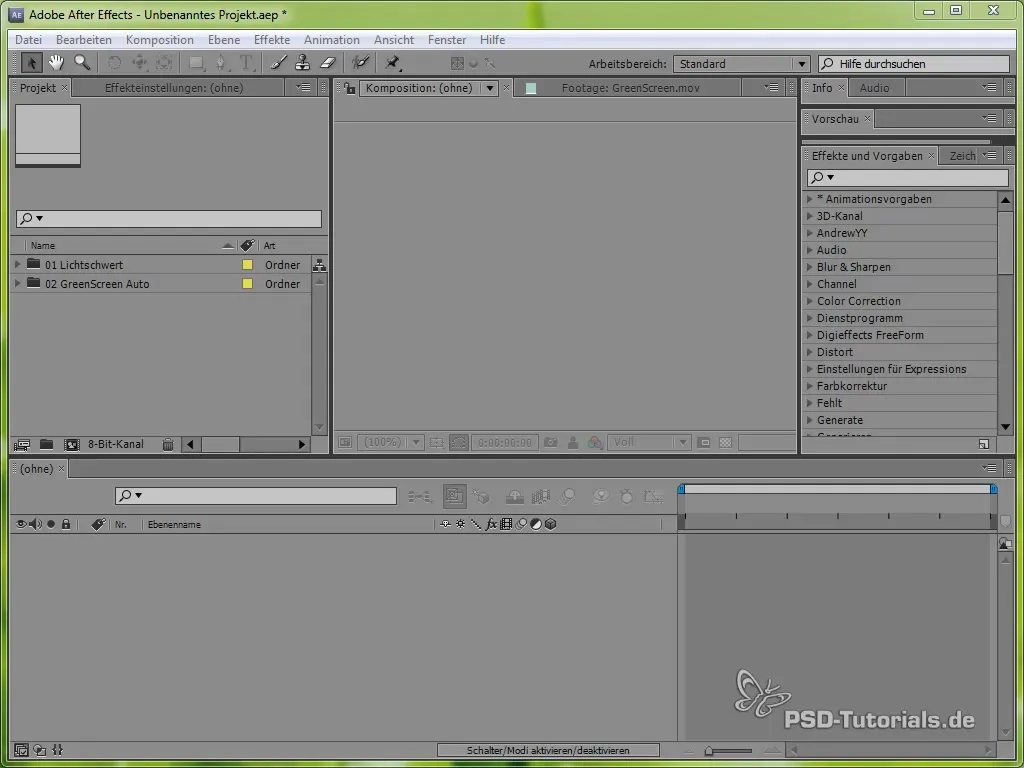
First, you need to prepare your footage. Use a green screen in front of which you act. In this case, you have a simple fabric or cloth that you have hung on a wall. This serves as the background for your lightsaber effect. Make sure the background is evenly lit to achieve the best results.
Step 2: Creating the Color Solid
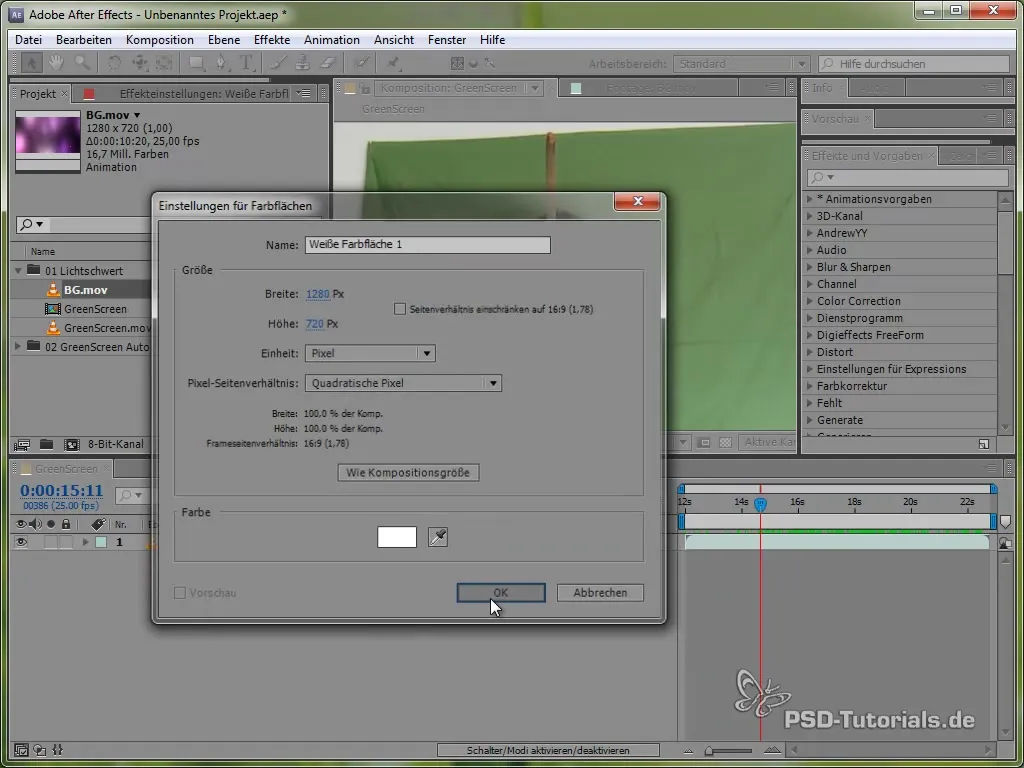
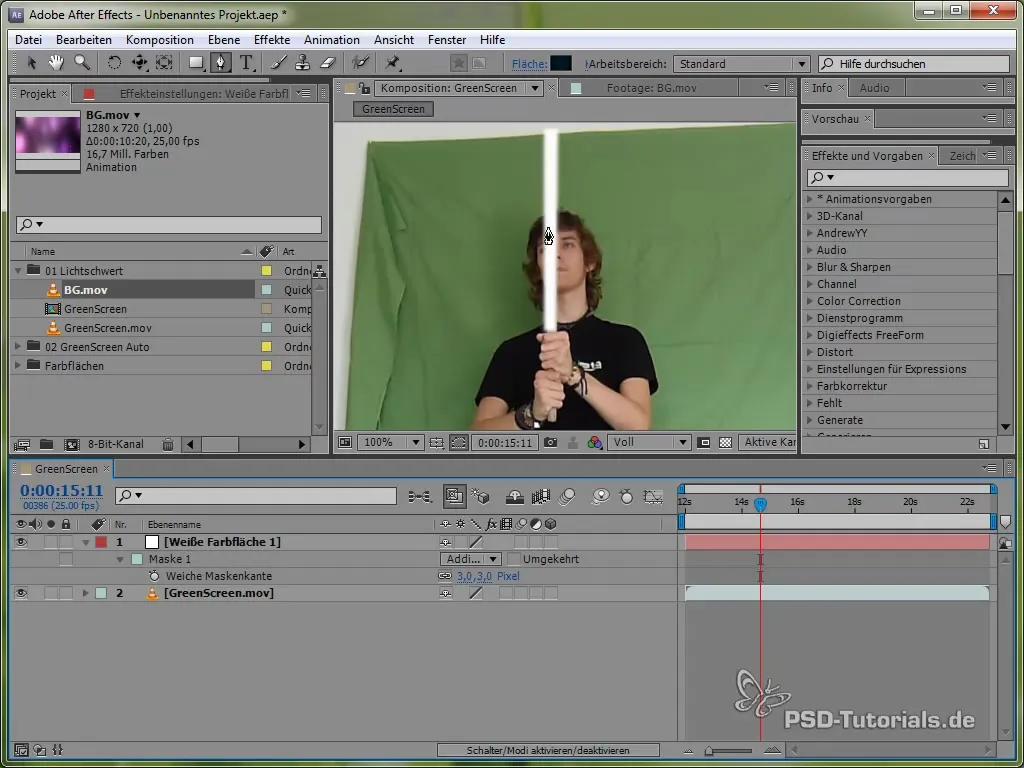
Now add a new color solid. This should be white because it forms the base for your lightsaber. You need to create the color solid by going to the “Layer” menu, then “New,” and finally “Solid.”
Step 3: Drawing the Mask Shape for the Lightsaber
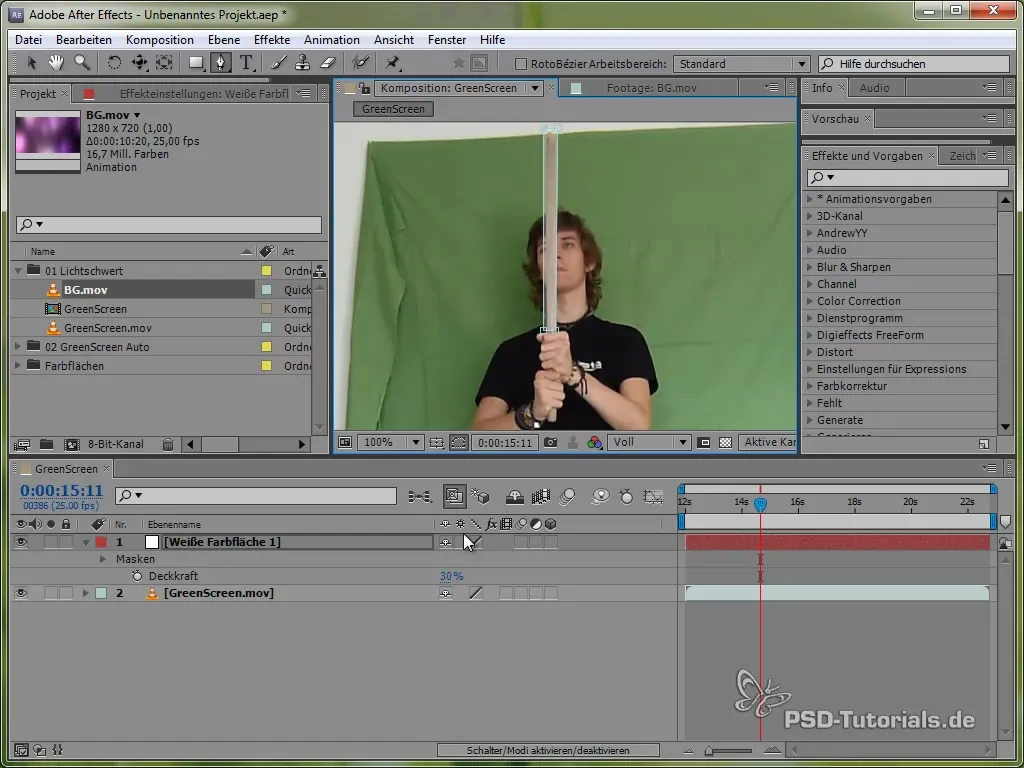
To obtain the shape of the lightsaber, draw a mask around the “sword” (in your case, the stick you are holding). This is a fundamental step that you must execute precisely. After you have drawn the mask, you can adjust the opacity of the color solid to achieve a nicer effect.
Step 4: Softening the Edges
To give your lightsaber a more realistic appearance, soften the edges of the mask. You should use the “F” function for feathering and apply a value of about 3 pixels. This ensures that the edges are not too sharp and gives the lightsaber a realistic glow.
Step 5: Adding Glow
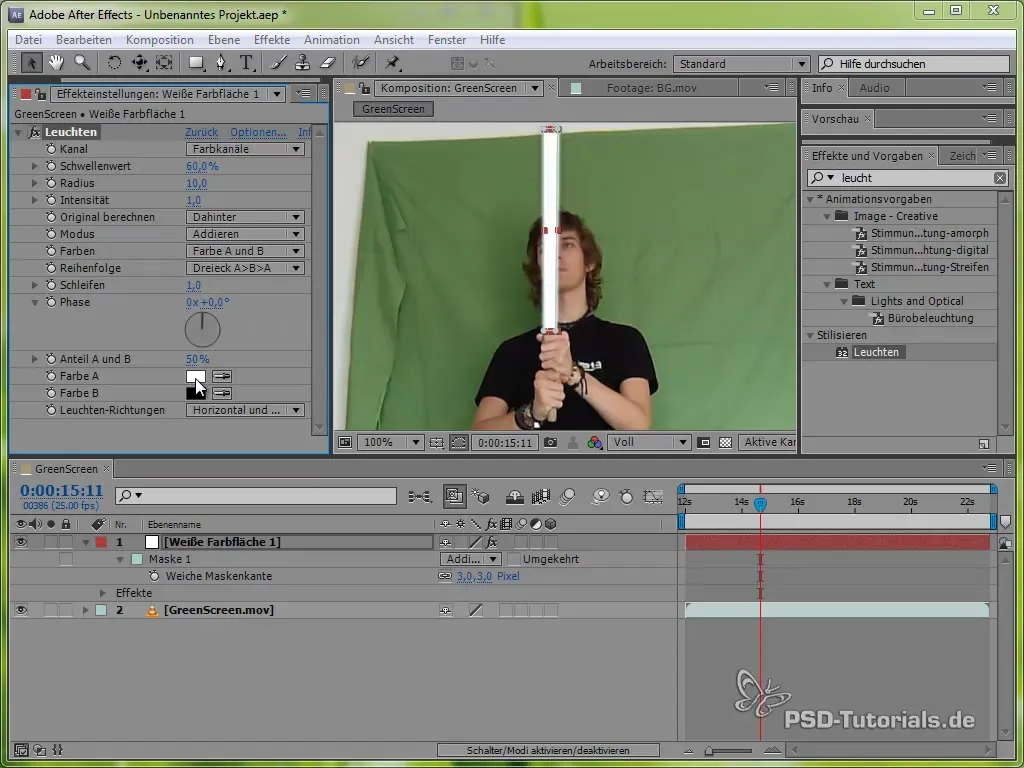
The glow effect is what makes your lightsaber impressive. Add this by going to the effects settings and selecting “Stylize Glow.” Make sure to choose two different shades of blue for the glow effect. Remember to adjust the radius and intensity accordingly.
Step 6: Animating the Mask
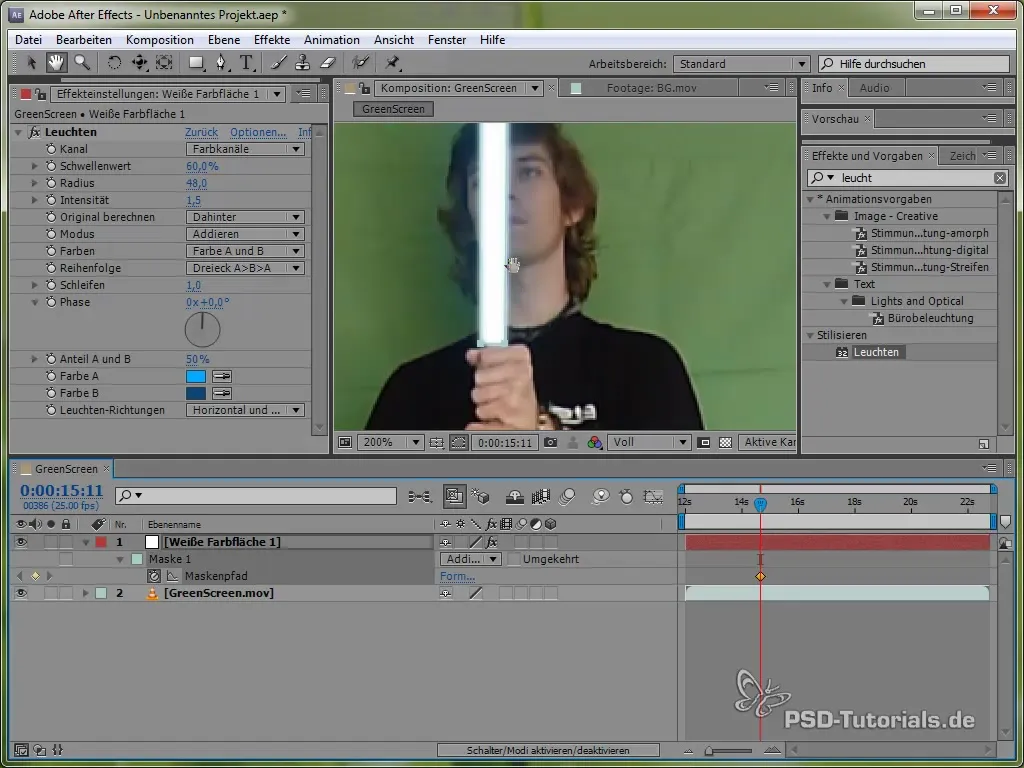
You now need to animate the mask for your lightsaber so that it matches your movements in the video. Set keyframes for the mask position and adjust the points in each frame so that the lightsaber always looks like it is attached to the stick. This work can be tedious but is crucial for the credibility of the effect.
Step 7: Using the Video Copilot Preset
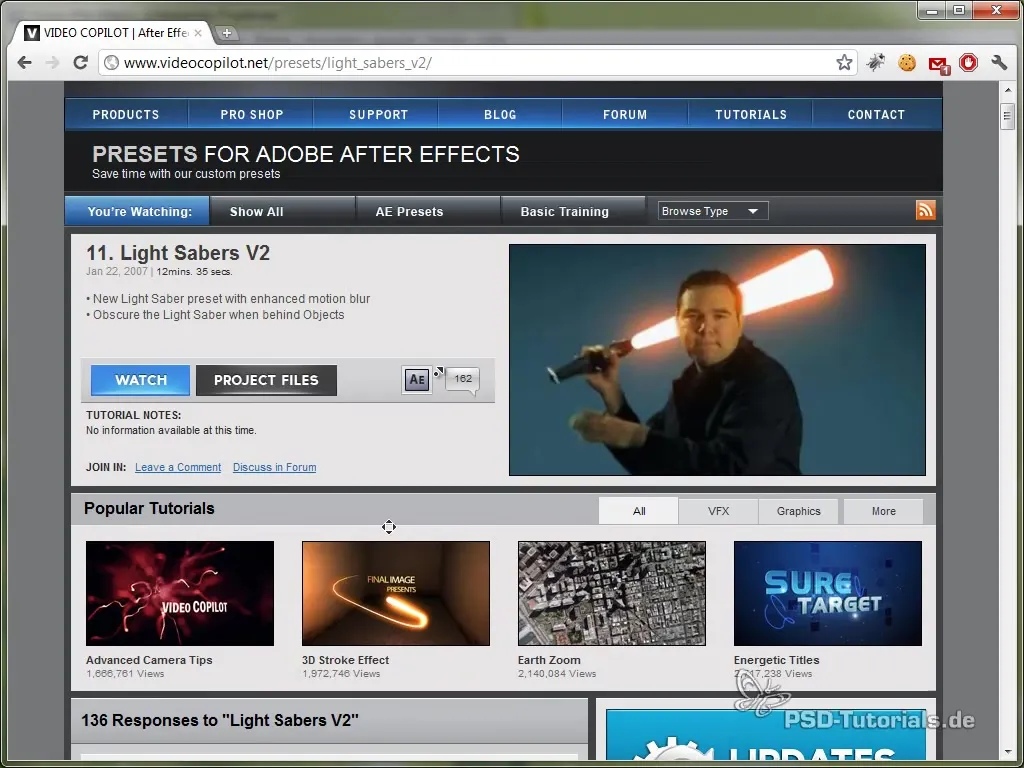
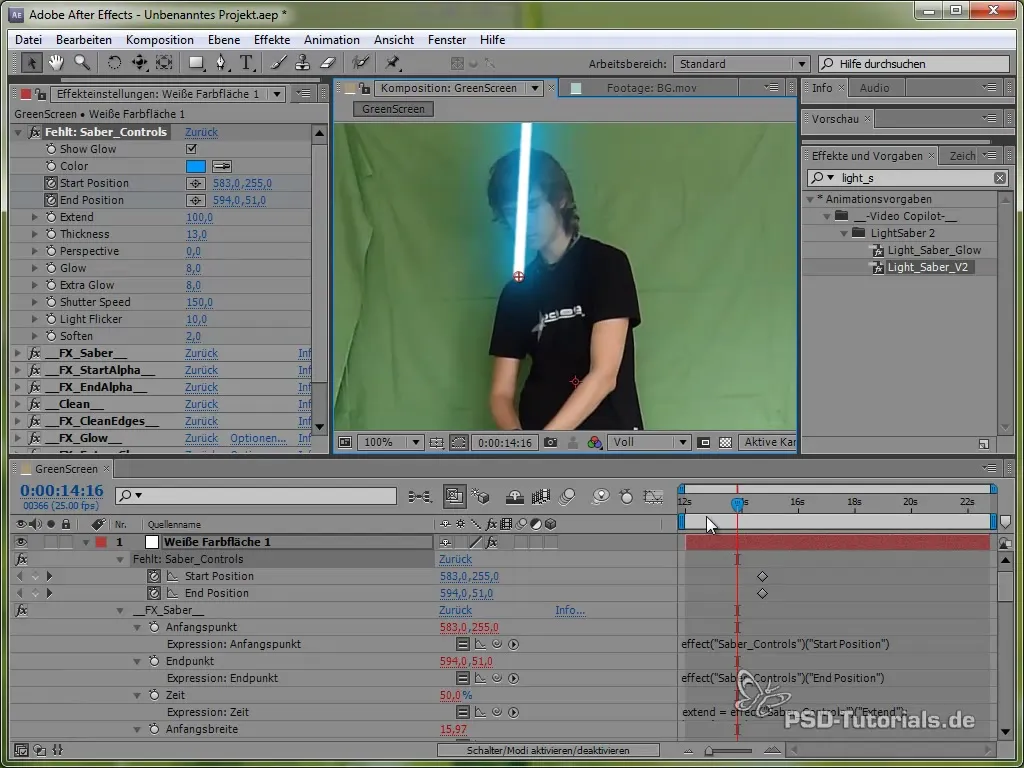
As a second method, you can use what Video Copilot offers with their “Light Sabers Version 2” preset. This is a more efficient and easier way to create the lightsaber effect. Download the presets and install them. There is a start and end position for your lightsaber that you can easily adjust in the preview.
Step 8: Animating the Start and End Position
Set keyframes for the start and end position of your lightsaber by moving the control points in the effects layer. Make sure the animation looks smooth – this means you need to regularly play back the footage to ensure that the movements are coherent.
Step 9: Keying out the Green Screen
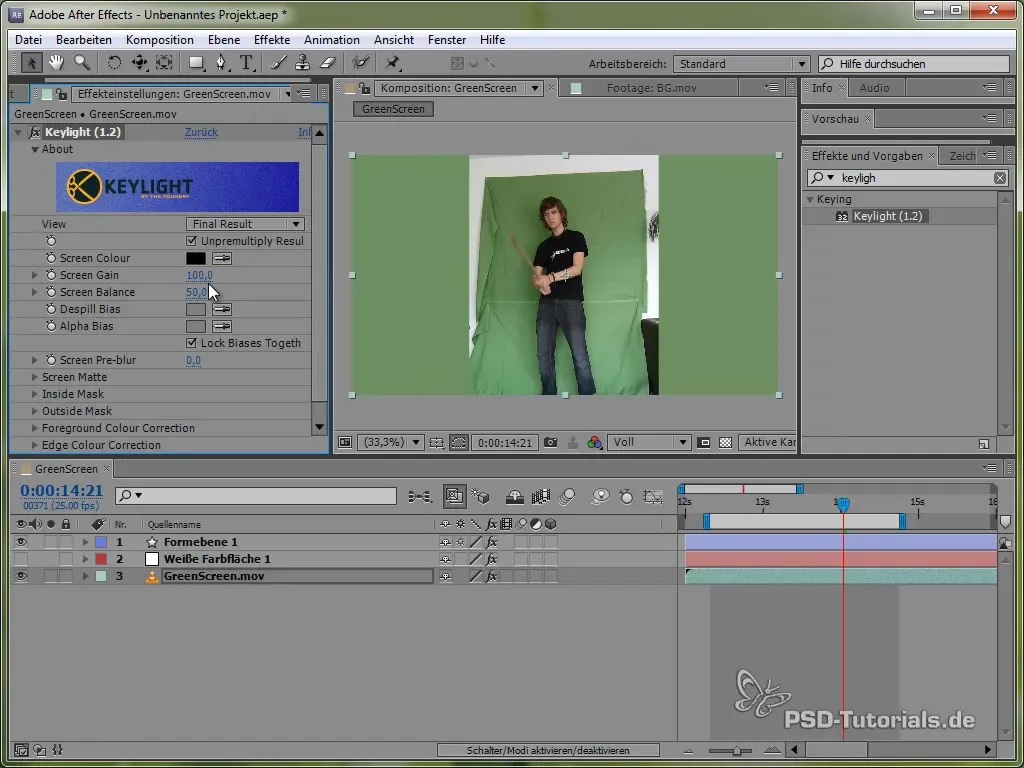
To remove the green screen behind you, use the Keylight effect available in After Effects. With this effect, you can filter out the green behind you and your lightsaber effect will be clearly visible on a new background.
Step 10: Creating a Garbage Mask
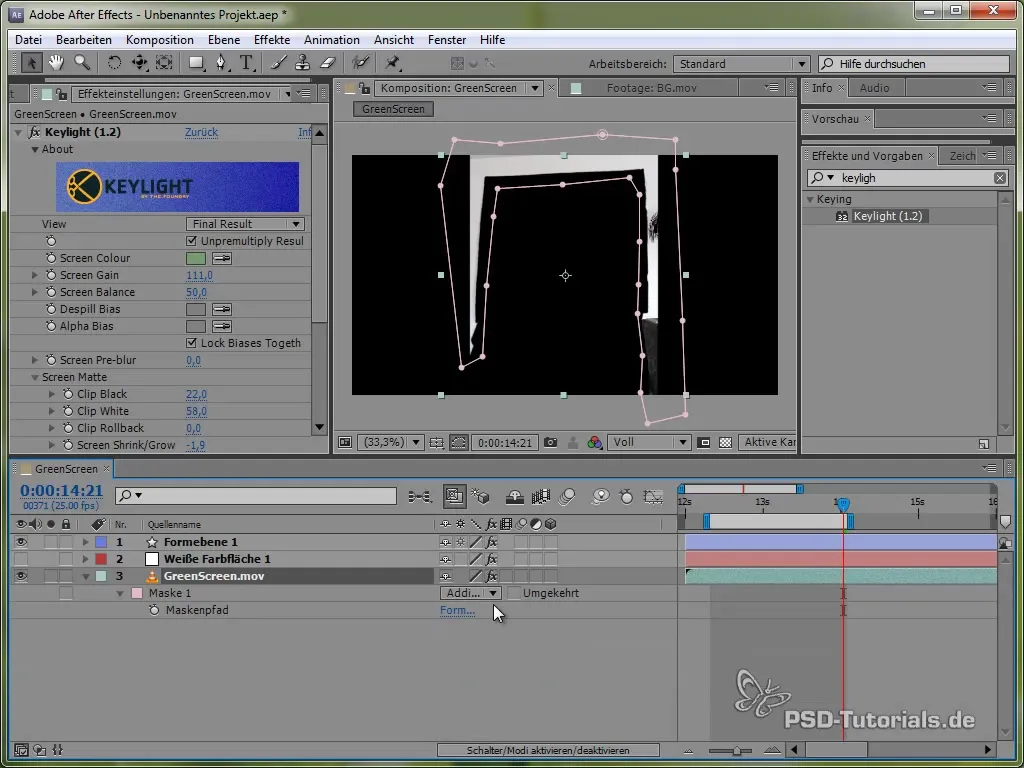
Sometimes there are unwanted elements that you want to get rid of. Use a so-called garbage mask to cut these elements out directly. The garbage mask helps to remove all unnecessary material around the lightsaber and the character.
Step 11: Making Color Corrections
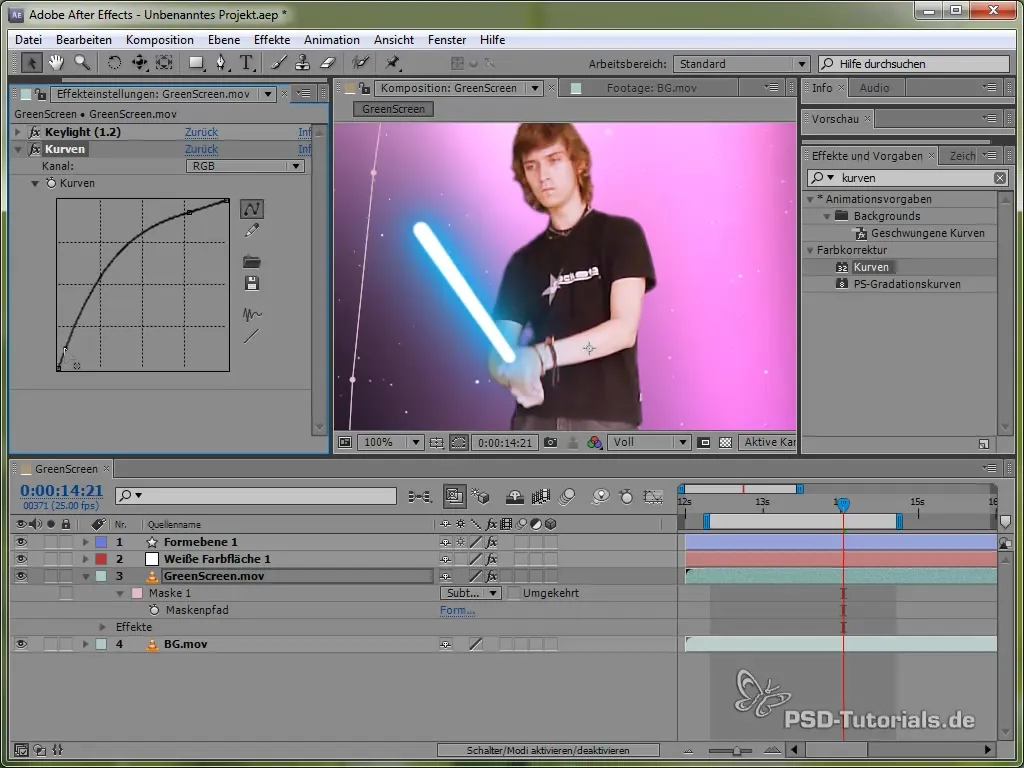
Finally, you need to ensure that your result matches the color of your background. Use the curve option to optimize the image. This means you adjust the color values to achieve a homogeneous appearance.
Summary - Creating Lightsaber Effect in After Effects Yourself
The lightsaber effect is a fantastic and creative way to enrich your videos with impressive special effects. Whether you use the manual method or apply the handy presets from Video Copilot – this effect will definitely add excitement to your projects. With patience and a bit of practice, you will quickly learn how to stage your own lightsaber.
Frequently Asked Questions
What do I need for the lightsaber effect?For the lightsaber effect, you need After Effects, a recording in front of a green screen, as well as the color solid and effects in After Effects.
Can I work without a green screen?Yes, it is possible, but the quality of the effect may suffer. A green screen provides the best conditions.
How can I make the lightsaber look good?Pay attention to a good mask adjustment and use glow effects and blurs to make the look more realistic.
How long does it take to create a lightsaber effect?That depends on your experience; it can take anywhere from a few hours to a whole day, especially with keyframe animation.
Do I need special plugins for the lightsaber effect?You don't need plugins for the manual method, but the Video Copilot preset simplifies the creation and offers additional features.
