Welcome to this comprehensive guide, where we explore 2.5D tracking of a scene with EPTrack in After Effects. In this tutorial, you will learn how to track the screen of a device and place objects in perspective correctly to achieve impressive holographic effects. After a brief overview of the project, we will start tracking screen content and eventually integrate holographic butterflies into the scene.
Main Insights
- Using 2.5D tracking to refine animations.
- Applying EPTrack for precise placement of animated objects.
- Efficiently adjusting and fine-tuning the keyframes to enhance visual effects.
Step-by-Step Guide
Start by reviewing the source material. In the final result, you should see footage that corresponds to the effects we want to achieve. Our focus is on applying light effects on the screen of an iPod and tracking the ground accordingly.
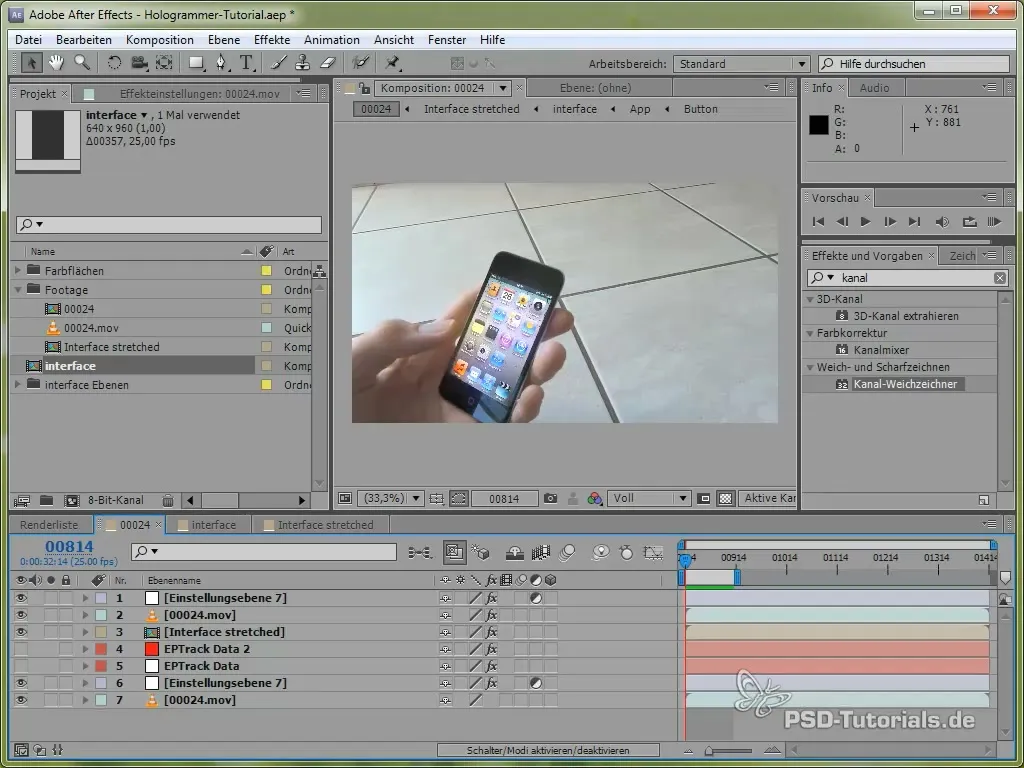
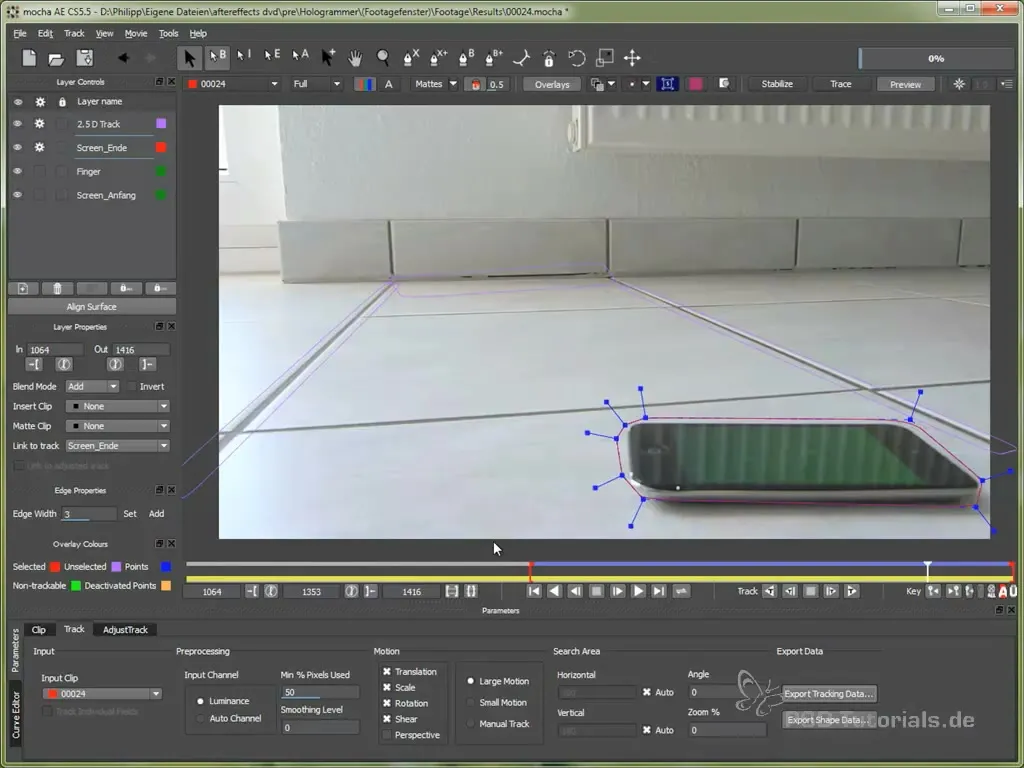
First, we need to track the screen. You will focus on adding glow to the iPod and representing the entire scene in 2.5D. The process involves manual tracking of the screen. It is important that the device's display takes on the correct hue so that the green screen effect does not become visible.
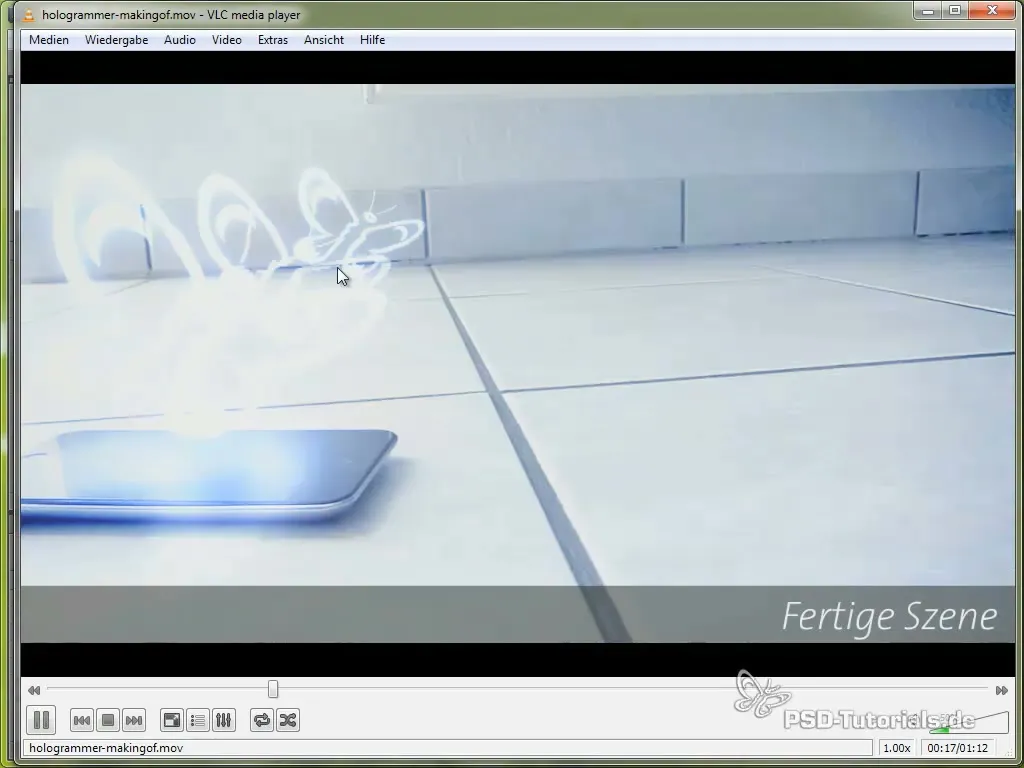
Now that we have tracked the iPod, you should add an additional layer to animate the light that looks like it is coming from the screen. Set the in and out points correctly to start when the screen begins to glow.
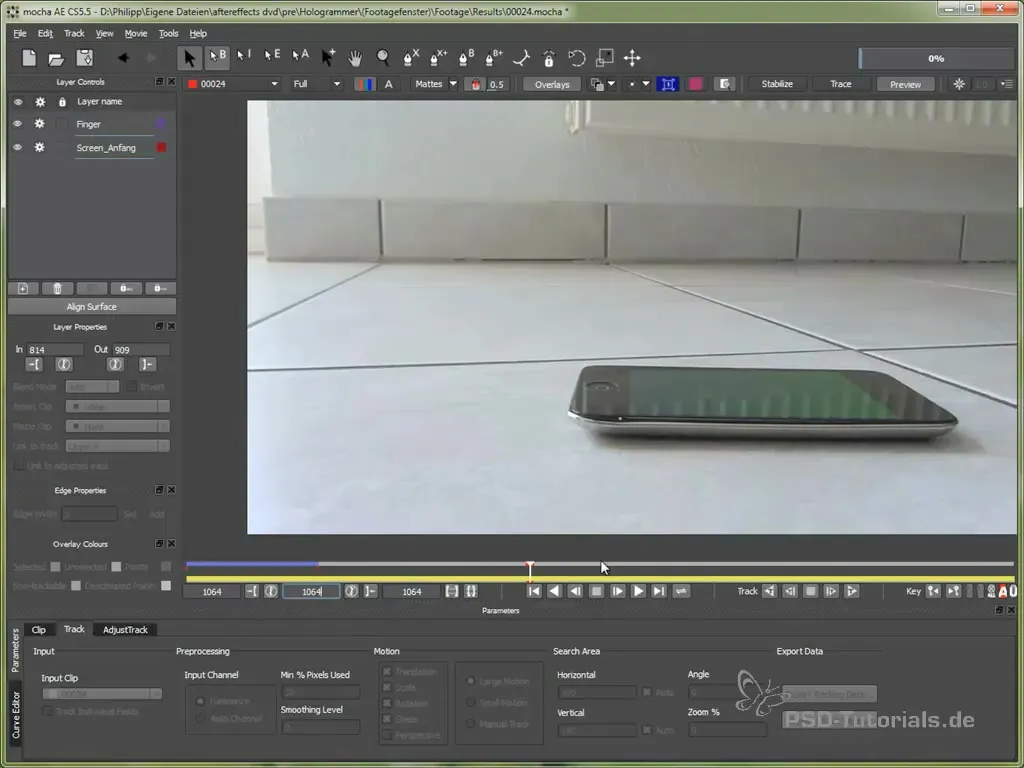
Now create a new X-Spline that we will use for tracking the ground. With this spline, you can follow the tiles of the ground to later place objects in perspective correctly.
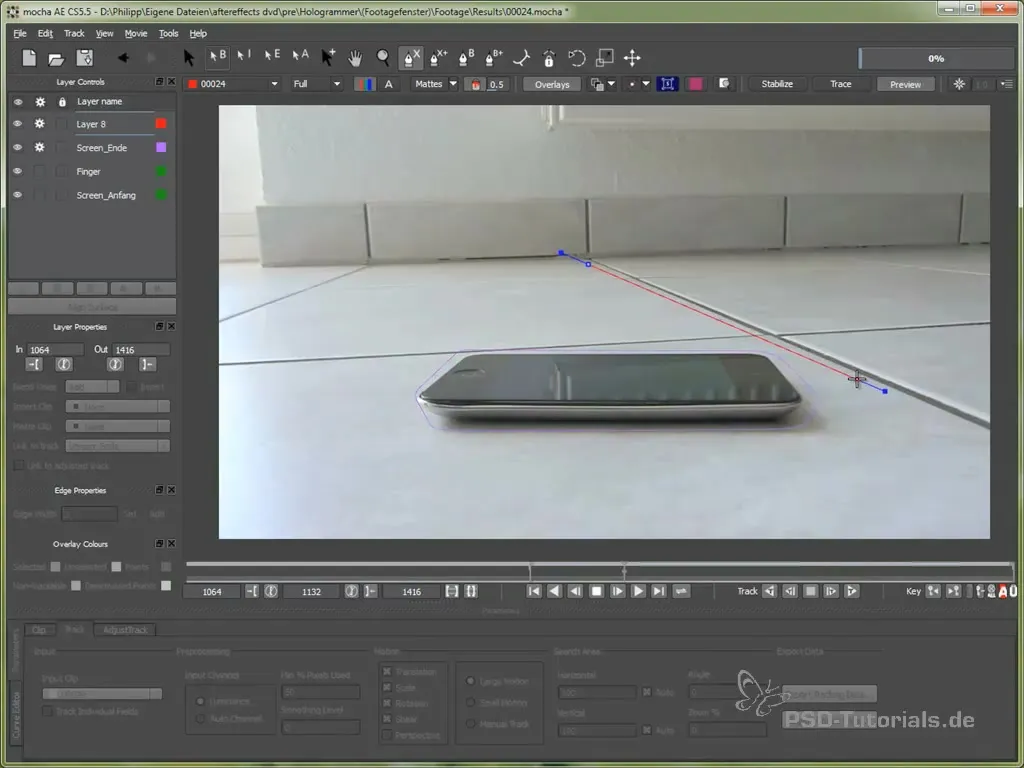
Once you have the tracking data, you can import it into After Effects. Make sure to paste the position data over the correct frame to ensure that all animations are synchronized.
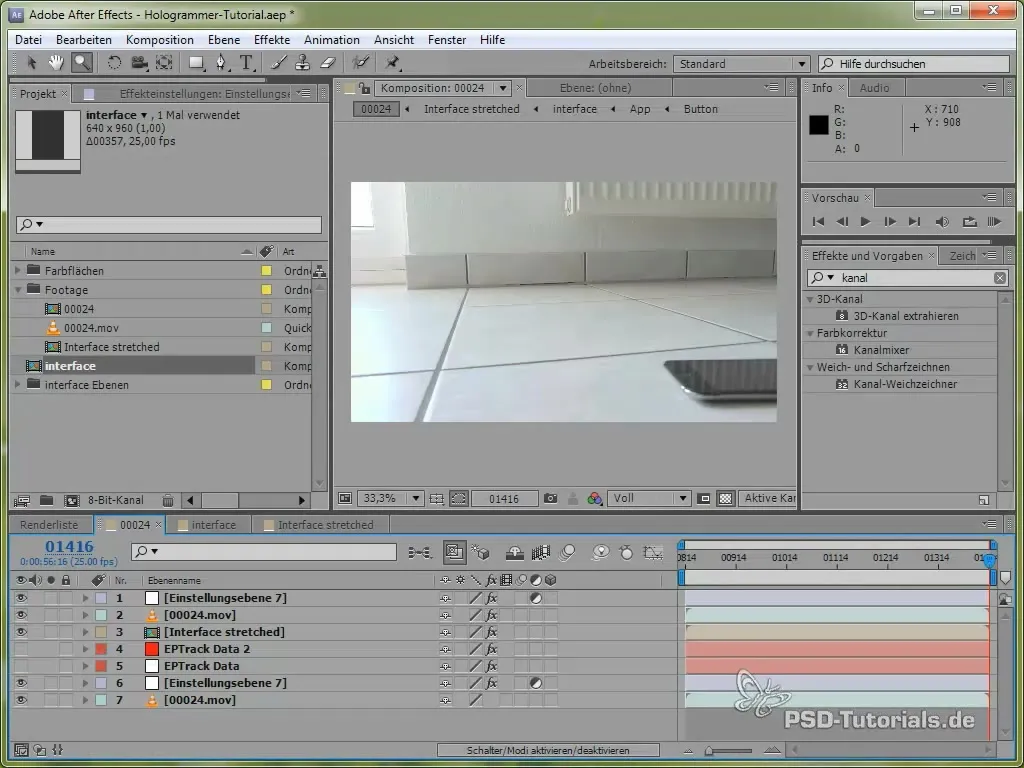
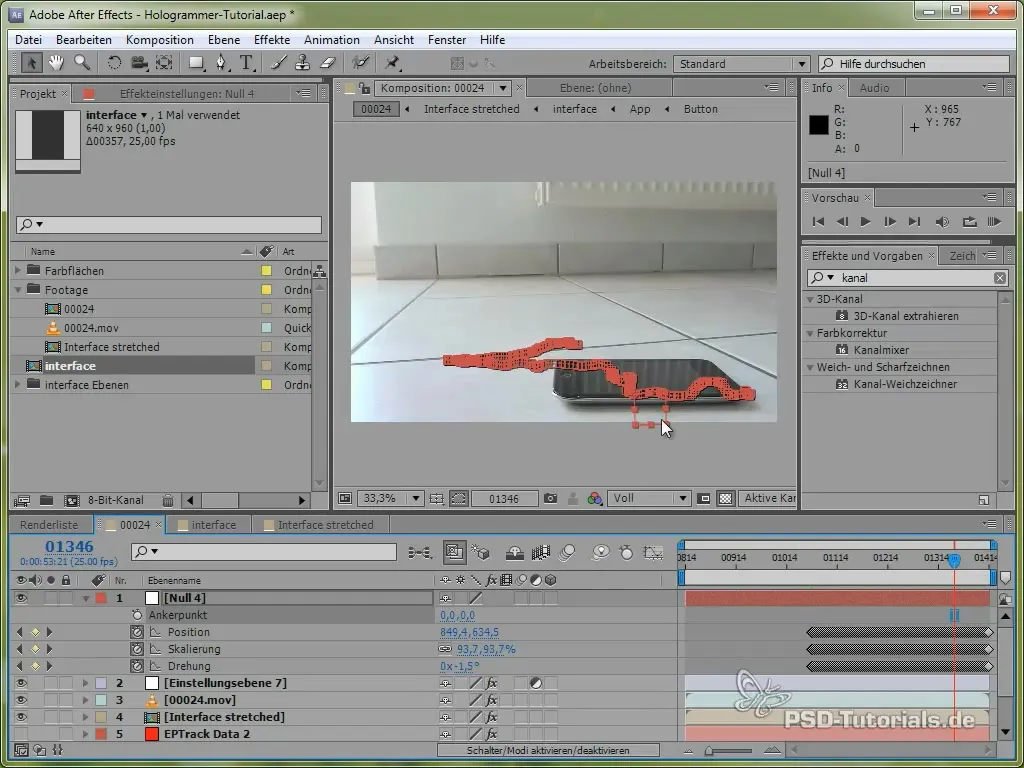
With your null object that you created, you can now insert the position data. This is important so that the tracking point follows the iPod accurately. Check to see if the tracking remains stable while you play back the RAM preview.
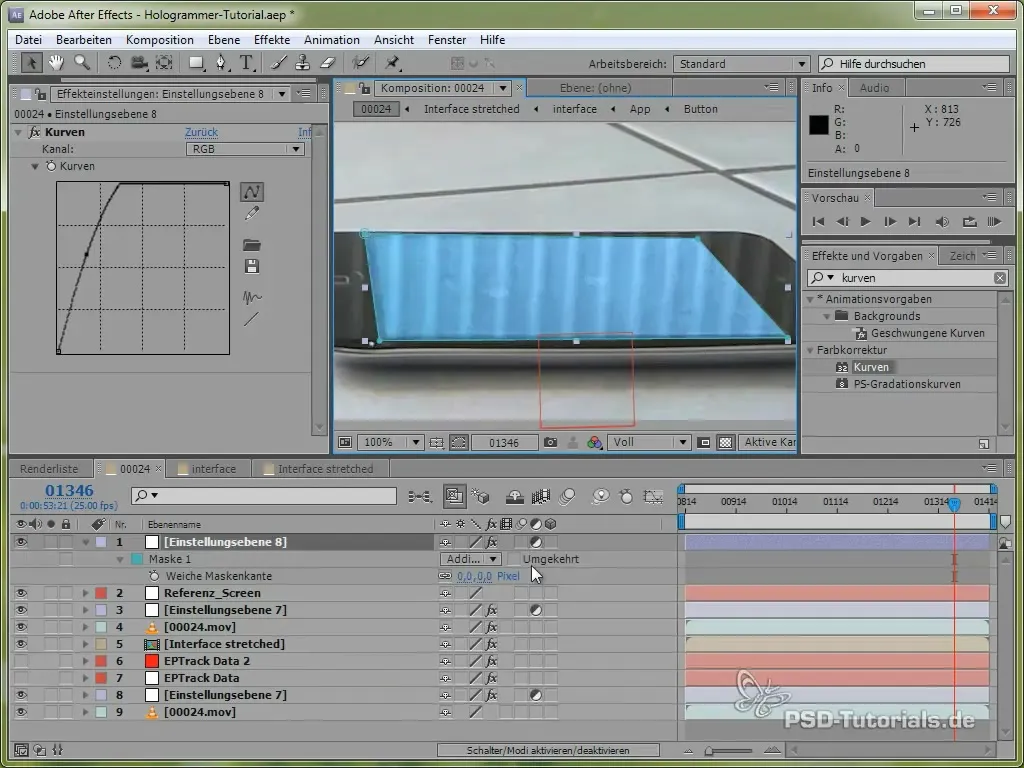
Now we will add an adjustment layer to make the screen glow. Use curves to optimize the appearance of the display and add a mask that defines the parts of the screen.
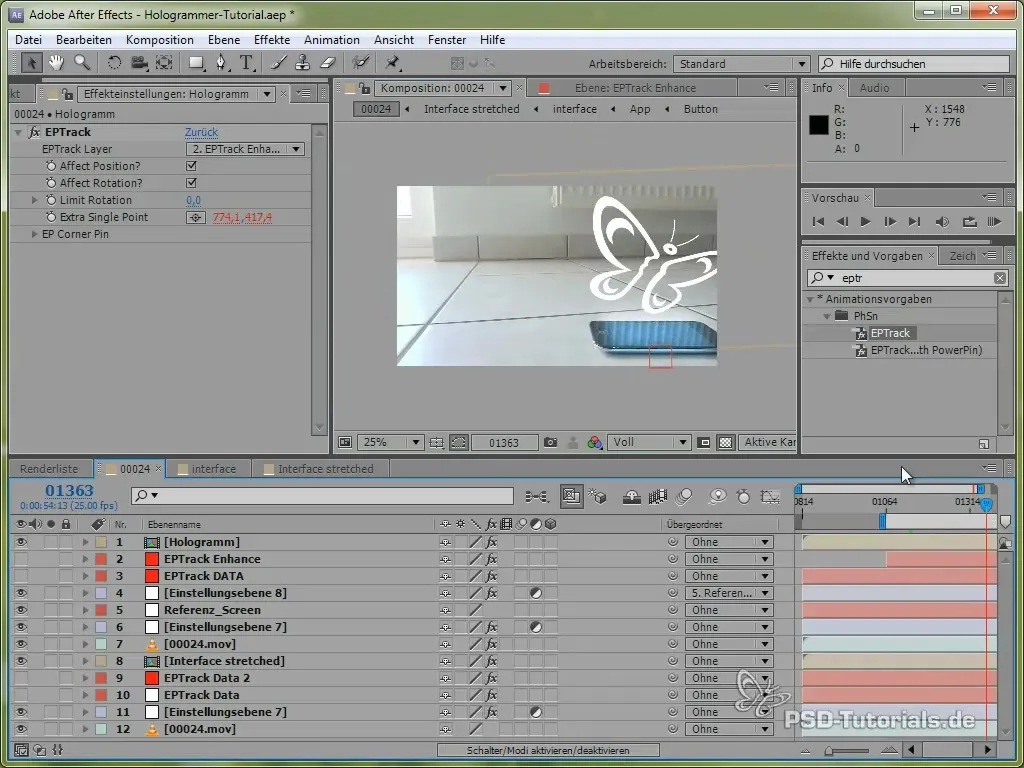
After you have adjusted the glow of the iPod, it is time to start with the 2.5D tracking. You should now create a new color layer that will represent the holograms. In this step, it is important to export the transformation data and apply it to the color layer.
You can position the holograms by selecting the anchor point and seamlessly integrating them into the scene. Check the movement of the holograms as you adjust the camera perspective to ensure they realistically hover above the iPod.
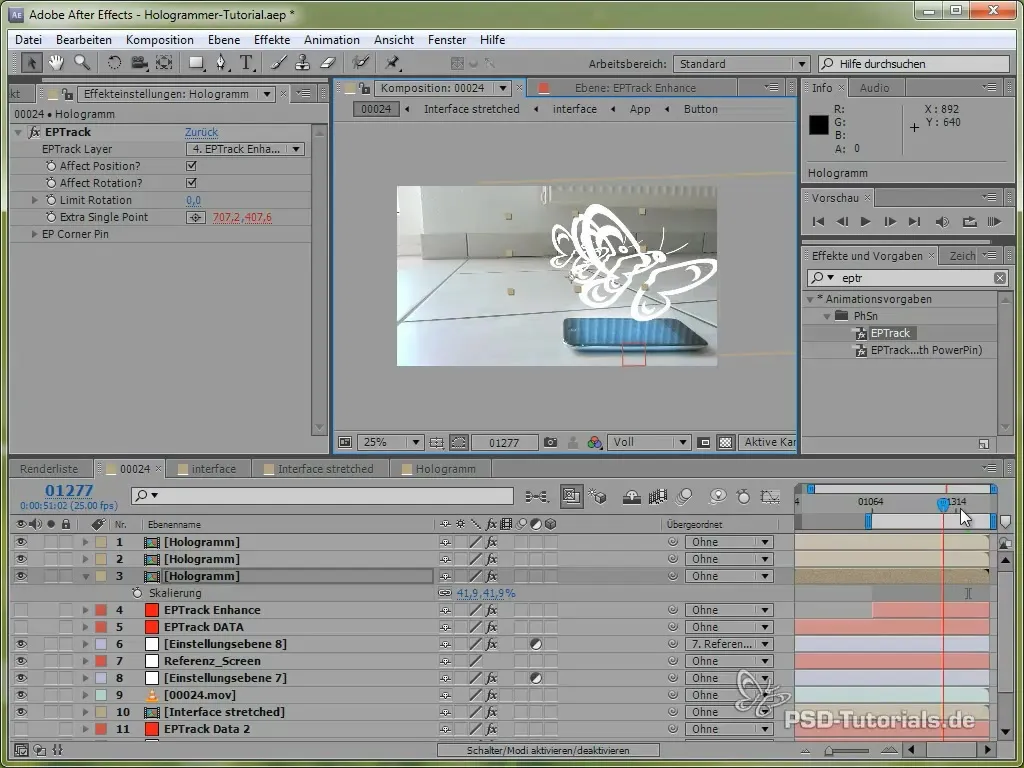
You can now duplicate the holograms and adjust their positions. Make sure to work in the Z-axis (depth) to create a 3D effect that enhances the illusion of the holograms floating in space.
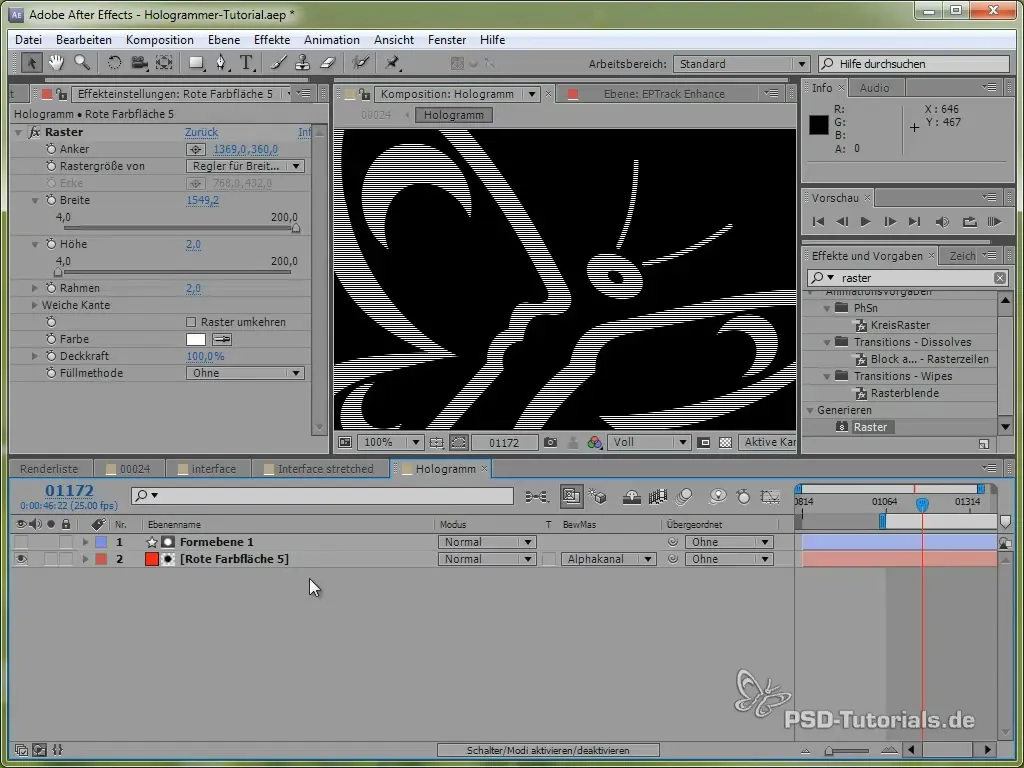
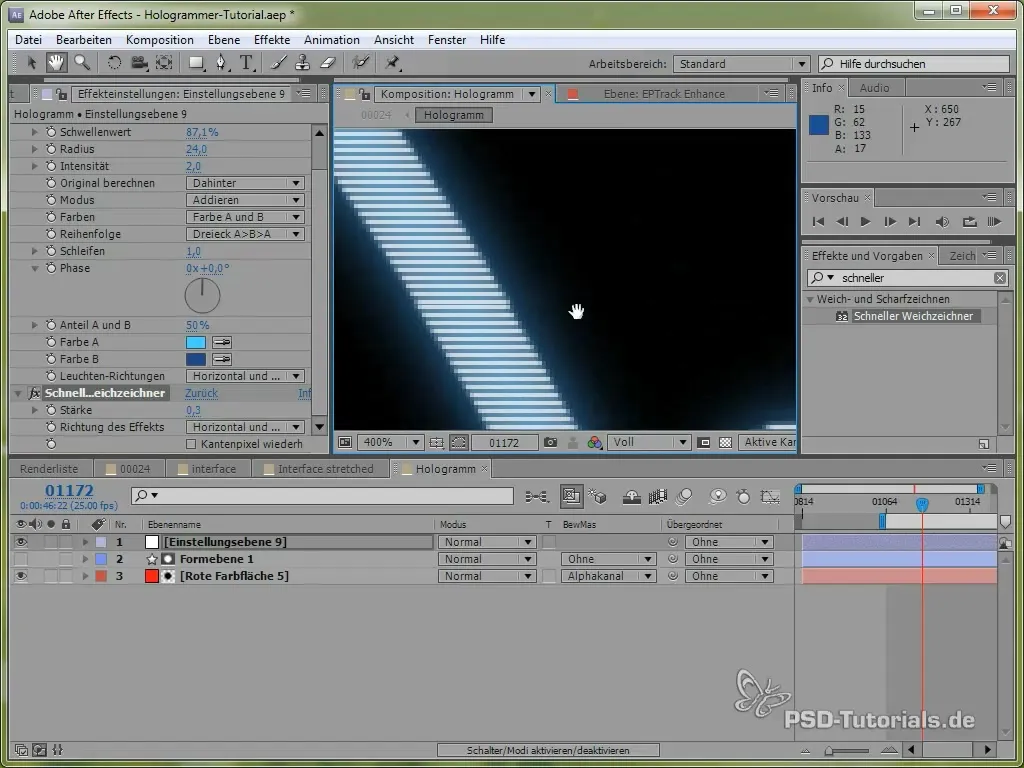
To make the holograms appear even more realistic, you can use effects like "Light Glow" that give the entire image a holographic sheen. Combine this effect with a scanline effect to add more depth to the overall appearance.
The final step is adding adjustments that enhance the holographic effect. Use color adjustments to add a blue filter and experiment with the intensity and size of the noise to refine the holographic appearance.
Summary - 2.5D Tracking with EPTrack: Creating Holograms
This guide has shown you how to utilize effective 2.5D tracking in conjunction with EPTrack to create impressive holographic effects. With the right techniques, you can animate objects in perspective correctly and optimize their placement in a 3D space.
Frequently Asked Questions
How do I add an effect that brightens the screen?You can create a new adjustment layer and work with curves to optimize the glow of the display.
What is EPTrack?EPTrack is a tool that enables tracking movements across multiple dimensions, ideal for 2.5D tracking and animations.
How can I make my holograms look more realistic?You can add color effects and noise parameters to enhance a holographic effect that adds more depth to the entire effect.
