If you've always dreamed of creating your own avatar in an impressive video, you're in the right place. This comprehensive guide will take you through the process step by step, including the techniques of face tracking and creative adjustments to achieve an impressive result. Let's get started and unleash the magic of face tracking!
Key Insights
- Using face tracking in After Effects for precise facial adjustments.
- Creating an engaging avatar effect through creative color changes.
- Applying the Liquify filter to alter facial features.
- Effective use of masks to adjust specific areas.
Step-by-Step Guide
Step 1: Preparations in After Effects
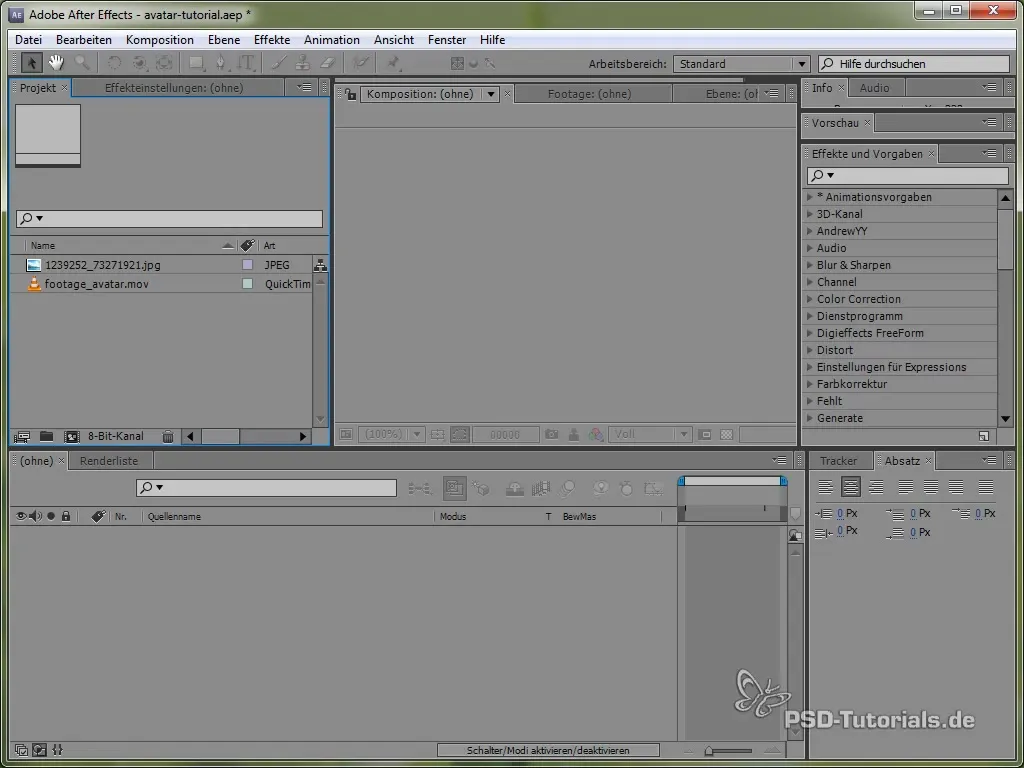
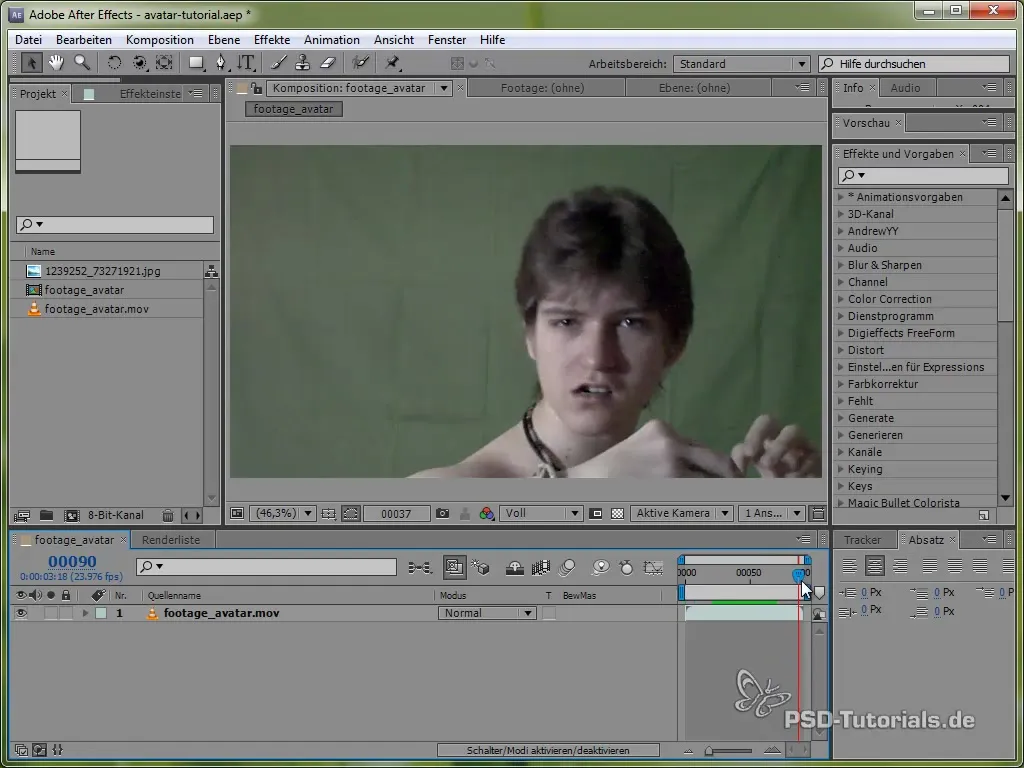
First, open After Effects and import the footage of your face that you want to turn into an avatar. Ensure that the lighting is as natural as possible so that the tracking works well. Once you have loaded your video, create a new composition.
Step 2: Tracking the Face with Mocha
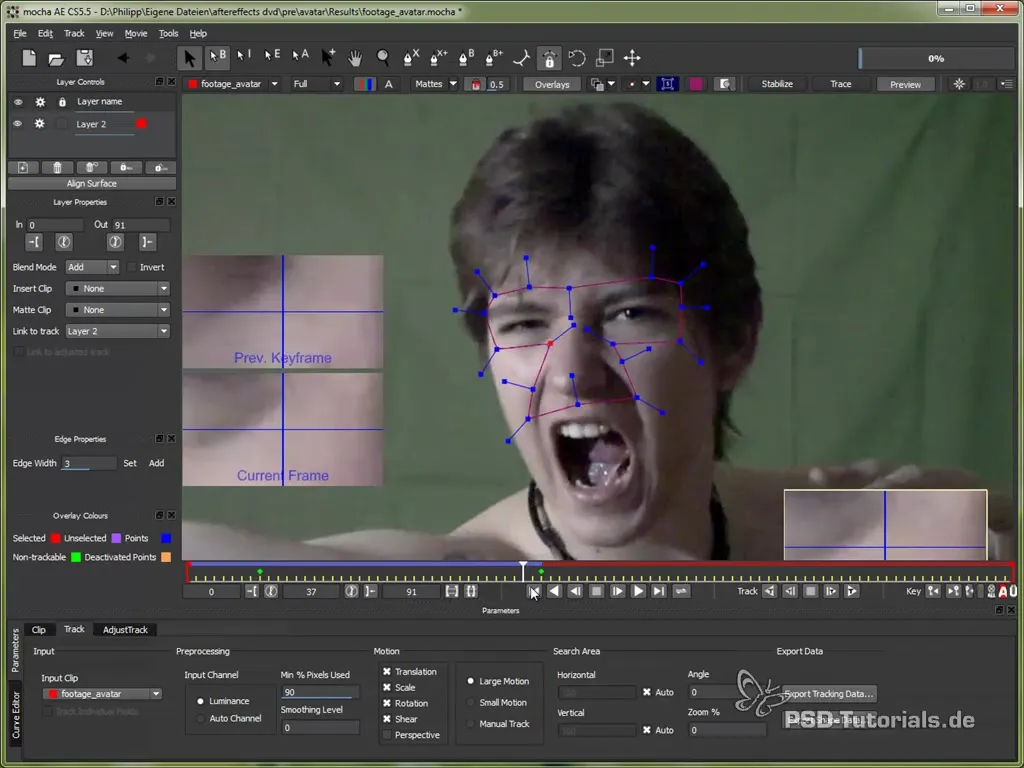
Now it's time to use Mocha to track your face. Import your footage into Mocha and select a stable area of your face that has little movement, such as the nose and eyes. Tracking is done by creating a mask for these areas. Make sure not to select moving parts like the mouth.
Step 3: Backtracking the Face
Once you have created the mask, use the backtracking function to track the movements of your face over time. Check regularly that the tracking remains good even with motion blur. It is important that the tracking remains consistent in the light and dark areas of your face, such as the reflection in the eyes.
Step 4: Export the Tracking Data
Once you are satisfied with the tracking, export the tracking data. You can select "Corner Pin" tracking and copy the data to the clipboard. Return to After Effects and paste the data there.
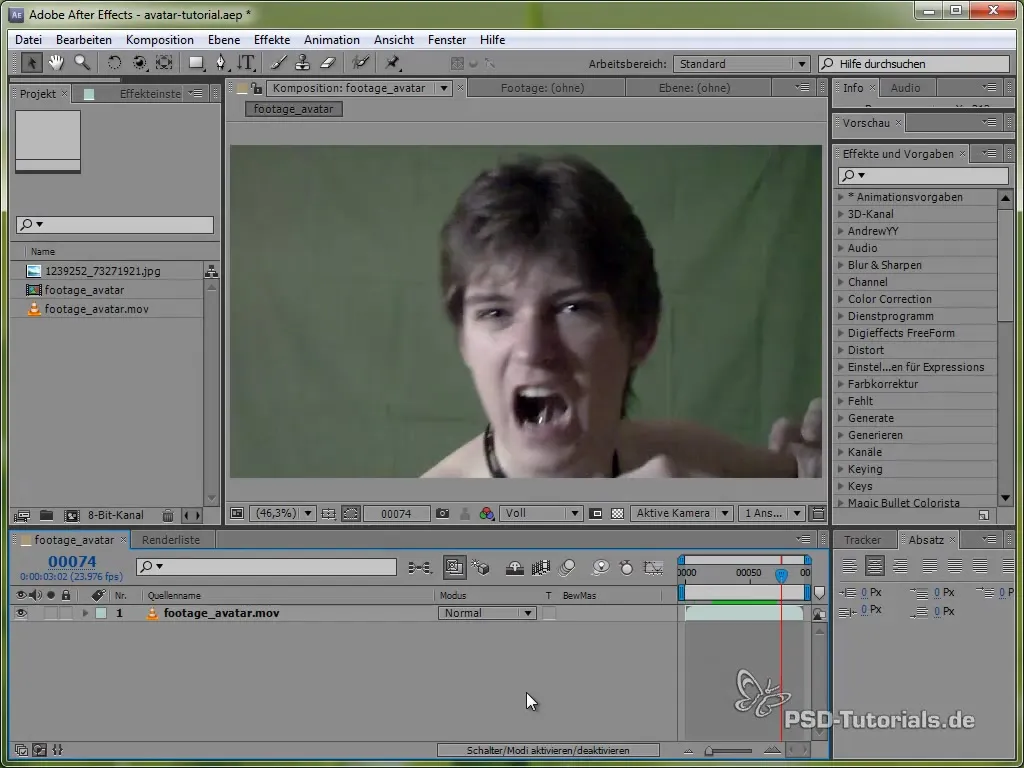
Step 5: Create a Color Solid
In After Effects, create a new color solid that sits above your footage. This color solid will cover your face. To fit it to your face, use the "CC Power Pin" effect to position the color solid.
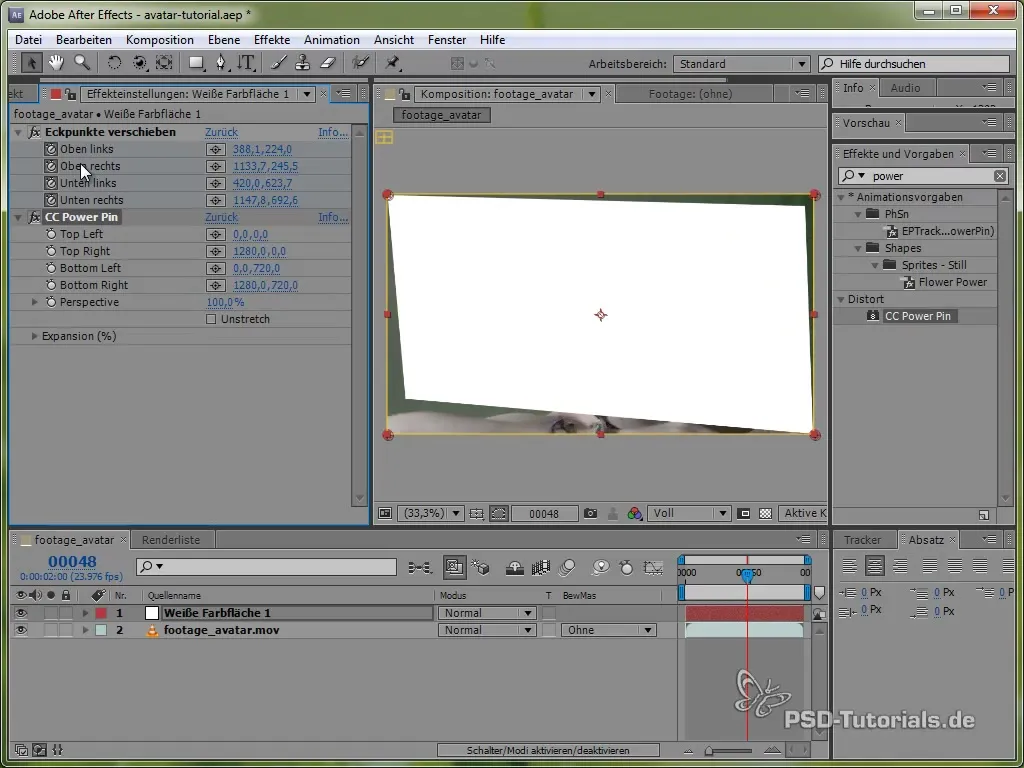
Step 6: Stabilizing the Face
This will adapt the footage to the movement of the face. You can now transform the color solid to fit over the entire face while keeping the rest of the image intact. Activate the "Stretch" option to adjust the face to the composition size.
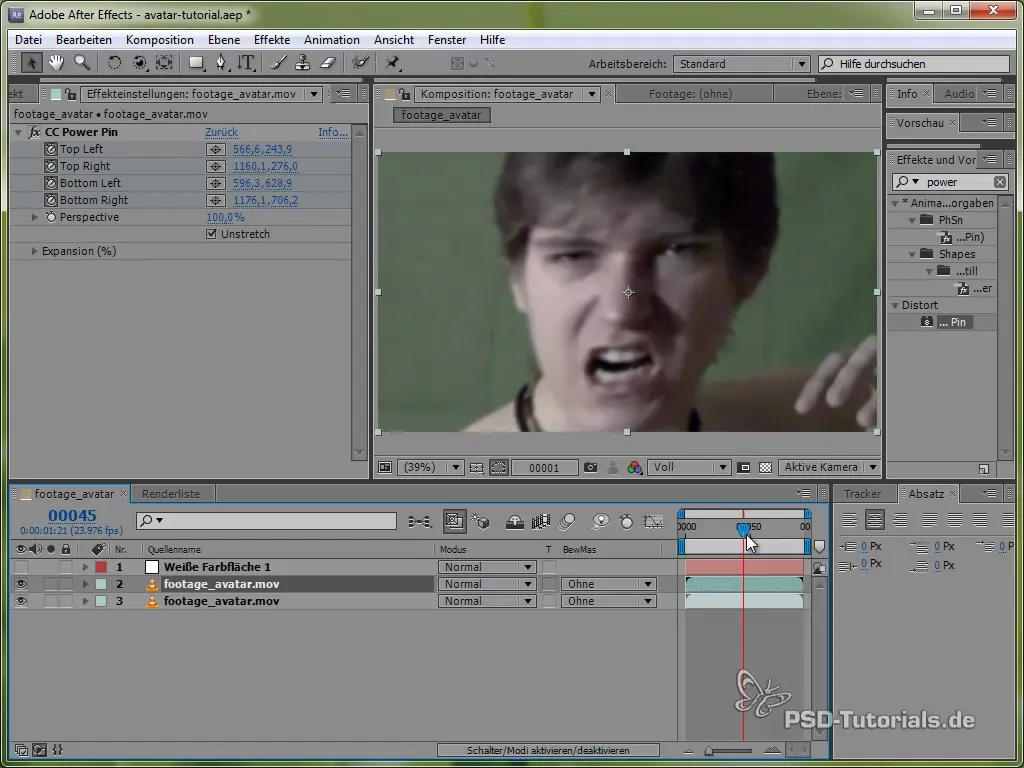
Step 7: Liquifying the Face
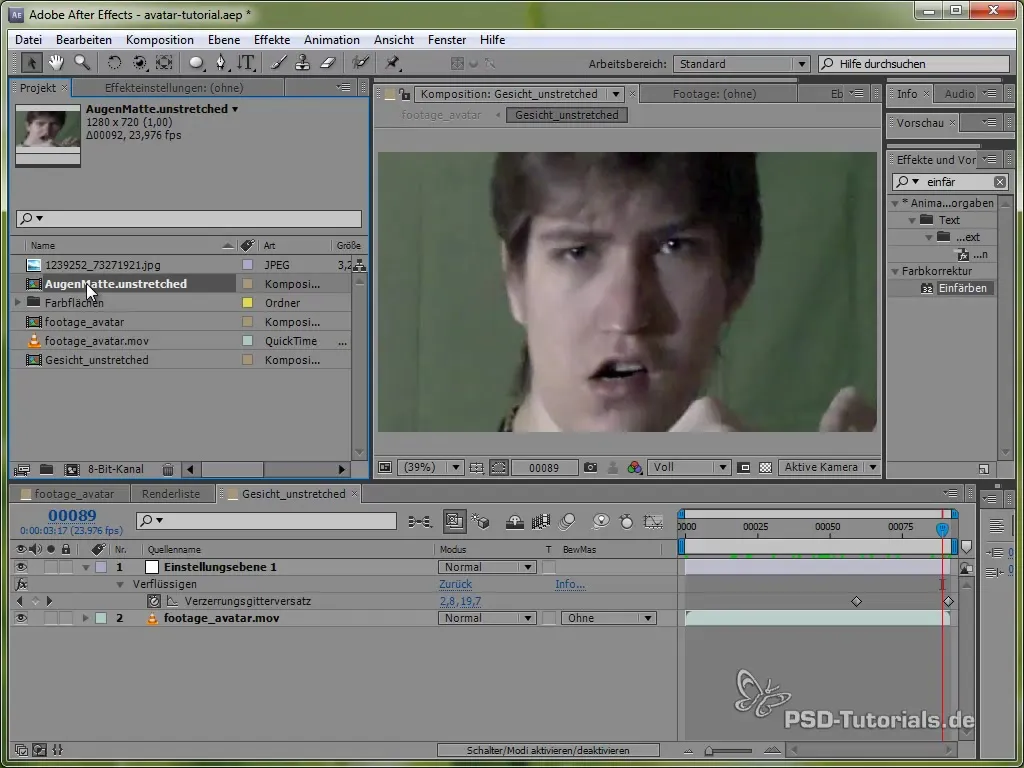
To adjust specific features of your face, such as a flat nose, apply the Liquify filter. Add an adjustment layer and select the Liquify filter. You can now shape and adjust your nose until it has the desired avatar look.
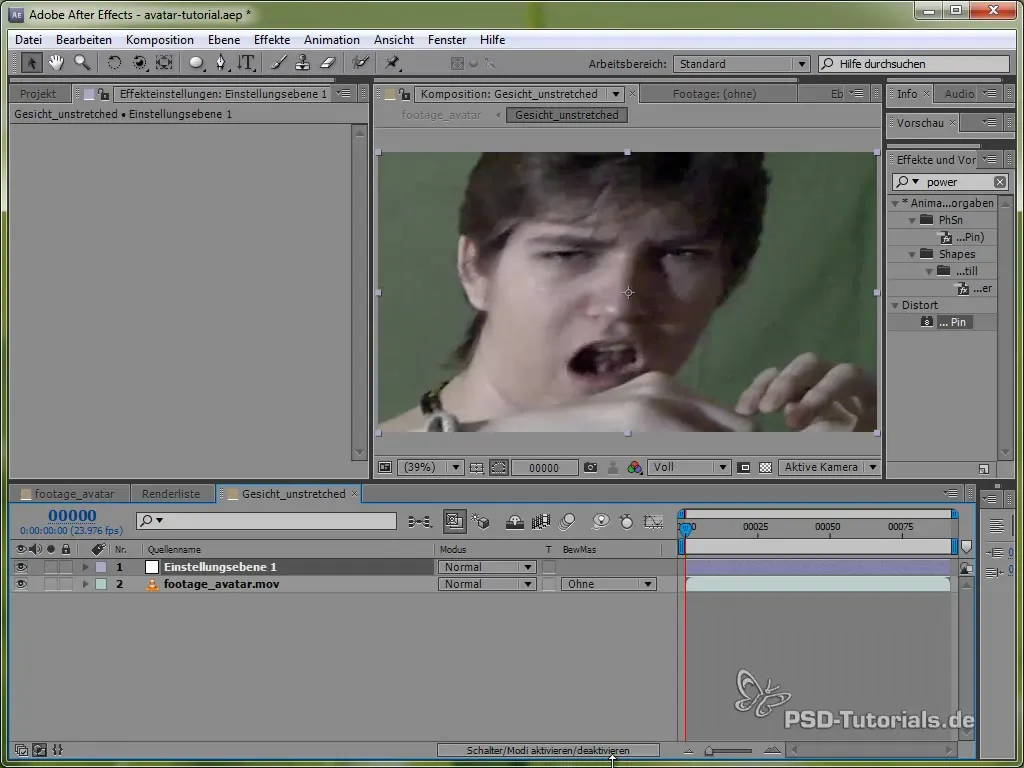
Step 8: Adding Body Color
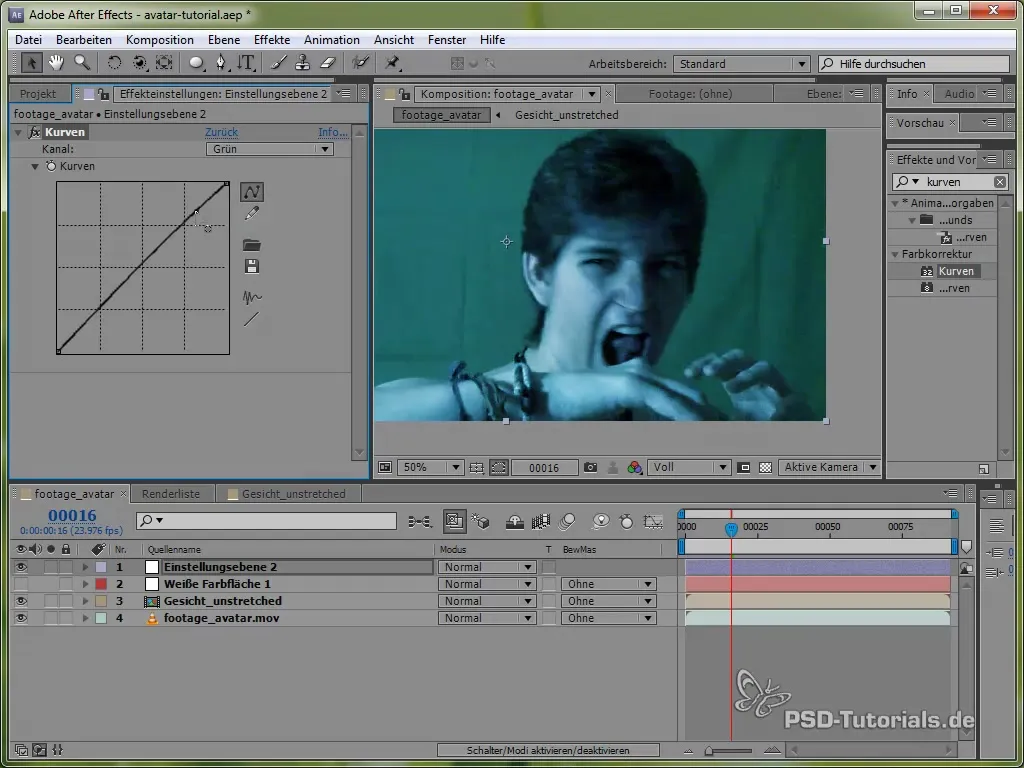
New adjustment layers help you change the overall coloring of your body. By applying curves, you can adjust the colors of your body to enhance the avatar feel. Lowering the red levels and increasing the blue levels gives you the desired effect.
Step 9: Changing Eye Color
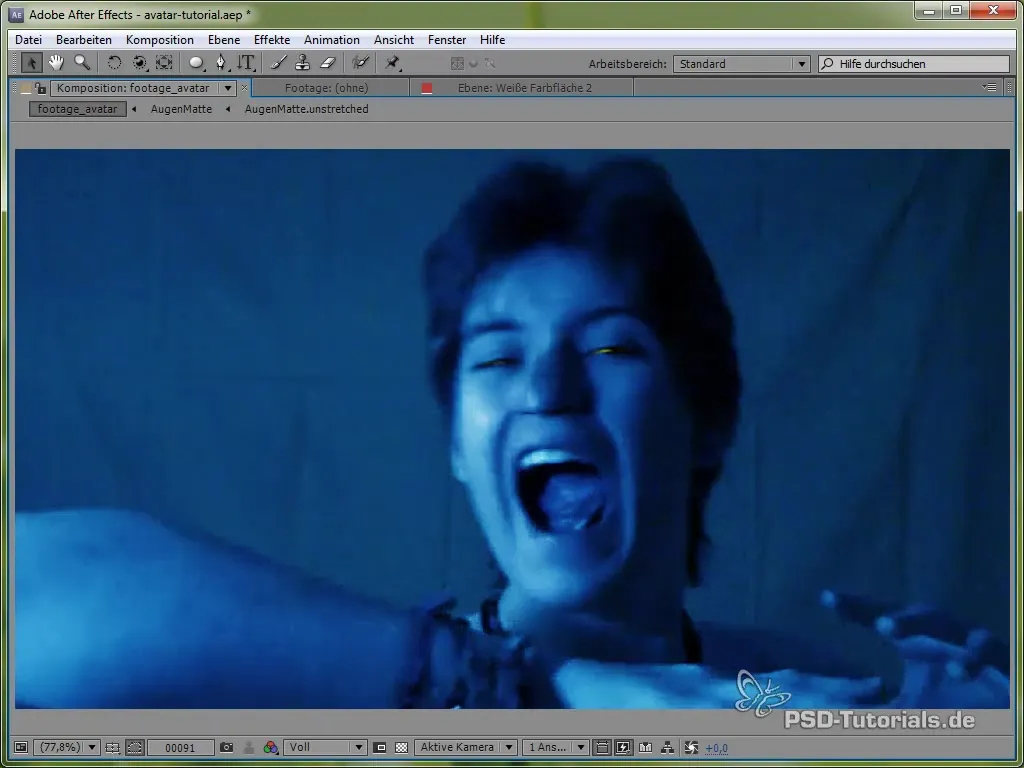
To adjust the eye color, create a new mask and select the eye areas you want to colorize. Use adjustment layers again to bring the eyes to the desired color. It’s important that the masks track the movement of the eyes, so make sure to adjust them as you go from frame to frame.
Step 10: Finalizing and Fine-Tuning
Now that everything is adjusted, review the entire footage to ensure everything looks good. Make sure that all movements are smooth, and the features of your face are accurately represented. Make final adjustments for the best visual effect.
Summary – Guide to Creating an Avatar Effect with Face Tracking in After Effects
In this guide, you learned how to create an impressive avatar effect in After Effects through the application of face tracking and creative color adjustments. Use these techniques to let your creativity run wild and generate your own unique avatars.
Frequently Asked Questions
How important is the right lighting for face tracking?Good lighting significantly improves tracking quality.
Can I also change other facial features?Yes, the Liquify filter allows for various adjustments.
How do I export the tracking data from Mocha?Use the "Copy to Clipboard" function in the export dialog.
Are the settings for the Liquify filter adjustable?Yes, you can adjust the intensity and type of changes.
How can I ensure that the mask fits well?Check the mask frame-by-frame and adjust it as needed.
