Animation is a central element in After Effects, allowing you to create creative and dynamic content. In this guide, you will learn how to create and control animations using keyframes. We will explore different types of interpolation that add more depth and dynamism to your animations. Let’s dive right in and start with the basics!
Main insights
- Keyframes are essential for animation in After Effects.
- You can animate various parameters such as position, scale, and opacity.
- The keyframe interpolation has a significant impact on the animation flow.
- The RAM preview allows for real-time display of your animation.
Step-by-step Guide
1. Understanding the interface and layers
First, you should familiarize yourself with the After Effects interface. The layer you are working with contains various areas, including transformation options. To learn more about the layers, expand the layer and take a look at the underlying options.
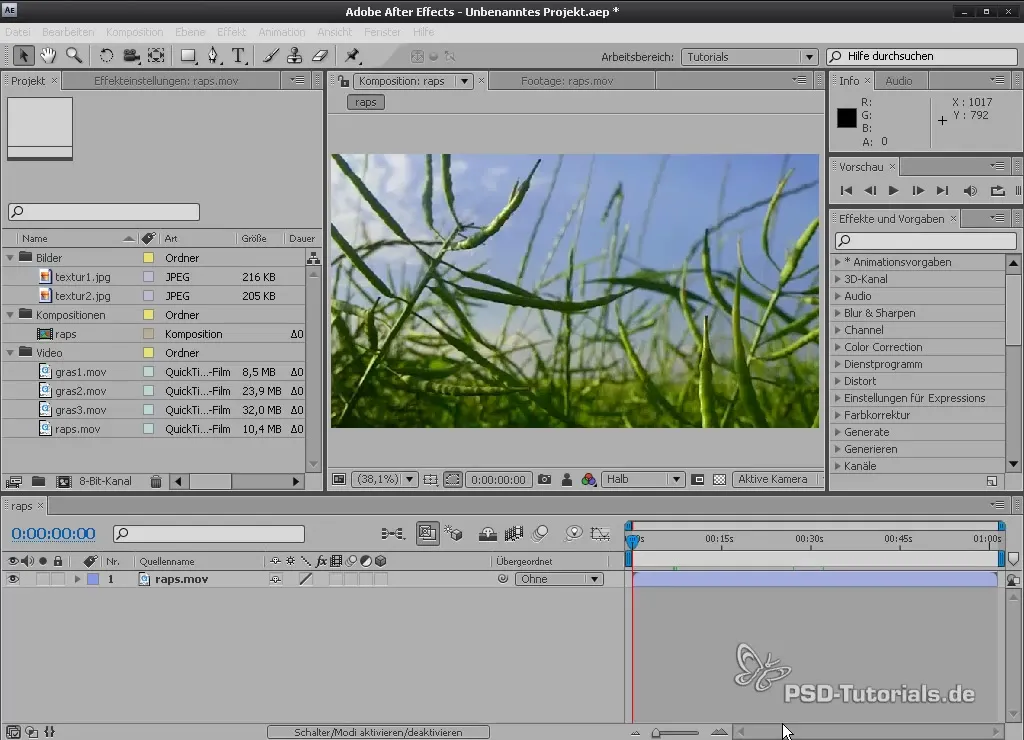
Here you will find important parameters such as anchor point, position, scale, rotation, and opacity. All these elements are important for the animation of your video.
2. Setting keyframes
To start your animation, you need to set keyframes. Begin at the stopwatch for the specific parameter you want to animate. The first keyframe is set at "time zero". You can move the time cursor frame-by-frame through the video to set the next keyframe.
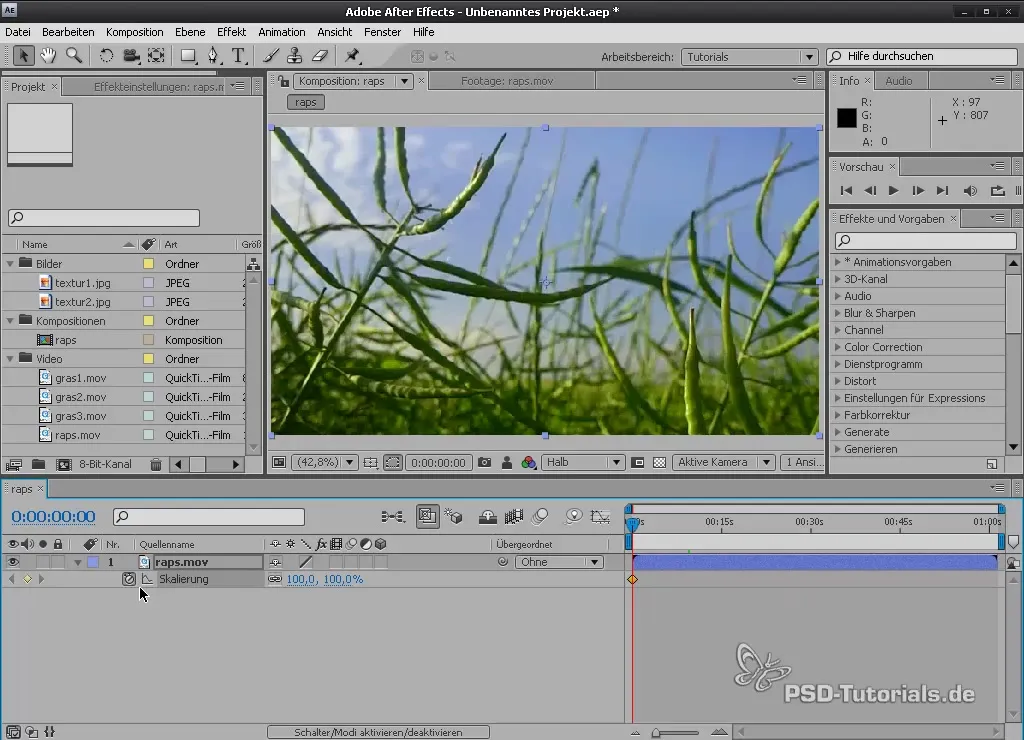
For example, if you want to animate the scale, first set a keyframe at 100% and then move a few frames forward to set another keyframe with a different scale value.
3. Creating the animation
After setting the initial keyframes, you can adjust the values. Set the scale to 20% at 5 seconds and then return to the original value at 8 seconds. This will give you a simple animation where the object shrinks and then grows again.
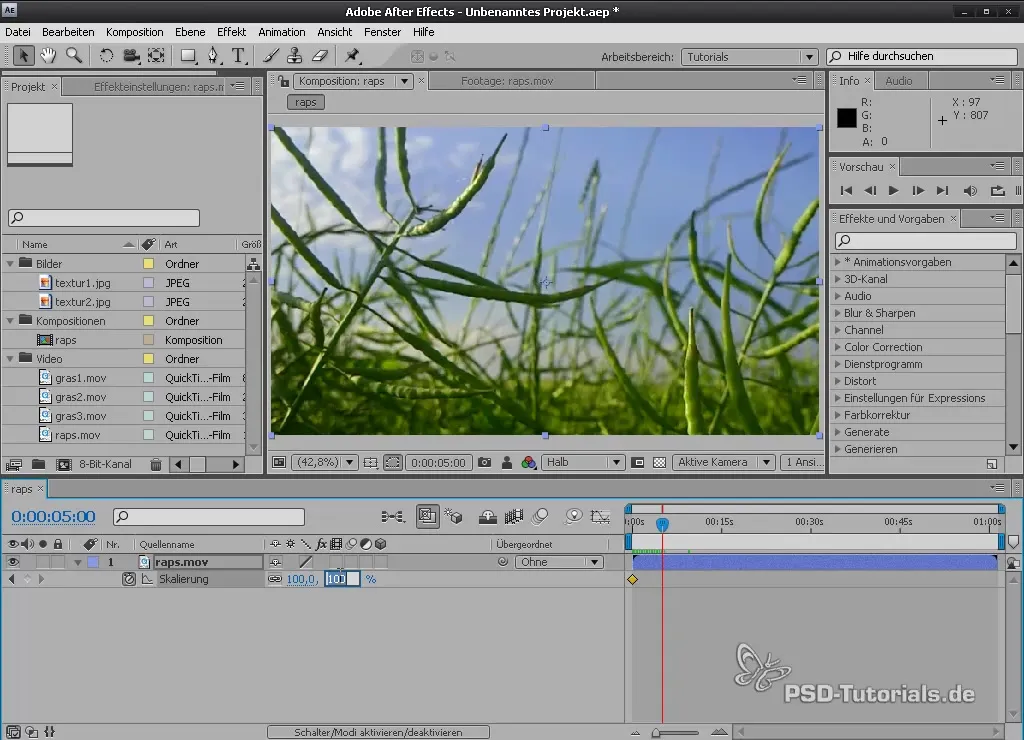
Using this technique, you can create simple yet effective animations. To preview your animation, press the spacebar to create a RAM preview.
4. Enable real-time display
If you notice after previewing that the animation is not playing in real-time, it’s important to know that After Effects needs to render the content in RAM first. Press the numpad Zero key to start a RAM preview and play the animation more smoothly.
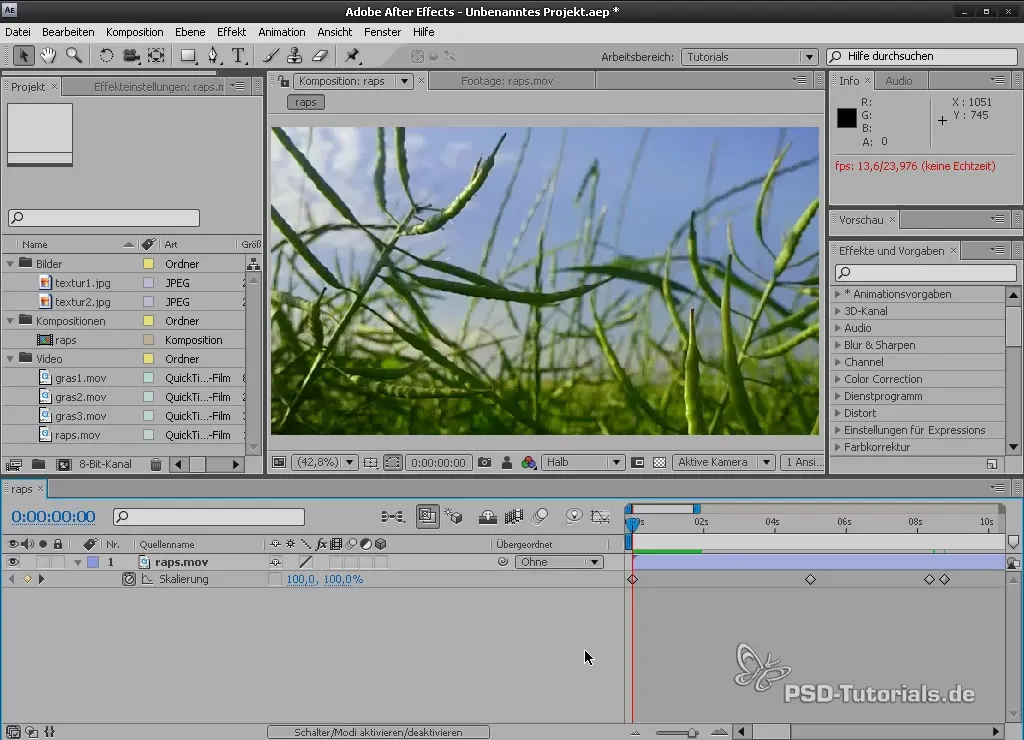
Fine-tune your animation until it looks good, then play it back to check the result.
5. Adjusting keyframe interpolation
A crucial feature of keyframes is the ability to change their interpolation. Right-click on one or more keyframes and choose "Keyframe Assistant" > "Easy Ease". This will ensure a smoother transition of the animation.
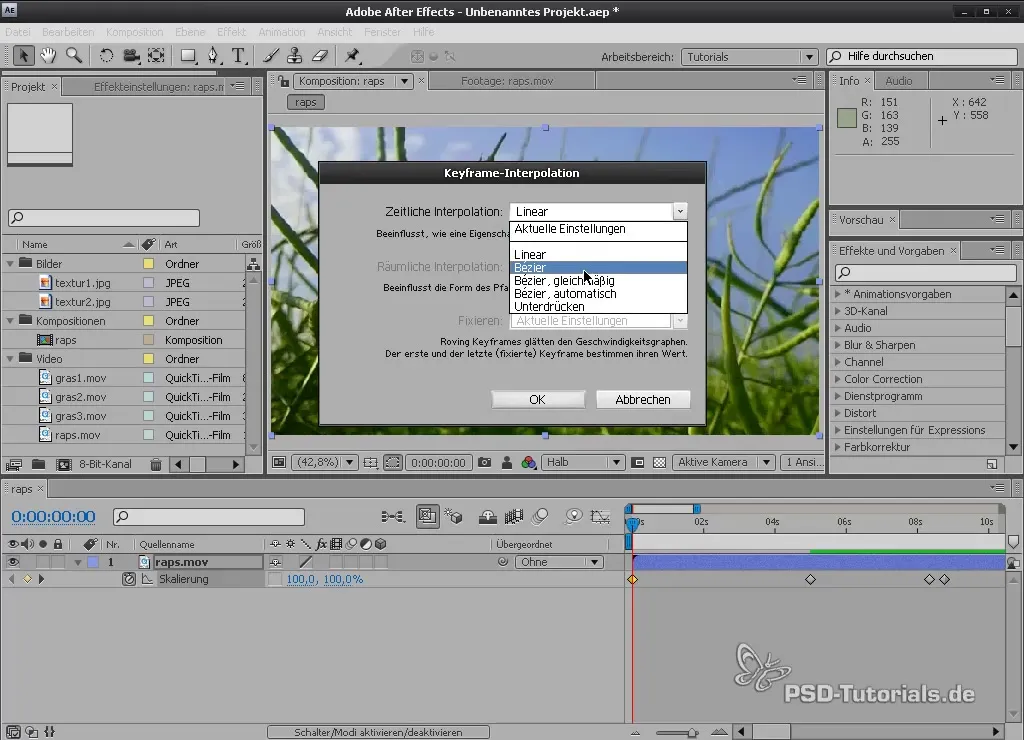
When you play the animation again now, you will notice a significant difference. The movement starts slower and then accelerates, giving the animation more dynamism.
6. Adjusting curves
To create even more sophisticated movements, you can use the graph editor. Click on the respective graph and adjust the curves to your liking. This allows you to further control the speed.
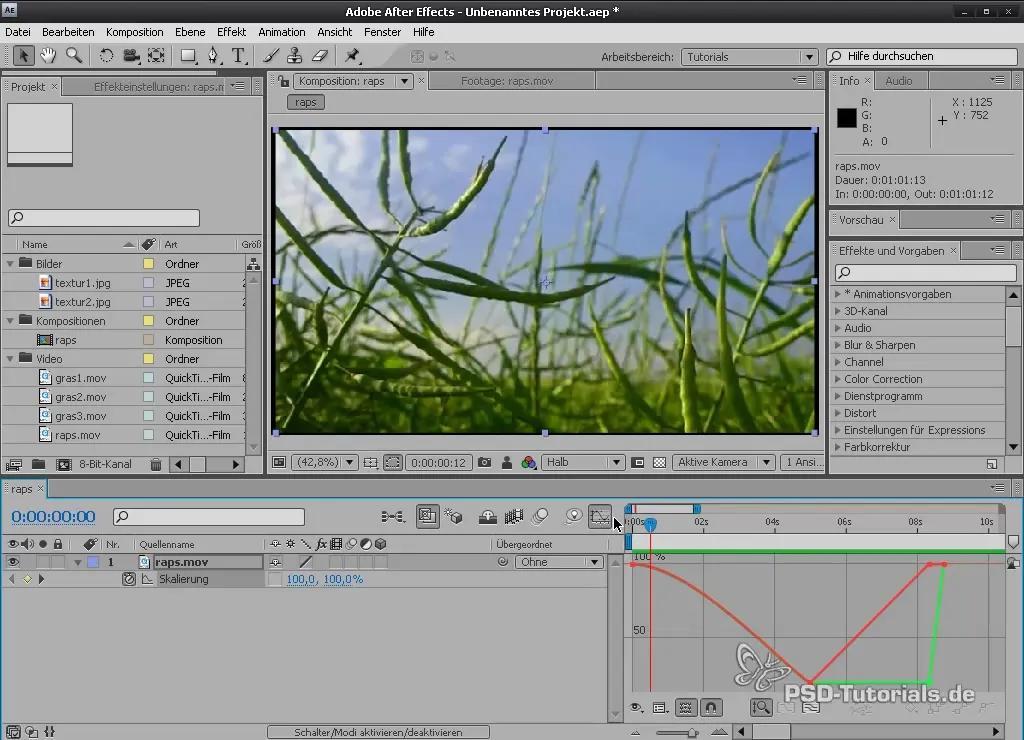
By straightening the curves, you create smooth transitions that make your animation livelier.
7. Animating multiple parameters simultaneously
To create even more interesting animations, you can animate multiple parameters simultaneously. First, delete all previous keyframes by clicking on the stopwatch again, and then set both position and scale.
Select a point where both parameters should run through an animation simultaneously to achieve a dynamic effect.
8. Fine-tuning the animation
Once you have set all keyframes, it’s time to optimize the transitions. Use the control key (Shift) and click on a keyframe to give it an Easy Ease interpolation, thereby ensuring smooth transitions.
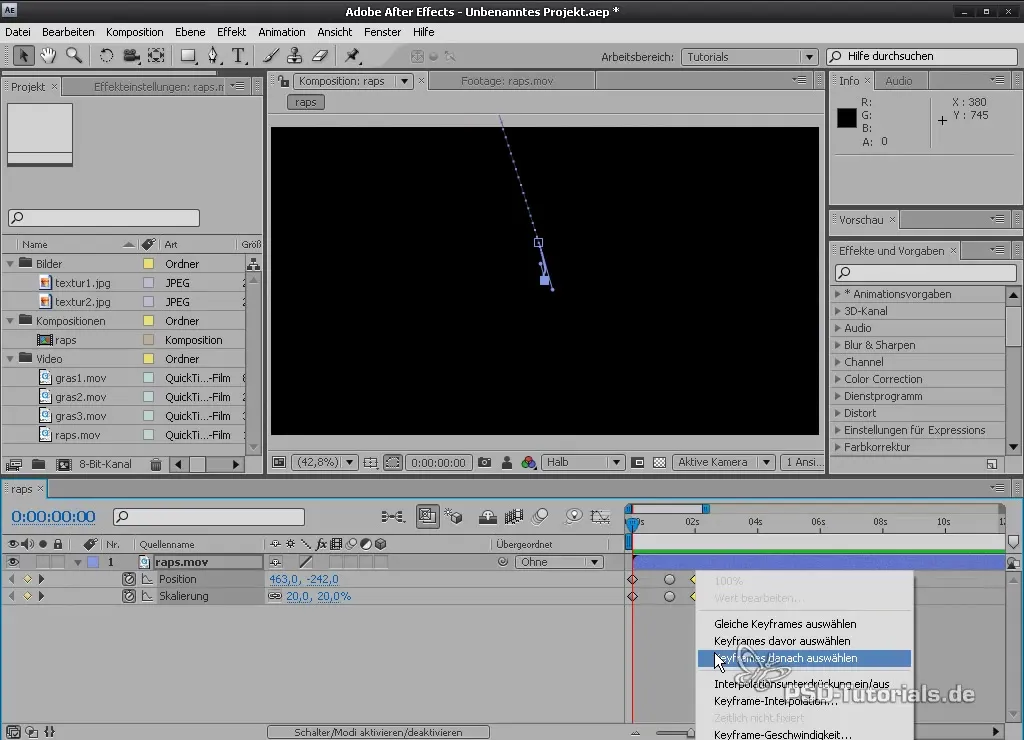
These adjustments will make your animation more appealing and professional.
9. Adding opacity
Another aspect of animation is opacity. Set the opacity to zero and animate it to 100% over your keyframes to create a transition from invisible to visible.
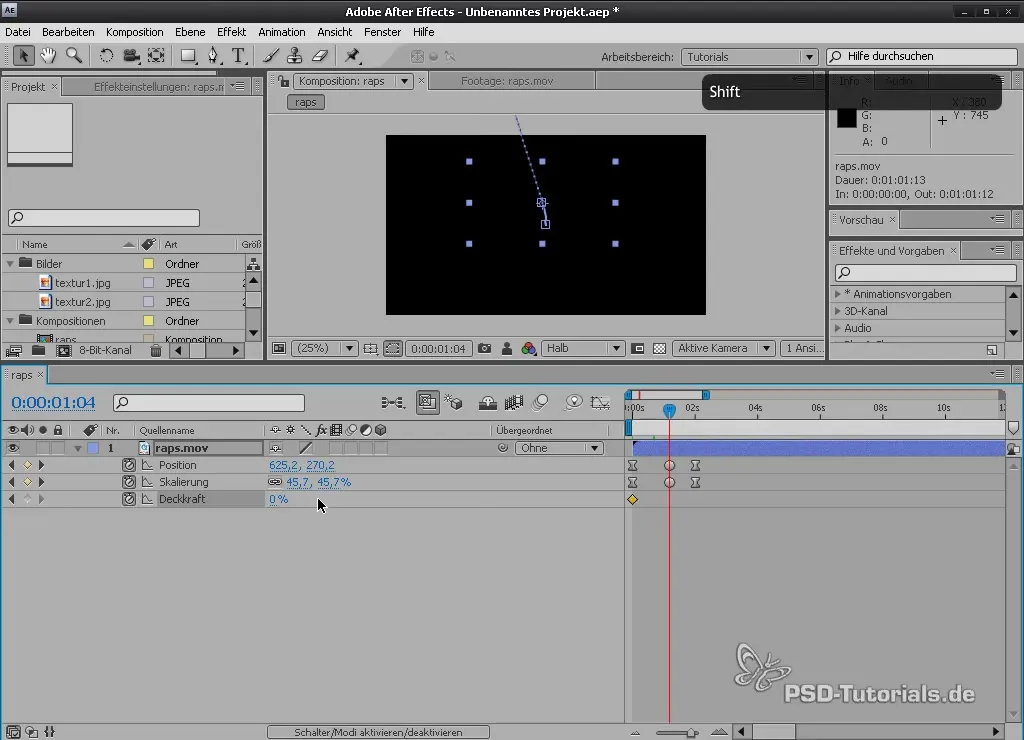
This technique is very effective and can give your animation the necessary level of finesse.
Summary – Fundamentals of Animation in After Effects: Effectively Using Keyframes
In this guide, you have learned the basic concepts of animation in After Effects. You now know how to set keyframes, adjust their interpolation, and animate multiple parameters simultaneously. These skills are essential for creating engaging animations.
Frequently Asked Questions
What are keyframes in After Effects?Keyframes are markers that indicate the start and end of an animation and set values for various properties like position, scale, rotation, and opacity.
How can I change the interpolation of keyframes?You can change the interpolation of keyframes by right-clicking on a keyframe and selecting "Keyframe Assistant" > "Easy Ease".
What is a RAM preview?A RAM preview is a feature in After Effects that allows you to view your animations in real-time before you render them permanently.
How do I set multiple parameters simultaneously in After Effects?You can set multiple parameters by holding down the Shift key and activating the respective stopwatches for anchor point, scale, and position.


