When working with visual effects (VFX), the replacement of a screen is a common technique that requires both creative and technical skills. In this tutorial, you will learn how to create a realistic hologram using After Effects and Mocha. I will show you how to apply advanced tracking to perform a screen replacement and position a foreground object precisely.
Main findings
- Replacing a screen requires precise tracking and the use of reference points.
- Working with Mocha has advantages over the standard tool in After Effects, especially with complex movements (e.g., hands covering the screen).
- The Custom Effect "EP Track" improves traceability and enables 2.5D views for generating hologram effects.
Step-by-Step Guide
Step 1: Preparing the Footage
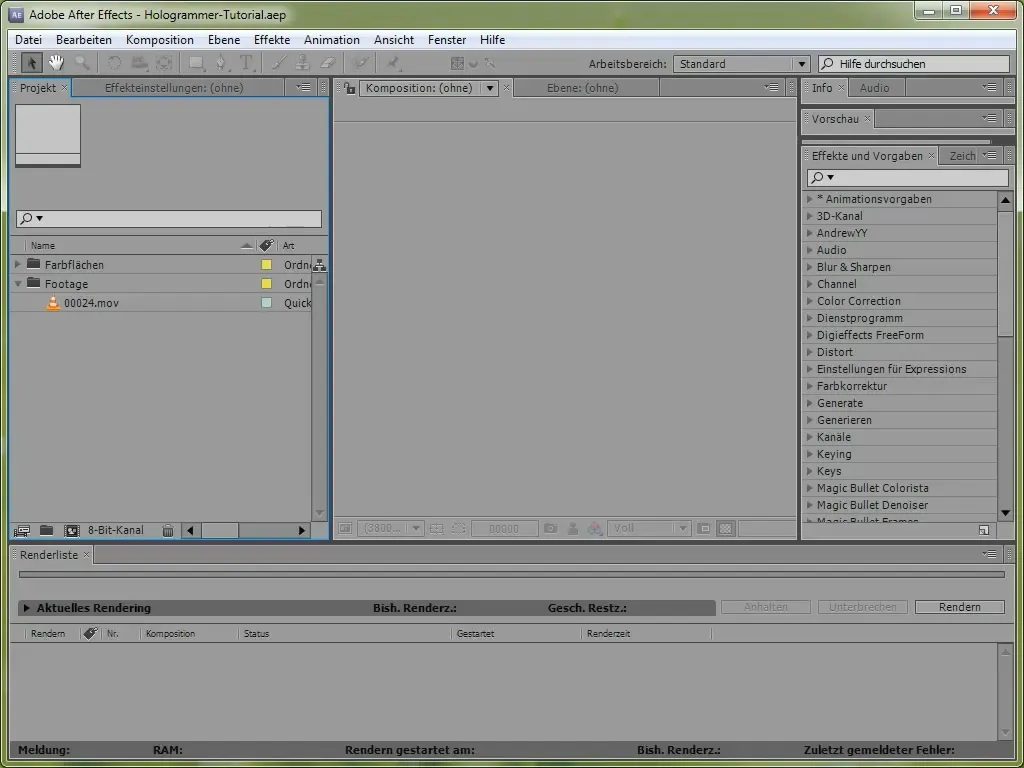
Before you start tracking, you need to import and prepare your footage in After Effects. Load your video in After Effects and create a new composition.
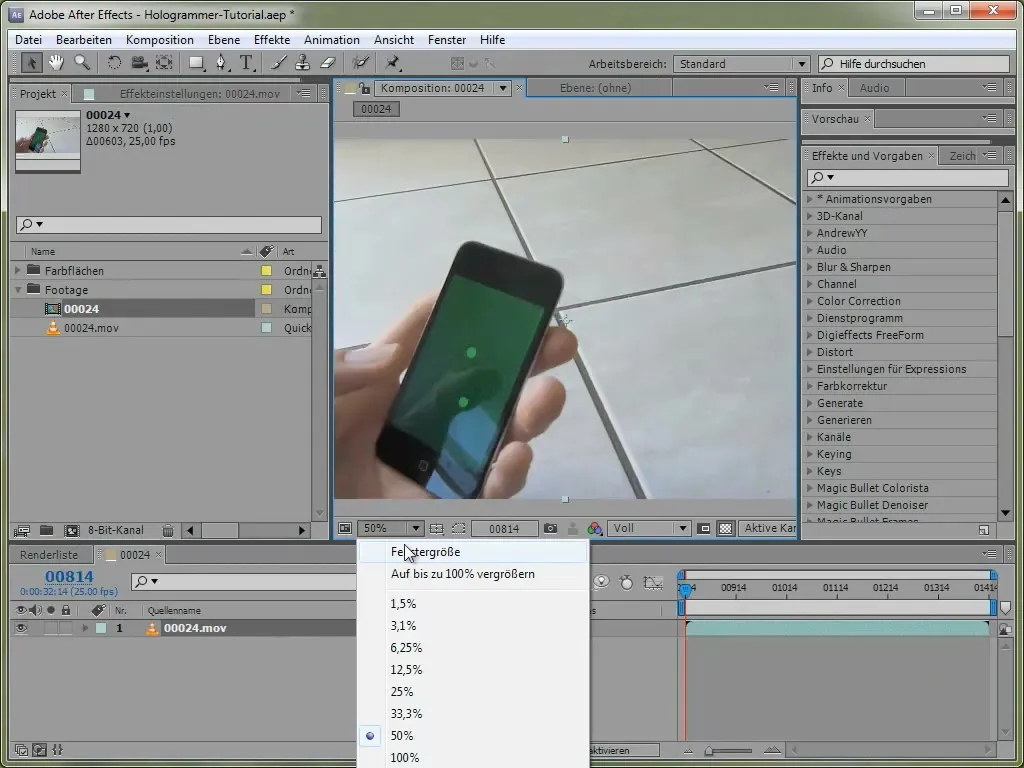
Here you can already see that we worked with a green screen plate. This is the starting point for our screen replacement. Make sure you only capture the part of the screen that you want to replace.
Step 2: Creating the Green Screen Plate
Create a green screen plate for the iPod that you will use in the shot. You will need a front view of the iPhone interface screenshot that you can load and design in Photoshop.
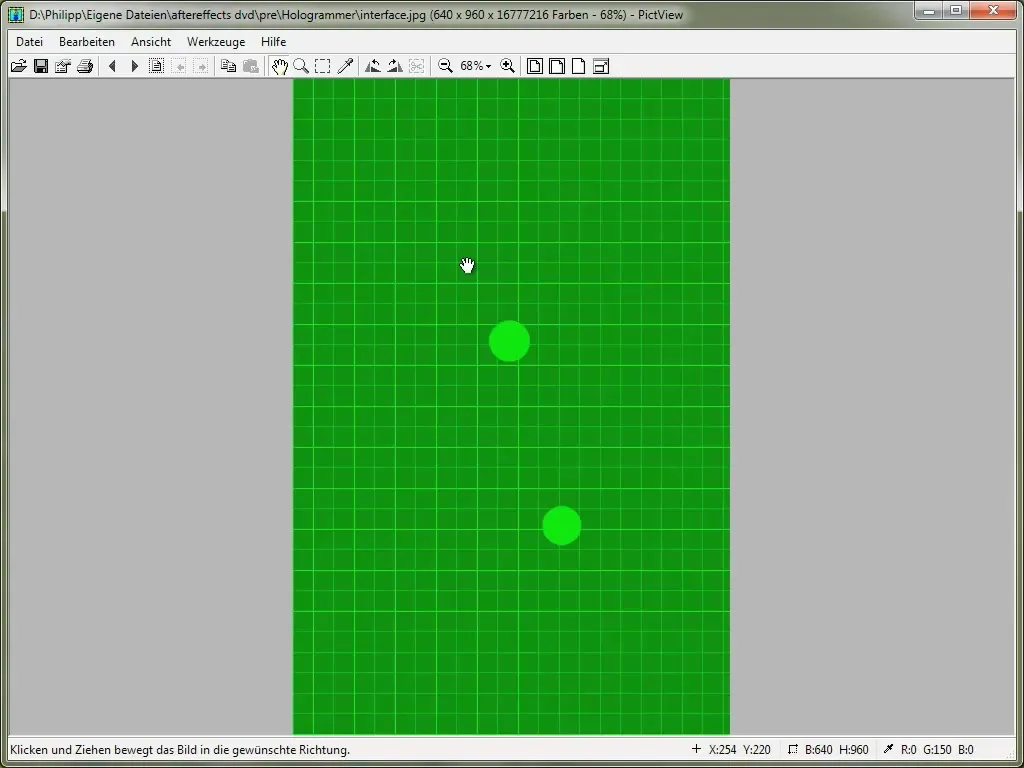
Your plate should contain a clear view of the screen as well as various markers that will help you with tracking.
Step 3: Tracking the Screen in Mocha
Start Mocha and load your footage. It is important to understand that Mocha helps you track objects that are covered by other objects, like in this case by your thumb.
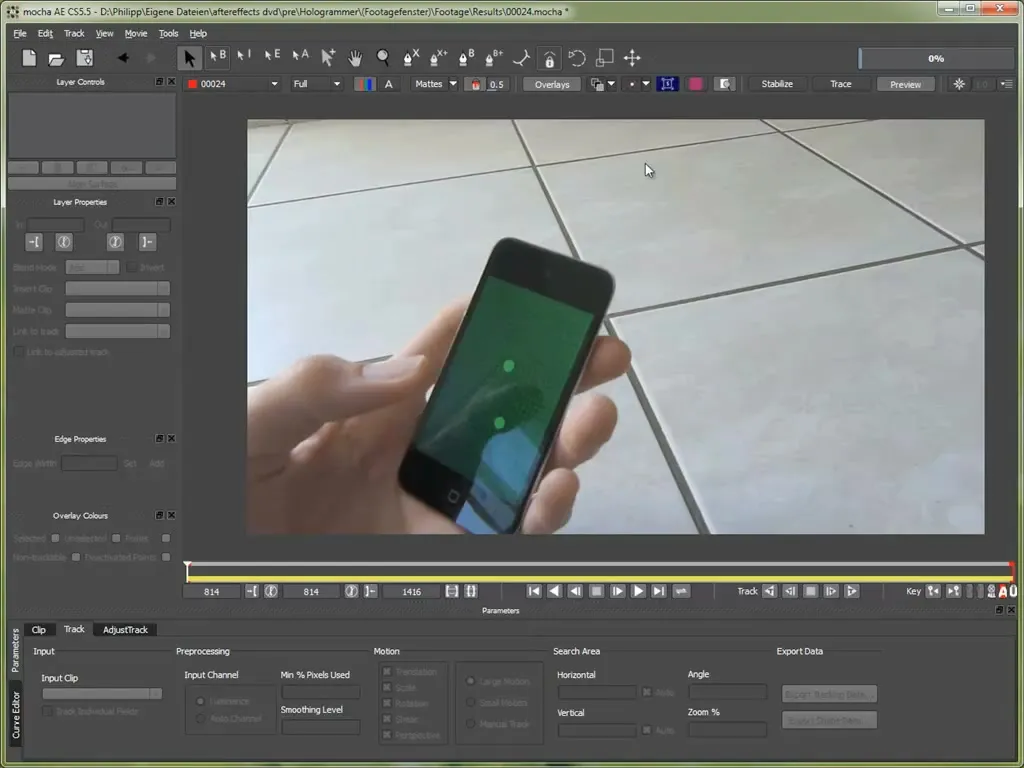
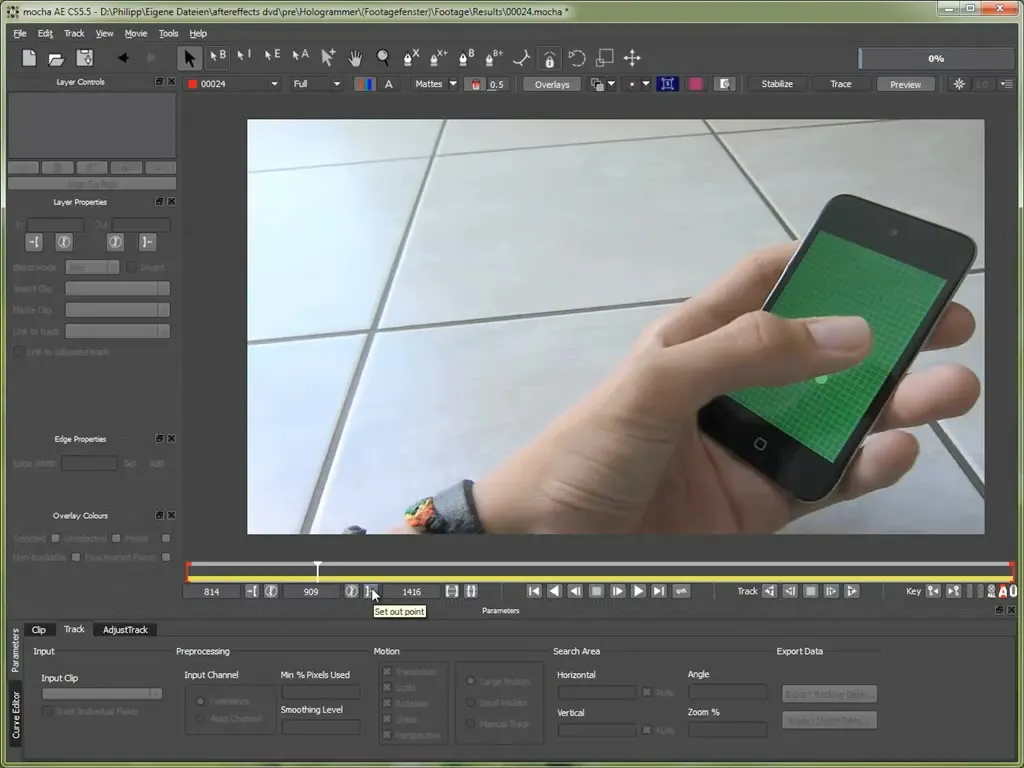
You should now set up the workspace in Mocha to capture only the visible area of the screen. Set the outpoint to the place where the screen is no longer visible.
Step 4: Ignoring the Thumb While Tracking
To help Mocha track the screen's movement correctly, add a new X Spline that covers the thumb. This allows Mocha to ignore that area during motion.
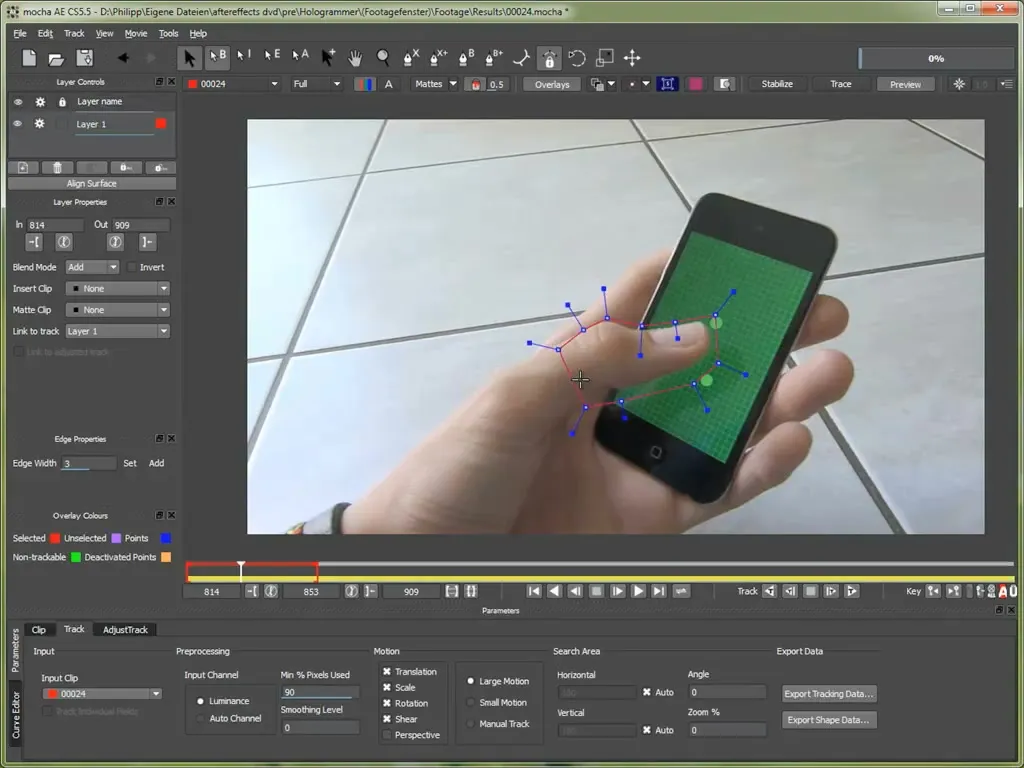
Continue tracking until you are sure that Mocha has successfully ignored the thumb.
Step 5: Creating the Tracking Masks
Now that you have successfully tracked the layer with the thumb, create a new track mask for the background object. This will use the data to create the new screen.
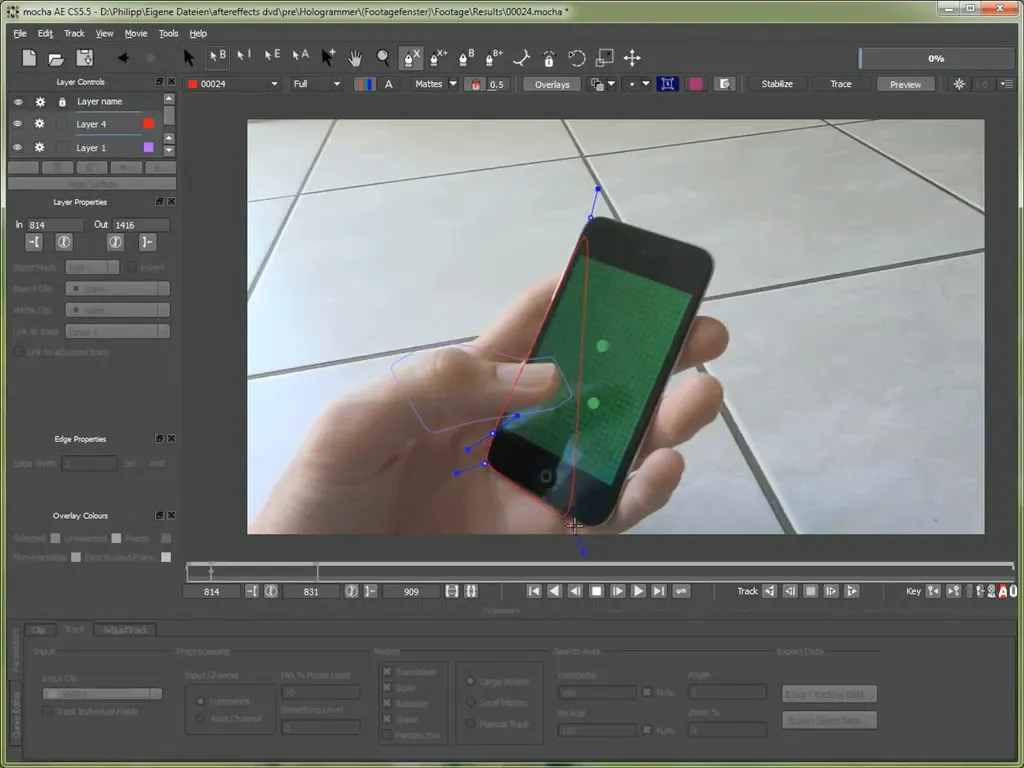
Note that the layers are arranged correctly to avoid confusion during tracking.
Step 6: Exporting Tracking Data
Export the tracking data from Mocha and use the “Cornerpin only” option. Paste the data into a new color layer you created in After Effects.
Make sure the tracking data is correctly placed on the color layer to ensure an accurate screen replacement.
Step 7: Applying the EP Track Effect
Now that you have the tracking data, apply my Custom Effect EP Track. This effect is designed to assist you with precise tracking.
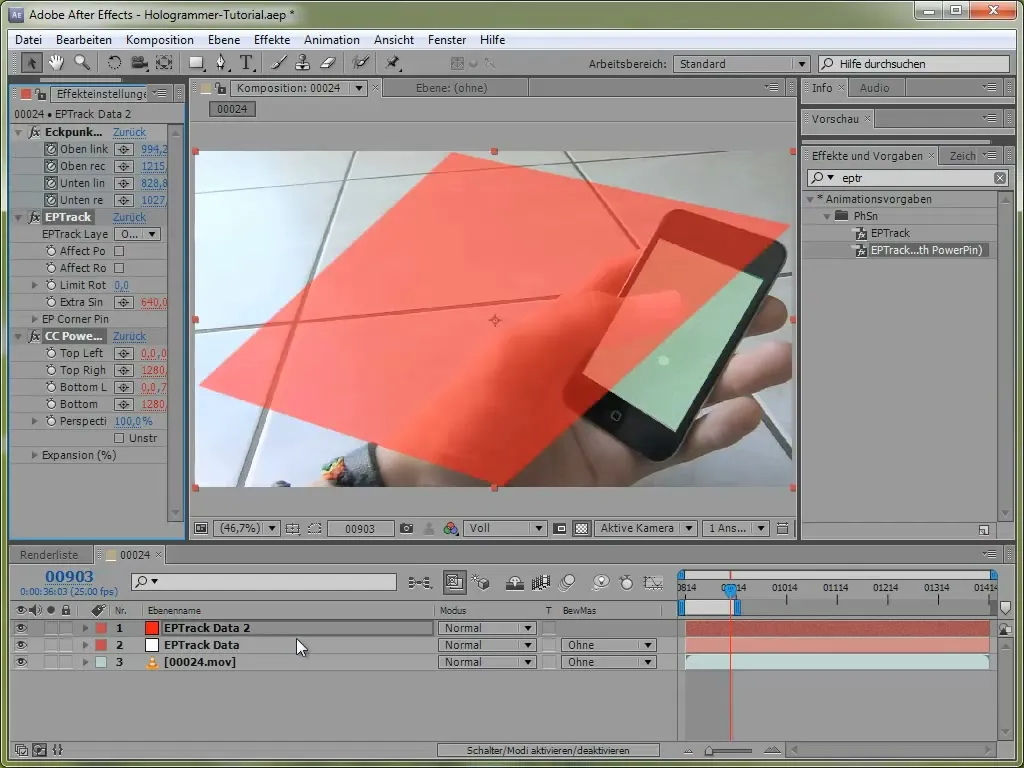
Manually position the corners of the color layer so that they align perfectly with the desired screen.
Step 8: Fine-tuning the Keyframes
Go through the keyframes and ensure that the motion is perceived as equal during tracking. This fine-tuning is essential for a realistic look.
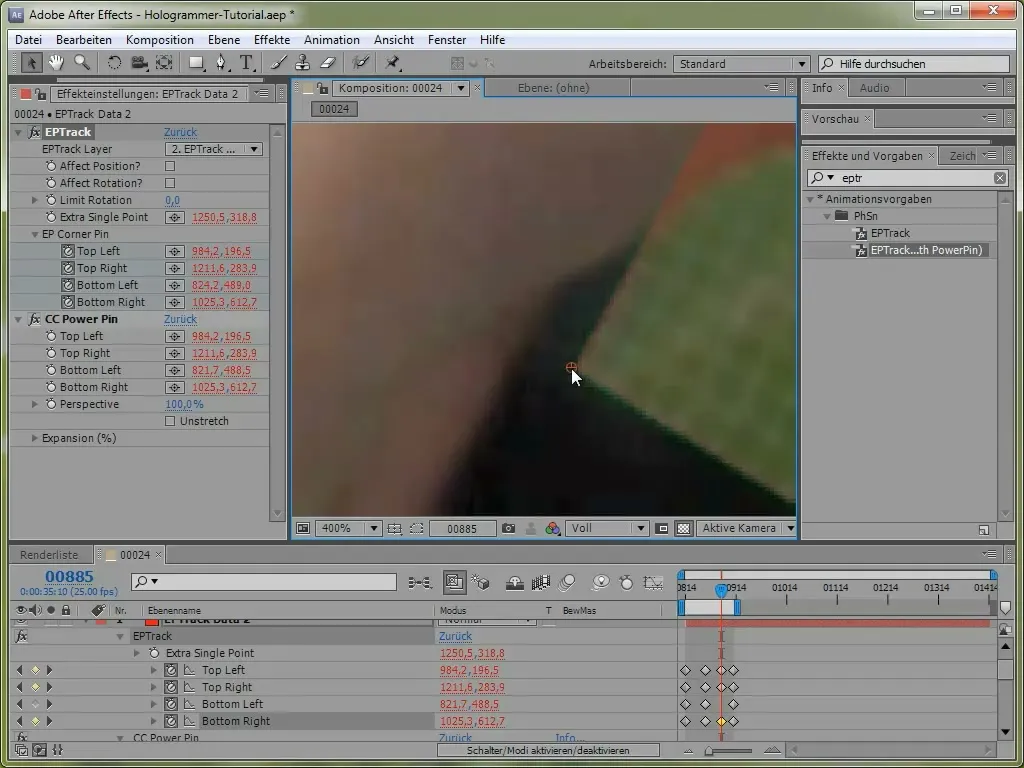
Activate a RAM preview to ensure everything runs smoothly and you can see the desired scene in real time.
Step 9: Adding the Gray Area for Better Integration
To create a credible design, add a gray area around the screen. This will support the visual separation between the screen and the rest of the scene.
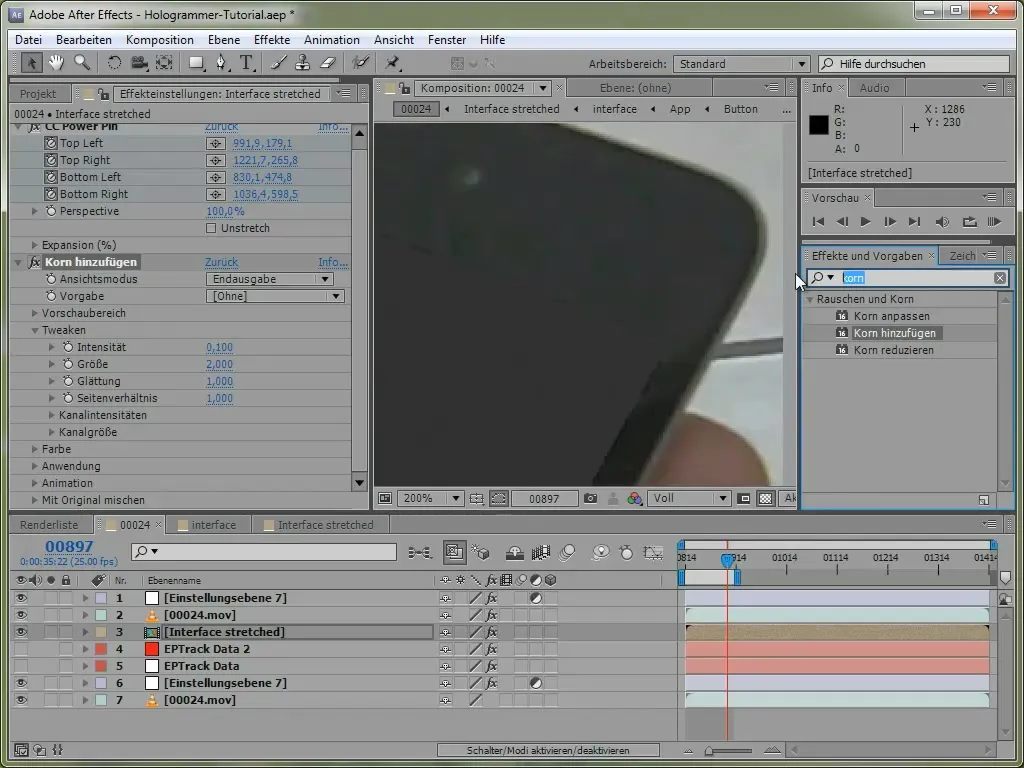
Step 10: Final Render Settings
Before you render the final video, review all effects and animations. Ensure that the thumb is realistically positioned in front of the screen and all animations are well synchronized.
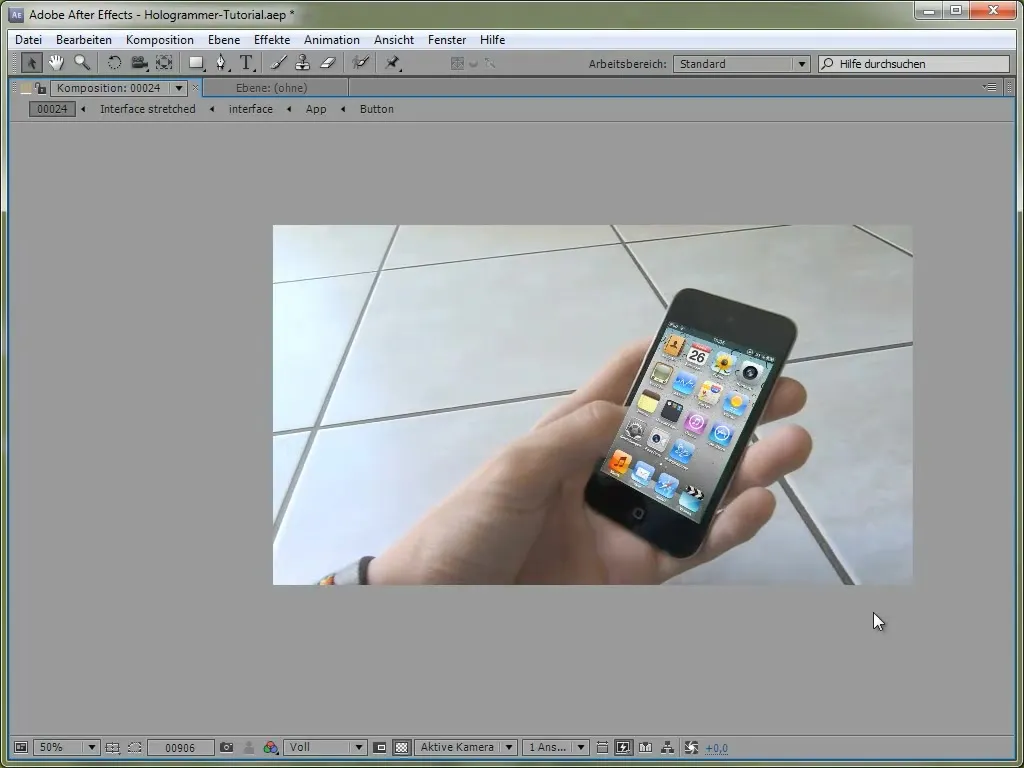
If everything is consistent, do a final RAM Preview and ensure everything works correctly.
Summary – Hologram Effects in After Effects
In this guide, you have learned how to replace a screen with characteristic hologram effects in After Effects. Starting from importing the footage, through precise tracking, to adding the desired effects, you now have the tools to create impressive visual effects.
Frequently Asked Questions
How do I create a green screen plate?Use a green material or build a suitable scene to facilitate tracking.
Why should I use Mocha for tracking?Mocha allows for more precise tracking, especially with covered objects or complicated movements.
What is the EP Track Effect?It is a custom effect that improves trackability in After Effects and creates realistic hologram effects.
