Do you want to create an exciting video where you sit in a car and feel like you're driving through a dynamic landscape, while in reality, you're sitting in front of a greenscreen? No problem! In this guide, I will show you how to create a convincing green-screen car-effect using simple techniques and a few tricks. Let's get started right away!
Main Insights
- With a greenscreen and the right technique, you can generate realistic background landscapes for your car video.
- Important effects like keylight and color adjustments enhance post-production and make the final product more convincing.
- The reflection of the background in the window can significantly enhance the effect and add depth.
Step-by-Step Guide
Step 1: Recording the Footage
First, you need to make the recording. Sit in your car and make sure the car is stationary while you record the green-screen footage. The windows should be rolled down to avoid reflections that could interfere with compositing. Position the camera so that it focuses on you in the car.
Step 2: Recording the Background
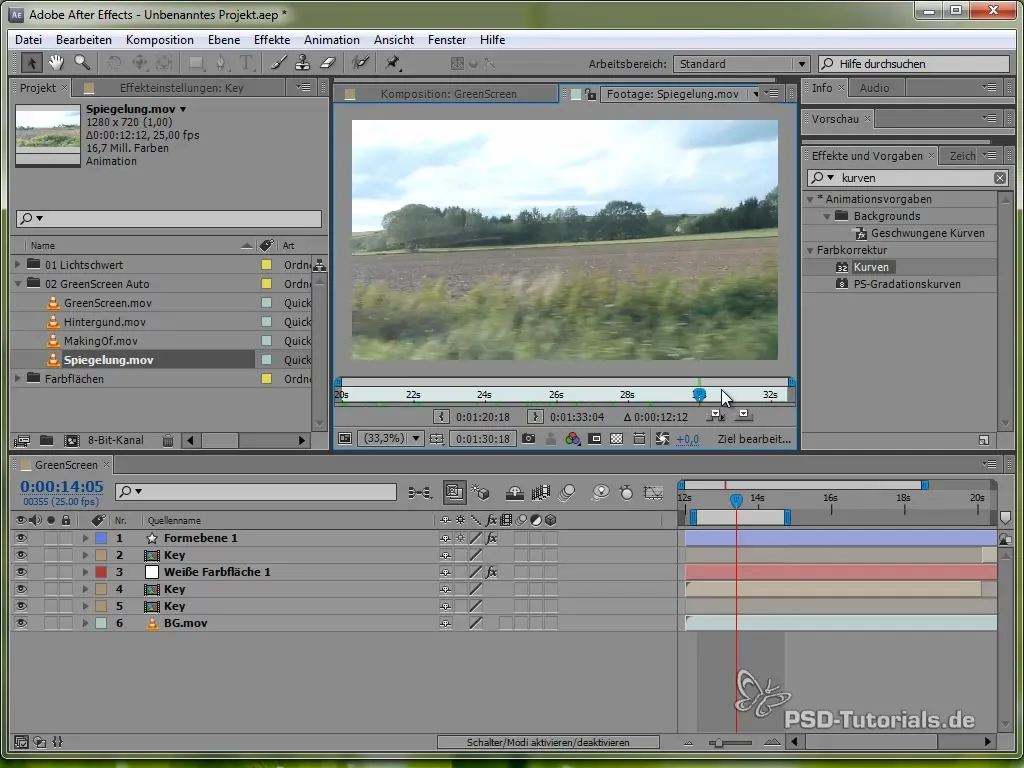
For the background that will later be incorporated into your video, you should make a separate drive. Make sure you are in a secluded place to avoid other cars and license plates. You can create a montage of the background by filming different scenes during your drive.
Step 3: Preparation in the Editing Program
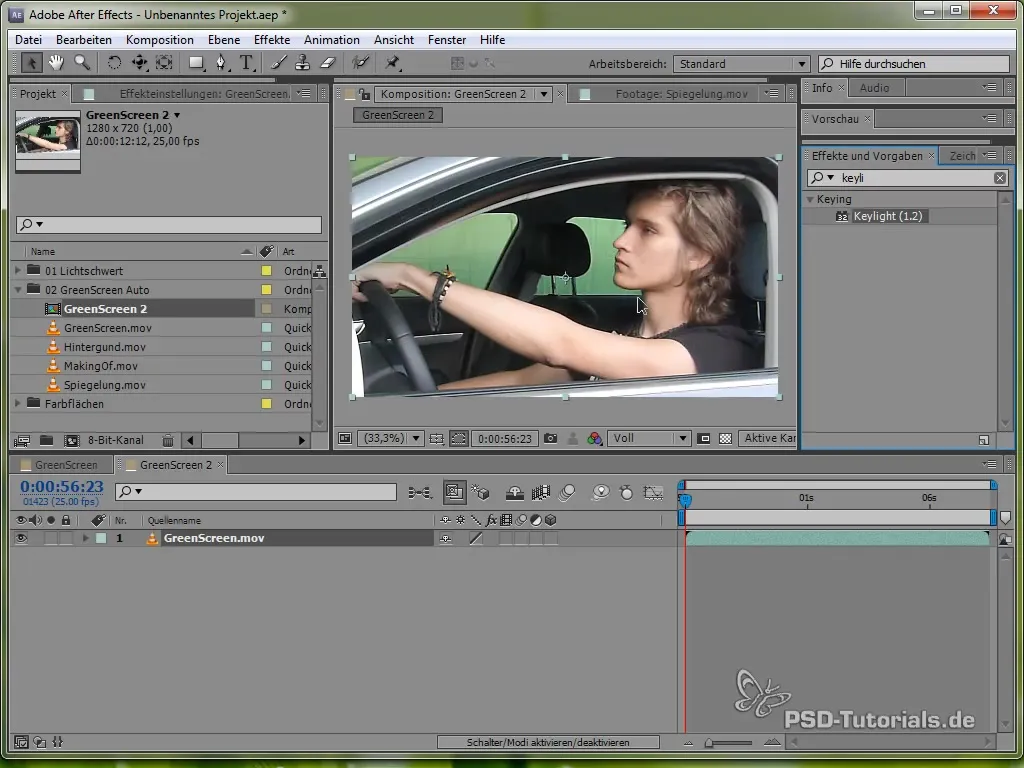
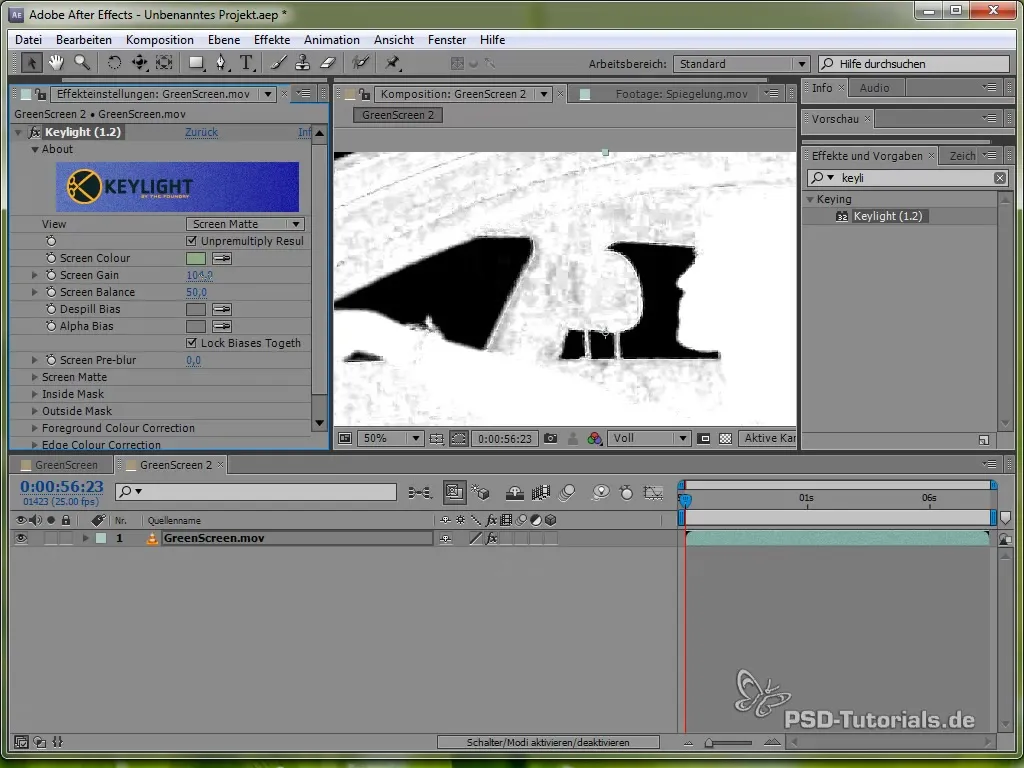
Import your greenscreen footage into your preferred video editing program. Create a new composition, where one of the first things to do is remove the background. Use the Keylight effect to eliminate the green color.
Step 4: Keylight Adjustment
Select the appropriate green color to remove the background. Adjust the Screen Gain to reduce artifacts. It is important that all green areas in the video are removed to achieve a clean result.
Step 5: Inserting the Background
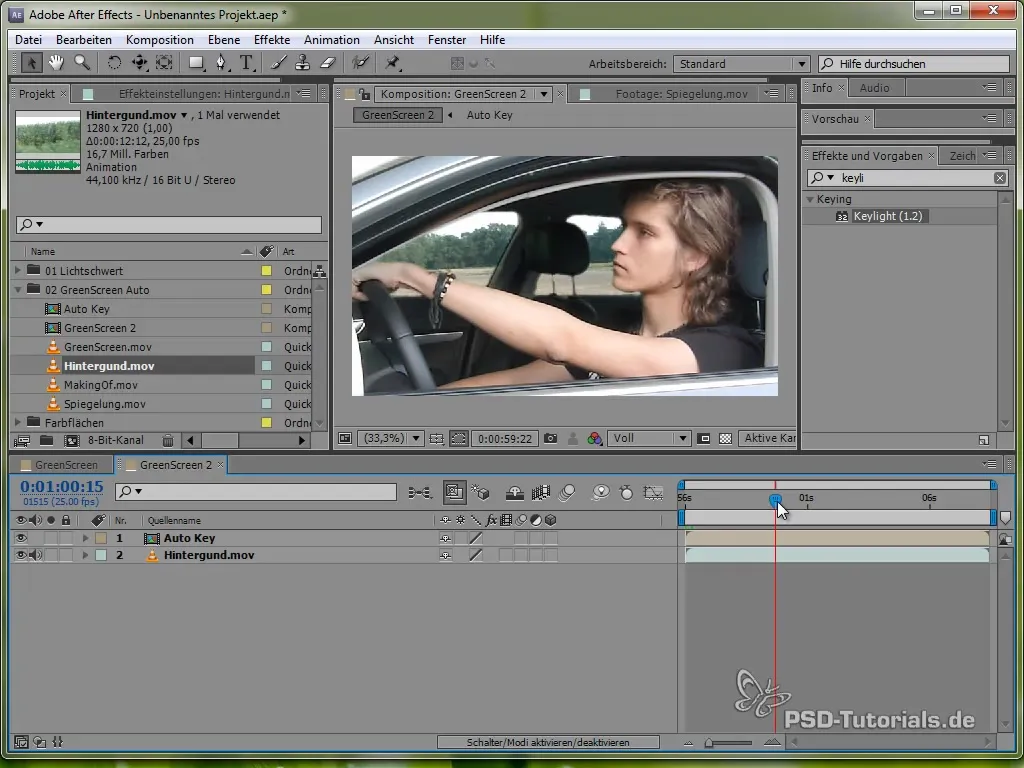
Insert the background that you recorded earlier behind your green-screen footage. Make sure that the perspective and angle look realistic.
Step 6: Adding the Reflection
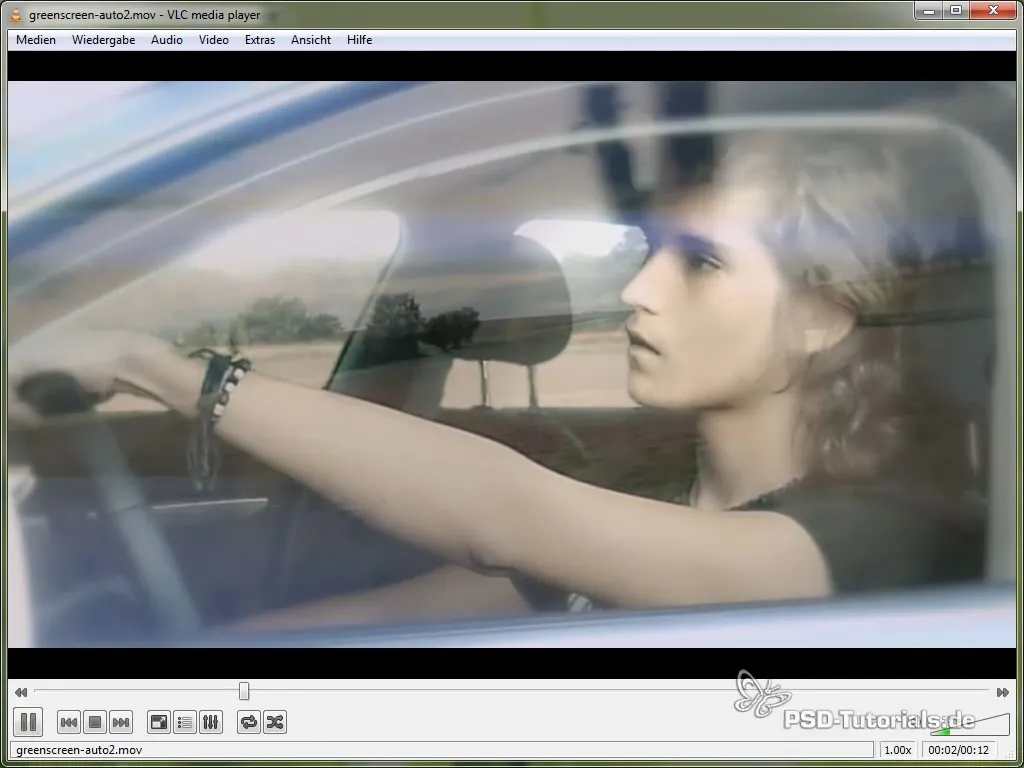
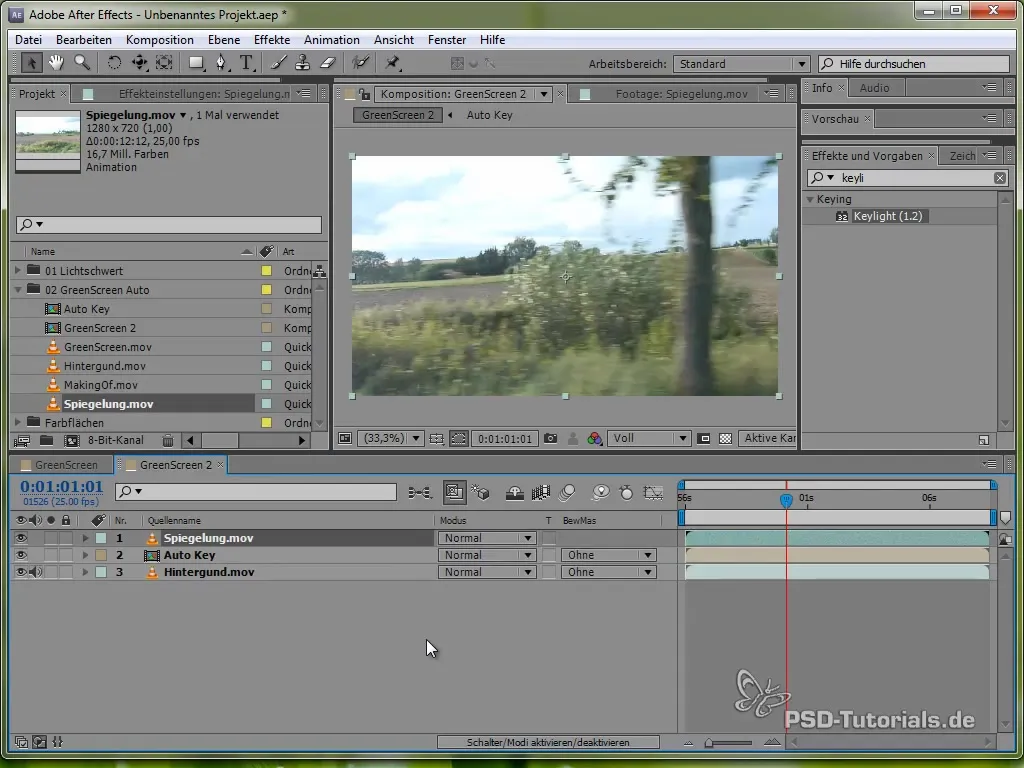
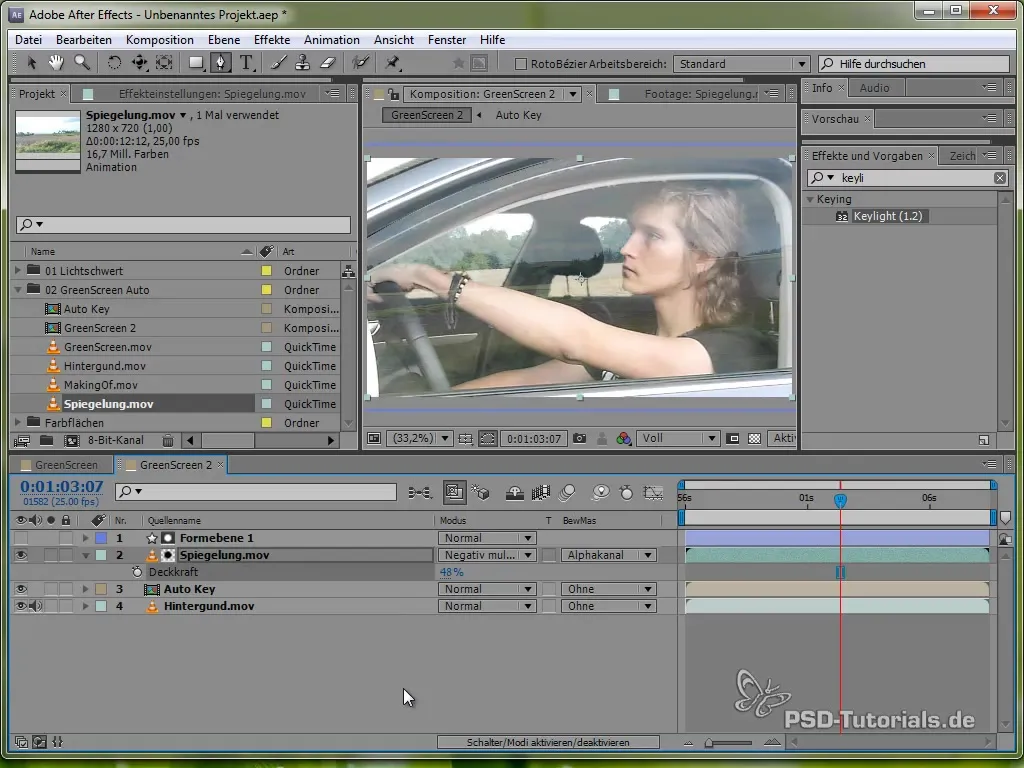
To further enhance the effect, add a reflection. You can achieve this by duplicating the background layer and setting the mode to "negative multiply." This will only show the bright areas of the background.
Step 7: Creating a Mask for the Window
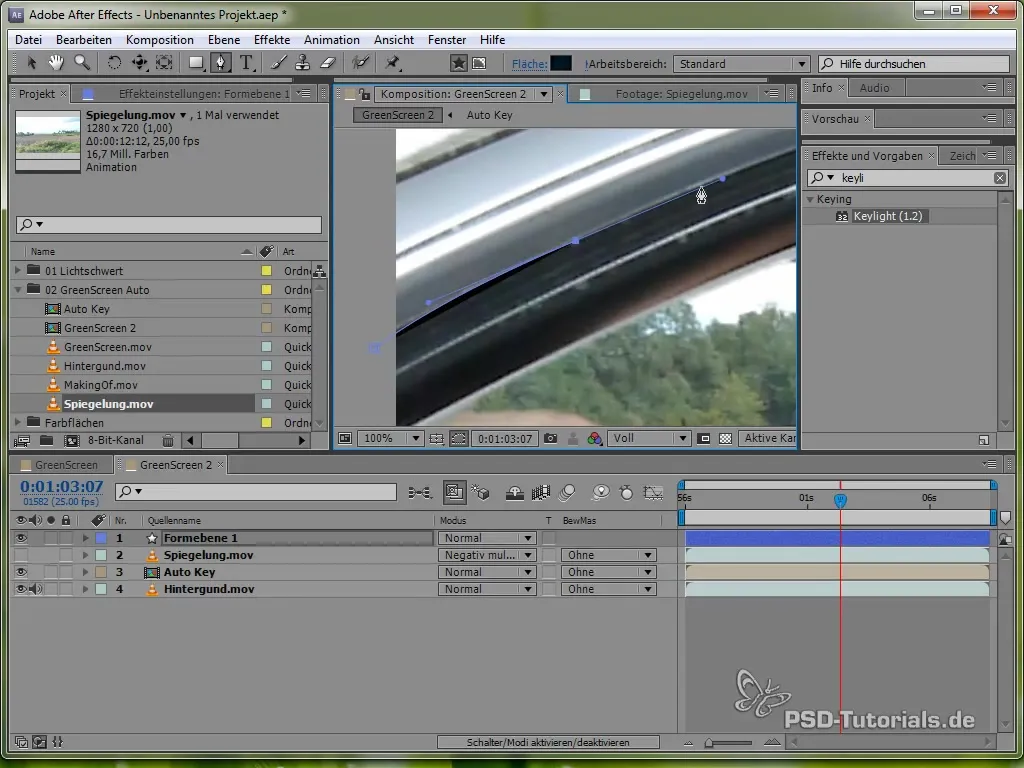
Create a new layer and draw a mask around the window of the car. This limits the reflection to the window area. You can adjust the opacity of the mask to achieve a realistic reflection.
Step 8: Fine-tuning the Reflection
You should further adjust the opacity of the reflection to create a harmonious balance between the reflection and the background. This helps ensure that the entire effect does not look artificial.
Step 9: Adding Texture
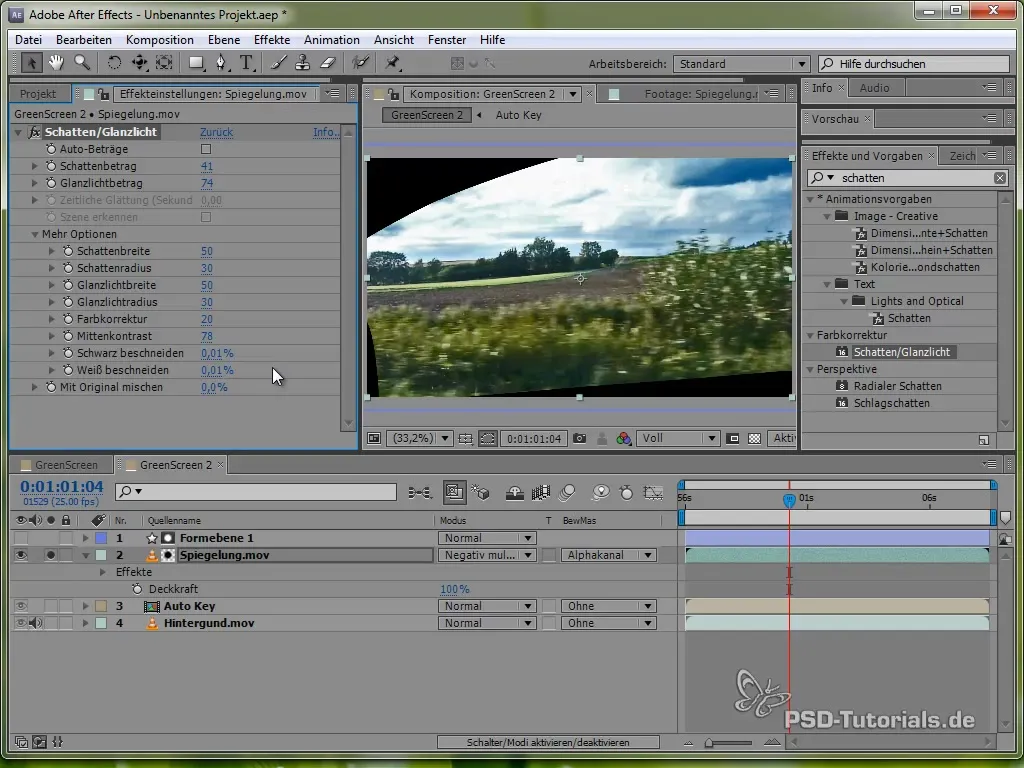
To give the reflection more depth, use the shadow and highlight effect. Increase the contrast and ensure that details in the background stand out better, which contributes to the realism of the entire video.
Step 10: Light Adjustments for Realism
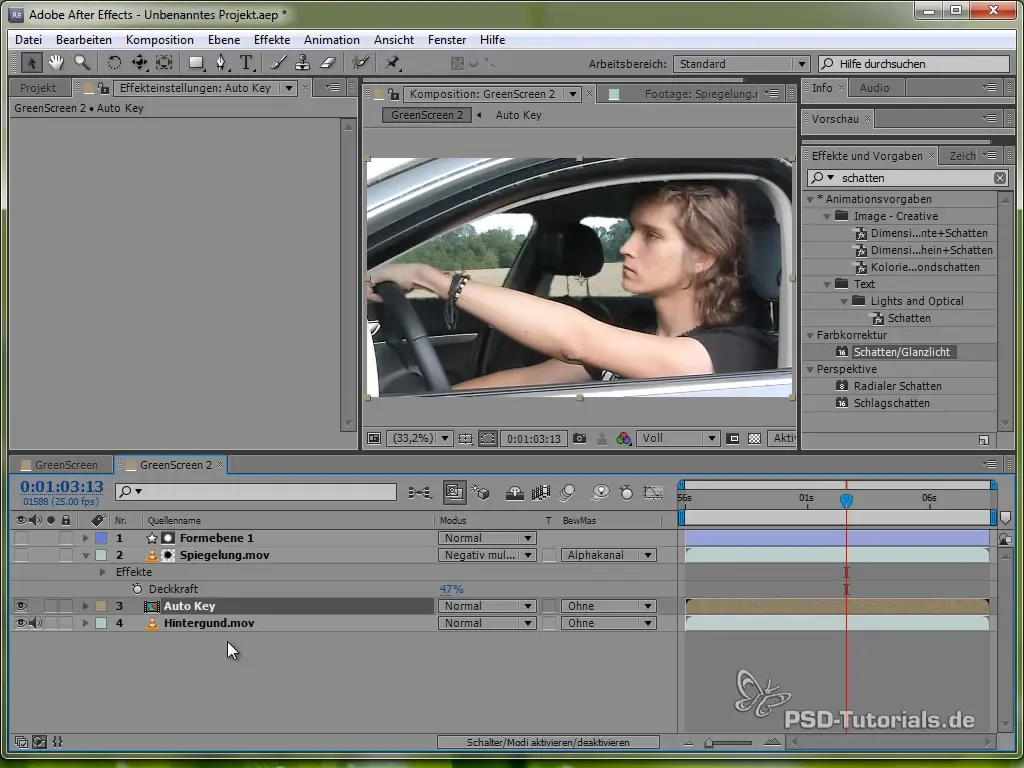
Use the Light-WP effect to adjust the edges of the green-screen footage to match the background. This is done using the "Set Channels" effect, which transfers the hues from the background to the footage so that the edges do not appear so starkly distinguished.
Step 11: Adding Motion Blur
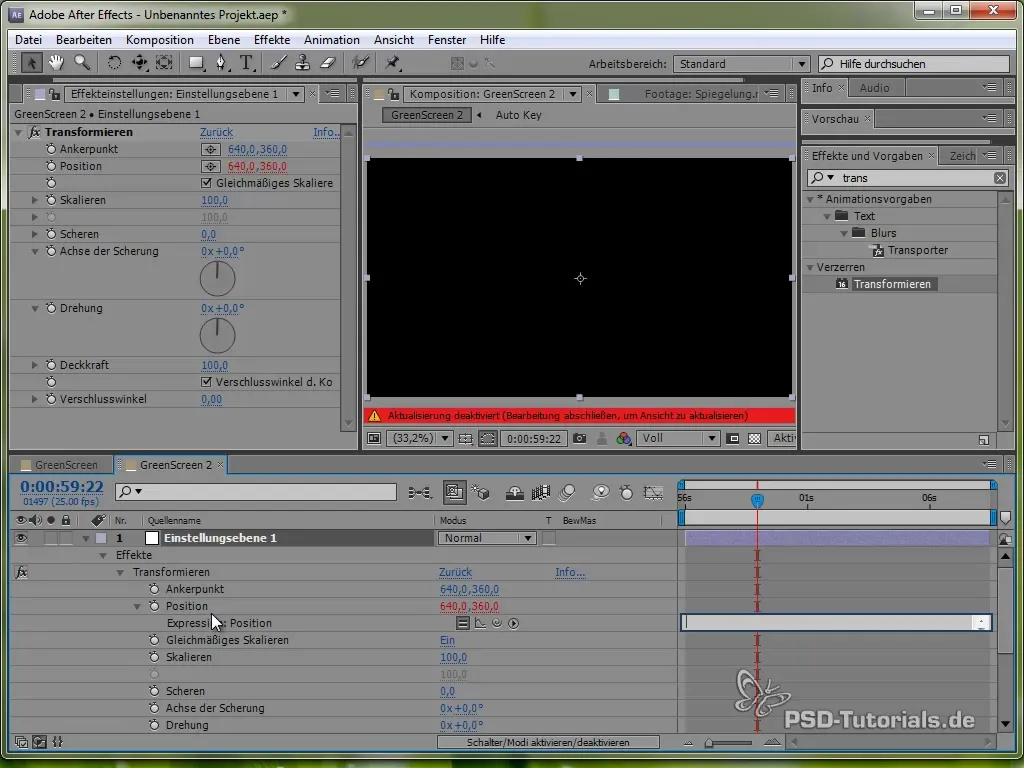
To give the camera a realistic motion, you can adjust the position with a shake setting. Use the transform effect and implement a slight shake.
Step 12: Final Adjustments
Review the entire project and make any final adjustments if necessary - this can involve color grading or softening the edges to improve the final product. Add color grading to adjust the final colors and contrasts.
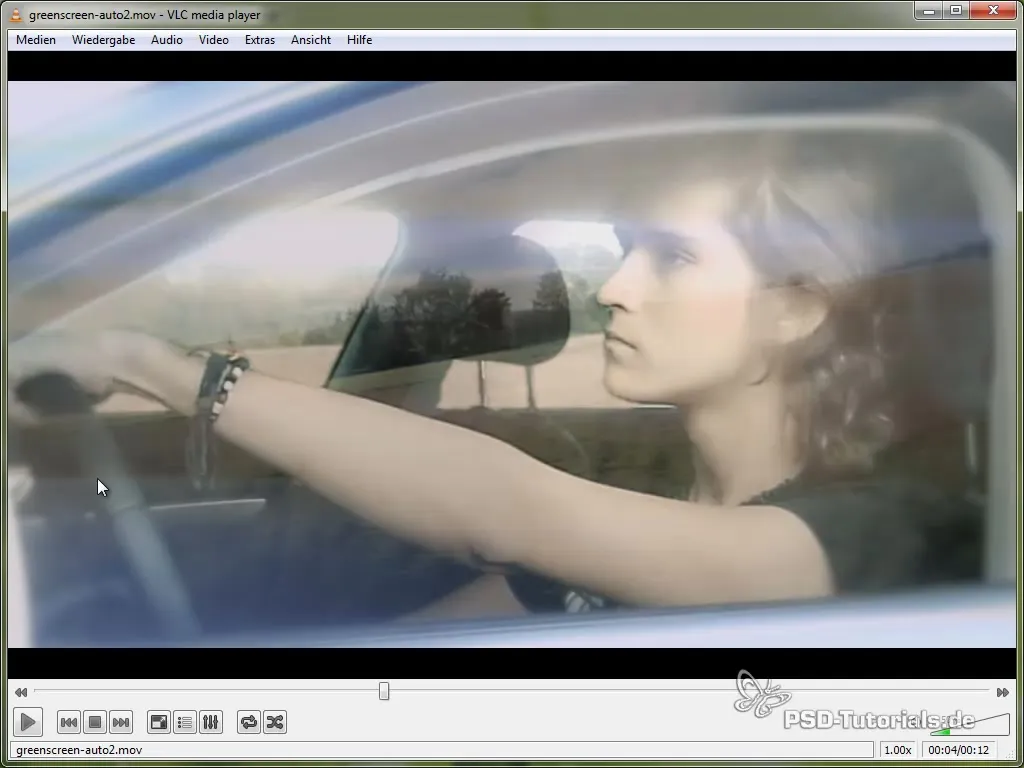
Summary – Green-Screen Car Effect Created
You have now gone through all the steps to create realistically appearing car rides in front of a greenscreen. If you have considered all the techniques and made the right adjustments, you will achieve an impressive result.
Frequently Asked Questions
How does the Keylight effect work?The Keylight effect removes the green color and allows for a clean embedding of the car video into another background.
Why are the windows rolled down?Rolling down the windows minimizes reflections that could enter the greenscreen image.
Can I use other backgrounds?Yes, you can experiment with different backgrounds to create various scenarios.
How can I make the reflection more realistic?By adjusting the opacity and adding additional effects like shadows and highlights, you can improve the reflection.
Do I need a special computer to do this?A modern PC or Mac with sufficient RAM and graphics card is recommended for this type of video editing.
