Creating visually impressive effects in video formats requires technical know-how as well as creativity. The Matrix effect is one of the most popular styles that have shaped the digital world. Whether for movies, tutorials, or your own creative projects, this effect brings the desired futuristic touch to your videos. In the following guide, I will show you how to create the Matrix text and the matching video look in Adobe After Effects. All you need is basic knowledge of the software.
Key Insights
- The Matrix text is created using animated text and light effects.
- The use of color fields and animations is crucial for the final appearance.
- Effects like "Light Sweep" and "Turbulent Noise" contribute to the depth and dynamics of the end product.
Step-by-Step Guide
To achieve the Matrix effect, follow these steps:
Step 1: Create Text
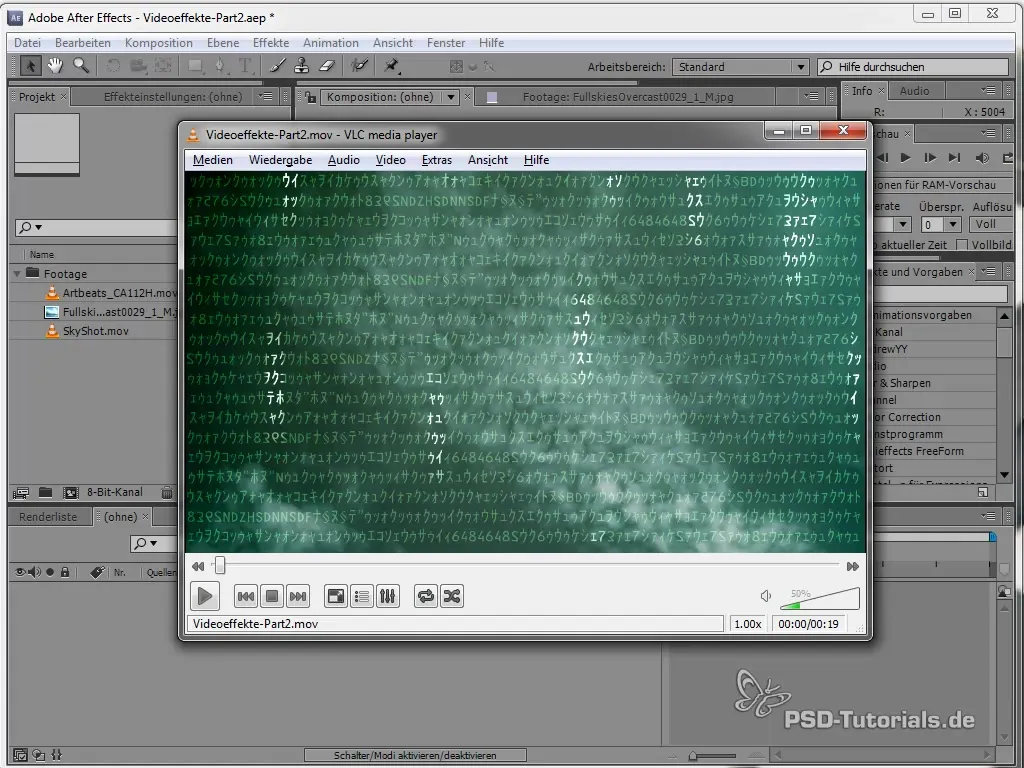
Start by creating a text box in After Effects. You can simply click on the text tool and enter any text. For more authentic Matrix characters, I recommend using the font "Matrix Code NFI." Install this font if you haven’t already and apply it to the text.
Step 2: Animate Text
To make the text rain down in an animated way, you need to use "Text Animators." Select your text, go to "Add Animator," and choose "Character Offset." Use the expression time * 20 in the character offset to make the text fall at the desired speed.
Step 3: Add Glow Effect
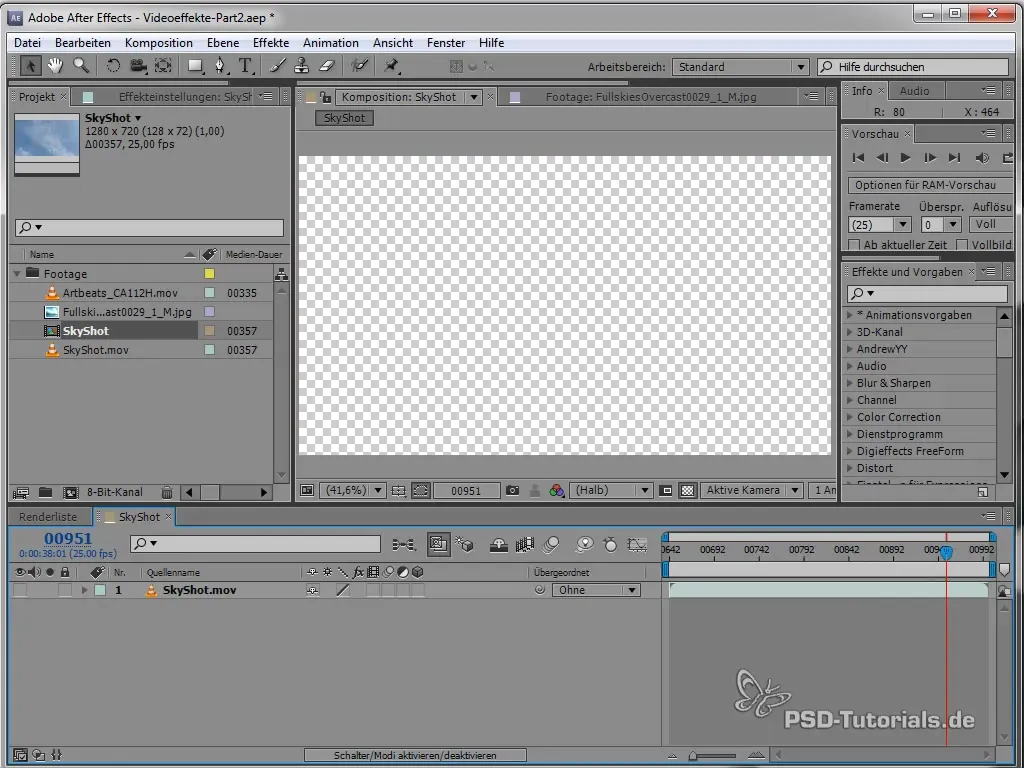
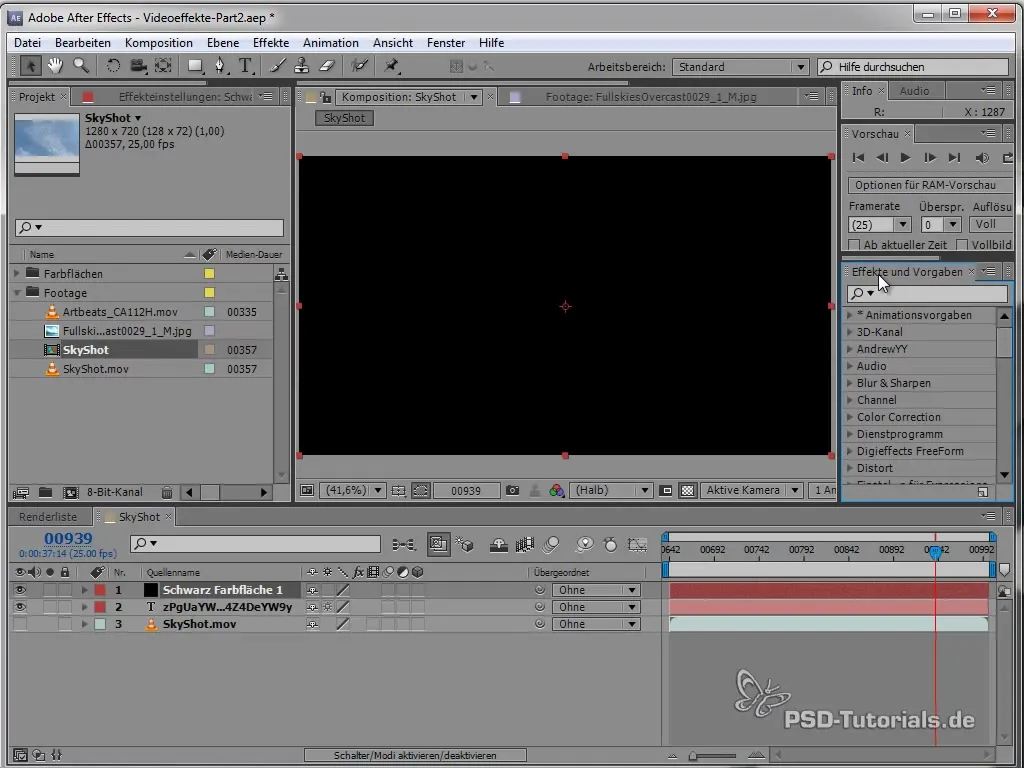
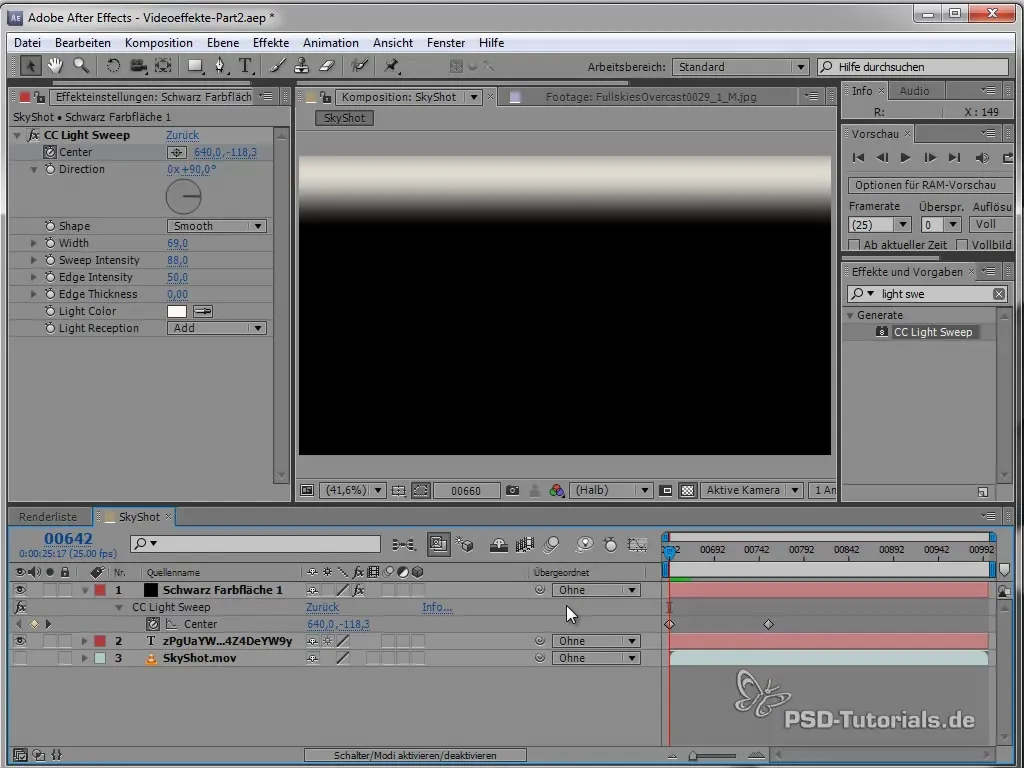
To create the effect of letters glowing, create a new color field. Add the "Light Sweep" effect. Play with the settings for rotation and intensity of the light effect to achieve a realistic "glow effect."
Step 4: Animate Light Sweep
Set keyframes for the light sweep to animate it. You can bring the keyframes closer together for a faster animation or add a "Loop Out" expression to make the effect repeat cyclically.
Step 5: Assemble Elements
Pack the text and light animation into a subcomposition to combine it later with the background footage. Don’t forget to pull the background into the subcomposition as well. Name this composition "Text Fade."
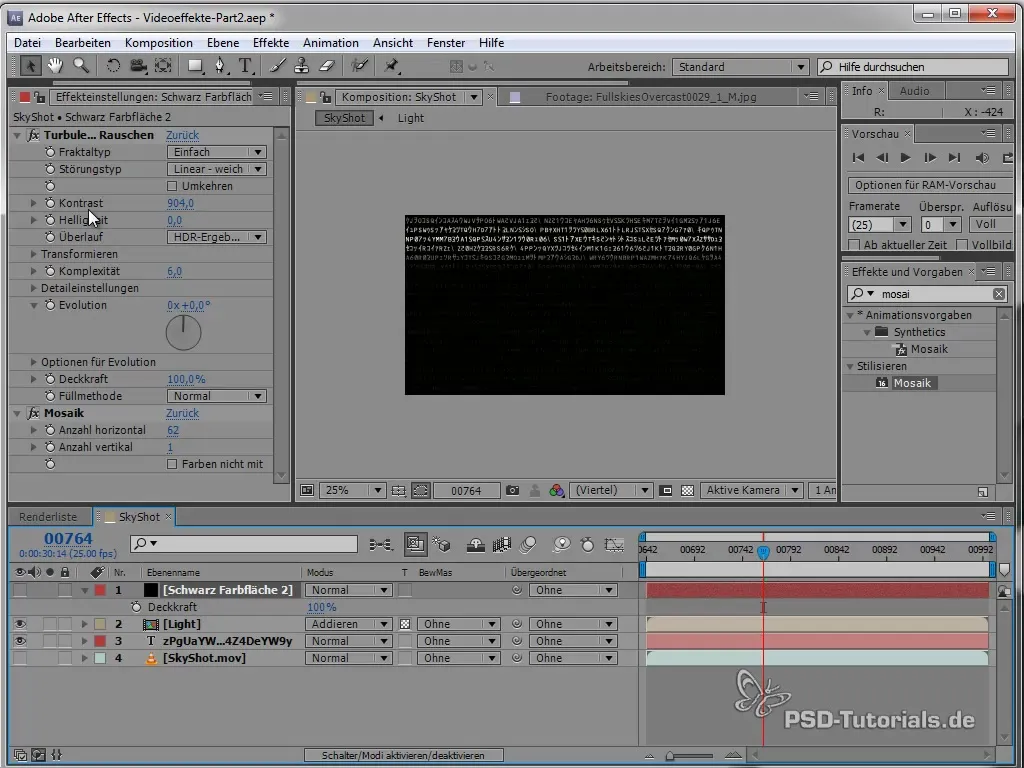
Step 6: Adjust Background
Now select the background footage and play with the contrast settings to achieve the typical Matrix look. Contrast is crucial here to emphasize the dark areas and soften the bright areas to look the way you want. Use "Curves" or "Brightness/Contrast" to achieve the desired result.
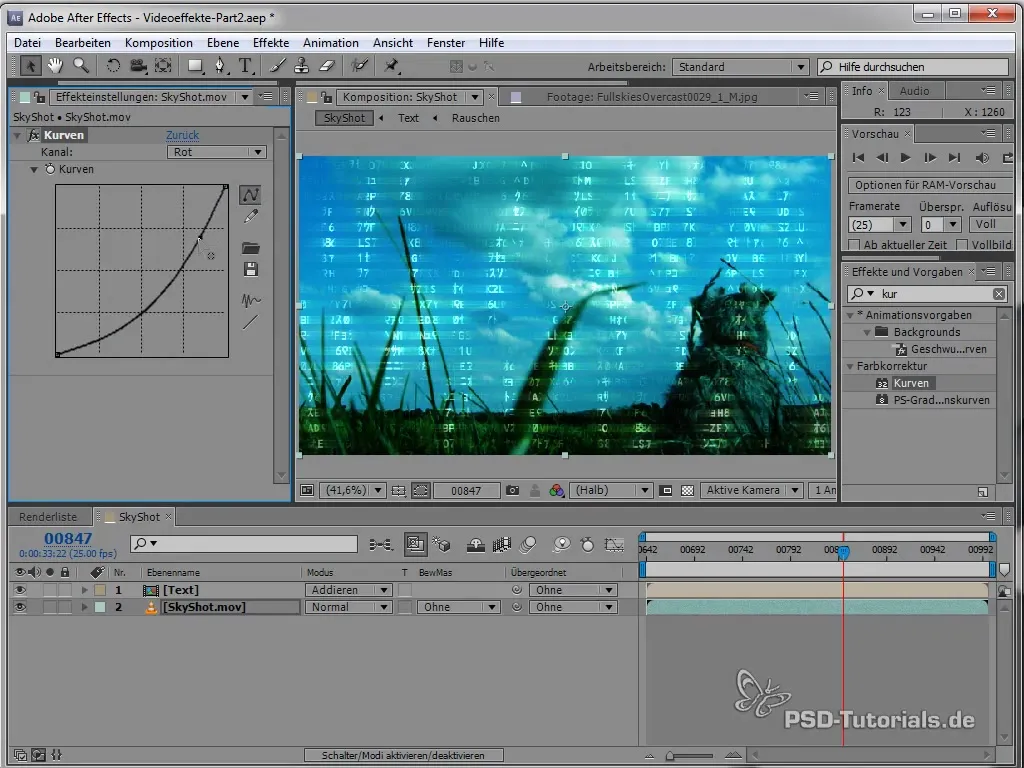
Step 7: Add Color and Vignette
Add a new adjustment layer with the "Circle effect" to create a vignette in a dark green tone. Reduce the opacity of the circle to create softer transitions.
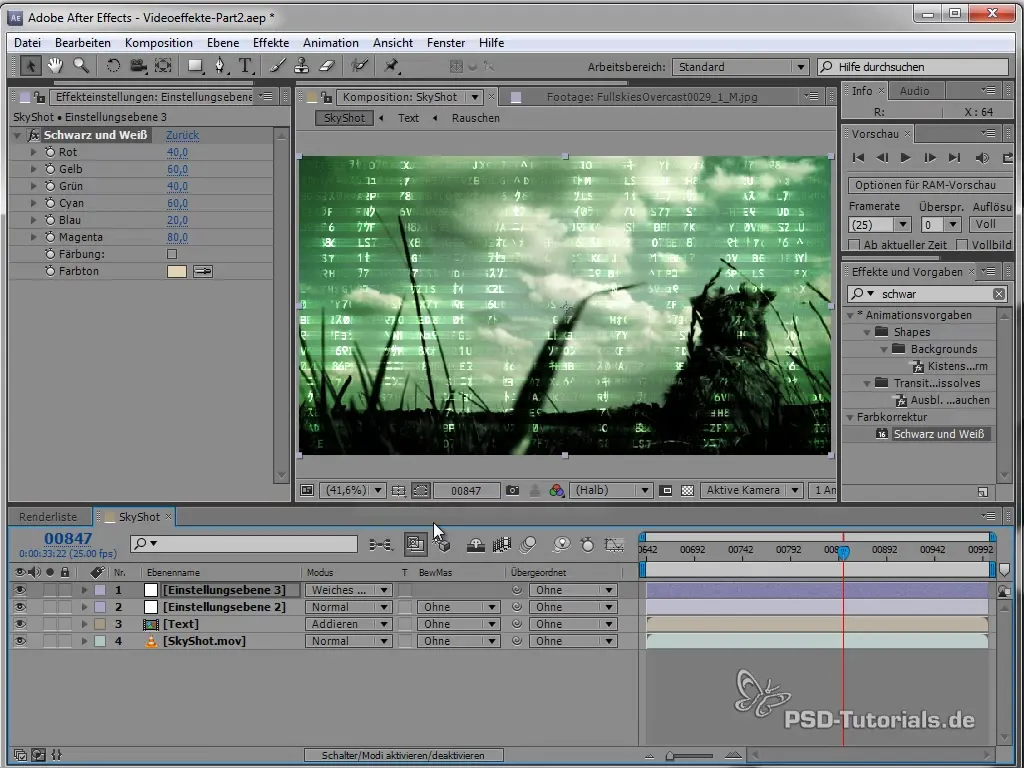
Step 8: Finalizing the Matrix Look
Use the "Black & White" effect on another adjustment layer to create more contrast and depth. Make sure to adjust the opacity to avoid overpowering the desired visual effects.
Summary - Creating Matrix Text and Video Look
This guide shows you how to quickly create the Matrix effect for text and video using After Effects. By combining various effects and animations, you bring a touch of futuristic aesthetics to your projects.
Frequently Asked Questions
What is the name of the recommended font for the Matrix effect?The recommended font is "Matrix Code NFI."
How can I adjust the animation speed of the text?You can adjust the animation speed by changing the value in the expression time * x, where x needs a higher value for faster changes.
Which effect is used to create the glowing light streak?The "Light Sweep" effect is used to create the glowing light streak.
Can I apply the Matrix effect to other video elements as well?Yes, the effect can also be applied to other video elements with adjustments.
How can I adjust the contrast in the background video?The contrast can be adjusted using "Curves" or "Brightness/Contrast" on the background video.
