Color correction is an essential skill that every video producer should master. In this guide, you will learn how to optimally adjust the colors of your footage using Synthetic Aperture's Color Finesse. Color correction not only serves to remove color casts but also allows you to give your videos a unique mood. Let's dive together into the world of advanced color correction.
Key insights
- Color correction involves removing color casts as well as creating a specific color look.
- The RGB waveform and the vectorscopes are important tools for analyzing and improving color representation.
- Color Finesse offers a variety of options for adjusting the colors and contrasts of your footage.
Step-by-step guide
First, we need to select suitable footages. I recommend the website stockfootageforfree.com, where you’ll find many helpful resources. Sign up and download the desired clips.
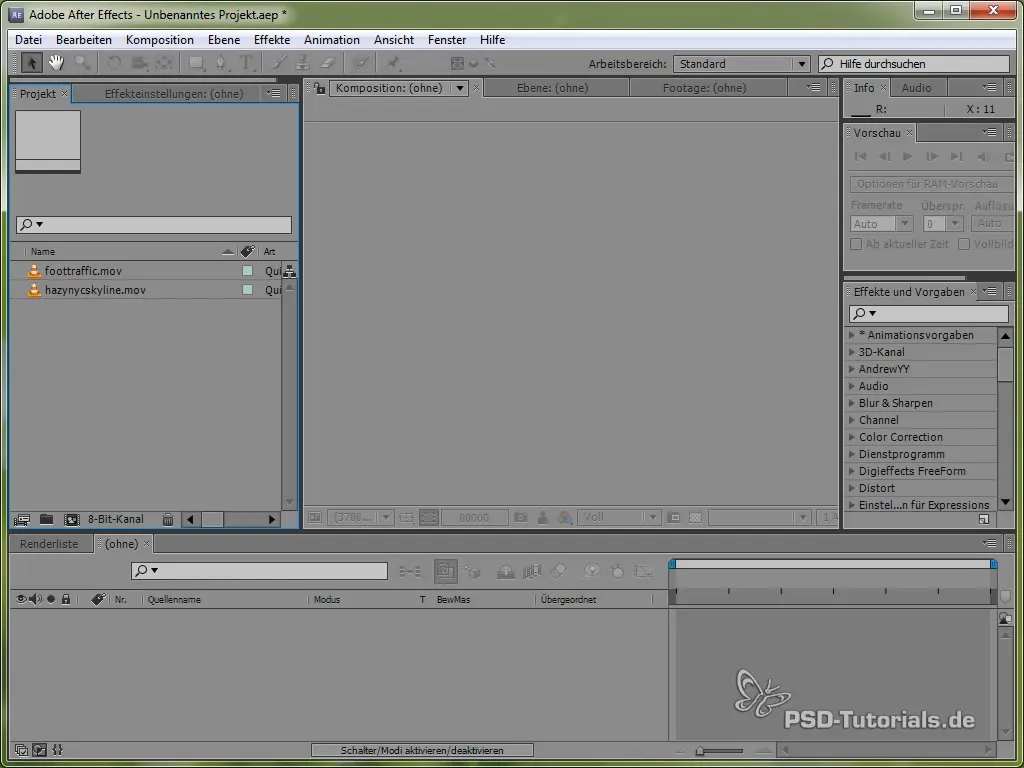
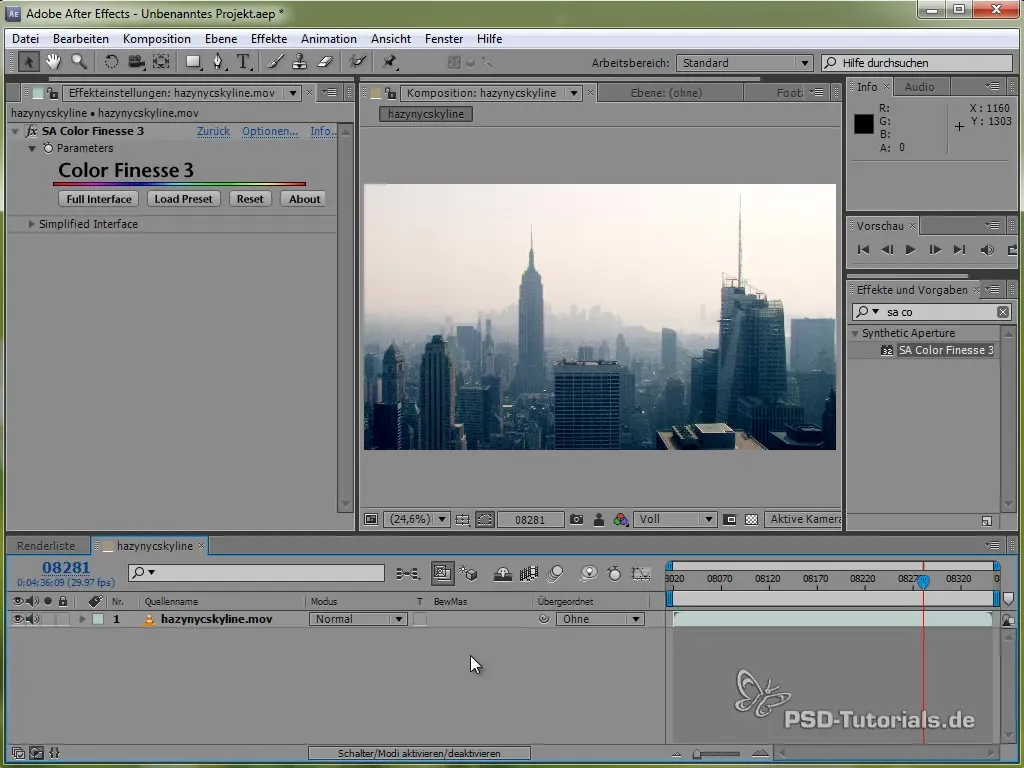
Once you have the footages on your computer, open After Effects and load a clip into your project. First, let’s analyze the footage. Look closely at the image. Is it dull? Are there true blacks and whites missing?
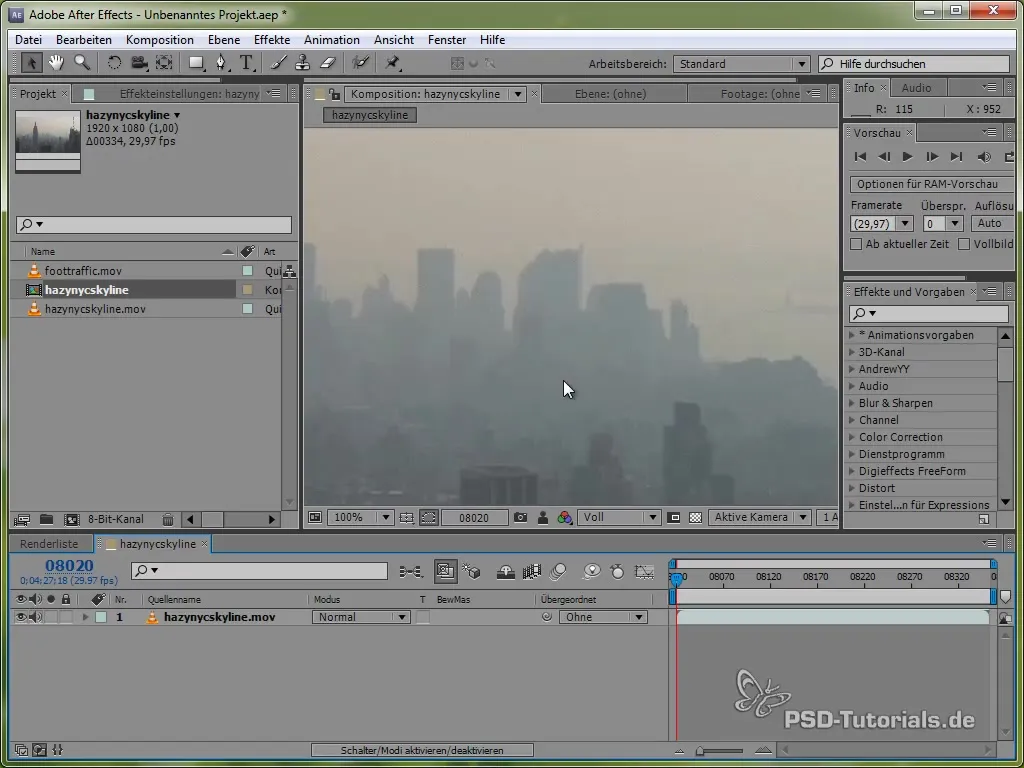
This clip shows that the color values have low dynamics. The footage has a warm yellow-brown tint that we want to correct. You could try adjusting the colors manually with the curves in After Effects, but there is a better tool.
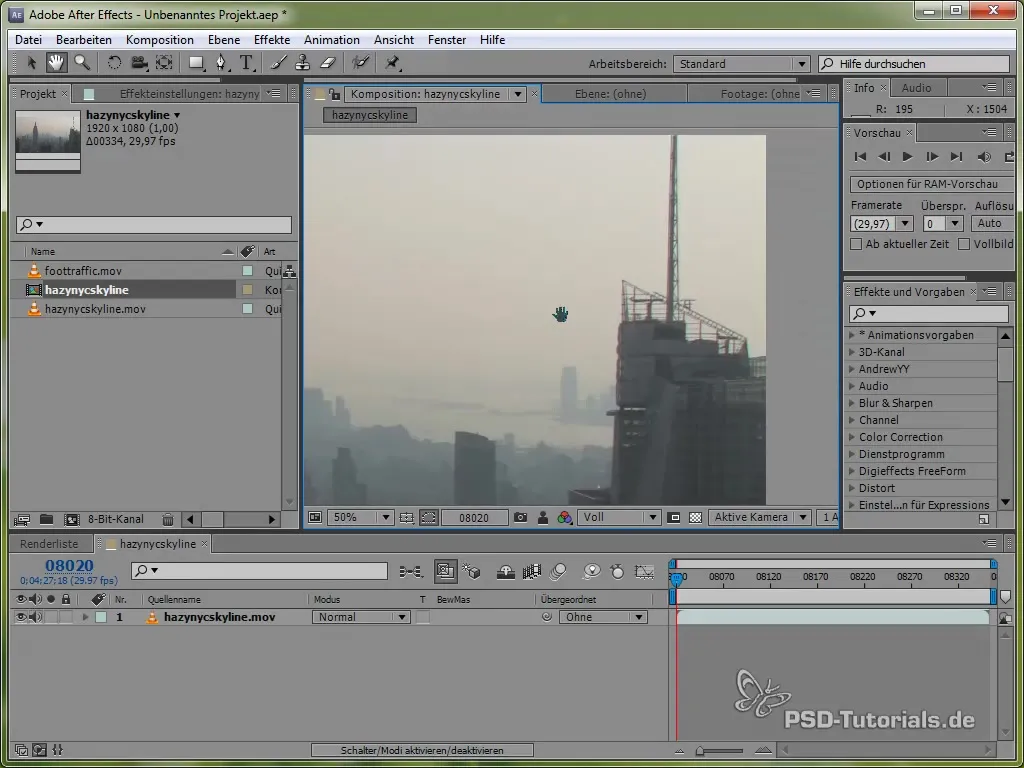
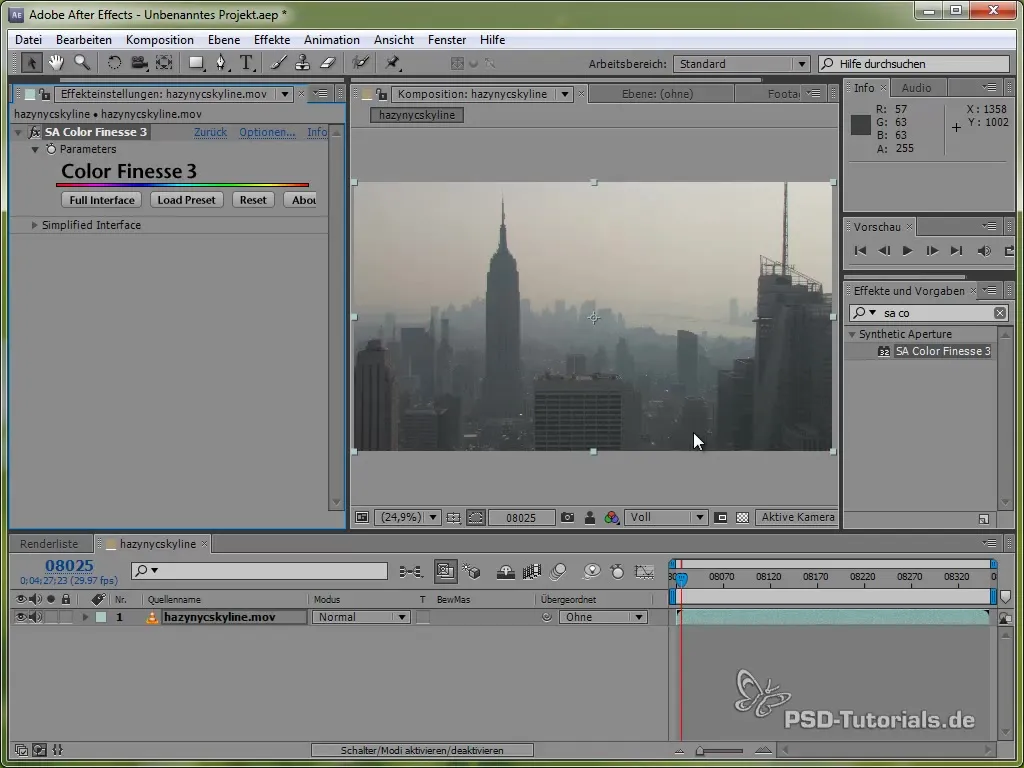
Use “SA Color Finesse,” which has been included with After Effects since CS3. Load the plugin and take a look at the interface. Here you will find not only your image but also several controls and graphs.
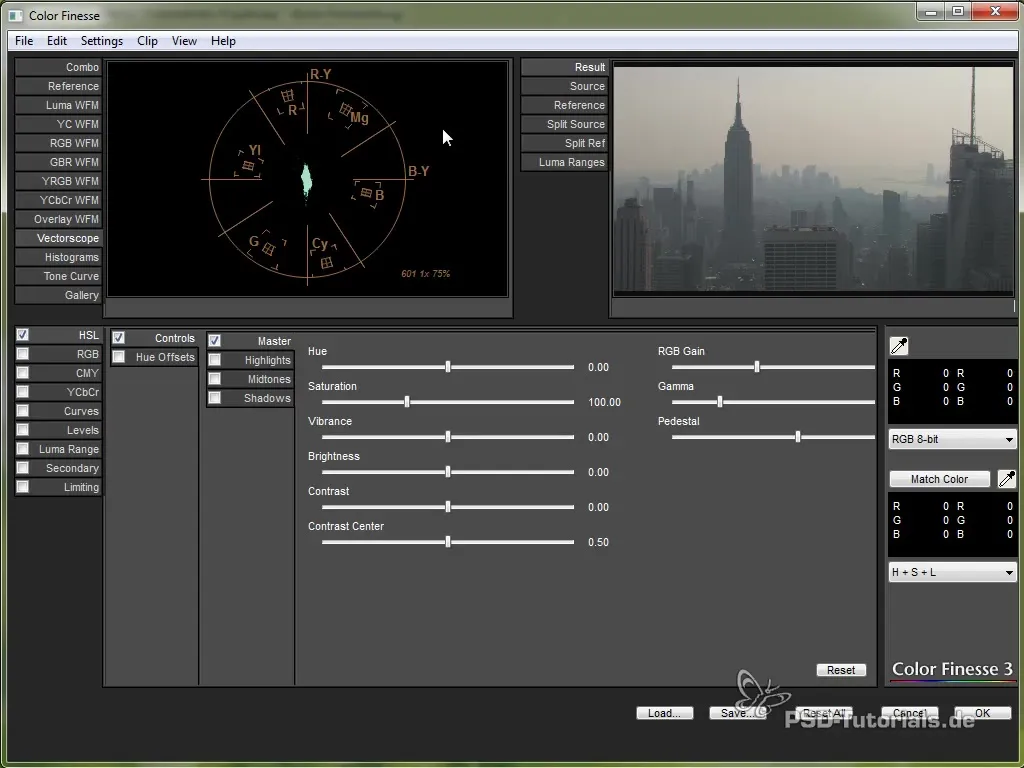
The analysis window shows the vectorscope and the RGB waveform monitor. While the vectorscope is helpful for seeing the general color distribution, the RGB waveform monitor is your most important tool in color correction.
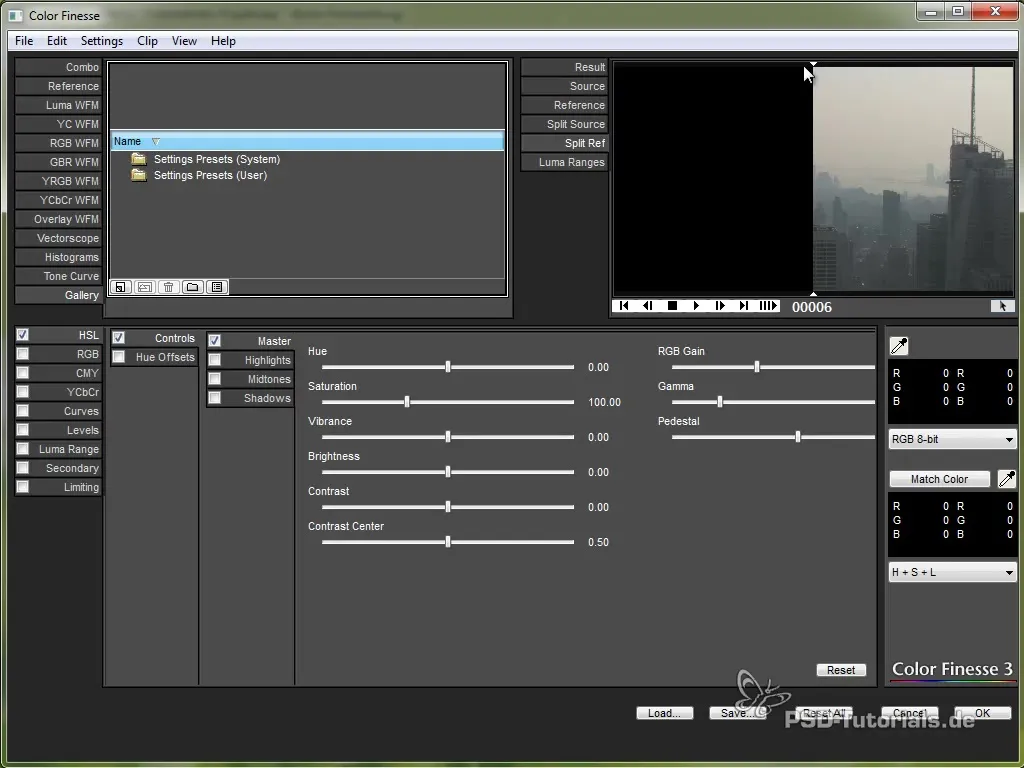
Change the monitor mode to RGB waveform for a more accurate analysis of the colors in your footage.
Now you will see various areas in your footage that should be evenly distributed. Make sure the lows (shadows) and highs (highlights) are well represented. Often, many footages lack contrast.
With the curves, you can make adjustments to calibrate the lower and upper points. Pull the lows further down and the highs up. This way, you extract more from the color range.
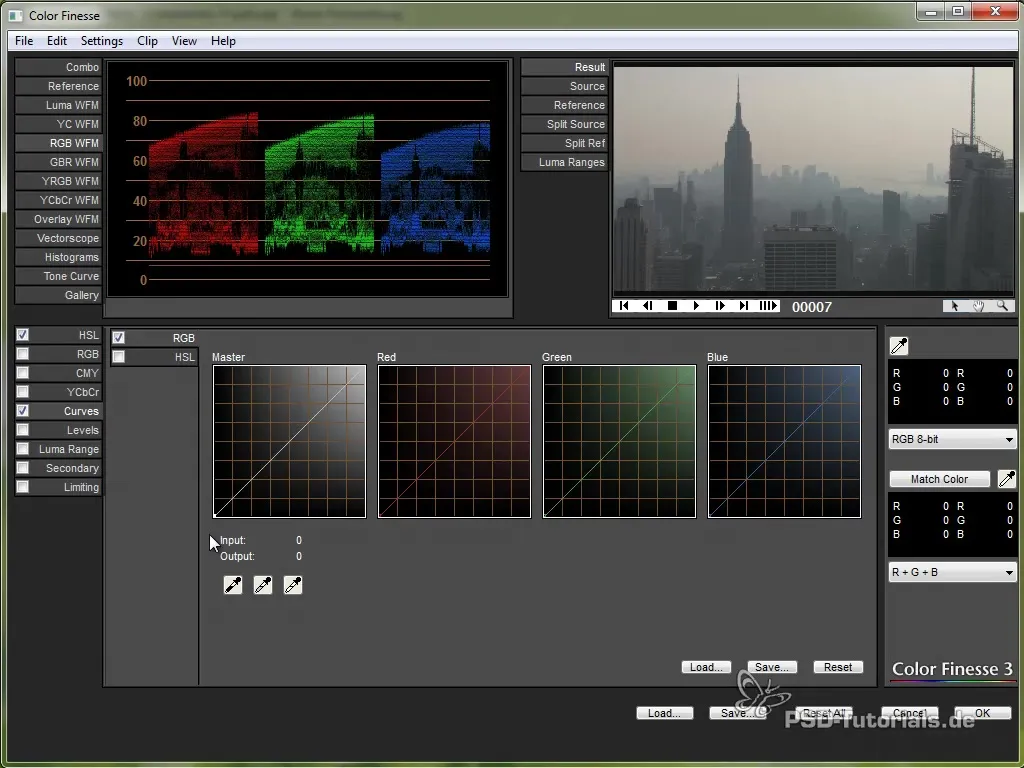
Observe how the RGB waveform monitor changes as you make adjustments. A clear improvement should become visible if the lowest values are now actually black and the highest values are clearer.
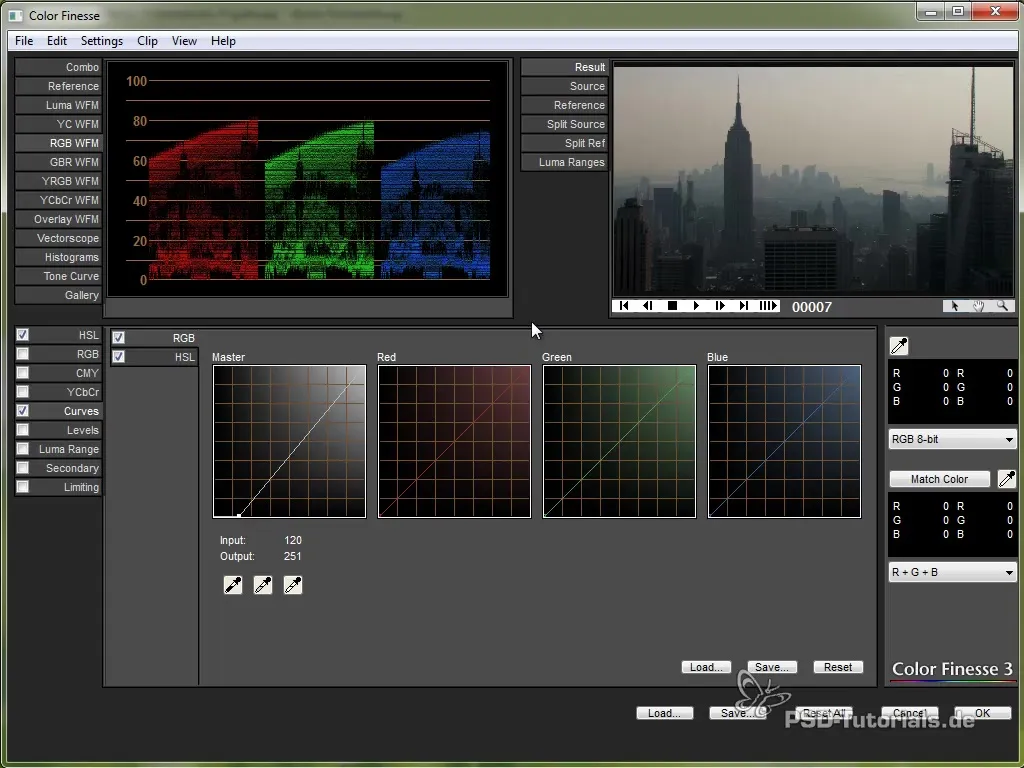
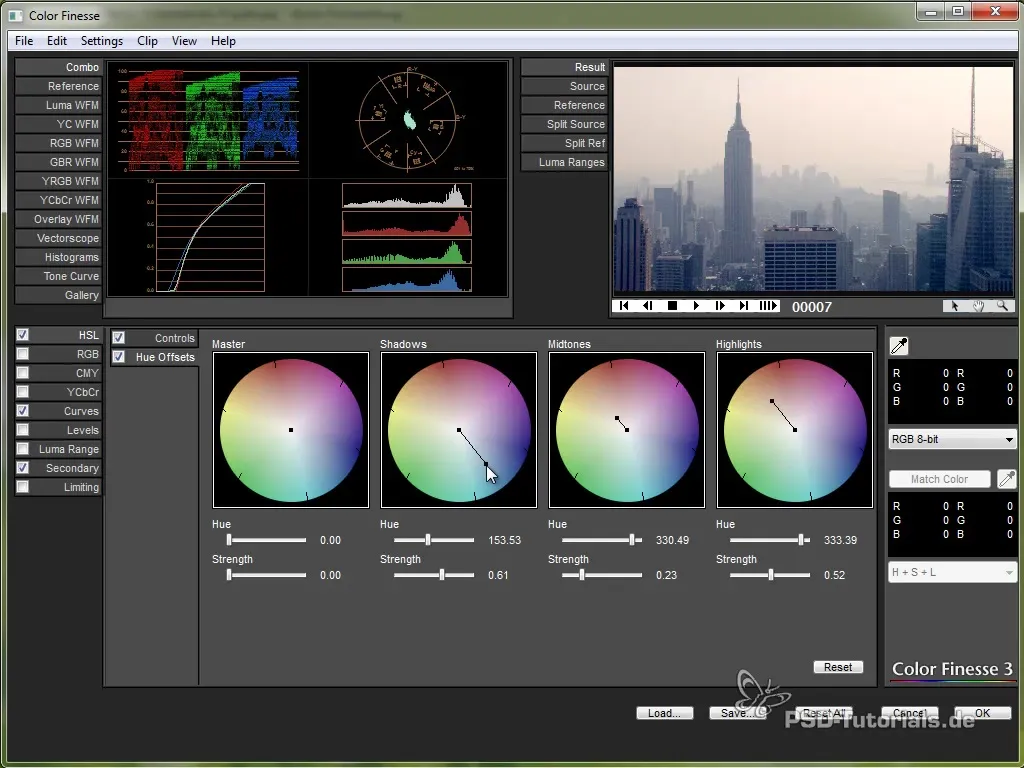
Now that the basic correction has been made, you will work with the hue offsets. Here, you can adjust the color of the dark and light areas. Pull the darks into the blue area and the lights towards a warm color.
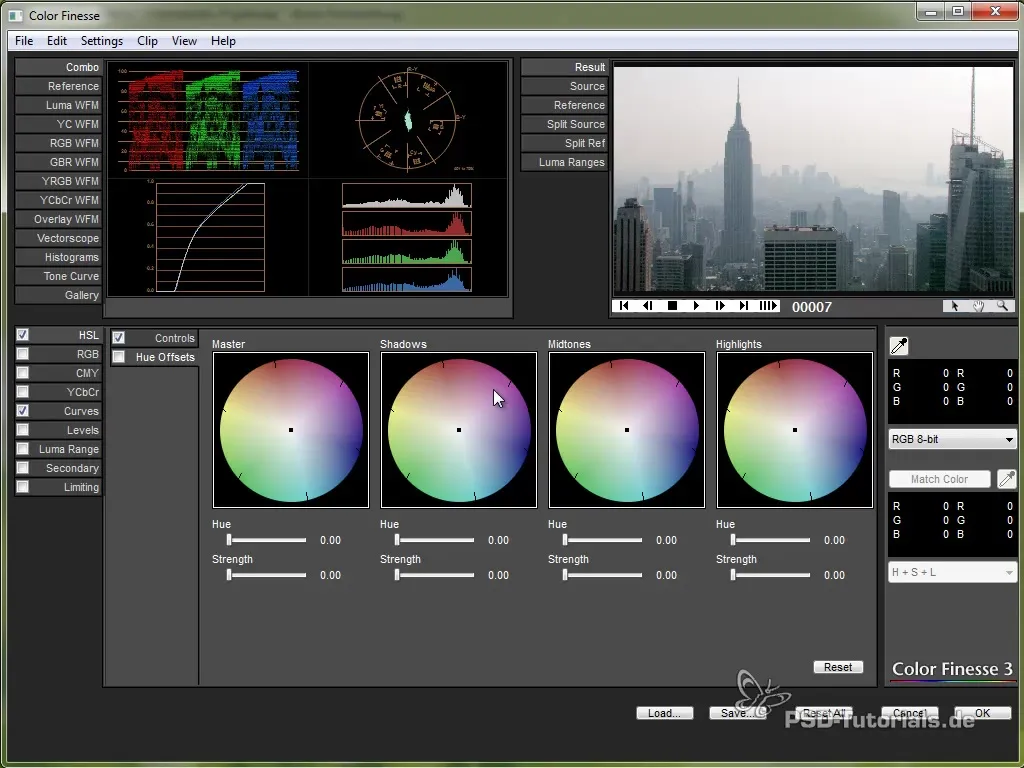
The result should show immediately. Make sure the colors work harmoniously together. Use the vector monitor here as well to ensure that you do not create a color cast.
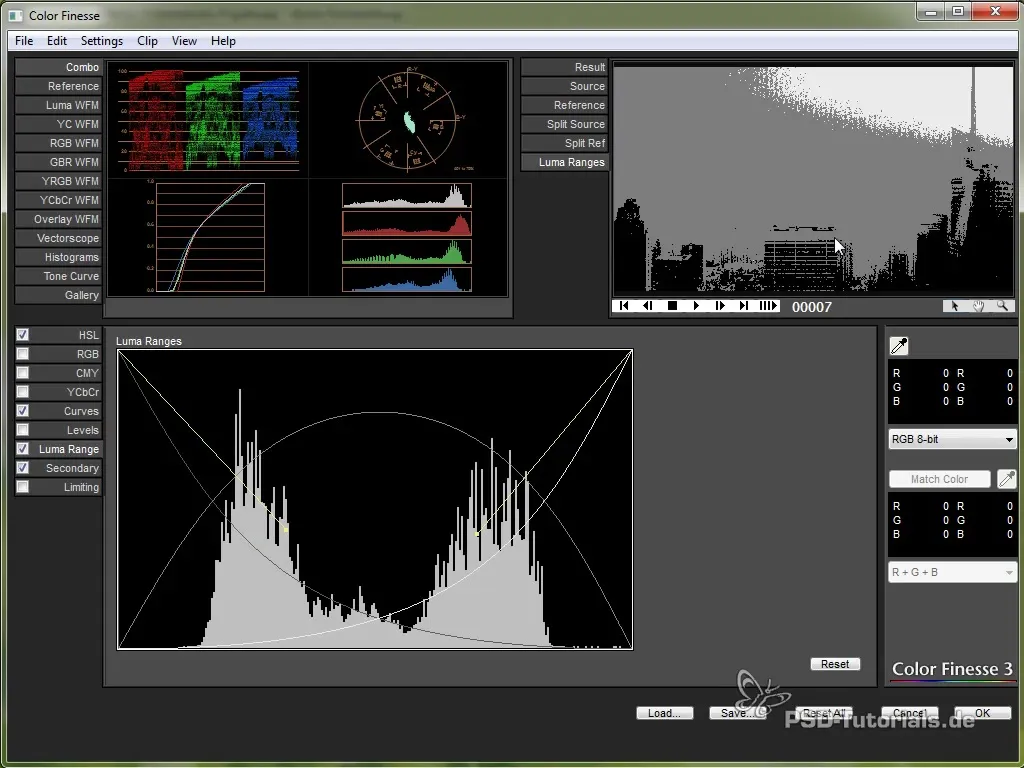
In addition, you can adjust the “luma ranges” to get more depth in the shadows and pull the light areas towards the light. Play with these sliders until you achieve a result that is pleasing to you.
Re-select the curves and ensure that the highlights and shadows do not clip. Make sure the distribution of your tonal values in the histogram is correct.
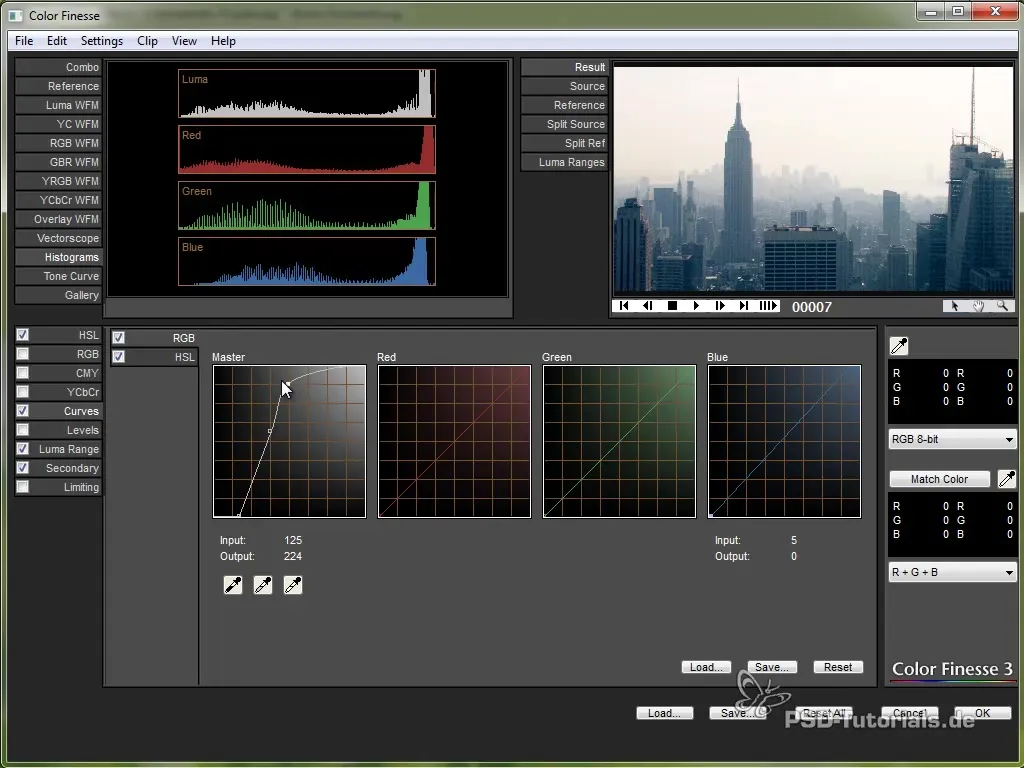
If you have done everything correctly, your color correction will not only improve visibility but also achieve a dramatic increase in the overall quality of your video.
Summary – Advanced Color Correction with Color Finesse
This guide has introduced you to the basics of advanced color correction with Color Finesse. You learned how to select, analyze your footages and effectively adjust them using specialized tools like the RGB waveform monitor and the hue offsets. With these techniques, you can give your videos the necessary professionalism.
