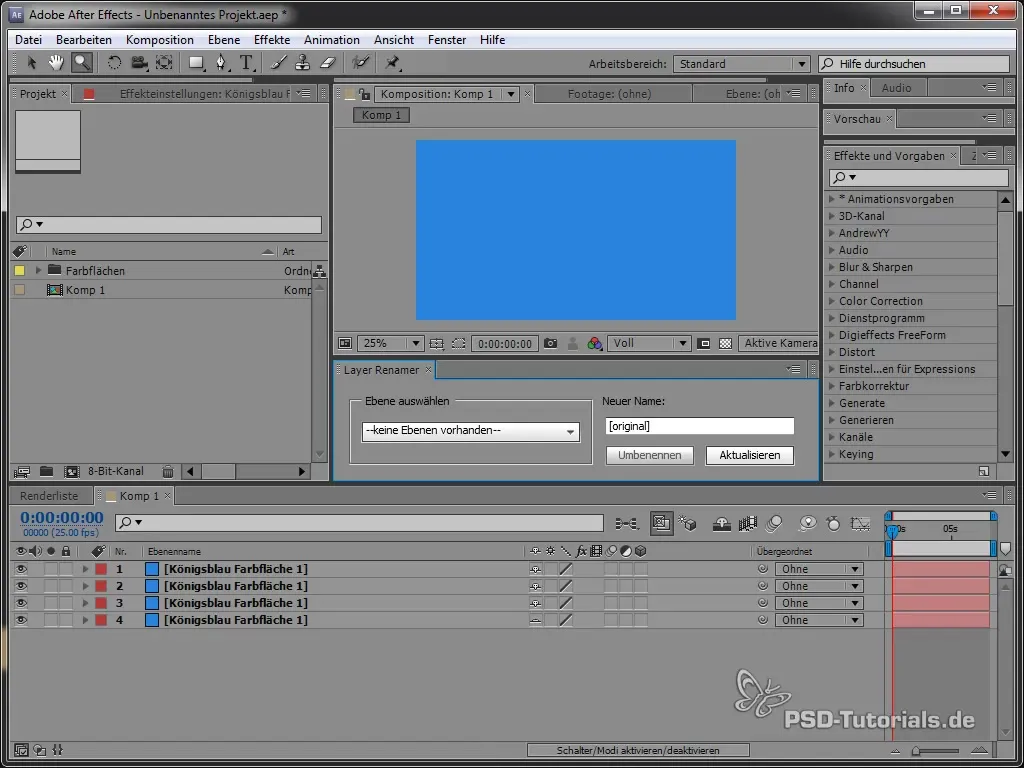
In this tutorial, you will deal with creating a user-friendly interface for the script "Layer Renamer" in Adobe After Effects. You will learn how to design a simple yet functional panel that will help you efficiently rename layers. This knowledge is also transferable to other Adobe applications such as Photoshop, InDesign, and Illustrator, providing you with valuable insights into the scripting world and user interface design.
Key Insights You can create interactive and user-friendly tools by building a dialog-based interface in After Effects. You will learn how to integrate various UI elements like dropdowns, text fields, and buttons, and how to successfully customize them.
Step-by-Step Guide
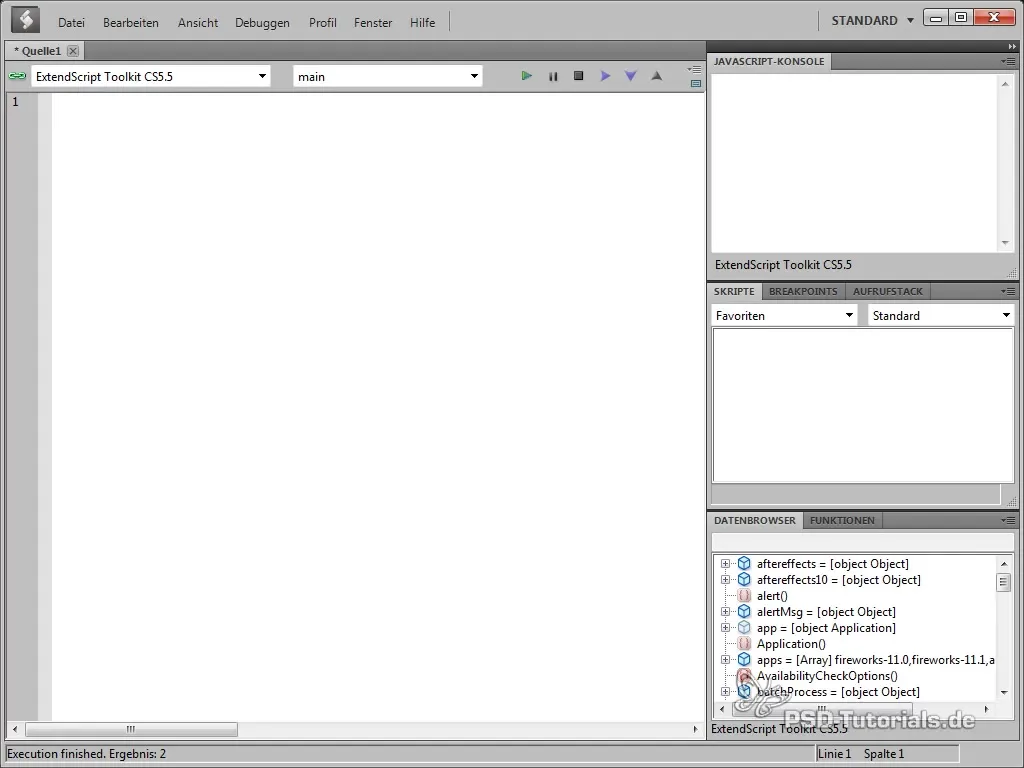
Start by opening the extendScript environment in After Effects and creating a new script file. You will design a simple window that serves as the basis for your Layer Renamer.

Start by creating a new variable that represents the interface. This is done using new Window and specifying the window parameters. Choose the window type, in this case, a dialog window.
To display the window, you need to call the show() method. This will make your window visible, allowing you to make the first changes.
Now specify that your window should display information. Add a dropdown menu that allows users to select from different layers. Create a new variable selectLayer, which will be added to the view.
Define the position of the dropdown menu within the window by adjusting the bounding rates. You can even use absolute positioning by setting four values for the margins.
Give your panel a title. In this case, the title could be "Select Layer". This way, the user knows immediately what to do.
Now we manually add some entries to the dropdown list. These entries can later be helpful when selecting layers. For example, add "Layer 1," "Layer 2," and "Test Layer."
To achieve an appealing design of the dropdown menu, use margin attributes to create space from the other elements in your panel. An attractive layout significantly enhances the user experience.
Now we add a label and a text field so that users can enter the new names for the selected layers. Use a new group that contains both elements for this purpose.
Make sure the alignment of the groups and elements in the interface is done correctly. You can control whether the elements should be displayed side by side or stacked using the orientation property. In this case, it makes sense to display the user interface in a row.

Now it’s time to create the buttons that allow renaming the layer and updating the list. Ensure that the buttons have a uniform size so that everything looks harmonious.
For the buttons, also set the desired width so that they are displayed evenly within the width of the input field.
Once the layout is established, you can wrap everything in a function named buildUI(). This function will ensure clean and organized code.
You can use the created function to build and display your interface. Don’t forget to center the window so it looks good on any screen size.
With these steps, you have created a functional user interface for the Layer Renamer in After Effects. These fundamentals will help you create user-friendly and appealing scripts.
Summary - Guide to Creating a User Interface for the Layer Renamer in After Effects
In this post, you have learned how to create a simple and effective user interface for the Layer Renamer script in After Effects. All steps from setting up the window to implementing input fields and buttons have been covered.
Frequently Asked Questions
How can I run the script in After Effects?You can run the script directly in the extendScript environment of After Effects.
Can I change the layout later?Yes, you can make adjustments to the layout and elements at any time.
Which other Adobe applications support scripting?Scripting is supported in many Adobe applications, including Photoshop, InDesign, and Illustrator.


