Do you want to create the famous Coverflow effect in After Effects? In this tutorial, I will show you how to implement this visual effect using expressions. The Coverflow effect is characteristic of the iTunes user interface, and with a little patience and the right approach, you can also incorporate it into your projects.
Main insights:
- The Coverflow effect is created in After Effects using expressions.
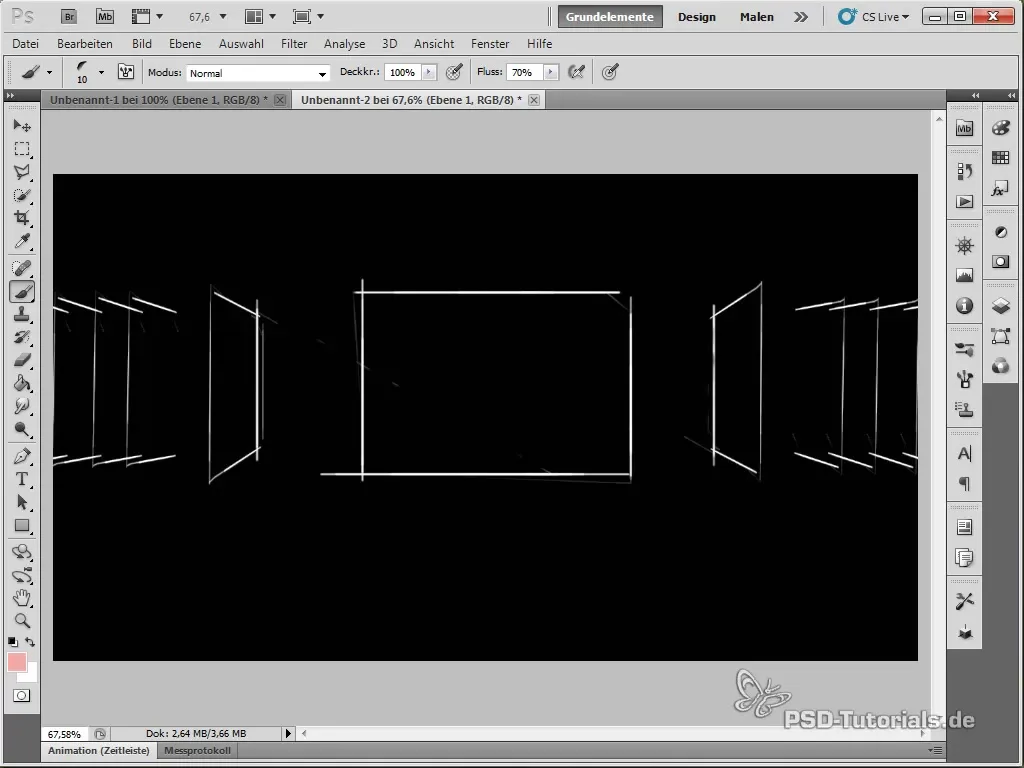
- A sketch helps to plan the structure and logic of the layers.
- The use of sliders simplifies the adjustment of the various components of the effect.
Step-by-Step Guide
First, we will address the basics and the planning of your project.
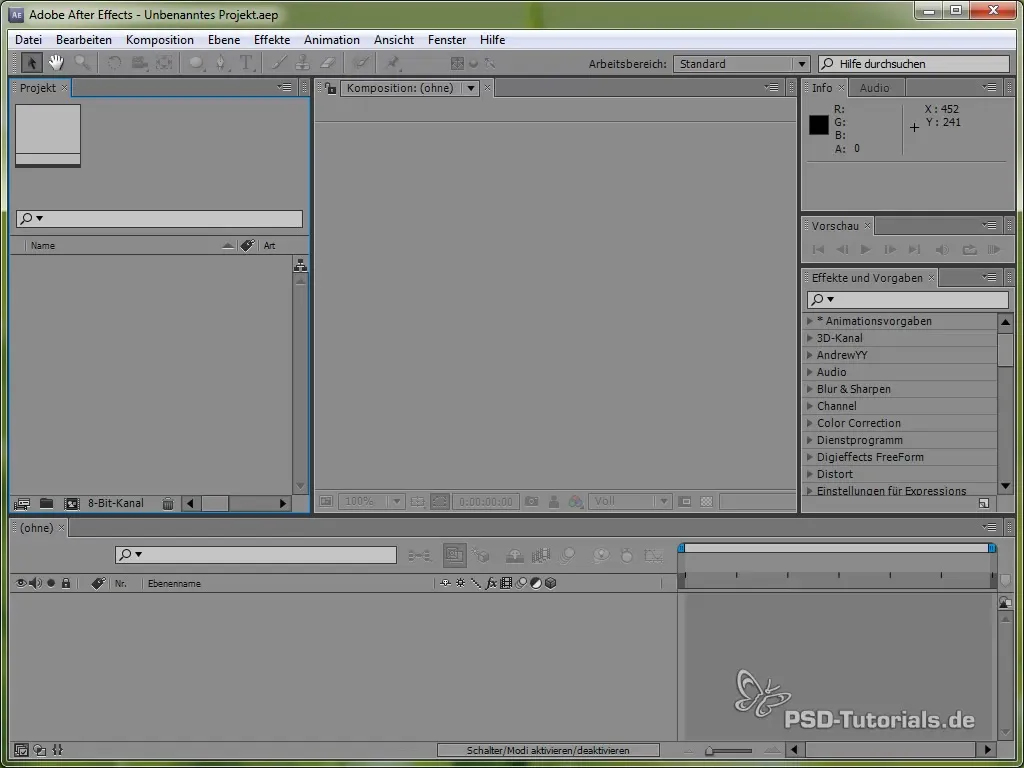
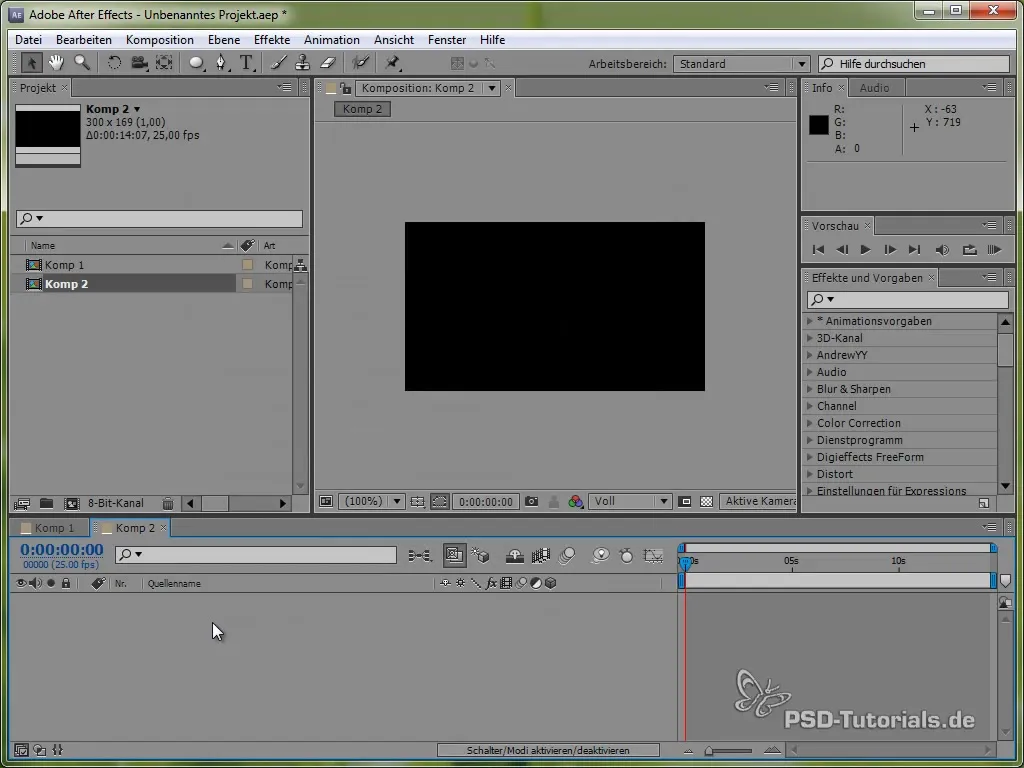
To start the implementation, open After Effects and create a new composition with an aspect ratio of 16:9. Make sure to set the resolution so you have enough space for your concept.
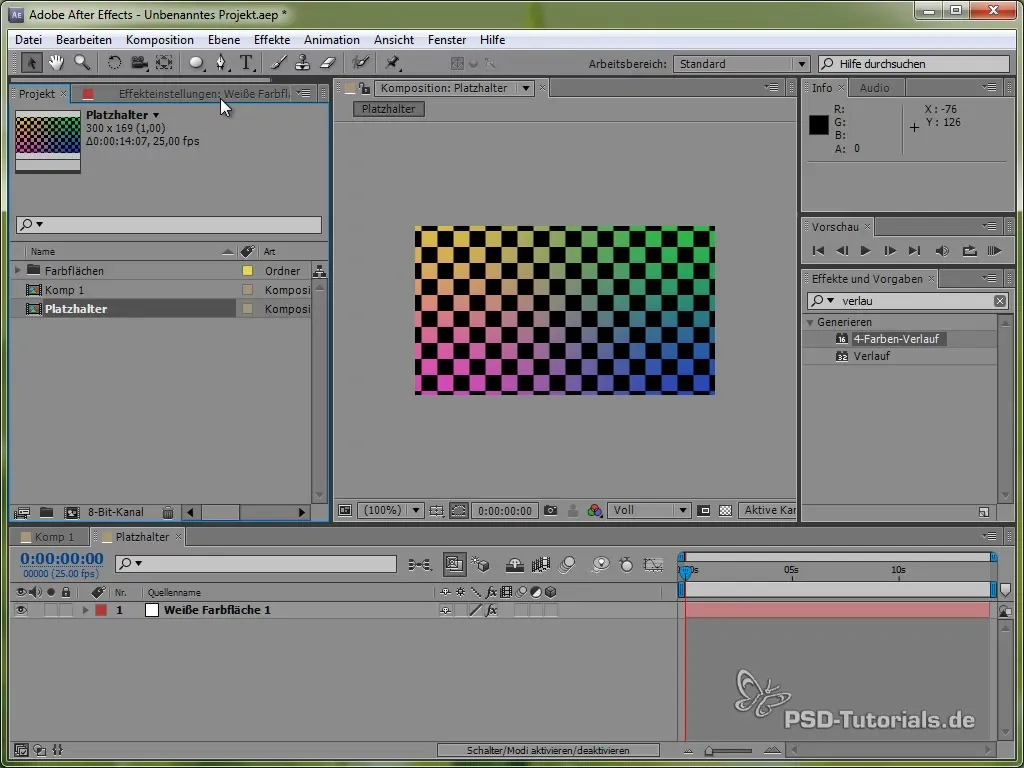
Now it's time to create placeholder images. You can use simple color fields or images that will later be replaced by the desired content. These placeholders will help you visualize the effect better.
After you’ve created the placeholder images, we add a control layer. This can either be an adjustment layer or a null object. Since we are using a null object in this tutorial, name it "Control." This layer will contain the main controls for the Coverflow effect.
To ensure control over the layers, we add a point slider that shows layers from 2 to 5. The point slider allows controlling the position of the visible layers.
Now we drag an expression into the point slider to ensure that the values remain within the bounds of the existing layers. We use the clamp function here, which restricts the value range to 0 to the number of layers.
Once that is done, we will deal with the front slider, which determines which layer is displayed in the foreground. Again, we use the clamp function to ensure that the value stays within the valid range.
Now we define the condition that is responsible for the movement of the layers. The condition consists of the difference between the front slider and the index number of the respective layer. This will be stored in a variable called Z.
The next steps involve creating if statements for different movement states. The if statements help us control the movement direction of the layers – whether they move forward, backward, or sideways.
In the further configuration, we specify how the layers should move depending on the state. Here, different animations like is or linear animations can be used to create an engaging result.
To define the distance between the individual layers, we add another slider. This regulates the distance in the X and Z directions, so that the layers are positioned accordingly.
The rotation of the layers also needs to be addressed. You can insert a variable for the rotation angle here and adjust the rotation based on the state. This is important because the Coverflow effect is often represented with slightly tilted layers.
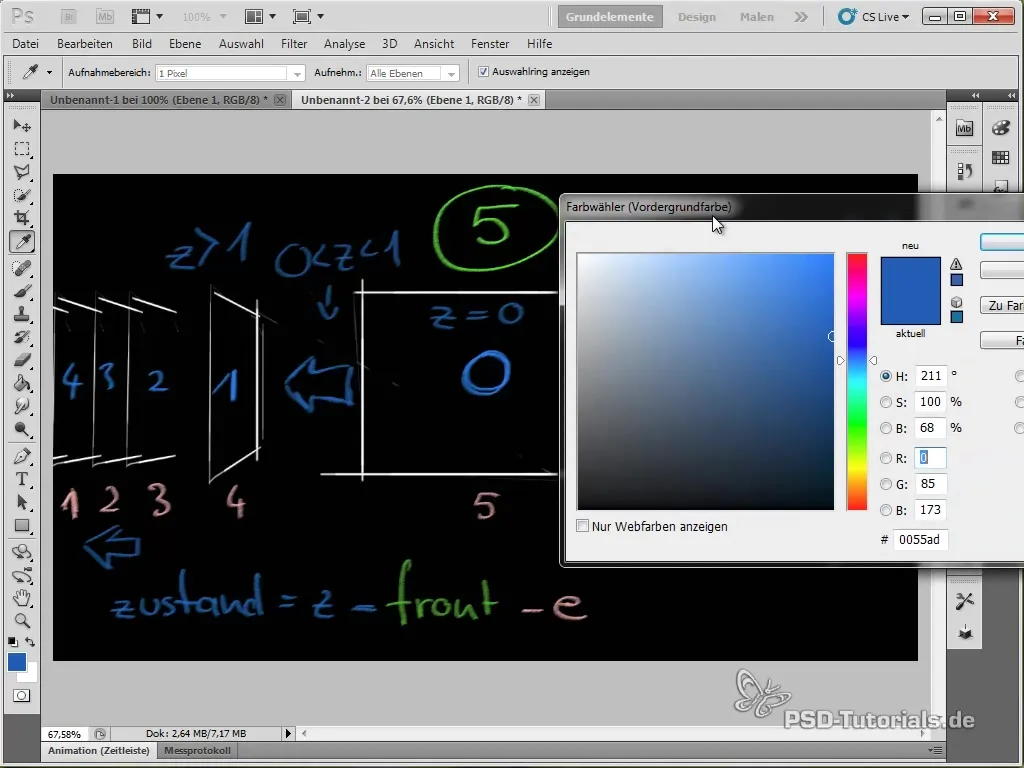
Now that we have set up all the controls, we need to add the actual animations and expressions for the position of the layers. Make sure that each layer has the correct values derived from the variables defined above.
Create a copy of the placeholder layer to ensure that each layer in the Coverflow effect is displayed correctly. Once you’ve done that, you should see that the layers move and animate accordingly when you change the front slider.
Volumes of each layer can now also be animated. Make sure to set the expression so that it can respond to the current state and the animation runs accordingly.
To check the final animation, you can perform a RAM preview. Just make sure that all animations flow as desired and make adjustments to the distances or angles if necessary.
Once you have completed the animations and everything has been checked, the Coverflow effect should look impressive on your screen. Experiment with different values to achieve the desired look!
Summary – Coverflow Effect in After Effects: Step-by-Step Guide
In summary, creating a Coverflow effect in After Effects is complex, but with a structured approach, it becomes significantly easier. By setting the right expressions and utilizing controls, you can achieve impressive results. Don't forget to stay creative during the process!
Frequently Asked Questions
What is the Coverflow effect?The Coverflow effect is a visual representation of media content that simulates a cubic movement similar to the iTunes user interface.
What role do expressions play in After Effects?Expressions allow you to create dynamic animations and efficiently control values related to layers and controls.
Do I need special skills to create the Coverflow effect?A basic understanding of After Effects and working with expressions is helpful but not a requirement.
