An impressive and impressive explosion effect can significantly enhance an action scene. In this guide, you will learn how to realistically integrate an explosion into your scene using rotoscoping and various effects. Based on a YouTube video tutorial, I will take you through the process step by step, from selecting the right elements to the final execution. Let's dive right in!
Main Insights
- Rotoscoping is crucial for realistically depicting objects in front of explosions.
- Selecting high-quality footage increases the realism of the effects.
- Using special plugins (like those from Andrew Kramer) can noticeably improve the quality of the explosions.
- Layering and masking are essential for a credible result.
Step-by-Step Guide
1. Prepare the Source Material
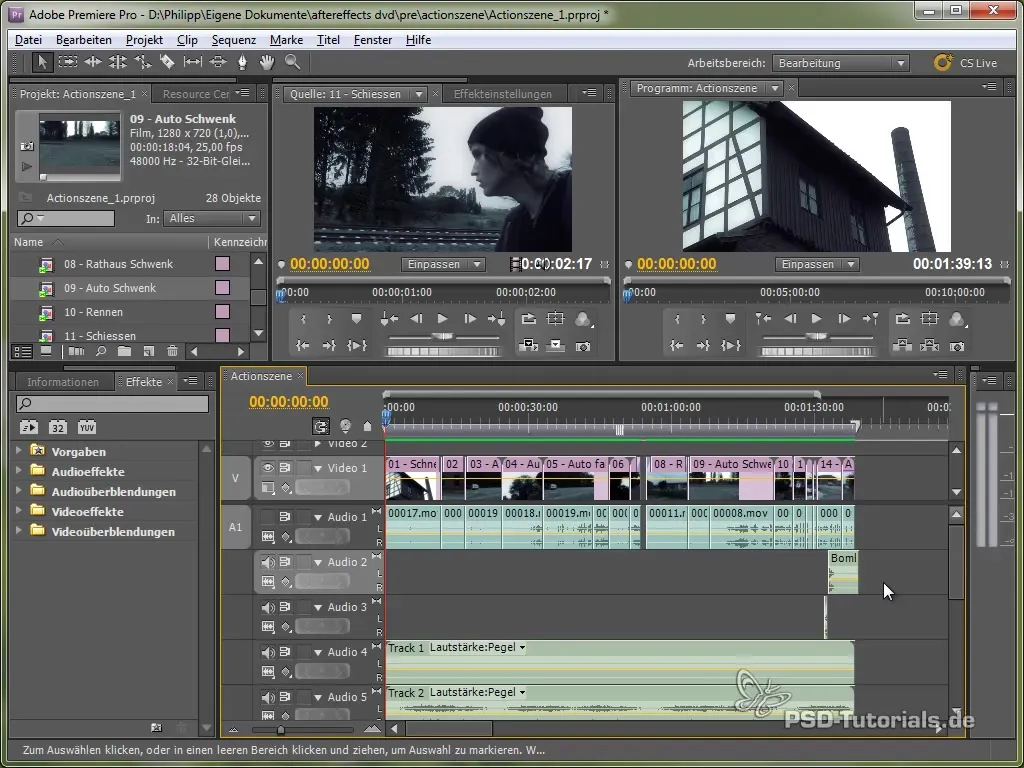
When creating an action scene, it is important to start with high-quality footage. In our case, we have footage of a car exploding. First, you need to gather all the elements you want to use.
2. Prepare the Explosion
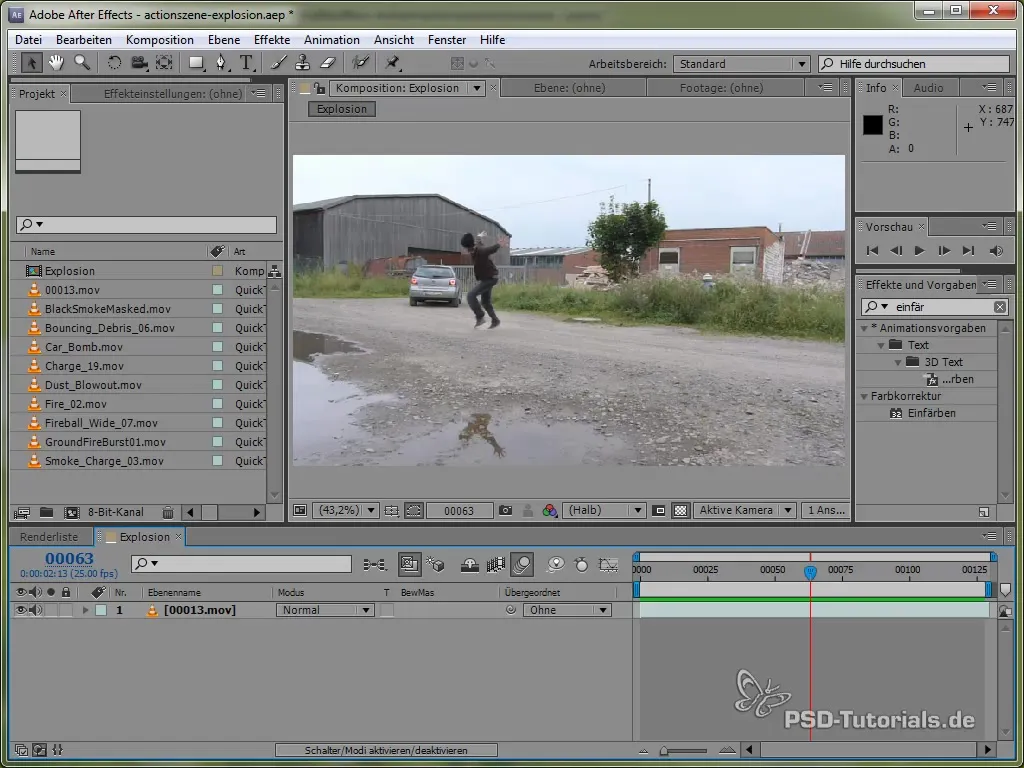
To create an explosion, you need good stock footage. I recommend Andrew Kramer’s “Action Essentials 2” package, which offers a variety of explosion effects. Let’s take a look at the different elements we want to use.
3. Select and Mask the Car
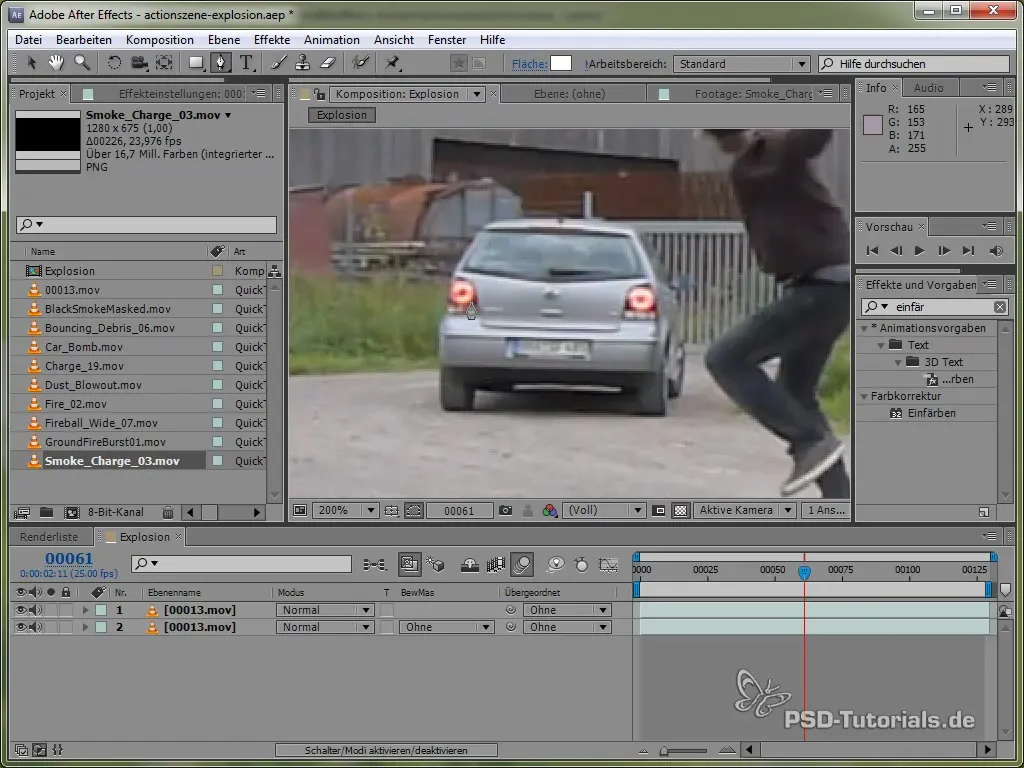
Before you insert the explosion, you need to mask the car that is supposed to explode carefully. You can do this by drawing a Z-shape around the car, making sure to capture the relevant shadows and details.
4. Adjust the Position of the Car
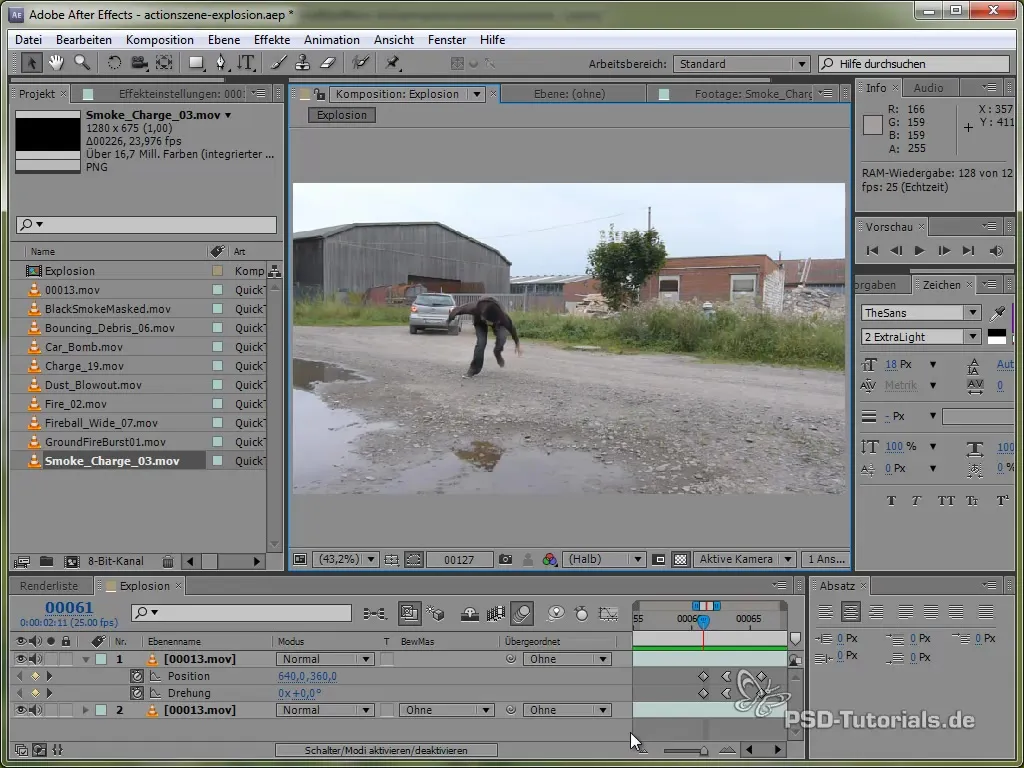
The next step is to animate the position and rotation of the car so that it appears to jump up during the explosion. Use keyframes to make the movement realistic. Also, add some extra rotation to round off the effect.
5. Insert the Explosion
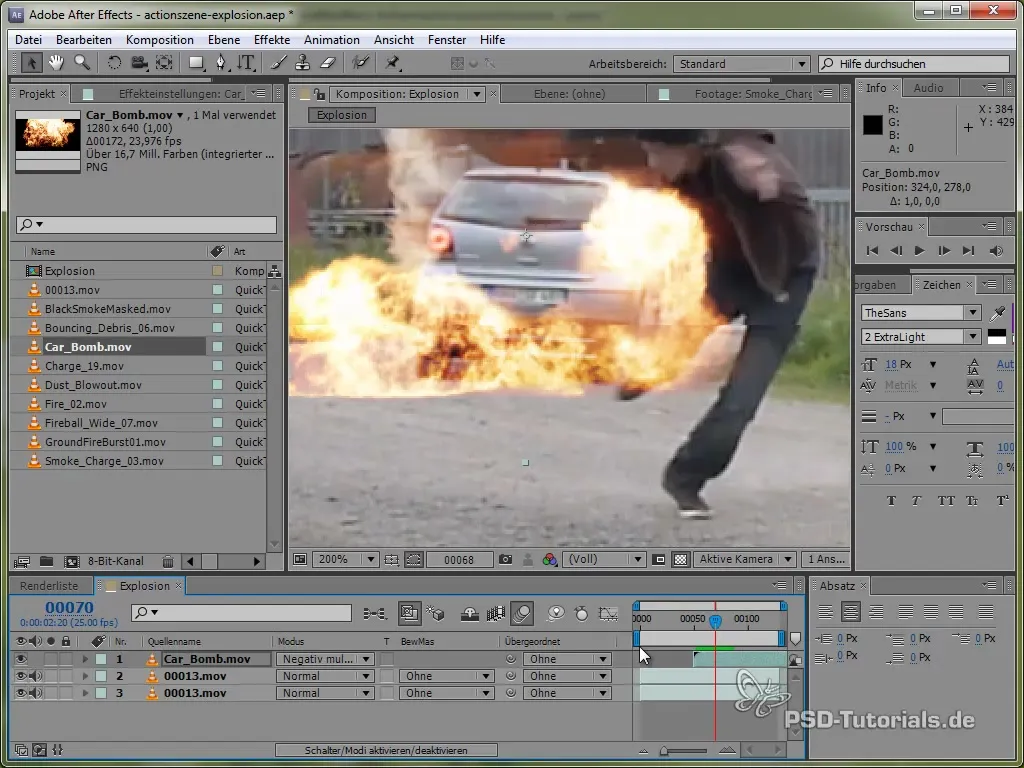
Now we insert the main explosion in the form of Andrew Kramer’s “car bomb.” Make sure to set the mode to “negative multiply” to seamlessly integrate the explosion into the scene. Position the explosion strategically to perfectly capture the moment of impact.
6. Soften Mask Edges
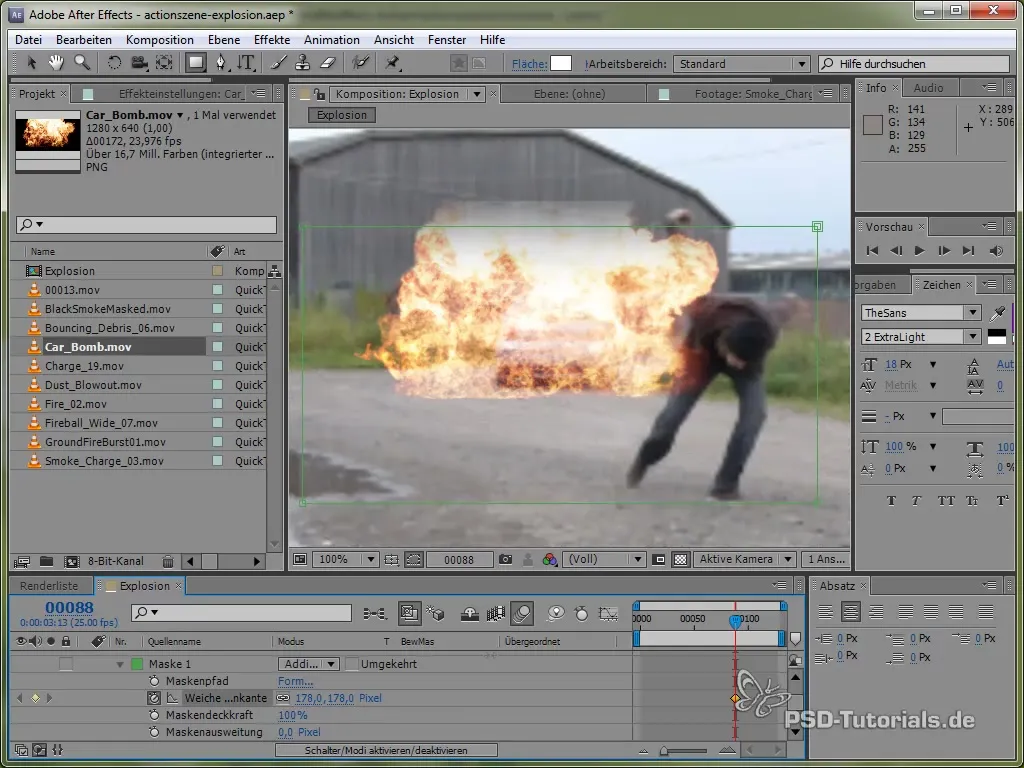
After the explosion has been added, we need to soften the mask edges so they appear less sharp and thus more realistic. The explosion-induced “soft edge” ensures that the image does not look artificial.
7. Add Multiple Explosion Effects
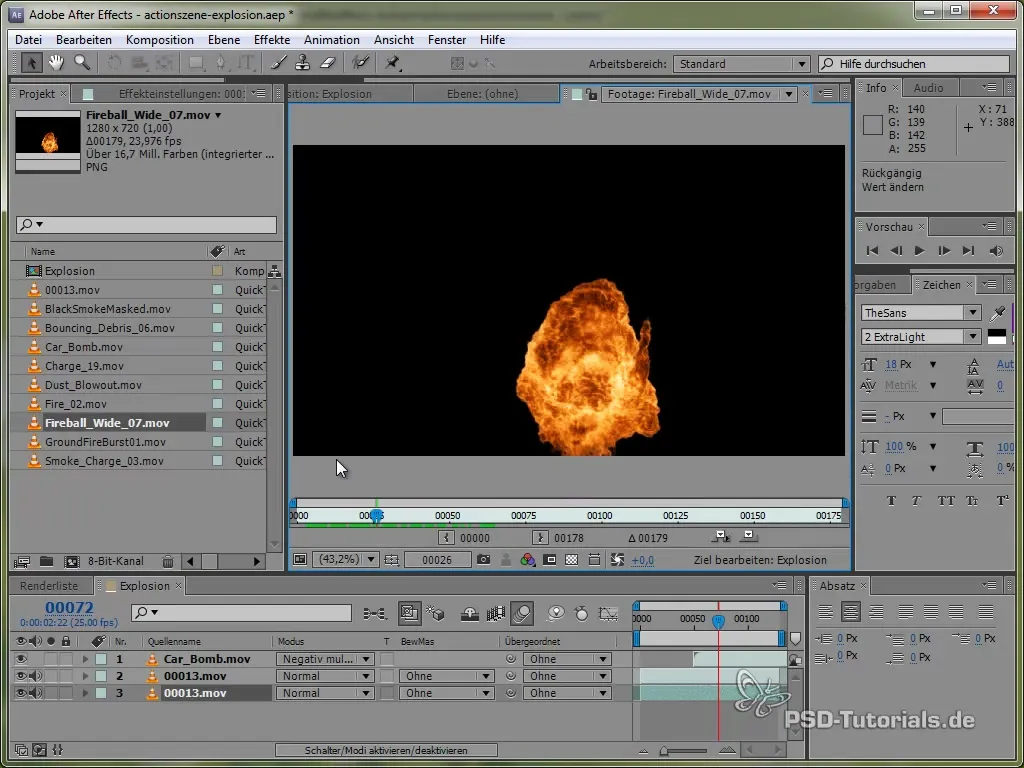
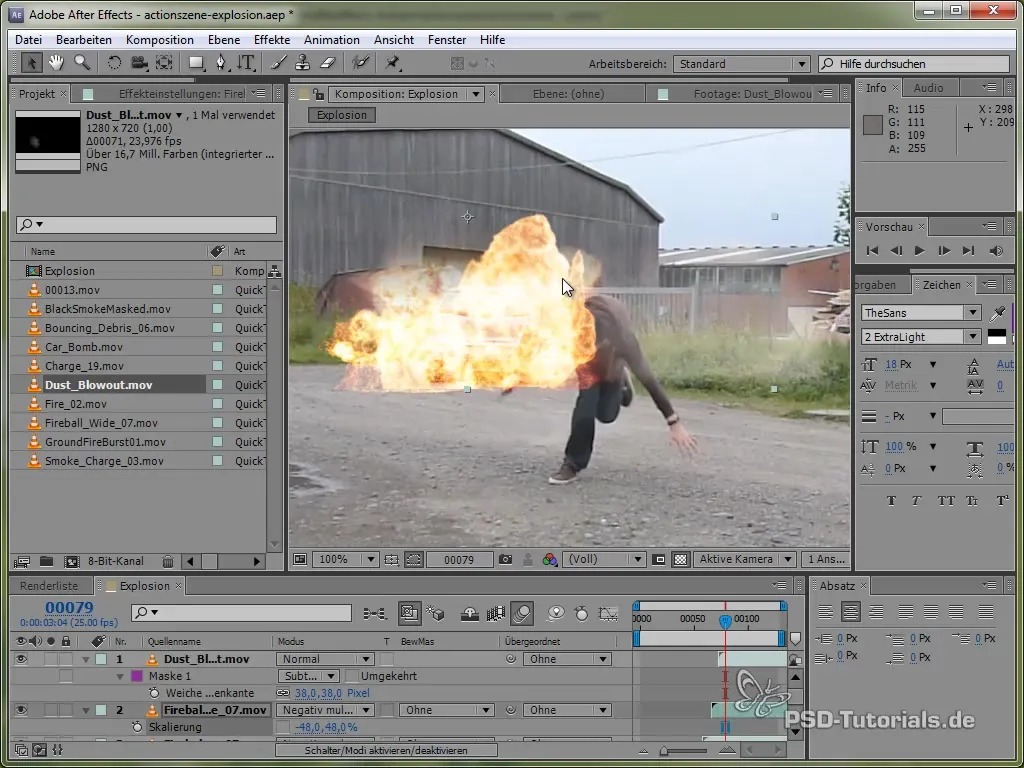
To achieve a credible effect, add several explosion elements. For example, small explosions that occur before the main explosion, and smoke caused by the explosion. These details add depth to your scene.
8. Add Dust and Debris
Add small particles, such as dust and debris, that fly through the air after the explosion. These effects should also be added in layers so they look like part of the overall explosion.
9. Rotoscoping the Main Character
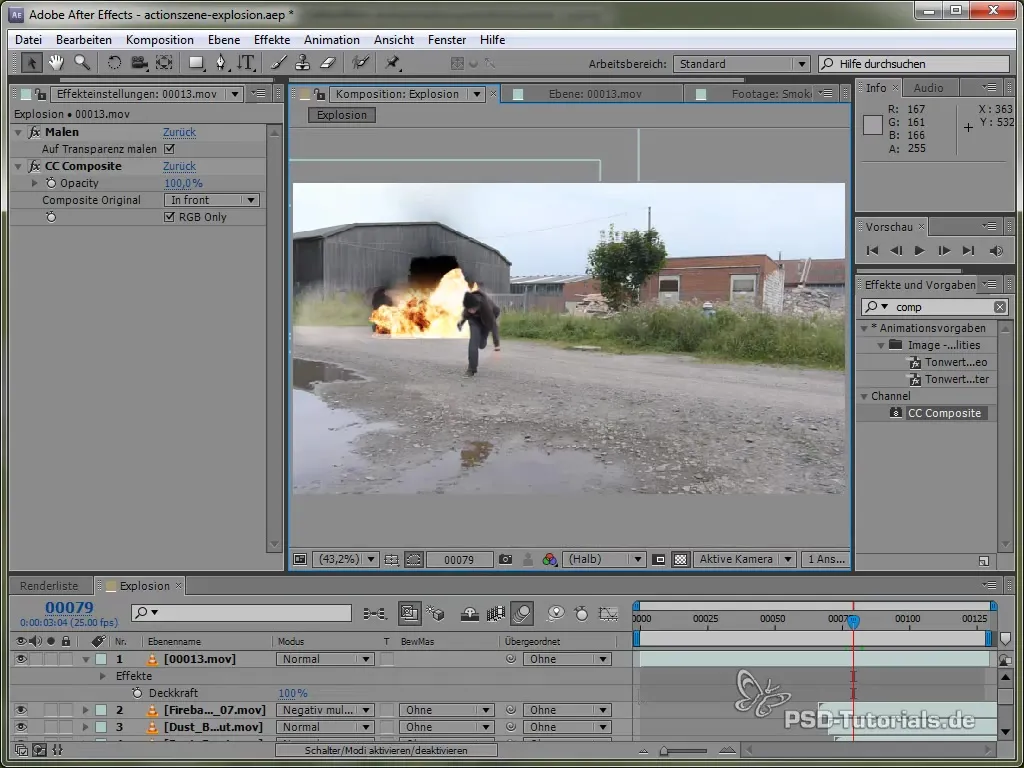
The probably most labor-intensive step is the rotoscoping of the character moving in front of the explosion. Use a graphics tablet to draw the outlines of the character frame by frame, and apply the CC Composite effect to display the character embedded before the explosion.
10. Refinement and Color Grading
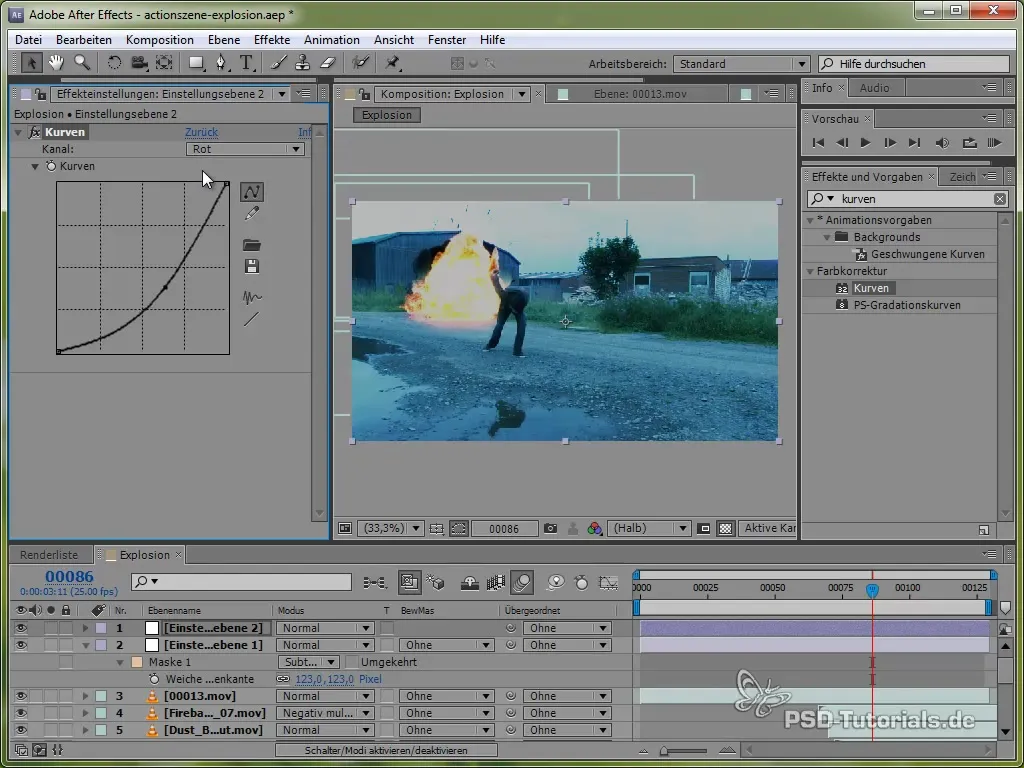
To optimize the overall image, delve into color grading. Adjust the curves to achieve the desired contrast and saturation. Ensure that the colors match the surroundings and atmosphere of your scene.
11. Add Light and Movement Effects
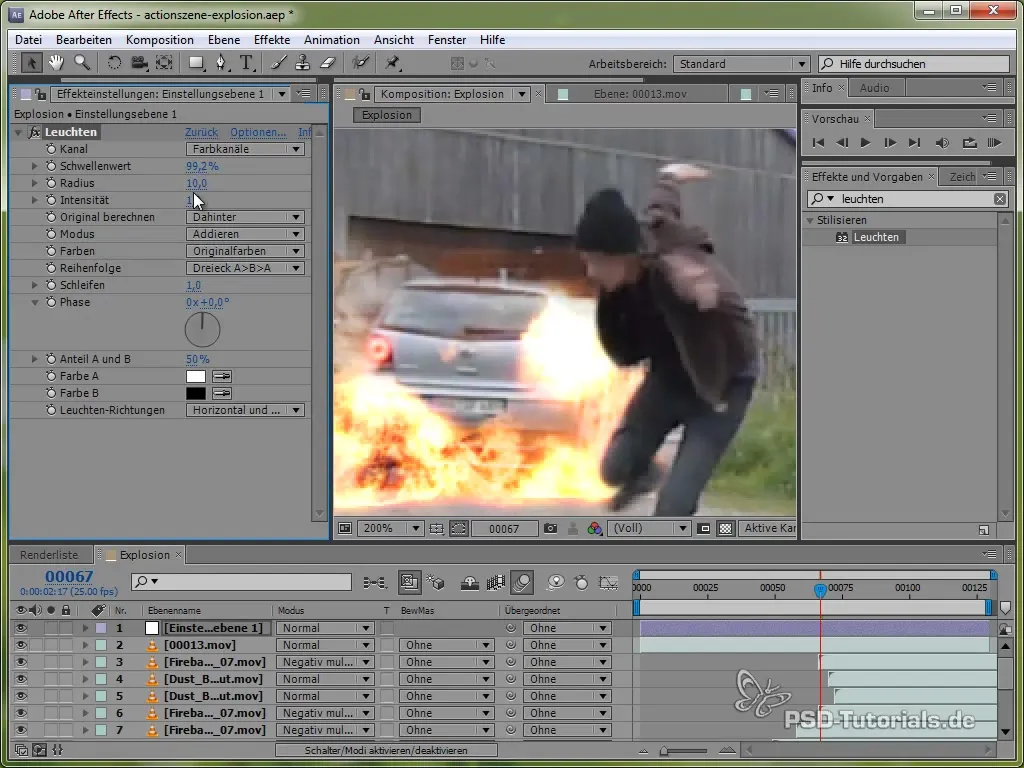
To make the explosion even more realistic, add a glow effect that emphasizes the brilliance of the explosion. Create an important input layer and use the “Glow” effect here. Adjust masks to ensure the effect is applied harmoniously everywhere.
12. Finalizing the Scene
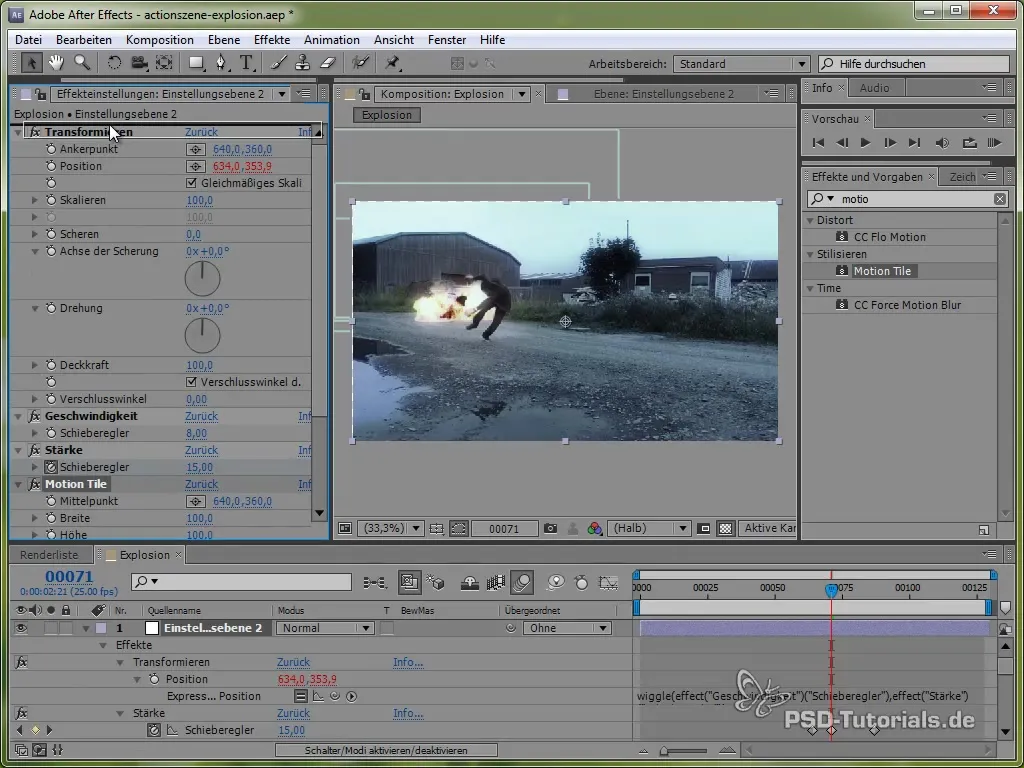
A well-placed camera shake during the explosion can enhance the impact. Remember to choose the right speed and strength when shaking the camera to achieve a dynamic effect.
13. Add Sound Effects
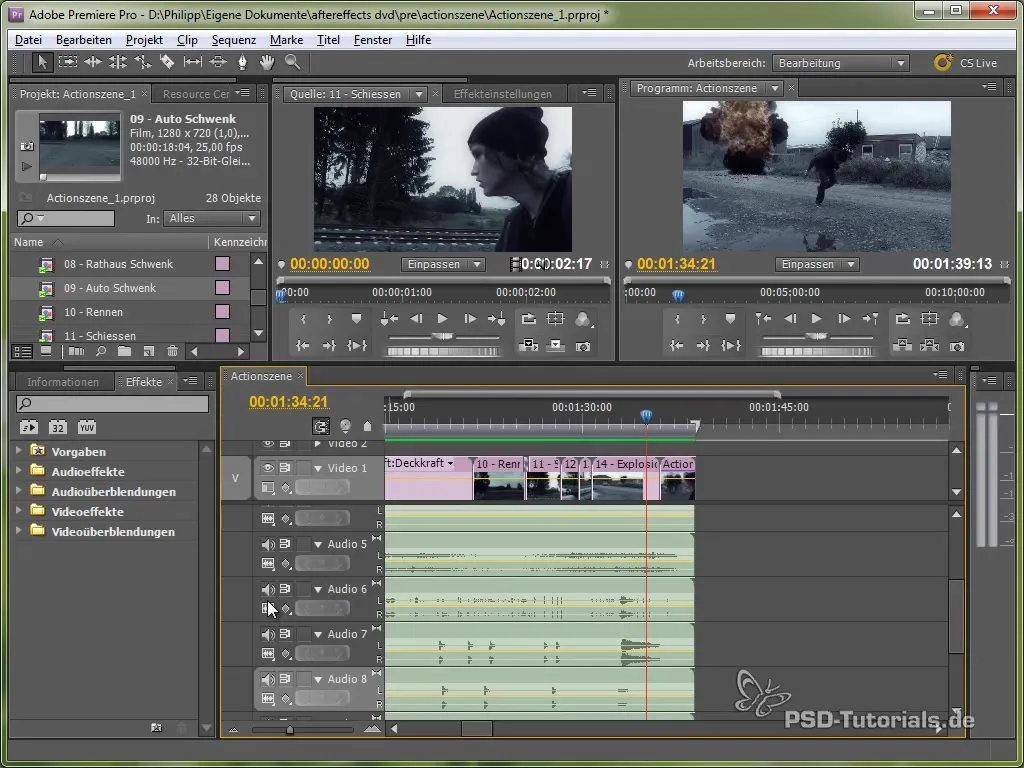
The final step involves selecting suitable sound effects that underscore your explosion. Look for high-quality sounds that match your scene and load them into your editing software.
Summary – Rotoscoping and Explosion Effects in Action Scenes
You have now learned all the necessary steps to integrate realistic explosion effects into your action scenes. From selecting suitable materials to rotoscoping and final touches, we have covered the entire process. With these tools and techniques, you are well-equipped to create impressive visual effects.
Frequently Asked Questions
How long does rotoscoping take?Rotoscoping can take several hours depending on complexity.
What software is needed for these effects?Adobe After Effects is required for this guide.
Why are high-quality explosion effects important?High-quality effects increase the credibility and realism of your scene.
