The art of video production encompasses many techniques that enable you to create and adapt content in a creative way. One of these techniques is Time Remapping, which is particularly useful for matching footage to the rhythm and structure of your music. In this guide, you will learn how to effectively use Time Remapping in After Effects to control and adjust the timing of your shots.
Key Insights Time Remapping allows you to control specific points in a video by setting keyframes. The timing is purposefully adjusted to enable harmonious synchronization with music. The movement between keyframes can be adjusted using time curves to dynamically influence the speed of your clip.
Step-by-Step Guide
Step 1: Create a New Composition
First, create a composition into which you will import your footage. The first step is to ensure that you have chosen the correct composition size and settings to edit your clip optimally. Once the footage is in place, prepare to start the Time Remapping process.

Step 2: Enable Time Remapping
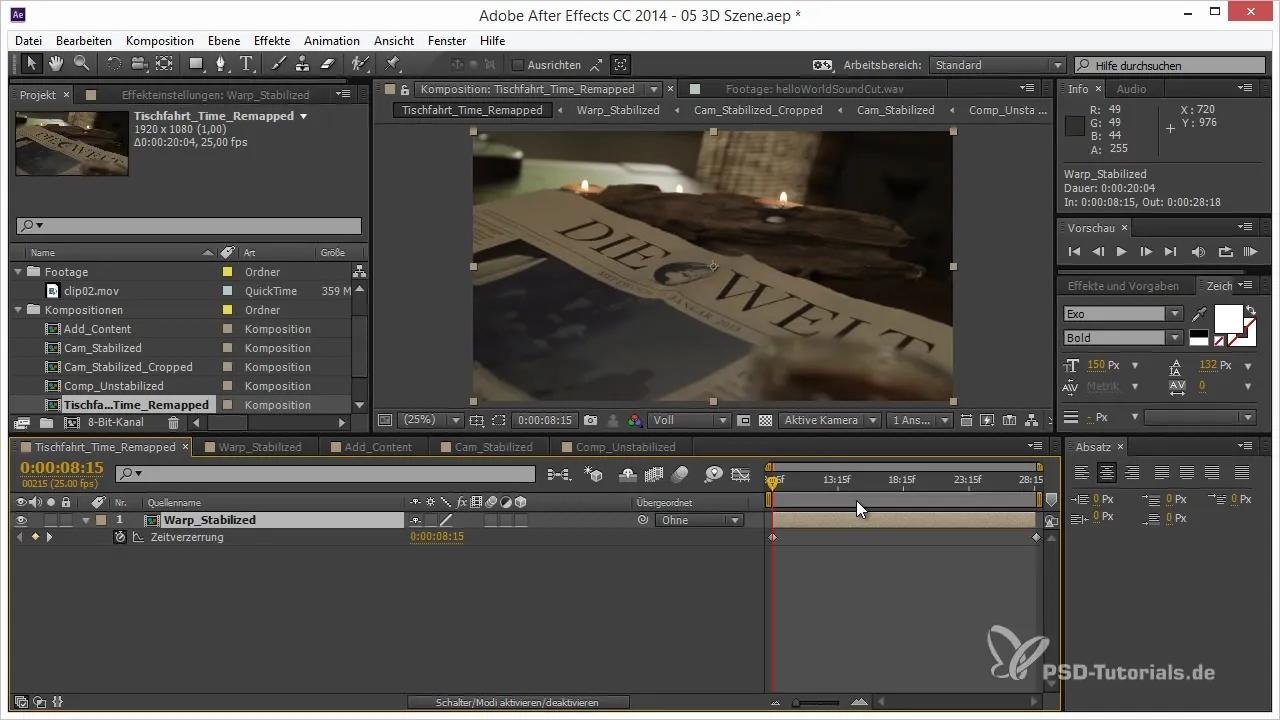
Right-click on your clip's timeline and select "Time" and then "Enable Time Remapping". This will create the keyframes that will allow you to manipulate your clip's timing. You will now see two default keyframes in the timeline area that are essential for setting the timing points.

Step 3: Set Keyframes
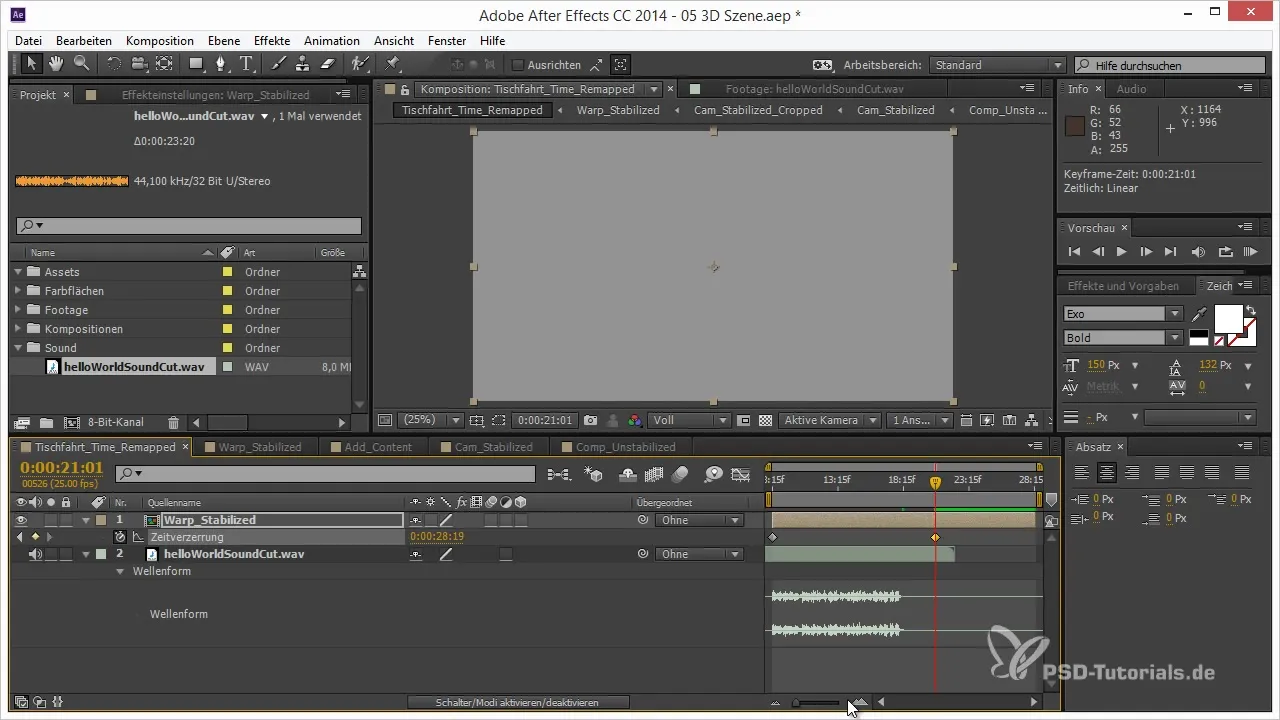
Move the keyframes to define the beginning and end of your shot. Each keyframe determines when each section of your video will be displayed. You can adjust the keyframes to align with specific points in the music to ensure that they are harmoniously connected.
Step 4: Adjust Timing to the Music
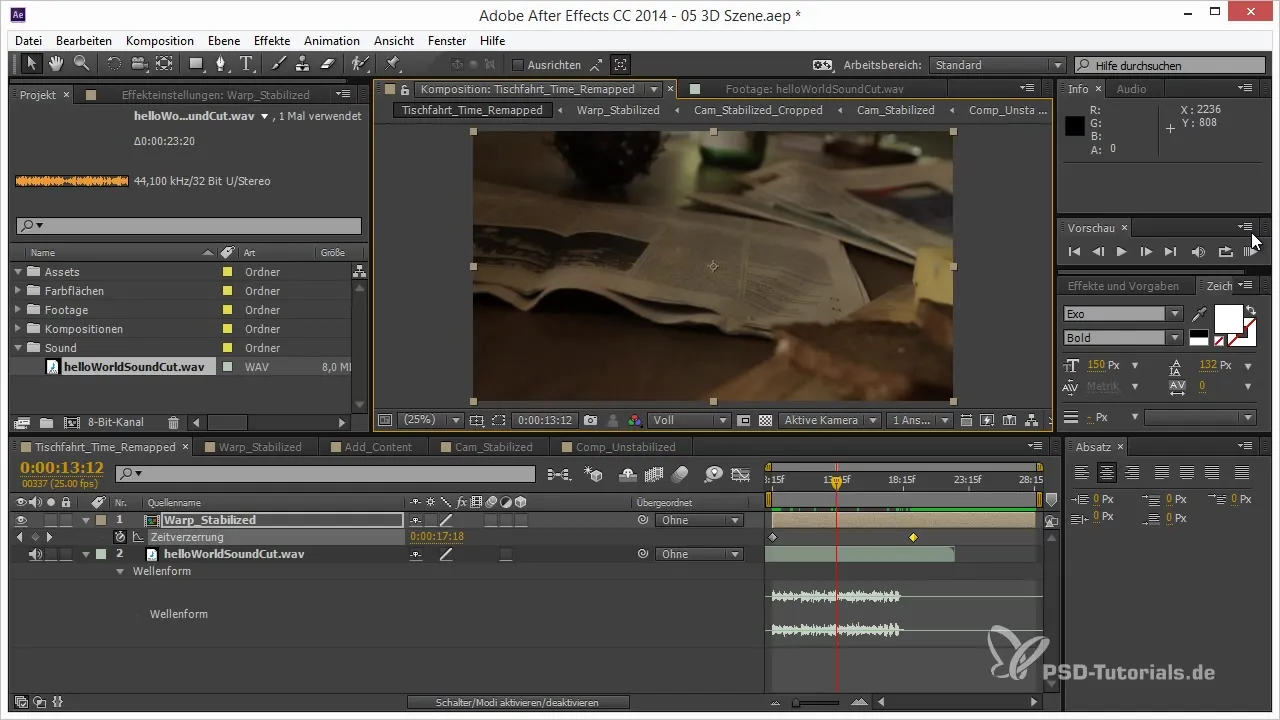
Load a soundtrack into your composition and identify the sections where you want to align your video. Move the keyframes to the corresponding points where the musical peaks or important beats occur. This will help you efficiently match the footage to the musical rhythm.

Step 5: Preview and Adjustments
Preview your composition to see how the animation looks. If you find that certain transitions are too abrupt or unsuitable, go back and adjust the keyframes accordingly. You can also reduce the preview quality to enhance performance when working with high-resolution material.

Step 6: Curve Adjustment for Time Remapping
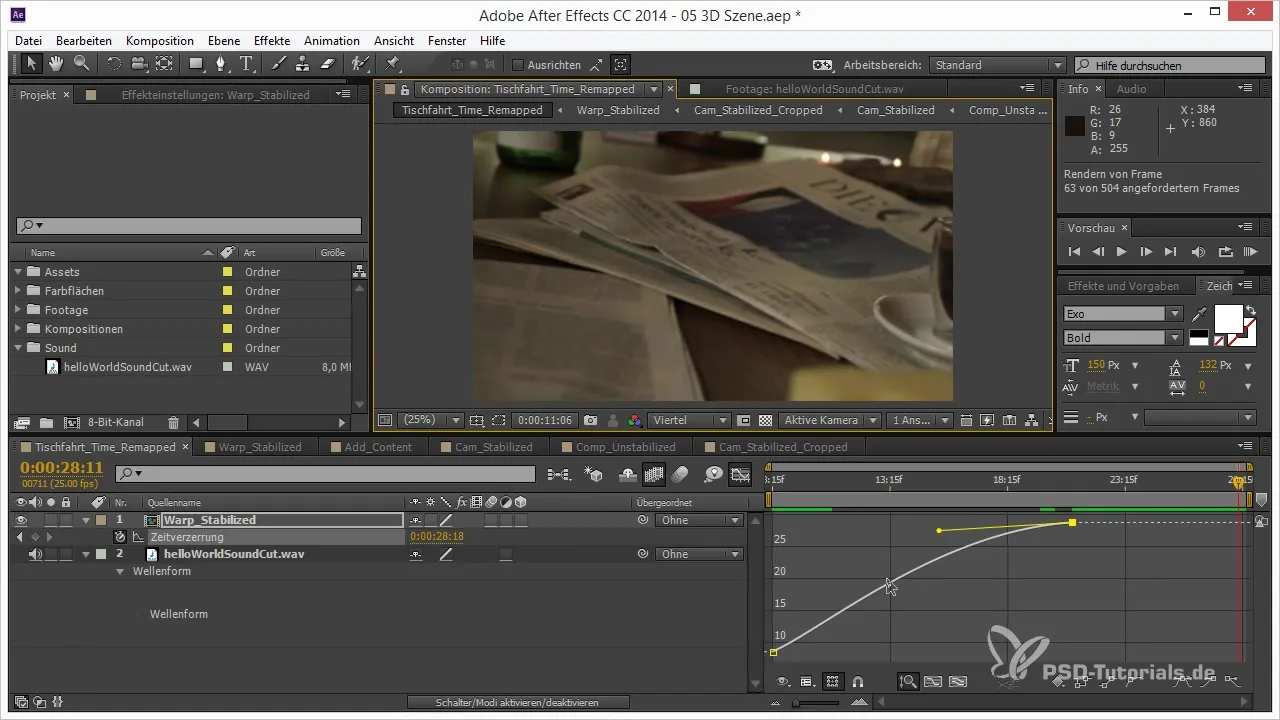
To further adjust the speed of your animation, you can delve into the speed settings of the keyframes. For example, you can edit the curves of the keyframes to make them non-linear rather than dynamic. Holding a keyframe longer will result in a smoother final outcome.

Step 7: Enable Frame Blending
Give your footage a smooth transition between frames by enabling frame blending. This feature helps to avoid abrupt changes between keyframes and allows for a more harmonious sequence of images, reducing stutters.

Step 8: Final Adjustments and Summary
Once you are satisfied with the adjustments, make sure everything is properly synchronized. Review the entire sequence and correct any last details if necessary. Ensure that the frame blending is properly activated everywhere to achieve the desired quality.

Summary – Time Remapping of Shots in After Effects
In summary, Time Remapping is an essential tool for giving your footage dynamic and engaging timing. By manipulating keyframes and adjusting the curves, you can optimize synchronization with the music. Furthermore, you will be able to enrich the character of your project through skillful timing and the use of transitions.


