In Adobe After Effects, there are constant innovations, especially since the introduction of Creative Cloud. A particularly useful feature is the masks for effects, which allow you to edit specific areas of your footage without affecting the rest of the image. This guide will show you how to use the mask function to effectively apply effects, and you will learn how to adjust this mask to movements in your video.
Key Takeaways
- Masks for effects can be applied to the image without changing the rest and transparency of the footage.
- The new “Rigid Mask Tracker” allows you to track masks precisely.
- Effects and masks can be easily combined to achieve impressive results.
Step-by-Step Guide
Step 1: Prepare Footage and Mask
First, you need to import the footage into After Effects. To do this, simply drag it into your project window. Now select the clip to which you want to apply the mask. In this example, you might want to blur the face of a character. To do this, you need a mask. Select the Pen tool and draw the mask around the area you want to protect, in this case, the eyes.
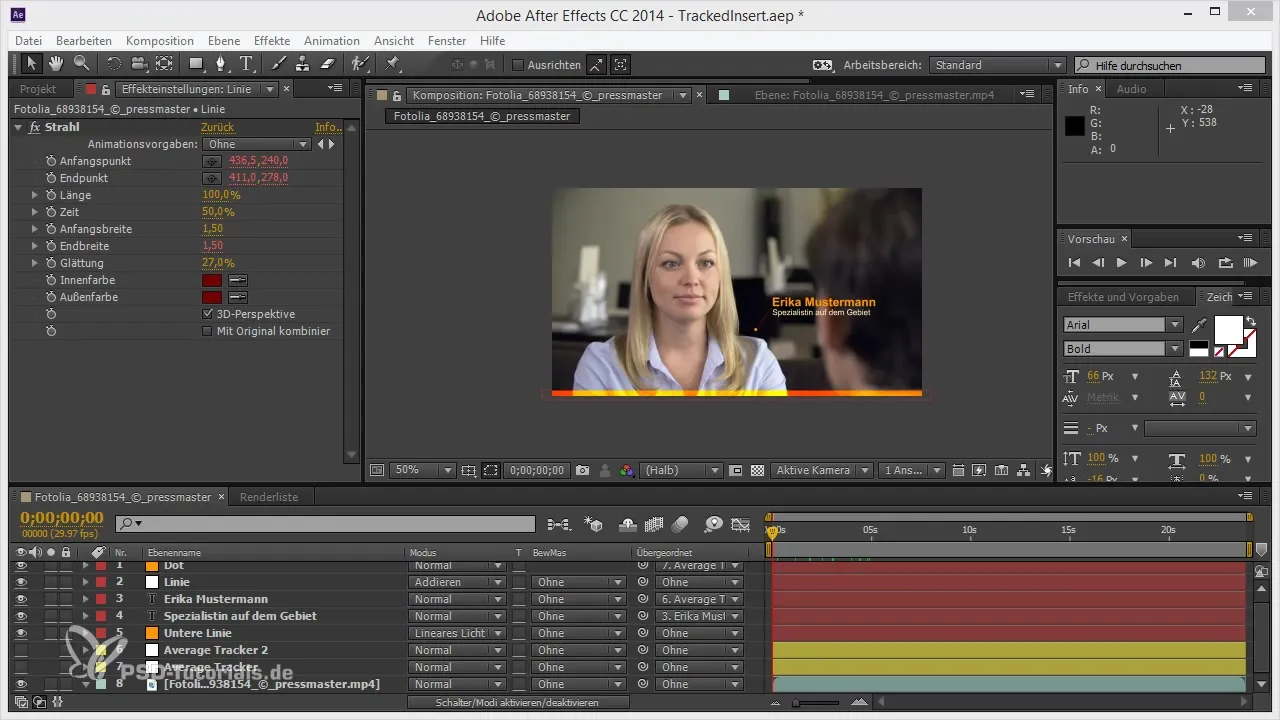
Step 2: Apply Effect
After setting the mask, you can choose an effect to apply to this mask. In this tutorial, we will use the “Fast Blur”. Go to the effects and select “Blur and Sharpen”. Add the effect and make sure it only affects the mask. You can adjust the strength of the effect in the effect settings.
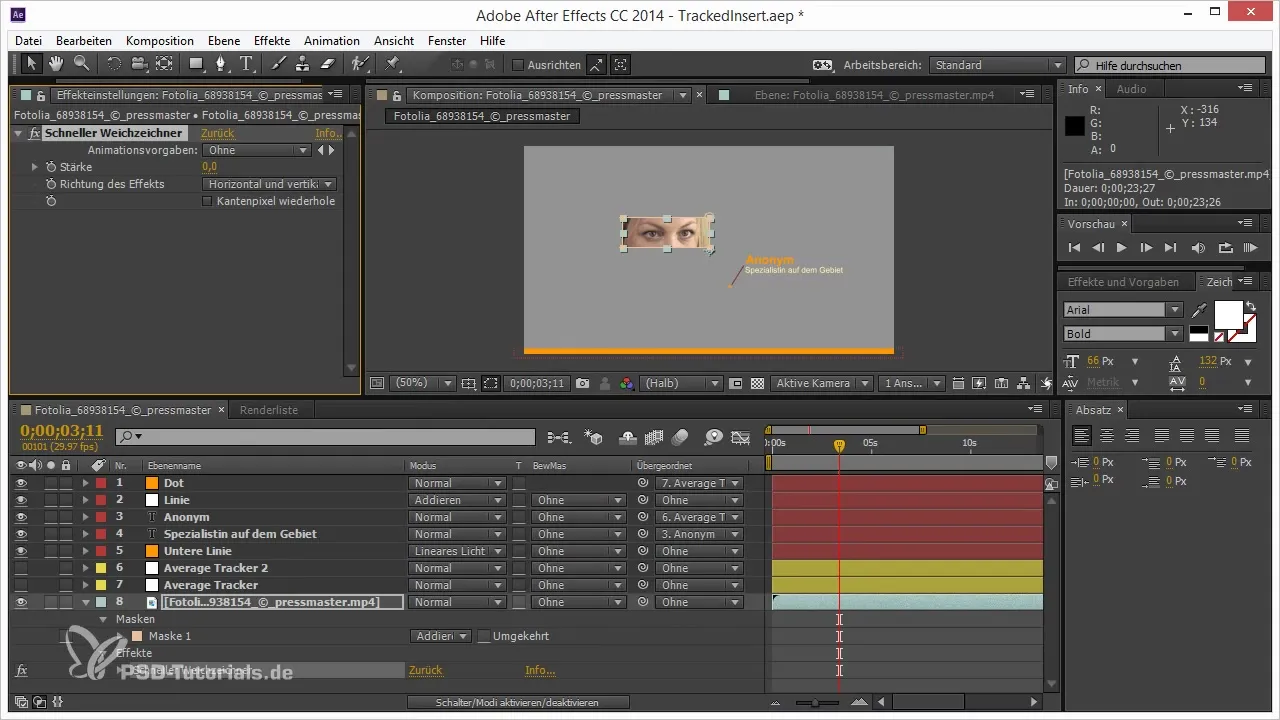
Step 3: Adjust Effect Opacity
Once you have applied the mask and effect, you can adjust the opacity of the effect. In the timeline, you will find the options for the applied effect. Click on the effect to open the composition options. There you will find the “Effect Opacity”. With this function, you can control the visibility of the effect without removing the effect itself.
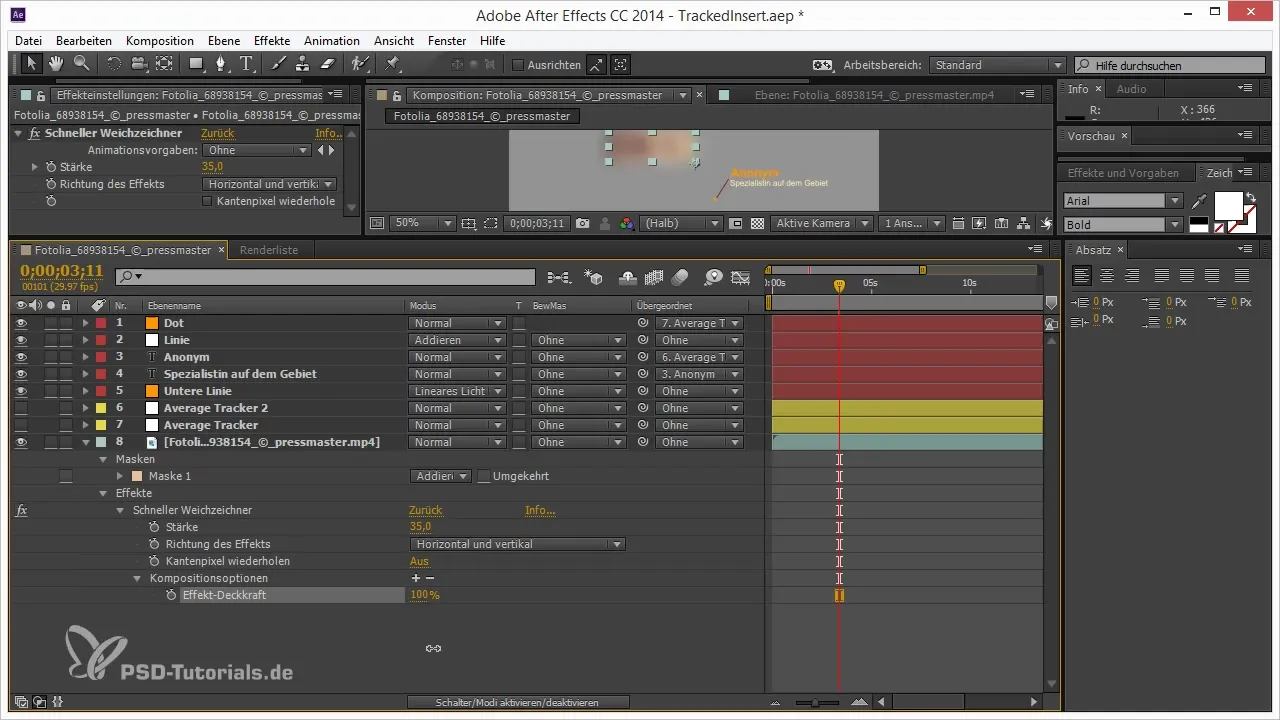
Step 4: Add Mask Reference
To maximize the use of the mask, it can be helpful to add a mask reference. You can do this by clicking on the plus sign that appears next to the mask. This allows you to add and adjust different mask references. This way, the effect is only applied to the selected mask and remains active even if you make other adjustments.
Step 5: Use the Rigid Mask Tracker
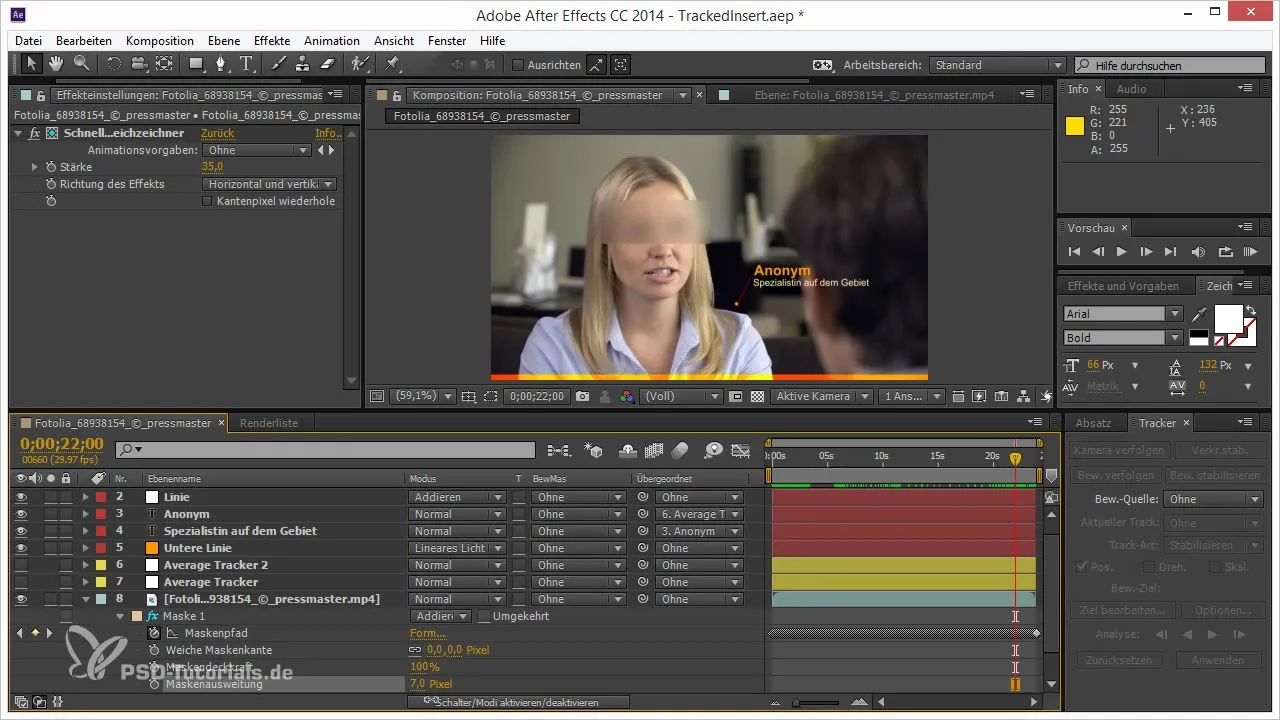
To adjust the mask movement, you can use the Rigid Mask Tracker. Go to “Window” and open the Tracker. Once you select the mask, the tracker changes to a special Rigid Mask Tracker. This way, you can adjust the mask to movements in the footage without having to manually keyframe it. Start tracking to bind the mask to the eyes.
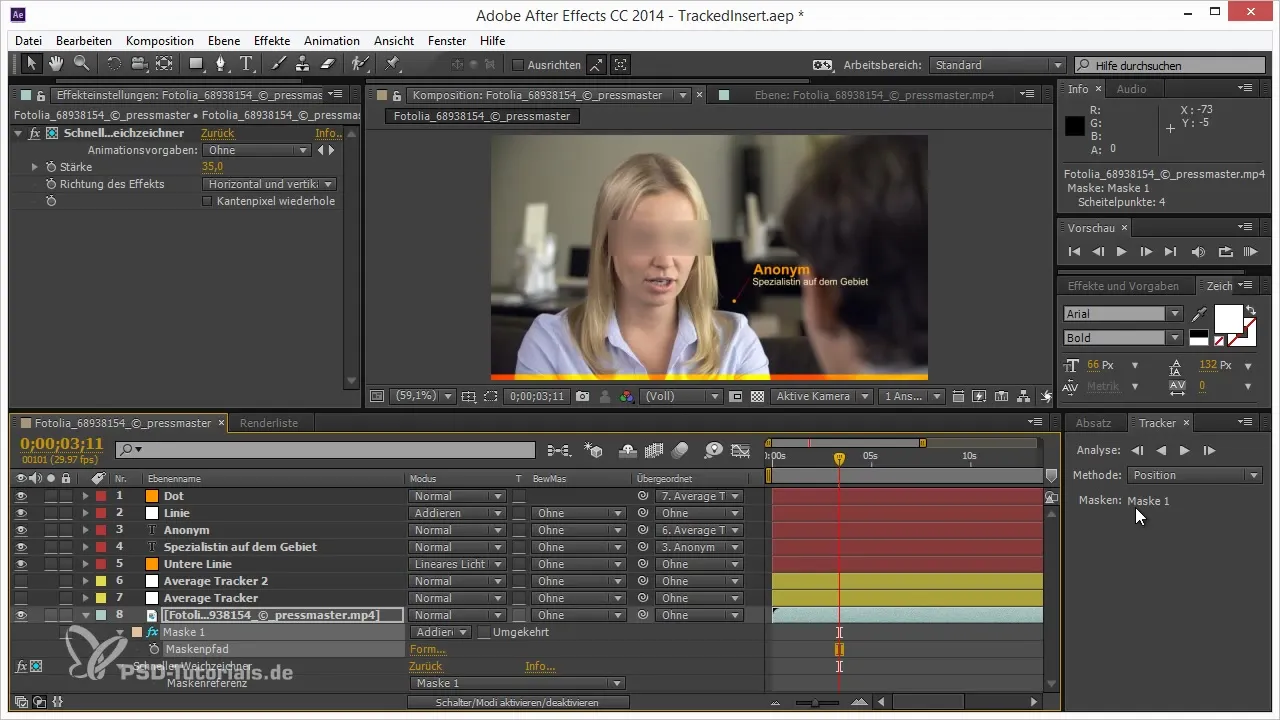
Step 6: Fine-Tune the Mask
Once the tracking is complete, check the result in the preview window. You can adjust the mask by moving the points or softening the edges to create a smoother transition. This is important to ensure that the mask does not become too noticeable. Enlarge the mask if necessary to ensure it looks good and that the person involved remains unrecognizable.
Step 7: Continue Working on Project
With the mask successfully applied and created, you can now continue working on your project. You can add more effects or edit other areas while continuing to use the mask function to optimize your workflow.
Summary - How to Use Masks in After Effects for Effects
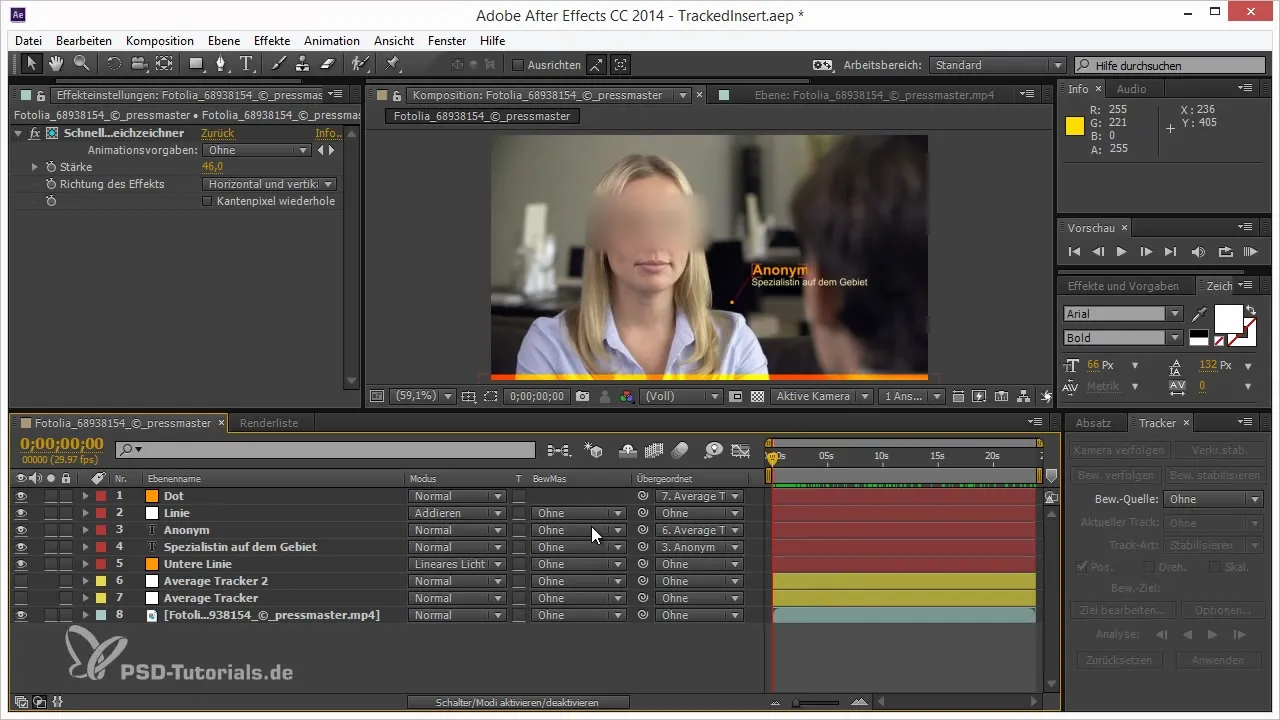
This guide shows you how to create and use masks in After Effects. You have learned how to apply a mask in just a few steps, apply effects to it, and adjust it to movements with the Rigid Mask Tracker. This will enable you to make your video projects look even more professional.
Frequently Asked Questions
What are masks for effects in After Effects?Masks for effects are special masks that allow you to apply effects only to specific areas of a footage.
How can I adjust my mask to movements?With the Rigid Mask Tracker, you can adjust the mask to movements in the video without having to manually keyframe it.
What is the difference between a standard mask and mask reference?The mask reference allows you to combine multiple masks and control the effects more precisely.


