You have multiple computers available, whether at your agency or at home? If you are working on complex projects in After Effects, you should take advantage of network rendering. It enables significantly faster processing, as multiple computers can work on a project simultaneously. In this guide, I will explain the entire process of network rendering in After Effects, from the initial steps to the final settings you need to make.
Key Insights
- Network rendering allows you to utilize multiple computers for simultaneous editing of After Effects projects.
- The render output must be in image sequence format to avoid conflicts between computers.
- A monitored folder on a server allows all computers to easily access and render the projects.
Step-by-Step Guide
To effectively start network rendering in After Effects, follow the steps below.
Step 1: Prepare Your Composition
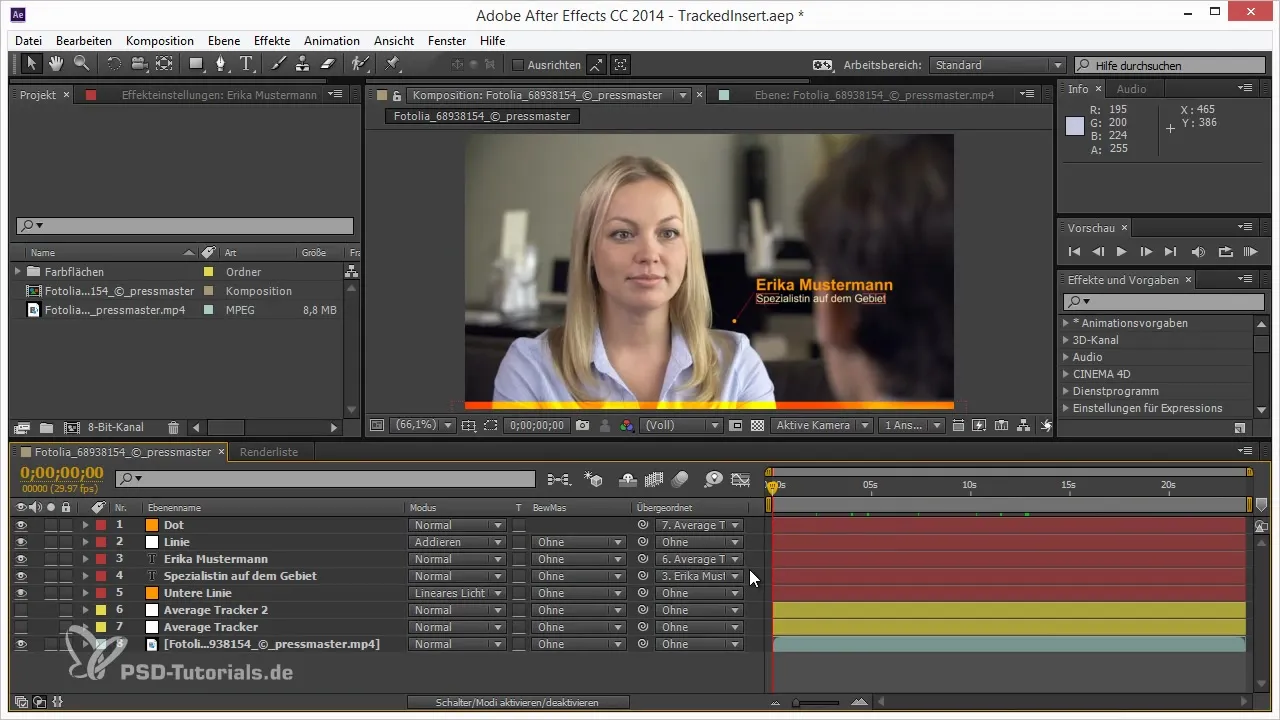
First, you need to create a composition in After Effects that you want to render. Make sure all necessary assets are present in your composition before you start rendering. To add the composition to the render queue, simply press the shortcut Control + M.
Step 2: Select the Correct Render Settings
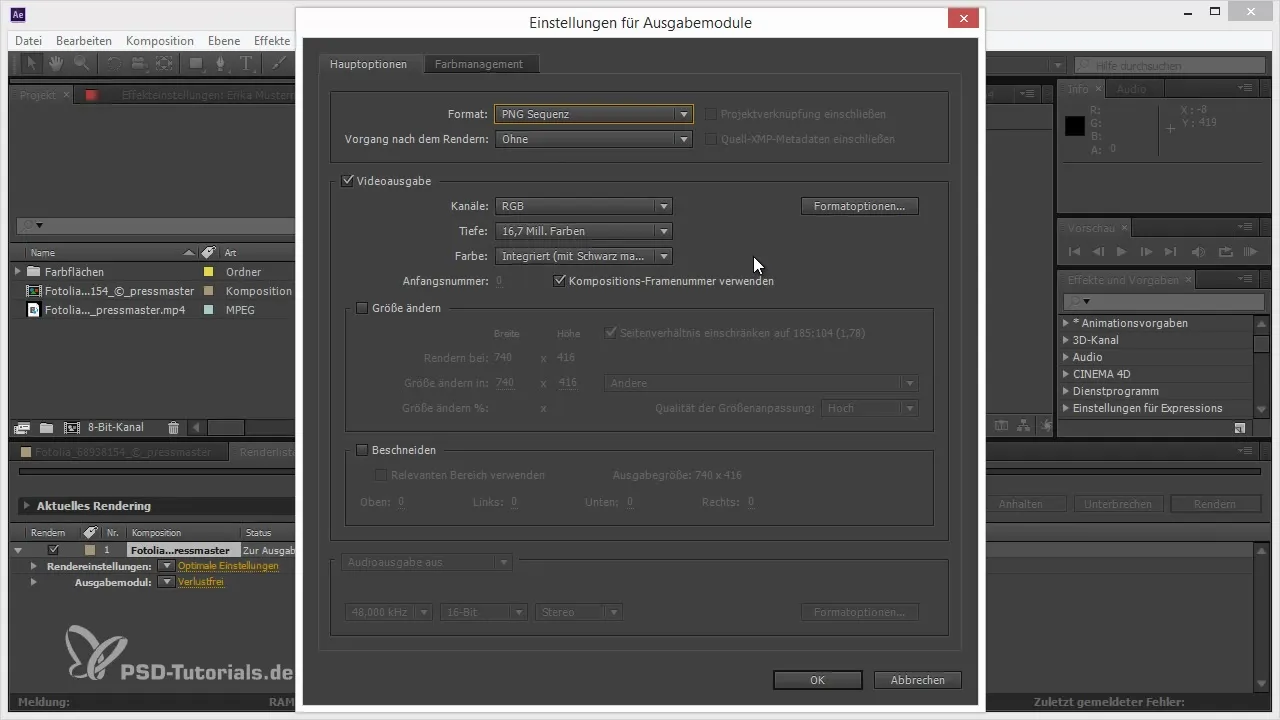
It is important that you render an image sequence. This is because multiple computers cannot access a single file at the same time. In the render menu, select the PNG format to generate the image sequence. The audio can be ignored at this step, as most computers focus on the graphical elements.
Step 3: Adjust Render Settings
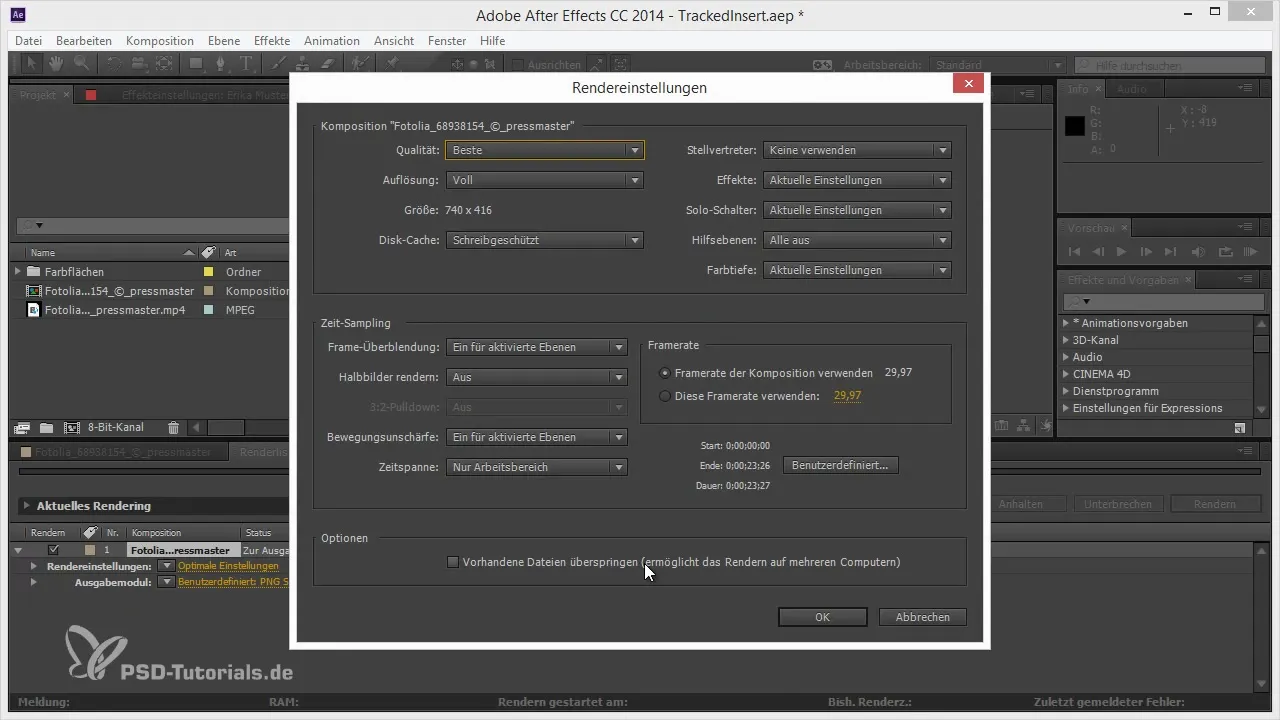
Go to the render settings and ensure that the option "Overwrite Existing Files" is activated. This is crucial as it coordinates the rendering process across different computers. Each computer checks which frames have already been rendered and works with the frames that still need to be rendered.
Step 4: Save on a Server
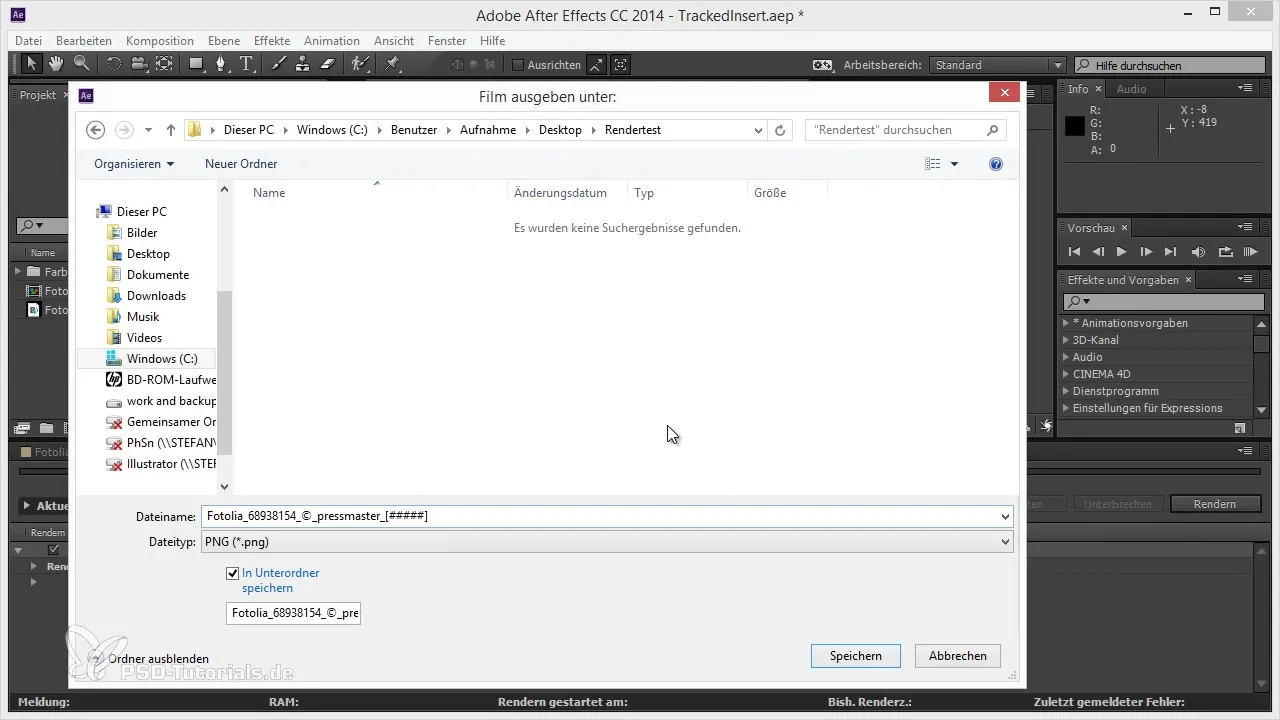
To ensure that all computers can access the same files, you should save your projects to be rendered on a server. This ensures that all computers have the same access to the required files.
Step 5: Collect All Project Assets
Before you start rendering, you need to ensure that all necessary files are integrated into your project. To do this, go to "Collect Files" to ensure everything is bundled with the project.
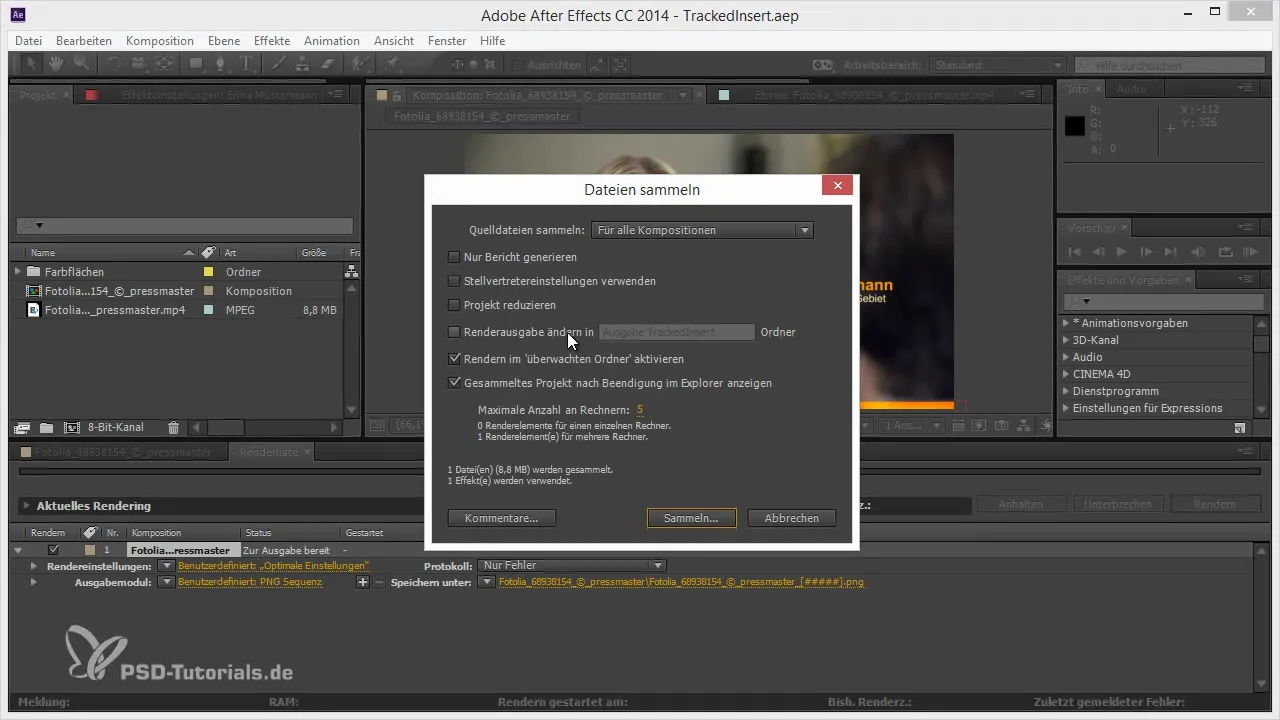
Step 6: Set Up a Monitored Folder
Activate the "Monitored Folder" feature. Select the folder you created earlier so that all rendering computers can coordinate their work in this way.
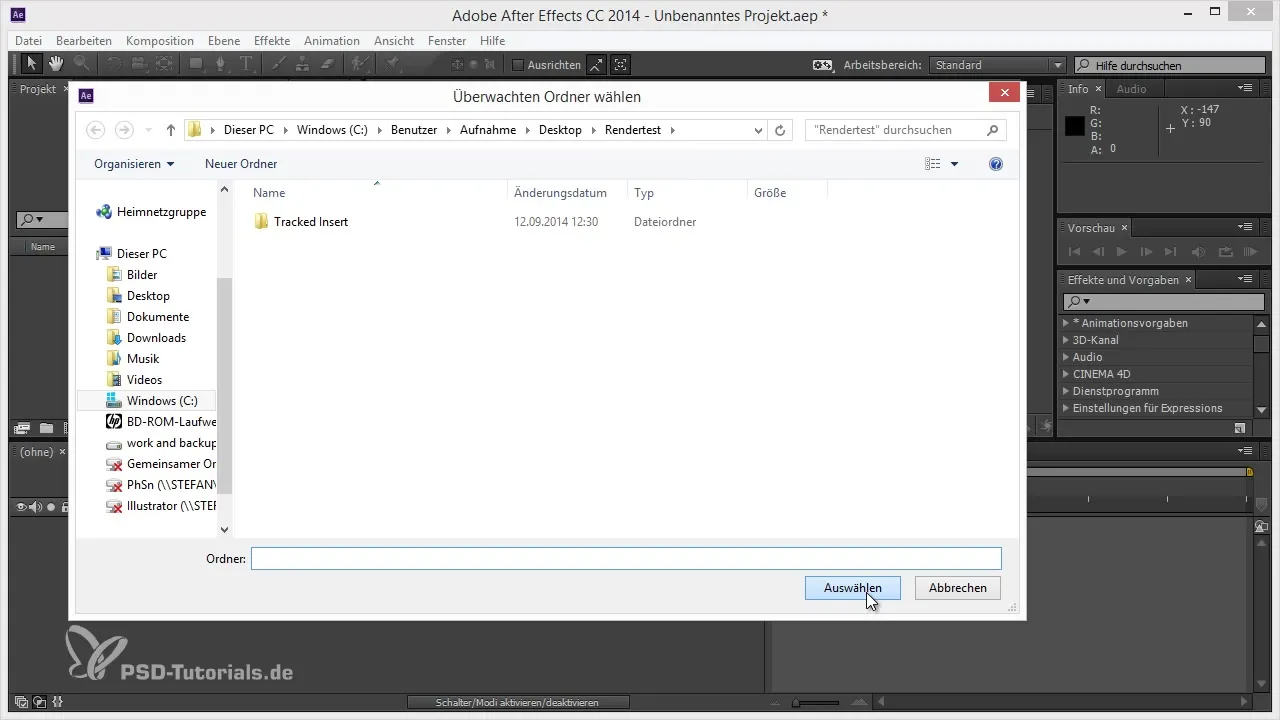
Step 7: Operate in Monitored Mode
Each computer should now be in the mode where it automatically loads projects from the monitored folder as soon as new files are added. This ensures that each computer can begin rendering automatically.
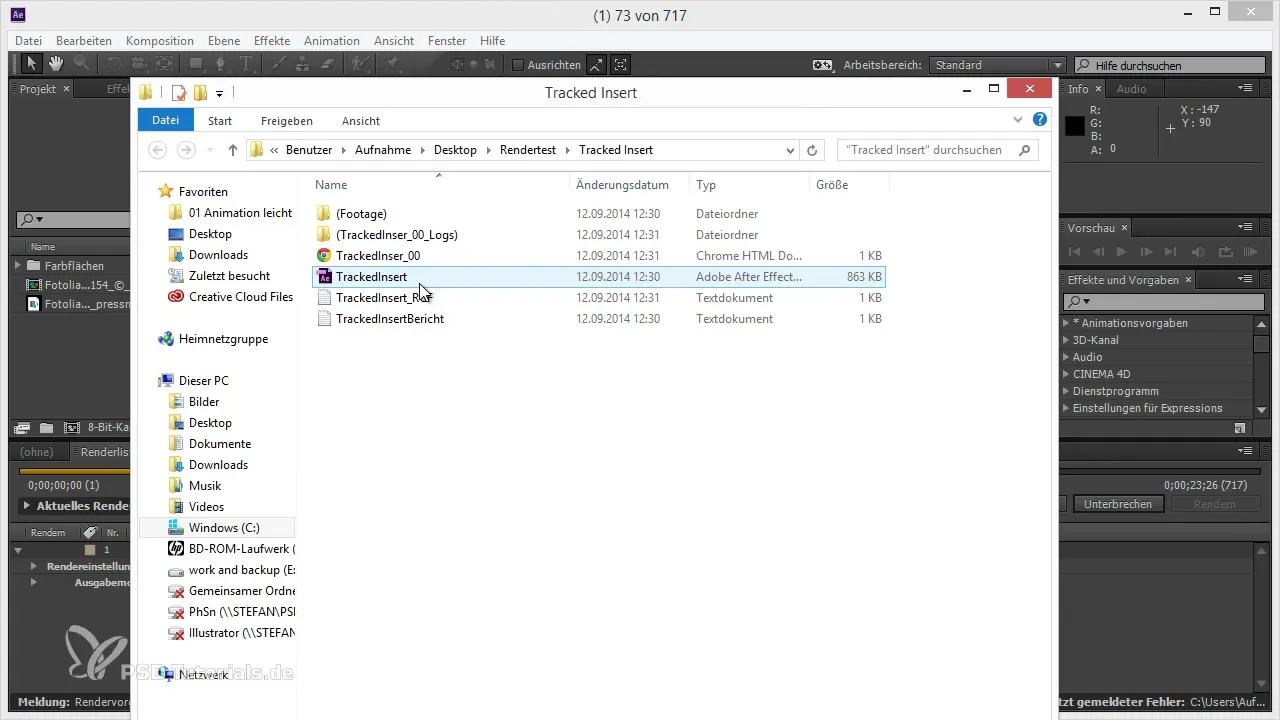
Step 8: Monitor the Rendering Process
You can also use an HTML screen to monitor the progress of rendering. Here you can see which frames have already been rendered and how far along the process is.
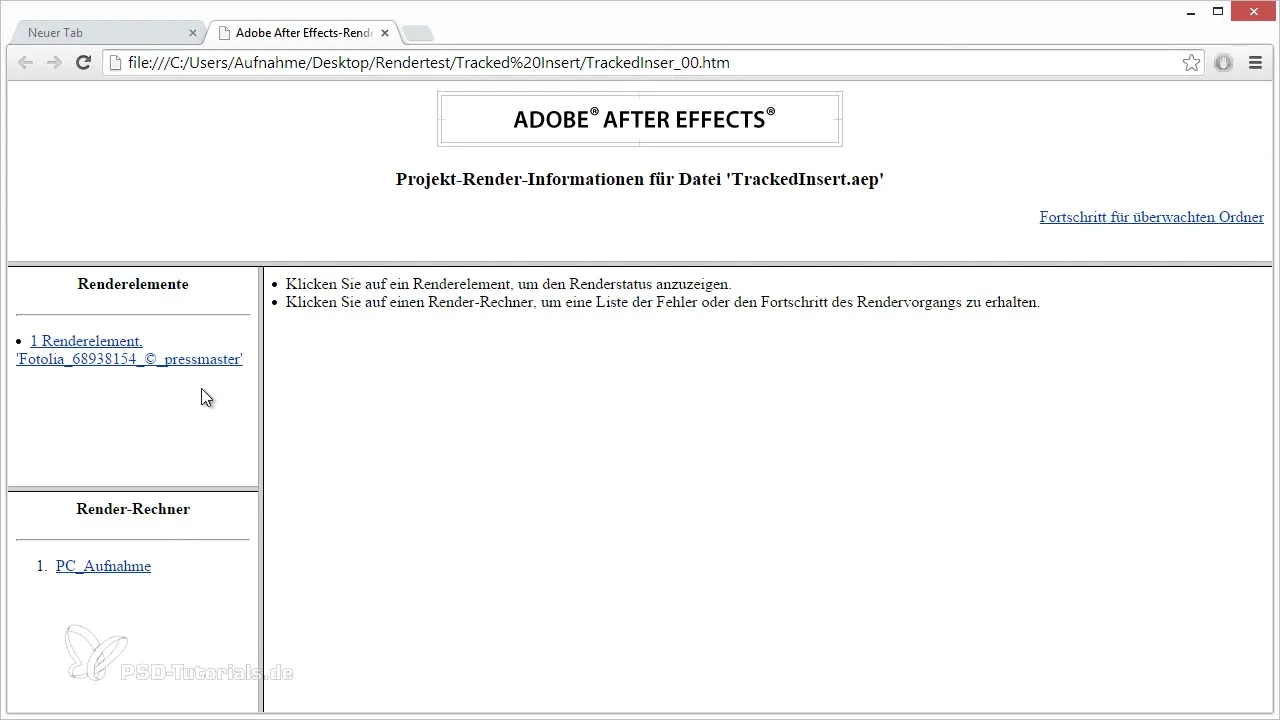
Step 9: Review Completed Projects
Once the rendering is complete, the project is moved to the monitored folder. Go to this folder to ensure that all rendered files have been created correctly.
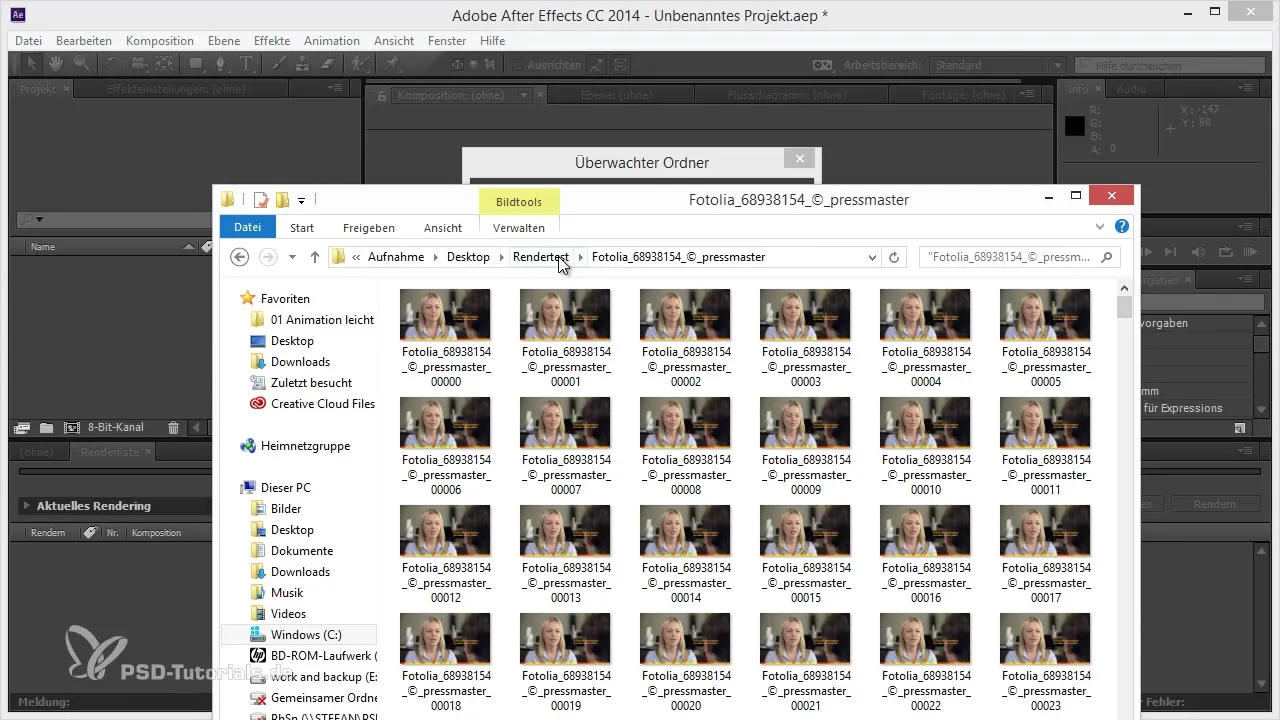
Step 10: Finally Import into After Effects
The rendered project can now be imported back into After Effects. The PNG sequence can easily be inserted into your project, and you can combine it with the original audio to create a final output.
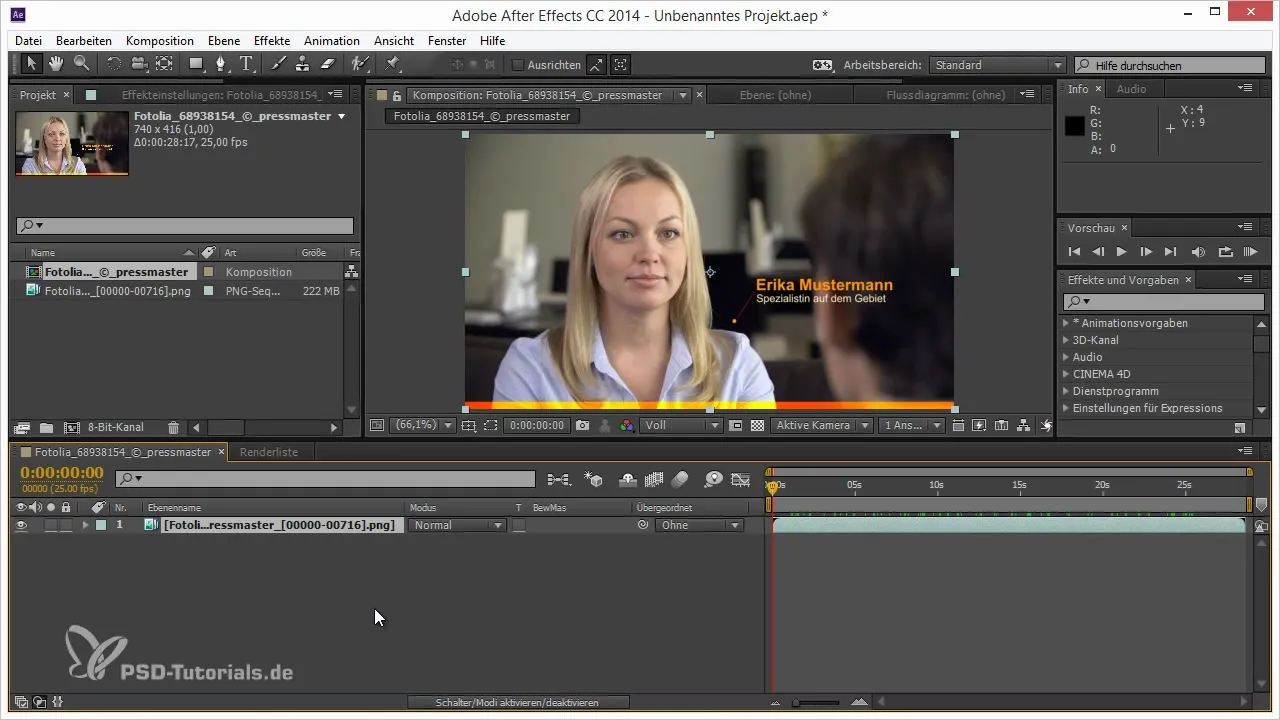
Summary – Tips and Tricks for an Optimized Workflow in Network Rendering with After Effects
Network rendering in After Effects helps to realize complex projects faster by allowing multiple computers to work on the rendering processes simultaneously. By properly setting up the rendering process and using a monitored folder, you can significantly enhance the efficiency of your workflows.
Frequently Asked Questions
How does network rendering work in After Effects?Network rendering allows multiple computers to render frames simultaneously by accessing a shared image sequence.
Why should I render image sequences instead of single files?Since multiple computers cannot access a file at the same time, using an image sequence prevents conflicts and results in more efficient rendering.
How can I ensure that all assets have been collected correctly?Use the "Collect Files" feature in After Effects to ensure that all necessary assets are included in the project.
Where should I save the project to enable network rendering?An ideal location is a server or a shared network location that all computers can access.
How do I monitor the progress of rendering?You can use an HTML screen that displays the rendering progress and informs you about which frames have already been processed.

