In the world of 3D graphics, it's often about the details that influence the overall picture. One of the biggest challenges in After Effects is managing the Render-Order, especially when working with reflections and shadows. Here, I will show you how to effectively use the render order to achieve impressive effects and avoid unwanted problems.
Key Takeaways
- You can achieve reflections in After Effects with a simple trick without using the ray-traced 3D renderer.
- Unwanted effects when using the render order can prevent shadow casting onto other layers.
- An adjustment layer is crucial for manipulating the render order to maintain both reflections and shadows.
Step-by-Step Guide
1. Create Basic 3D Graphics
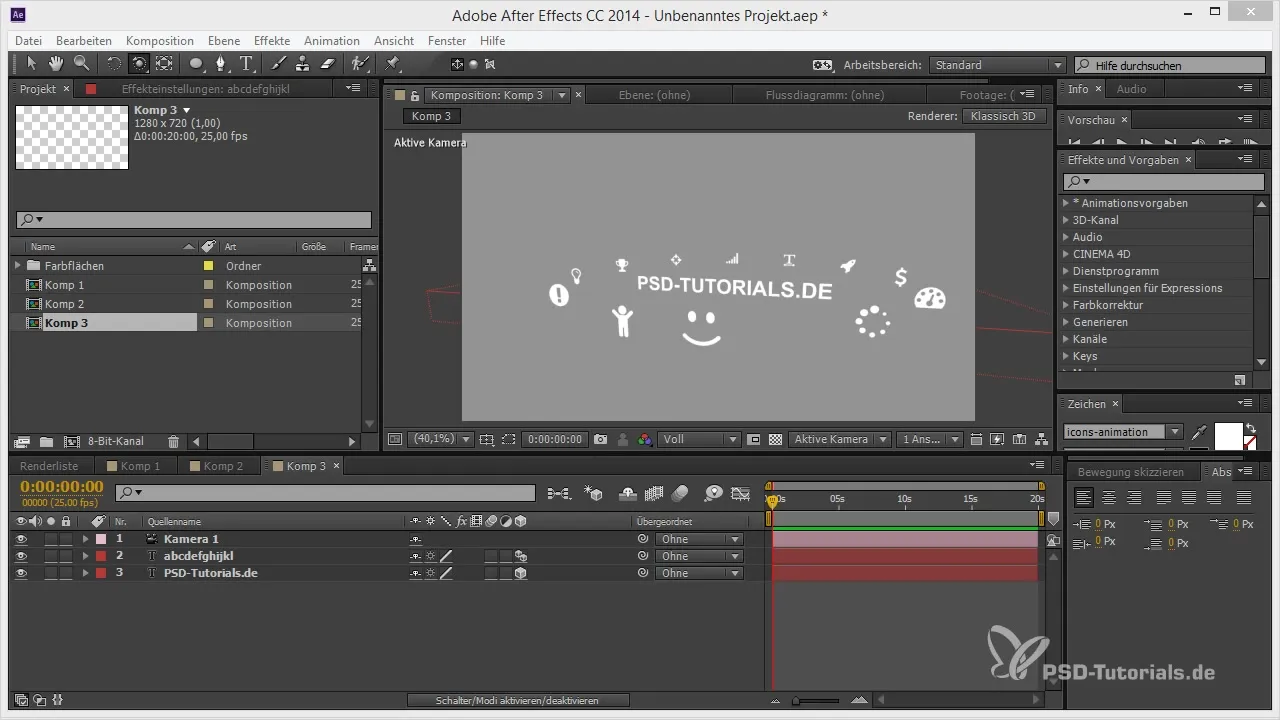
Start by creating your 3D graphic in After Effects. To create an appealing reflection, you first need a visual element that you want to reflect. For example, you can use a text layer or icons.
2. Set Up the Reflection
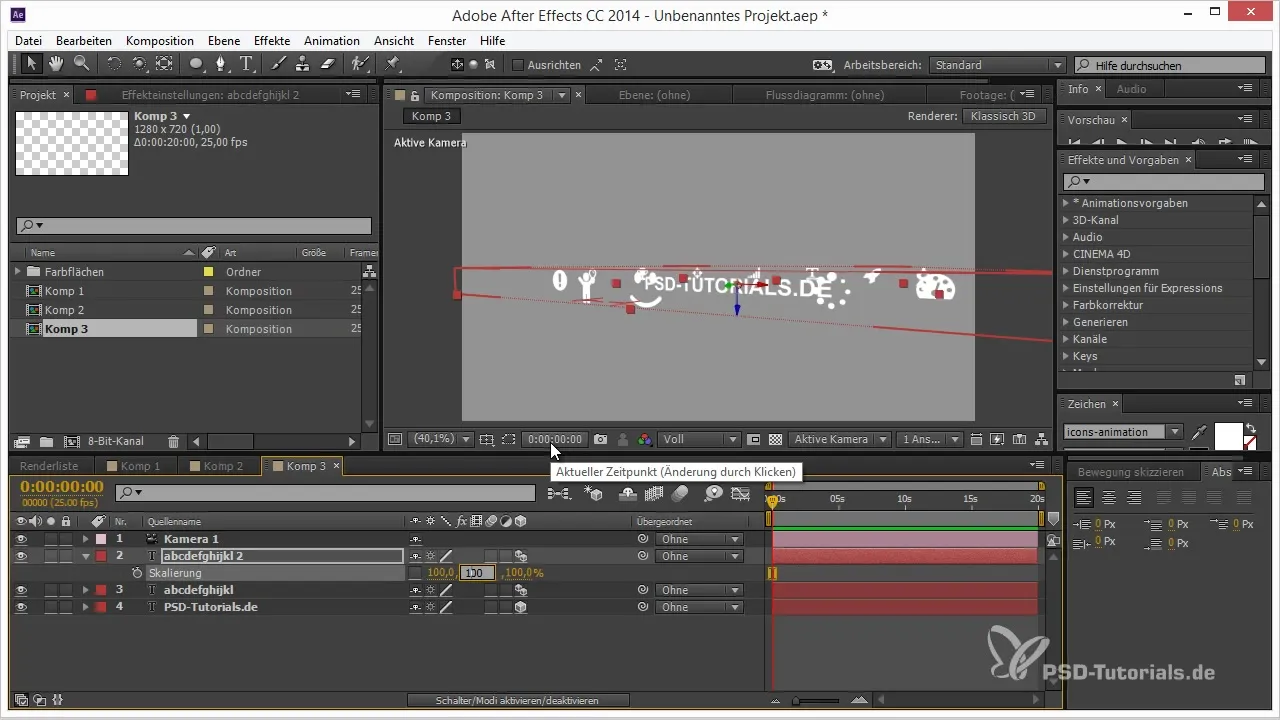
To set up the reflection, take the scale of the source layer and set it to -100%. This reverses the layer and creates a mirror effect. However, be sure that a text animator is required to provide the correct rotation values.
3. Adjust Text and Icons
The icons need to be positioned and adjusted to the right height for a perfect reflection. You can easily move them by drag & drop to achieve the desired arrangement.
4. Create a Ground Surface
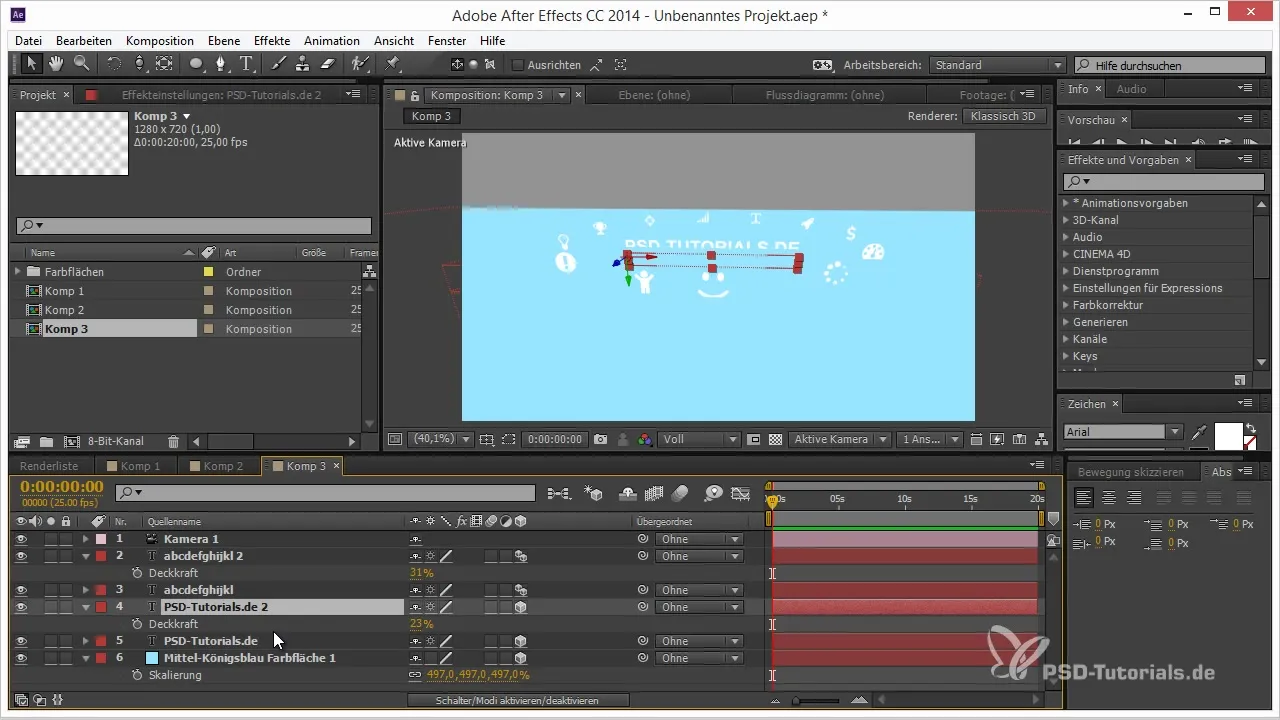
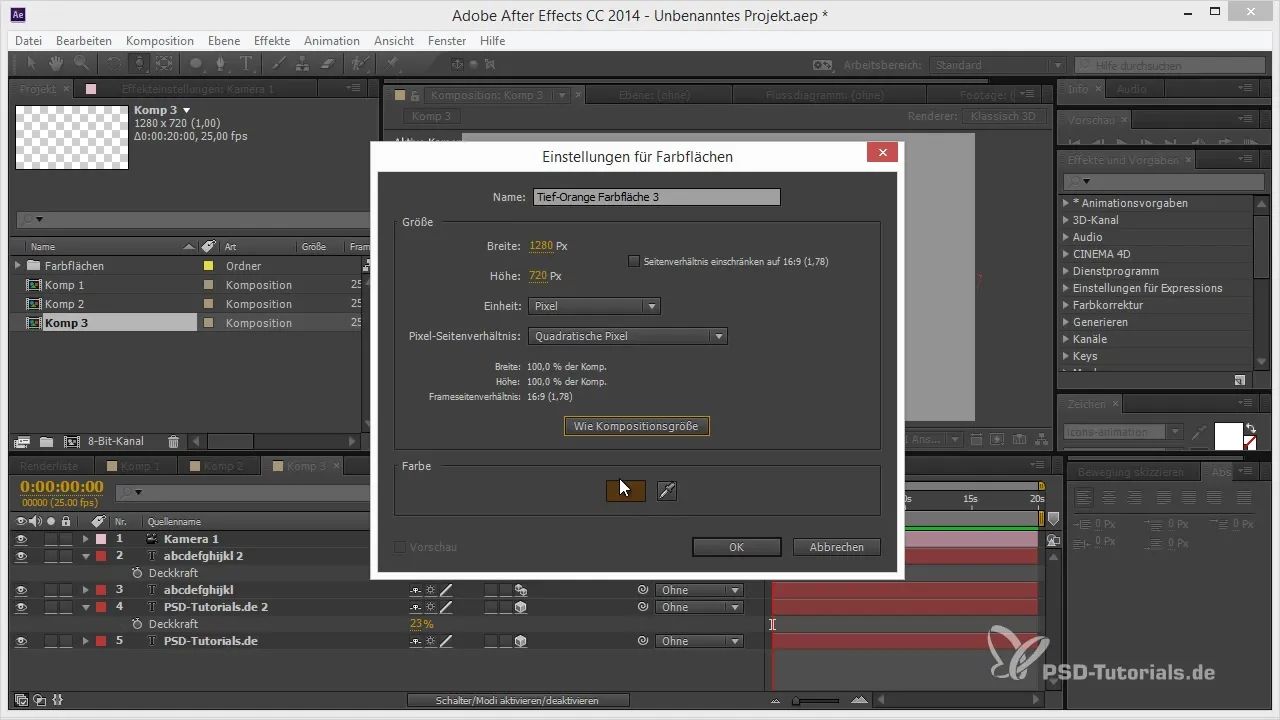
Now create a ground surface to realize the reflection. Use the shortcut Control + Y to create a new layer in a light color and position it below your main graphic.
5. Add Light
To make your scene look more lively, add a light. You can choose a warm light to create interesting shadows. Check how the shadows behave on the ground as you change the position of your light.
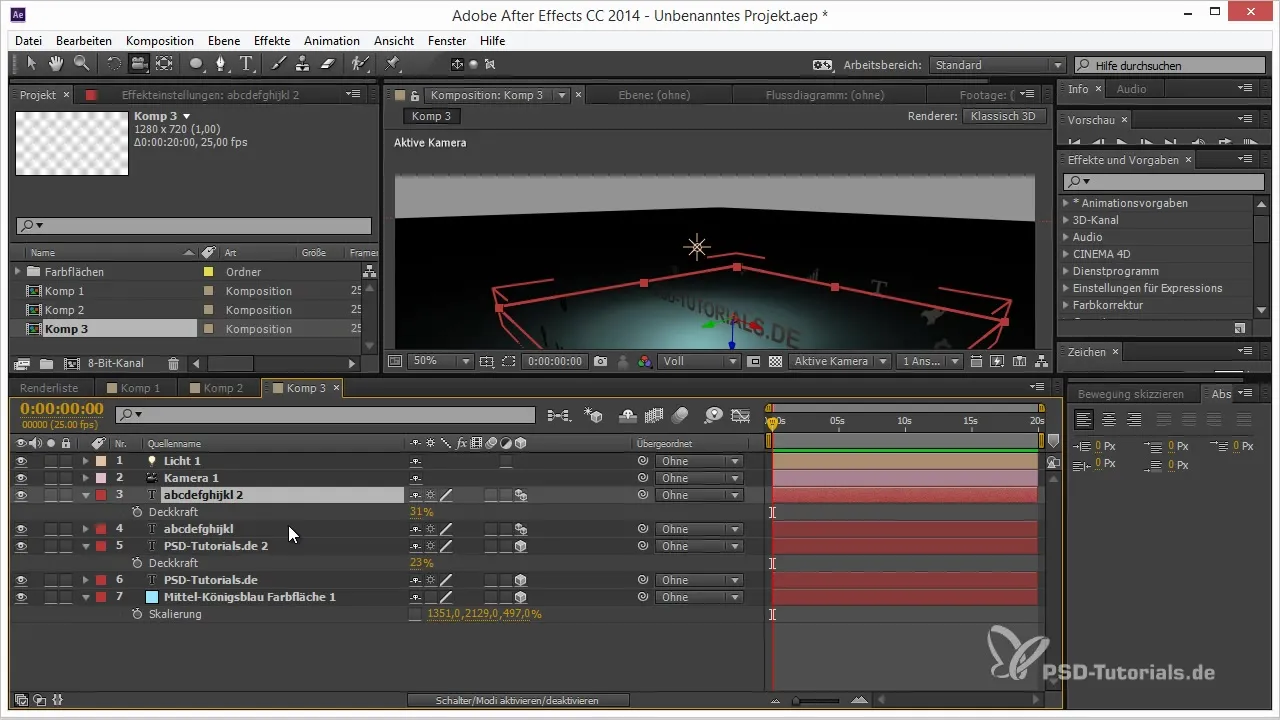
6. Enable Materials
Enable the materials for your layers so that they can cast shadows. This is important for the correct representation of light and shadow interactions.
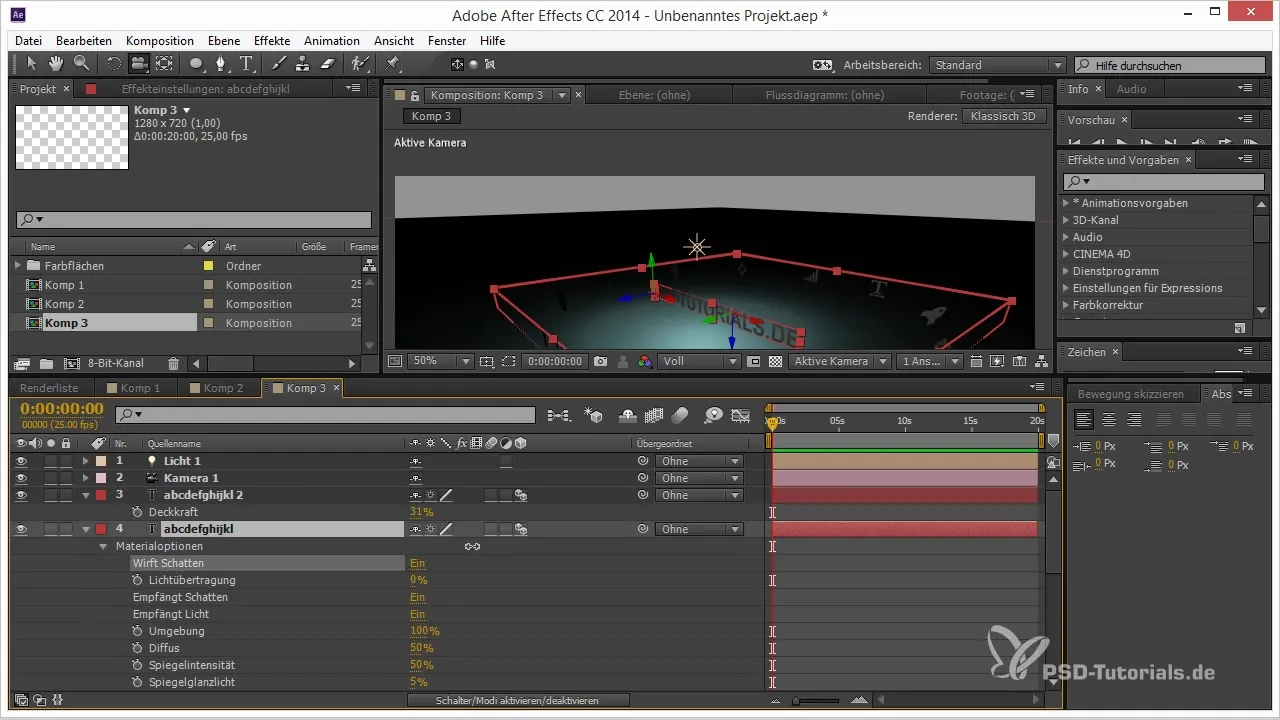
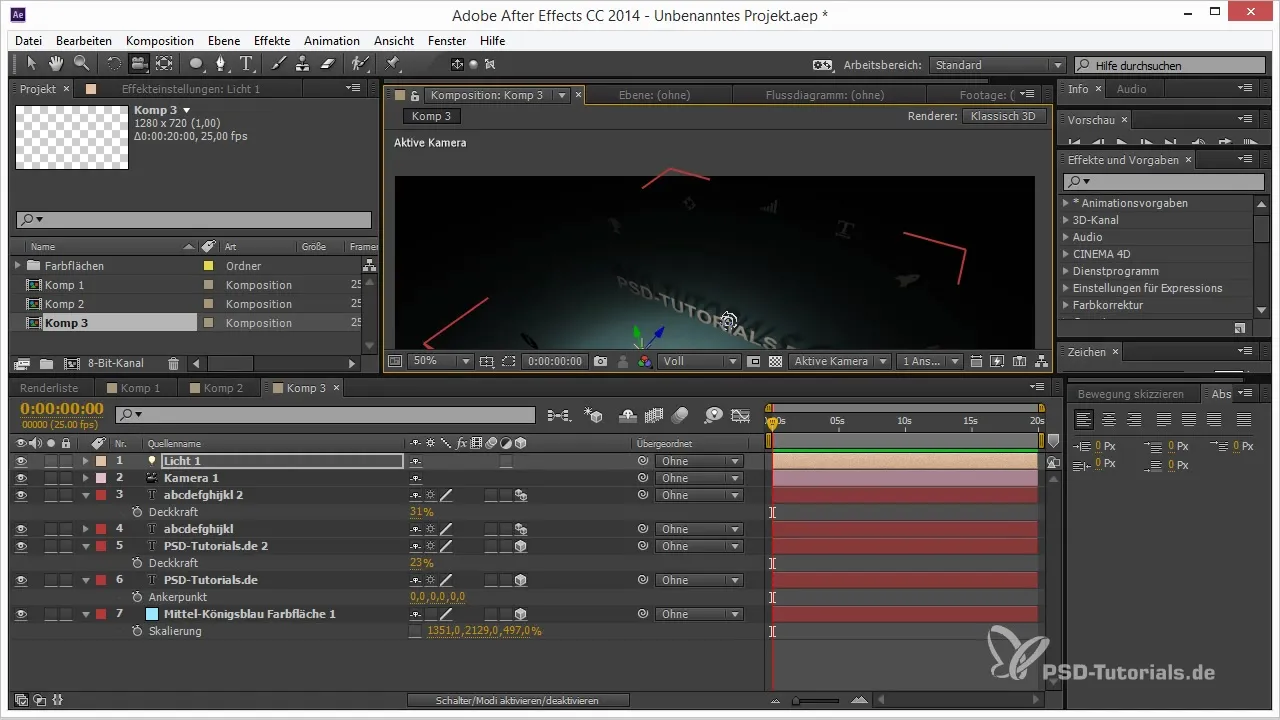
7. Adjust Shadows
Move the light and observe the shadows cast on the ground. Here, you can make fine adjustments to achieve more dramatic effects.
8. Check the Reflection
Now you should check the reflection. If it has disappeared, it might be due to the render setting being covered by a color layer. Make sure this does not affect the overall look of your scene.
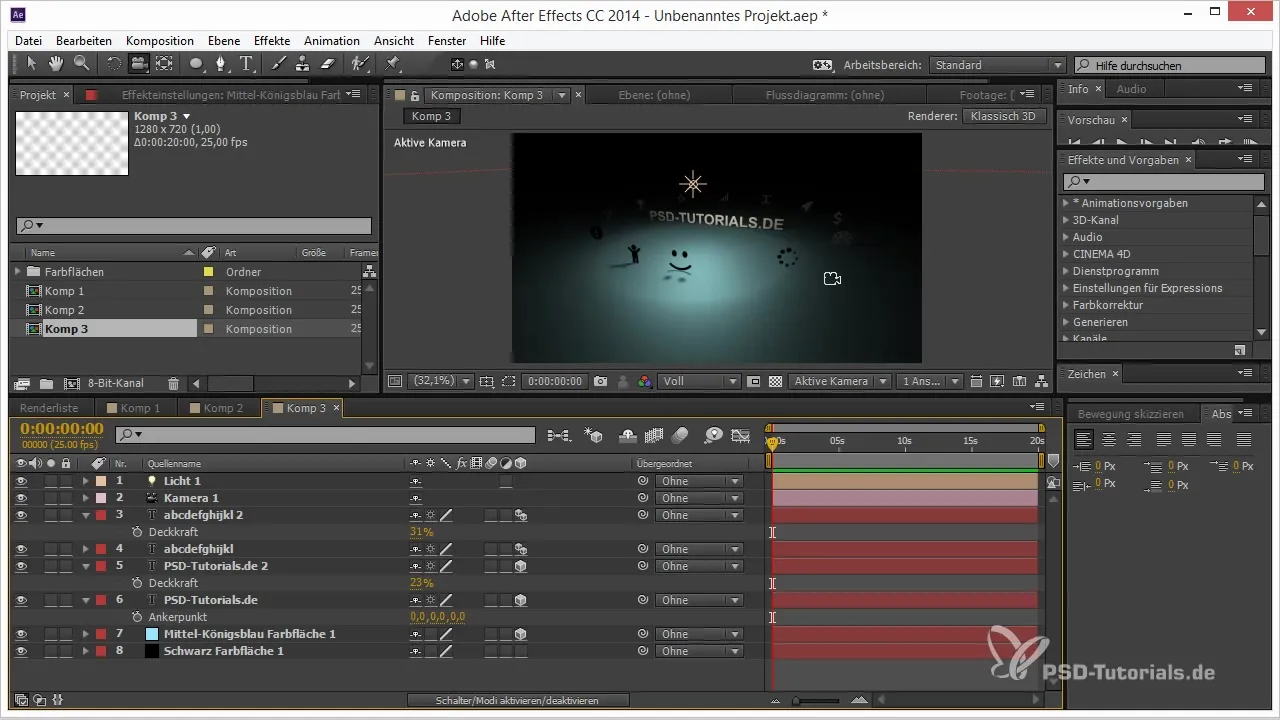
9. Add an Adjustment Layer
To fix the visibility issues with the reflection, create an adjustment layer and position it in front of the medium royal blue color layer. This changes the render order of the objects, making the reflection visible again.
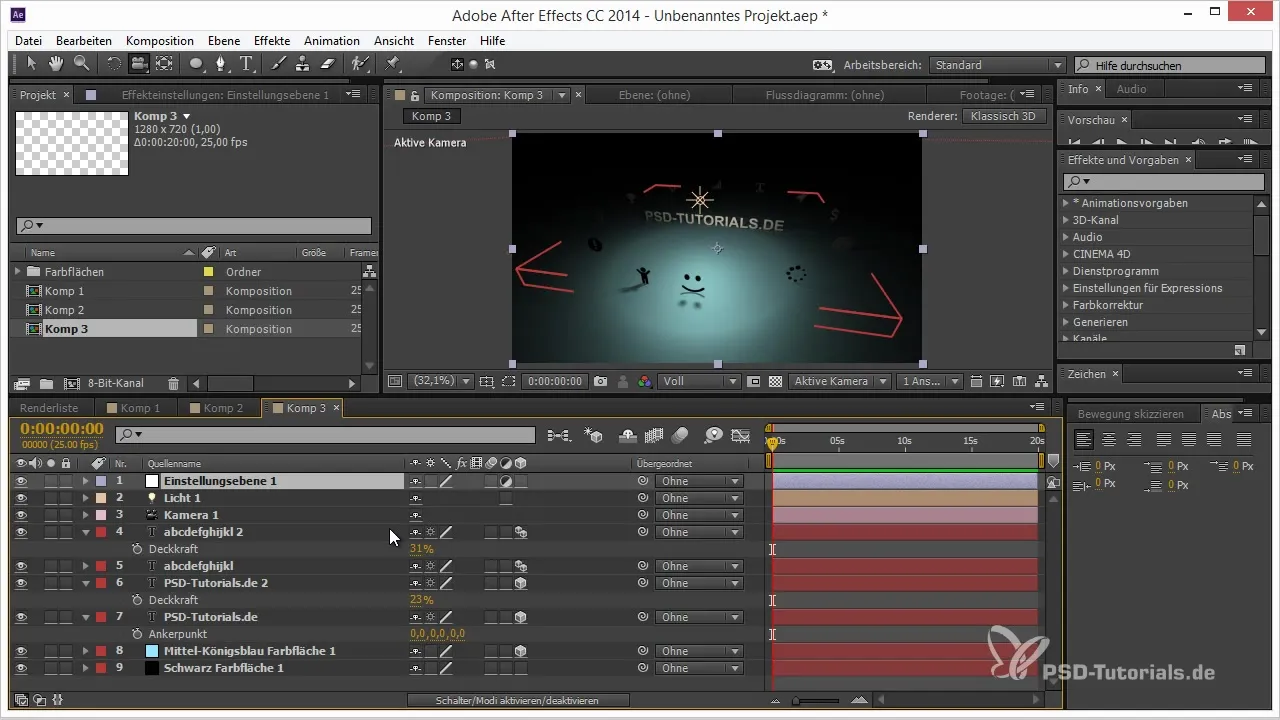
10. Restore Shadows
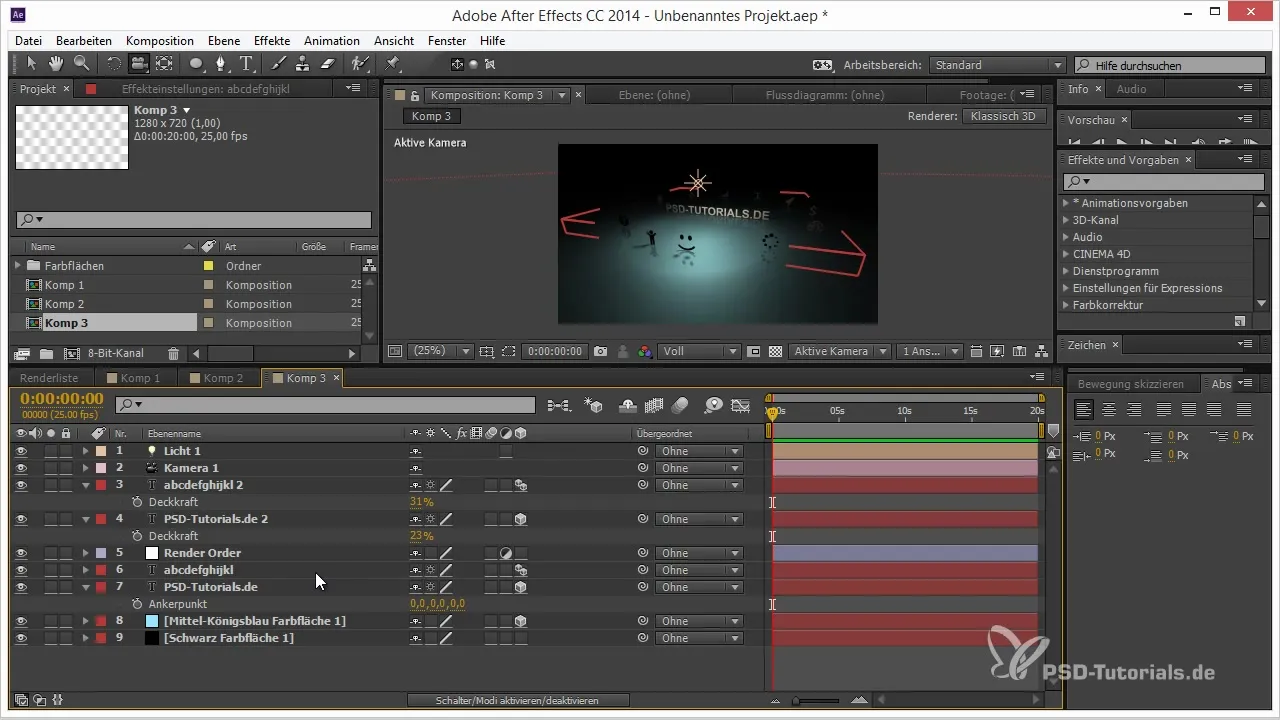
If you still need the shadows on the ground, place the layers that cast shadows below the adjustment layer. This way, you will get the needed effects without losing the reflection.
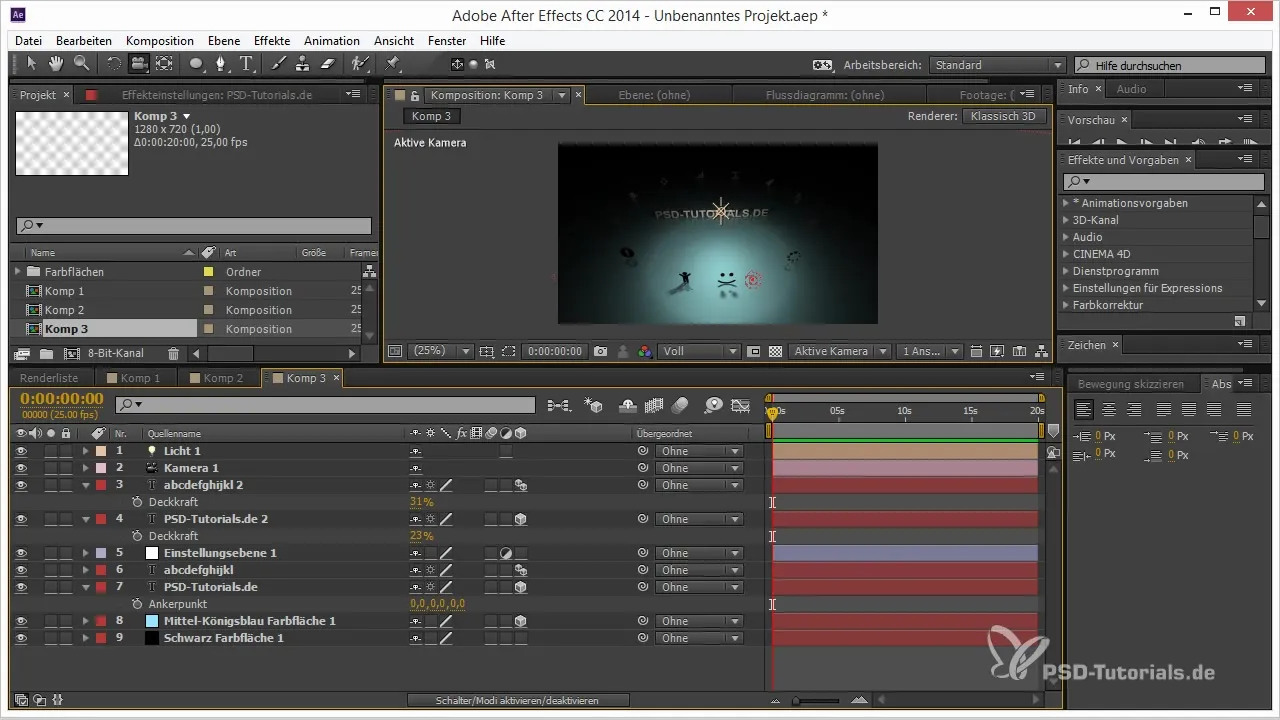
11. Final Rendering
Now execute your final render setting to save the project and admire your artwork. Check the various light and shadow effects to ensure everything looks harmonious.
Summary – Tips and Tricks for Render Order in After Effects
With this step-by-step guide, you have learned how to effectively use both reflections and shadows in After Effects. Recognize the advantages of the adjustment layer and how to utilize it specifically for your 3D projects.
Frequently Asked Questions
What is the render order in After Effects?The render order determines the sequence in which layers and effects are rendered, which can affect the appearance of your animation.
How can I create reflections without the ray-traced 3D renderer?By inverting the scale of your layer and using the appropriate animation settings, you can effectively create reflections.
Why do shadows disappear when I add a color layer?A color layer can affect the visibility of reflections or shadows if not positioned correctly.
How can I restore the shadows after adding an adjustment layer?Place the shadow-casting layers beneath the adjustment layer to keep the shadows visible.


