The color depth is a crucial factor in digital image processing, especially in After Effects. Projects are often created in 8 bit, which may be sufficient for simple tasks, but can quickly lead to problems in more complex work. In this guide, you'll learn what to pay attention to in order to fully utilize the color variety of your projects and to understand the benefits of 16 bit and 32 bit.
Key Insights
- 8-bit projects are prone to banding and color shading.
- 16 bit reduces banding and allows for a much larger color range.
- 32 bit offers the greatest color accuracy and an expanded palette for complex color corrections.
- Switching from 8 bit to 16 bit and 32 bit can significantly enhance the visual impression of your projects.
Step-by-Step Guide
Step 1: Identify Issues with 8 Bit
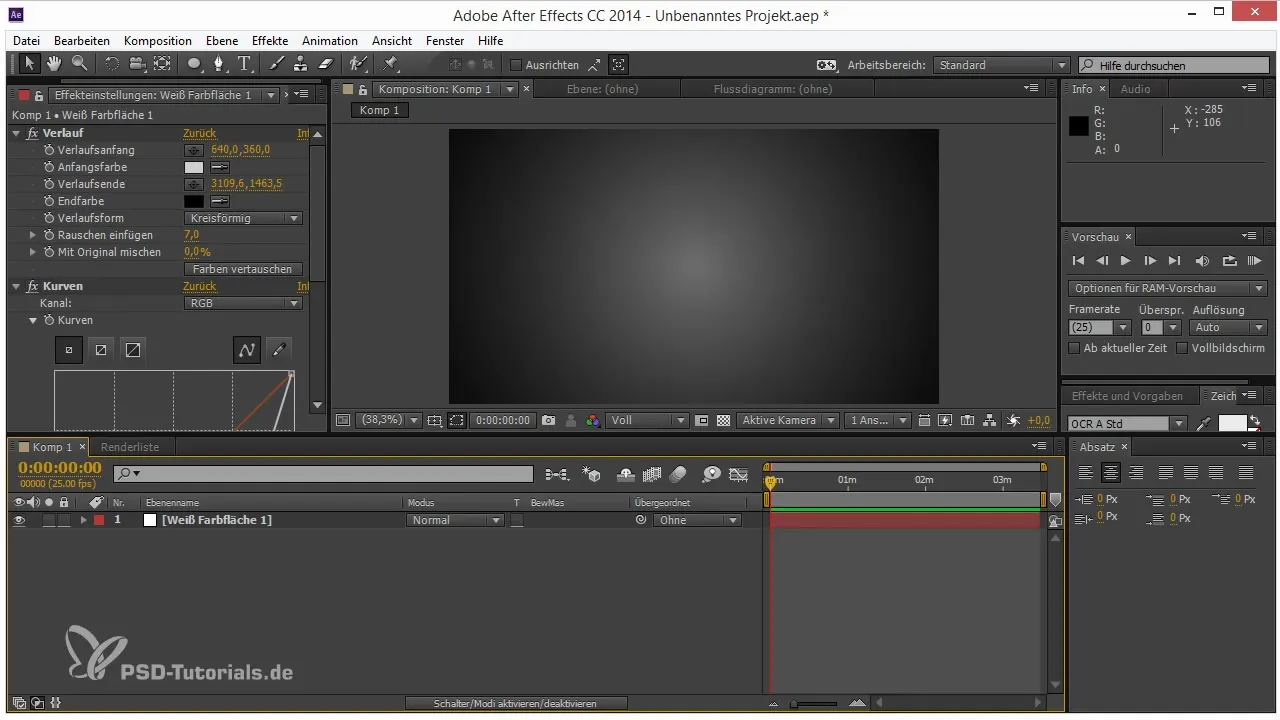
You may have experienced the situation where a gradient looks nice until you start darkening it. Suddenly, stripes appear – a phenomenon known as banding. This occurs because the color depth of 8 bit only offers 256 different colors, which is often not enough to create smooth transitions. This banding is particularly noticeable in dark colors or gentle gradients.
Step 2: Utilize the Benefits of 16 Bit
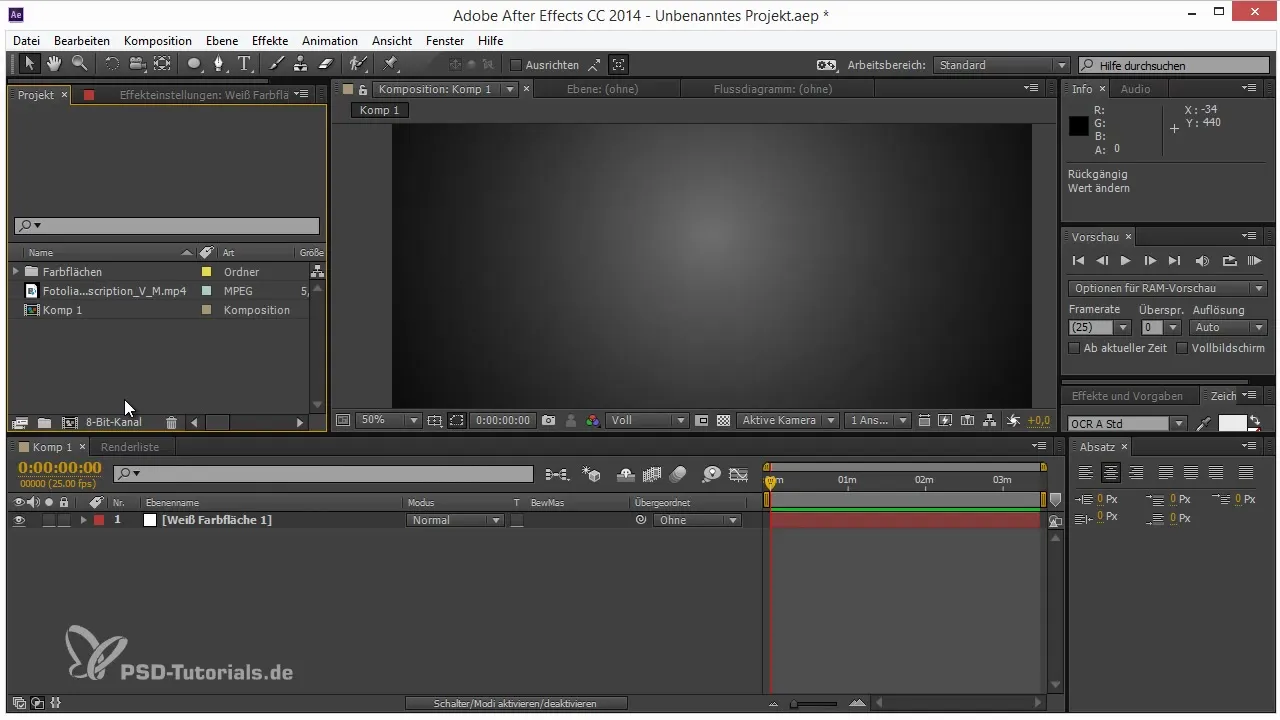
To solve the problem, you can switch to 16 bit in the project settings of After Effects. This doubles the color values, allowing you to move from 256 shades to 65,536 shades per channel. A smooth gradient that was previously disturbed is now nearly perfect. You now have many more color tones available, which makes a significant difference in image quality.
Step 3: Switch to 32 Bit
If you need even more flexibility, you should consider 32 bit. A floating-point value system is used in 32 bit. This allows you to display brightness values from 0 (black) to 1 (white) and even values above 1, which is very useful for special effects. This structure is ideal for complex color corrections and for combining multiple layers.
Step 4: Perform Color Corrections
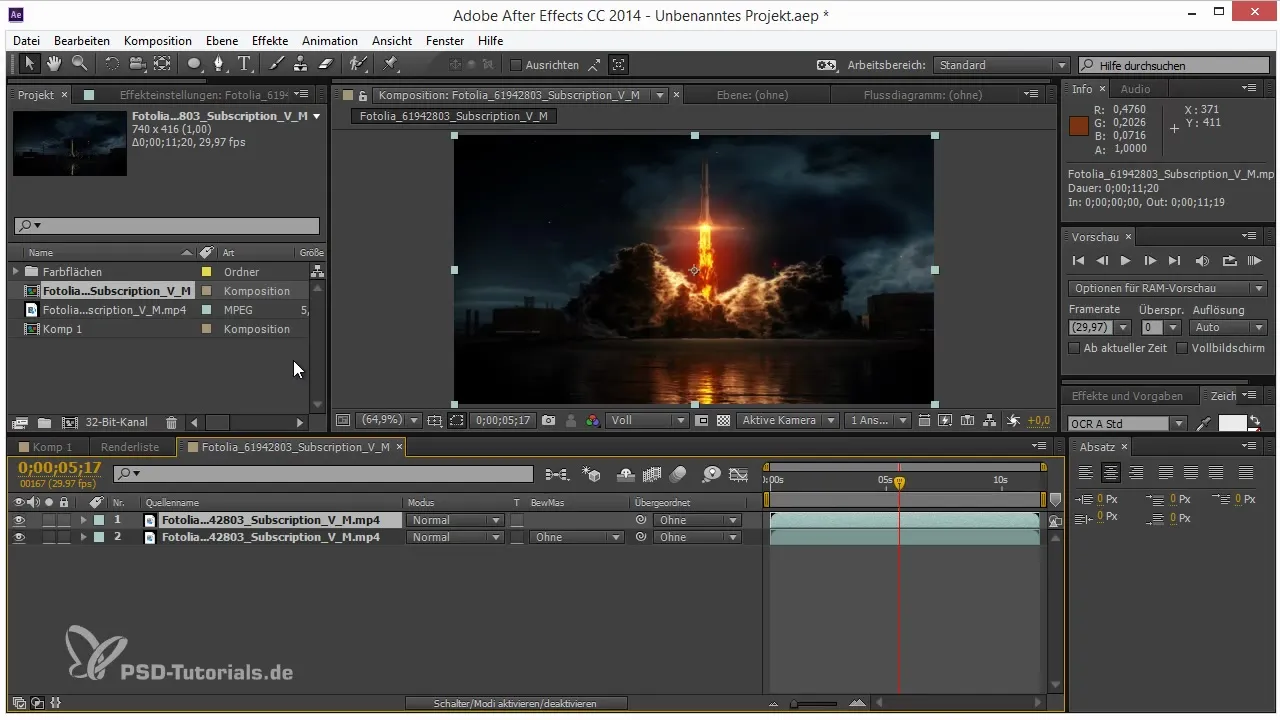
You can duplicate a simple 8-bit image and apply a levels adjustment. This allows you to color-correct the image. Be sure to activate the 32-bit channel. This option even lets you work with negative values, which are generally not visible but still benefit color correction. This way, you achieve deeper shadows and brighter highlights.
Step 5: Apply Effects in 32-Bit Mode
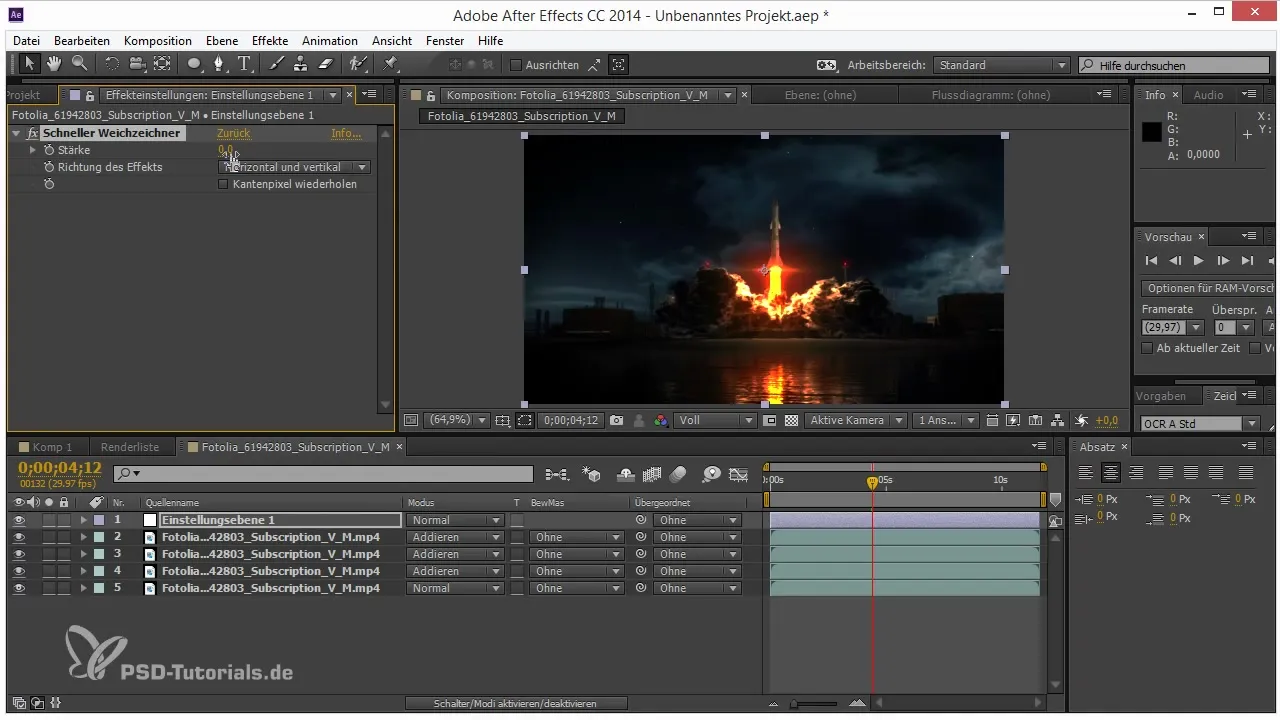
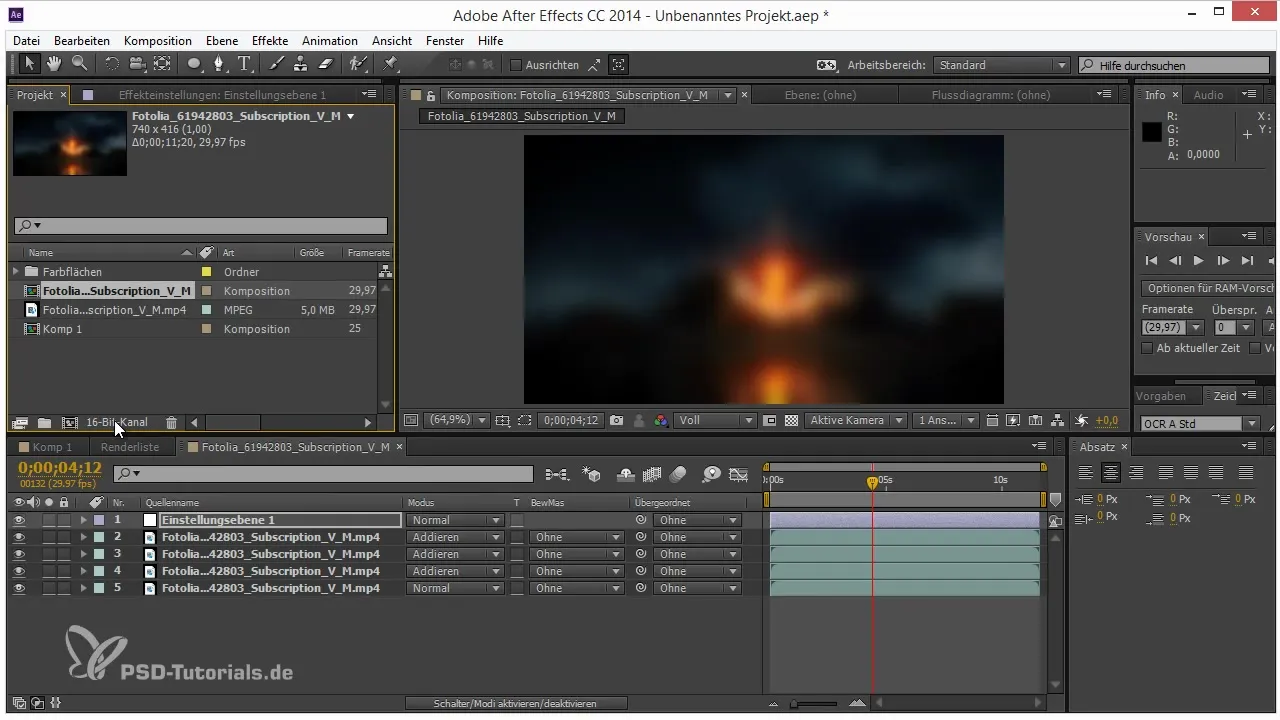
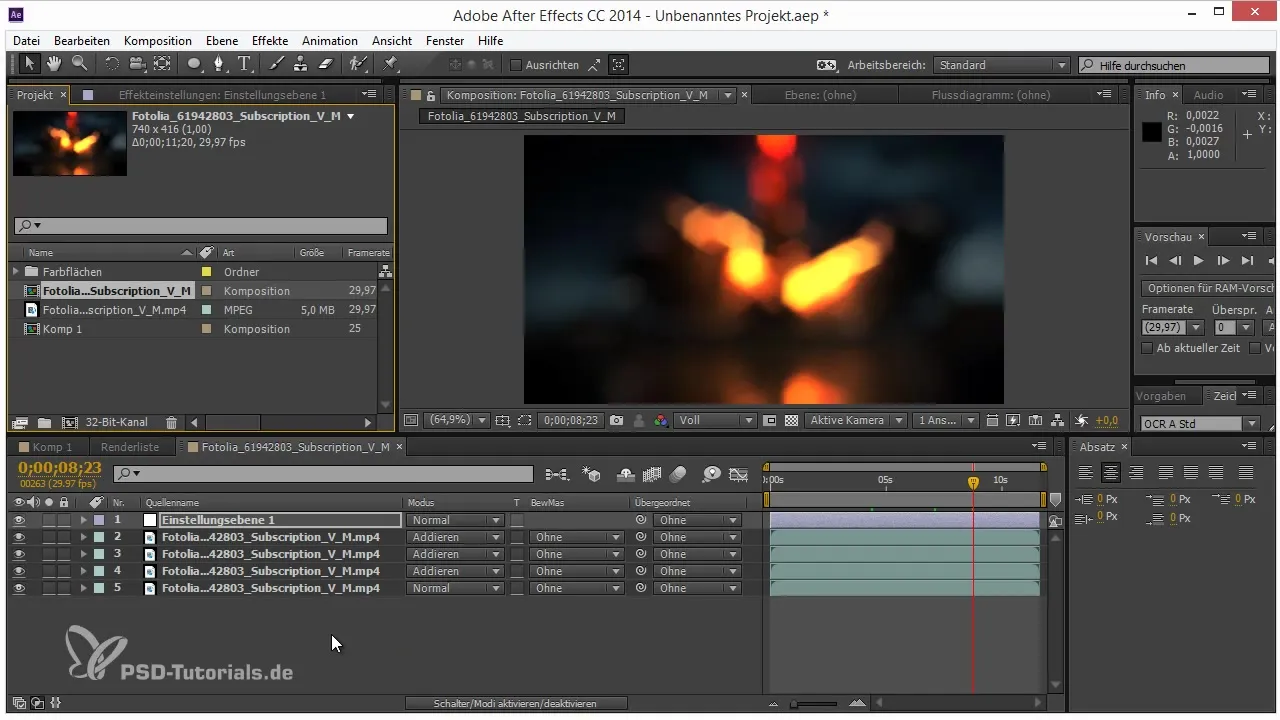
Use the blur or camera lens blur. In 32-bit mode, you can control light and color effects much better. For instance, when you blur the image, you'll notice that the bright areas appear more intense and radiant. This is because 32 bit allows you to store and represent many more details.
Step 6: Compare the Results
Compare the results of 8 bit, 16 bit, and 32 bit and you will clearly see the difference. While 8 bit often appears flat or washed out, 16 bit and 32 bit produce beautiful, vibrant colors and detailed textures. It's amazing how much more beautiful a project can be when you choose the right color depth.
Step 7: Conclusion on Color Depth
It is essential that you check and adjust the color depth in the project settings when starting a new project. Almost always opt for 16 bit or 32 bit, especially when working with intense colors and light. This simple change will make an impact and significantly improve your workflow and results. Utilizing 32 bit can help you get the most out of your creative ideas.
Summary — Tips and Tricks for Workflow in After Effects: 16 and 32 Bit
Switching from 8 bit to 16 bit or 32 bit in After Effects is not only recommended but also necessary for high-quality results. While 8 bit often leads to banding and limited color options, 16 bit and especially 32 bit allow you to maximize the depth and vibrancy of your graphics. Make it a habit to regularly use these options to take your projects to the next level.
Frequently Asked Questions
How do I recognize banding in my projects?You can recognize banding by sudden color changes and stripes in gradients.
What are the advantages of 16 bit over 8 bit?16 bit provides 65,536 shades per channel, making the color gradients smoother and more detailed.
When should I use 32 bit?Use 32 bit when working with complex light and color effects that go beyond the capabilities of 16 bit.
How do I switch between different color depths?In the project settings of After Effects, select the desired color depth by clicking on the corresponding button.
Do all effects work in 16 bit and 32 bit?Most effects are compatible with these color depths, but some older effects only work in 8 bit.


